Introduction
Whether you’re splitting the bill with a friend, paying for an online purchase, or sending money to a family member, PayPal provides a convenient and secure way to make payments. With millions of users worldwide, PayPal has become a trusted platform for financial transactions in the digital age.
In this guide, we’ll walk you through the steps of how to pay someone on PayPal. We’ll cover everything from signing into your PayPal account to reviewing and sending the payment. By following these simple instructions, you’ll be able to effortlessly send money to anyone, anytime, anywhere.
With PayPal’s easy-to-use interface and robust security measures, you can rest assured knowing that your financial information is protected. So, whether it’s for personal or business purposes, PayPal offers a hassle-free way to make payments without the need for cash or checks.
Before we dive into the details, it’s important to note that both you and the recipient must have PayPal accounts. If the person you want to pay doesn’t have one, they can easily create an account for free. Once both parties have active PayPal accounts, you’re ready to start transferring funds with just a few simple clicks.
Now, let’s get started on how to pay someone on PayPal!
Step 1: Sign In to Your PayPal Account
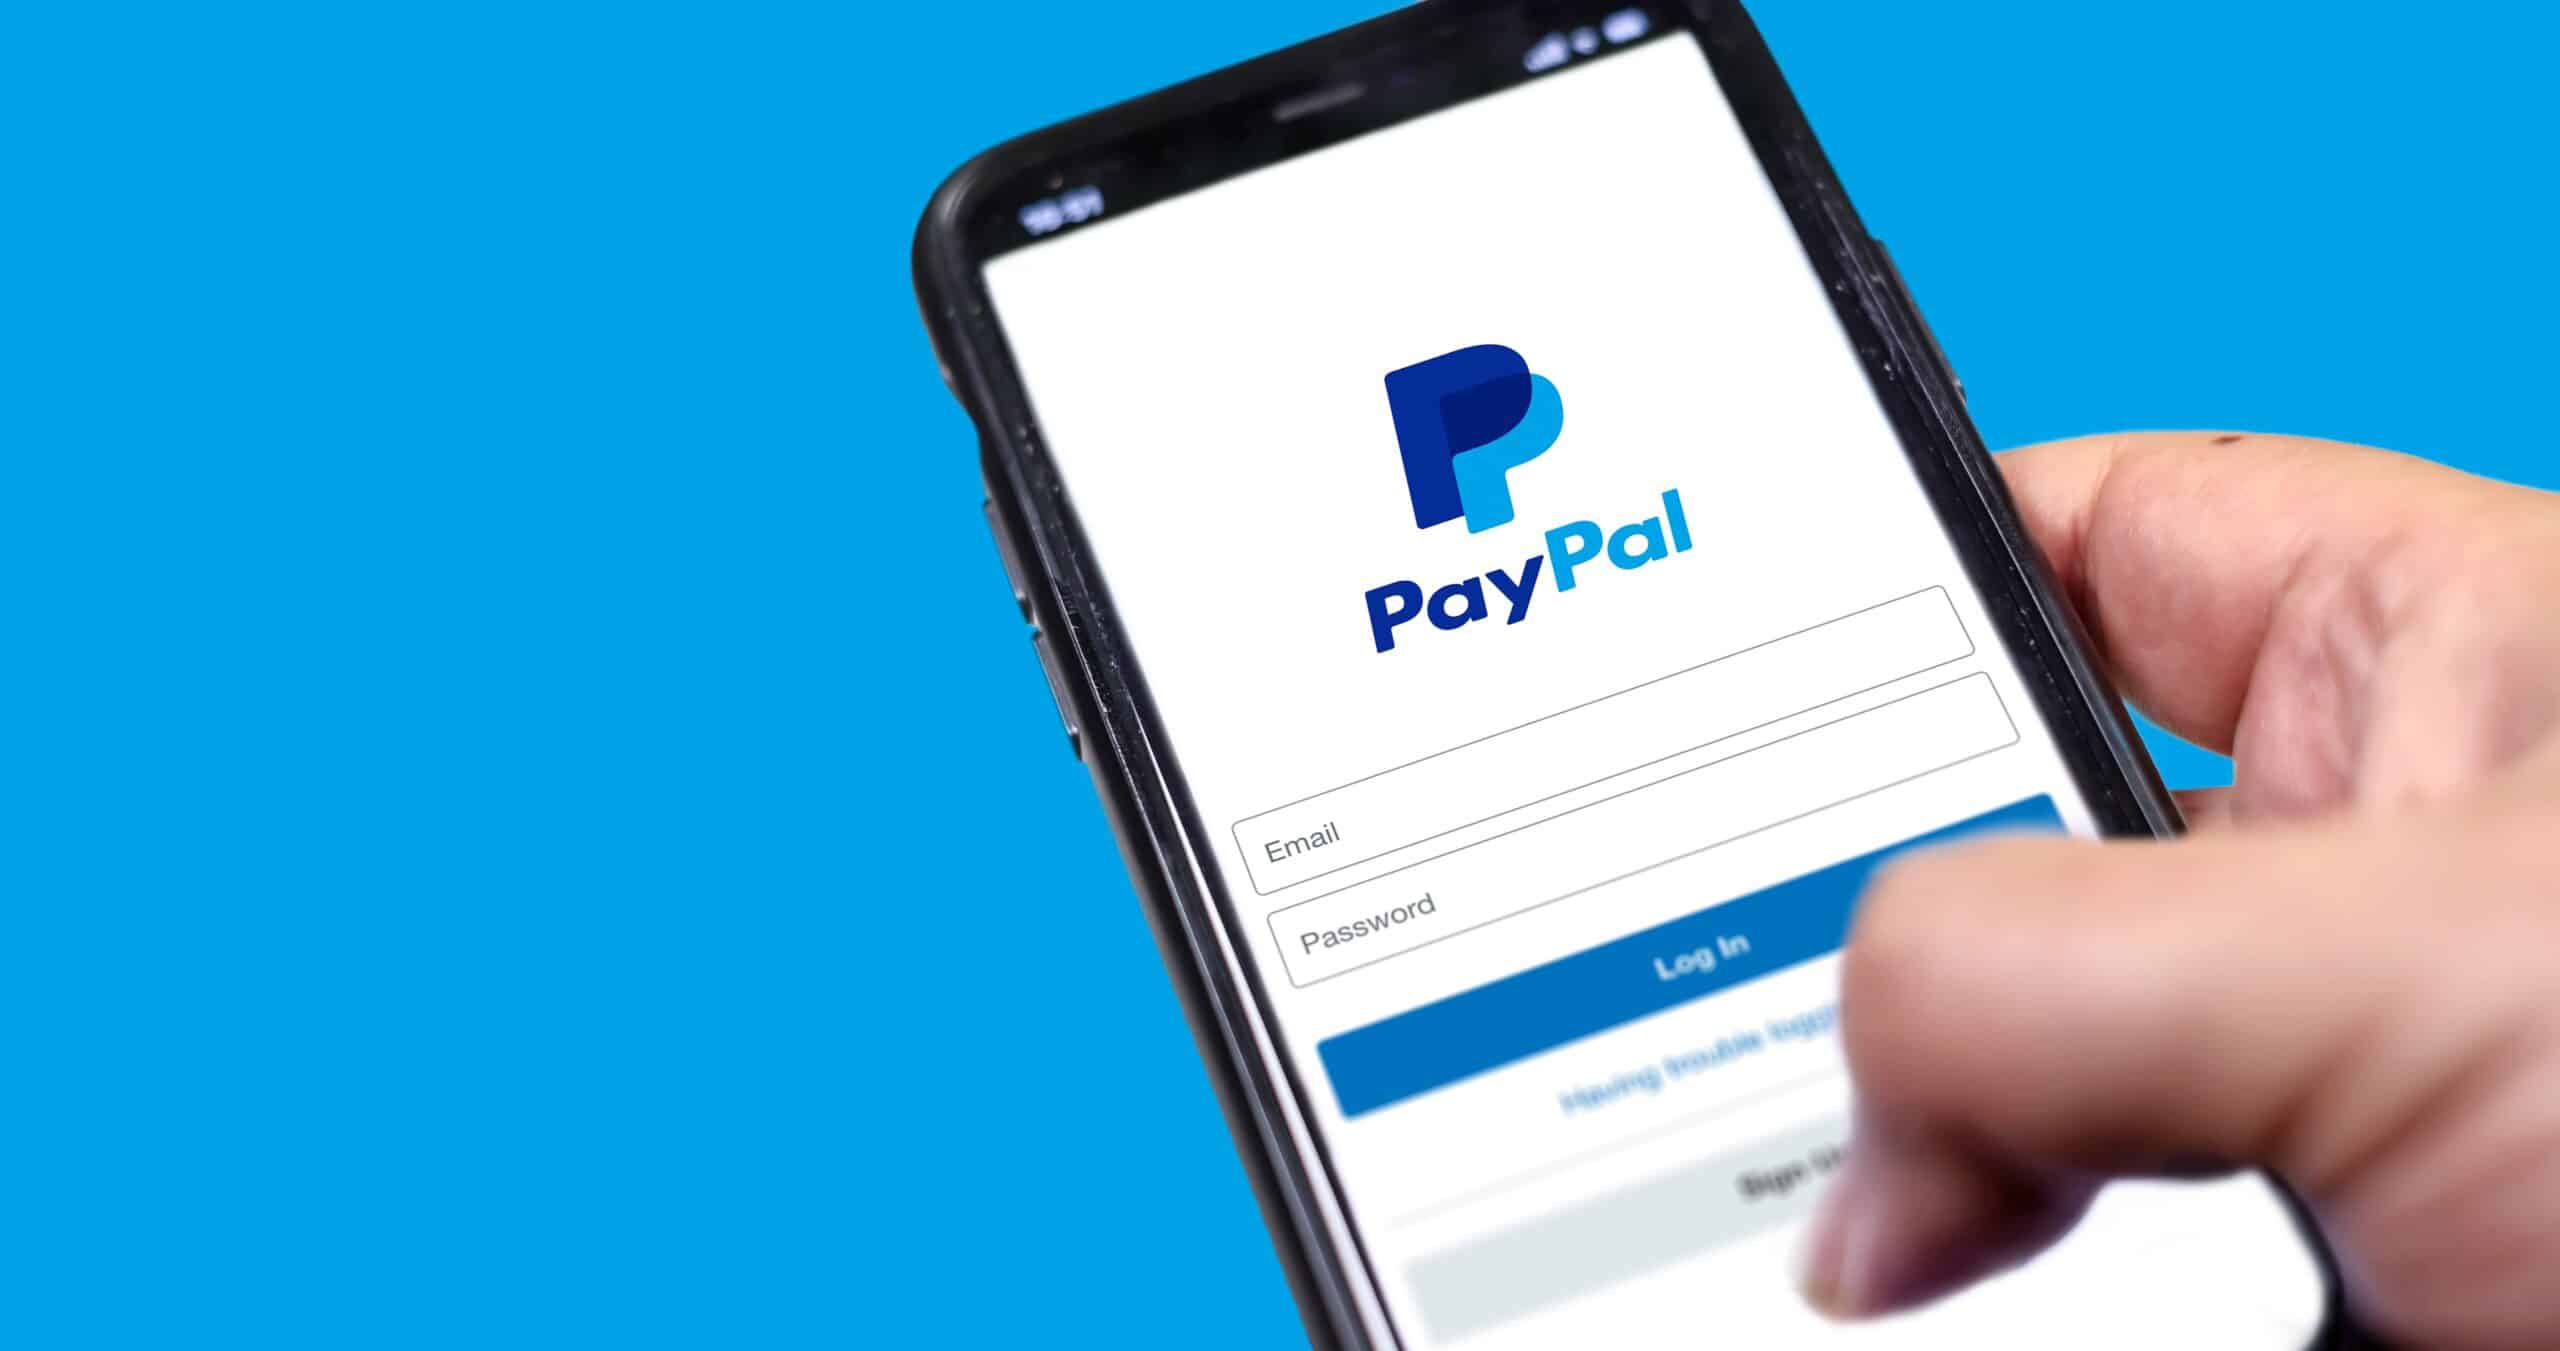
The first step to paying someone on PayPal is to sign in to your account. Open your preferred web browser and go to the PayPal website (www.paypal.com). In the top-right corner of the page, you’ll find the “Log In” button. Click on it to proceed.
If you have already created a PayPal account, enter your email address and password in the designated fields. Ensure that the email address is correct and that the password is entered accurately. PayPal passwords are case-sensitive, so double-check your input to avoid any login issues.
If you’re using a public or shared device, make sure to uncheck the “Stay logged in for faster checkout” box for security purposes. Only leave this box checked if you’re using a personal and secure device.
If this is your first time using PayPal, click on the “Sign Up” link located below the login fields. You’ll be guided through the process of creating a new account. Follow the instructions provided and provide the necessary details, such as your name, email address, and password. Be sure to choose a strong password to protect your account.
Once you’ve entered your login credentials, click on the “Next” button to proceed. PayPal will verify your information and log you in to your account.
Now that you’re successfully signed in to your PayPal account, you’re ready to move on to the next step, where we’ll explore how to navigate through the PayPal interface to send money securely.
Step 2: Click on “Send & Request”
After signing in to your PayPal account, you’ll find yourself on the PayPal homepage. Now, locate and click on the “Send & Request” tab at the top of the page. This tab allows you to manage your transactions and send money to others.
Once you click on “Send & Request,” a dropdown menu will appear with two options: “Send Money” and “Request Money.” For the purpose of paying someone, we’ll focus on the “Send Money” option.
Click on “Send Money” to proceed to the next step.
It’s important to note that PayPal offers protection for buyer and seller transactions. When sending money for goods or services, ensure that you’re familiar with the recipient. PayPal’s Buyer Protection policy applies mostly to online purchases, where you will be covered if the goods or services are not as described or not received at all.
Once you’ve selected “Send Money,” you’re one step closer to completing the payment. In the next step, we’ll explore how to choose between sending money to an email address, mobile number, or a person’s name.
Step 3: Select “Send Money” or “Pay for Goods or Services”
After clicking on the “Send & Request” tab, you’ll be presented with two options: “Send Money” and “Request Money.” Choose the “Send Money” option to proceed with making a payment.
Now, you’ll have two choices: “Pay for Goods or Services” or “Send Money to Friends and Family.” The option you select will depend on the nature of your payment.
If you’re making a payment for a product or service you received, select the “Pay for Goods or Services” option. This option provides additional buyer protections that can be beneficial, especially when purchasing from unfamiliar sellers or for high-value transactions.
On the other hand, if you’re sending money to friends or family for personal reasons, such as splitting a bill or repaying a loan, choose the “Send Money to Friends and Family” option. This option is suitable for informal transactions among people you trust, as it does not offer the same buyer protections as the “Pay for Goods or Services” option.
It’s important to consider the purpose of your payment and make the appropriate selection to ensure the best experience for both parties involved. Once you’ve made your choice, click on the respective option to move forward.
Now that you’ve selected the payment type that aligns with your specific needs, we’ll move on to the next step, which involves entering the recipient’s information.
Step 4: Enter the Recipient’s Email, Mobile Number, or Name
Once you’ve chosen the appropriate payment option, you’ll be prompted to enter the recipient’s information. Depending on the option you selected, you may be asked to provide the recipient’s email address, mobile number, or name.
If you have the recipient’s email address or mobile number associated with their PayPal account, simply enter it in the designated field. PayPal will verify the account and ensure that the funds are sent to the correct recipient.
If you’re not certain about the recipient’s PayPal contact information, you can also enter their name. PayPal will provide suggestions based on the name you input, making it easier to select the correct person.
It’s crucial to double-check the recipient’s information to avoid sending payment to the wrong person. Verifying the details safeguards against any potential errors and ensures that the funds reach the intended recipient.
Upon entering the recipient’s information, click on the “Next” button. This will lead you to the next step, where you can specify the amount you wish to send.
Note: PayPal may charge fees for certain types of transactions. Familiarize yourself with the fees and choose the appropriate payment method to minimize expenses.
Now that you’ve entered the recipient’s information, we’re ready to move on to the next step, where we’ll delve into selecting the amount to send.
Step 5: Choose the Amount You Want to Send
Once you’ve entered the recipient’s information, you’ll need to specify the amount you want to send. It’s important to take your time and accurately enter the desired amount to avoid any discrepancies.
In the designated field, enter the amount you wish to send. PayPal allows you to choose different currency options if you’re sending money internationally. Ensure that you select the correct currency to avoid any confusion or conversion errors.
If you’re sending money to a recipient in your country, PayPal may automatically display the local currency. However, if you’re sending funds internationally, check the currency options to select the appropriate one.
Take a moment to review the amount you entered and ensure it aligns with your intentions. Verifying the payment amount helps prevent mistakes and ensures that the recipient receives the correct funds.
Keep in mind that PayPal may have certain limits on transaction amounts, so familiarize yourself with any restrictions that may apply to your account. If necessary, you can always contact PayPal’s customer support for further assistance.
Once you’re satisfied with the amount you want to send, proceed to the next step where you’ll select the currency and payment method.
Now that you’ve chosen the amount to send, let’s move on to the next step, where we’ll explore selecting the currency and payment method for the transaction.
Step 6: Select the Currency and Payment Method
After specifying the amount you want to send, the next step is to select the currency and payment method for the transaction. This step allows you to choose how the recipient will receive the funds and in which currency.
If the recipient has a PayPal account, you can select the currency in which they’ll receive the payment. PayPal supports a wide range of currencies, making it convenient for international transactions. Choose the appropriate currency from the dropdown menu to ensure a smooth transfer.
Additionally, you’ll need to select the payment method to fund the transaction. PayPal offers various payment options, including bank accounts, credit or debit cards, and PayPal balances. Choose the method that suits your preferences and aligns with the available funds in your PayPal account.
If you choose to pay with a credit or debit card, ensure that the card is linked to your PayPal account and that you have sufficient funds available. PayPal may also provide the option to save your card details for future use, making subsequent payments faster and more convenient.
Verify the currency and payment method you’ve selected before proceeding to the next step. This confirmation ensures that the transaction is carried out accurately and without any issues.
Remember to review the fees associated with the selected payment method, as PayPal may charge additional fees for certain transactions. Becoming familiar with these fees allows you to make informed decisions and better manage your expenses.
Once you’ve selected the currency and payment method, click on the “Next” button to proceed to the next step, where you can add an optional note to the payment.
Now that you’ve chosen the currency and payment method, we’re ready to move on to the next step, where we’ll explore adding a note (optional) to the payment.
Step 7: Add a Note (Optional)
At this stage, you have the option to add a note to the payment. This note can be helpful for both you and the recipient to identify the purpose of the transaction or provide any additional details.
Adding a note is particularly useful when making payments for specific products, services, or invoices. It allows you to communicate important information to the recipient, such as order numbers, reference codes, or any specific instructions related to the payment.
To add a note, locate the designated section on the payment page. Click on it and enter the desired information. Keep in mind that the note should be concise and direct, providing relevant details without unnecessary clutter.
While adding a note is optional, it can help ensure a smooth transaction and eliminate any potential confusion. Clear communication through the note can help both parties keep track of the payment and contribute to a positive payment experience.
After adding the note, take a moment to review its content for accuracy and relevance. This step is crucial to avoid any misunderstandings and guarantee a seamless payment process.
Once you’re satisfied with the note, proceed to the next step, where we’ll review the payment details before finalizing the transaction.
Now that you’ve had the option to add a note to the payment, we can move on to the next step. Here, we’ll recap and review the payment details before sending the payment.
Step 8: Review the Payment Details
Before finalizing the payment, it’s crucial to review all the details to ensure accuracy and avoid any potential errors. This step allows you to double-check the payment amount, recipient information, currency, and any additional notes you may have added.
PayPal provides a summary of the payment details on the review page. Take the time to carefully go through each section and verify that everything is correct. Pay close attention to the recipient’s information, especially if you’re sending the payment to someone new or the first time.
Review the payment amount to ensure it matches your intention. Be mindful of any currency conversions if you’re sending money internationally and confirm that you selected the desired currency for the recipient.
If you added a note to the payment, make sure it accurately communicates the necessary information without any ambiguity. Confirm that the note is clear and concise, providing any relevant details or instructions.
Take this opportunity to also check the payment method and associated fees. Ensure you have sufficient funds available or that the chosen payment method is accurate. Familiarize yourself with any applicable fees to avoid unexpected charges.
By thoroughly reviewing all the payment details, you can spot any potential mistakes or oversights. This careful review ensures that the payment process proceeds smoothly and that both you and the recipient have a seamless experience.
If you find any errors or need to make changes, PayPal usually provides an option to go back and edit the necessary fields. Pay attention to any prompts or buttons that allow you to revise the payment details.
Once you’re confident that all the payment details are accurate, proceed to the final step, where you’ll confirm and send the payment.
Now that you’ve reviewed the payment details, we’re ready to move on to the last step. Here, we’ll finalize the payment and complete the process.
Step 9: Click on “Send Payment Now”
After carefully reviewing all the payment details and ensuring their accuracy, it’s time to finalize the transaction. This step involves clicking on the “Send Payment Now” button to initiate the transfer of funds.
Located at the bottom of the payment review page, the “Send Payment Now” button signifies your confirmation and commitment to complete the payment process. By clicking on this button, you authorize PayPal to transfer the specified amount to the recipient.
Before clicking on the button, take a final moment to reconfirm that all the information provided is correct and that you’re ready to proceed with the payment. Once you click on “Send Payment Now,” the transaction is irreversible, so it’s crucial to be certain and confident in your decision.
After clicking the button, PayPal will process the payment and display a confirmation page. This page will inform you of the payment status and provide a reference number or transaction ID for future reference. It’s recommended to take a screenshot or make a note of this information for your records.
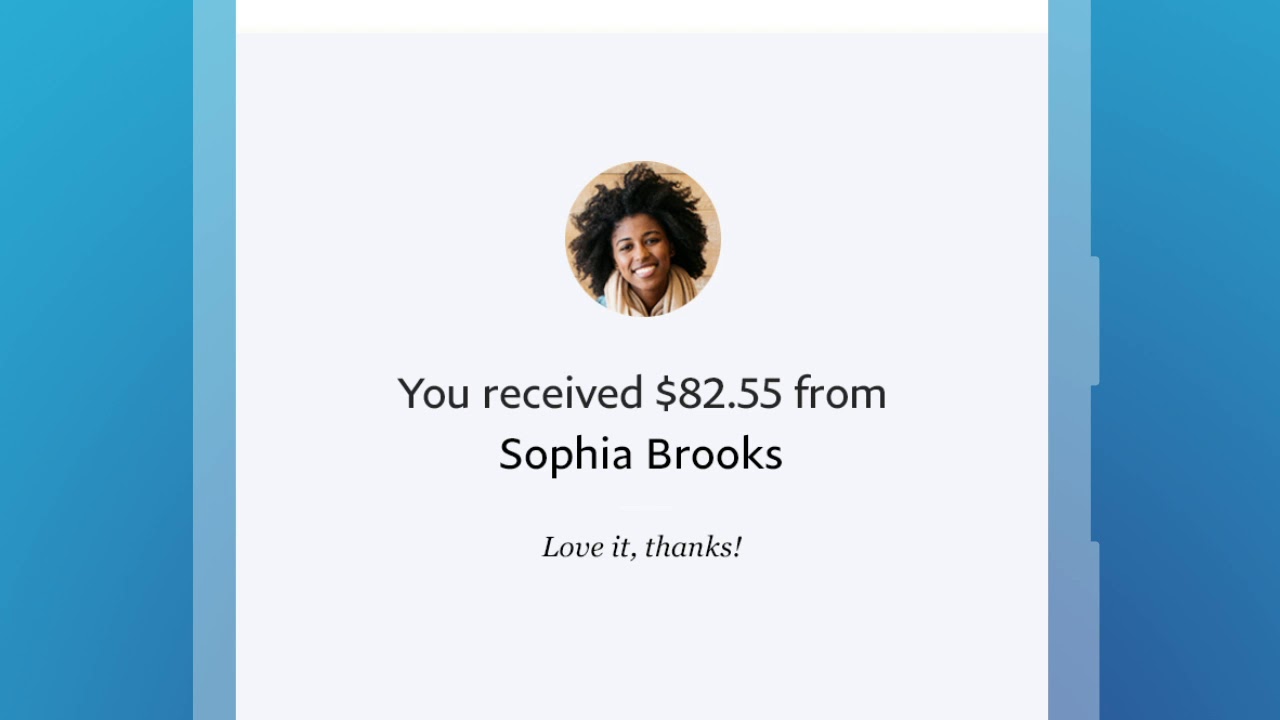
Keep in mind that the recipient will receive a notification of the incoming payment, and the funds should be available in their PayPal account shortly after the transaction is completed. The exact timing may vary depending on factors such as the recipient’s location and their preferred currency.
Congratulations! You’ve successfully paid someone on PayPal. The recipient will be notified of the payment, and the funds will be securely transferred according to your instructions.
Remember to maintain open communication with the recipient to ensure they have received the payment and that both parties are satisfied with the transaction.
Now that you’ve completed the payment process, you can navigate back to your PayPal account dashboard or explore other features and services that PayPal offers.
Conclusion
Paying someone on PayPal is a simple and secure process that allows you to transfer funds with ease. Whether you’re splitting expenses with friends, making a purchase online, or sending money to family members, PayPal offers a convenient platform to facilitate these transactions.
In this guide, we’ve covered the step-by-step process of how to pay someone on PayPal. From signing in to your account, selecting the payment option, entering the recipient’s information, and choosing the amount to send, each step guides you through the payment process with clarity.
Remember to take your time and review all the payment details before clicking on the final “Send Payment Now” button. Verifying the accuracy of the recipient’s information, the payment amount, currency, and any added notes can help ensure a smooth and error-free transaction.
PayPal’s robust security measures and buyer protection policies provide peace of mind, allowing you to pay with confidence. The recipient will receive a notification, and the funds will be securely transferred to their PayPal account.
Should you encounter any issues or have questions, PayPal’s customer support is available to assist you. They can provide guidance and help resolve any concerns you may have throughout the payment process.
By following this guide, you can seamlessly navigate the world of online payments and enjoy the convenience of sending money via PayPal. So, whether you’re conducting business transactions or simply repaying a friend, PayPal offers a reliable and user-friendly platform to meet your payment needs.
Now that you’re equipped with the knowledge of how to pay someone on PayPal, start exploring the possibilities and experience the convenience of secure online payments.


