Introduction
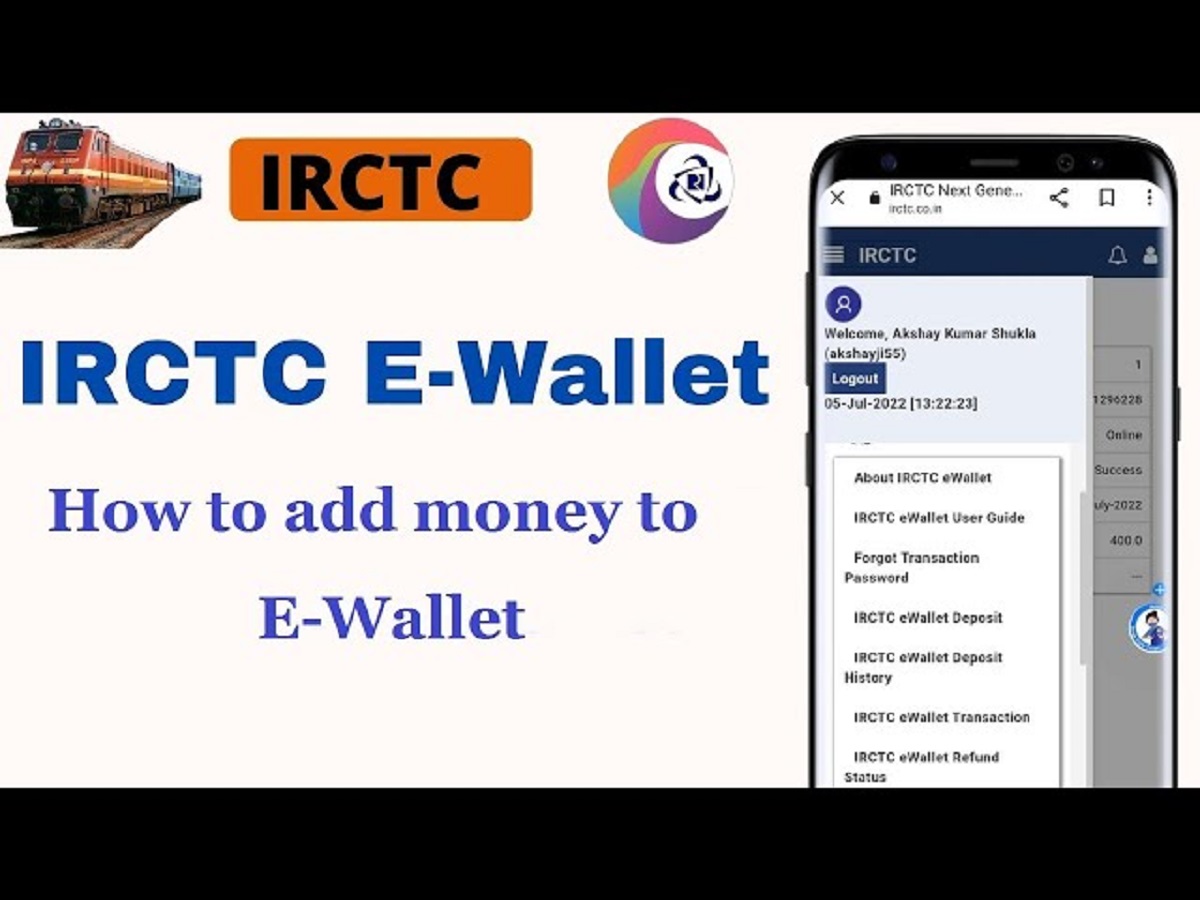
Welcome to our guide on how to add money to your IRCTC E-wallet! The Indian Railway Catering and Tourism Corporation (IRCTC) has introduced the E-wallet feature to provide a convenient and hassle-free way of making payments for train ticket bookings. By loading money into your E-wallet, you can enjoy faster transactions and secure bookings without the need to enter your payment details every time you make a reservation.
As an online platform that handles millions of train reservations daily, IRCTC understands the importance of seamless payment processes. With the E-wallet feature, users can top up their account with a desired amount and make instant payments for their bookings.
In this article, we will walk you through the step-by-step process of adding money to your IRCTC E-wallet. Whether you’re a frequent traveler or a first-time user of the platform, our instructions will ensure that you can easily load funds into your E-wallet and enjoy a smoother booking experience.
Before we dive into the details, it’s important to note that you need to have an active IRCTC account to avail of this feature. If you haven’t registered on the IRCTC website yet, it’s advisable to do so before proceeding further. Once you have your account ready, you can follow the steps outlined in this guide to add money to your E-wallet.
So, if you’re ready to simplify your train ticket bookings and make hassle-free payments, let’s get started on adding money to your IRCTC E-wallet!
Step 1: Registering on the IRCTC Website
The first step to adding money to your IRCTC E-wallet is to register on the IRCTC website. If you already have an account, you can skip this step and proceed to the next one.
To register on the IRCTC website, follow these simple steps:
- Open your preferred web browser and visit the IRCTC website.
- Click on the “Register” button located at the top right corner of the homepage.
- Fill in the required information such as your username, password, and security question.
- Enter your personal details including your name, date of birth, gender, and nationality.
- Provide your contact information such as your email address and mobile number.
- Proceed to enter your address details including your country, state, city, and PIN code.
- Read the terms and conditions and tick the checkbox to confirm your agreement.
- Enter the Captcha code provided to ensure that you are not a robot.
- Click on the “Submit” button to complete the registration process.
Once you have successfully registered on the IRCTC website, you will receive a confirmation email with further instructions. Make sure to verify your email address to activate your account.
Registering on the IRCTC website is a quick and straightforward process. By creating an account, you gain access to various features and services, including the E-wallet functionality.
Now that you have your IRCTC account ready, let’s move on to the next step of adding money to your E-wallet.
Step 2: Logging in to your IRCTC Account
Once you have successfully registered on the IRCTC website, the next step is to log in to your account. Logging in is essential to access your E-wallet and proceed with adding money.
To log in to your IRCTC account, follow these simple steps:
- Open your web browser and visit the IRCTC website.
- Click on the “Login” button located at the top right corner of the homepage.
- Enter your username and password in the provided fields.
- Click on the “Sign in” button to access your account.
Make sure to enter your login credentials accurately to avoid any errors. In case you forget your password, you can click on the “Forgot Password” link and follow the instructions to recover it.
Upon successful login, you will be redirected to your IRCTC account dashboard. Here, you can access various features such as ticket booking, checking PNR status, and managing your E-wallet.
Now that you have logged in to your IRCTC account, you can proceed to the next step and navigate to the E-wallet section.
Step 3: Navigating to the E-wallet Section
After logging in to your IRCTC account, the next step is to navigate to the E-wallet section. This is where you can add money to your E-wallet for seamless and quick transactions.
To navigate to the E-wallet section, follow these simple steps:
- Once you are logged in to your account, you will be on your IRCTC account dashboard.
- Look for the “E-wallet” option in the main menu or sidebar navigation.
- Click on the “E-wallet” option to proceed.
By clicking on the E-wallet option, you will be directed to the E-wallet page where you can manage and add funds to your account.
It’s important to note that if you are accessing your IRCTC account on the IRCTC Rail Connect mobile app, the steps to navigate to the E-wallet section might be slightly different. However, the general process remains the same.
Now that you have successfully navigated to the E-wallet section, you are ready to add money to your IRCTC E-wallet. Let’s move on to the next step!
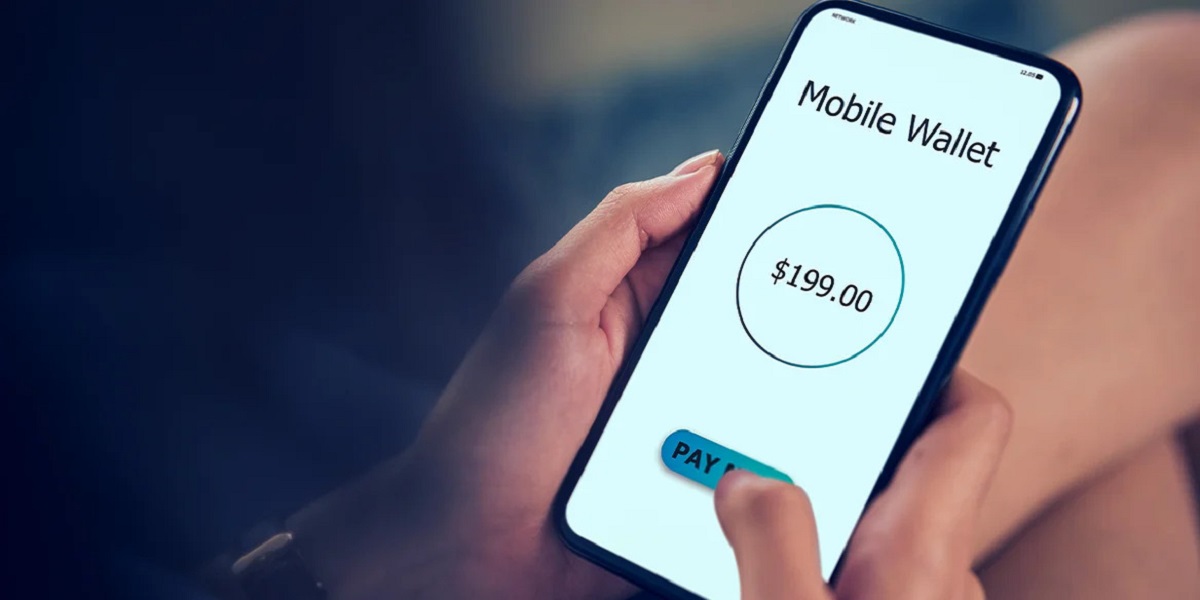
Step 4: Adding Money to your E-wallet
Now that you are on the E-wallet page, it’s time to add money to your IRCTC E-wallet. This step allows you to top up your account with the desired amount to facilitate quick and hassle-free transactions for train ticket bookings.
Follow these steps to add money to your E-wallet:
- On the E-wallet page, you will see an option to “Add Money” or “Recharge”. Click on that option.
- Enter the desired amount you want to add to your E-wallet. You can select from the pre-determined options or manually input the amount.
- After entering the amount, click on the “Add Money” button or any similar option available to proceed.
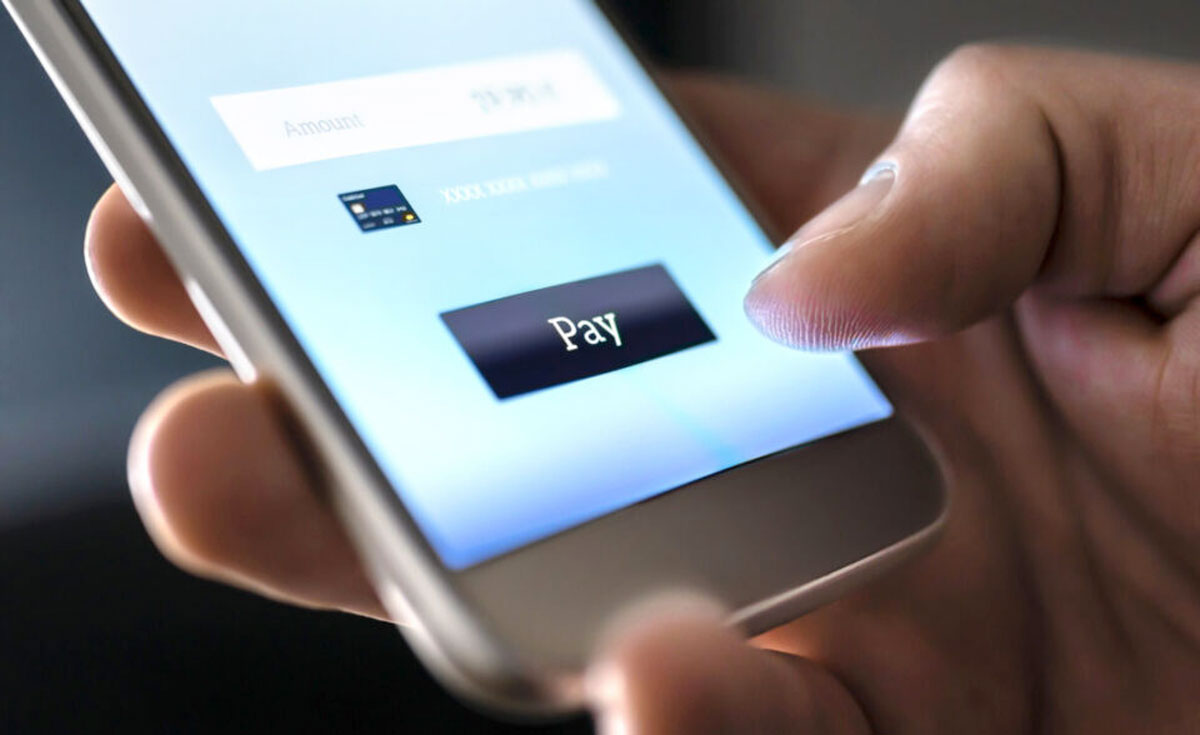
- You will be redirected to the payment gateway page where you can select your desired payment method.
- Select your preferred payment method from the available options such as debit card, credit card, net banking, or any other supported methods.
- Provide the necessary details related to your selected payment method and follow the instructions to complete the payment process.
- Once the payment is processed successfully, you will receive a confirmation notification indicating that the money has been added to your E-wallet.
It’s worth noting that there might be a minimum and maximum limit for adding money to your E-wallet, depending on the IRCTC guidelines and your payment method’s restrictions.
By adding money to your E-wallet, you ensure that your train ticket bookings are processed quickly and smoothly without the need to enter payment details every time you make a reservation.
Now that you have successfully added money to your E-wallet, you can proceed to the next step and select the desired payment method for your transactions.
Step 5: Selecting the Desired Payment Method
After adding money to your IRCTC E-wallet, the next step is to select the desired payment method for your transactions. This step ensures a seamless payment process when booking train tickets or availing other services on the IRCTC platform.
Follow these steps to select your preferred payment method:
- On the IRCTC website, navigate to the desired service such as train ticket booking or any other transaction that requires payment.
- Proceed with the booking or transaction process as you normally would.
- When prompted to select the payment method, choose the option that indicates payment through the E-wallet.
- From the available payment options, select your IRCTC E-wallet as the preferred method.
- Click on the E-wallet option and confirm your selection.
By selecting your IRCTC E-wallet as the payment method, you can utilize the funds available in your E-wallet for a quick and hassle-free transaction.
It’s important to note that depending on the transaction and service you are availing, additional payment options may be available. If you have insufficient funds in your E-wallet or you prefer to use a different payment method, you can choose an alternative option during the payment process.
Now that you have successfully selected your desired payment method, you are set to confirm the payment and complete the process. Let’s move on to the final step!
Step 6: Confirming the Payment and Completing the Process
After selecting your preferred payment method for the transaction, the final step is to confirm the payment and complete the process. This step ensures that your booking or transaction is successfully processed, and you can enjoy the benefits of using your IRCTC E-wallet.
To confirm the payment and complete the process, follow these steps:
- Review the transaction details on the payment page to ensure accuracy.
- Double-check the amount and any additional charges associated with the booking or service.
- If everything looks correct, click on the “Confirm” or “Proceed to Payment” button to initiate the transaction.
- Depending on the payment method you have selected, you may be redirected to the respective payment gateway page.
- Follow the instructions on the payment gateway page to complete the transaction.
- Once the payment is successfully processed, you will receive a confirmation message or email indicating the successful completion of your booking or service.
- At this point, your IRCTC E-wallet will be debited with the amount used for the transaction.
After completing the payment process, you can proceed with other necessary steps related to your booking. For train ticket bookings, you will receive a confirmed ticket that you can access through your IRCTC account or via email.
Upon successful completion of the process, you can enjoy the convenience of using your IRCTC E-wallet for future transactions. With the loaded funds in your E-wallet, you can make quick and hassle-free payments for train reservations and other services offered by IRCTC.
Congratulations! You have successfully confirmed the payment and completed the process using your IRCTC E-wallet. Enjoy the convenience and ease of using this feature for your future transactions!
Conclusion
Adding money to your IRCTC E-wallet is a simple and convenient way to make quick and hassle-free payments for train ticket bookings. By following the step-by-step guide outlined in this article, you can easily navigate the IRCTC website, add funds to your E-wallet, and select the desired payment method for your transactions.
We started by discussing the importance of registering on the IRCTC website and logging in to your account. These initial steps are essential to gain access to the E-wallet feature and enjoy its benefits.
Next, we explored the process of navigating to the E-wallet section, where you can add money to your account. We provided clear instructions on how to reach this section and enter the desired amount of funds to be added.
Once the money is added to your E-wallet, we guided you through the process of selecting the preferred payment method for your transactions. This step ensures a seamless payment process without the need to enter payment details every time you make a reservation.
Finally, we discussed the importance of confirming the payment and completing the process. By carefully reviewing the transaction details and following the instructions on the payment gateway page, you can successfully complete your booking or transaction using your IRCTC E-wallet.
With these steps, you can enjoy the convenience, speed, and ease of using the IRCTC E-wallet for all your train ticket bookings and other services offered by IRCTC. By having funds available in your E-wallet, you can streamline the payment process and avoid any unnecessary delays or complications.
So, why wait? Start adding money to your IRCTC E-wallet today and make your train ticket bookings a breeze. Enjoy the benefits of quick transactions and secure payments, all while experiencing the convenience and efficiency of the IRCTC platform.
Happy travels and smooth bookings with your IRCTC E-wallet!