Introduction
Are you ready to take your FPV (First Person View) experience to the next level? Action cameras are an incredible tool for capturing immersive footage while engaging in high-speed activities like drone racing, mountain biking, or snowboarding. By integrating an action camera into your FPV setup, you can not only record your adrenaline-pumping adventures but also experience the thrill of real-time, first-person viewing.
In this guide, we'll walk you through the process of using an action camera for FPV, from selecting the right camera to mounting it securely and optimizing your FPV system for seamless integration. Whether you're a seasoned FPV enthusiast or a newcomer eager to explore this electrifying realm, this comprehensive resource will equip you with the knowledge and techniques needed to elevate your FPV experience with an action camera.
As we delve into the intricacies of this exhilarating endeavor, you'll discover the pivotal role that action cameras play in FPV, the nuances of selecting the ideal camera for your needs, and the step-by-step process of seamlessly integrating it into your FPV setup. Get ready to embark on an exhilarating journey that combines cutting-edge technology with the raw thrill of FPV exploration.
Now, let's dive into the world of action cameras and FPV, where every twist, turn, and leap will be immortalized in stunning, first-person perspective footage.
Choosing the Right Action Camera
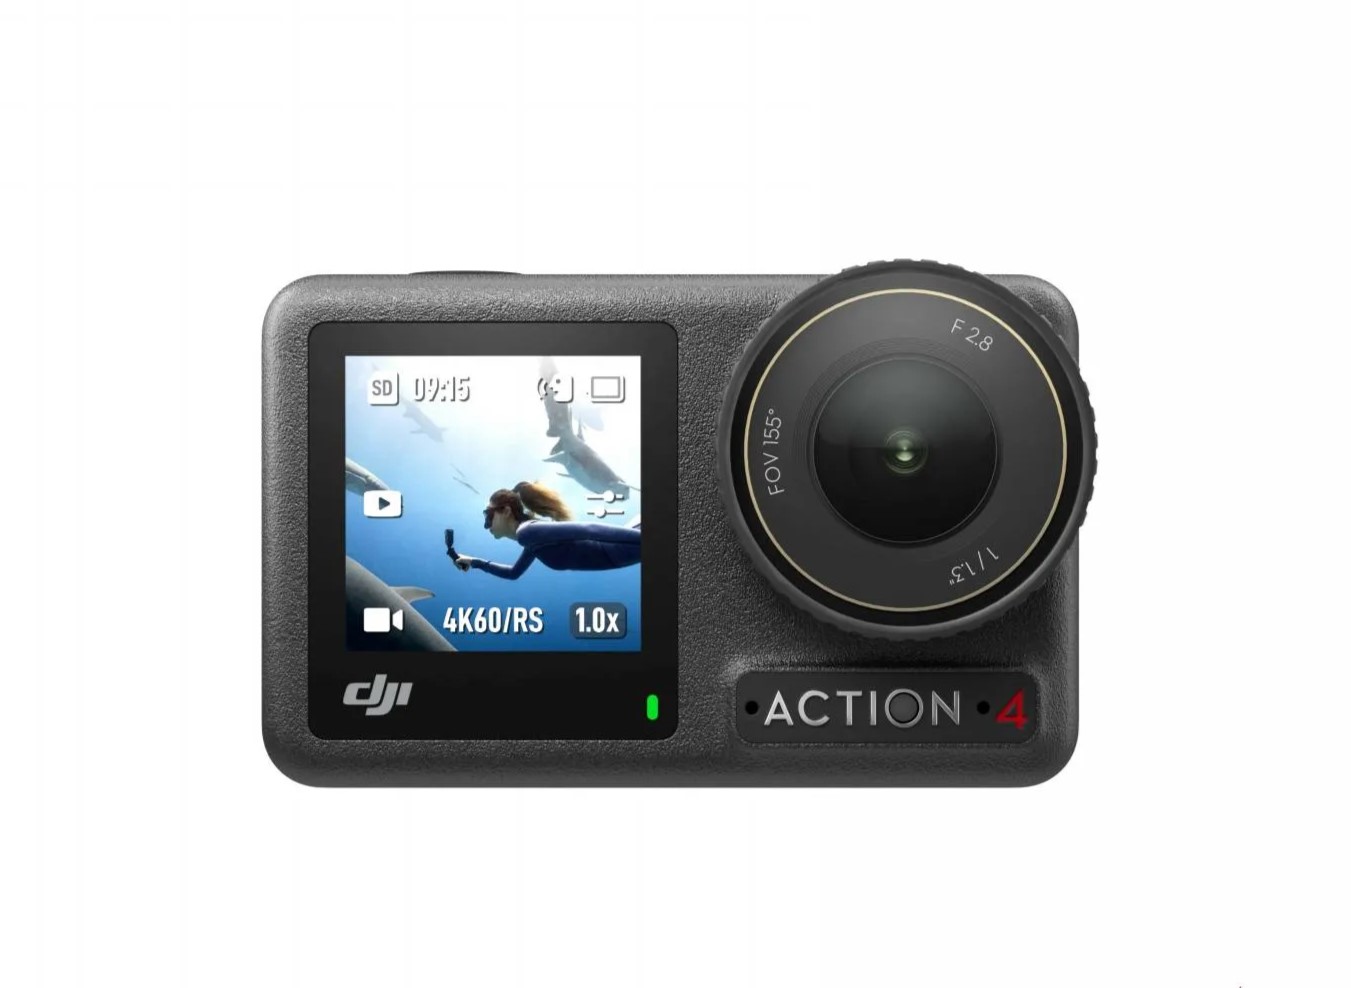
When selecting an action camera for FPV, it’s essential to consider several key factors to ensure optimal performance and compatibility with your FPV setup. The market offers a plethora of action cameras, each boasting unique features and specifications, so it’s crucial to narrow down your choices based on your specific FPV requirements.
Here are some essential considerations to guide you in choosing the right action camera for your FPV adventures:
- Size and Weight: Opt for a compact and lightweight action camera to minimize the impact on your drone’s agility and maneuverability. A sleek, aerodynamic design will also contribute to smoother FPV flights.
- Image Stabilization: Look for an action camera with advanced image stabilization technology to counteract vibrations and ensure steady footage, especially during high-speed maneuvers.
- Field of View (FOV): A wide FOV is crucial for capturing expansive landscapes and immersive FPV experiences. Consider cameras with adjustable FOV settings to cater to different flying scenarios.
- Video Quality and Frame Rate: Opt for a camera capable of recording high-definition footage at a minimum of 1080p resolution and a high frame rate to capture fast-paced action with clarity and smoothness.
- Compatibility with FPV Transmitters: Ensure that the action camera is compatible with your FPV transmitter and can seamlessly integrate into your existing setup without requiring extensive modifications.
Furthermore, consider the durability, waterproofing, and mounting options offered by the action camera, as these factors can significantly impact its suitability for FPV applications. By carefully evaluating these considerations and aligning them with your FPV goals, you can make an informed decision when choosing the perfect action camera for your FPV adventures.
Now that you have a clear understanding of the crucial considerations for selecting an action camera, let’s explore the next step: securely mounting the camera to your FPV platform.
Mounting the Action Camera
Securing your action camera to your FPV platform is a critical step that demands careful attention to detail. A secure and stable mounting setup not only ensures the safety of your camera during high-speed maneuvers but also plays a pivotal role in capturing steady, immersive footage. Let’s explore the essential considerations for mounting your action camera effectively:
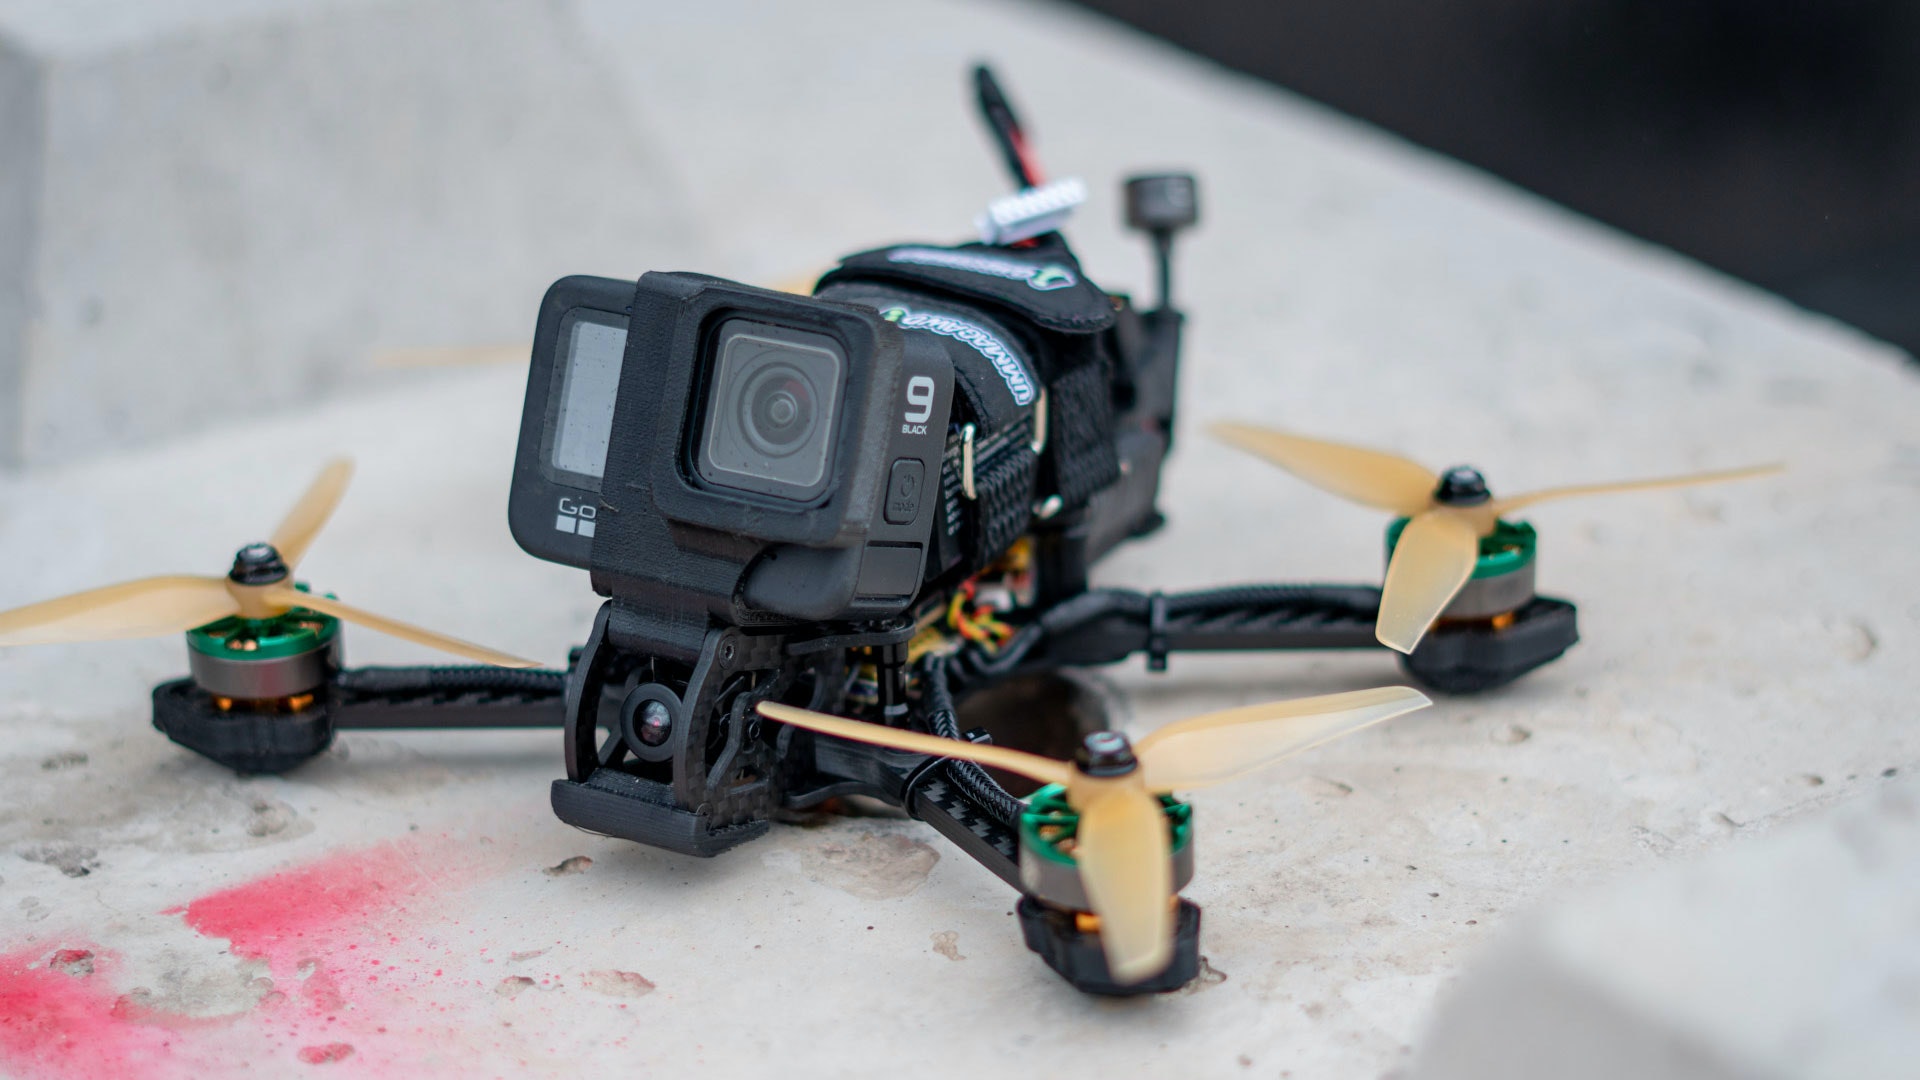
- Sturdy Mounting Hardware: Invest in high-quality, vibration-dampening mounts specifically designed for action cameras. These mounts are engineered to minimize vibrations and ensure stable footage, even during intense aerial maneuvers.
- Strategic Placement: Position the action camera in a location that offers an unobstructed view and captures the most dynamic perspectives of your FPV flights. Consider the weight distribution and aerodynamics of your drone or vehicle to maintain optimal balance.
- Secure Attachment Points: Utilize reliable attachment points on your FPV platform to affix the camera mount securely. Double-check the tightness of all fasteners and ensure that the camera is firmly locked in place to prevent any mid-flight dislodgment.
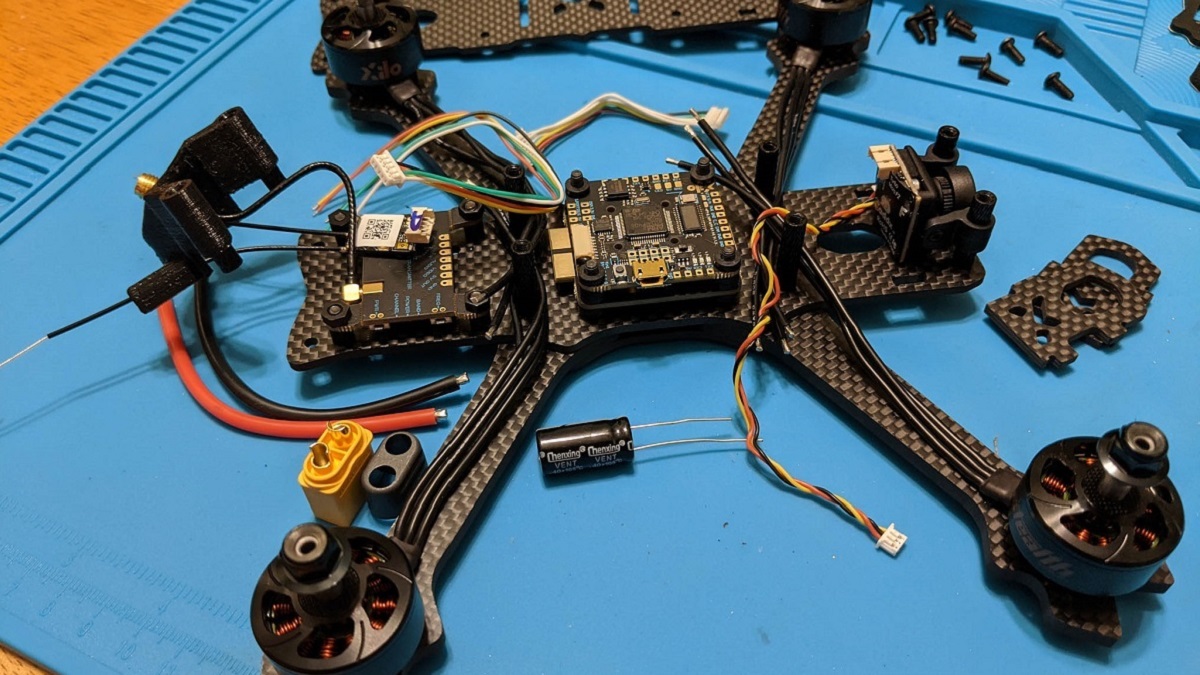
- Cable Management: Organize and secure the camera’s connecting cables to prevent interference with moving parts or propellers. Tidy cable management minimizes the risk of entanglement and ensures uninterrupted operation throughout your FPV sessions.
- Angle Adjustments: Explore the flexibility of adjustable mounts to fine-tune the camera’s angle and achieve the desired field of view for your FPV footage. Experiment with different angles to capture diverse perspectives and enhance the visual impact of your recordings.
By meticulously addressing these mounting considerations, you can optimize the stability and visual appeal of your action camera footage, elevating the immersive quality of your FPV experiences. As we proceed to the next section, we’ll delve into the crucial steps for setting up your FPV system to seamlessly incorporate the action camera into your aerial or ground-based adventures.
Setting Up FPV System
Integrating an action camera into your FPV system requires meticulous attention to detail and a seamless integration process to ensure optimal performance and real-time video transmission. By following these essential steps, you can set up your FPV system to accommodate the action camera seamlessly:
- FPV Transmitter Compatibility: Verify that your action camera is compatible with your FPV transmitter, ensuring that the video output from the camera aligns with the input requirements of your transmitter for uninterrupted video transmission.
- Video Signal Routing: Establish a clear and interference-free routing path for the video signal from the action camera to the FPV transmitter. Minimize the risk of signal degradation or electromagnetic interference by carefully organizing and shielding the video cables.
- Power Supply Integration: Integrate the power supply for the action camera into your FPV system, ensuring that it receives a stable and reliable power source to support continuous operation during your FPV flights or activities.
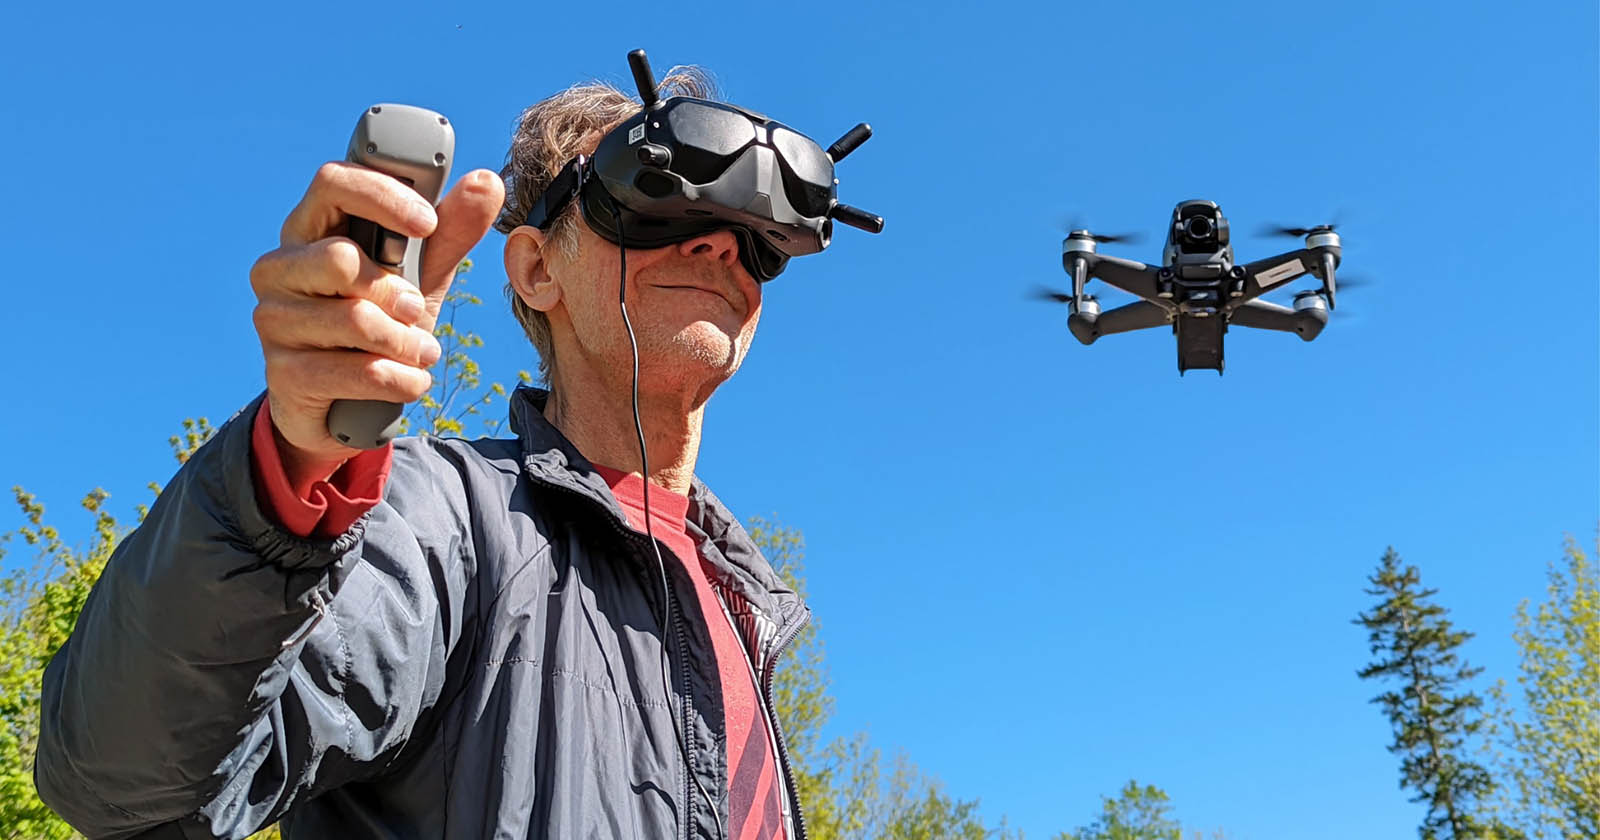
- Real-Time Monitoring: Set up a dedicated video monitor or FPV goggles to receive the live video feed from the action camera. Adjust the display settings to optimize the visual clarity and ensure a seamless first-person viewing experience.
- Signal Testing and Calibration: Conduct comprehensive signal testing and calibration to verify the compatibility and synchronization of the action camera with your FPV system. Fine-tune the video transmission parameters to achieve optimal clarity and minimal latency.
By meticulously configuring and calibrating your FPV system to accommodate the action camera, you can unlock the full potential of immersive first-person viewing and capture breathtaking footage from exhilarating vantage points. As we proceed to the next section, we’ll delve into the crucial steps for testing and adjusting the camera angle to optimize your FPV footage.
Testing and Adjusting the Camera Angle
Once your action camera is seamlessly integrated into your FPV system, it’s crucial to conduct thorough testing and fine-tune the camera angle to capture the most captivating and immersive footage during your FPV adventures. Here are the essential steps for testing and adjusting the camera angle:
- Ground Testing: Before taking to the skies or embarking on high-speed maneuvers, conduct initial ground testing to assess the camera’s field of view and angle. Ensure that the camera captures the desired perspective and adequately frames the surroundings for an engaging FPV experience.
- Flight Simulation: Utilize flight simulation software or a controlled testing environment to observe the camera’s performance during simulated FPV flights. Assess the visual dynamics, stability, and coverage of the footage to identify any adjustments needed for optimal visual impact.
- Dynamic Maneuvers: Gradually introduce the camera to dynamic maneuvers, such as sharp turns, ascents, and descents, to evaluate its stability and field of view under varying flight conditions. Make note of any potential blind spots or visual obstructions that may require angle adjustments.
- Real-Time Feedback: Leverage real-time video monitoring through FPV goggles or a dedicated display to assess the live footage and make on-the-fly adjustments to the camera angle. Solicit feedback from experienced FPV enthusiasts to refine the camera angle for captivating and immersive footage.
- Fine-Tuning Process: Incrementally adjust the camera angle based on the insights gathered during testing, aiming to strike a balance between capturing the thrill of the FPV experience and maintaining visual stability and coherence in the footage.
By meticulously testing and adjusting the camera angle, you can ensure that your action camera delivers compelling and visually engaging footage throughout your FPV endeavors. As we transition to the next section, we’ll explore valuable tips for optimizing your FPV footage and capturing breathtaking moments with your action camera.
Tips for Getting the Best FPV Footage
Capturing stunning and immersive footage with your action camera during FPV adventures requires a strategic approach and an eye for visual storytelling. To elevate the quality of your FPV footage and create compelling visual narratives, consider implementing the following tips:
- Dynamic Camera Movements: Experiment with dynamic camera movements, such as tilting, panning, and tracking, to add cinematic flair and visual dynamism to your FPV footage. Strategic camera motions can accentuate the excitement of high-speed maneuvers and provide a multidimensional viewing experience.
- Scenic Exploration: Seek out diverse and visually captivating locations for your FPV flights, showcasing natural landscapes, urban environments, or architectural marvels. Varied backdrops and settings can enrich the visual appeal of your footage and immerse viewers in the thrill of exploration.
- Storytelling Through Composition: Embrace the principles of visual composition to craft compelling narratives within your FPV footage. Leverage framing, leading lines, and perspective to guide the viewer’s attention and evoke a sense of immersion and narrative depth.
- Lighting and Atmospheric Effects: Capitalize on the interplay of natural lighting, weather conditions, and atmospheric effects to imbue your FPV footage with mood, drama, and visual impact. Experiment with capturing footage during golden hours, under dramatic cloud formations, or amidst dynamic weather phenomena.
- Embrace Slow Motion: Utilize the slow-motion capabilities of your action camera to accentuate the fluidity and intensity of FPV maneuvers, offering viewers a mesmerizing and detailed perspective of high-speed action.
- Engage with the Environment: Incorporate elements of the surrounding environment into your FPV footage, such as foliage, architecture, or natural landmarks, to provide context and a sense of scale, enhancing the immersive nature of the viewing experience.
- Community Collaboration: Connect with fellow FPV enthusiasts and videographers to exchange insights, techniques, and creative approaches to FPV cinematography. Embracing a collaborative mindset can inspire fresh ideas and elevate the quality of your FPV footage.
By implementing these tips and techniques, you can elevate the visual storytelling and immersive impact of your FPV footage, transforming exhilarating aerial or ground-based adventures into captivating visual experiences. As we conclude this guide, you are now equipped with valuable insights and strategies to harness the full potential of your action camera in the realm of FPV exploration.
Conclusion
Embarking on FPV adventures with an action camera as your visual companion opens up a realm of exhilarating possibilities, allowing you to capture and relive the pulse-pounding excitement of high-speed maneuvers and breathtaking landscapes. Through the careful selection, seamless integration, and strategic utilization of an action camera, you have the power to transform your FPV experiences into compelling visual narratives that resonate with viewers and encapsulate the essence of adventure.
As you navigate the process of choosing the right action camera, mounting it securely, and optimizing your FPV system for seamless integration, you are laying the foundation for immersive and visually captivating FPV journeys. The meticulous testing, adjustment, and fine-tuning of the camera angle further enhance the potential for breathtaking footage, capturing the essence of speed, agility, and exploration.
By embracing the tips and techniques for elevating your FPV footage, you are poised to craft visually stunning narratives that transcend the boundaries of traditional videography, offering viewers a firsthand glimpse into the heart-pounding thrills and awe-inspiring vistas encountered during your FPV escapades.
As you continue to push the boundaries of FPV cinematography and storytelling, remember that each flight, each maneuver, and each breathtaking vista presents an opportunity to capture a moment of pure adrenaline and visual splendor. The fusion of cutting-edge technology, daring exploration, and artistic expression culminates in the immersive and captivating world of FPV cinematography, where every frame tells a story and every flight becomes an unforgettable visual odyssey.
Armed with these insights and techniques, you are primed to embark on a journey where the skies and landscapes become your canvas, and the action camera becomes your faithful storyteller, immortalizing the thrill and beauty of FPV adventures for generations to come.


