Introduction
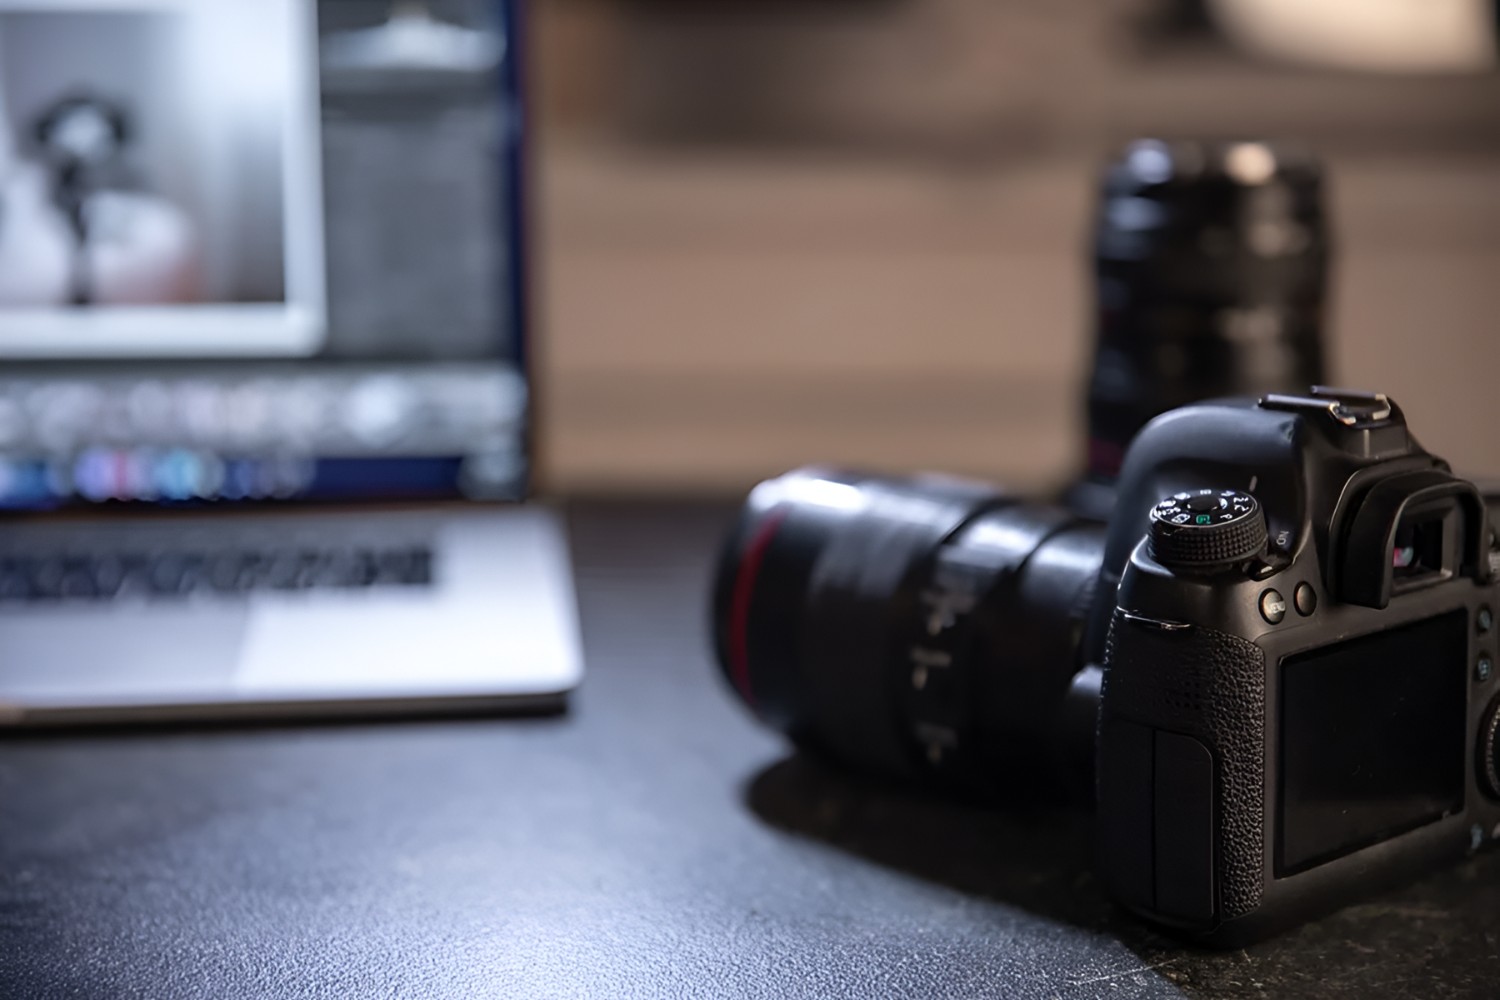
So, you've got a DSLR camera and you're ready to dive into the world of videography. Whether you're a budding filmmaker, a vlogger, or just someone who wants to capture high-quality videos, a DSLR camera can be a powerful tool in your hands. With its superior image quality, manual controls, and versatility, a DSLR camera opens up a world of creative possibilities for capturing stunning videos.
In this guide, we'll walk you through the essentials of taking good videos with your DSLR camera. From understanding your camera's features to mastering composition, lighting, and audio, we'll cover everything you need to know to elevate your videography skills. By the end of this guide, you'll be equipped with the knowledge and techniques to create professional-looking videos that stand out.
Whether you're shooting a short film, a travel vlog, or a product review, the principles of good videography remain the same. It's all about understanding your gear, making the most of available light, and capturing compelling visuals and audio. So, grab your DSLR camera, and let's embark on this exciting journey to unleash your creativity and storytelling through the lens.
Understanding Your DSLR Camera
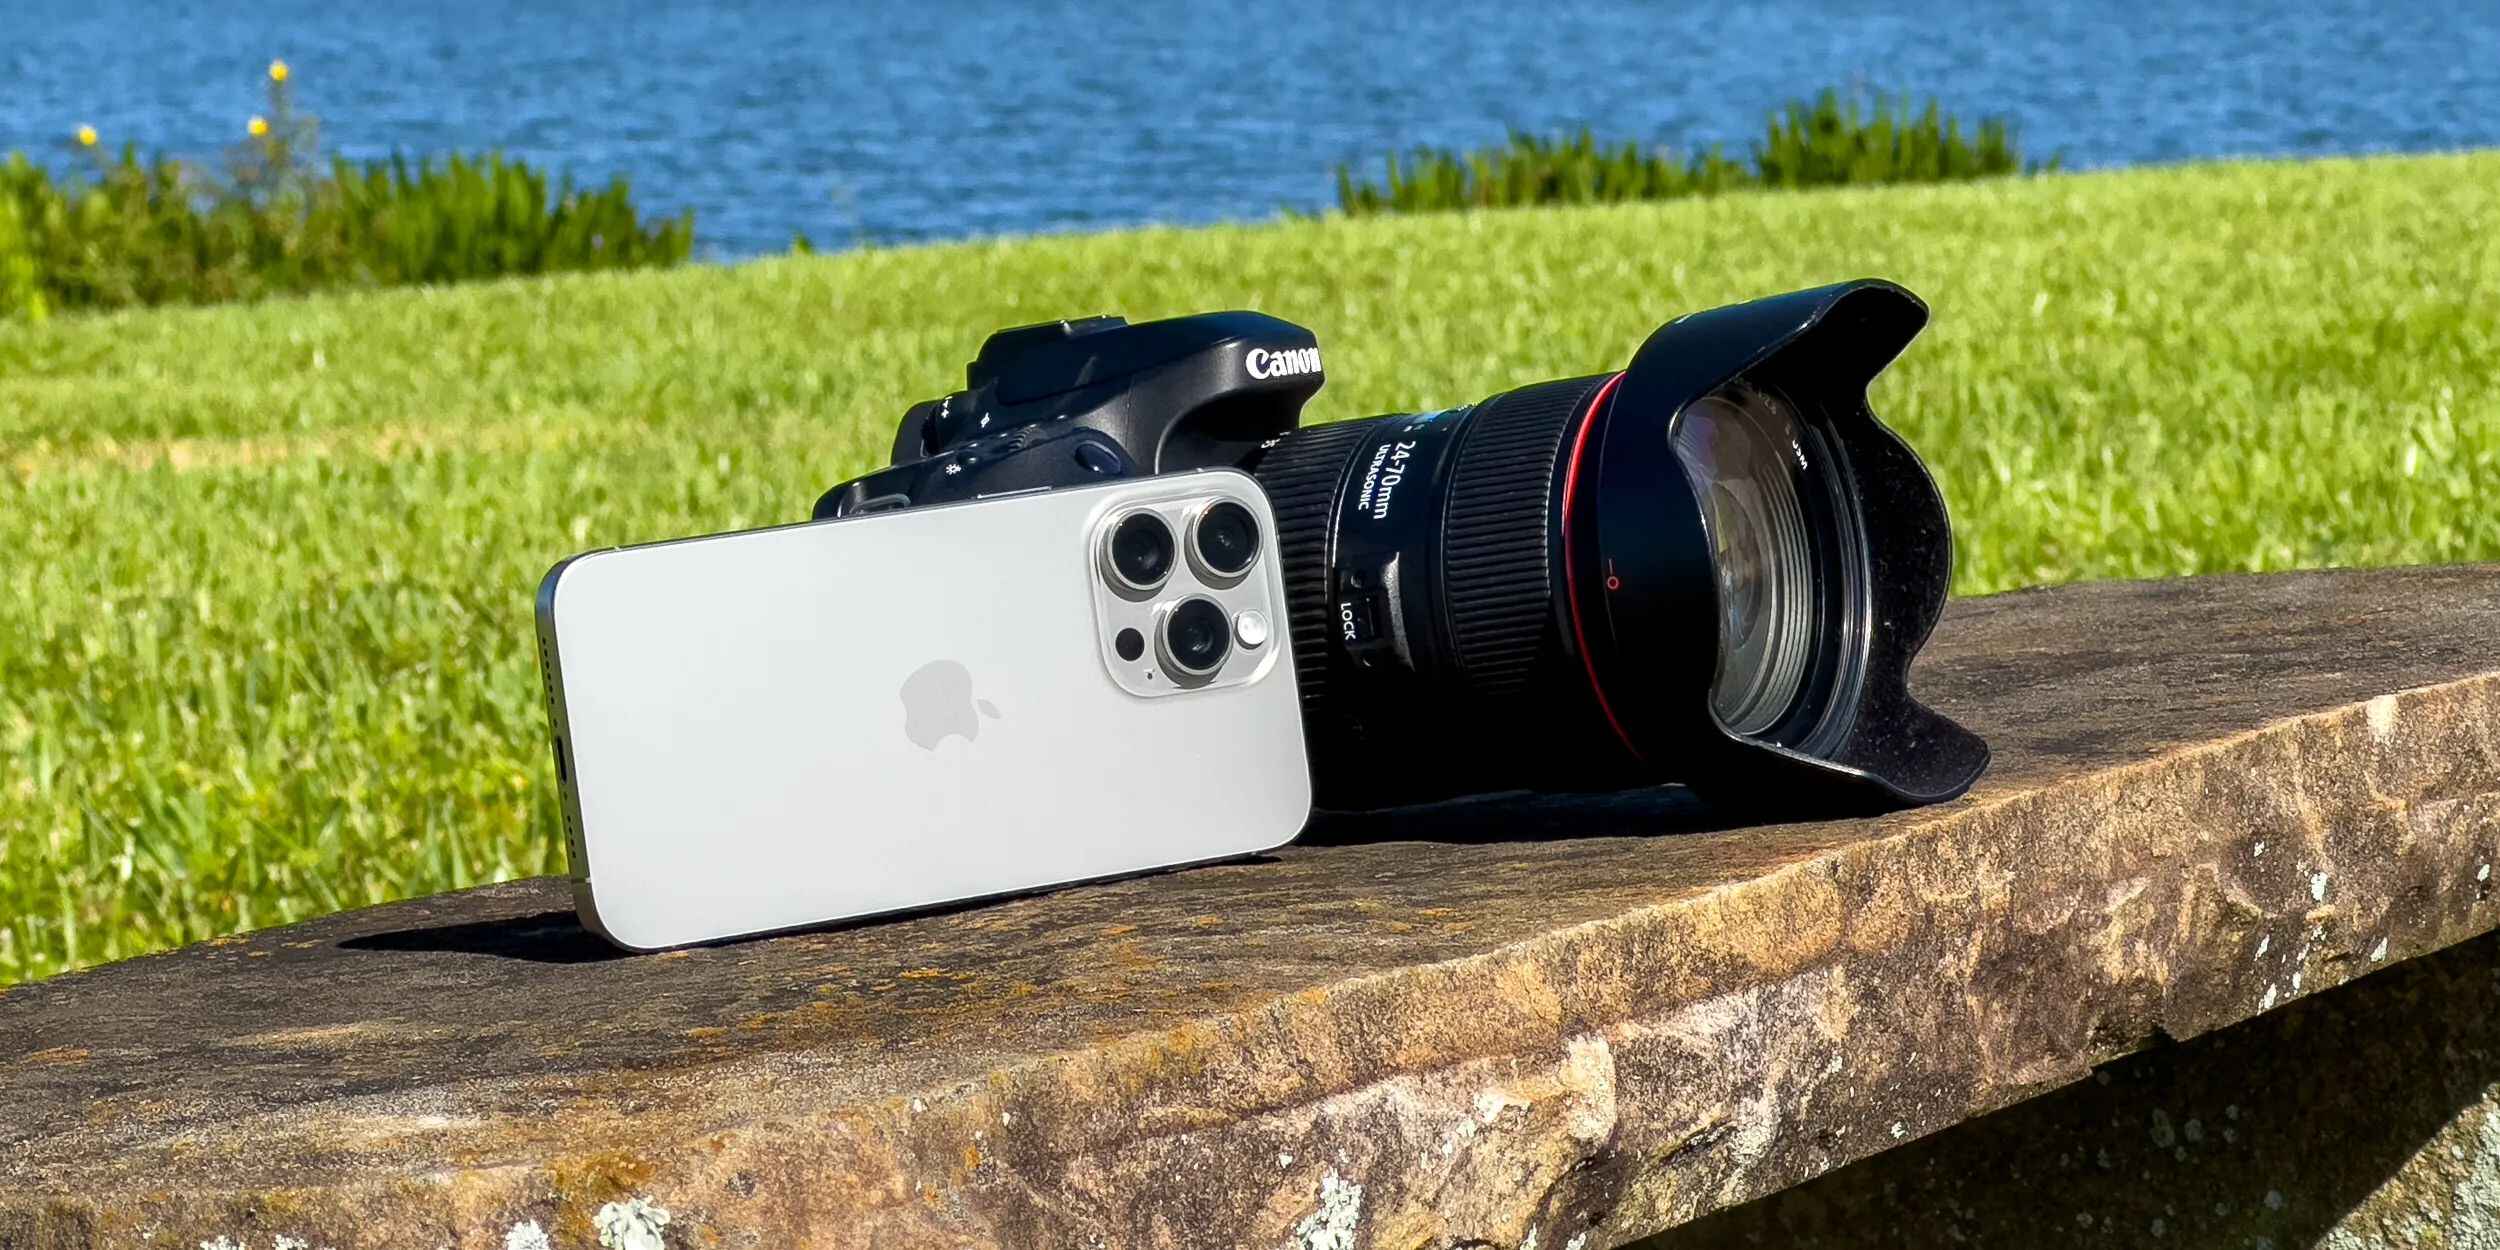
Before you start shooting videos with your DSLR camera, it’s crucial to understand its key features and functionalities. Unlike a point-and-shoot camera or a smartphone, a DSLR offers a wide range of manual controls that give you the power to customize your video settings for optimal results.
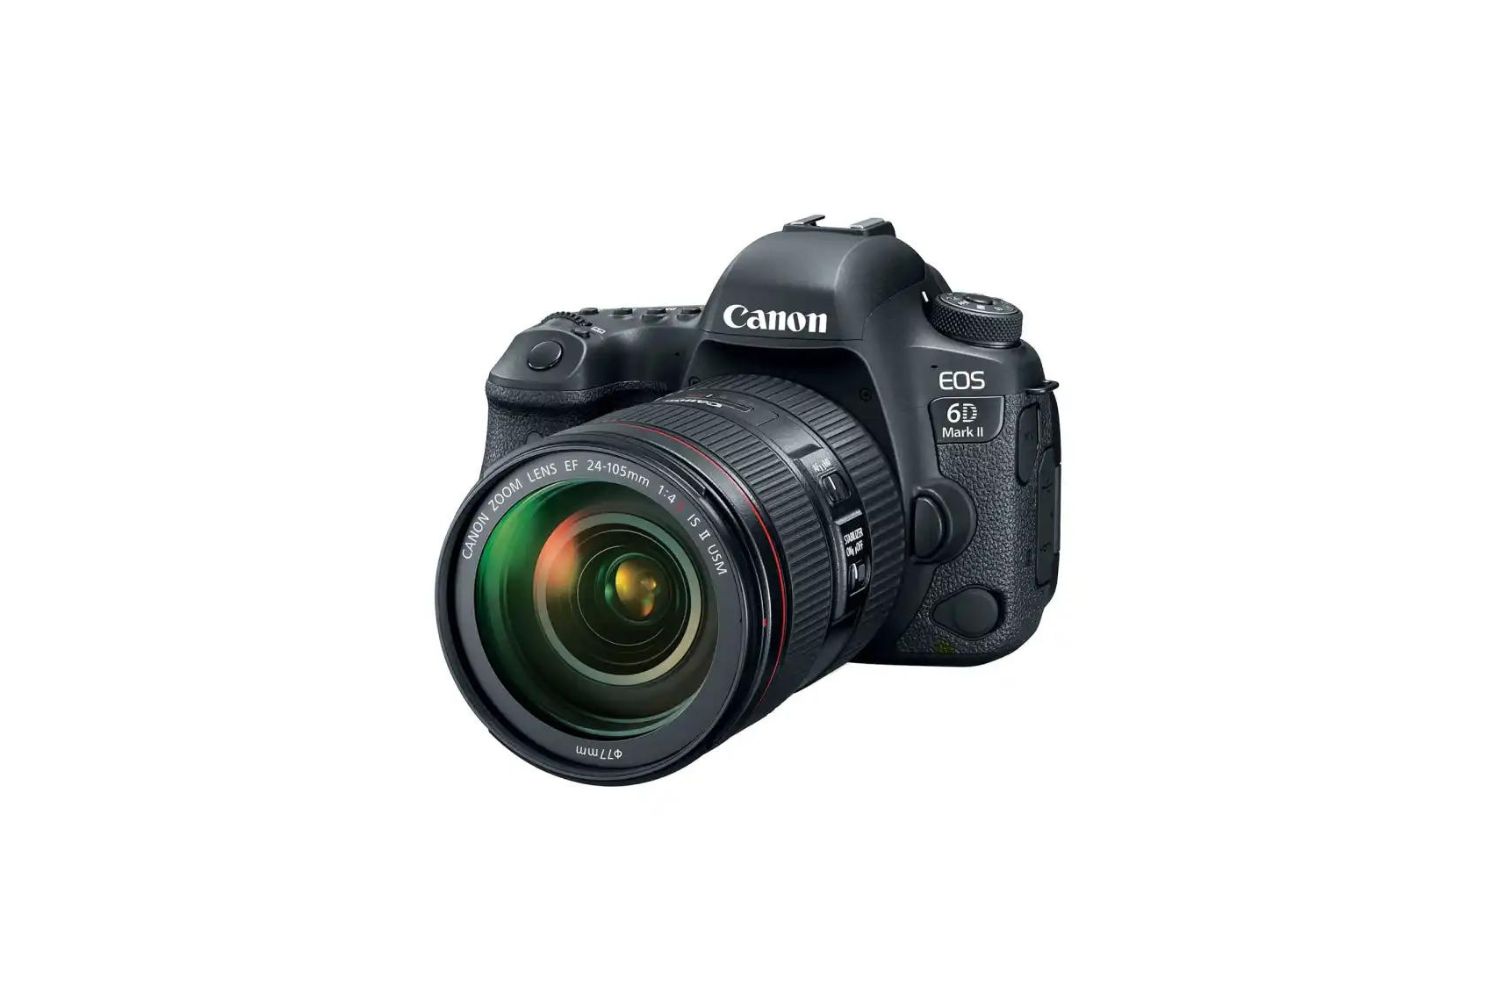
First and foremost, familiarize yourself with the basic components of your DSLR, including the lens, image sensor, and the various buttons and dials. Understanding how these elements work together will help you make informed decisions when capturing videos.
Next, delve into the menu system of your camera. Here, you’ll find a plethora of settings that directly impact your video quality, such as resolution, frame rate, white balance, and picture style. Take the time to explore and experiment with these settings to grasp their effects on your footage.
Additionally, get acquainted with the different shooting modes offered by your camera, such as manual, aperture priority, and shutter priority. Each mode empowers you to control specific aspects of exposure and depth of field, allowing for greater creative freedom in your videography.
Furthermore, understanding the autofocus system of your DSLR is essential for achieving sharp and well-focused videos. Whether your camera utilizes contrast-detection, phase-detection, or a combination of both, knowing how to effectively utilize autofocus will significantly enhance the quality of your footage.
Finally, familiarize yourself with the audio input options of your DSLR. While built-in microphones can capture decent audio in controlled environments, external microphones offer superior sound quality and control. Knowing how to connect and configure external microphones will elevate the overall production value of your videos.
By comprehensively understanding your DSLR camera’s features and capabilities, you’ll be better equipped to harness its full potential and capture high-quality videos that truly reflect your creative vision.
Choosing the Right Settings
When it comes to capturing exceptional videos with your DSLR camera, selecting the appropriate settings is paramount. The combination of resolution, frame rate, and shutter speed greatly influences the visual aesthetics and overall impact of your footage.
First and foremost, consider the resolution at which you want to shoot. Most DSLR cameras offer a range of resolution options, such as Full HD (1080p) and 4K. Higher resolutions deliver greater detail and clarity, but also require more storage space and processing power. Assess your project’s requirements and the platform where your videos will be displayed to determine the optimal resolution.
Next, the frame rate plays a crucial role in conveying motion and capturing cinematic effects. Common frame rates include 24fps, 30fps, and 60fps. Lower frame rates, such as 24fps, are ideal for a filmic look, while higher frame rates, like 60fps, are suitable for smooth slow-motion sequences. Select a frame rate that aligns with the mood and style of your video.
Shutter speed is another vital setting to consider. It affects the motion blur in your footage and contributes to the overall visual appeal. As a general rule, set your shutter speed to double your frame rate for natural-looking motion. For instance, if you’re shooting at 24fps, aim for a shutter speed of 1/50th of a second.
White balance is an often-overlooked yet critical setting that directly impacts the color temperature of your videos. Adjust the white balance according to the lighting conditions of your shooting environment to ensure accurate and natural-looking colors.
Lastly, explore the picture style or picture profile options offered by your camera. These presets control the color, contrast, and saturation of your footage. Experiment with different picture styles to find the look that best complements your storytelling and visual aesthetic.
By carefully choosing the right settings for resolution, frame rate, shutter speed, white balance, and picture style, you can elevate the visual impact of your videos and create a compelling viewing experience for your audience.
Using the Right Lenses
One of the most impactful decisions you can make when shooting videos with a DSLR camera is selecting the right lenses. The choice of lens not only influences the visual aesthetics of your footage but also plays a significant role in conveying emotions and storytelling. Here’s a guide to understanding and utilizing lenses effectively for videography.
Prime lenses, known for their fixed focal length, offer exceptional image quality and low-light performance. They are prized for their wide apertures, allowing for beautiful background blur and compelling bokeh effects. Prime lenses are well-suited for capturing cinematic shots with a shallow depth of field, making them ideal for portrait shots and intimate storytelling.
Zoom lenses, on the other hand, provide versatility by offering a range of focal lengths within a single lens. They are practical for capturing a variety of shots without the need to change lenses frequently. When shooting dynamic scenes or documentaries, a quality zoom lens can be indispensable in framing diverse compositions without interruption.
Wide-angle lenses are invaluable for capturing expansive landscapes, establishing shots, and immersive visuals. Their broad field of view adds depth and grandeur to your videos, making them essential for travel vlogs, architectural cinematography, and environmental storytelling.
Macro lenses, designed for extreme close-up shots, excel in revealing intricate details and textures that are otherwise imperceptible to the naked eye. Whether you’re capturing the delicate features of a subject or showcasing the beauty of nature, macro lenses bring a new dimension to your storytelling by magnifying the minute elements of your narrative.
Furthermore, consider the aperture of the lens, as it directly influences the amount of light entering the camera and the depth of field. A wide aperture, denoted by a lower f-stop number, allows for better low-light performance and artistic control over focus, while a narrower aperture, indicated by a higher f-stop number, ensures greater depth of field for sharpness across the frame.
By understanding the unique characteristics and applications of different lenses, you can leverage their strengths to enrich your videography, infuse emotion into your visuals, and craft a compelling visual narrative that resonates with your audience.
Mastering Focus and Composition
Effective focus and composition are fundamental elements that can elevate the visual storytelling in your DSLR video productions. By mastering these aspects, you can guide the viewer’s attention, convey emotions, and create visually engaging narratives.
First and foremost, achieving precise focus is essential for capturing professional-looking videos. Most DSLR cameras offer various focus modes, including single-point autofocus, zone autofocus, and continuous autofocus. Understanding the strengths and limitations of each mode is crucial for maintaining sharpness and clarity in your footage, especially when dealing with moving subjects or dynamic scenes.
Additionally, consider utilizing manual focus for complete control over the focal point. This is particularly beneficial when shooting in challenging lighting conditions or when you want to emphasize a specific subject within the frame. Practice adjusting the focus smoothly and accurately to enhance the visual impact of your videos.
Composition plays a pivotal role in visually guiding the audience and evoking emotions. The rule of thirds, a fundamental principle in composition, suggests dividing the frame into a 3×3 grid and strategically placing key elements along the gridlines or at the intersection points. This technique creates balanced and visually appealing compositions that draw the viewer’s eye.
Furthermore, explore the use of leading lines to direct the viewer’s gaze towards the main subject or a focal point in the scene. Whether it’s a winding road, a meandering river, or converging architectural elements, leading lines add depth and visual interest to your videos, guiding the audience through the narrative.
Understanding the concept of visual balance is also crucial in composition. Whether it’s symmetrical balance for a sense of stability and order or asymmetrical balance for a dynamic and engaging composition, deliberate framing and positioning of elements within the frame contribute to the overall visual impact of your videos.
Lastly, consider the use of depth in your compositions to create a sense of dimension and immersion. Incorporating foreground elements, middle ground subjects, and background elements adds layers to your visuals, fostering a more immersive and captivating viewing experience.
By mastering focus techniques and understanding the principles of composition, you can create visually compelling videos that resonate with your audience, effectively convey your narrative, and leave a lasting impression.
Lighting Techniques
Lighting is a cornerstone of videography, profoundly influencing the mood, atmosphere, and visual quality of your footage. Whether you’re shooting indoors or outdoors, understanding and implementing effective lighting techniques can transform an ordinary scene into a visually captivating composition.
First and foremost, familiarize yourself with the three primary types of lighting: key light, fill light, and backlight. The key light serves as the primary source of illumination, providing the main lighting for your subject. The fill light helps soften shadows and balance the overall lighting, while the backlight adds depth and separation by highlighting the contours of your subject.
When shooting indoors, leverage natural light whenever possible. Position your subject near windows or openings to capitalize on the soft, diffused light that can enhance skin tones and create a pleasing ambience. Additionally, consider using reflective surfaces, such as white foam boards or reflector discs, to bounce and redirect natural light for a more flattering and evenly lit scene.
For indoor setups, artificial lighting plays a pivotal role in achieving consistent and controlled illumination. Softboxes, umbrella lights, and LED panels are popular choices for creating diffused and flattering light. Experiment with the positioning and intensity of artificial lights to sculpt the desired look and mood for your videos.
When shooting outdoors, be mindful of the natural lighting conditions. The golden hours—shortly after sunrise and before sunset—offer soft, warm light that adds a cinematic quality to your videos. During midday, when the sun is harsh and overhead, seek shaded areas or use diffusion materials to soften the direct sunlight and minimize harsh shadows.
Understanding color temperature is essential for achieving natural-looking and consistent lighting. Different light sources emit varying color temperatures, measured in Kelvin. Daylight typically has a higher color temperature, while indoor lighting tends to be warmer. Adjust the white balance settings on your camera to ensure accurate color reproduction under different lighting conditions.
Experimenting with creative lighting techniques, such as silhouette lighting, rim lighting, and colored gels, can add visual interest and depth to your videos, elevating the overall production value and storytelling impact.
By mastering lighting techniques and understanding how to manipulate light to your advantage, you can imbue your videos with a captivating visual allure, evoke emotions, and effectively convey the narrative to your audience.
Audio Tips
While stunning visuals are essential for impactful videography, high-quality audio is equally crucial in delivering a compelling and immersive viewing experience. Whether you’re capturing dialogue, ambient sounds, or music, implementing effective audio techniques can elevate the overall production value of your videos.
Investing in a dedicated external microphone is a game-changer for achieving professional-grade audio. Shotgun microphones are popular choices for capturing clear and focused sound, making them ideal for interviews, vlogs, and narrative-driven content. Lavalier microphones, which can be clipped onto the subject’s clothing, offer hands-free convenience and excellent voice pickup, particularly in dynamic or crowded environments.
When recording audio, prioritize capturing clean and clear sound by minimizing background noise and unwanted distractions. Choose quiet shooting locations whenever possible, and consider using windshields or furry covers for outdoor recordings to mitigate wind noise and other environmental disturbances.
Understanding microphone placement is crucial for optimizing audio capture. Position the microphone close to the sound source while being mindful of potential clothing rustle or handling noise. Experiment with microphone angles and distances to achieve the desired tonal quality and presence in the audio recordings.
Monitoring audio levels during recording is essential to prevent distortion and ensure optimal sound quality. Most DSLR cameras offer audio level meters, allowing you to gauge the input levels and make real-time adjustments to avoid clipping or excessively low volumes. Additionally, using headphones to monitor the audio feed during recording enables you to detect potential issues and make on-the-fly adjustments.
When recording dialogue or narration, consider utilizing pop filters to reduce plosive sounds and sibilance, resulting in cleaner and more pleasant vocal recordings. Pop filters effectively minimize the impact of air bursts from speech, enhancing the overall clarity and intelligibility of the recorded voice.
Post-processing tools and software, such as equalizers, compressors, and noise reduction plugins, can further refine and enhance the audio quality during the editing phase. Utilize these tools to fine-tune the audio, remove unwanted noise, and ensure a balanced and polished sound mix for your videos.
By implementing these audio tips and techniques, you can significantly enhance the sonic dimension of your videos, immersing your audience in a rich auditory experience that complements the visual storytelling and amplifies the emotional impact of your content.
Stability and Movement
Stability and fluid movement are integral aspects of videography that contribute to the professional look and feel of your videos. Whether you’re capturing handheld footage or implementing dynamic camera movements, mastering stability techniques and purposeful motion can significantly enhance the visual storytelling and overall production quality.
Utilizing a tripod is a fundamental method for achieving stable and steady shots. A quality tripod provides a solid foundation, reducing unwanted camera shake and ensuring sharp, well-composed frames. When selecting a tripod, consider factors such as load capacity, portability, and fluid head functionality for smooth panning and tilting movements.
For handheld shooting, proper stabilization techniques are essential for minimizing camera shake and maintaining a steady image. Embrace the principles of proper posture and breathing to steady your body, and consider investing in camera rigs, gimbals, or stabilizers to achieve smooth and stabilized footage, especially when capturing dynamic or moving scenes.
Implementing intentional camera movements can add visual interest and cinematic flair to your videos. Experiment with panning, tilting, and tracking shots to introduce dynamic perspectives and guide the viewer’s attention. Smooth and controlled movements can convey a sense of purpose and narrative progression, enriching the visual storytelling within your videos.
When shooting dynamic scenes or action sequences, consider utilizing handheld stabilizers or gimbals to achieve fluid and stabilized motion. These tools enable you to capture cinematic tracking shots, follow subjects with precision, and introduce captivating movement into your videos, enhancing the overall production value.
Drone videography offers a unique opportunity to capture breathtaking aerial perspectives and expansive landscapes. When utilizing drones, prioritize safety, adhere to local regulations, and focus on capturing shots that contribute to the narrative and visual appeal of your videos. Smooth and controlled aerial movements can add a captivating dimension to your storytelling.
Additionally, incorporating static and dynamic time-lapse sequences can lend an artistic and visually engaging element to your videos. Whether capturing the gradual passage of time or portraying bustling cityscapes, time-lapse techniques can convey a sense of scale, progression, and visual intrigue.
By mastering stability techniques and purposeful camera movements, you can infuse your videos with a professional aesthetic, dynamic visual storytelling, and captivating perspectives that captivate and immerse your audience in the narrative you’re presenting.
Post-Processing and Editing
Post-processing and editing are pivotal stages in the videography process, where raw footage is transformed into a polished and cohesive visual narrative. Leveraging editing software and refining the visual and auditory elements of your videos can elevate the overall quality and impact of your productions.
Organizing and reviewing your footage is the initial step in post-processing. Create a structured workflow by categorizing and labeling your clips to streamline the editing process. Select the best takes and sequences that effectively convey your narrative and discard any unnecessary or redundant footage to optimize the editing timeline.
Color grading is a critical aspect of post-processing that imparts mood, atmosphere, and visual cohesiveness to your videos. Utilize color grading tools to adjust contrast, saturation, and color balance, aligning the visual aesthetics with the intended tone and emotion of your narrative. Consistent color grading across all clips fosters a unified and professional look.
Audio editing plays a significant role in refining the sonic landscape of your videos. Use audio editing software to fine-tune dialogue, adjust volume levels, and integrate music or sound effects to enhance the auditory experience. Eliminate background noise, ensure smooth transitions between audio elements, and synchronize sound with visual cues for a polished result.
Implementing effective transitions and visual effects can add flair and cohesiveness to your video edits. Whether utilizing cuts, fades, or creative transitions, aim to maintain a seamless flow between scenes and shots. Subtle visual effects, such as lens flares or light leaks, can accentuate the mood and visual interest of your videos when used judiciously.
When editing dialogue-driven content, focus on pacing and rhythm to maintain engagement. Trim unnecessary pauses, refine the timing of cuts, and ensure a natural and coherent progression of dialogue. Additionally, incorporating subtitles or captions can improve accessibility and audience engagement, especially for online platforms and diverse viewership.
Utilize motion graphics and text overlays to introduce titles, lower thirds, and informational graphics that complement the visual storytelling. Thoughtful graphic elements can convey context, emphasize key points, and enhance the overall production value of your videos.
Finally, ensure a comprehensive review and quality check of the final edit. Pay attention to details such as audio sync, visual consistency, and overall coherence. Solicit feedback from peers or collaborators to gain fresh perspectives and refine the edit further before finalizing and publishing your videos.
By leveraging post-processing and editing techniques, you can transform raw footage into a captivating visual narrative, imbuing your videos with professional polish, cohesive storytelling, and an immersive viewing experience for your audience.
Conclusion
Congratulations on embarking on the journey to enhance your videography skills with a DSLR camera. Throughout this guide, you’ve delved into the essential aspects of capturing exceptional videos, from understanding your camera’s features to mastering composition, lighting, audio, stability, and post-processing. By immersing yourself in the art and techniques of videography, you’ve unlocked the potential to create visually compelling narratives that resonate with your audience.
Remember, videography is a blend of technical proficiency and creative expression. As you continue to hone your skills, keep experimenting, exploring new perspectives, and pushing the boundaries of your creativity. Embrace the learning process, and don’t be afraid to make mistakes along the way – they often lead to valuable insights and growth.
Seek inspiration from diverse sources, whether it’s films, documentaries, or the work of fellow videographers. Analyze and deconstruct the visual storytelling techniques employed in these works, and adapt and integrate them into your own style and approach.
Furthermore, stay attuned to the evolving landscape of videography technology and trends. Embrace new tools, techniques, and innovations that can enhance your storytelling capabilities and elevate the production quality of your videos.
Lastly, always remember the power of storytelling. Beyond technical prowess, compelling videography is about evoking emotions, sparking curiosity, and leaving a lasting impression on your audience. Whether you’re documenting real-life experiences, crafting narratives, or showcasing products and services, your videos have the potential to captivate, inform, and inspire.
As you continue on your videography journey, keep refining your craft, seeking new knowledge, and pushing the boundaries of your creativity. Every frame you capture is an opportunity to convey a powerful story, evoke emotion, and leave a lasting impact. Embrace the art of videography with passion and dedication, and let your unique voice and vision shine through each frame you create.