Introduction
Are you ready to capture breathtaking landscapes and cityscapes in one sweeping shot? Panoramic photography allows you to do just that, offering a wide-angle view that showcases the grandeur of a scene. With a DSLR camera and the right techniques, you can create stunning panoramas that truly captivate viewers.
In this guide, we'll delve into the art of shooting panoramas with a DSLR camera, covering everything from selecting the appropriate lens to post-processing your images. Whether you're a photography enthusiast or a professional looking to expand your skills, mastering the art of panoramic photography can elevate your portfolio and provide you with awe-inspiring images to cherish.
Throughout this article, we'll explore the essential steps to capture striking panoramas, from setting up your camera to fine-tuning the post-processing details. By the end, you'll be equipped with the knowledge and confidence to embark on your panoramic photography journey, ready to capture sweeping vistas and intricate cityscapes with your DSLR camera.
Let's dive into the world of panoramic photography and uncover the techniques that will empower you to create mesmerizing images. Whether you're drawn to the natural beauty of landscapes or the urban allure of city skylines, the art of panoramic photography offers a captivating way to encapsulate the grandeur of your surroundings.
Choosing the Right Lens
When embarking on a panoramic photography endeavor with your DSLR camera, selecting the right lens is paramount to achieving stunning results. The lens you choose will significantly influence the perspective, depth, and clarity of your panoramas. Here are essential considerations to guide you in choosing the ideal lens for panoramic photography:
- Focal Length: Opt for a wide-angle lens with a focal length between 14mm and 35mm to capture expansive scenes without distortion. A wider focal length allows you to encompass more of the landscape or cityscape, resulting in immersive and captivating panoramas.
- Prime or Zoom: While both prime and zoom lenses can be suitable for panoramic photography, prime lenses are favored for their exceptional sharpness and minimal distortion. However, high-quality zoom lenses can offer versatility in composing your shots, allowing you to adjust the focal length as needed.
- Image Quality: Prioritize lenses renowned for their optical excellence, as superior image quality is crucial for capturing intricate details and achieving remarkable clarity in your panoramas. Look for lenses with minimal chromatic aberration, distortion, and vignetting to ensure pristine image rendition.
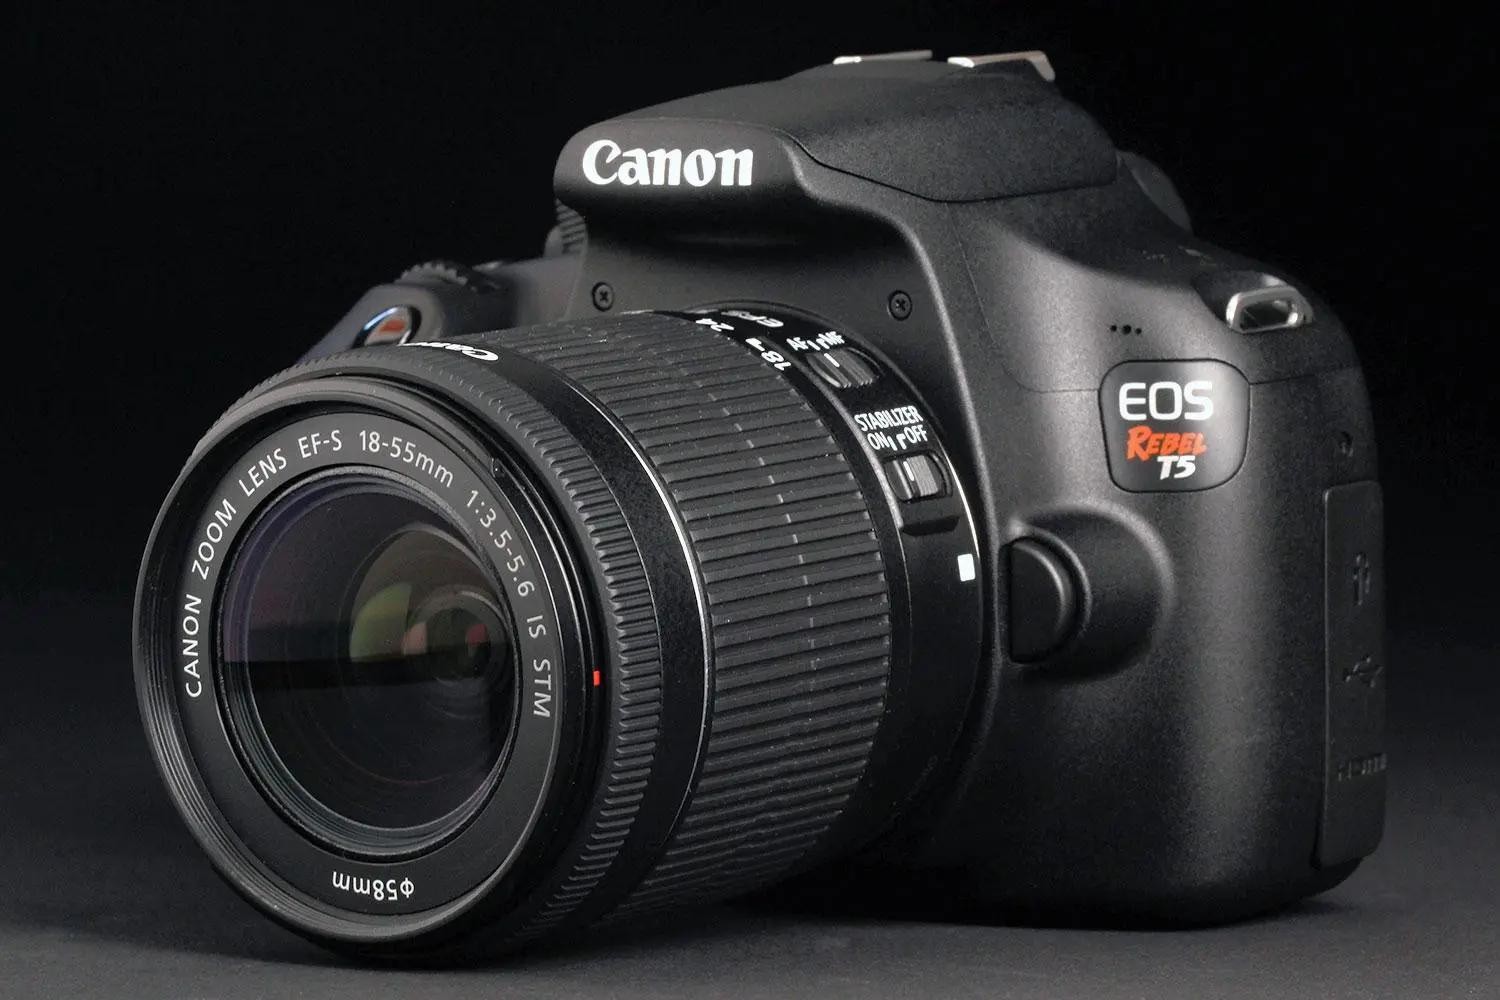
- Compatibility: Ensure that the lens you choose is compatible with your DSLR camera model, considering factors such as mount type and sensor size. Compatibility between the lens and camera body is essential for seamless integration and optimal performance.
By carefully evaluating these factors and understanding the impact of lens selection on panoramic photography, you can make an informed decision that aligns with your creative vision and photographic goals. The right lens will serve as your gateway to capturing expansive vistas and intricate details, empowering you to create panoramas that exude visual splendor.
Setting Up Your Camera
Before embarking on your panoramic photography journey with a DSLR camera, it’s crucial to set up your equipment to ensure optimal performance and exceptional results. Properly configuring your camera settings and accessories can significantly impact the quality and seamless stitching of your panoramas. Here are the essential steps to prepare your camera for panoramic photography:
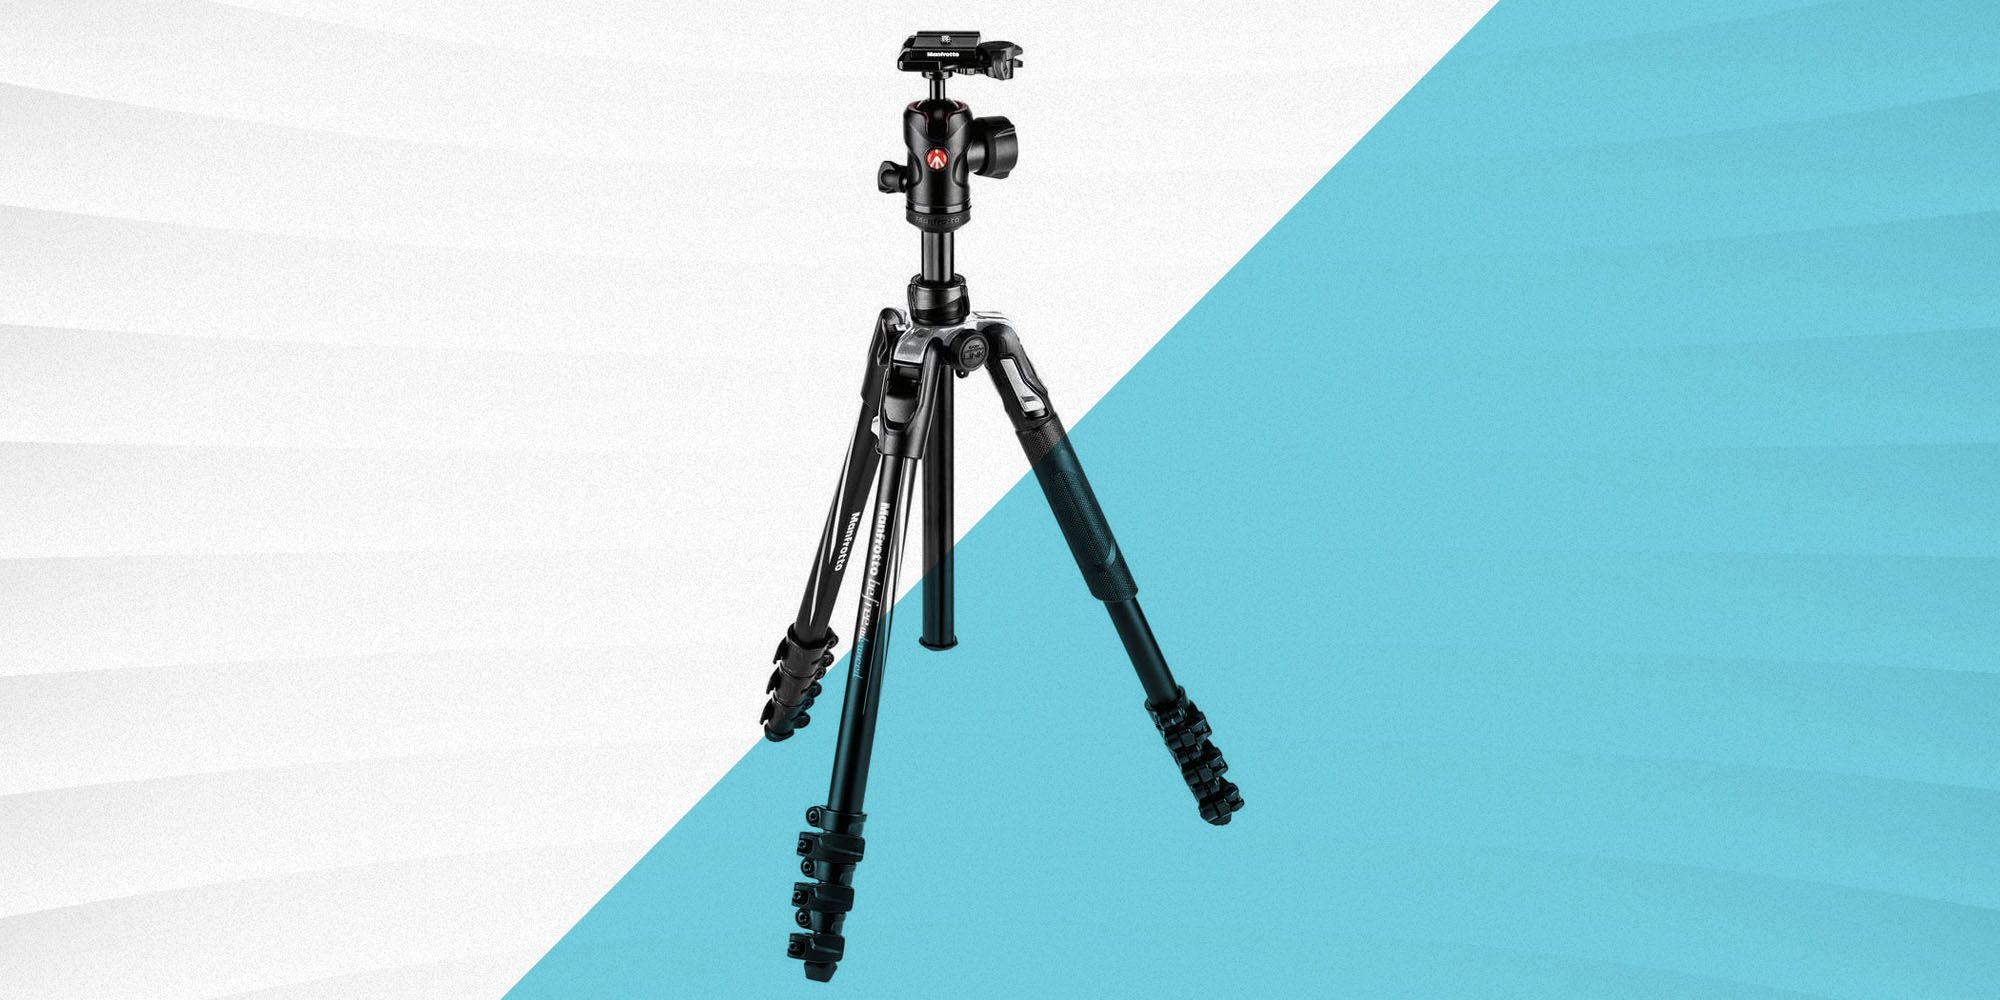
- Sturdy Tripod: Mount your DSLR camera on a sturdy tripod to maintain stability and consistency throughout the panorama sequence. A stable base is essential for aligning each shot precisely and minimizing potential distortion in the final panorama.
- Leveling the Tripod: Ensure that the tripod is perfectly level to maintain a consistent horizon line across the panorama. Many tripods feature built-in bubble levels, or you can use a separate leveling tool to achieve precise alignment.
- Manual Mode: Set your camera to manual mode to have full control over exposure settings, including aperture, shutter speed, and ISO. Consistent exposure across all frames is crucial for seamless blending during post-processing.
- Manual Focus: Switch to manual focus to prevent the camera from refocusing between shots. This ensures that the focal point remains constant throughout the panorama sequence, resulting in sharp and coherent images.
- Overlap Guidance: If available, activate the overlay grid or guidelines in your camera’s viewfinder or LCD screen to assist in maintaining consistent overlap between consecutive frames. Adequate overlap is essential for effective stitching during post-processing.
By meticulously configuring your camera and accessories according to these guidelines, you’ll establish a solid foundation for capturing seamless and visually captivating panoramas. The preparation and attention to detail in setting up your camera will pave the way for a smooth shooting process and facilitate the creation of stunning panoramic images that showcase the grandeur of your chosen subjects.
Shooting the Panorama
As you embark on capturing a breathtaking panorama with your DSLR camera, employing the right shooting techniques is crucial to ensure the seamless alignment and composition of your images. By following these essential steps, you can effectively capture the expansive beauty of landscapes and cityscapes while maintaining coherence and visual appeal throughout the panorama sequence:
- Composition: Begin by carefully framing the initial shot, ensuring that the composition effectively captures the essence of the scene. Consider prominent foreground elements and leading lines to guide the viewer’s gaze through the panorama, creating a sense of depth and immersion.
- Consistent Exposure: Maintain consistent exposure settings across all frames, adjusting the aperture, shutter speed, and ISO as needed to accommodate changes in lighting conditions throughout the panorama. Consistency in exposure ensures seamless blending during post-processing.
- Overlap and Alignment: Capture each frame with sufficient overlap, typically around 30-50%, to facilitate smooth stitching during post-processing. Maintain alignment and consistency in framing as you progress through the panorama sequence, ensuring that each frame seamlessly connects to the next.
- Perspective Considerations: Pay attention to the perspective and distortion of elements within the scene, particularly when using wide-angle lenses. Be mindful of converging lines and potential distortion, adjusting your position and framing to minimize visual discrepancies between frames.
- Manual Capture: While some cameras offer automated panorama modes, manually capturing individual frames provides greater control over exposure, focus, and composition, resulting in higher-quality panoramas with enhanced clarity and detail.
By meticulously applying these shooting techniques, you’ll capture a series of cohesive frames that seamlessly blend into a captivating panorama, showcasing the grandeur and intricacies of the scene. Your attention to composition, exposure, and alignment during the shooting process will lay the groundwork for creating panoramas that evoke a sense of awe and immersion in the viewer.
Post-Processing Your Panorama
Once you’ve captured the individual frames of your panorama with your DSLR camera, the post-processing stage is where you’ll refine and seamlessly merge the images to create a cohesive and visually stunning panorama. Leveraging the capabilities of editing software, you can enhance the clarity, color balance, and overall impact of your panorama. Follow these essential steps to effectively post-process your panoramic images:
- Import and Organization: Transfer the captured frames to your computer and organize them in a dedicated folder, ensuring that the sequence is arranged in the correct order for seamless stitching.
- Stitching Software: Utilize specialized panorama stitching software, such as Adobe Photoshop or dedicated panorama tools, to seamlessly merge the individual frames into a cohesive panorama. Follow the software’s guidelines to align and blend the images effectively.
- Color Correction: Adjust the color balance, saturation, and contrast to ensure visual coherence across the entire panorama. Harmonizing the colors and tones creates a unified and captivating visual impact.
- Detail Enhancement: Fine-tune the sharpness and detail of the panorama, ensuring that intricate elements within the scene are rendered with clarity and precision. Enhancing details contributes to the overall visual appeal of the panorama.
- Cropping and Composition: Refine the composition and framing of the panorama as needed, utilizing cropping tools to eliminate distractions and emphasize the most compelling elements within the scene.
By meticulously applying these post-processing techniques, you’ll transform the individual frames into a seamless and visually captivating panorama that encapsulates the grandeur and intricacies of the scene. Your attention to color balance, detail enhancement, and composition refinement during post-processing will elevate your panoramas to new heights, creating images that resonate with viewers and evoke a sense of awe and immersion.


