Introduction
Are you eager to transfer the captivating videos you've captured with your Panasonic camcorder to your PC for editing, sharing, or safekeeping? With the right knowledge and tools, this process can be straightforward and rewarding. Importing videos from your Panasonic camcorder to your PC allows you to preserve cherished memories, edit footage, and share your creations with friends and family.
In this guide, we'll walk through the essential steps to seamlessly transfer your videos from your Panasonic camcorder to your PC. Whether you're a novice or experienced user, this tutorial will equip you with the necessary knowledge to accomplish this task efficiently. By following these steps, you'll be able to harness the full potential of your videos and unleash your creativity through editing and sharing.
Through this step-by-step guide, you'll gain valuable insights into the software required for the transfer, the process of connecting your camcorder to your PC, and the subsequent transfer and organization of the videos. Additionally, we'll explore how to edit and enhance your videos on your PC, enabling you to add a personal touch to your footage and bring your creative vision to life.
Join us as we delve into the world of video transfer and editing, empowering you to unlock the full potential of your Panasonic camcorder footage. By the end of this guide, you'll be equipped with the knowledge and confidence to effortlessly import your videos from your Panasonic camcorder to your PC, opening up a world of possibilities for sharing and editing your cherished memories. Let's embark on this exciting journey together!
Step 1: Install the Necessary Software
Before embarking on the process of transferring videos from your Panasonic camcorder to your PC, it is essential to ensure that you have the requisite software installed on your computer. The software facilitates the seamless communication between your camcorder and PC, enabling the efficient transfer of video files. Here are the key steps to install the necessary software:
- Identify the Compatible Software: Begin by identifying the software that is compatible with your Panasonic camcorder model. Visit the official Panasonic website or refer to the user manual to ascertain the recommended software for transferring videos to your PC.
- Download and Install the Software: Once you have identified the compatible software, proceed to download it from the official Panasonic website or an authorized software distribution platform. Follow the on-screen instructions to install the software on your PC, ensuring that it is seamlessly integrated with your operating system.
- Update the Software: After installing the software, check for any available updates to ensure that you are using the latest version. Updated software often includes bug fixes, performance enhancements, and compatibility improvements, which are crucial for a smooth video transfer process.
By following these steps, you will have the necessary software installed on your PC, setting the stage for a seamless and efficient video transfer process. With the software in place, you are ready to proceed to the next step of connecting your Panasonic camcorder to your PC, initiating the transfer of your captivating video footage.
Step 2: Connect the Panasonic Camcorder to the PC
Once you have the necessary software installed on your PC, the next crucial step is to establish a seamless connection between your Panasonic camcorder and your computer. This connection will enable the transfer of your cherished video files, allowing you to harness the full potential of your footage. Here’s a comprehensive guide to connecting your Panasonic camcorder to your PC:
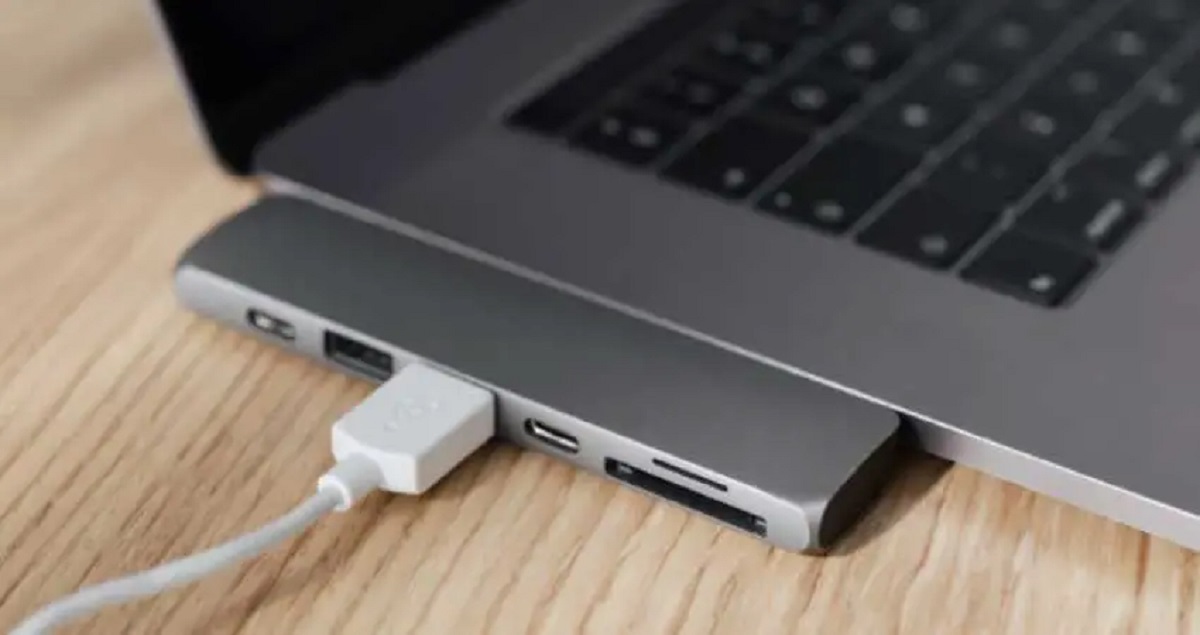
- Use the Correct Cable: Locate the appropriate cable that is compatible with your Panasonic camcorder and your PC. Depending on the model of your camcorder, you may require a USB cable or an HDMI cable for the connection.
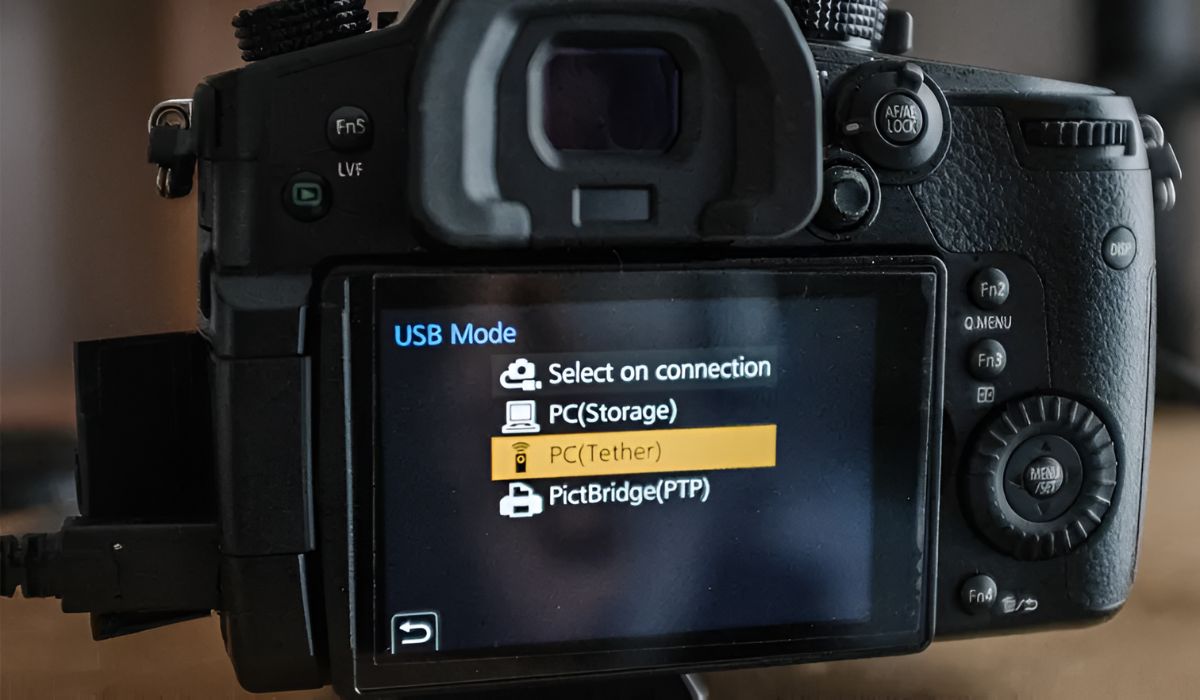
- Power On Your Camcorder: Before connecting it to your PC, ensure that your Panasonic camcorder is powered on and in the appropriate mode for data transfer. Refer to the user manual for specific instructions on selecting the correct mode for data transfer.
- Connect the Cable: Carefully connect one end of the cable to the designated port on your Panasonic camcorder and the other end to an available USB port on your PC. If you are using an HDMI cable, connect one end to the HDMI port on your camcorder and the other end to an available HDMI port on your PC or a compatible HDMI adapter.
- Establish the Connection: Once the cable is securely connected, your PC should detect the presence of the Panasonic camcorder. Depending on the software you have installed, you may receive a prompt to initiate the data transfer process. Follow the on-screen instructions to proceed with the connection and transfer.
By following these steps, you will successfully establish a connection between your Panasonic camcorder and your PC, paving the way for the seamless transfer of your captivating video footage. With the connection established, you are ready to proceed to the next step of transferring the videos to your PC, where you can begin organizing and editing your cherished memories.
Step 3: Transfer the Videos to the PC
With your Panasonic camcorder successfully connected to your PC, you are now ready to initiate the transfer of your valuable video footage. This pivotal step allows you to seamlessly transfer your videos from the camcorder to your computer, where you can organize, edit, and preserve your cherished memories. Here’s a detailed guide to transferring your videos to your PC:
- Select the Video Files: Access the interface of the software you installed and navigate to the section that allows you to select the video files for transfer. Depending on the software, you may be able to browse the contents of your camcorder and select individual videos or choose to transfer all videos at once.
- Initiate the Transfer: Once you have selected the video files, proceed to initiate the transfer process. Depending on the software interface, you may be prompted to specify the destination folder on your PC where the videos will be saved. Follow the on-screen instructions to commence the transfer.
- Monitor the Transfer Progress: During the transfer process, it is advisable to monitor the progress to ensure that each video file is successfully transferred to your PC. This step is vital in verifying that all your valuable footage is securely saved on your computer.
- Verify the Transferred Files: After the transfer process is complete, verify that the video files have been successfully transferred to your PC. Navigate to the destination folder and review the transferred videos to confirm that they are intact and accessible for further organization and editing.
By following these steps, you will have effectively transferred your captivating video footage from your Panasonic camcorder to your PC, unlocking a world of possibilities for organizing, editing, and sharing your cherished memories. With the videos securely transferred, you are now poised to embark on the next step of organizing and editing your footage on your PC, allowing you to add a personal touch to your creations.
Step 4: Organize and Edit the Videos on Your PC
Now that your captivating videos have been successfully transferred to your PC, it’s time to delve into the exciting realm of video organization and editing. This pivotal step empowers you to curate and enhance your footage, adding a personal touch and unleashing your creative vision. Here’s a comprehensive guide to organizing and editing your videos on your PC:
- Organize Your Video Library: Create a dedicated folder or directory on your PC to systematically organize your transferred video files. Consider categorizing the videos based on events, dates, or themes to facilitate easy access and management of your footage.
- Select an Editing Software: Explore the array of video editing software available for PC and select a program that aligns with your editing requirements and skill level. Popular options include Adobe Premiere Pro, Final Cut Pro, and Windows Movie Maker, offering a diverse range of editing tools and features.
- Import the Videos into the Editing Software: Launch your chosen video editing software and import the transferred videos into the program’s workspace. Familiarize yourself with the software’s interface and tools to prepare for the editing process.
- Edit and Enhance Your Videos: Utilize the editing software’s features to trim, enhance, and personalize your video footage. Experiment with transitions, effects, and audio enhancements to add a professional touch to your creations, elevating the visual appeal and storytelling elements of your videos.
- Add Personal Touches: Infuse your videos with personal touches such as captions, titles, and music to convey the intended message and evoke emotions in your audience. Leverage the editing software’s capabilities to add a distinctive flair to your footage, making it uniquely yours.
- Save and Export Your Edited Videos: Once you are satisfied with the edits and enhancements, save your project and export the edited videos to a preferred format and resolution. Consider the intended platform for sharing or viewing the videos to optimize the export settings accordingly.
By following these steps, you will have effectively organized and edited your transferred videos on your PC, transforming raw footage into captivating visual narratives. Through the art of video editing, you can add a personal touch, refine the storytelling elements, and breathe life into your cherished memories. With your videos expertly edited, you are now equipped to share your creations with friends and family, preserving and celebrating your unforgettable moments.
Conclusion
Congratulations! You have successfully embarked on a transformative journey, unlocking the full potential of your Panasonic camcorder footage by seamlessly transferring, organizing, and editing your captivating videos on your PC. Through the essential steps outlined in this guide, you have gained valuable insights into the intricacies of video transfer, organization, and editing, empowering you to preserve and enhance your cherished memories with confidence and creativity.
By installing the necessary software, establishing a seamless connection between your Panasonic camcorder and your PC, and initiating the transfer of your valuable video footage, you have harnessed the power of technology to preserve and elevate your visual narratives. The process of organizing and editing your videos on your PC has allowed you to infuse your footage with a personal touch, refine the storytelling elements, and transform raw footage into captivating visual narratives.
As you reflect on this enriching experience, you now possess the knowledge and skills to expertly manage and enhance your video library, ensuring that your cherished memories are preserved in a compelling and timeless manner. Whether you aspire to share your creations with friends and family, showcase your storytelling prowess, or simply relive precious moments, the journey you have undertaken has equipped you to embrace the art of video transfer and editing with enthusiasm and proficiency.
As you continue to explore the realms of video creation and storytelling, remember that the process of importing videos from your Panasonic camcorder to your PC is not merely a technical task, but a creative endeavor that allows you to breathe life into your visual narratives and celebrate the beauty of your experiences. Your newfound expertise in video transfer and editing opens up a world of possibilities, enabling you to craft compelling stories and preserve cherished memories with finesse and artistry.
With your videos expertly organized, edited, and preserved on your PC, you are poised to embark on future creative endeavors, armed with the knowledge and confidence to harness the full potential of your Panasonic camcorder footage. Embrace the art of video creation, storytelling, and preservation, knowing that your journey has only just begun, and the canvas of your visual narratives awaits your creative touch.


