Introduction
So, you've captured some incredible moments with your RCA camcorder, and now you're eager to transfer those memories to your PC for safekeeping or to unleash your creative editing skills. Fortunately, connecting your RCA camcorder to your PC is a straightforward process that allows you to transfer, play, and edit your videos with ease.
In this guide, we'll walk you through the steps to display RCA camcorder video on your PC. You'll learn how to connect your camcorder to your PC, configure the necessary settings, and effectively play and edit your videos. Whether you're a novice or a tech-savvy individual, this guide will equip you with the knowledge and skills to seamlessly integrate your RCA camcorder videos into your PC workflow.
By the end of this tutorial, you'll be ready to embark on a journey of preserving and enhancing your cherished moments captured with your RCA camcorder. Let's dive in and explore the simple yet rewarding process of displaying RCA camcorder video on your PC.
Connecting the RCA Camcorder to the PC
Before delving into the digital realm, the first step in displaying RCA camcorder video on your PC is establishing a physical connection between the two devices. Here’s a step-by-step guide to help you seamlessly connect your RCA camcorder to your PC:
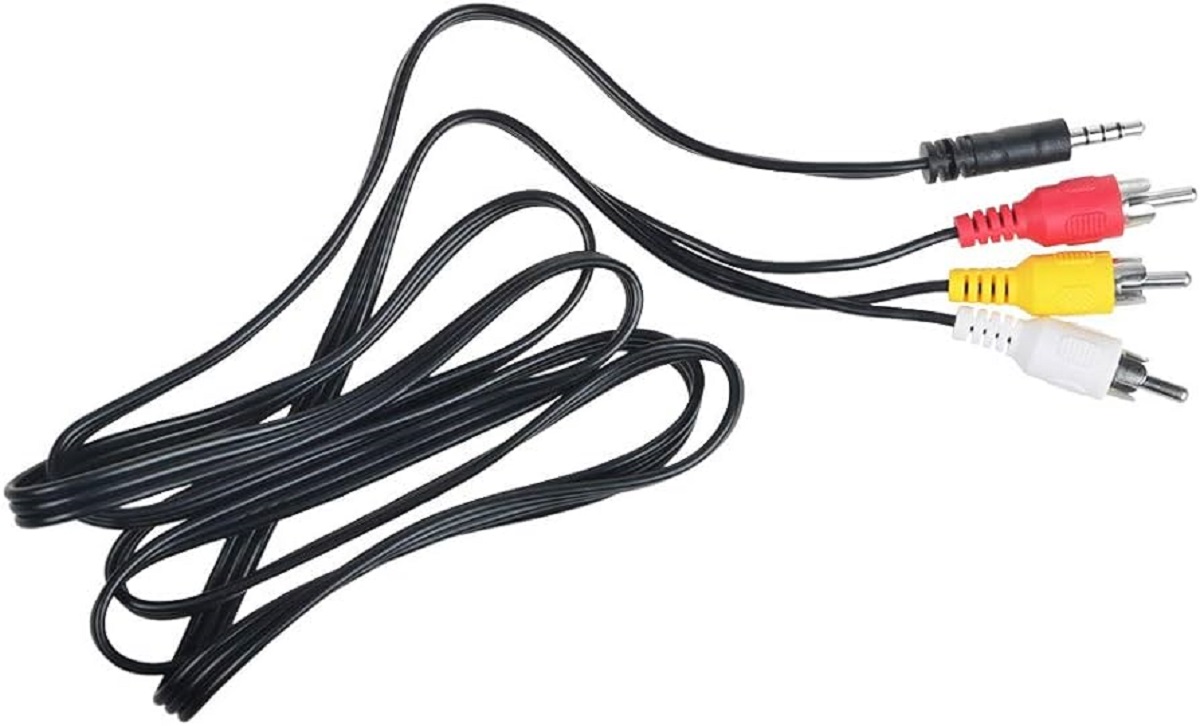
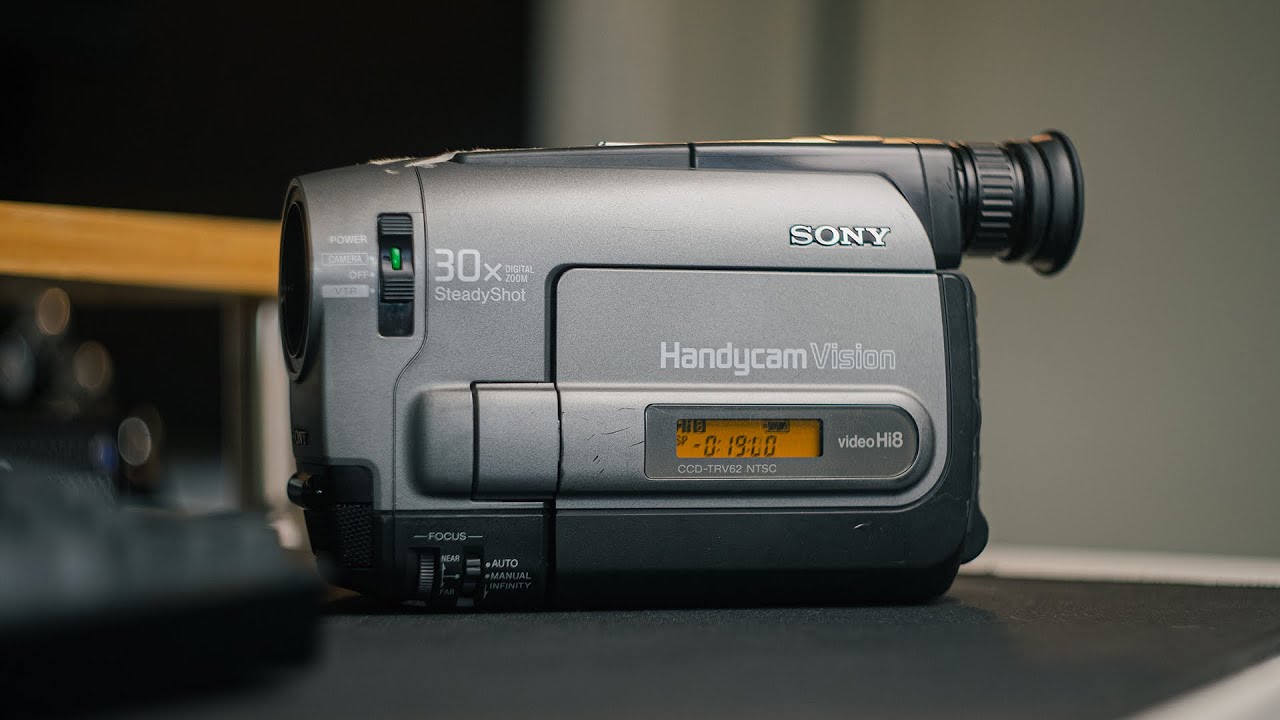
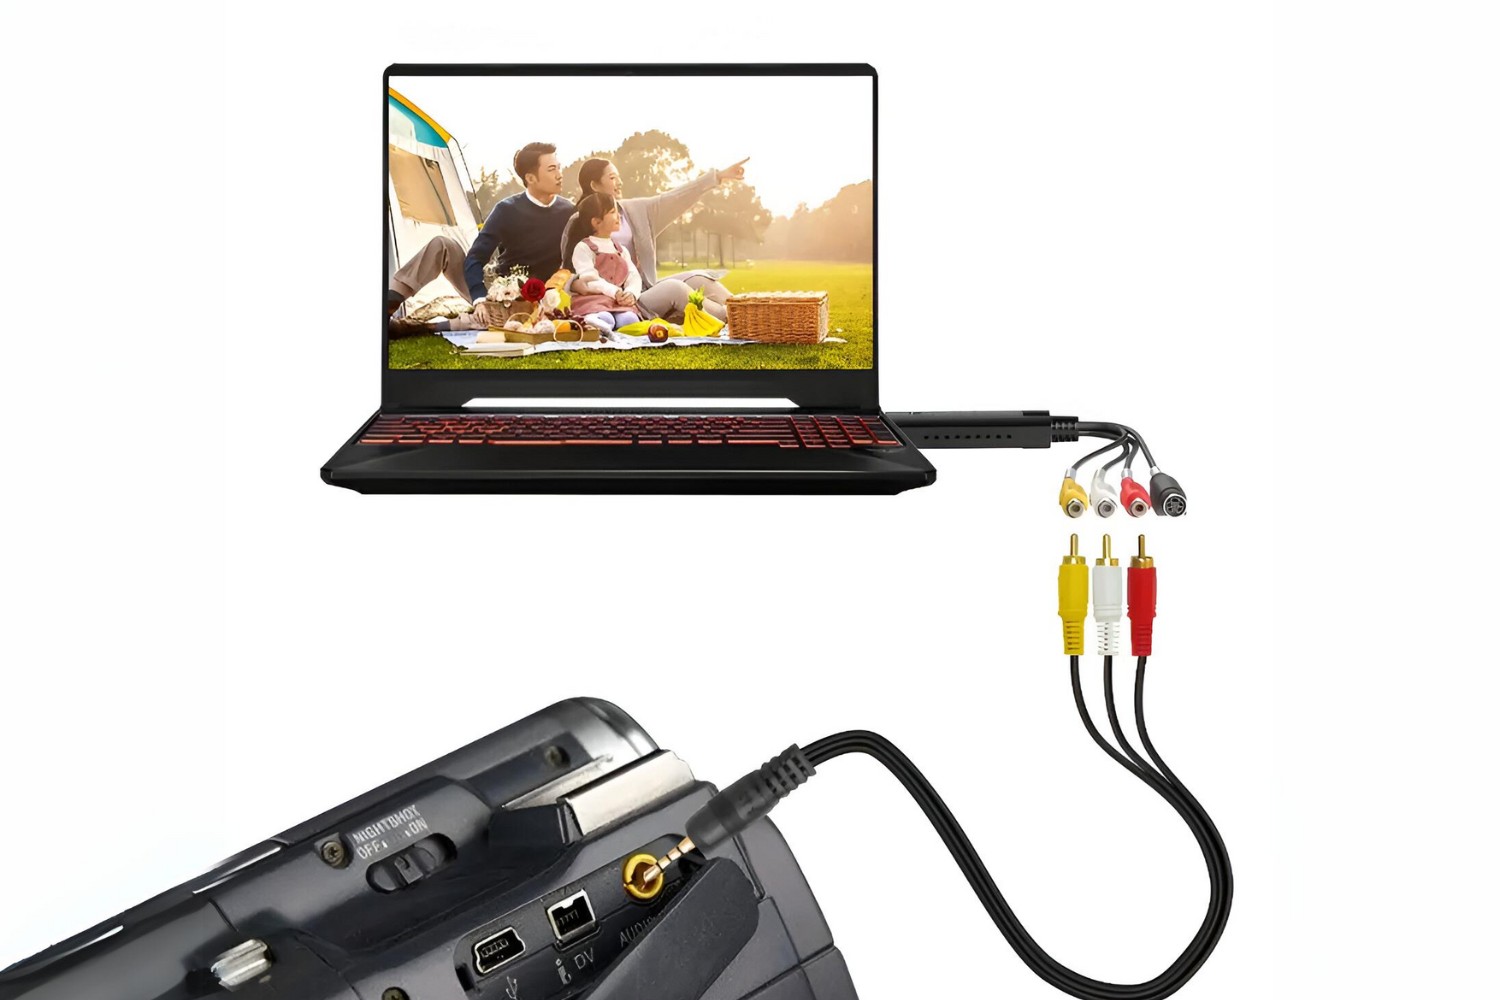
- Check Your Camcorder’s Outputs: Begin by identifying the output ports on your RCA camcorder. Most RCA camcorders feature composite video outputs, typically denoted by yellow (video) and white/red (audio) connectors.
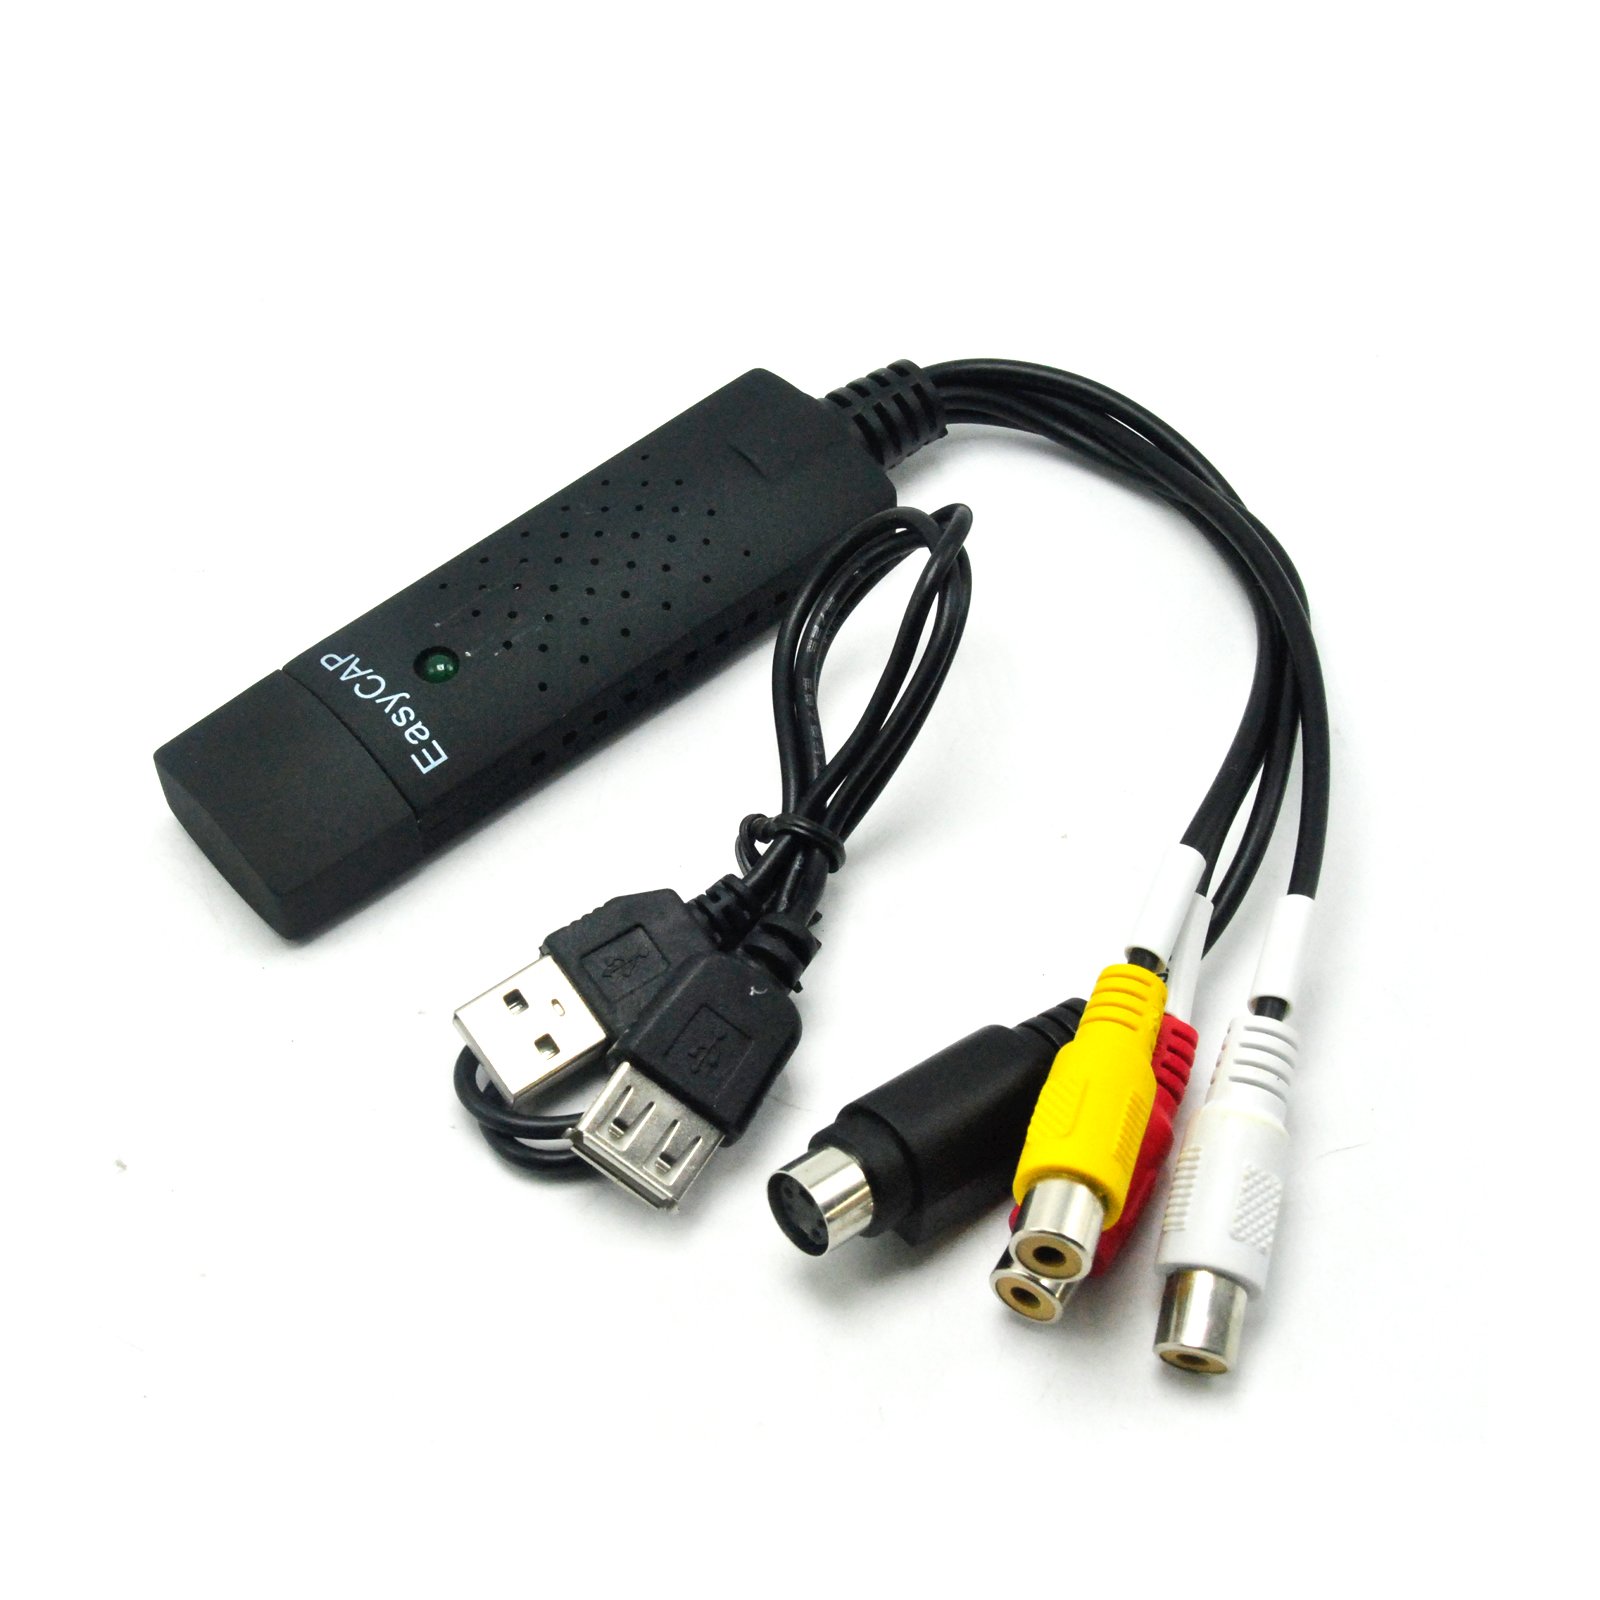
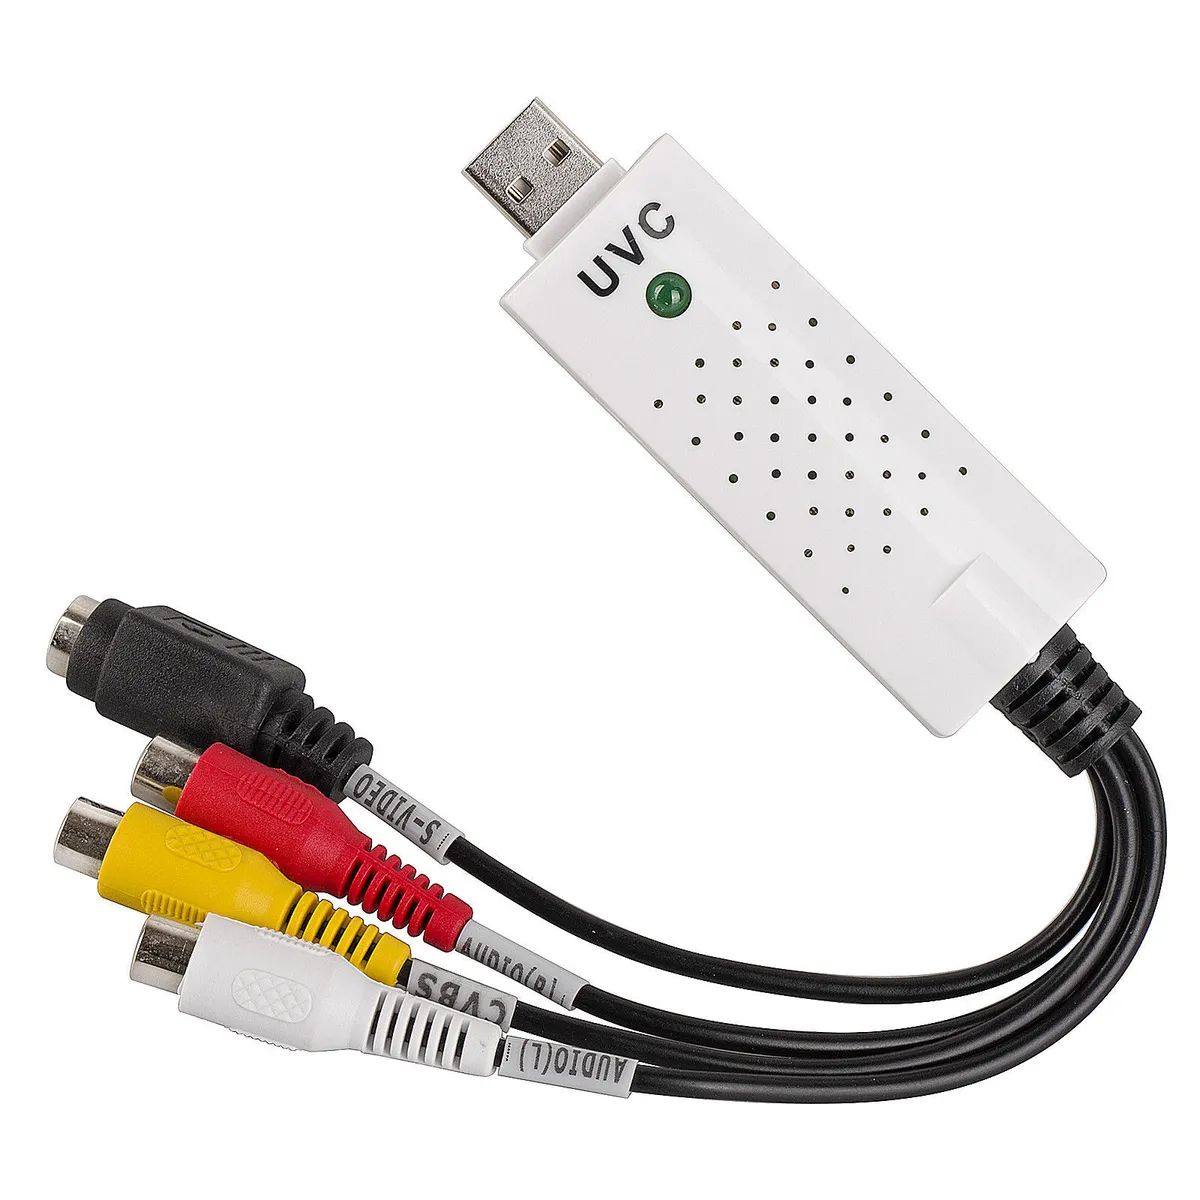
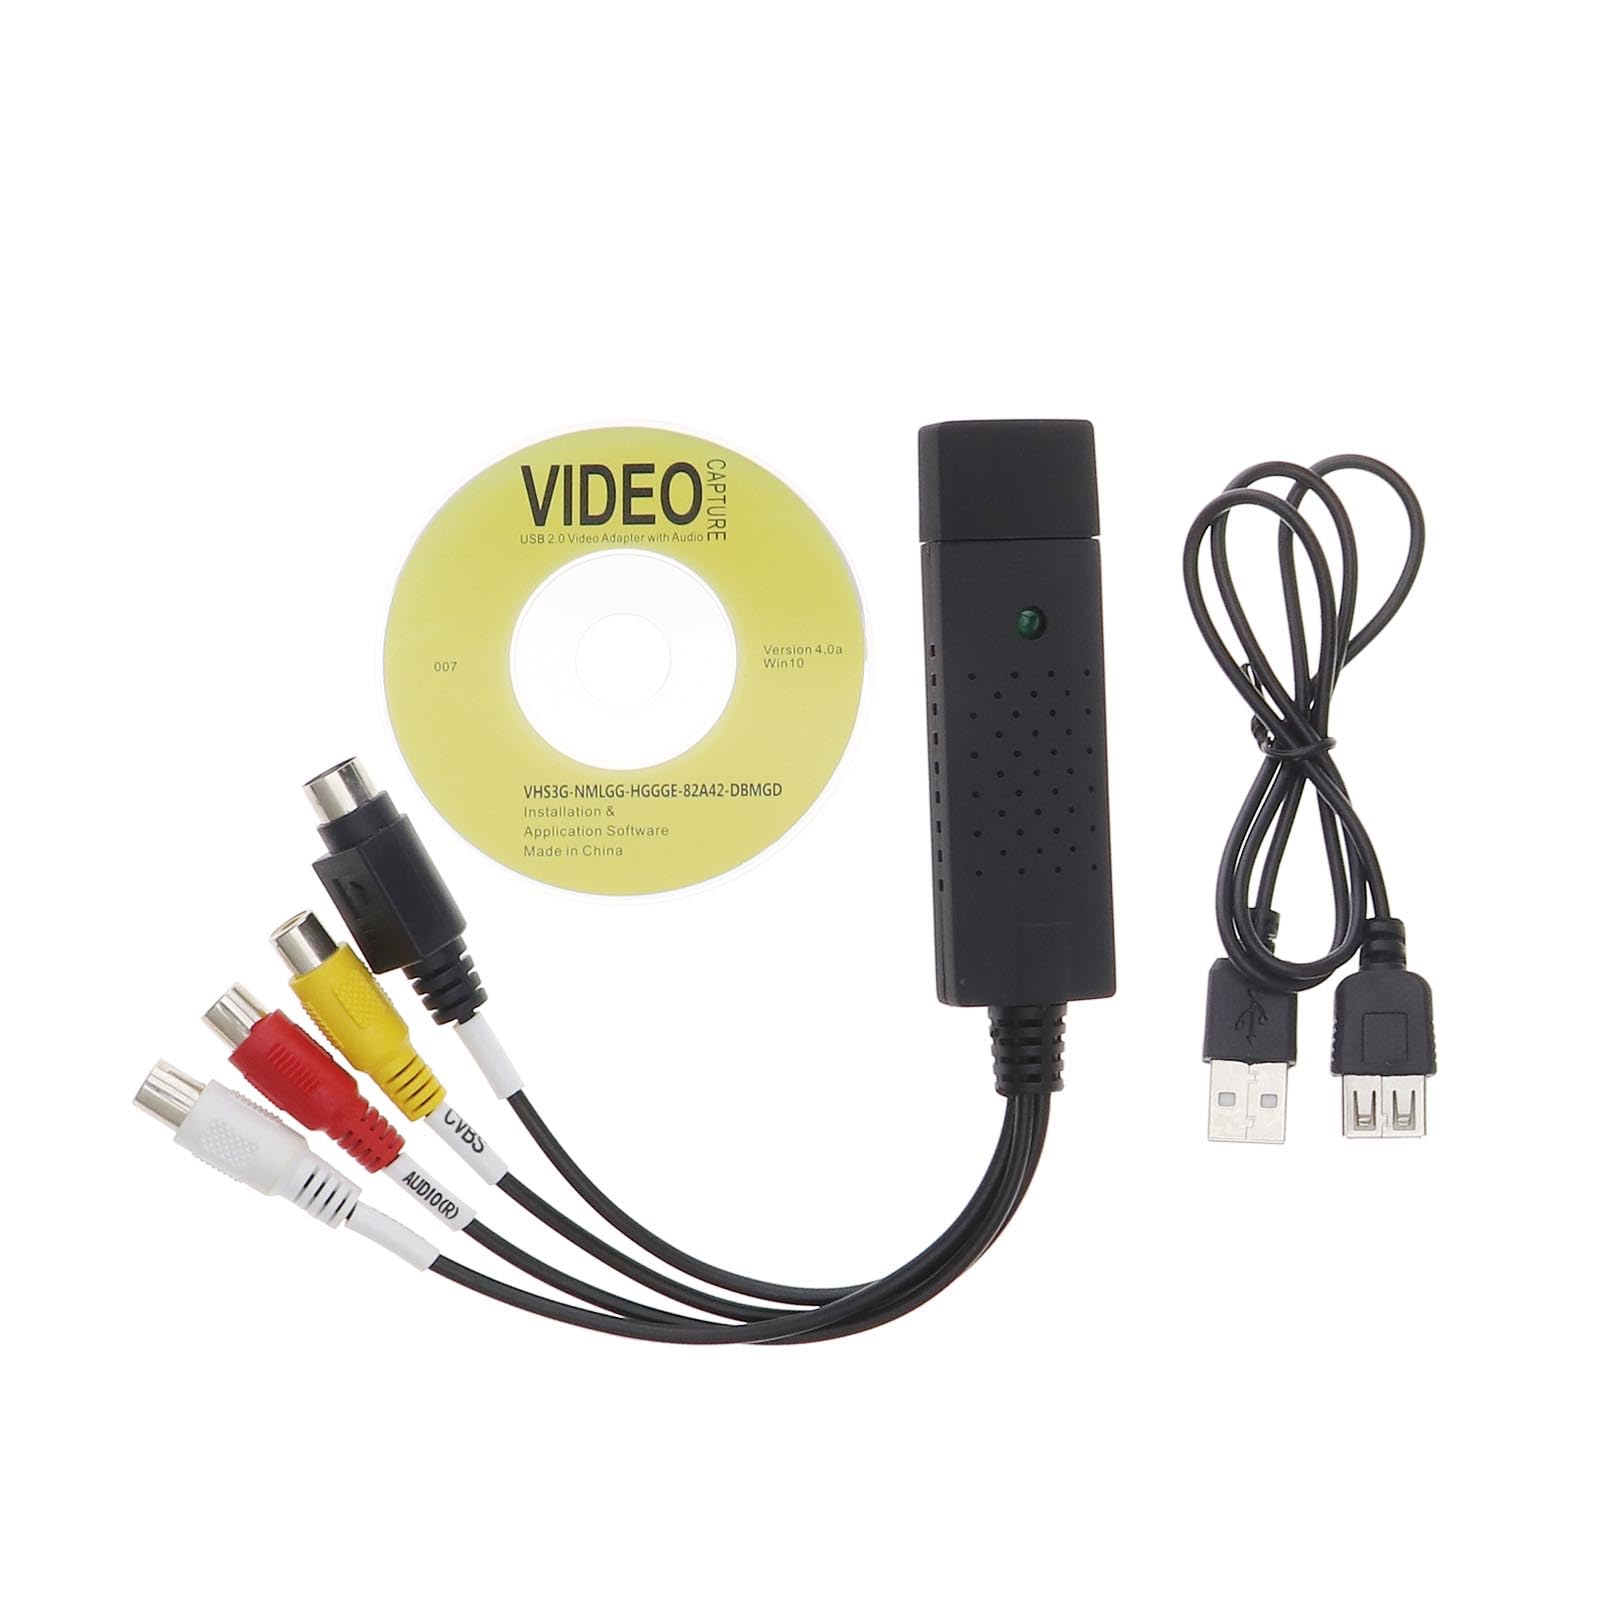
- Choose the Right Cable: To connect your camcorder to your PC, you’ll need a compatible cable. Look for a composite video cable with RCA connectors on one end and a suitable connector for your PC on the other end, such as a USB or FireWire connector.
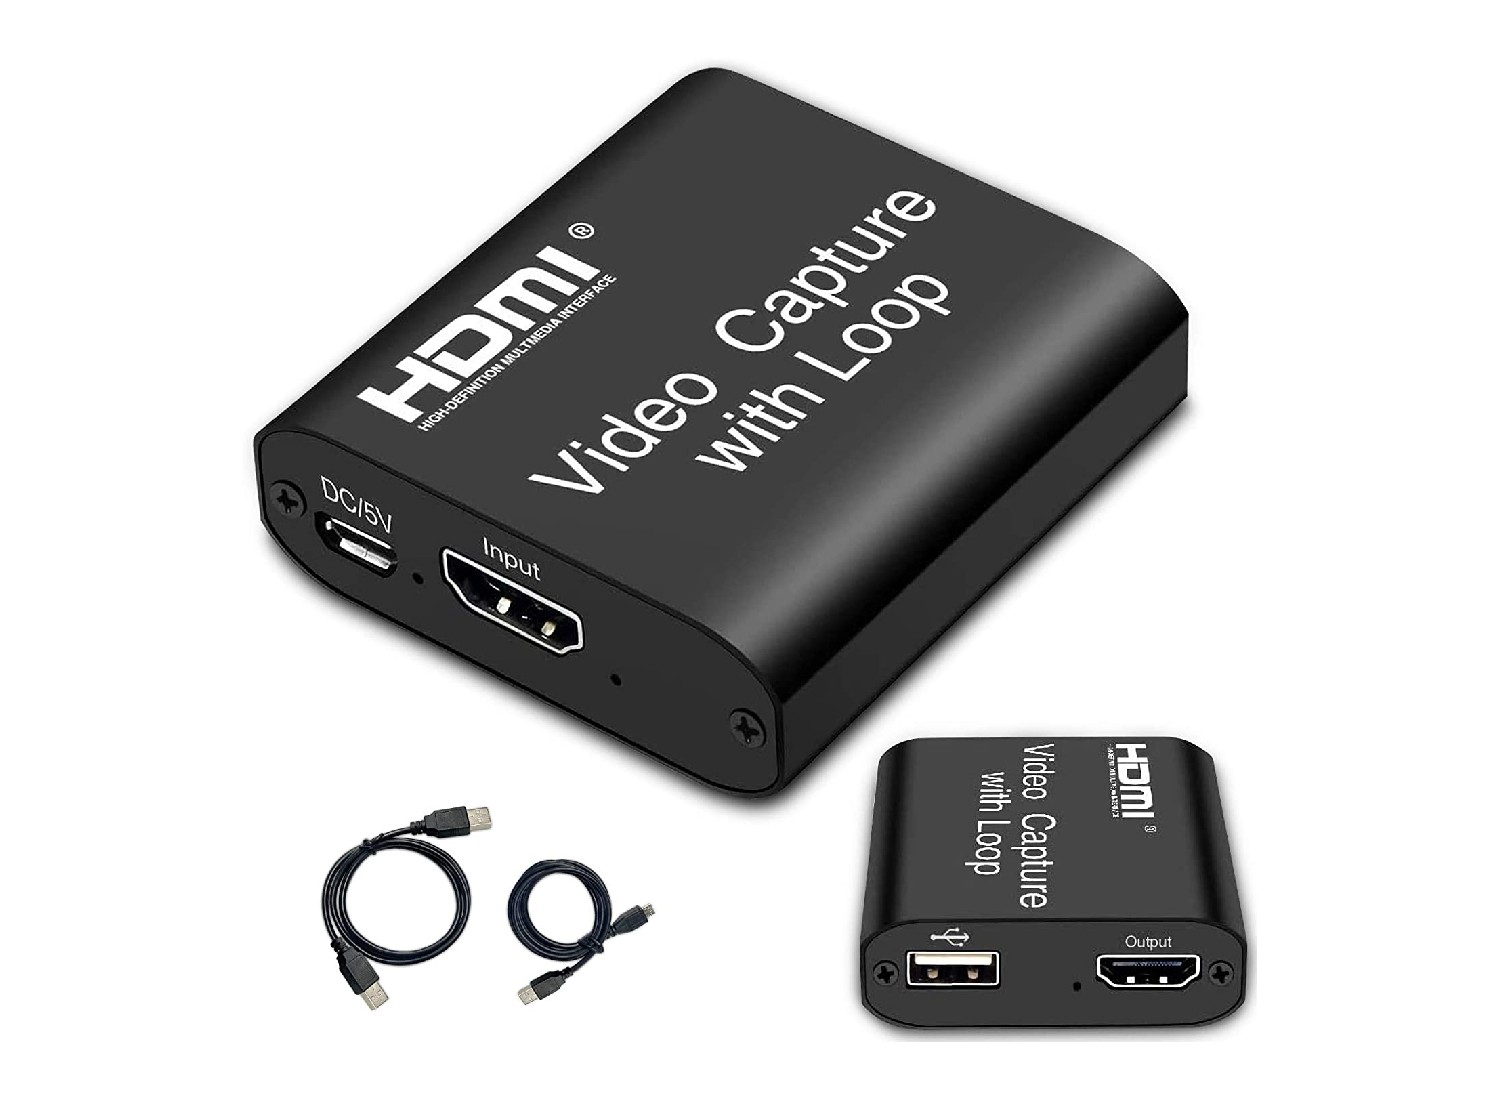
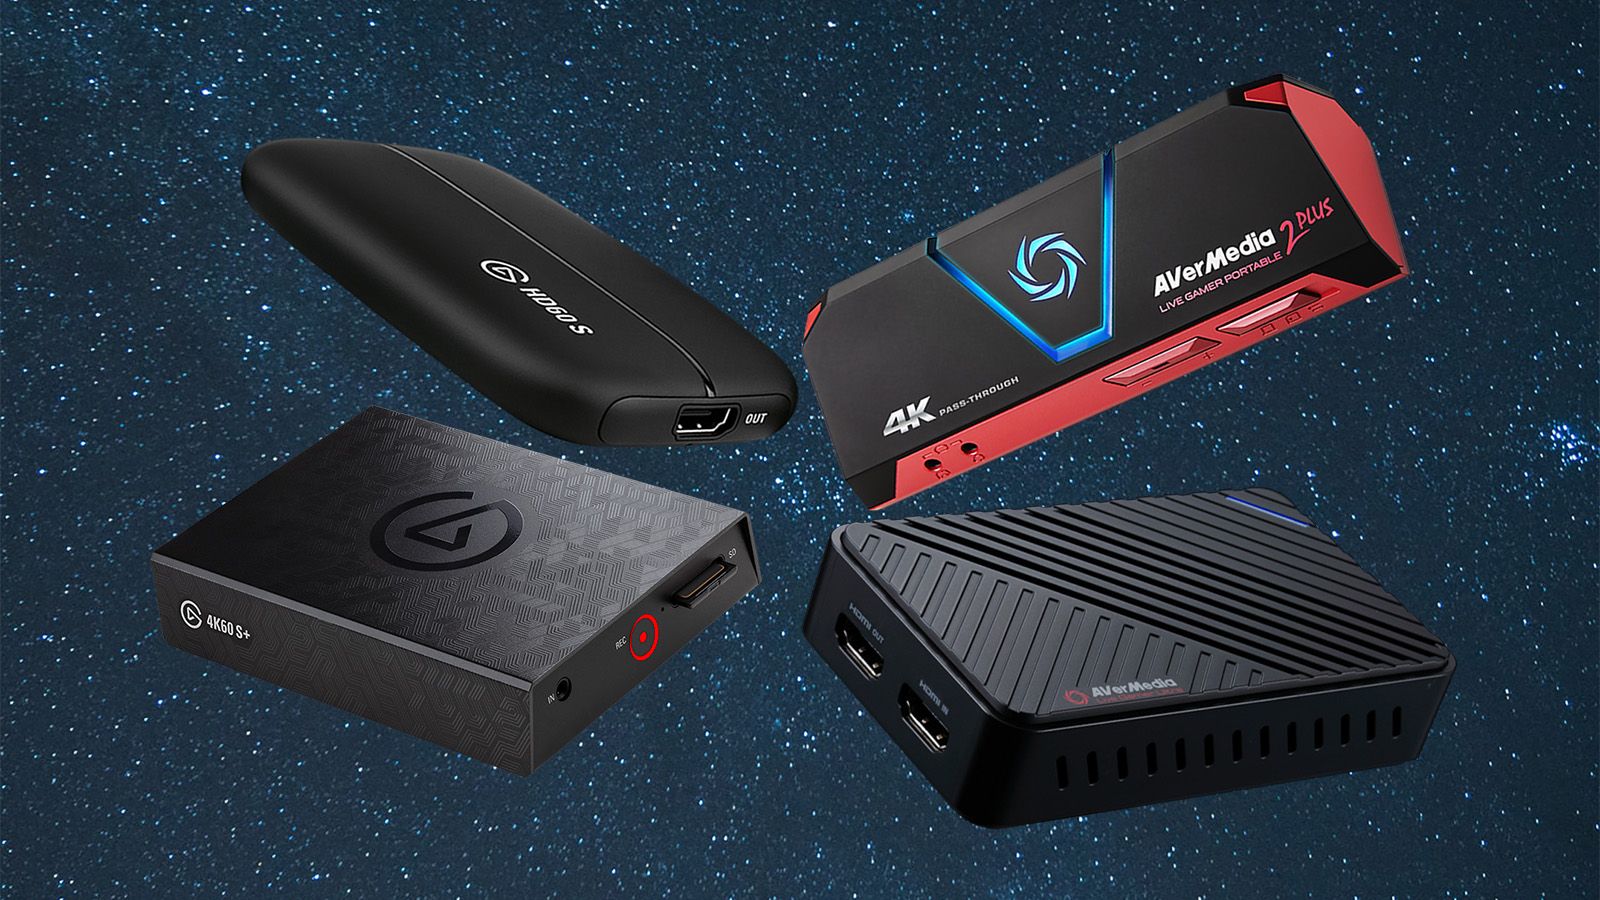
- Connect the Cable: With the appropriate cable in hand, connect the RCA output ports of your camcorder to the corresponding input ports on your PC. If your PC lacks the necessary inputs, consider using a video capture device that connects to your PC via USB or FireWire.
- Power Up Your Camcorder: Ensure that your RCA camcorder is powered on and set to the playback mode. This allows your PC to detect the camcorder and establish a connection.
- Verify the Connection: Once the physical connection is established, check your PC to ensure that it recognizes the connected camcorder. Depending on your PC’s operating system, you may receive a notification or need to navigate to the device manager to verify the connection.
With these steps completed, your RCA camcorder is now physically connected to your PC, laying the groundwork for the next phase of configuring your PC to display and interact with the camcorder’s video content.
Configuring the PC for RCA Camcorder Video
With your RCA camcorder successfully connected to your PC, the next crucial step is configuring your PC to effectively recognize and interact with the camcorder’s video output. Here’s a comprehensive guide to help you configure your PC for RCA camcorder video:
- Install Device Drivers: If your PC does not automatically recognize the connected camcorder, you may need to install the necessary device drivers. Check the manufacturer’s website for the latest drivers compatible with your PC’s operating system and follow the installation instructions.
- Choose the Right Software: Depending on your objectives, select the appropriate software for handling your RCA camcorder videos. For simple playback, your PC’s default media player may suffice. However, for editing and advanced functionality, consider using professional video editing software such as Adobe Premiere Pro or Sony Vegas.
- Configure Audio and Video Settings: Access your PC’s audio and video settings to ensure that the input from your RCA camcorder is recognized. Adjust the default input device to the connected camcorder to enable audio playback and video display.
- Set Up Video Capture Software (If Needed): If you’re using a video capture device to connect your camcorder to your PC, install and configure the accompanying video capture software. This software facilitates the transfer of video content from your camcorder to your PC, allowing for seamless playback and editing.
- Check for Compatibility Issues: Ensure that your PC’s hardware and software are compatible with the video format output by your RCA camcorder. Some older camcorders may use analog formats that require additional hardware or software support for seamless integration with modern PCs.
By carefully following these steps, you’ll effectively configure your PC to recognize and interact with your RCA camcorder, setting the stage for playing and editing your cherished video content.
Playing and Editing RCA Camcorder Video on PC
Now that your RCA camcorder is seamlessly connected to and configured on your PC, you’re ready to embark on the exciting journey of playing and editing your captured video content. Here’s a comprehensive guide to help you make the most of your RCA camcorder videos on your PC:
- Playback: Utilize your preferred media player to play back the videos from your RCA camcorder. Simply open the media player and navigate to the location where the camcorder videos are stored on your PC. Double-click on a video file to commence playback and relive your memorable moments on the big screen.
- Editing: If you’re keen on enhancing your videos or creating captivating montages, consider using professional video editing software. Import your RCA camcorder videos into the editing software and unleash your creativity by adding transitions, music, effects, and more. These tools empower you to transform raw footage into polished, engaging creations.
- Organizing and Archiving: Take advantage of your PC’s file management capabilities to organize and archive your RCA camcorder videos. Create dedicated folders, add descriptive filenames, and consider backing up your precious videos to external storage or cloud services for added peace of mind.
- Sharing: Once you’ve perfected your edited videos or unearthed hidden gems from your camcorder footage, share your creations with friends and family. Utilize social media platforms, video sharing websites, or email to distribute your videos and relish the joy of sharing your cherished memories with others.
- Continuous Learning: Embrace the learning curve associated with video editing and explore online tutorials and resources to enhance your skills. The world of video editing is vast, and continuous learning will empower you to unlock new creative possibilities and elevate the quality of your video projects.
By following these steps, you’ll not only enjoy seamless playback of your RCA camcorder videos on your PC but also unleash your creative potential through the captivating realm of video editing. Embrace this opportunity to breathe new life into your cherished memories and craft compelling visual stories that resonate with your audience.