Introduction
Are you eager to share your latest video masterpiece with friends and family? Perhaps you've captured a heartwarming family reunion, an adrenaline-pumping adventure, or a milestone event using your trusty camcorder. Now, you're ready to transfer the footage to your computer for editing and sharing. In this guide, you'll learn the step-by-step process for uploading videos from your camcorder to your computer. By following these simple instructions, you'll soon be able to relive and share your cherished memories with ease.
Whether you're a seasoned videographer or a novice enthusiast, the process of uploading videos from a camcorder to your computer can seem daunting at first. However, with the right equipment and a clear understanding of the steps involved, you'll find that it's a straightforward and rewarding experience. By the end of this guide, you'll be equipped with the knowledge and confidence to seamlessly transfer your video files, edit them to perfection, and unleash your creativity.
So, grab your camcorder, prepare your computer, and let's embark on this exciting journey of video uploading and editing. Get ready to unlock the full potential of your video footage and bring your stories to life on the digital screen. Let's dive into the first step: gathering your equipment.
Step 1: Gather Your Equipment
Before embarking on the process of uploading your video from a camcorder to your computer, it’s essential to ensure that you have the necessary equipment at your disposal. Here’s what you’ll need:
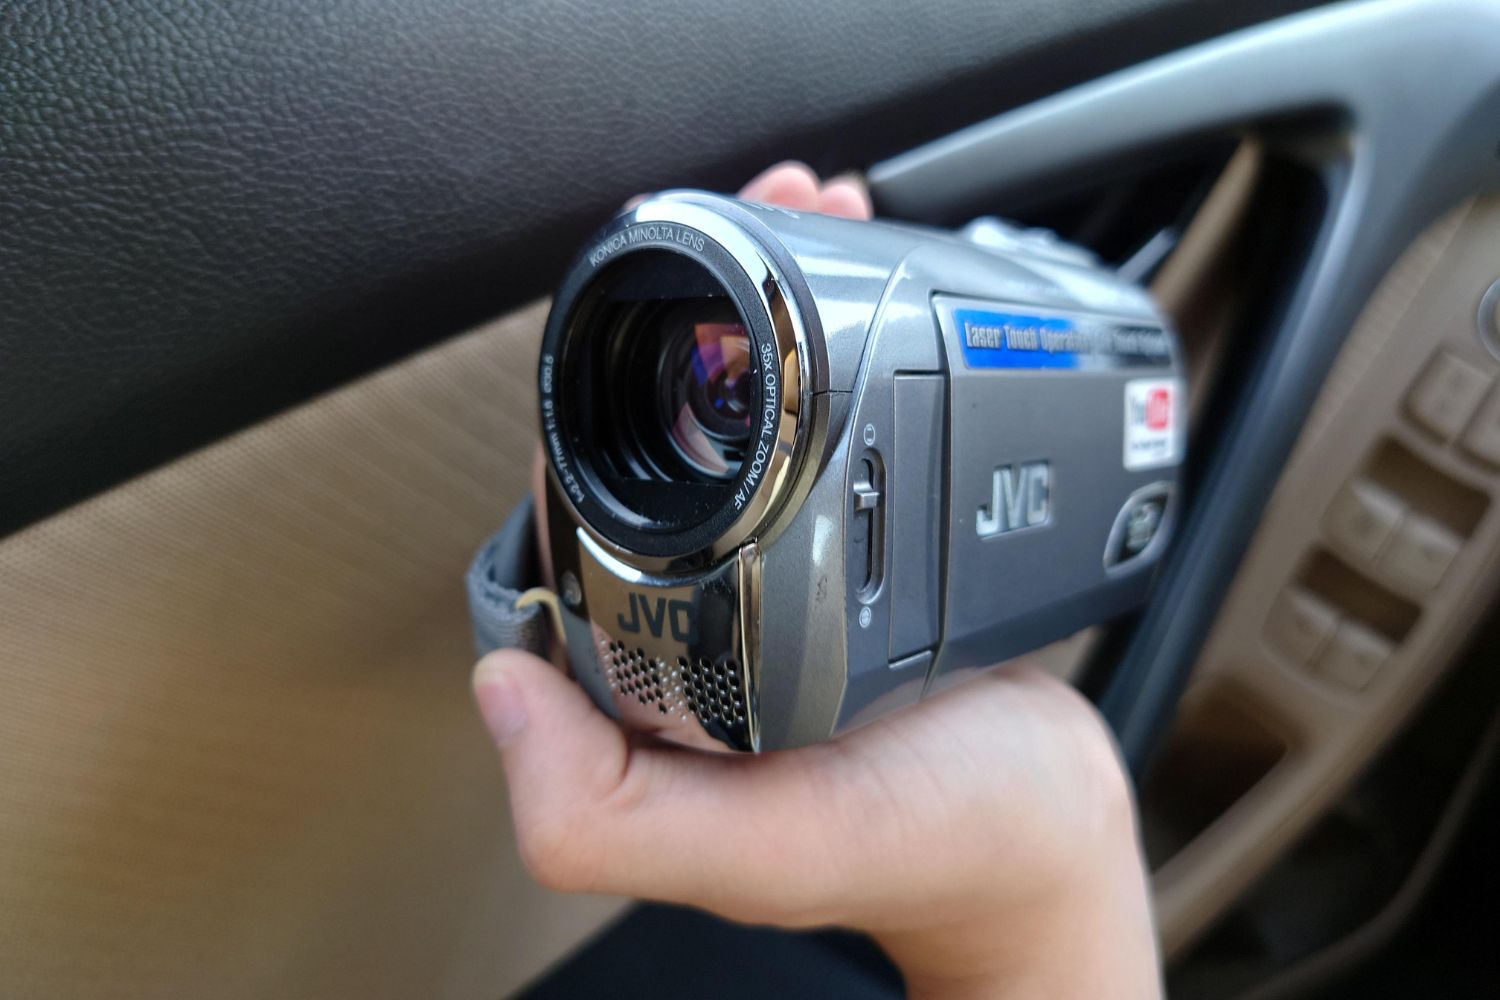
- Camcorder: Ensure that your camcorder is fully charged or connected to a power source. Additionally, check that it has the required cables for connecting to your computer.
- Computer: Have your computer or laptop ready for the transfer process. Ensure that it has sufficient storage space to accommodate the video files.
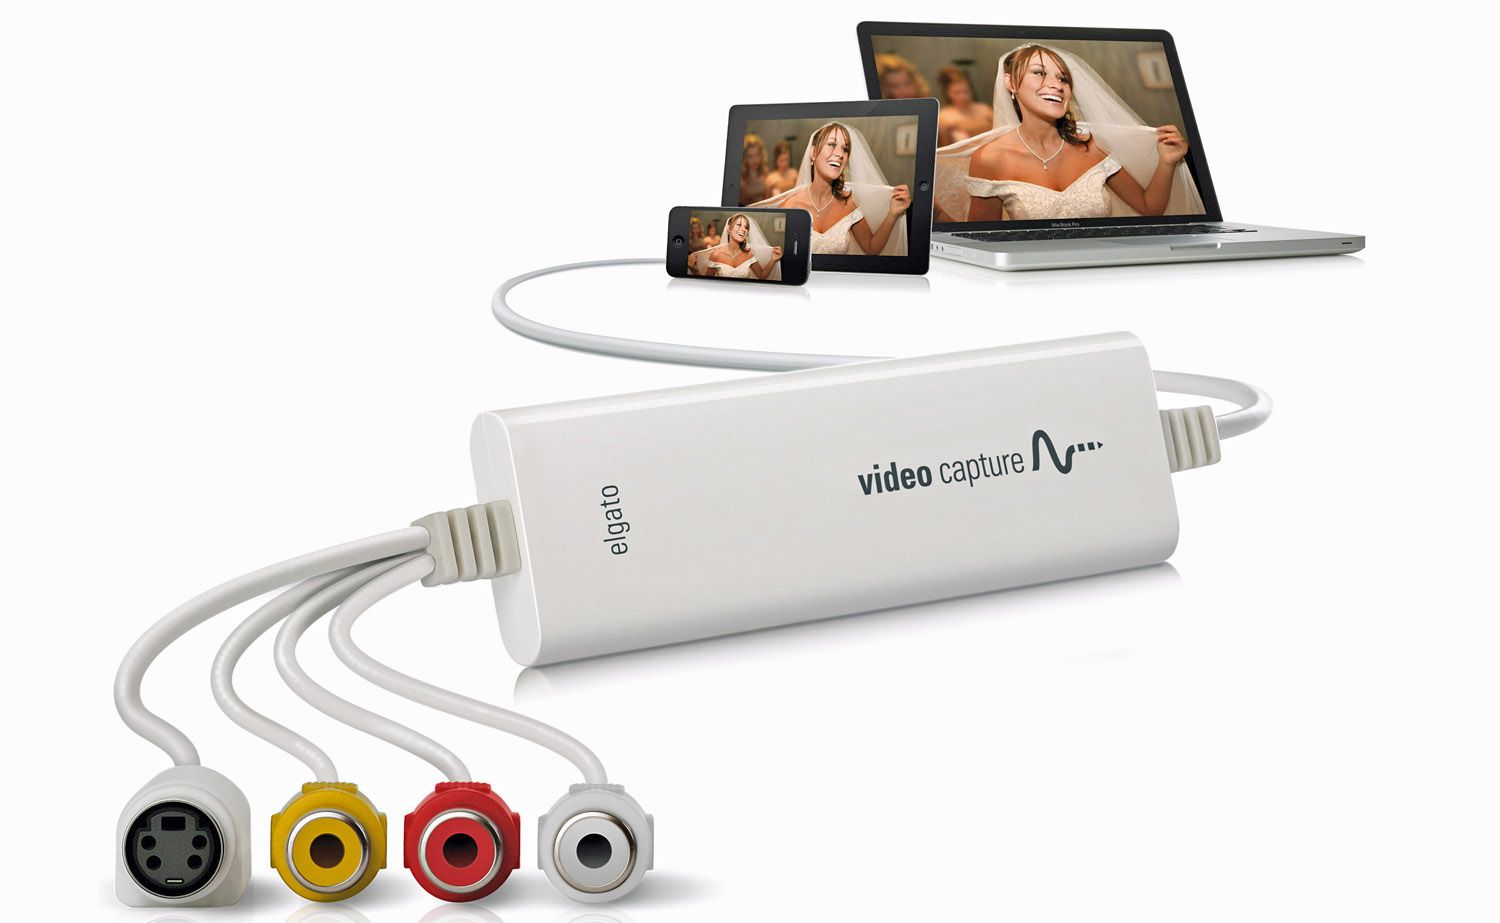
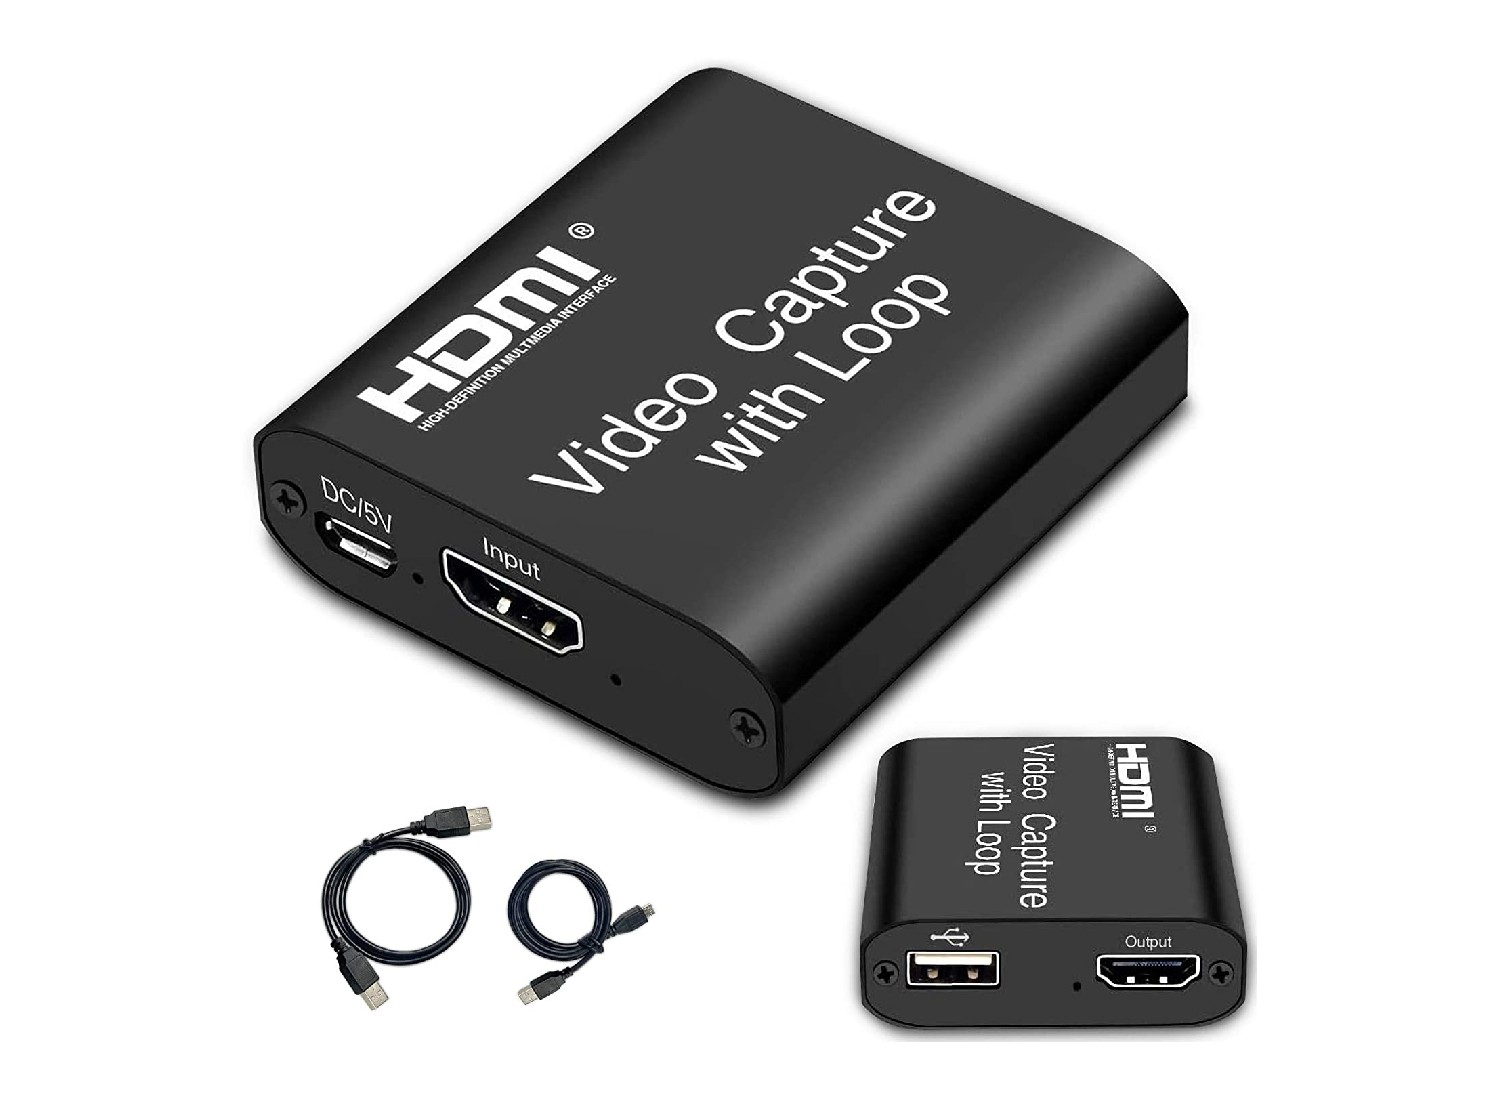
- Connection Cables: Depending on the type of camcorder you have, you may need USB, HDMI, or FireWire cables to establish a connection with your computer. Verify the specific cable type required for your camcorder model.
- Editing Software: If you plan to edit your video after transferring it to your computer, ensure that you have the necessary editing software installed and ready for use.
- External Storage (Optional): Consider having an external hard drive or USB flash drive on hand if you need additional storage space for your video files.
By gathering these essential items, you’ll be well-prepared to proceed with the video uploading process without any interruptions. Once you’ve confirmed that you have all the required equipment, you’re ready to move on to the next step: connecting your camcorder to your computer.
Step 2: Connect Your Camcorder to Your Computer
Now that you’ve gathered the necessary equipment, it’s time to establish a seamless connection between your camcorder and your computer. Follow these steps to ensure a successful connection:
- Identify the Connection Port: Locate the appropriate port on your camcorder for connecting to your computer. Common connection ports include USB, HDMI, and FireWire. Refer to your camcorder’s manual to identify the specific port.
- Choose the Correct Cable: Select the corresponding cable that matches the port on your camcorder. For instance, if your camcorder has a USB port, use a USB cable for the connection. Ensure that the cable is in good condition and free from any damage.
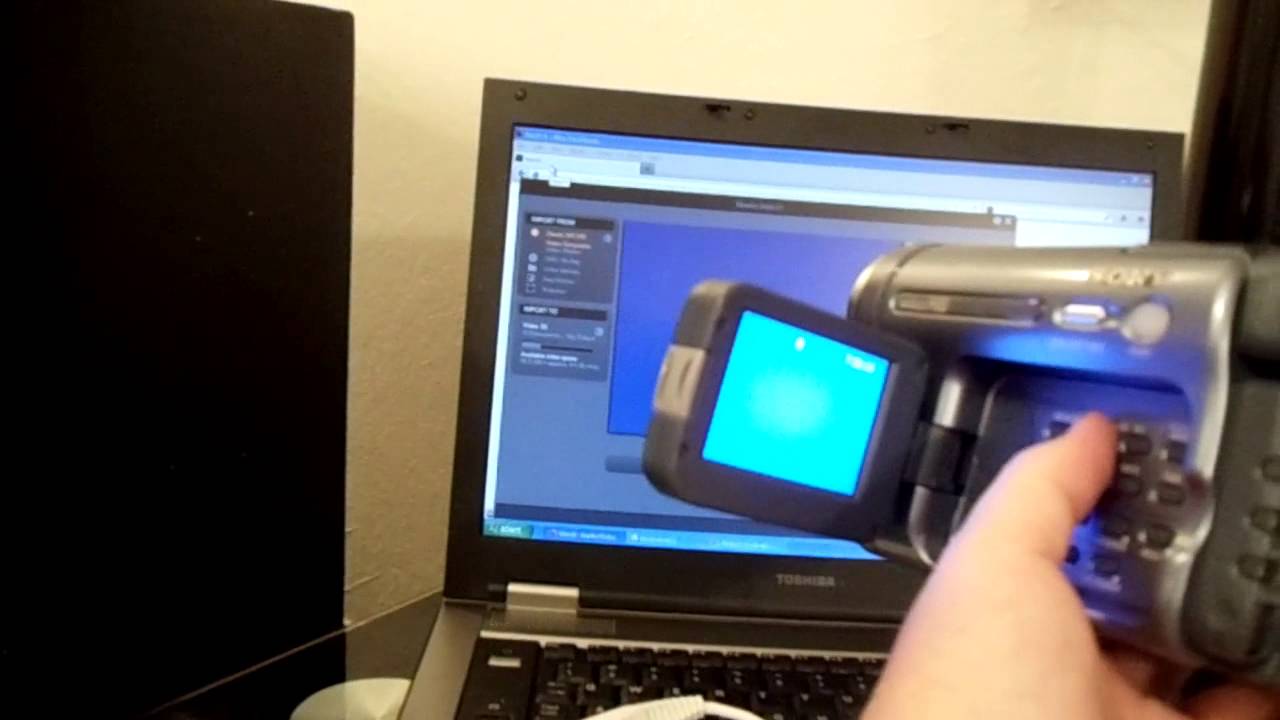
- Connect to Your Computer: With your computer powered on, connect one end of the cable to the appropriate port on your camcorder and the other end to a compatible port on your computer. Once the connection is secure, power on your camcorder.
- Camcorder Recognition: Your computer should recognize the connected camcorder and may prompt you with options for how to access the files. Follow the on-screen instructions to proceed.
- Driver Installation (If Required): In some cases, your computer may require the installation of specific drivers to communicate with your camcorder effectively. If prompted to install drivers, follow the installation process as directed by your computer’s operating system.
By following these steps, you’ll establish a direct link between your camcorder and your computer, enabling the seamless transfer of video files. Once the connection is established, you’re ready to move on to the next step: transferring the video files from your camcorder to your computer.
Step 3: Transfer the Video Files
With your camcorder successfully connected to your computer, it’s time to transfer the video files from the camcorder’s storage to your computer’s hard drive. Here’s how to proceed with the file transfer:
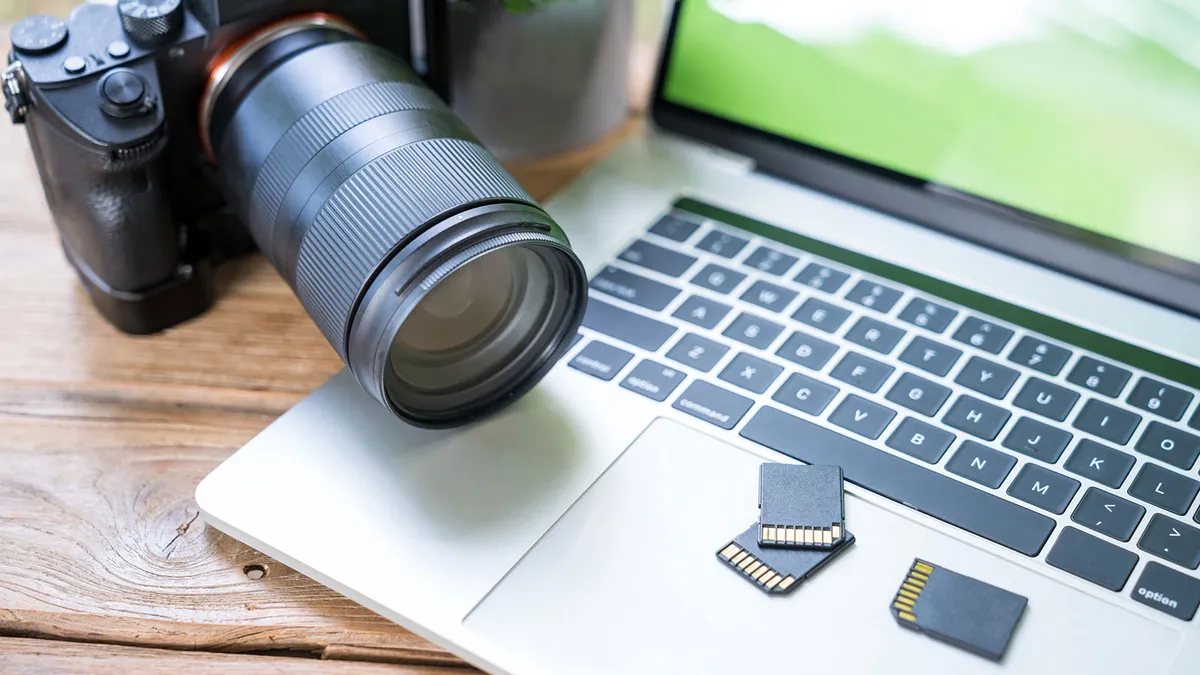
- Access the Camcorder’s Storage: Once the connection is established, navigate to the storage or memory card of your camcorder on your computer. This can typically be done through the “My Computer” or “This PC” interface on Windows or the Finder window on Mac.
- Select the Video Files: Locate the video files you wish to transfer. Depending on your camcorder model and settings, the video files may be stored in specific folders or directories within the camcorder’s storage. Select the desired video files for transfer.
- Copy or Drag the Files: With the video files selected, initiate the transfer process by either copying the files and pasting them into a designated folder on your computer or dragging the files directly from the camcorder’s storage to a location on your computer’s hard drive.
- Monitor the Transfer Progress: During the file transfer, monitor the progress to ensure that the video files are being copied or moved successfully to your computer. Depending on the file size and transfer speed, this process may take some time.
- Verify the Transferred Files: Once the transfer is complete, verify that the video files have been successfully transferred to your computer. Navigate to the destination folder and confirm that the transferred files are intact and accessible.
By following these steps, you’ll effectively transfer the video files from your camcorder to your computer, allowing you to access and work with the footage seamlessly. With the video files safely stored on your computer, you’re now ready to proceed to the next step: editing and saving your video.
Step 4: Edit and Save Your Video
Now that your video files are safely transferred to your computer, it’s time to unleash your creativity and bring your footage to life through the editing process. Follow these steps to edit and save your video:
- Choose Editing Software: Open your preferred video editing software on your computer. If you don’t have a specific editing program installed, consider using popular options such as Adobe Premiere, Final Cut Pro, iMovie, or Windows Movie Maker.
- Import Video Files: Within the editing software, import the video files that you transferred from your camcorder. This typically involves selecting the “Import” or “Add Media” option and navigating to the location where your video files are stored on your computer.
- Arrange and Edit Footage: Once the video files are imported, arrange them on the editing timeline in the desired sequence. You can then begin the editing process, which may include trimming footage, adding transitions, incorporating music or sound effects, and enhancing the visual quality of the video.
- Apply Effects and Enhancements: Explore the various effects and enhancements offered by the editing software to elevate the visual appeal of your video. This may involve color correction, special effects, text overlays, and other creative elements to enhance the storytelling aspect of your footage.
- Save and Export: After completing the editing process, it’s time to save and export your edited video. Choose the appropriate settings for the video format, resolution, and quality based on your intended use, whether it’s for sharing on social media, uploading to a video platform, or preserving as a personal keepsake.
By following these steps, you’ll transform your raw video footage into a polished and captivating creation. Whether you’re crafting a cinematic masterpiece, a heartwarming family montage, or an engaging travel vlog, the editing process allows you to infuse your personal touch and storytelling flair into the video. Once your video is edited and saved, you’re ready to share your creation with the world, capturing the essence of your cherished moments and experiences.
Conclusion
Congratulations! You’ve successfully navigated the process of uploading a video from your camcorder to your computer, unlocking a world of creative possibilities for your cherished footage. By following the step-by-step guide outlined in this article, you’ve gained the knowledge and skills to seamlessly transfer, edit, and save your video files, transforming them into captivating visual stories.
Throughout this journey, you’ve gathered the essential equipment, established a connection between your camcorder and computer, transferred the video files with precision, and delved into the art of video editing. Each step has brought you closer to realizing the full potential of your video footage and expressing your unique storytelling vision.
As you continue to explore the realm of video creation, remember that the process of uploading and editing videos is not merely a technical endeavor; it’s a platform for self-expression, creativity, and the preservation of meaningful moments. Whether you’re documenting family milestones, capturing breathtaking landscapes, or sharing your passions with the world, your videos are a reflection of your experiences and perspectives.
With your newfound expertise, you’re poised to embark on future video projects with confidence, armed with the ability to transfer, edit, and share your video creations. Embrace the art of storytelling through video, experiment with different editing techniques, and let your imagination guide you as you craft compelling visual narratives.
So, as you embark on your next video adventure, remember that the process of uploading a video from a camcorder to your computer is not merely a technical task; it’s a gateway to unleashing your creativity and sharing your stories with the world.