Introduction
Understanding MIDI Keyboards and Drum Pads
MIDI keyboards and drum pads are versatile musical instruments that offer a wide range of creative possibilities for music producers, beatmakers, and performers. While MIDI keyboards are commonly associated with playing melodies and harmonies, they can also be used as drum pads to trigger percussion sounds and create rhythmic patterns. This dual functionality makes MIDI keyboards an invaluable tool for musicians seeking to expand their sonic palette and streamline their music production workflow.
When used as a drum pad, a MIDI keyboard allows you to trigger drum samples and create beats with the familiar feel of playing a traditional drum kit. This opens up new avenues for experimentation and performance, enabling you to seamlessly switch between playing melodies and crafting rhythmic grooves within the same instrument. Whether you're a seasoned producer or a beginner exploring the world of music production, harnessing the drum pad capabilities of a MIDI keyboard can significantly enhance your creative process and musical output.
In this guide, we will delve into the intricacies of using a MIDI keyboard as a drum pad, exploring the setup process, sample assignment, and techniques for playing and recording beats. By the end of this tutorial, you will have a comprehensive understanding of how to harness the full potential of your MIDI keyboard as a powerful drum pad, empowering you to unleash your rhythmic creativity and elevate your music productions. Let's embark on this musical journey and unlock the rhythmic possibilities offered by your MIDI keyboard.
Understanding MIDI Keyboards and Drum Pads
Before delving into the practical aspects of using a MIDI keyboard as a drum pad, it’s essential to grasp the fundamental concepts behind these versatile musical tools. MIDI, which stands for Musical Instrument Digital Interface, is a communication protocol that enables electronic musical instruments, computers, and other devices to connect and interact with each other. MIDI keyboards and drum pads utilize this protocol to transmit musical data, such as note triggers, velocity, and control messages, to external devices, software, or hardware.
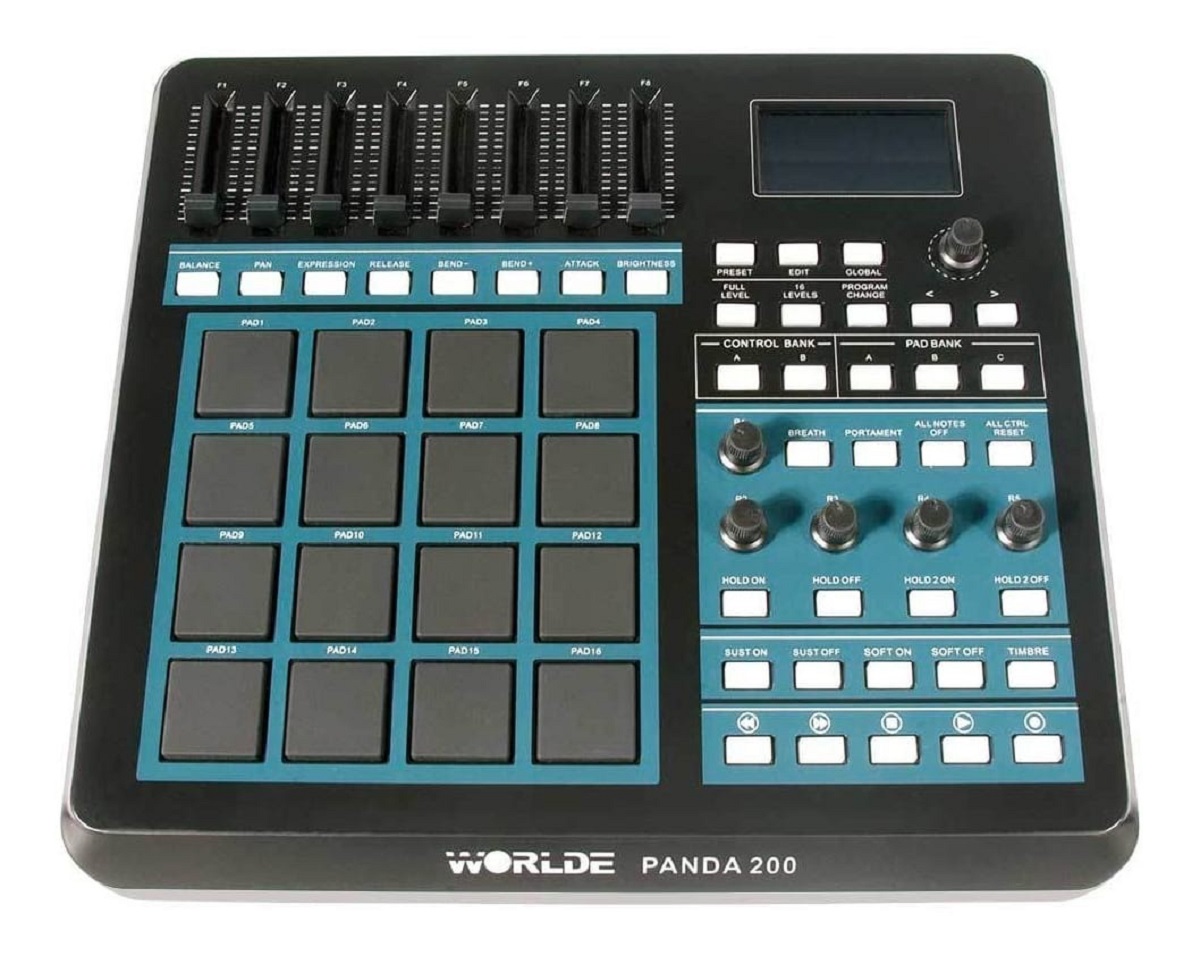
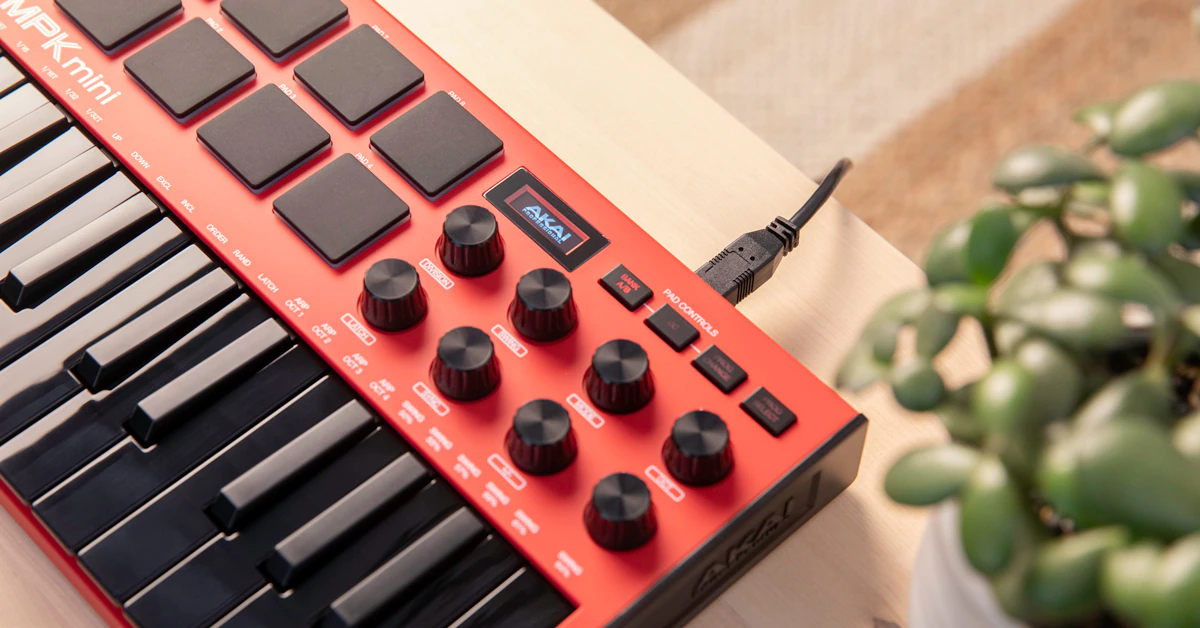
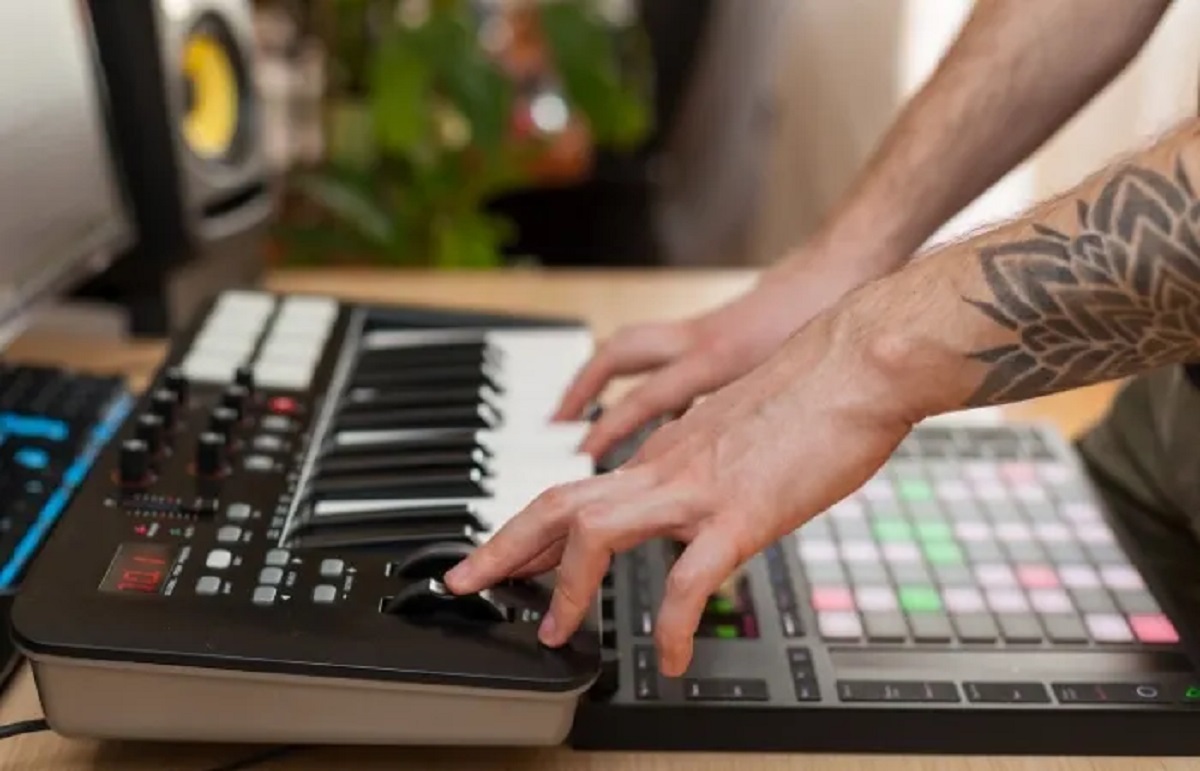
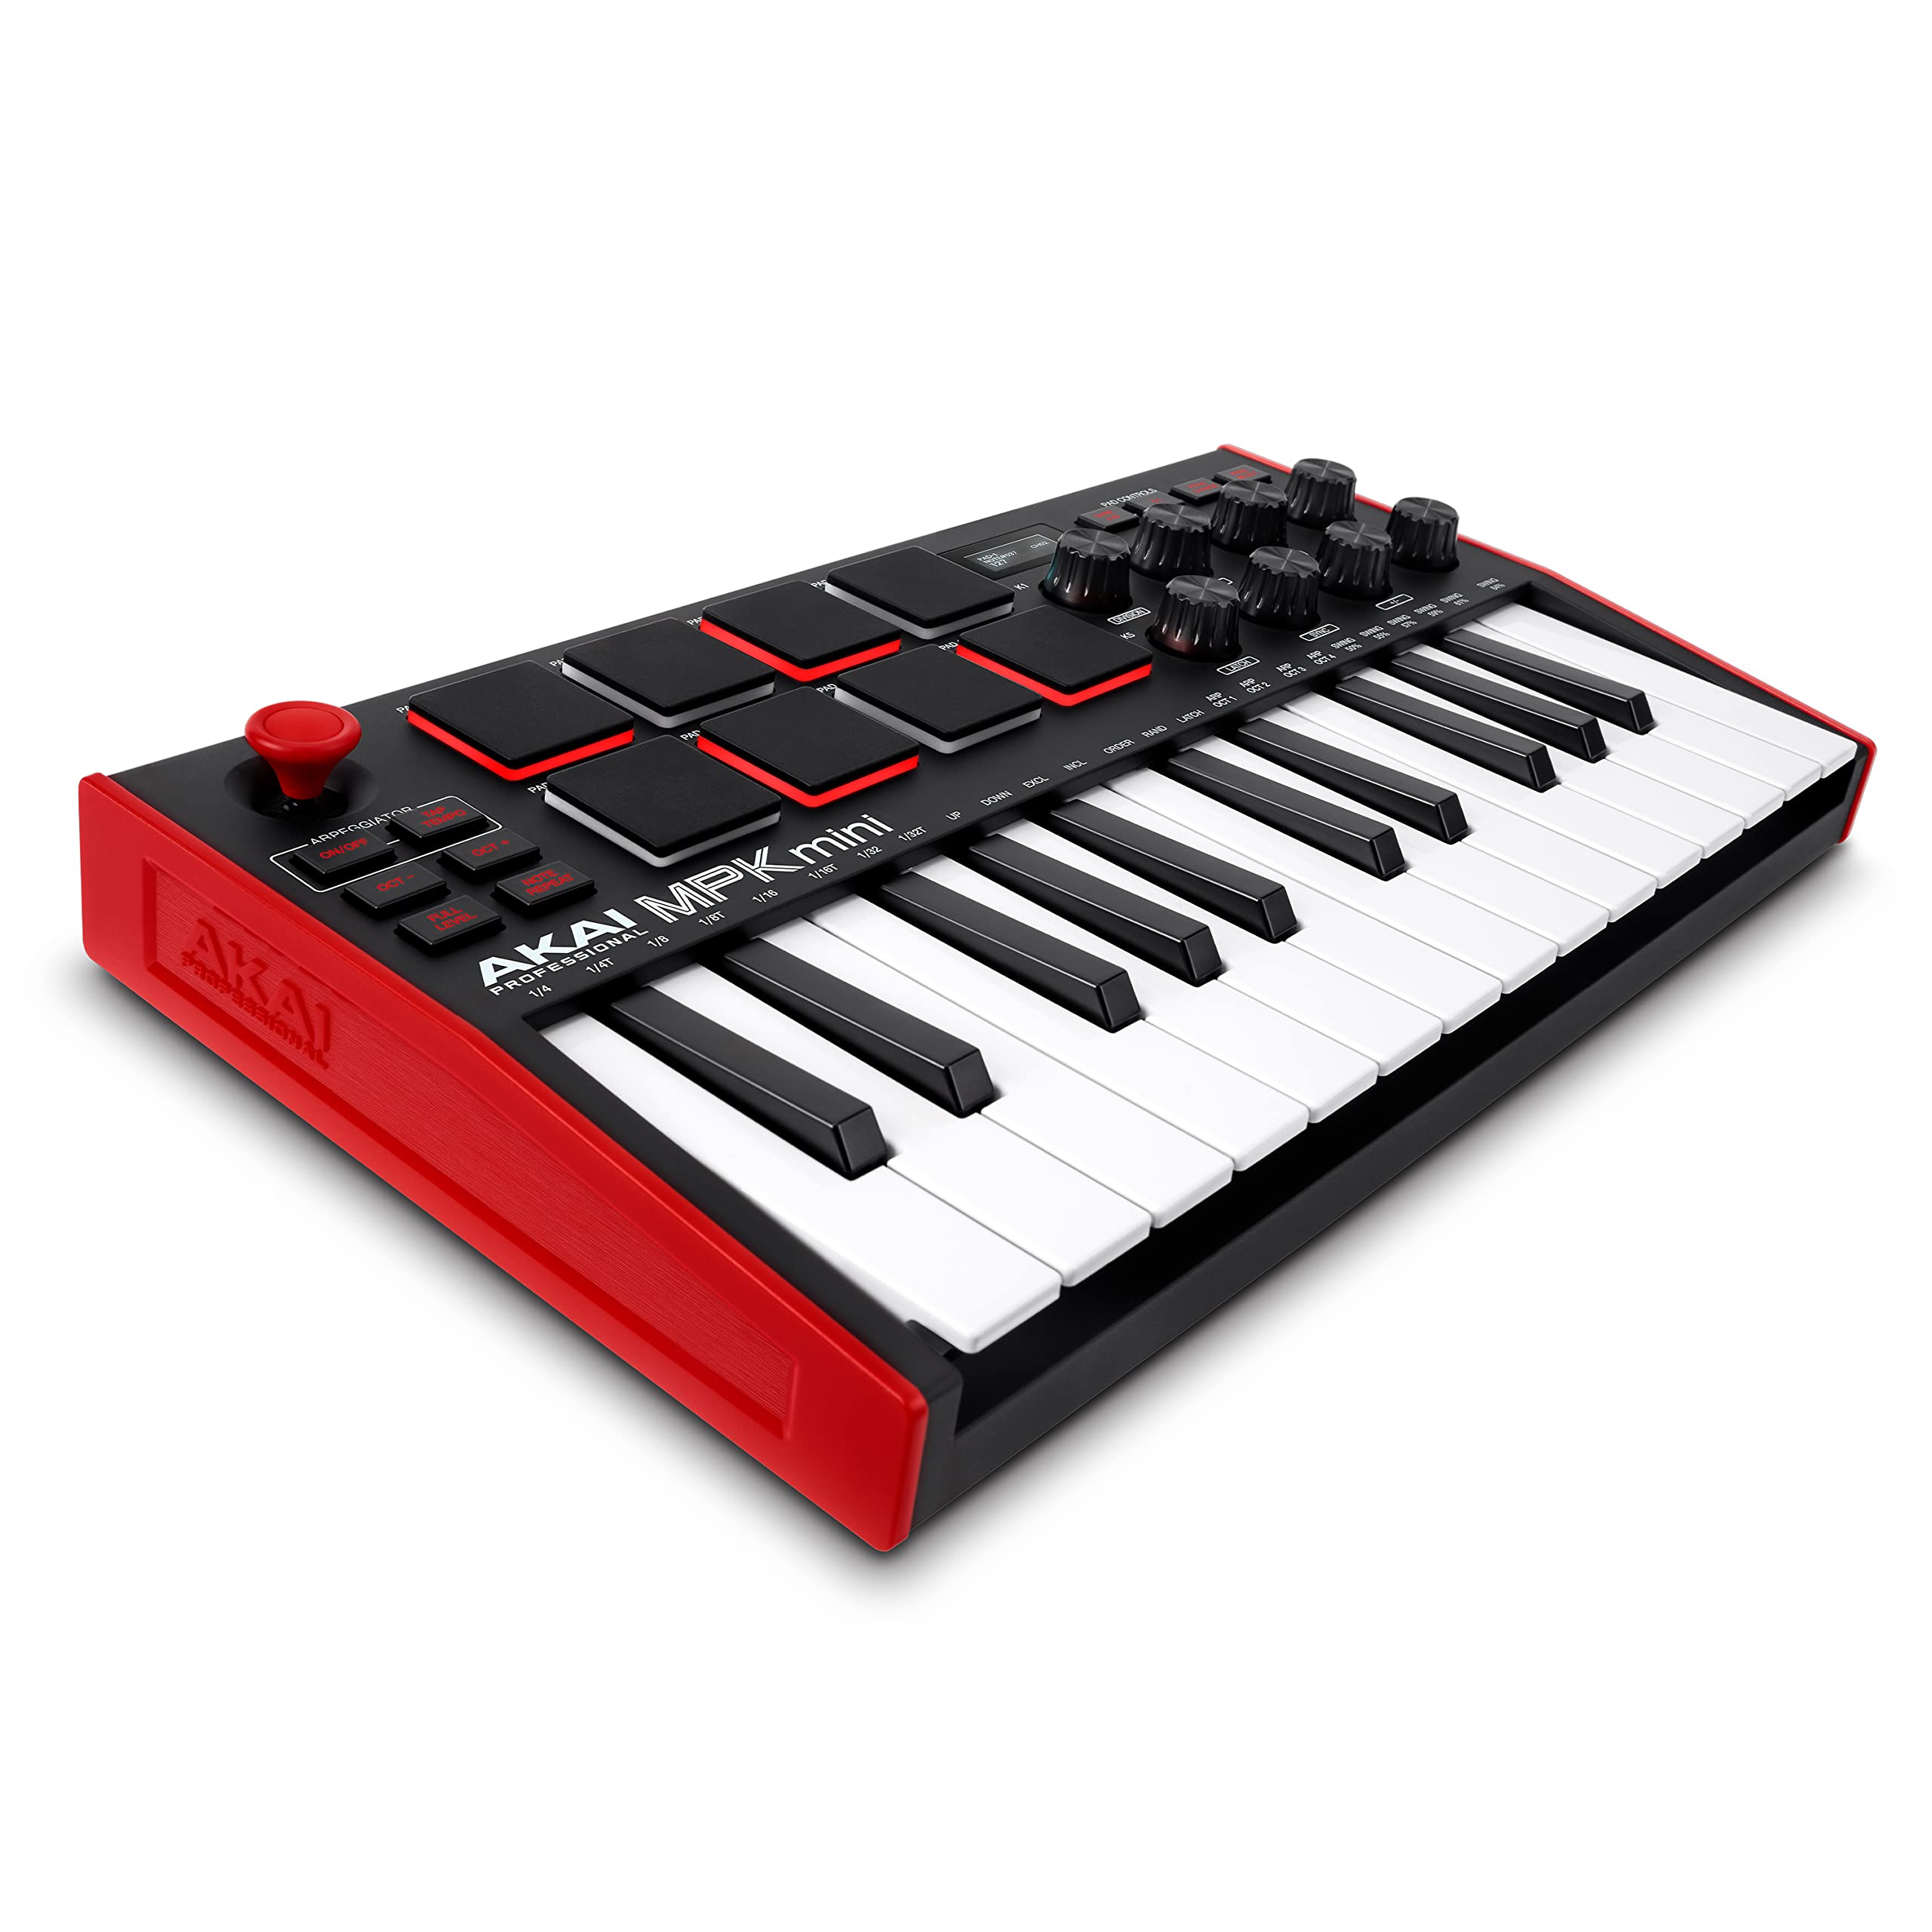
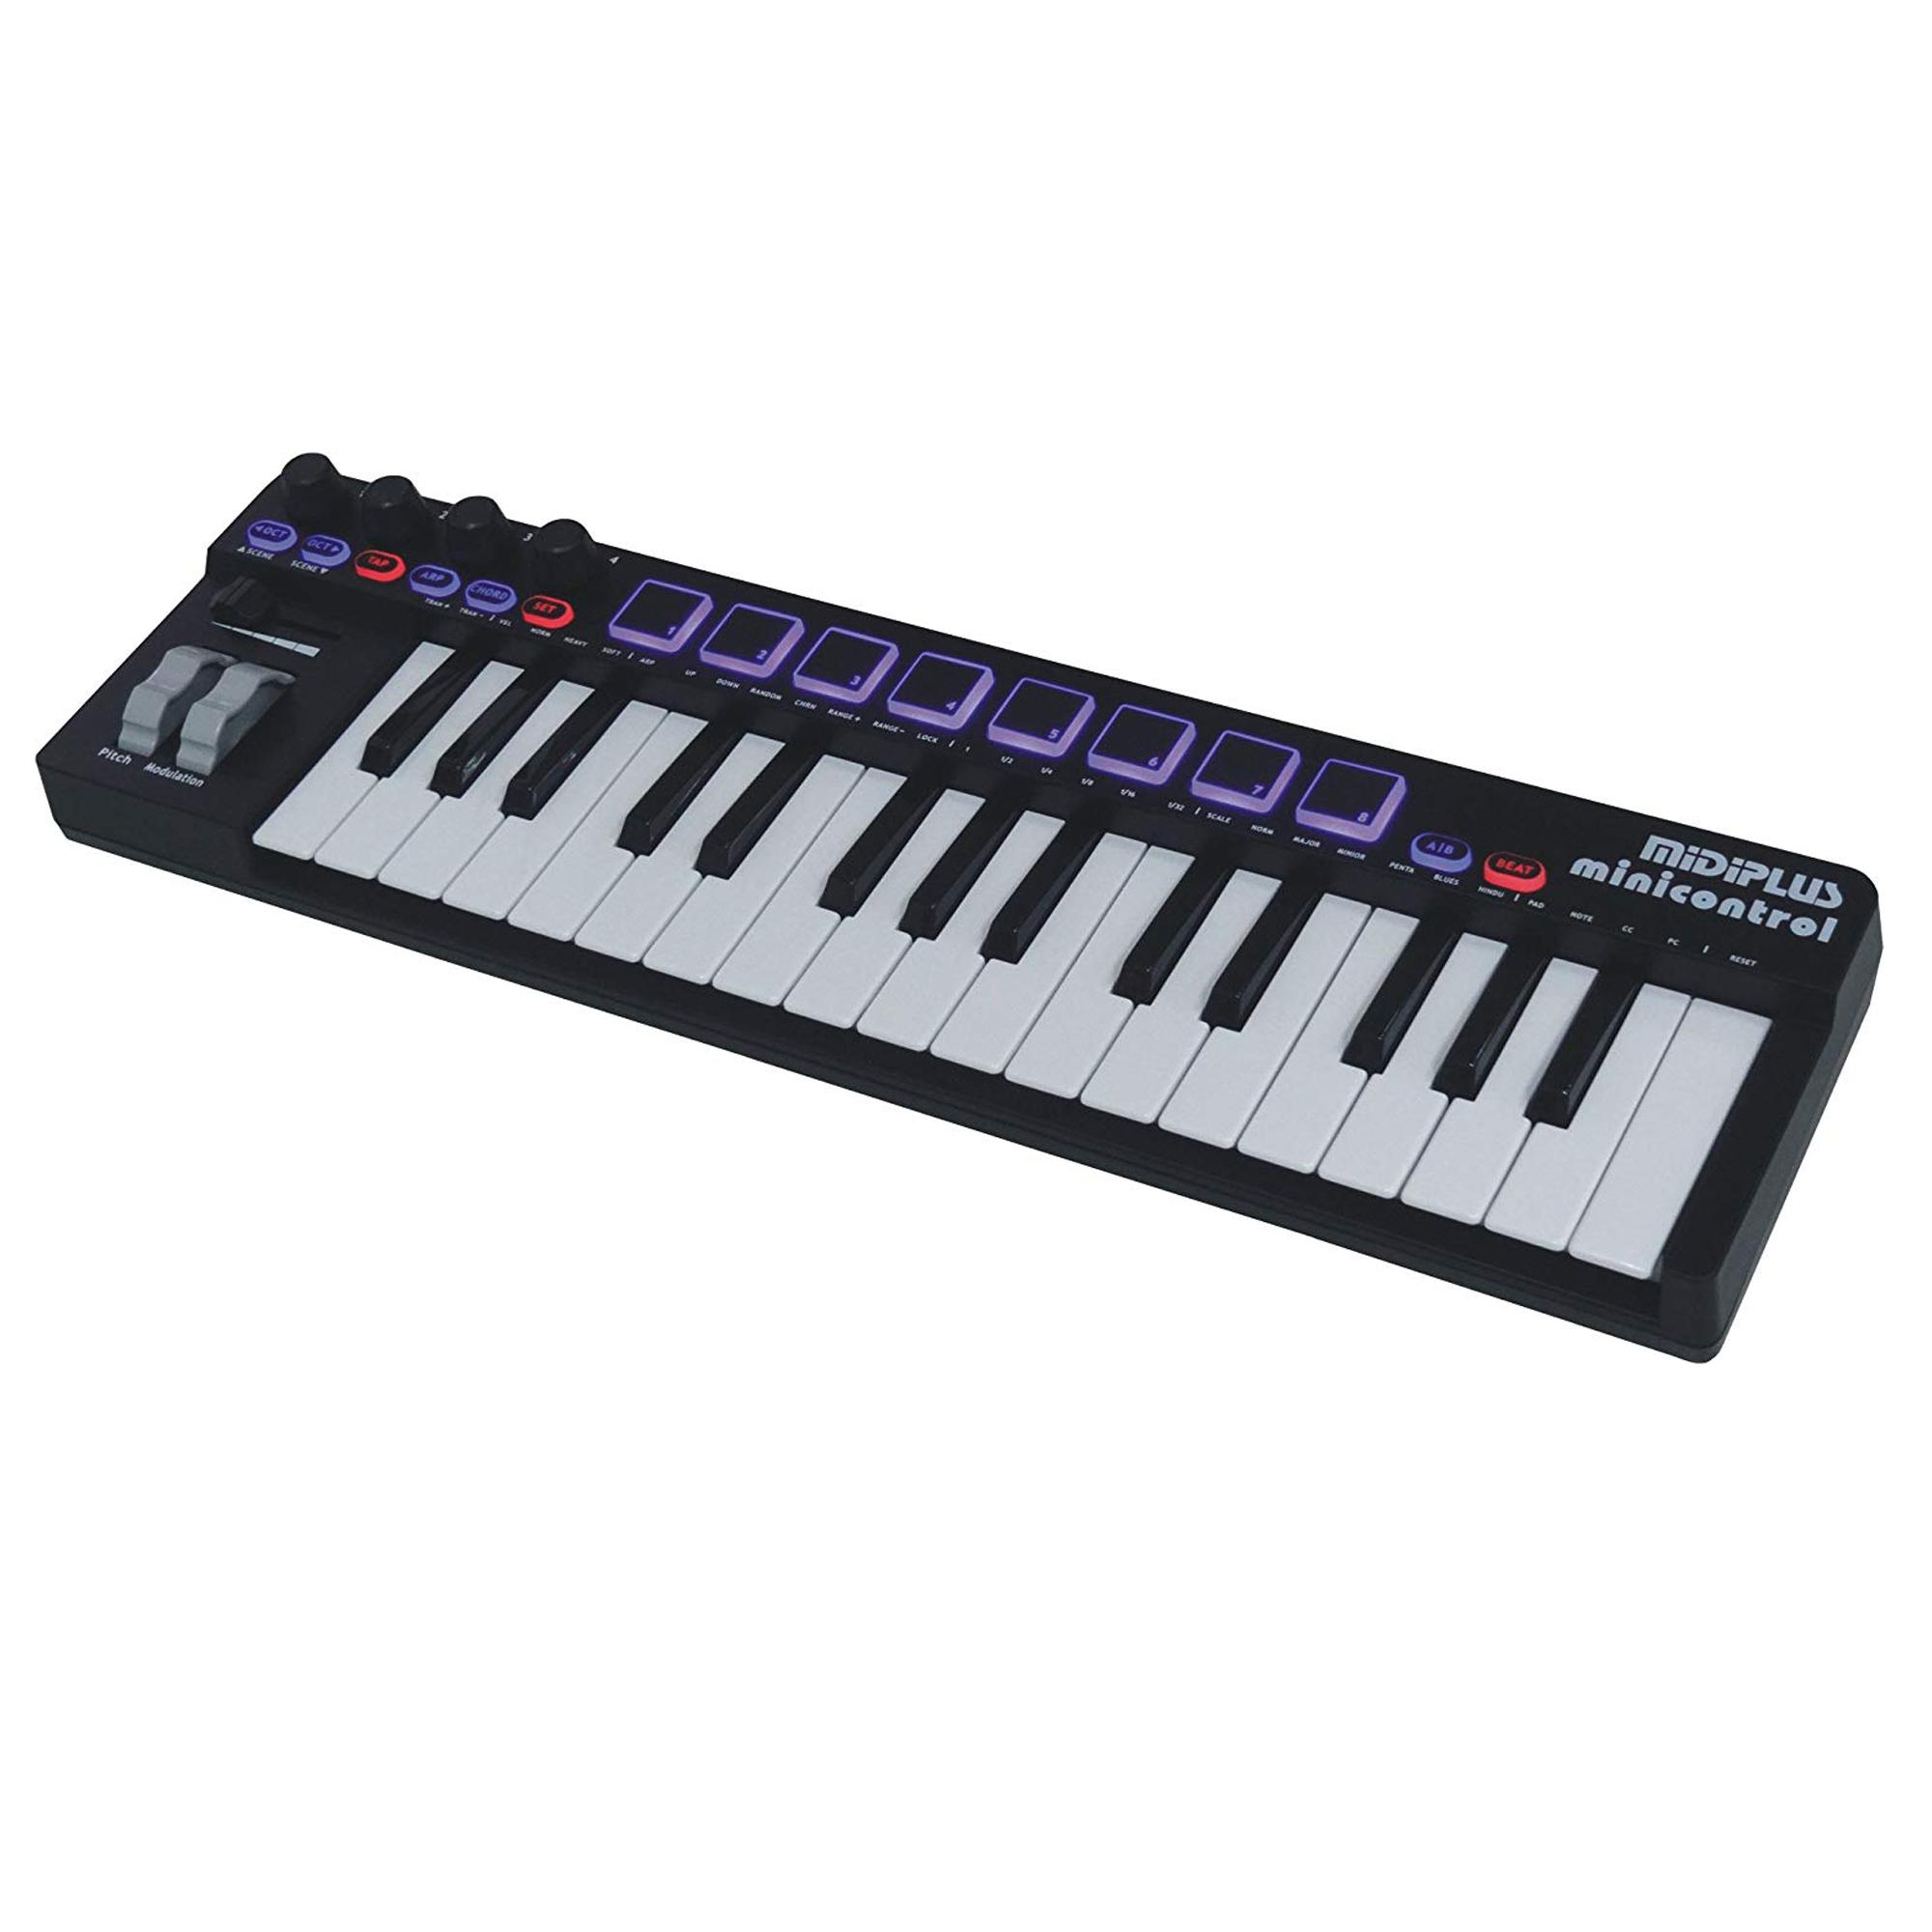
A MIDI keyboard typically features piano-style keys, velocity-sensitive pads, knobs, and sliders, offering a tactile interface for playing and controlling various musical parameters. These keyboards come in a range of sizes, from compact 25-key models to full-sized 88-key versions, catering to different playing styles and space constraints. On the other hand, drum pads are designed specifically for triggering percussion sounds and samples, providing a responsive and expressive platform for creating rhythmic patterns and beats.
Many modern MIDI keyboards are equipped with drum pad functionality, allowing users to switch between playing melodic notes and triggering drum sounds seamlessly. This integration enables musicians to harness the expressive capabilities of both instruments within a single unit, streamlining the music production process and enhancing live performance setups. Additionally, MIDI keyboards and drum pads often feature programmable controls, allowing users to map specific functions and parameters to different keys, pads, or knobs, further expanding their creative potential.
Understanding the technical specifications and capabilities of your MIDI keyboard and drum pad is crucial for leveraging their full potential in music production and performance. Whether you’re exploring rhythmic experimentation, beatmaking, or live electronic music performance, the versatile nature of MIDI keyboards and drum pads empowers you to explore new sonic territories and infuse your music with dynamic rhythmic elements.
Setting Up Your MIDI Keyboard as a Drum Pad
Setting up your MIDI keyboard as a drum pad involves configuring the device to recognize and transmit percussion triggers effectively. Before proceeding, ensure that your MIDI keyboard is connected to your computer or music production setup via USB or MIDI cables, and that the necessary drivers and software are installed and updated.
1. Selecting the Drum Pad Mode: Many MIDI keyboards with drum pad functionality feature a dedicated mode that allows users to switch between playing melodic notes and triggering drum sounds. Consult your keyboard’s user manual to locate and activate the drum pad mode, which may involve pressing specific buttons or engaging a designated control on the device.
2. Configuring MIDI Channels: To ensure seamless communication between your MIDI keyboard and music production software, configure the MIDI channels for the drum pad function. Assign specific MIDI channels to the drum pads, aligning them with the corresponding channels in your software to enable accurate triggering of percussion samples.
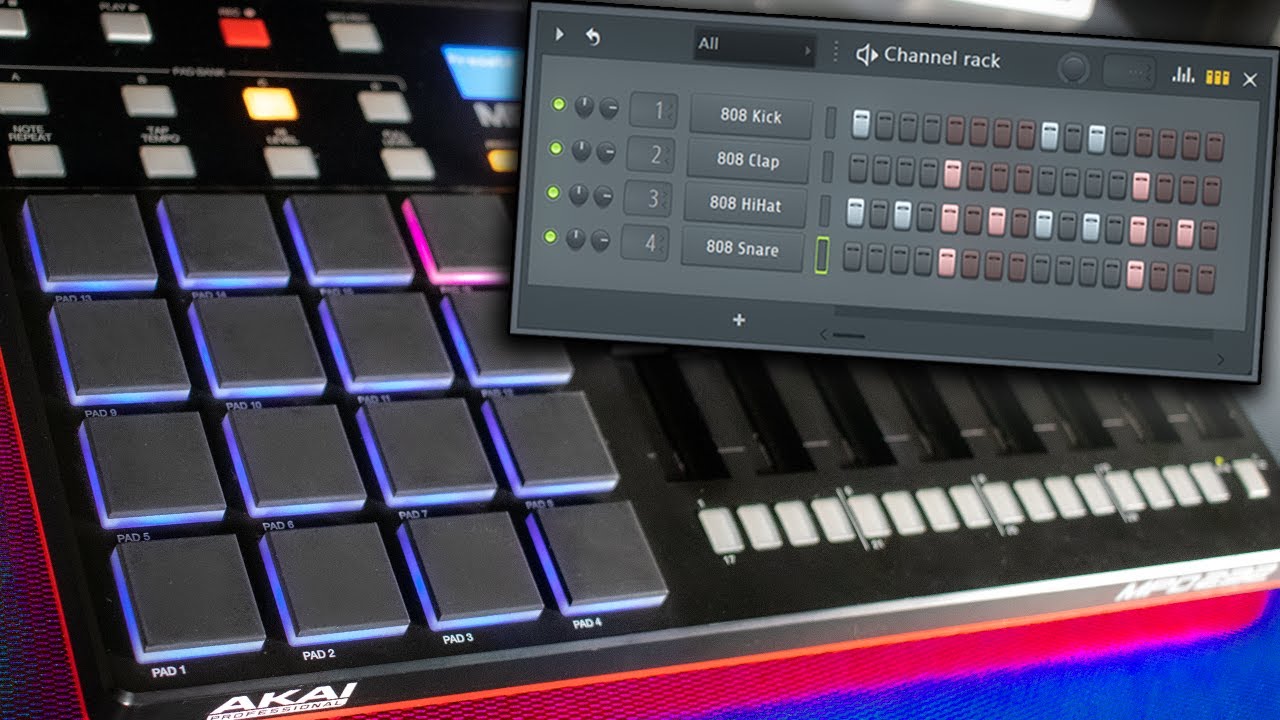
3. Mapping Drum Pads: Many music production software packages, such as Ableton Live, FL Studio, and Logic Pro, offer intuitive interfaces for mapping drum pads on MIDI controllers. Utilize the software’s MIDI mapping functionality to assign specific drum samples or sounds to individual pads on your MIDI keyboard, creating a customized drum kit layout that suits your creative preferences.
4. Adjusting Sensitivity and Velocity: Fine-tune the sensitivity and velocity settings of your MIDI keyboard’s drum pads to ensure optimal responsiveness and dynamic range. This step involves adjusting parameters such as pad sensitivity, velocity curve, and aftertouch to align the drum pad’s performance with your playing style and expressive nuances.
By following these steps, you can effectively set up your MIDI keyboard as a drum pad, unlocking its potential for triggering percussion sounds and creating rhythmic patterns with precision and flexibility. This foundational configuration paves the way for seamless integration of your MIDI keyboard into your music production workflow, empowering you to explore new rhythmic possibilities and elevate your creative output.
Assigning Drum Samples to Your MIDI Keyboard
Assigning drum samples to your MIDI keyboard involves the process of linking specific percussion sounds or drum kits to the individual pads or keys on the device. This customization allows you to create a personalized drum kit layout, tailored to your musical preferences and production requirements. Whether you’re using standalone drum sample libraries or integrated software instruments, the following steps will guide you through the process of assigning drum samples to your MIDI keyboard:
1. Selecting Drum Samples: Begin by curating a collection of drum samples that resonate with your creative vision and musical style. These samples can encompass a wide range of percussion sounds, including kicks, snares, hi-hats, cymbals, toms, and various auxiliary percussion elements. Whether you’re crafting electronic beats, emulating acoustic drum kits, or experimenting with hybrid sounds, the quality and diversity of your drum samples play a pivotal role in shaping the sonic identity of your productions.
2. Organizing Drum Samples: Organize your drum samples into categories or kits based on their sonic characteristics and intended usage. This categorization streamlines the assignment process, allowing you to access and assign specific sounds efficiently during music production and performance. Additionally, consider creating custom drum kits tailored to different genres, moods, or project requirements, enhancing your workflow and creative versatility.
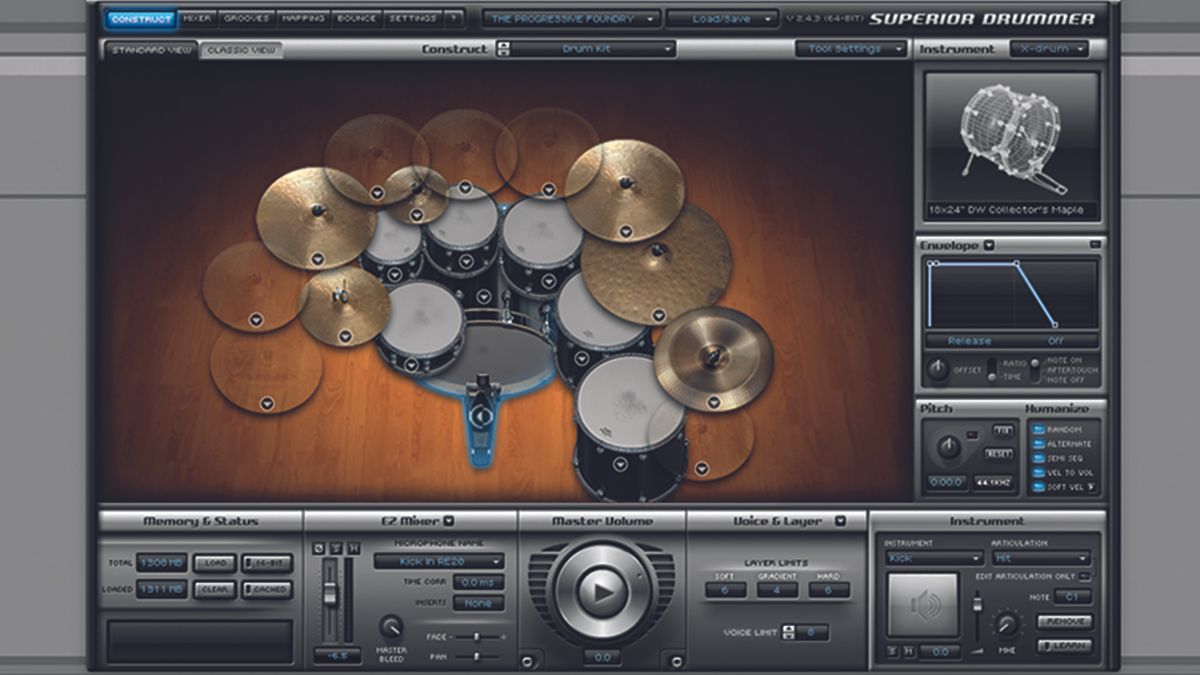
3. Utilizing Drum Sampler Software: Many music production software platforms offer dedicated drum sampler instruments that facilitate the assignment of drum samples to MIDI controllers. These instruments provide intuitive interfaces for loading, mapping, and customizing drum samples, enabling you to create dynamic and responsive drum kits on your MIDI keyboard. Explore the functionalities of drum sampler plugins within your preferred music production software to leverage their capabilities for seamless drum sample assignment.
4. Mapping Drum Samples: Once you have selected and organized your drum samples, proceed to map them to the individual pads or keys on your MIDI keyboard. This mapping process involves associating specific drum sounds with the corresponding triggers on the device, aligning them with your preferred layout and performance requirements. Pay attention to the spatial arrangement and ergonomic considerations when mapping drum samples, ensuring an intuitive and playable configuration.
By following these steps, you can effectively assign drum samples to your MIDI keyboard, transforming it into a dynamic and expressive drum pad instrument. This personalized integration empowers you to unleash your rhythmic creativity, craft compelling beats, and infuse your music with diverse percussion textures, amplifying the impact of your productions and performances.
Playing and Recording Beats with Your MIDI Keyboard
Once you have set up and assigned drum samples to your MIDI keyboard, you can begin playing and recording beats with the instrument, leveraging its drum pad functionality to create dynamic rhythmic patterns and grooves. Whether you’re crafting drum tracks for music production or performing live, the following guidelines will enhance your experience of playing and recording beats with your MIDI keyboard:
1. Familiarizing Yourself with Pad Layout: Take time to familiarize yourself with the pad layout and ergonomics of your MIDI keyboard. Understanding the spatial arrangement of drum pads and their corresponding drum samples enables you to navigate the instrument effortlessly, facilitating seamless performance and recording sessions.
2. Exploring Dynamic Expression: Embrace the velocity-sensitive nature of the drum pads on your MIDI keyboard to infuse your beats with expressive dynamics. By varying the intensity of your strikes on the pads, you can achieve nuanced variations in volume and timbre, adding depth and realism to your rhythmic performances.
3. Utilizing Performance Techniques: Experiment with performance techniques such as finger drumming, pad rolls, and polyrhythmic patterns to inject rhythmic flair and complexity into your beats. These techniques leverage the responsive nature of the drum pads, allowing you to execute intricate rhythmic gestures and embellishments with precision and finesse.
4. Recording MIDI Data: When recording beats with your MIDI keyboard, utilize the MIDI recording functionality of your music production software to capture the performance as MIDI data. This approach preserves the dynamic nuances and intricacies of your rhythmic performance, enabling you to edit, quantize, and manipulate the MIDI data to refine your beats further.
5. Layering and Sequencing: Explore the potential for layering multiple drum samples and sequencing rhythmic patterns in real-time using your MIDI keyboard. Experiment with layering kick, snare, and percussion elements to construct cohesive and compelling drum arrangements, harnessing the versatility of the instrument to craft diverse rhythmic textures.
By embracing these approaches, you can elevate your rhythmic creativity and proficiency in playing and recording beats with your MIDI keyboard. The instrument’s drum pad functionality empowers you to sculpt dynamic and expressive drum performances, fostering a seamless and immersive drumming experience that enriches your music productions and live performances.
Tips for Using Your MIDI Keyboard as a Drum Pad
1. Dynamic Velocity Mapping: Experiment with velocity mapping to assign different drum sample variations to varying degrees of strike intensity. This technique adds realism and expressiveness to your drum performances, allowing for nuanced articulations and dynamic accents based on your playing dynamics.
2. Customized Drum Kit Layouts: Tailor your drum kit layouts on the MIDI keyboard to suit specific genres, performance styles, or individual projects. Customizing the arrangement of drum samples enhances your workflow efficiency and facilitates intuitive access to percussion sounds during live performances and studio sessions.
3. Layering and Sound Design: Explore the potential for sound design and layering by combining multiple drum samples to create unique hybrid percussion textures. By experimenting with layering and processing drum sounds, you can craft distinctive and impactful rhythmic elements that enrich your music productions.
4. Utilizing MIDI Effects: Leverage MIDI effects within your music production software to enhance the rhythmic capabilities of your MIDI keyboard. Explore features such as arpeggiators, note repeaters, and MIDI quantization to introduce rhythmic modulation and variation, infusing your drum performances with dynamic movement and creativity.
5. Performance Mapping and Macros: Implement performance mapping and macro controls on your MIDI keyboard to manipulate drum samples and parameters in real-time. Assigning macros to control parameters such as pitch, filter cutoff, and effects enables dynamic and expressive manipulation of drum sounds during performances and improvisations.
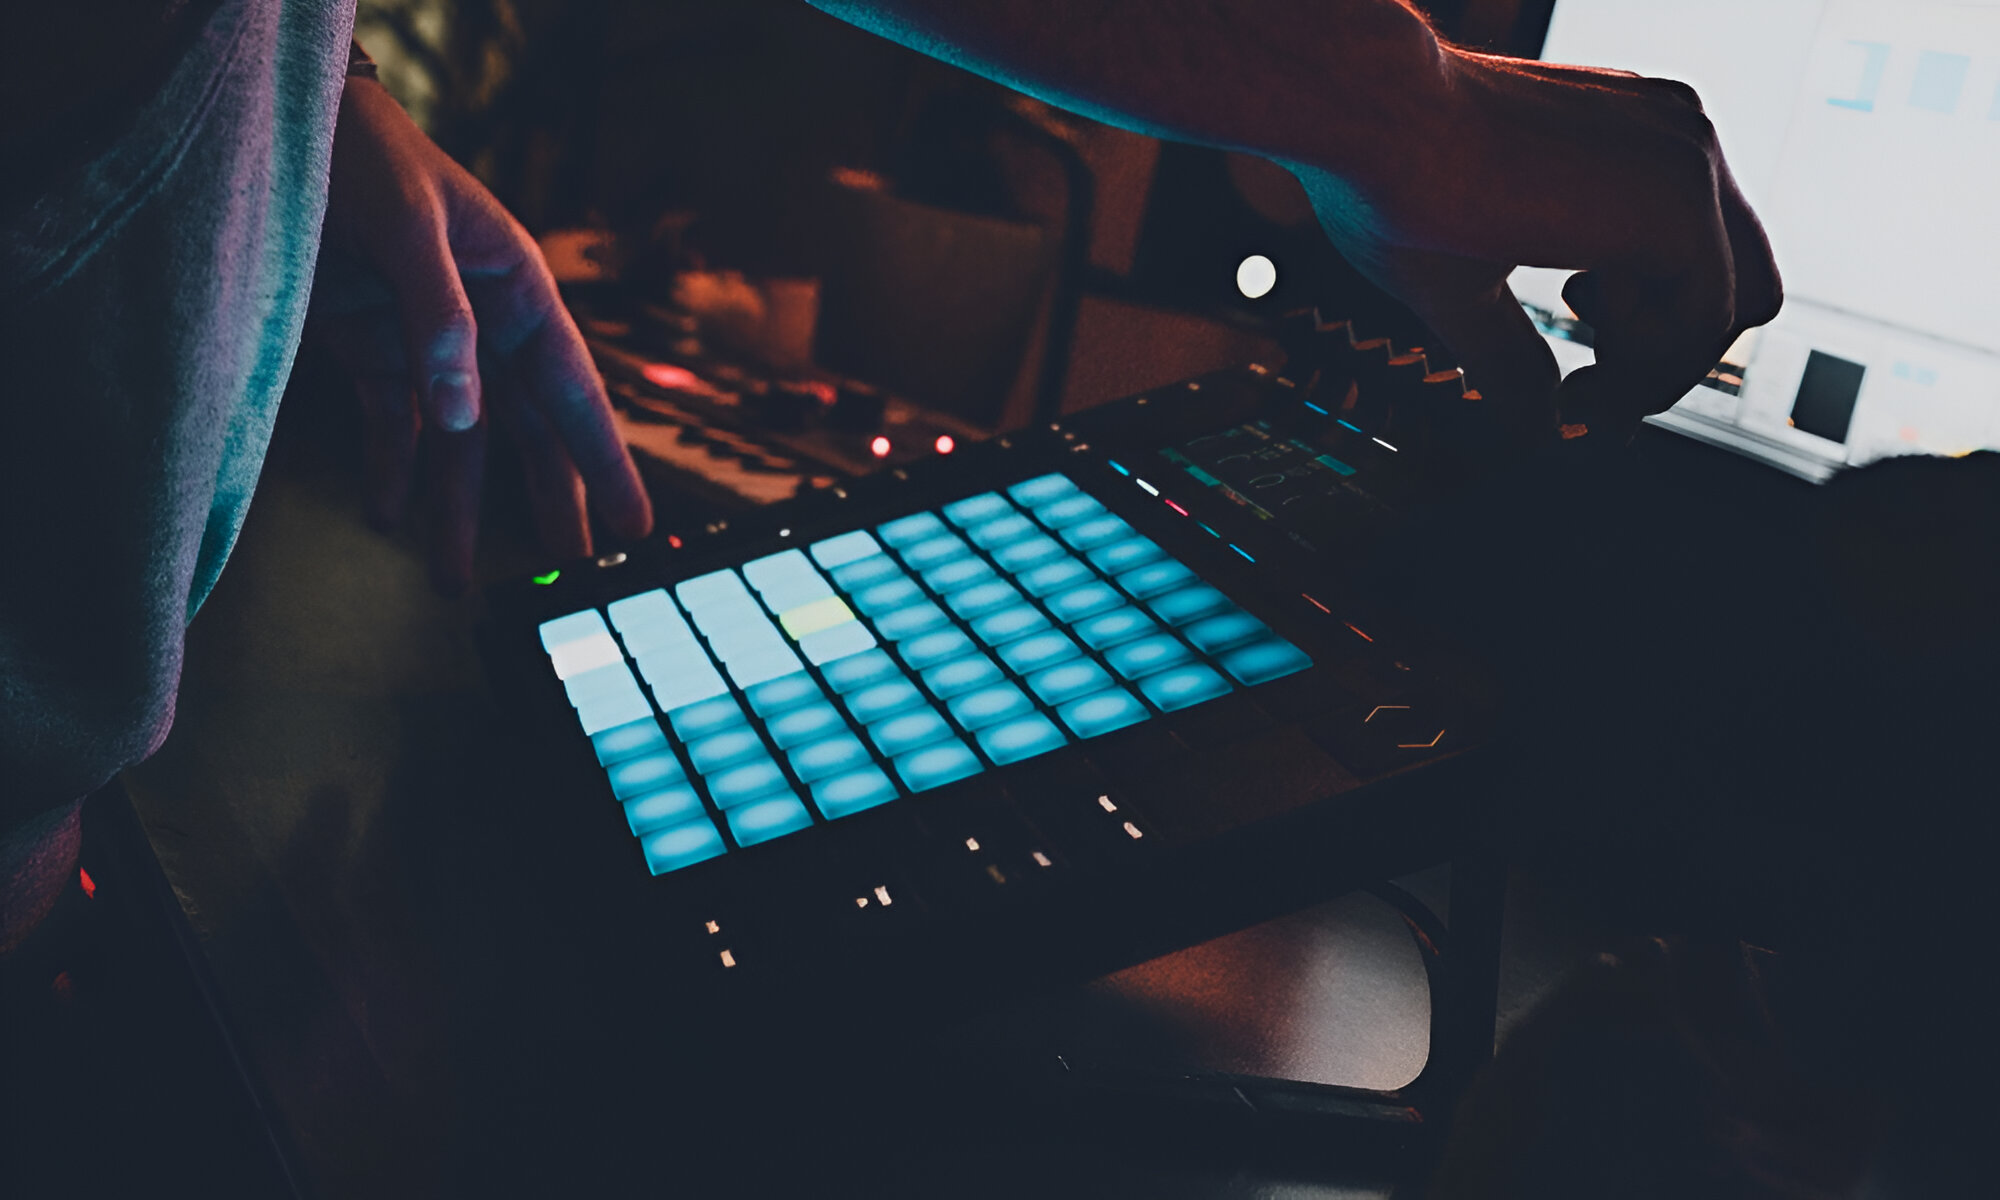
6. Integrating Drum Pad Controllers: Consider integrating dedicated drum pad controllers alongside your MIDI keyboard to expand your rhythmic possibilities. Combining the tactile responsiveness of drum pad controllers with the melodic capabilities of a MIDI keyboard offers a comprehensive and versatile platform for rhythm production and live performance.
By incorporating these tips into your creative process, you can harness the full potential of your MIDI keyboard as a dynamic and expressive drum pad instrument. Embracing experimentation, customization, and performance-oriented techniques empowers you to elevate your rhythmic compositions and performances, infusing them with depth, character, and immersive expressiveness.


