Introduction
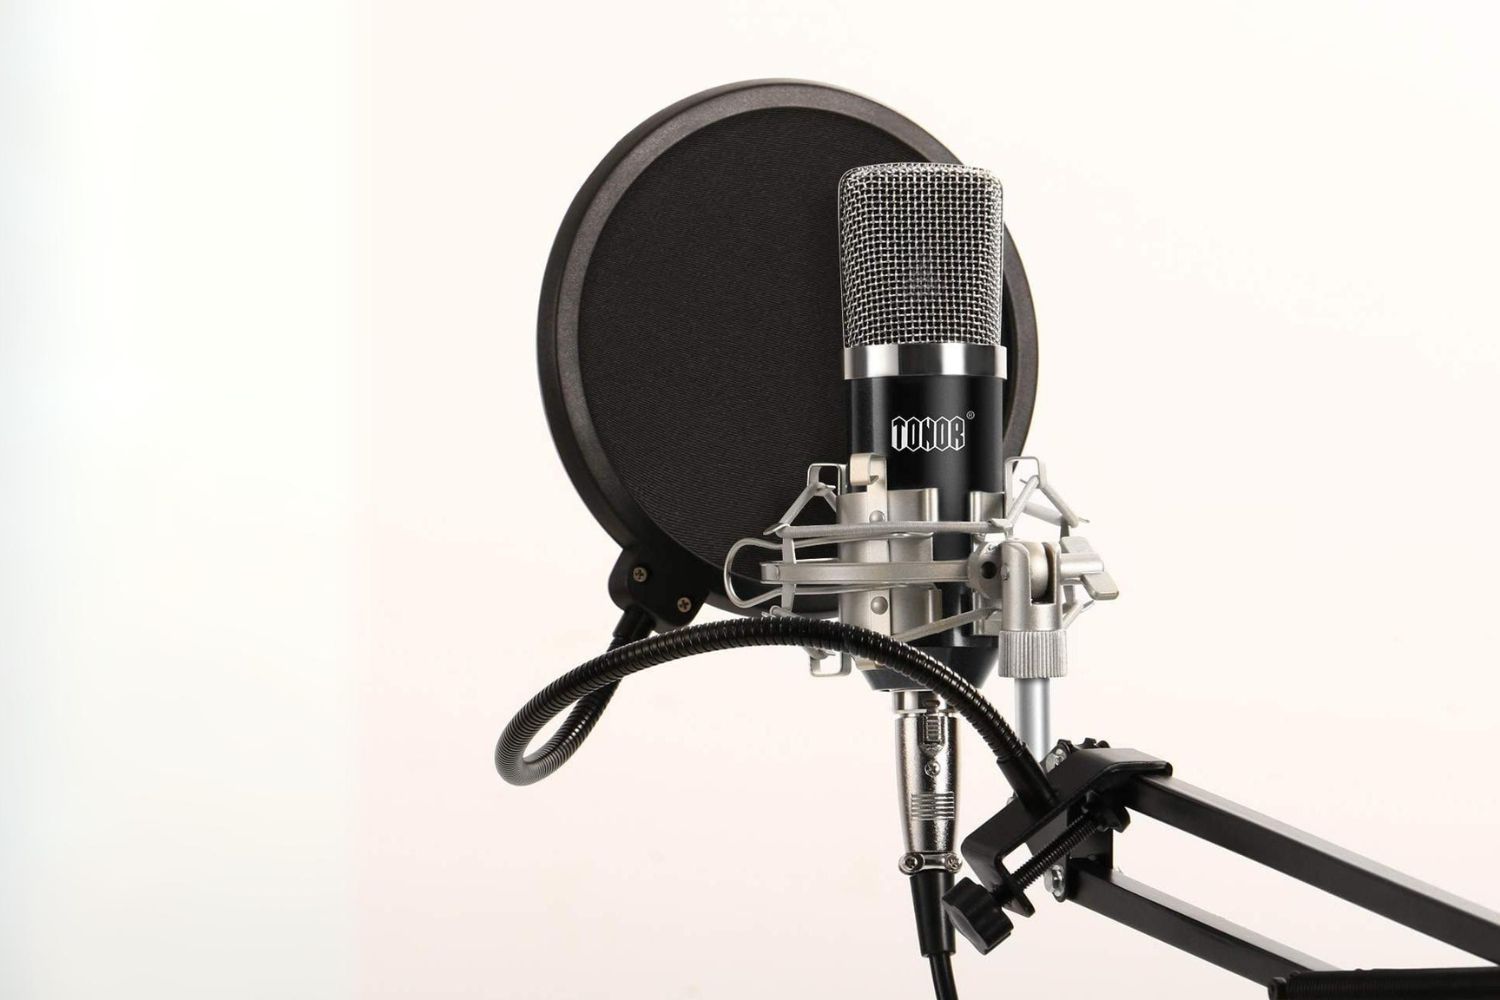
Setting up a USB microphone on Pro Tools is a straightforward process that can significantly enhance your recording capabilities. Whether you're a podcaster, musician, or content creator, utilizing a USB microphone with Pro Tools can elevate the quality of your audio productions. This guide will walk you through the essential steps to seamlessly integrate a USB microphone into your Pro Tools setup, allowing you to capture crisp, professional-grade audio.
A USB microphone offers convenience and versatility, as it can be easily connected to your computer without the need for additional audio interfaces or complex cabling. Pro Tools, a leading digital audio workstation, provides a robust platform for recording, editing, and mixing audio, making it an ideal choice for harnessing the full potential of your USB microphone.
By following the steps outlined in this guide, you'll be able to harness the power of your USB microphone within Pro Tools, unlocking a world of creative possibilities for your audio projects. Whether you're embarking on a vocal recording session, podcast production, or music composition, the seamless integration of a USB microphone with Pro Tools will streamline your workflow and elevate the overall quality of your recordings.
Now, let's delve into the step-by-step process of setting up your USB microphone on Pro Tools, empowering you to capture pristine audio with ease and precision.
Step 1: Connecting the USB Microphone to Your Computer
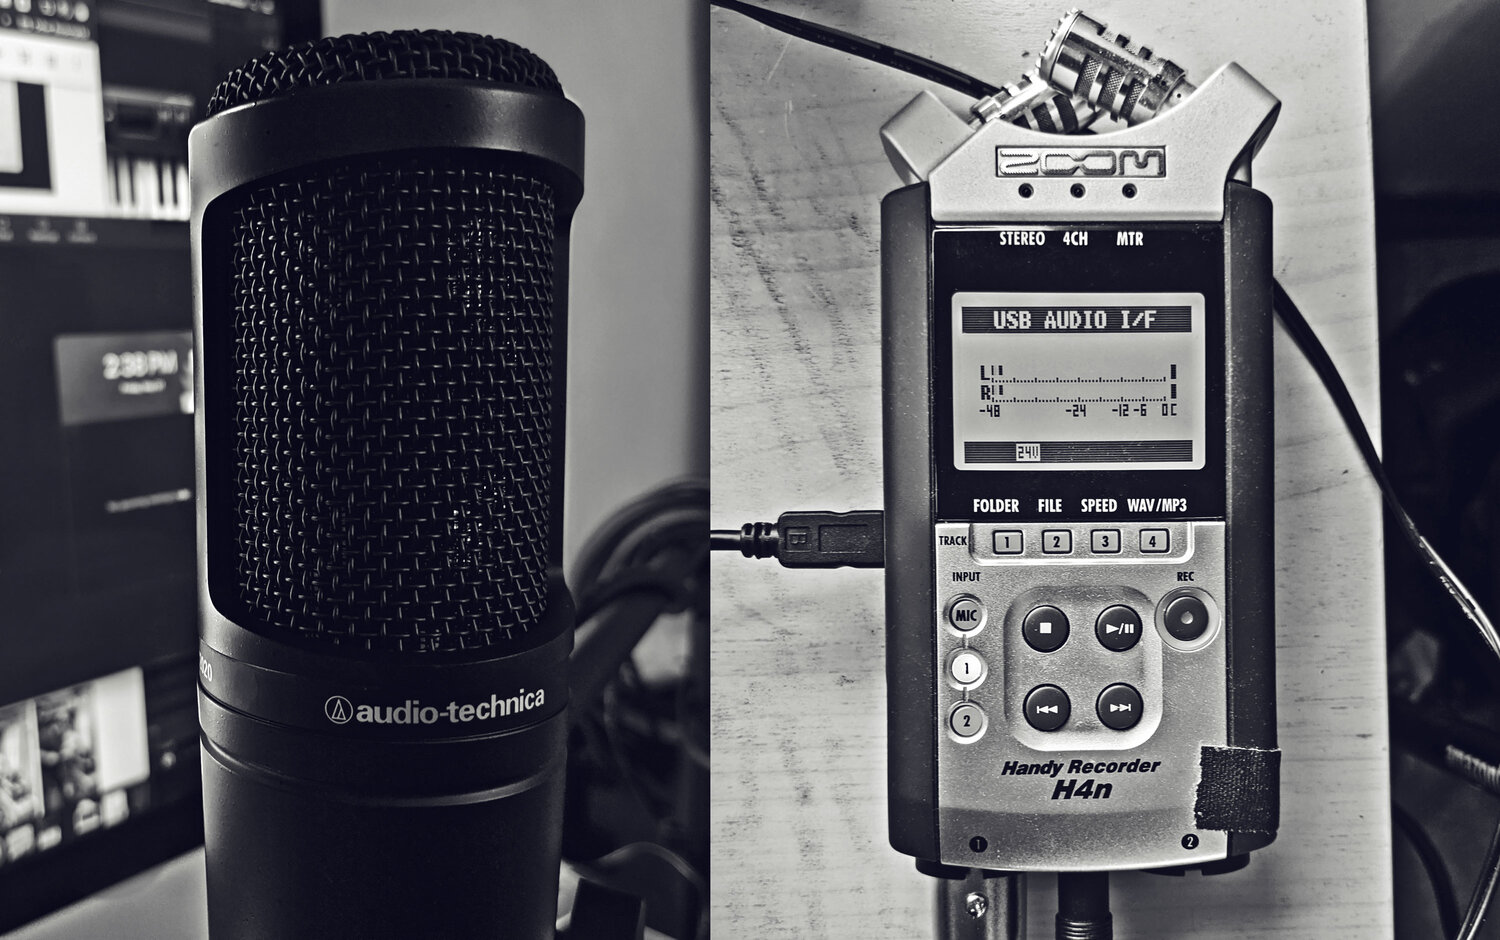
Before integrating your USB microphone with Pro Tools, the initial step involves establishing a secure connection between the microphone and your computer. Follow these simple yet crucial steps to ensure a seamless connection:
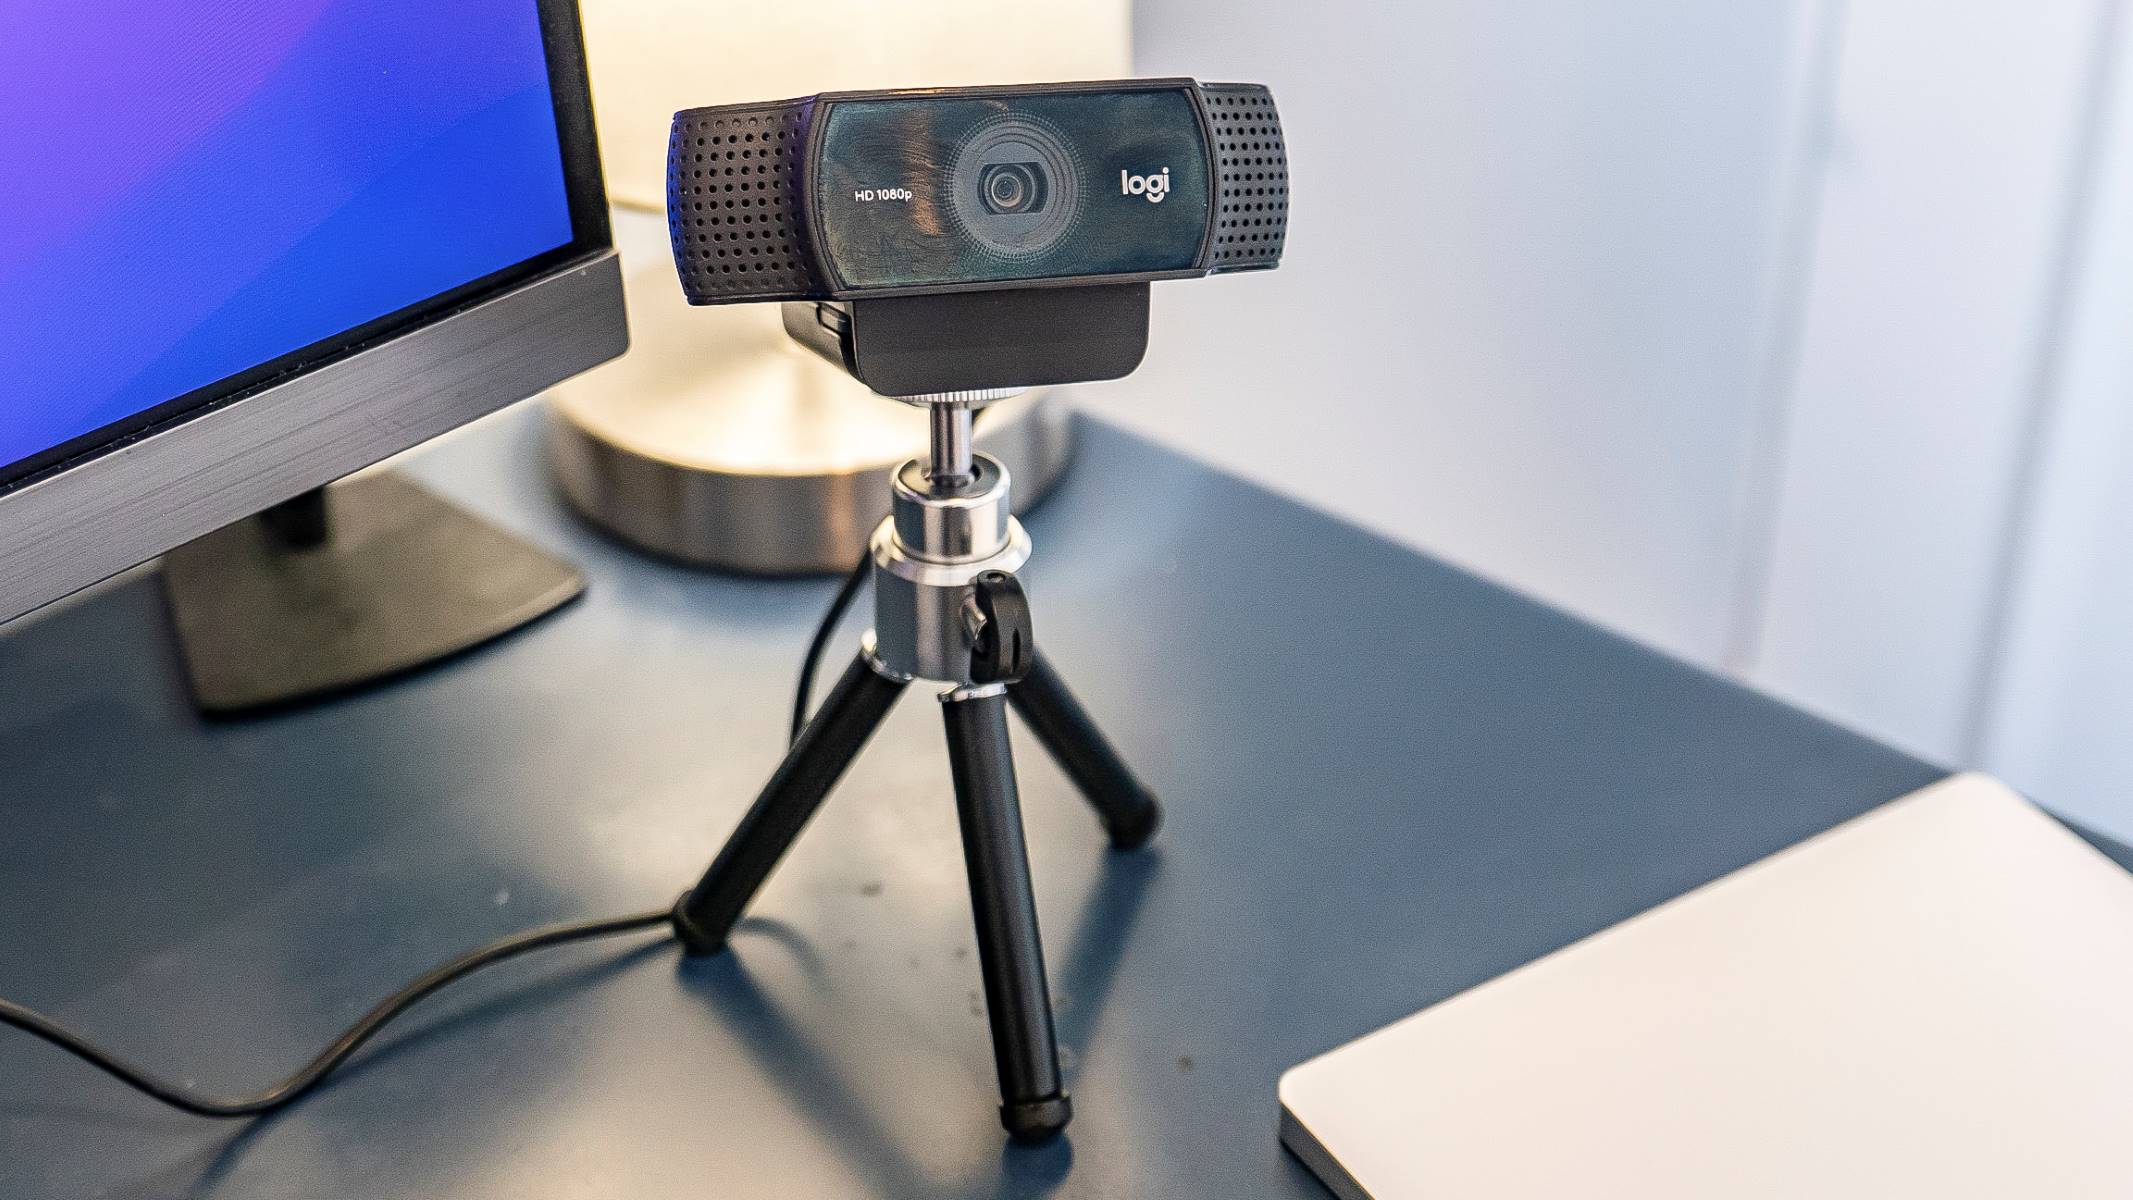
- Locate an Available USB Port: Identify an available USB port on your computer where you can connect the USB microphone. Most modern computers feature multiple USB ports, typically located on the front, back, or sides of the device.
- Insert the USB Connector: Take the USB cable attached to the microphone and insert it firmly into the chosen USB port on your computer. Ensure that the connection is secure to prevent any potential audio disruptions during recording or playback.
- Wait for Automatic Recognition: Once the USB microphone is connected, your computer should automatically recognize the new audio input device. Depending on your operating system, you may see a notification confirming the successful connection of the USB microphone.
- Check Device Compatibility: It’s essential to verify that your USB microphone is compatible with your operating system. Most USB microphones are designed to work seamlessly with Windows, macOS, and Linux systems, but it’s always prudent to check for any specific compatibility requirements or driver installations, especially if you’re using a less common operating system.
After successfully connecting the USB microphone to your computer, you’ve completed the first crucial step in the setup process. This seamless connection lays the foundation for integrating the USB microphone with Pro Tools, enabling you to harness its full potential for high-quality audio capture and production.
Step 2: Configuring Pro Tools for the USB Microphone
Once your USB microphone is successfully connected to your computer, the next vital step involves configuring Pro Tools to recognize and utilize the microphone as the primary audio input device. Follow these essential guidelines to seamlessly configure Pro Tools for your USB microphone:
- Launch Pro Tools: Open the Pro Tools software on your computer to initiate the configuration process. Ensure that you’re using a compatible version of Pro Tools that supports USB audio devices.
- Access the Preferences Menu: Navigate to the “Preferences” or “Settings” menu within Pro Tools. This menu is typically located in the top toolbar or under the main application menu, depending on your operating system.
- Select Audio Settings: Within the Preferences menu, locate the “Audio” or “Hardware” settings. Here, you’ll be able to specify the audio input and output devices that Pro Tools will utilize for recording and playback. Choose the USB microphone as the preferred input device from the available options.
- Adjust Sample Rate and Buffer Size: Depending on your specific recording requirements and hardware capabilities, you may need to adjust the sample rate and buffer size settings within the Pro Tools preferences. These settings impact the audio latency and overall performance, so it’s crucial to configure them according to your recording needs and system capabilities.
- Save and Apply Changes: After specifying the USB microphone as the primary input device and adjusting any necessary settings, save your preferences and apply the changes. This ensures that Pro Tools recognizes and integrates the USB microphone into its recording and playback setup.
By meticulously configuring Pro Tools to recognize and utilize the USB microphone, you’re laying the groundwork for seamless audio capture and production. This crucial step ensures that Pro Tools optimally interfaces with your USB microphone, enabling you to harness its full potential for professional-grade audio recording and editing.
Step 3: Setting Up Input and Output Settings
After configuring Pro Tools to recognize your USB microphone, the next step involves setting up the input and output settings to ensure seamless recording and playback. Follow these essential guidelines to optimize the input and output configurations within Pro Tools:
- Access the I/O Setup: Navigate to the “I/O Setup” or “Input/Output Settings” menu within Pro Tools. This menu allows you to define and customize the input and output paths for audio signals, including those from your USB microphone.
- Define Input Paths: Within the I/O Setup menu, specify the input paths for your USB microphone. Assign the appropriate channels and labels to ensure that Pro Tools accurately captures audio from the USB microphone during recording sessions.
- Configure Output Paths: Similarly, configure the output paths to direct audio playback to the desired monitoring devices or speakers. Ensure that the output settings align with your monitoring setup to facilitate accurate playback and monitoring of recorded audio.
- Verify Signal Routing: Double-check the signal routing within the I/O Setup to confirm that audio signals from the USB microphone are routed to the intended tracks and monitoring outputs. This verification ensures that your recording and playback paths are accurately defined within Pro Tools.
- Save and Apply Settings: Once you’ve customized the input and output settings to accommodate your USB microphone, save the configurations within the I/O Setup menu. Applying these settings ensures that Pro Tools optimally interfaces with your USB microphone during recording and playback tasks.
By meticulously setting up the input and output configurations within Pro Tools, you’re enhancing the integration of your USB microphone into the recording environment. These tailored settings enable precise control over audio input and output, empowering you to capture, monitor, and playback audio with utmost clarity and fidelity.
Step 4: Testing the USB Microphone
Once you’ve completed the setup and configuration of your USB microphone within Pro Tools, it’s crucial to conduct thorough testing to ensure that the microphone is functioning optimally and seamlessly integrated with the software. Follow these essential steps to test the USB microphone within the Pro Tools environment:
- Create a Test Session: Open a new or existing session within Pro Tools to initiate the testing process. Ensure that the session settings align with your recording requirements and that the USB microphone is selected as the primary input device.
- Arm the Track for Recording: Select a track within Pro Tools and arm it for recording. This action prepares the track to receive audio input from the USB microphone, allowing you to monitor and capture sound during the testing phase.
- Monitor Input Levels: As you speak or produce sound near the USB microphone, monitor the input levels within Pro Tools to gauge the microphone’s sensitivity and signal strength. Ensure that the input levels are consistent and free from distortion or excessive noise, indicating a healthy connection and optimal performance.
- Playback and Monitor Recorded Audio: After recording a brief test segment, playback the recorded audio to assess the clarity, fidelity, and overall performance of the USB microphone within Pro Tools. Listen for any anomalies or irregularities in the recorded sound, ensuring that the microphone delivers the expected audio quality.
- Adjust Settings if Necessary: If you encounter any issues during the testing phase, such as low input levels, excessive noise, or distortion, revisit the input, output, and hardware settings within Pro Tools. Make necessary adjustments to optimize the performance of the USB microphone and address any potential issues.
Thoroughly testing the USB microphone within the Pro Tools environment is essential to validate its seamless integration and performance. By meticulously monitoring input levels, recording test segments, and evaluating the playback quality, you can confirm that the USB microphone functions reliably and delivers professional-grade audio within the Pro Tools recording environment.
Conclusion
Setting up a USB microphone on Pro Tools is a pivotal step toward harnessing the full potential of your recording endeavors. By following the comprehensive steps outlined in this guide, you’ve navigated the essential process of seamlessly integrating a USB microphone with Pro Tools, empowering you to capture pristine audio with precision and clarity.
From establishing a secure connection between the USB microphone and your computer to configuring Pro Tools to recognize and optimize the microphone for recording, each step contributes to a streamlined and efficient recording experience. The meticulous setup of input and output settings ensures that your USB microphone seamlessly interfaces with Pro Tools, providing a robust platform for professional-grade audio production.
Thoroughly testing the USB microphone within Pro Tools validates its seamless integration and performance, allowing you to fine-tune settings and address any potential issues that may arise during the testing phase. This comprehensive approach ensures that your USB microphone operates optimally within the Pro Tools environment, delivering the clarity, fidelity, and reliability required for exceptional audio recordings.
By leveraging the capabilities of a USB microphone within Pro Tools, you’re poised to elevate the quality of your audio projects, whether you’re recording vocals, producing podcasts, or creating music. The seamless integration of a USB microphone with Pro Tools streamlines your workflow and empowers you to explore a world of creative possibilities, all while capturing professional-grade audio with ease.
With the foundational knowledge and practical insights gained from this guide, you’re well-equipped to embark on your recording journey, armed with the expertise to seamlessly set up and optimize a USB microphone within the Pro Tools environment. Embrace the power of this integration and unleash your creativity, knowing that your USB microphone is seamlessly integrated with Pro Tools, ready to capture and elevate your audio productions.