Introduction
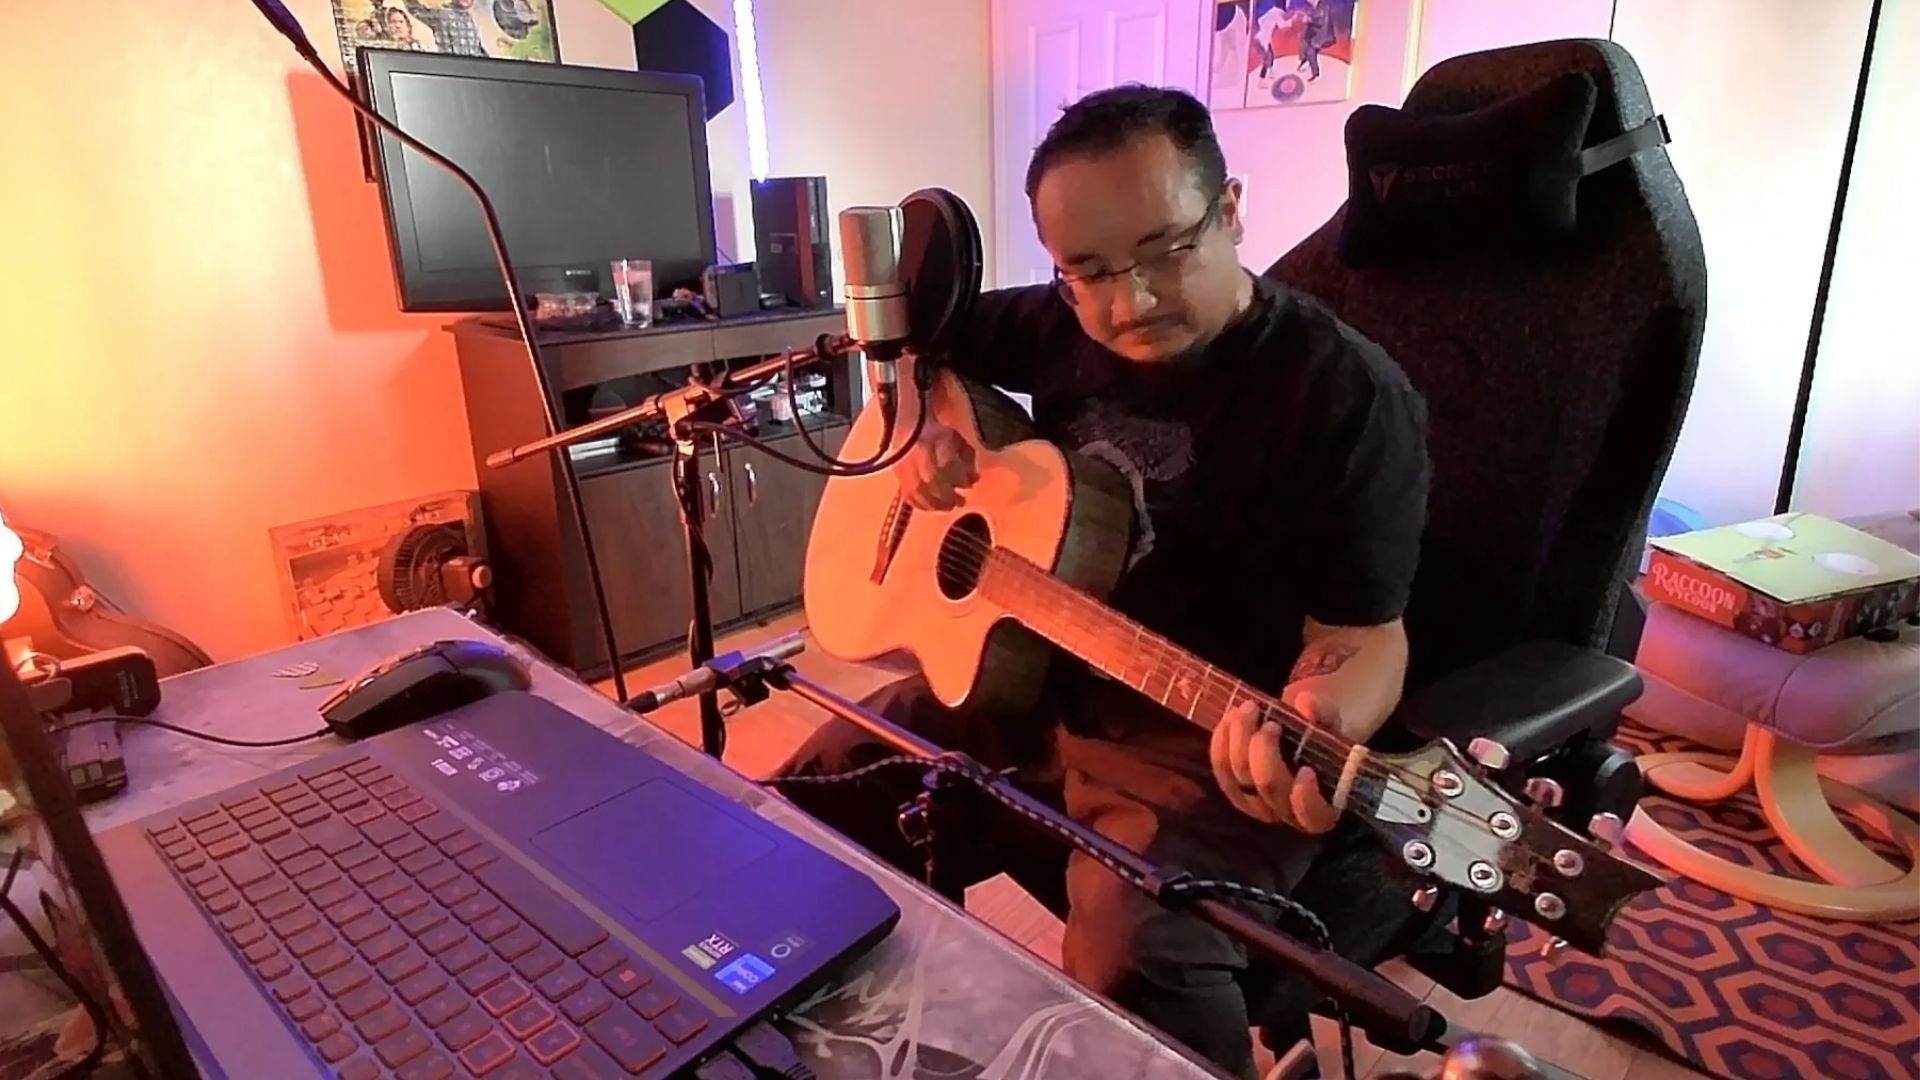
Welcome to the world of recording your electric acoustic guitar directly onto your laptop! Whether you’re a passionate musician, a budding songwriter, or simply someone who loves creating music, being able to record your guitar at home is a fantastic option. It allows you to capture your musical ideas, experiment with different sounds, and even share your music with the world.
In this article, we will guide you through the process of recording your electric acoustic guitar on your laptop. We will cover everything you need to know, from the necessary equipment to connecting your guitar, choosing software options, setting up the recording software, adjusting guitar settings, and exploring different recording techniques.
Recording your guitar on your laptop has numerous advantages. First and foremost, it offers convenience and flexibility. You can record whenever inspiration strikes, right from the comfort of your home. Additionally, recording on your laptop gives you complete control over the recording process. You can experiment with different effects, layers, and arrangements to bring your music to life.
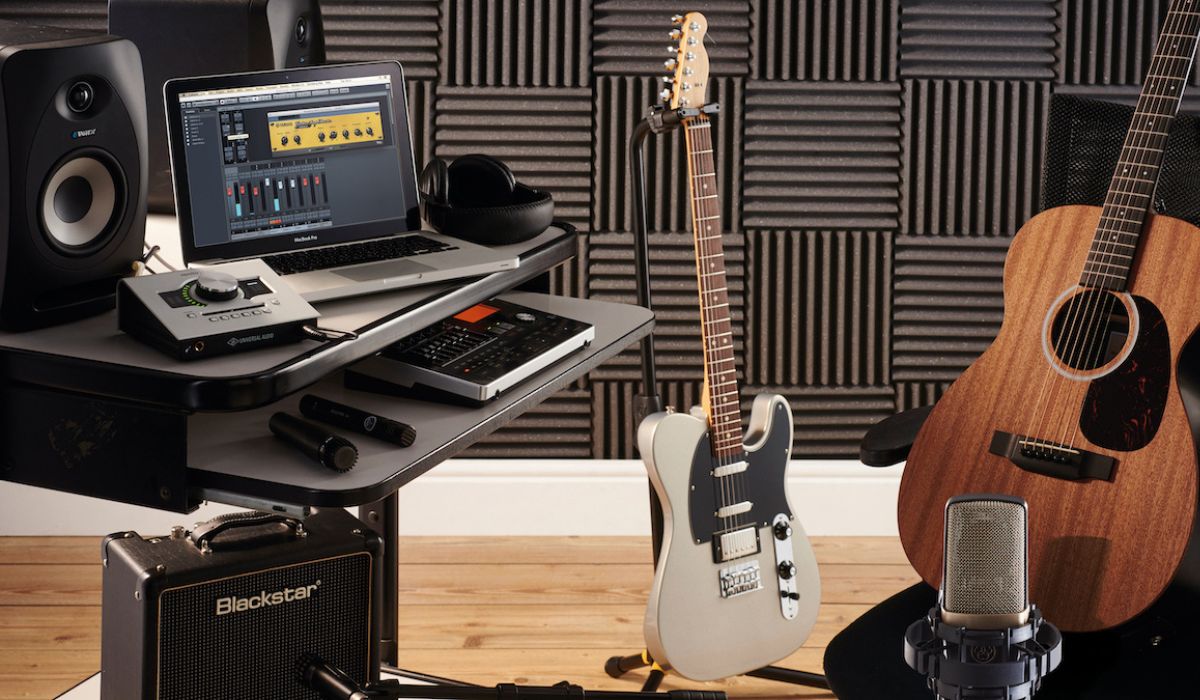
To get started, you’ll need a few essential pieces of equipment. Don’t worry; you won’t need a professional recording studio setup. The basic equipment includes an electric acoustic guitar, a laptop or computer, a recording interface, and appropriate cables to connect your guitar to your laptop. These items are readily available and relatively affordable, making it accessible to musicians of all levels.
Once you have the necessary equipment, the next step is to connect your electric acoustic guitar to your laptop. This involves using an audio interface, which acts as a bridge between your guitar and the recording software on your laptop. We will walk you through the setup process, ensuring that you have a seamless connection and optimal sound quality for your recordings.
Choosing the right recording software is also important. There are several options available, ranging from simple, user-friendly interfaces to more advanced programs with a variety of features. We will highlight some popular software choices and discuss their pros and cons, helping you find the best fit for your needs and preferences.
Once you have your equipment and software set up, we will delve into adjusting guitar settings to ensure the best possible sound. This includes adjusting the volume, tone, and gain settings on your guitar and making any necessary adjustments within the recording software. These adjustments can significantly impact the overall quality of your recordings, so it’s essential to get them right.
Recording techniques are also an important aspect to consider. We will explore different methods, such as using microphones to capture the sound of your guitar, using direct-in recording for a cleaner sound, and experimenting with different room acoustics and positions to achieve the desired tone and ambiance.
If you encounter any issues along the way, don’t worry. We will provide troubleshooting tips for common problems that you may encounter during the recording process. From software glitches to unwanted background noise, we’ve got you covered with practical solutions to ensure smooth recording sessions.
So, grab your guitar, set up your laptop, and get ready to unleash your creativity through the wonderful world of recording your electric acoustic guitar on your laptop. Let’s dive in and make some music!
Necessary Equipment
Before diving into recording your electric acoustic guitar on your laptop, you’ll need a few essential pieces of equipment. While professional recording studios can have elaborate setups, you can achieve impressive results with minimal equipment right at home.
The following are the necessary items you’ll need:
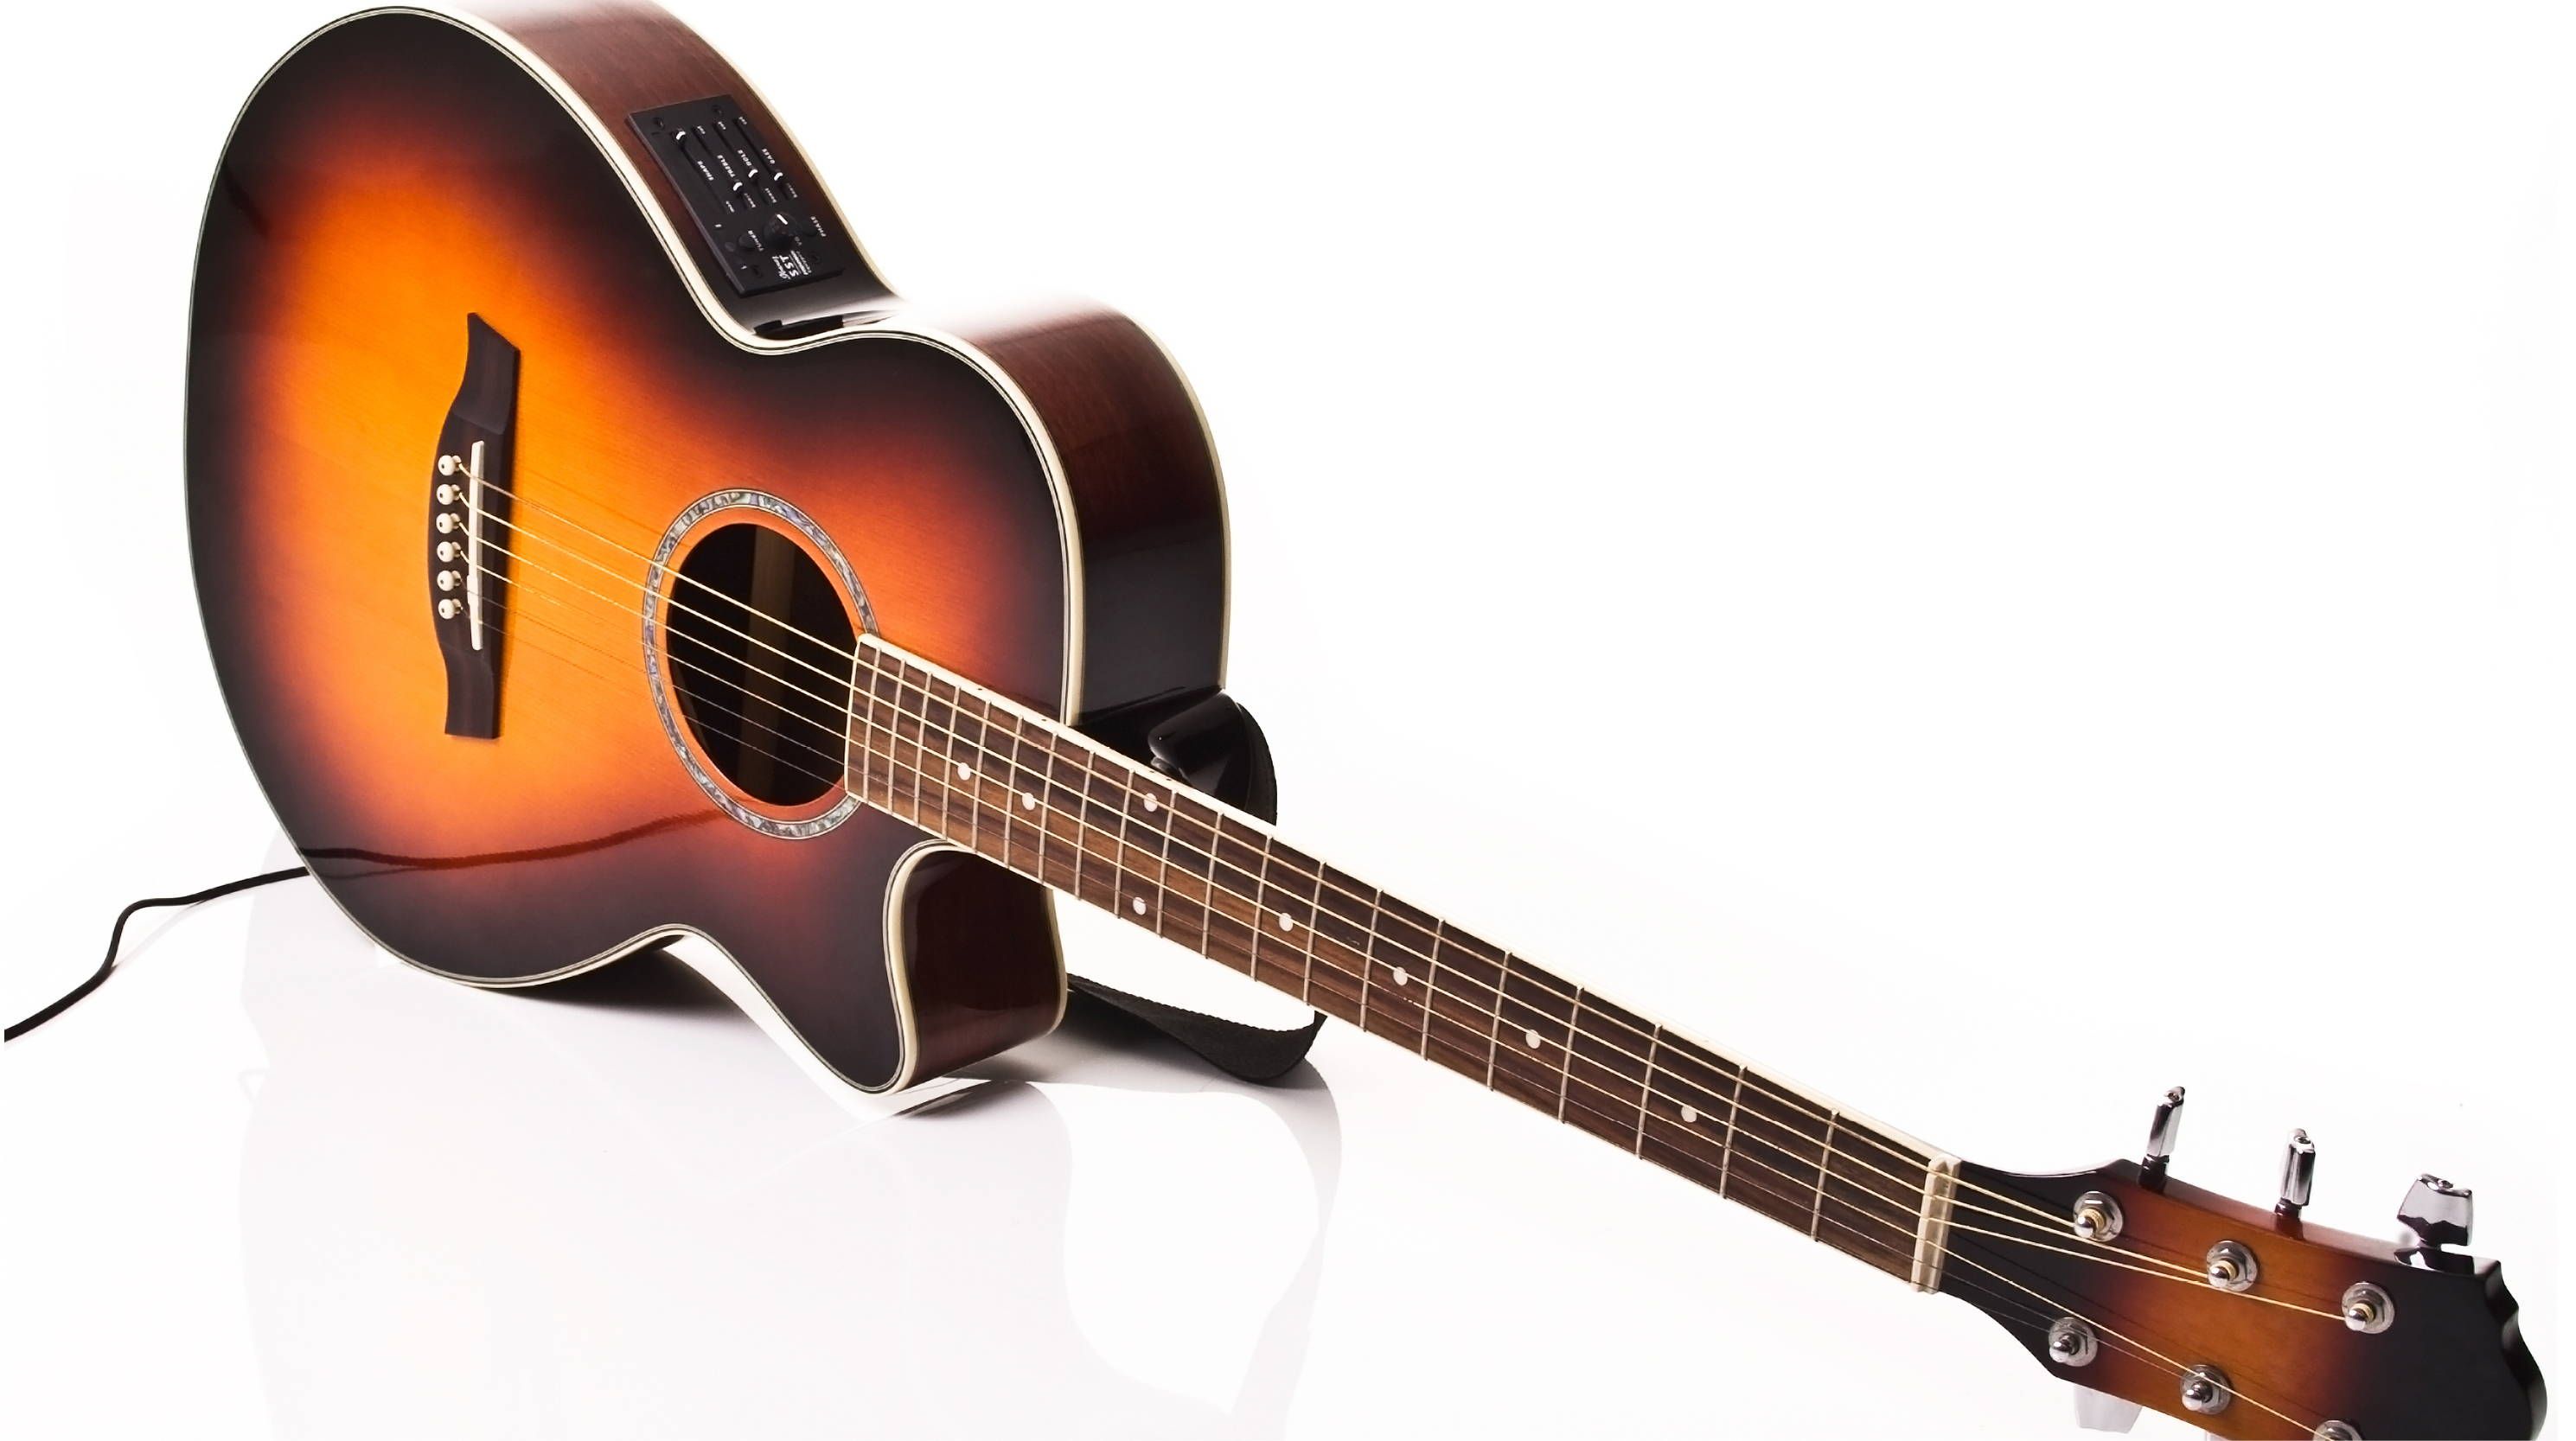
- Electric Acoustic Guitar: Make sure you have a good quality electric acoustic guitar that is in good condition. It should have a built-in pickup or a pickup system to capture the sound when plugged into an amplifier or audio interface.
- Laptop or Computer: A reliable laptop or computer with sufficient processing power and storage is crucial for recording. It should have a USB port or Thunderbolt port to connect the audio interface.
- Recording Interface: An audio interface serves as a bridge between your guitar and the recording software on your laptop. It converts the analog signals from your guitar into digital signals that the computer can process. Look for an interface that suits your needs and budget.
- Cables: You’ll need appropriate cables to connect your guitar to the audio interface. Most electric acoustic guitars use a standard 1/4-inch instrument cable, while the audio interface may require a different connector, such as XLR or USB.
- Headphones: Good quality headphones are essential for monitoring your recordings. Look for headphones that provide accurate sound reproduction, comfortable fit, and sound isolation.
- Microphones (Optional): If you plan to record your guitar using microphones, you’ll need suitable microphones and microphone stands. Consider dynamic microphones for capturing the sound of the guitar amplifier or condenser microphones for room recordings.
While these are the essential items for recording your electric acoustic guitar on your laptop, you can also consider investing in additional equipment to enhance your recording experience. This may include a microphone preamp for better sound quality, a pop filter to reduce plosive sounds, a reflection filter to improve room acoustics, and studio monitors for accurate playback.
Remember, the quality of your equipment can directly impact the quality of your recordings. It’s essential to invest in reliable equipment that suits your needs and budget. However, you don’t need to break the bank to get started. Many entry-level options offer a good balance of affordability and quality.
Now that you have a clear understanding of the necessary equipment, let’s move on to the next step – connecting your guitar to your laptop and getting everything ready for recording!
Connecting the Guitar to the Laptop
Once you have gathered all the necessary equipment, it’s time to connect your electric acoustic guitar to your laptop. The process involves using an audio interface as a bridge between your guitar and the recording software on your laptop.
Here are the steps to connect your guitar to the laptop:
- Start by ensuring that your laptop is powered off.
- Connect your audio interface to your laptop using the appropriate cable. Most interfaces use a USB or Thunderbolt connection, so make sure you have the correct cable for your interface.
- Connect your guitar to the audio interface using a standard instrument cable. Plug one end of the cable into the output jack of your guitar and the other end into the designated input on the interface.
- Power on your audio interface. Some interfaces may require external power, while others can be powered through the USB or Thunderbolt connection.
- Turn on your laptop and wait for it to boot up completely.
- Install any necessary drivers or software that come with your audio interface. These are usually provided by the manufacturer and are essential for proper communication between the interface and your laptop.
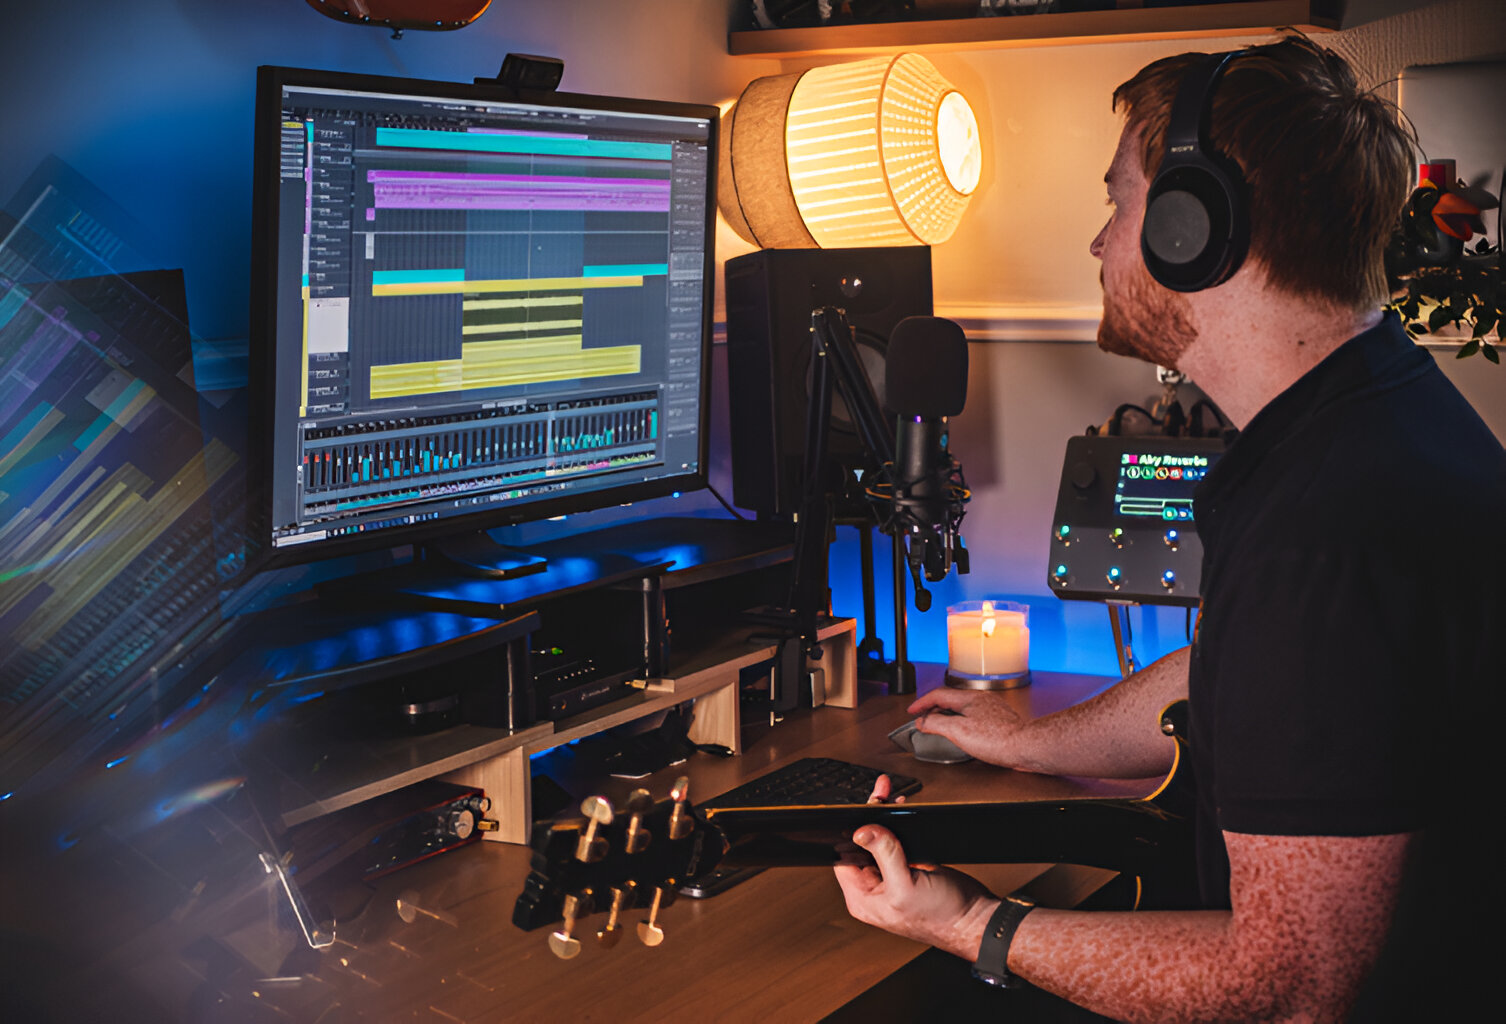
- Open your recording software on your laptop. Ensure that the audio interface is selected as the default input device in the software’s settings. This will allow the software to recognize and receive the signal from your guitar.
- Check for signal input in your recording software. Strum your guitar or play a note, and you should see the waveform registering in the software. Adjust the input gain on your interface if necessary to achieve an optimal recording level.
- Connect your headphones to the audio interface’s headphone output. This will allow you to monitor your recordings and hear the playback while recording.
Once you have successfully connected your guitar to the laptop and set up the audio interface, you are ready to start recording. Ensure that all the connections are secure, the levels are balanced, and there is no unwanted noise or distortion.
If you encounter any issues with the connection or software recognition, refer to the user manual of your audio interface or reach out to customer support for assistance. They will be able to guide you through troubleshooting steps or provide additional resources to resolve the problem.
Now that your guitar is connected to your laptop, let’s move on to exploring the software options for recording your music!
Software Options
When it comes to recording your electric acoustic guitar on your laptop, there are various software options available that cater to different needs and skill levels. Choosing the right software is crucial as it directly impacts your recording experience and the final outcome of your music.
Here are some popular software options for recording:
- Audacity: Audacity is a free, open-source recording software that offers a range of features for recording and editing audio. It provides a user-friendly interface and supports multiple tracks, effects, and plugins. While it may lack some advanced features found in paid software, Audacity is an excellent option for beginners and those on a budget.
- GarageBand: GarageBand is a free digital audio workstation (DAW) software available exclusively for macOS and iOS users. It offers a wide variety of virtual instruments, effects, and recording options. GarageBand is known for its intuitive interface and simplicity, making it a great choice for beginners or those who prefer a streamlined recording process.
- Pro Tools: Pro Tools is a professional-grade recording software widely used in the music industry. It offers advanced features, high-quality audio processing, and extensive editing capabilities. Pro Tools is favored by professionals for its robustness and compatibility with a wide range of hardware and plugins. However, it comes with a higher price tag and may have a steeper learning curve for beginners.
- Logic Pro: Logic Pro is another powerful DAW software available exclusively for macOS users. It boasts a comprehensive set of features, including advanced MIDI sequencing, virtual instruments, and a vast library of sound samples and loops. Logic Pro is highly regarded for its versatility and is often the software of choice for musicians, producers, and composers.
- Studio One: Studio One is a professional-level recording software that offers a mix of beginner-friendly features and advanced capabilities. It provides a streamlined workflow, intuitive interface, and a range of virtual instruments and effects. Studio One is known for its excellent audio quality and flexibility, making it a favorite among musicians and producers.
These are just a few examples of the many recording software options available. Each software has its own unique features, so it’s essential to consider your specific requirements and preferences when making a choice.
When selecting software, consider factors such as ease of use, compatibility with your operating system, available system resources, the number of tracks you plan to record, and any additional features or plugins you may need. It’s also helpful to read reviews, watch tutorials, and experiment with trial versions to get a feel for the software before making a final decision.
Remember that the software you choose is just a tool, and the most important aspect of recording is your creativity and skill as a musician. Even with basic recording software, you can achieve impressive results with practice and experimentation.
Now that you have an overview of the software options, let’s move on to setting up the recording software on your laptop for optimal results!
Setting Up the Recording Software
Once you have chosen the recording software that best suits your needs, it’s time to set it up on your laptop. Proper setup ensures that the software is optimized and ready to capture your electric acoustic guitar recordings effectively.
Here are the steps to set up your recording software:
- Install the Software: If you haven’t already, download and install the recording software onto your laptop. Follow the installation instructions provided by the software manufacturer.
- Configure Audio Settings: Open the software and navigate to the audio settings or preferences section. Here, you will need to select the audio interface as the input and output device. This ensures that the software recognizes the audio signal from your guitar and allows you to monitor your recordings through the interface.
- Choose Recording Settings: Set your preferred recording settings, such as the sample rate, bit depth, and file format. The sample rate determines the audio quality, while the bit depth determines the resolution of the audio. Common settings include a sample rate of 44.1 kHz and a bit depth of 24 bits for high-quality recordings.
- Create a New Recording Project: Depending on the software, you may need to create a new recording project or session. This allows you to organize your recordings and access the necessary tools and features for your project.
- Set up Tracks: Create a new track for recording your electric acoustic guitar. Most recording software allows you to choose the input source for the track, which should be set to the audio interface input connected to your guitar.
- Monitor and Adjust Levels: Make sure your headphones are connected to the audio interface’s headphone output. Test the audio levels by playing your guitar and monitoring the sound through your headphones. Adjust the input gain on the audio interface or software if needed to avoid clipping or distortion.
- Explore Effects and Plugins: Depending on the software, you may have access to a range of effects and plugins to enhance your guitar recordings. Experiment with different effects like reverb, delay, or compression to shape your guitar’s sound according to your preferences.
- Set Recording Preferences: Adjust any additional recording preferences, such as recording automation, enabling punch in/out recording, or enabling overdubbing. These settings allow you to customize your recording workflow and ensure smooth and efficient recording sessions.
- Save Your Project: Before you start recording, save your recording project with a name and location of your choice. This allows you to easily access and recall your project for subsequent recording or editing sessions.
Once your recording software is properly set up, take some time to familiarize yourself with its features and navigation. Read the software’s documentation, watch tutorials, and experiment with different functions to optimize your recording workflow and achieve the desired results.
Remember, setting up the recording software is a one-time procedure. Once completed, you can focus on the creative process of recording your electric acoustic guitar and bringing your musical ideas to life.
Now that the recording software is ready, let’s move on to adjusting the guitar settings to ensure the best sound quality for your recordings!
Adjusting Guitar Settings
Before you start recording your electric acoustic guitar on your laptop, it’s important to make sure that your guitar is properly set up and adjusted. This will ensure the best possible sound quality and optimal performance during your recording sessions.
Here are some key guitar settings to consider:
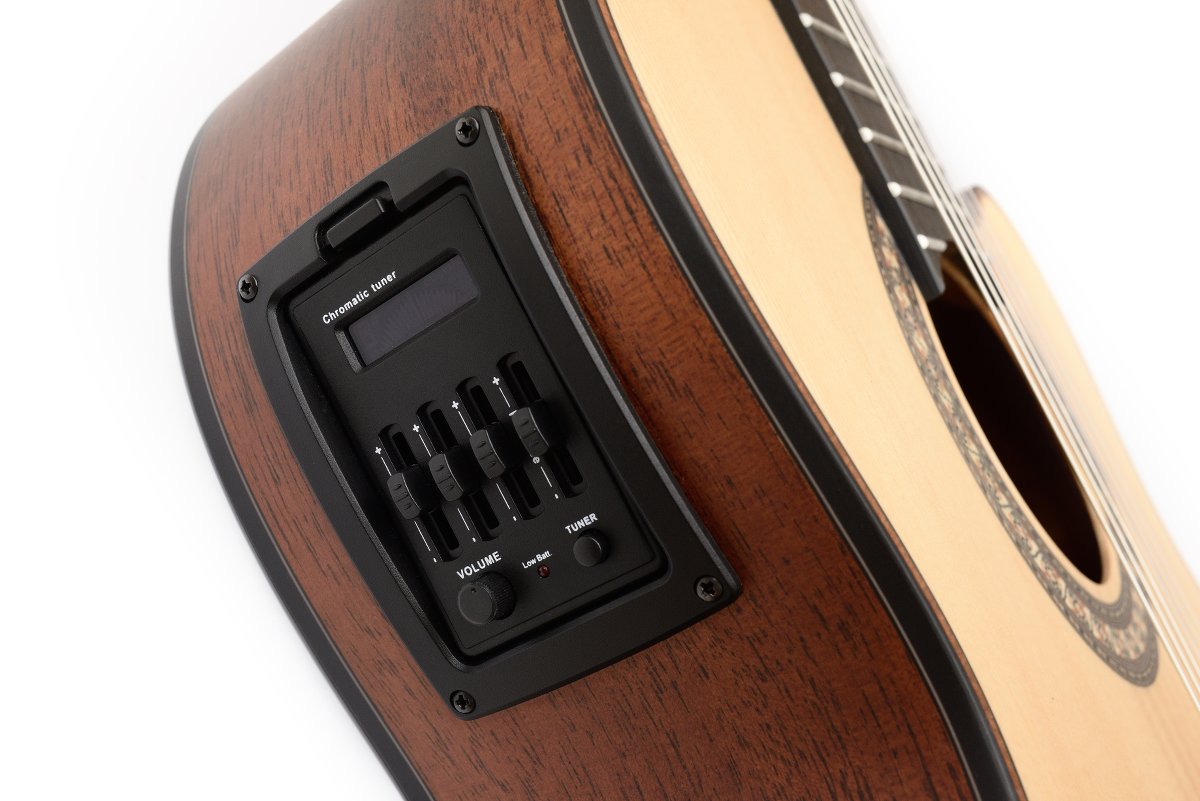
- Volume: Adjust the volume control on your guitar to achieve the desired balance between the guitar’s output and the input level of your recording software. Start by setting the volume to a moderate level and make further adjustments as needed during recording.
- Tone: Many electric acoustic guitars have tone controls that allow you to shape the sound. Experiment with the tone control settings to find the right balance and tonal characteristics that suit your musical style and the specific sound you want to achieve.
- Equalization (EQ): Some electric acoustic guitars come with built-in EQ controls, allowing you to adjust the bass, mid-range, and treble frequencies. Use these controls to shape the overall tonal balance of your guitar and optimize its sound for recording.
- Gain: If your electric acoustic guitar has a built-in preamp and pickup system, it may have a gain control. The gain control adjusts the sensitivity and amplification of the guitar’s signal. Set the gain level to avoid clipping or distortion while still capturing the full dynamic range of your playing.
- Action and Intonation: Ensure that your guitar’s action (the height of the strings from the fretboard) and intonation (the accuracy of the guitar’s pitch at different frets) are properly set up. A professional setup or regular maintenance by a qualified technician can help optimize these aspects, resulting in better playability and sound quality.
- New Strings: Consider replacing the strings on your electric acoustic guitar if they are old or worn. Fresh strings can enhance the overall tone and playability of the guitar. Choose the appropriate gauge and type of strings that best suit your playing style and desired sound.
Take some time to experiment with these settings and find the best combination that suits your playing style and desired sound. Recording allows you to capture the nuances and subtleties of your guitar’s tone, so it’s important to get the settings just right for the best possible recording outcome.
Remember, the adjustments mentioned above can vary depending on your specific guitar model and its features. It’s always a good idea to refer to your guitar’s user manual or consult a professional guitar technician for guidance if needed.
Now that your guitar is properly set up and adjusted, you are ready to explore different recording techniques to capture your electric acoustic guitar’s unique sound!
Recording Techniques
Recording your electric acoustic guitar opens up a world of creative possibilities. By experimenting with different recording techniques, you can capture unique tones, textures, and sonic characteristics that bring your music to life. Here are some popular recording techniques to consider:
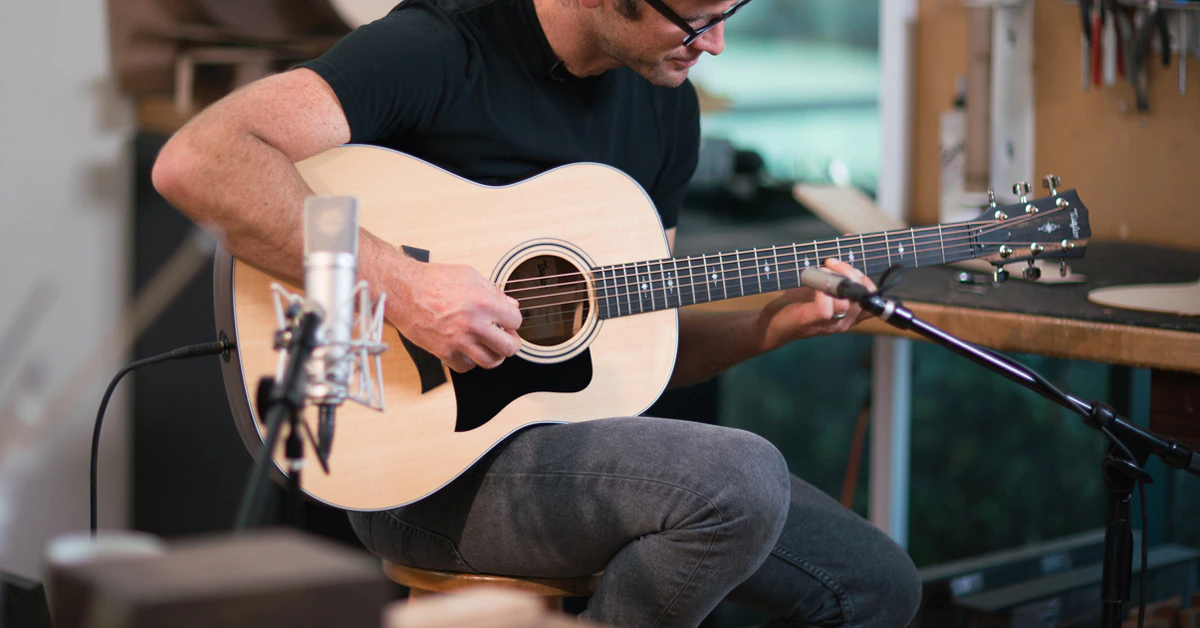
- Mic Placement: Using a microphone to capture the sound of your electric acoustic guitar can result in a rich and natural recording. Experiment with different microphone placements to find the sweet spot that captures the desired balance between the guitar’s body resonance and string clarity. Common mic placements include pointing the microphone towards the soundhole, around the 12th fret, or a combination of both.
- Direct-In Recording: If you prefer a clean and direct sound without room ambiance, you can connect your electric acoustic guitar directly to the audio interface using a preamp or DI box. This bypasses the need for microphones and captures a clear, focused signal from your guitar’s pickup system.
- Blend Mic and Direct-In: To achieve the best of both worlds, you can blend the recorded signal from a microphone with the direct signal from your guitar’s pickup system. This technique offers the warmth and naturalness of the microphone along with the clarity and definition of the direct signal, resulting in a more balanced and nuanced recording.
- Room Mic: Adding a room mic to your recording setup captures the natural ambience and acoustic characteristics of the environment. Place a microphone further away from the guitar to capture the sound of the room. This can add depth and spaciousness to your recordings, enhancing the overall sonic experience.
- Double-Tracking: Double-tracking involves recording multiple takes of the same guitar part and panning them left and right in the stereo field. This technique adds width and thickness to the sound, creating a fuller and more immersive listening experience.
- Layering: Experiment with layering multiple guitar parts to create complex and rich textures. Record different guitar lines or harmonies and layer them together to create depth and richness in your recordings.
- Effects and Processing: Don’t be afraid to explore different effects and processing plugins during recording. Experiment with reverb, delay, modulation, and other effects to add depth, character, and creativity to your guitar recordings. However, be sure to use effects tastefully and in a way that complements your music.
Remember, the recording techniques mentioned above are just a starting point. Feel free to experiment, mix and match techniques, and develop your own unique approach to capturing the sound of your electric acoustic guitar. Trust your ears and follow your creative instincts to achieve the desired sonic result.
Also, keep in mind that a good performance is essential for a great recording. Pay attention to your playing dynamics, timing, and expression to ensure a captivating and emotive performance that shines through in your recordings.
Now that you have explored recording techniques, let’s address some common issues that you might encounter during the recording process and how to troubleshoot them.
Troubleshooting Common Issues
While recording your electric acoustic guitar on your laptop can be an exciting process, it’s not uncommon to encounter some common issues along the way. Understanding and troubleshooting these problems can help ensure smoother recording sessions. Here are some common issues and their solutions:
- No Sound: If you’re not hearing any sound from your guitar through the recording software, check the following: ensure that your guitar is properly connected to the audio interface, check the input settings in your recording software to make sure the correct input source is selected, and confirm that the volume is turned up on your guitar and the audio interface.
- Background Noise: Unwanted background noise can negatively impact your recordings. To minimize background noise, make sure your recording environment is quiet and free from sources of interference. Use a noise gate plugin in your recording software to automatically eliminate low-level noise during silent parts of your playing.
- Clipping or Distortion: If your recordings sound distorted or have clipping issues, it means that the input level is too high. Lower the input gain on your audio interface or software to prevent the signal from overloading and causing distortion. Aim for a clean and balanced signal without excessive peaks.
- Latency: Latency refers to the delay between playing your guitar and hearing the sound through your headphones. If you’re experiencing noticeable latency, make sure you have the latest drivers installed for your audio interface, reduce the buffer size in your recording software’s settings, and consider using a direct monitoring feature if available on your audio interface.
- String Noise: The sound of fingers sliding on the strings or frets can sometimes be picked up by microphones, resulting in unwanted string noise. To minimize string noise, experiment with different playing techniques, use lighter touch on the strings, and consider using coated or flat-wound strings that produce less friction noise.
- Uneven Levels or Frequencies: If you notice inconsistencies in volume levels or tonal balance across your recordings, check your microphone placement or microphone technique. Adjust the microphone position and angle to capture a more balanced sound, or consider using multiple microphones for different parts of the guitar to achieve a more even frequency response.
If you encounter any other technical issues or challenges during recording, consult the documentation provided with your equipment and recording software, as they often contain troubleshooting guides specific to the products. Additionally, online forums and communities dedicated to recording can be a valuable resource for finding answers and troubleshooting tips.
Remember, patience and persistence are key when troubleshooting issues. Take the time to experiment, adjust settings, and seek assistance when needed. With practice and experience, you’ll become more adept at troubleshooting and achieving optimal results in your recordings.
Now that you have a better understanding of troubleshooting common issues, it’s time to wrap up and start recording your electric acoustic guitar on your laptop with confidence!
Conclusion
Recording your electric acoustic guitar on your laptop opens up a world of possibilities for musicians, songwriters, and music enthusiasts. With the right equipment, software, and techniques, you can capture the unique sound and essence of your guitar and turn your musical ideas into reality.
In this article, we discussed the necessary equipment to record your guitar, including an electric acoustic guitar, a laptop or computer, a recording interface, cables, and headphones. We explored the process of connecting your guitar to the laptop using an audio interface, ensuring a seamless and reliable connection for recording purposes.
We also explored different software options available for recording, such as Audacity, GarageBand, Pro Tools, Logic Pro, and Studio One. Each software offers its own set of features and benefits, allowing you to choose the one that best suits your needs, preferences, and budget.
Setting up the recording software on your laptop is essential for a smooth recording experience. We discussed the importance of configuring audio settings, creating recording projects, setting up tracks, and monitoring levels to achieve optimal results.
Adjusting guitar settings, such as volume, tone, EQ, and gain, is crucial for obtaining the desired sound quality during recording. We explored techniques like mic placement, direct-in recording, double-tracking, and layering to enhance the depth and character of your guitar recordings.
Additionally, we addressed common issues that may arise during the recording process, such as no sound, background noise, clipping/distortion, latency, string noise, and uneven levels or frequencies. By understanding and troubleshooting these issues, you can overcome challenges and ensure better recording outcomes.
Recording your electric acoustic guitar on your laptop is a creative and enjoyable journey. It allows you to express yourself musically, refine your skills, and capture moments of inspiration. Remember to experiment, trust your ears, and have fun exploring different techniques and effects to create your unique sound.
Now that you have the knowledge and guidance to record your electric acoustic guitar on your laptop, grab your guitar, set up your laptop, and embark on the exciting adventure of recording your music!


