Introduction
So, you've been practicing your piano skills and you're ready to share your music with the world. Whether you're a seasoned pianist or just starting out, recording your digital piano performance can be an exciting and rewarding experience. With the advancement of technology, it's easier than ever to capture high-quality audio directly from your digital piano using a USB connection to your computer.
In this guide, we'll walk you through the process of recording digital piano audio with a USB connection. From setting up your digital piano to choosing the right recording software and adjusting audio settings, we'll cover everything you need to know to get started on your recording journey.
Recording your piano performance not only allows you to preserve your musical creations but also provides a platform for sharing your talent with a wider audience. Whether you want to create professional recordings for distribution or simply capture your practice sessions for personal review, this guide will equip you with the knowledge and tools to make the most of your digital piano's recording capabilities.
By following the steps outlined in this guide, you'll be able to harness the power of modern technology to capture the rich, expressive sound of your digital piano and bring your musical vision to life. So, let's dive in and explore the exciting world of recording digital piano audio with USB!
Setting Up Your Digital Piano
Before you begin recording your digital piano, it's essential to ensure that your instrument is set up correctly for optimal audio quality and performance. Here are the key steps to set up your digital piano for recording:
- Placement: Position your digital piano in a suitable location where it can be easily accessed for playing and recording. Ensure that the instrument is placed on a stable surface, such as a dedicated keyboard stand or a sturdy table, to prevent any unwanted movement or vibrations during recording.
- Power Supply: Connect your digital piano to a reliable power source to ensure uninterrupted operation during recording sessions. If your digital piano is battery-powered, make sure the batteries are fully charged or have a fresh set on hand to avoid any power-related disruptions.
- Headphones or Monitors: Consider using headphones or studio monitors to monitor the audio output of your digital piano during recording. This allows you to hear the nuances of your performance without external distractions and provides a more immersive playing experience.
- Adjusting Settings: Familiarize yourself with the various settings and features of your digital piano, such as volume controls, sound presets, and effects. Experiment with different settings to achieve the desired tone and expression for your recordings.
By taking the time to set up your digital piano thoughtfully, you can create an environment that is conducive to capturing high-quality audio recordings. Proper placement, power management, and audio monitoring are essential aspects of preparing your digital piano for the recording process.
Once your digital piano is set up and ready to go, you can proceed to the next step of connecting it to your computer for recording. With the groundwork in place, you'll be well-prepared to harness the full potential of your digital piano and unleash your musical creativity in the digital realm.
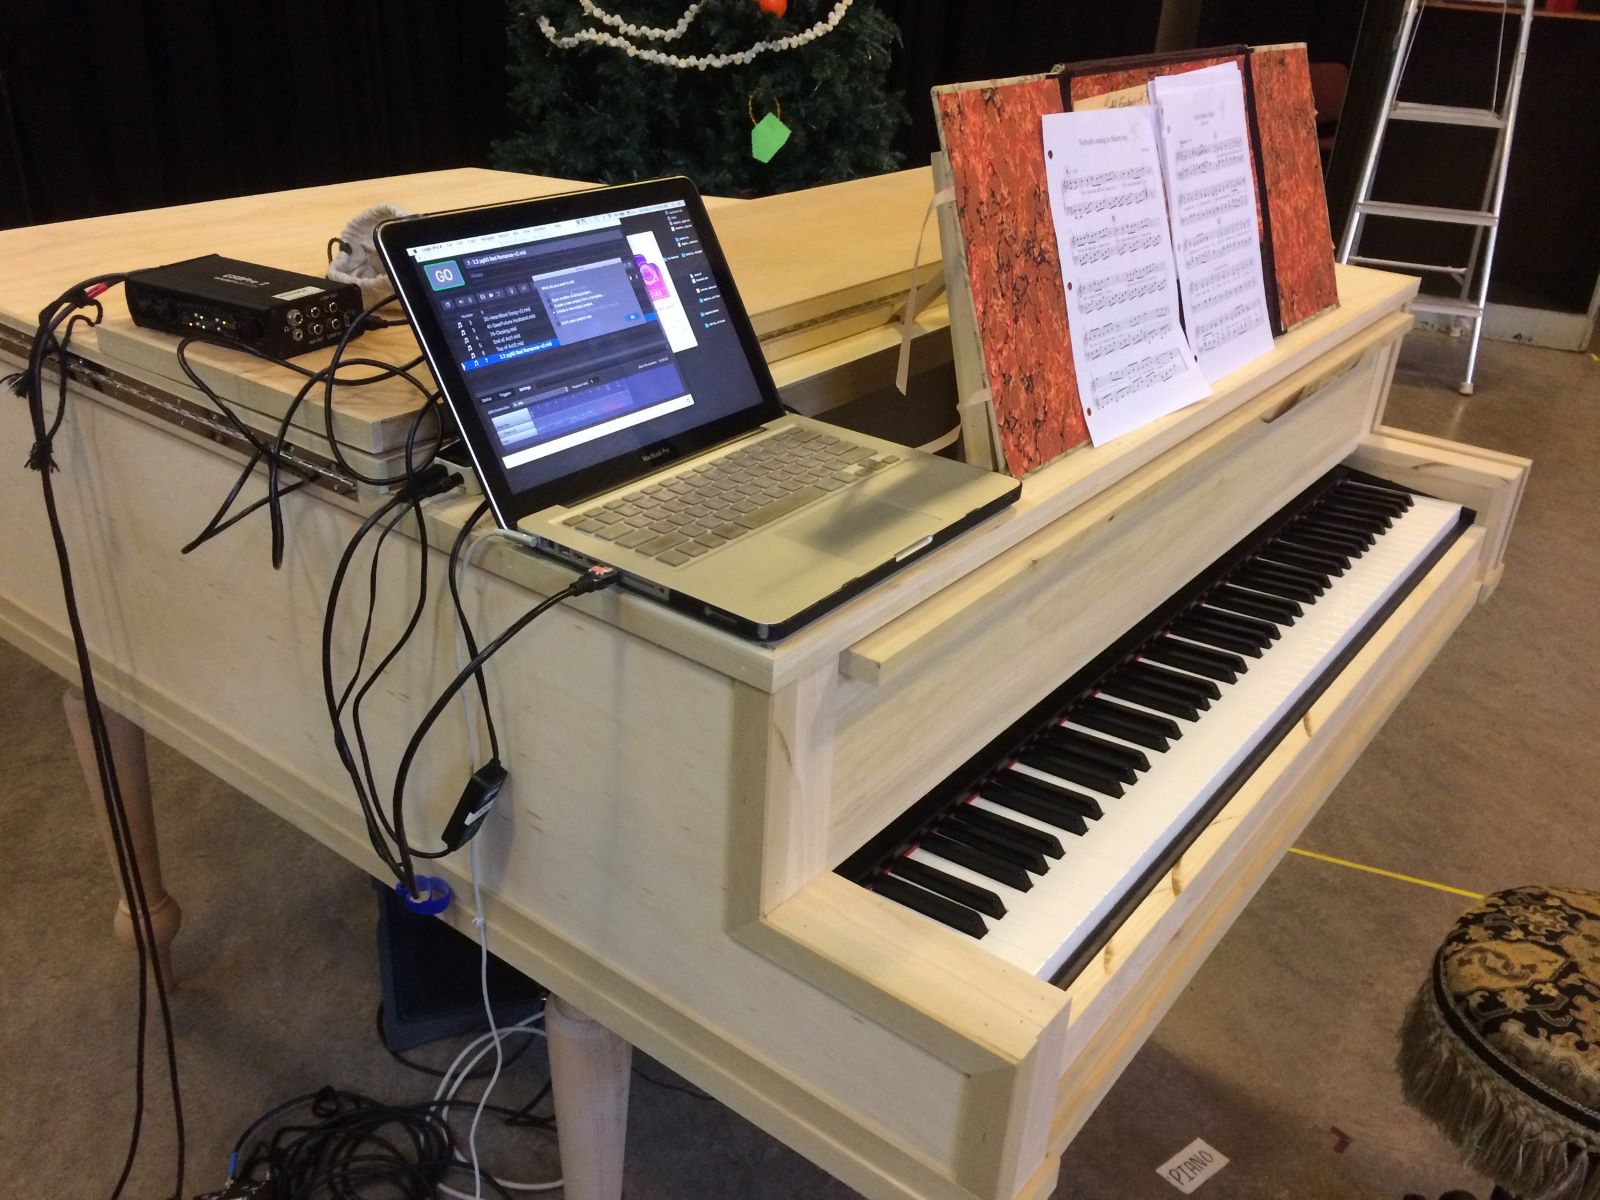
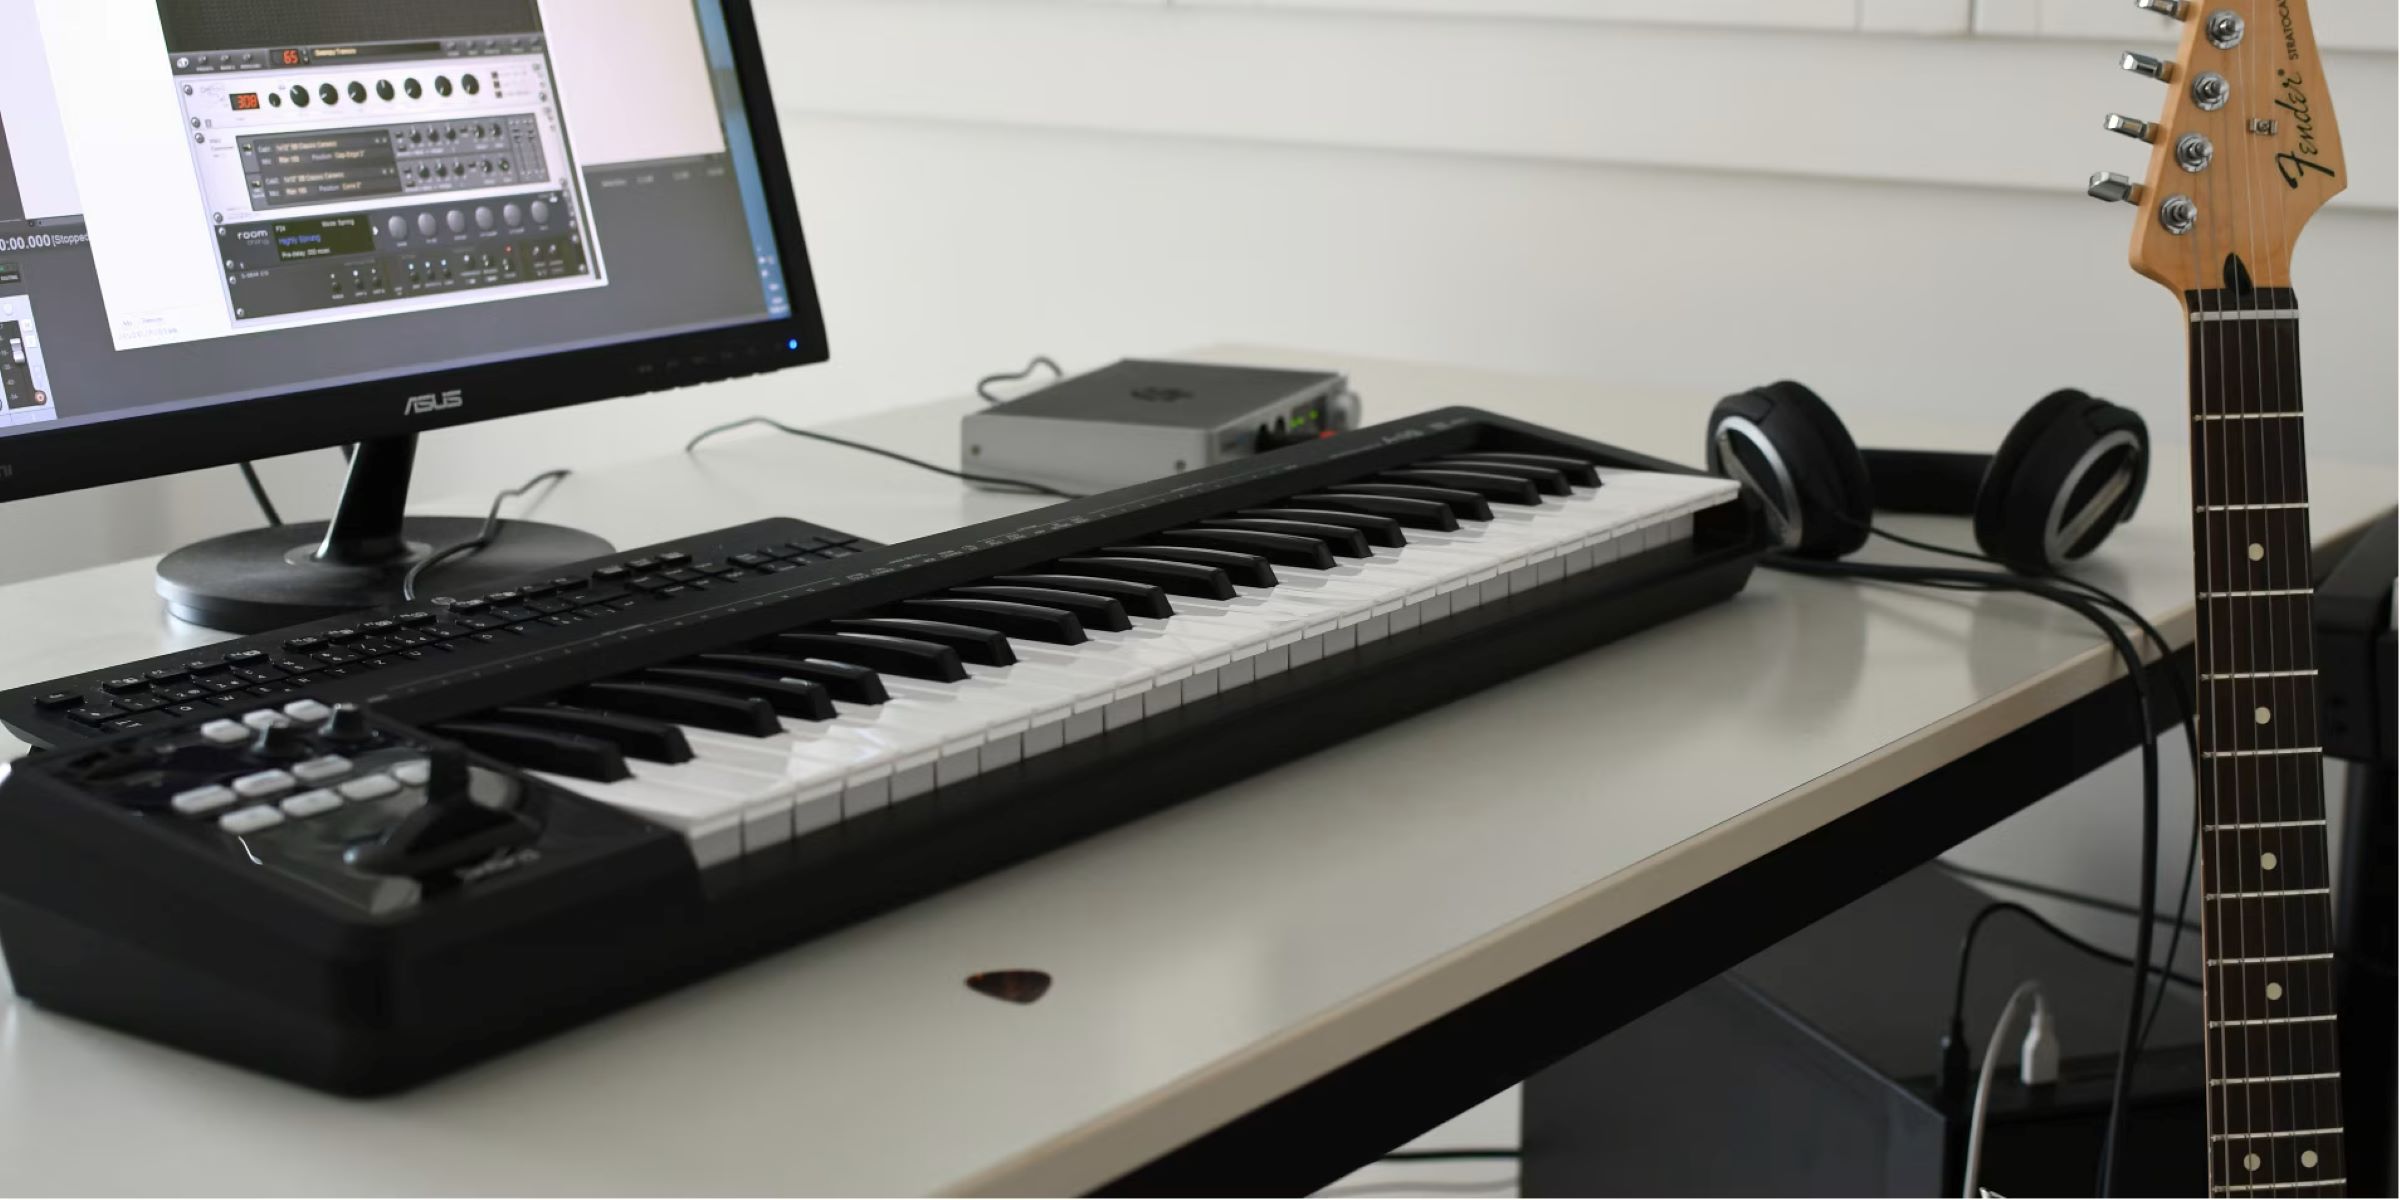
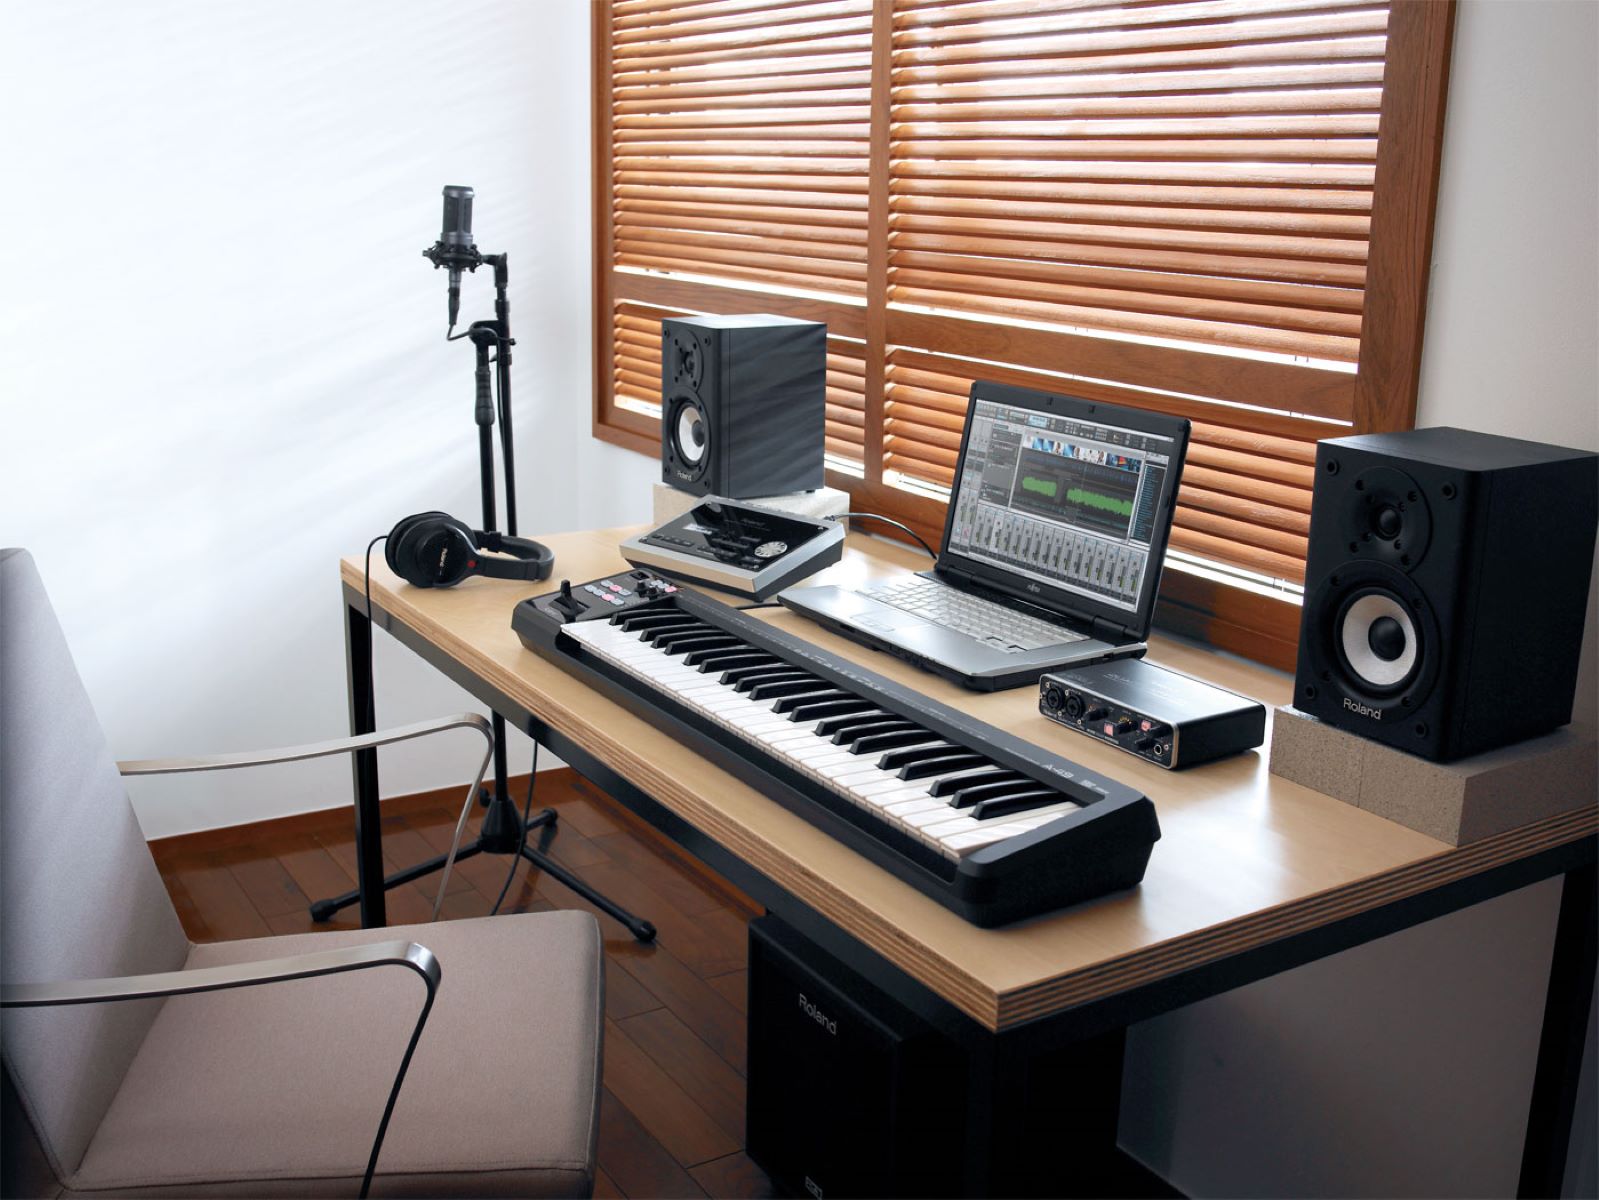
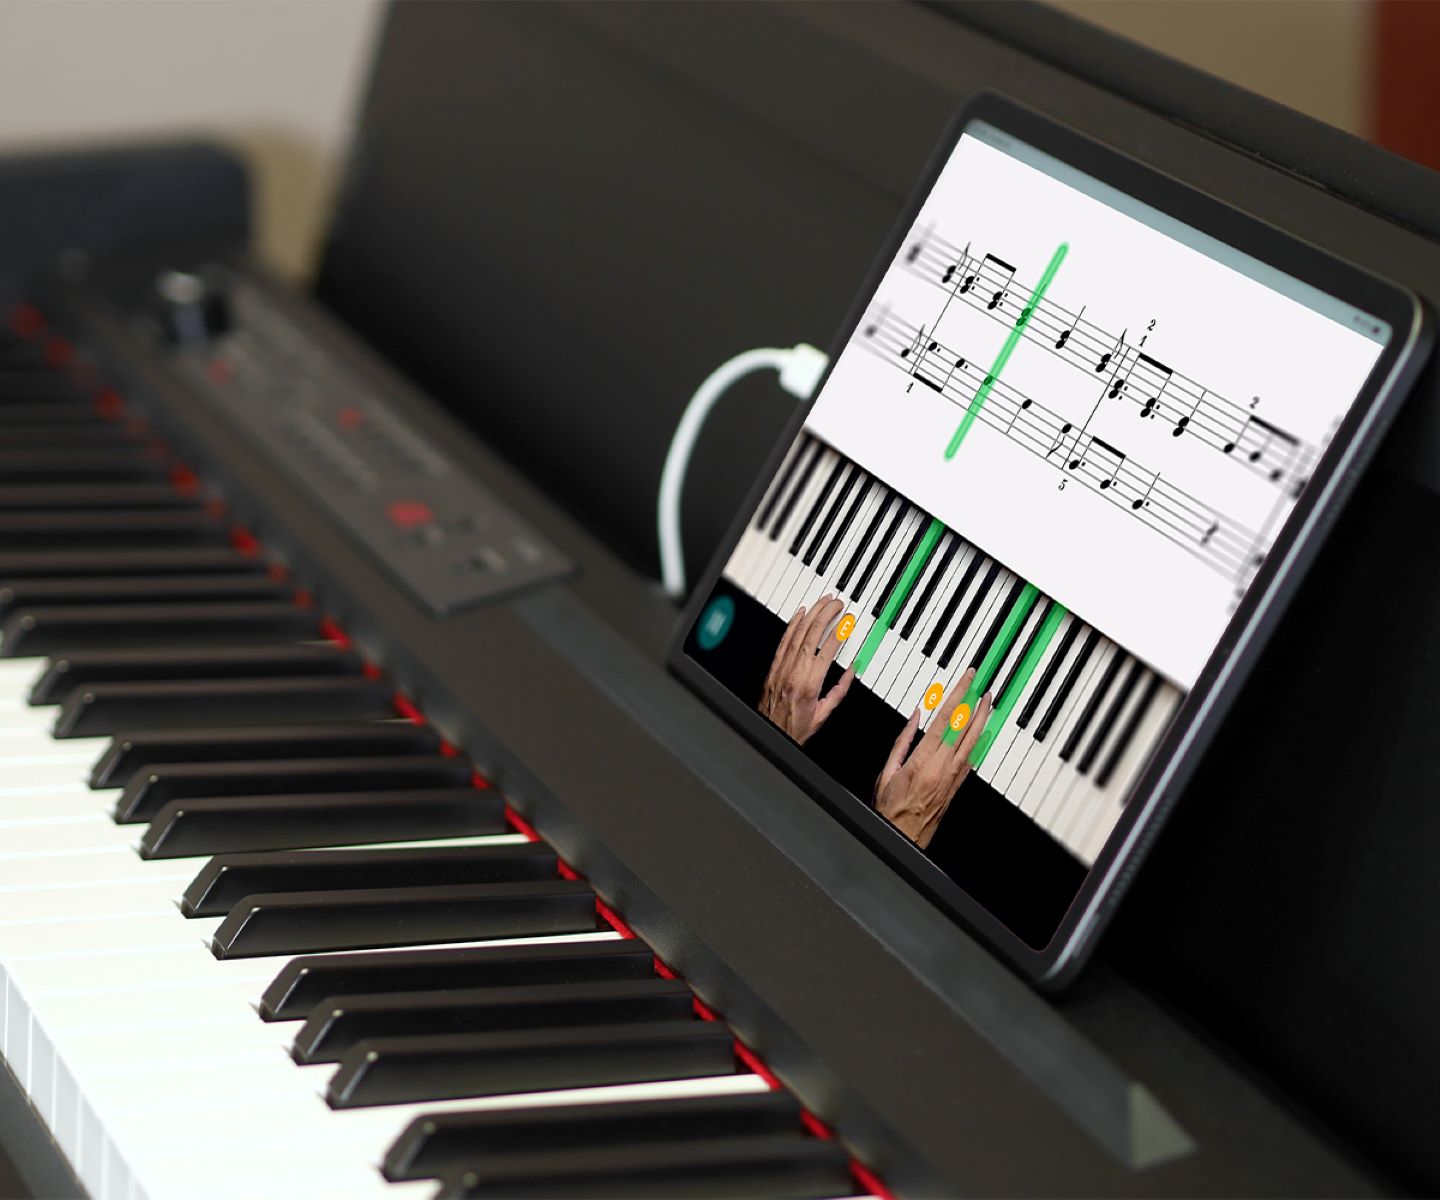
Connecting Your Digital Piano to Your Computer
Now that your digital piano is set up and ready, the next crucial step is to establish a reliable connection between your instrument and your computer. This connection will allow you to transfer the audio signal from your digital piano to your computer for recording and processing. Here’s how to connect your digital piano to your computer using a USB interface:
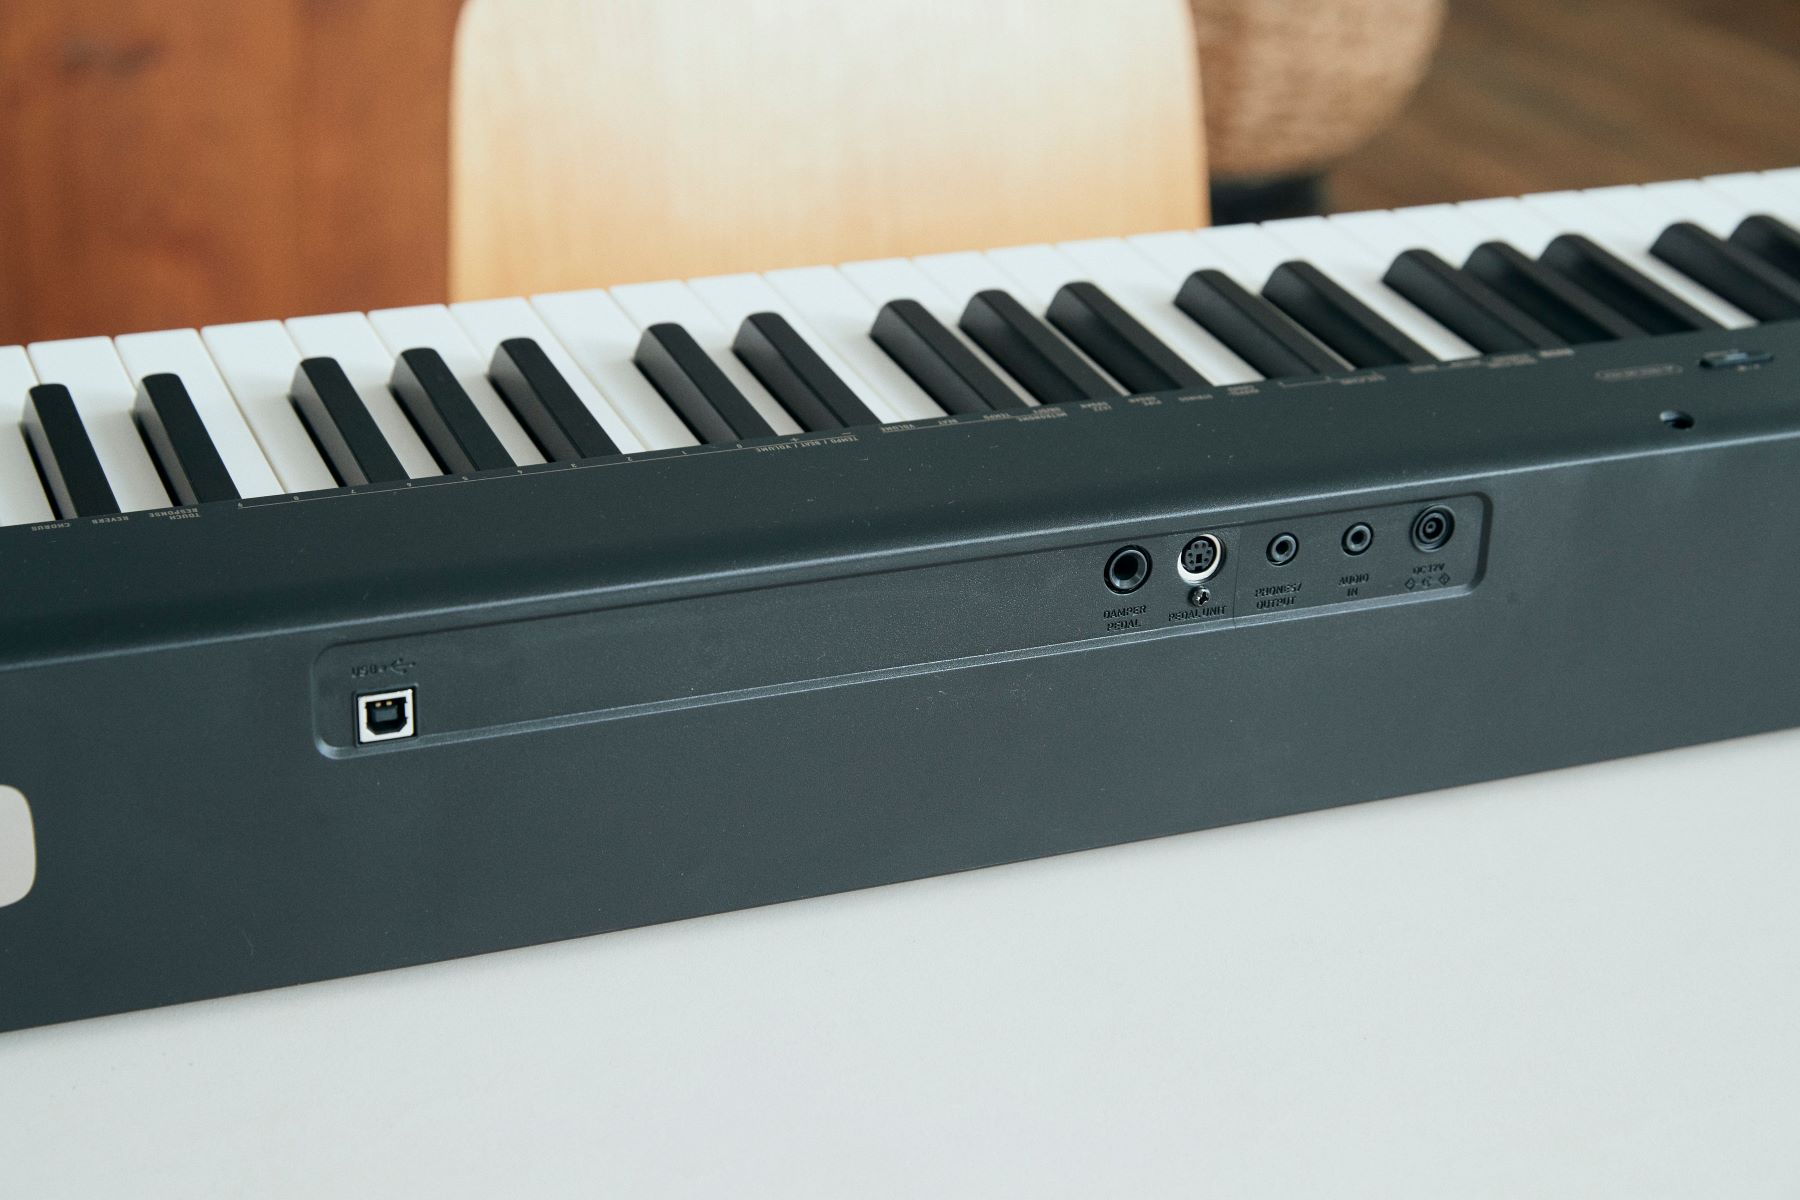
- Locate the USB Port: Most modern digital pianos are equipped with a USB port that allows for direct digital audio and MIDI communication with a computer. Locate the USB port on your digital piano, which is typically found on the back panel of the instrument.
- Use a USB Cable: Obtain a standard USB cable with the appropriate connectors to establish a secure connection between your digital piano and your computer. Ensure that the USB cable is in good condition and free from any damage that may interfere with data transmission.
- Connect to Your Computer: With the USB cable in hand, plug one end into the USB port on your digital piano and the other end into an available USB port on your computer. Make sure the connection is secure to prevent any signal loss or interruptions during recording.
- Driver Installation (if required): In some cases, your computer may require specific drivers to recognize and interface with your digital piano. Follow the manufacturer’s instructions to install any necessary drivers for seamless communication between your digital piano and your recording software.
Once the USB connection is established, your digital piano will be recognized as an audio input device by your computer, allowing you to route the audio signal from the piano to your recording software. This direct digital connection ensures minimal signal degradation and provides a clean, high-fidelity audio path for capturing your piano performances.
By successfully connecting your digital piano to your computer via USB, you’ve laid the foundation for harnessing the full recording potential of your instrument. With the audio signal flowing seamlessly from your digital piano to your computer, you’re now ready to explore the world of recording software and unleash your musical creativity in the digital domain.
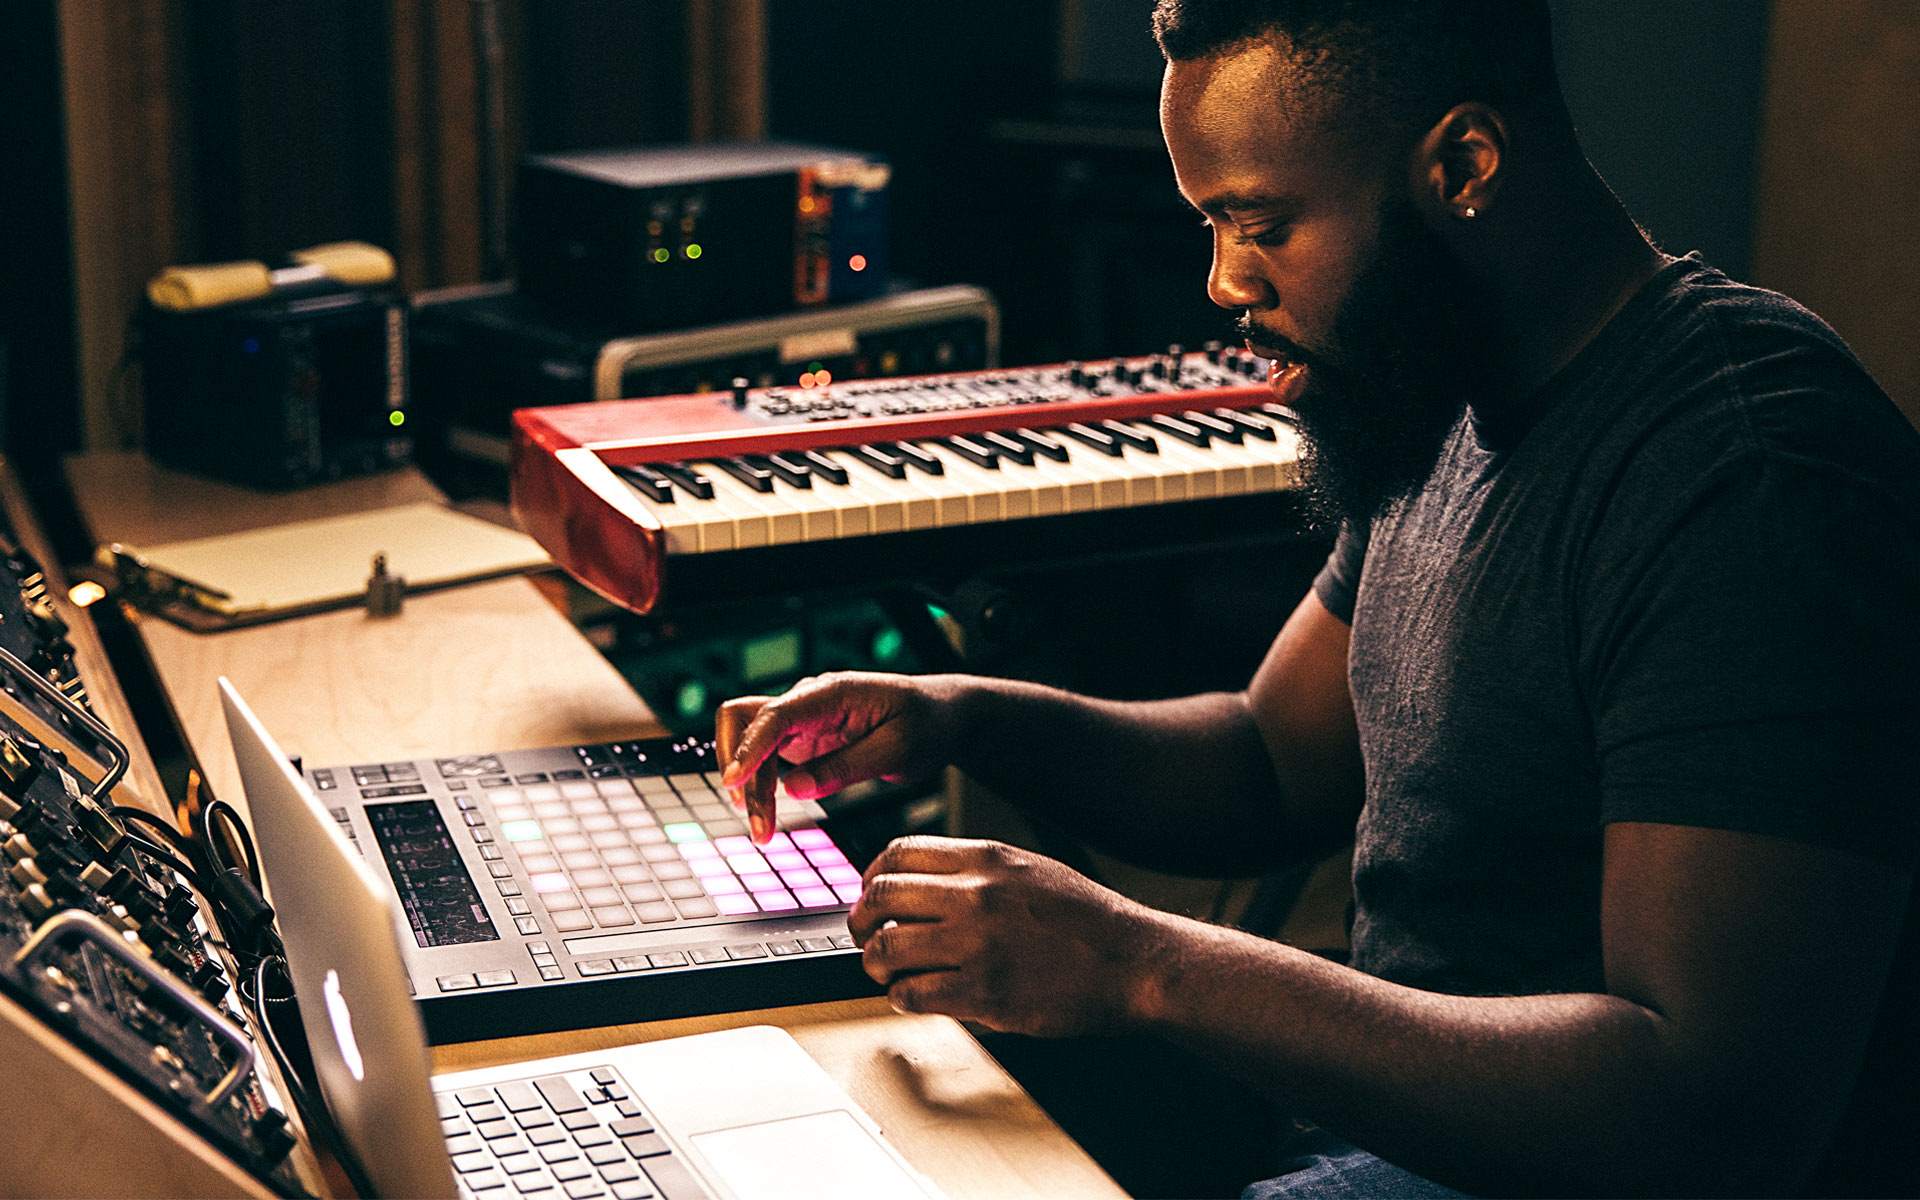
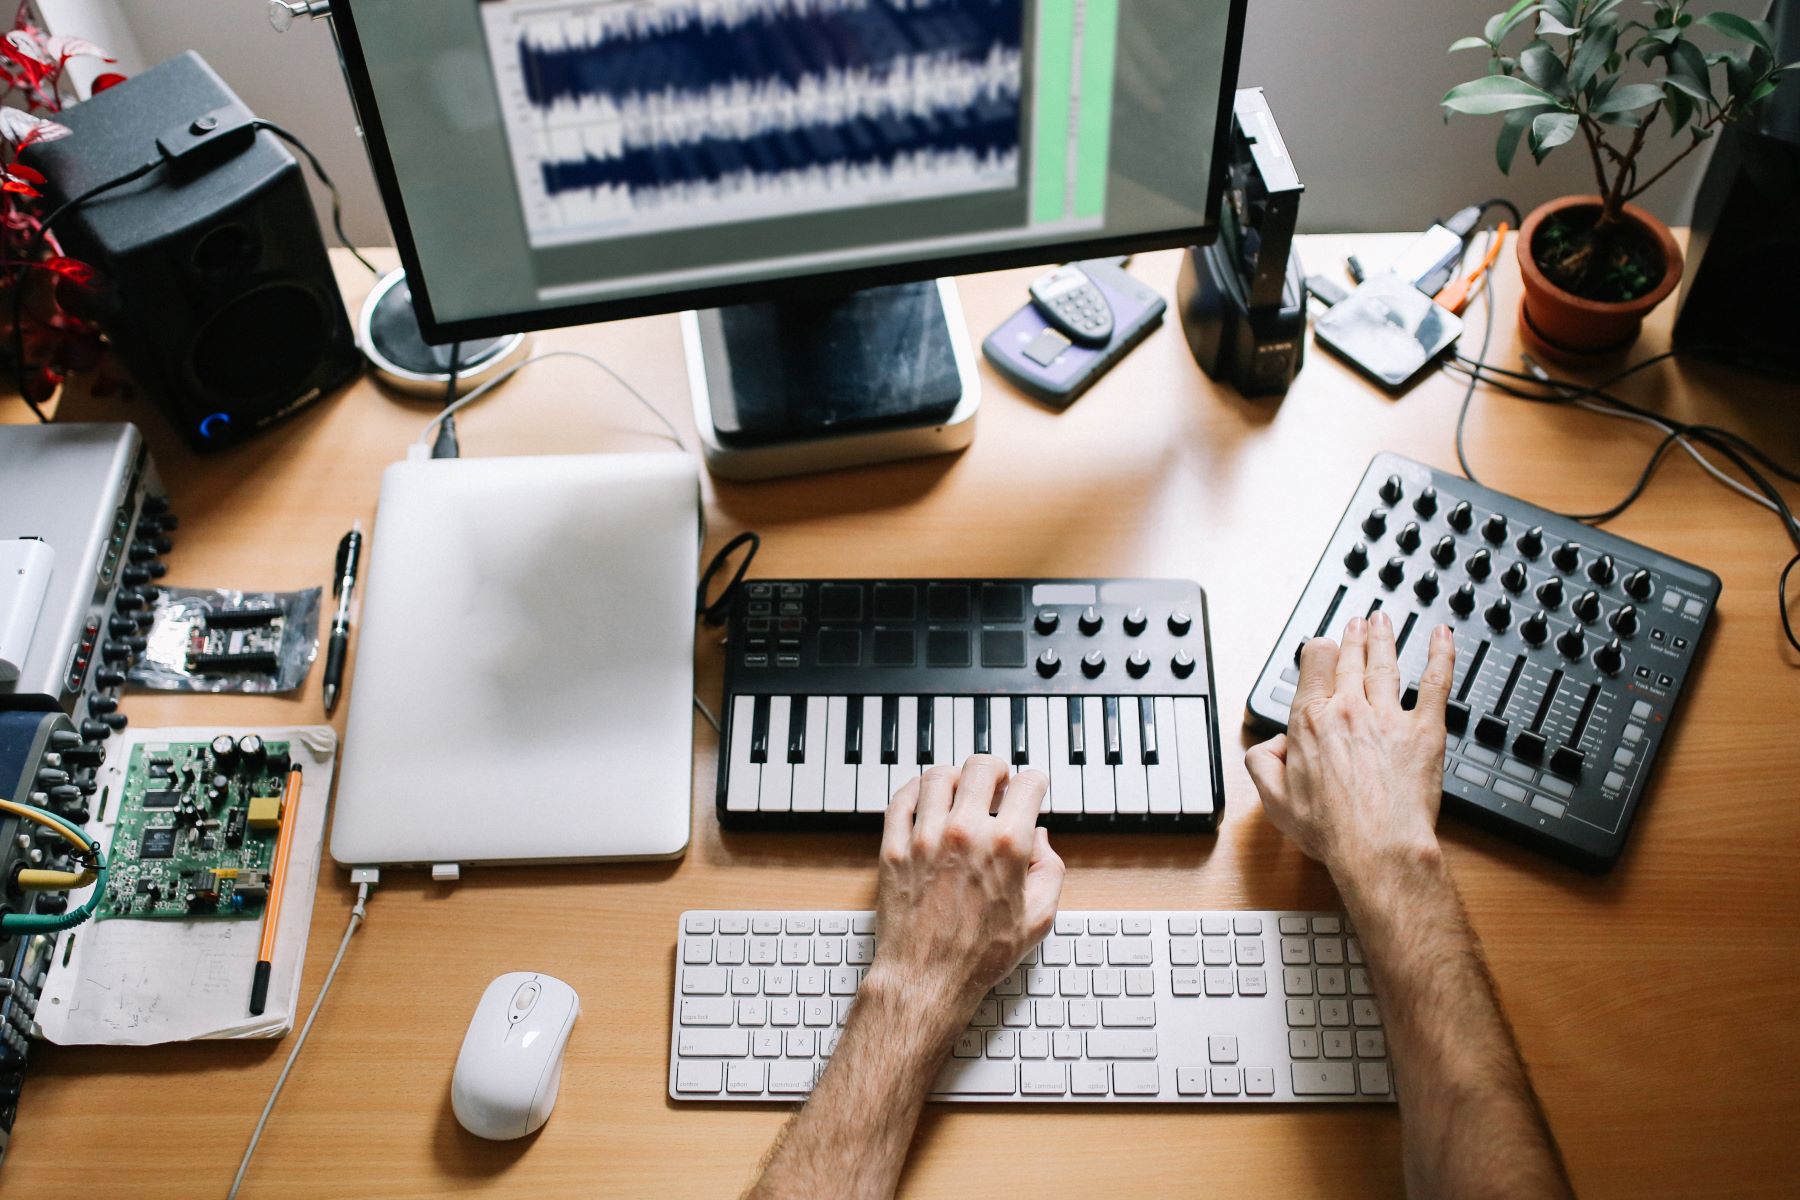
Choosing the Right Recording Software
With your digital piano connected to your computer, the next step is to select the appropriate recording software to capture and manipulate your piano performances. The right recording software can significantly impact the quality and versatility of your recordings. Here are some key considerations to keep in mind when choosing recording software for your digital piano:
- Compatibility: Ensure that the recording software you choose is compatible with your operating system (e.g., Windows, macOS) and supports the audio interface used to connect your digital piano to your computer. Compatibility issues can hinder the seamless integration of your digital piano with the recording software.
- Features and Functionality: Look for recording software that offers essential features such as multi-track recording, audio editing, MIDI support, and a user-friendly interface. The software should empower you to capture and refine your piano performances with precision and creativity.
- Audio Quality: Consider the audio fidelity and processing capabilities of the recording software. High-quality audio recording and processing tools are essential for preserving the nuances of your piano playing and achieving professional-grade results.
- Workflow and User Experience: Evaluate the workflow and user experience offered by the recording software. An intuitive and efficient user interface can streamline the recording process and enhance your productivity, allowing you to focus on your musical expression.
- Support and Updates: Choose recording software from reputable developers who provide reliable customer support and regular software updates. A supportive developer community and access to technical assistance can be invaluable as you navigate the recording software’s features and functionalities.
By carefully considering these factors, you can identify recording software that aligns with your recording goals and complements the capabilities of your digital piano. Whether you opt for a comprehensive digital audio workstation (DAW) or a streamlined recording application, the right software will empower you to unleash your musical potential and capture stunning piano performances with ease.
Once you’ve selected the recording software that best suits your needs, you’ll be well-equipped to dive into the exciting realm of digital piano recording and explore the endless possibilities for expressing your musical artistry.
Adjusting Audio Settings
Before you commence the recording process, it’s essential to fine-tune the audio settings of your digital piano and recording software to ensure optimal sound quality and performance. By adjusting the audio settings with precision, you can capture the full expressive range of your piano playing and create recordings that resonate with clarity and depth. Here’s how to adjust the audio settings for your digital piano recording:
- Input Levels: Begin by setting the input levels on your digital piano and recording software to avoid clipping (distortion) and maintain a healthy signal-to-noise ratio. Adjust the input gain on your audio interface or within the recording software to achieve an optimal level without overloading the signal.
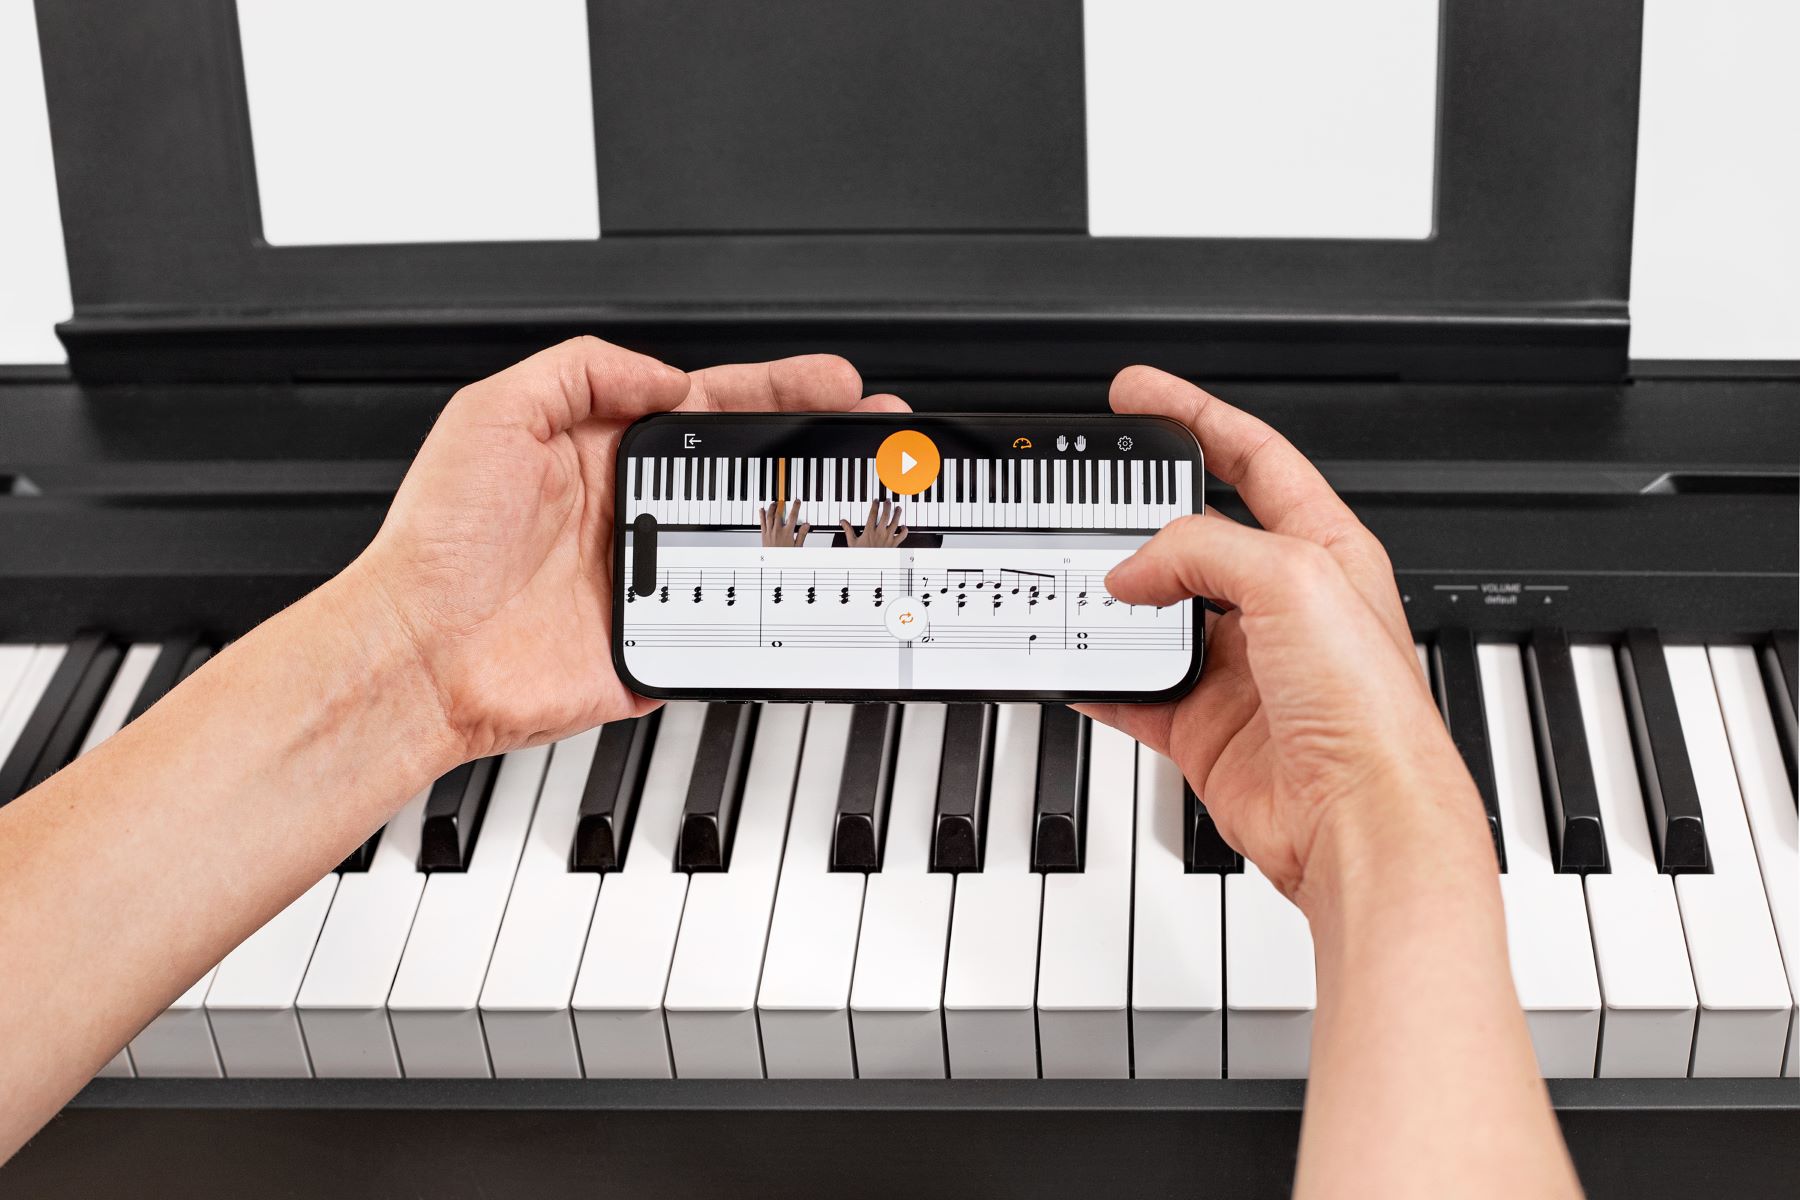
- Instrument Sound Selection: Explore the sound presets and settings on your digital piano to select the ideal instrument sound for your recording. Experiment with different piano tones, effects, and dynamic settings to tailor the sound to your artistic vision.
- Audio Monitoring: Use headphones or studio monitors to monitor the audio output from your digital piano in real time. This allows you to hear the nuances of your performance and make adjustments as needed while recording.
- Buffer Size and Latency: Adjust the buffer size and latency settings in your recording software to minimize audio latency (delay) during recording and playback. Lower buffer sizes can reduce latency but may require more processing power from your computer.
- Audio Routing: Familiarize yourself with the audio routing options in your recording software to ensure that the audio signal from your digital piano is routed to the correct input channels and tracks for recording.
By meticulously adjusting the audio settings of your digital piano and recording software, you can create an optimized recording environment that captures the nuances of your piano performance with precision and fidelity. Paying attention to input levels, instrument sound selection, audio monitoring, latency management, and audio routing empowers you to craft recordings that showcase the full expressive potential of your digital piano.
With the audio settings finely tuned and optimized, you’re poised to embark on a recording journey that elevates your piano performances to new heights of sonic excellence. The meticulous attention to audio detail sets the stage for capturing your musical artistry with authenticity and impact.
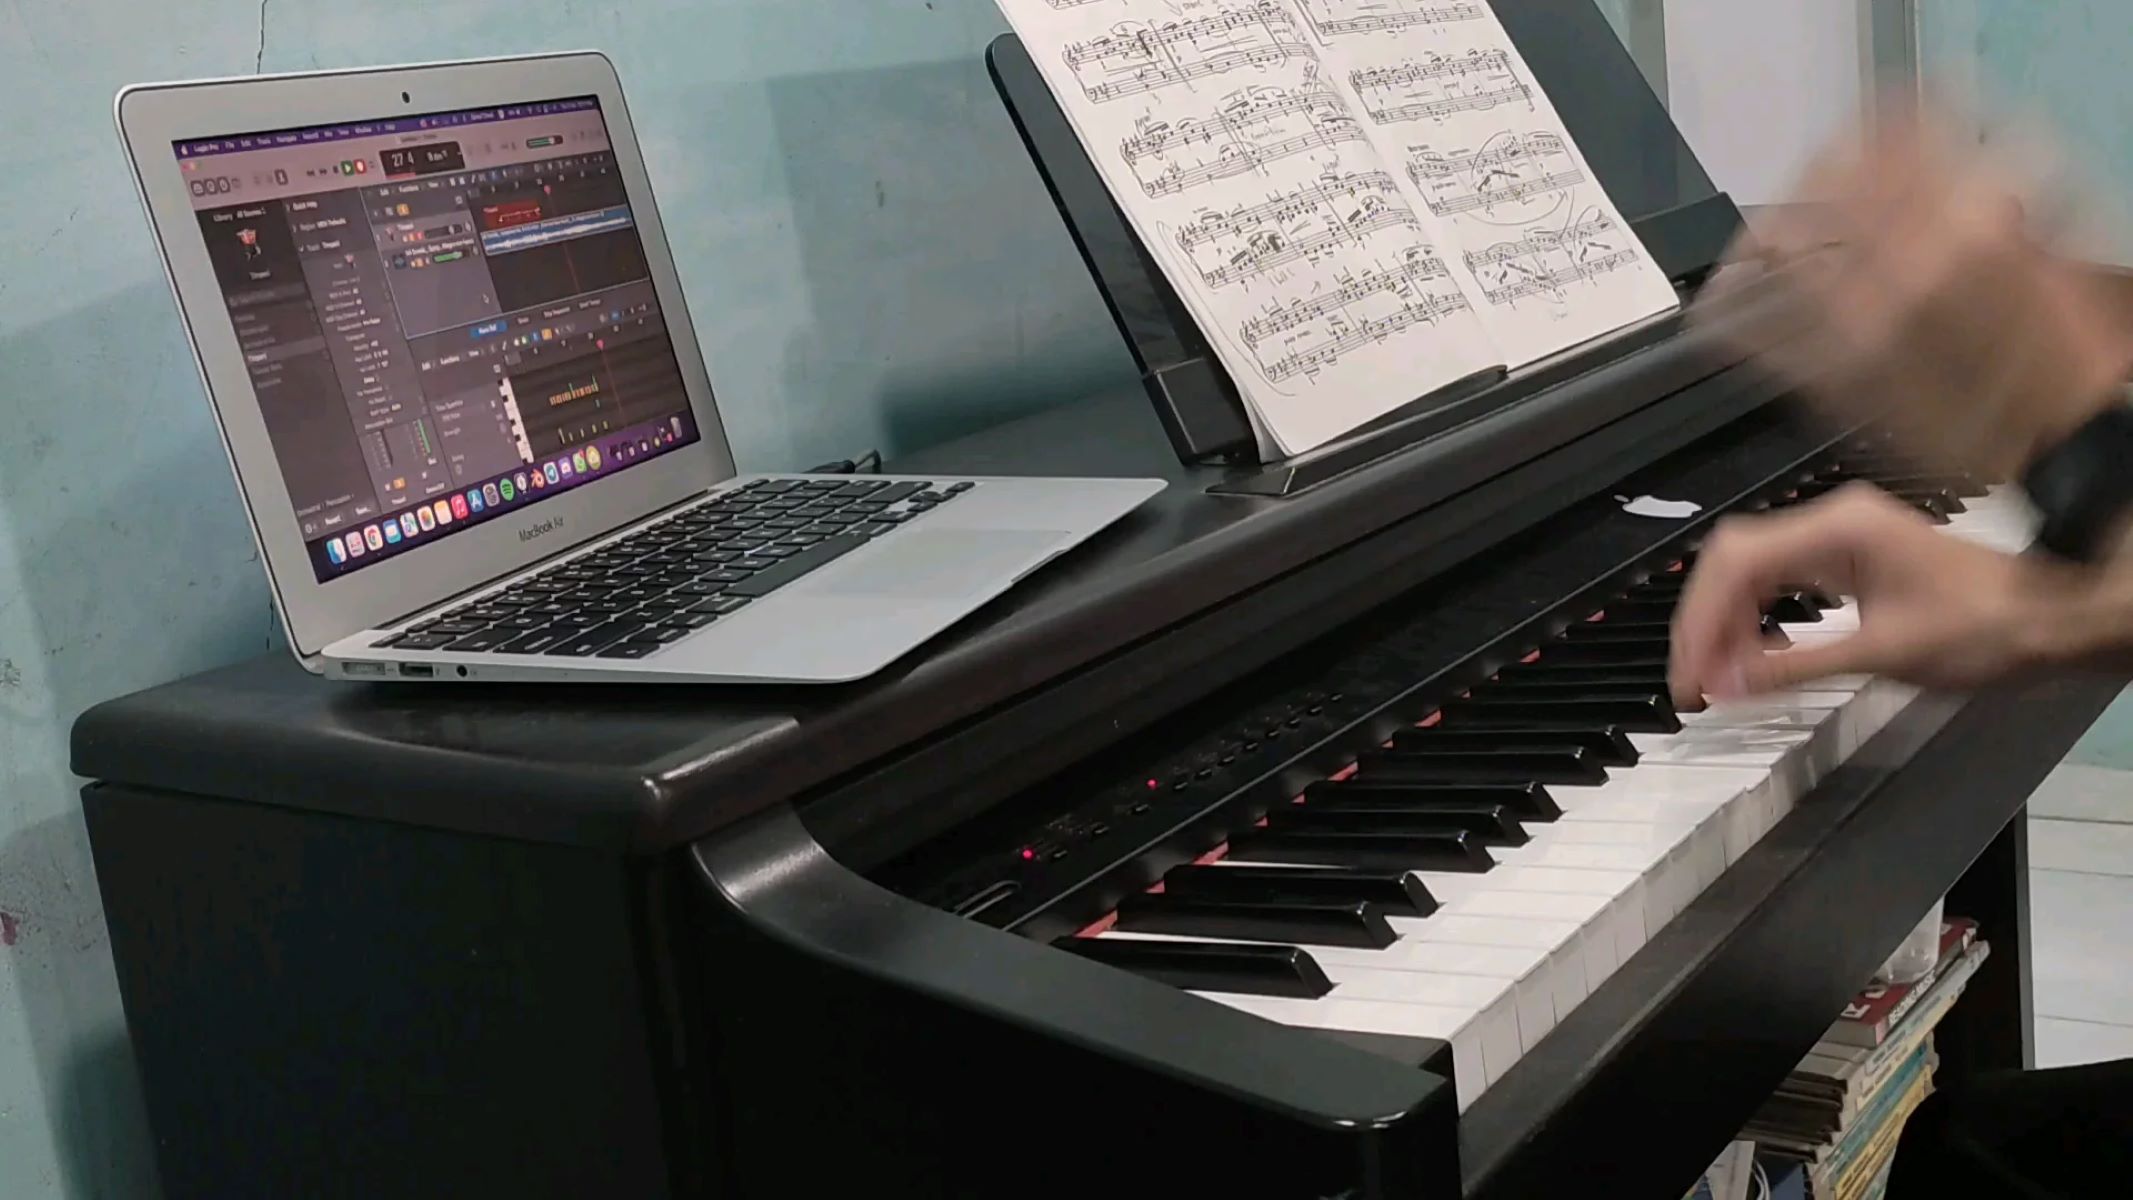
Recording and Editing Your Piano Performance
With your digital piano set up, connected to your computer, and the audio settings adjusted, you’re now ready to embark on the exhilarating process of recording and editing your piano performances. This pivotal stage allows you to capture your musical expressions with precision and finesse, shaping them into polished recordings that resonate with emotion and artistry. Here’s a step-by-step guide to recording and editing your piano performance:
- Initiating the Recording: Open your chosen recording software and create a new project. Set the recording parameters, such as the desired sample rate and bit depth, to align with your recording goals. Arm the recording track and prepare to capture your piano performance.
- Performing with Intention: Play your piano piece with focus and intention, channeling your musical expression into each note and phrase. Leverage the nuances of touch, dynamics, and timing to infuse your performance with emotion and depth.
- Reviewing and Fine-Tuning: Upon completing the recording, listen back to the captured performance critically. Identify sections that may require re-recording or editing, and make note of any imperfections or areas for improvement.
- Editing and Arrangement: Utilize the editing tools in your recording software to refine the recorded performance. This may involve trimming, quantizing, or comping the recorded takes to achieve a cohesive and polished musical arrangement.
- Enhancing with Effects: Experiment with audio effects such as reverb, EQ, and compression to enhance the sonic character of your piano performance. Carefully apply effects to complement the musicality of the recording without overpowering the natural sound of the piano.
- Finalizing the Mix: Balance the individual elements of the recording, including the piano performance, ambiance, and any additional instrumentation or vocals. Pay attention to the overall mix balance and make adjustments to ensure a cohesive and impactful sonic presentation.
- Exporting the Masterpiece: Once you’re satisfied with the recording and editing process, export the final mix of your piano performance in a high-quality audio format. Save a pristine copy of your musical creation for sharing, distribution, or further refinement.
By embracing the recording and editing process with care and creativity, you can transform your raw piano performances into captivating musical works that resonate with listeners. Each step of the recording and editing journey presents an opportunity to shape and refine your musical expression, ultimately yielding recordings that reflect your artistic vision with authenticity and impact.
As you immerse yourself in the art of recording and editing your piano performances, you’ll discover the boundless potential for capturing and sharing your musical narratives with the world. The process of crafting polished recordings from your piano performances is a testament to your dedication to musical excellence and the power of technology to amplify your creative voice.