Introduction:
Are you looking to enhance your audio experience by playing USB microphone audio through your speakers? Whether you’re a podcaster, musician, or simply want to improve the audio quality of your video calls or gaming sessions, this guide is for you. By following a few simple steps, you’ll be able to connect your USB microphone to your speakers and enjoy crystal-clear audio in no time.
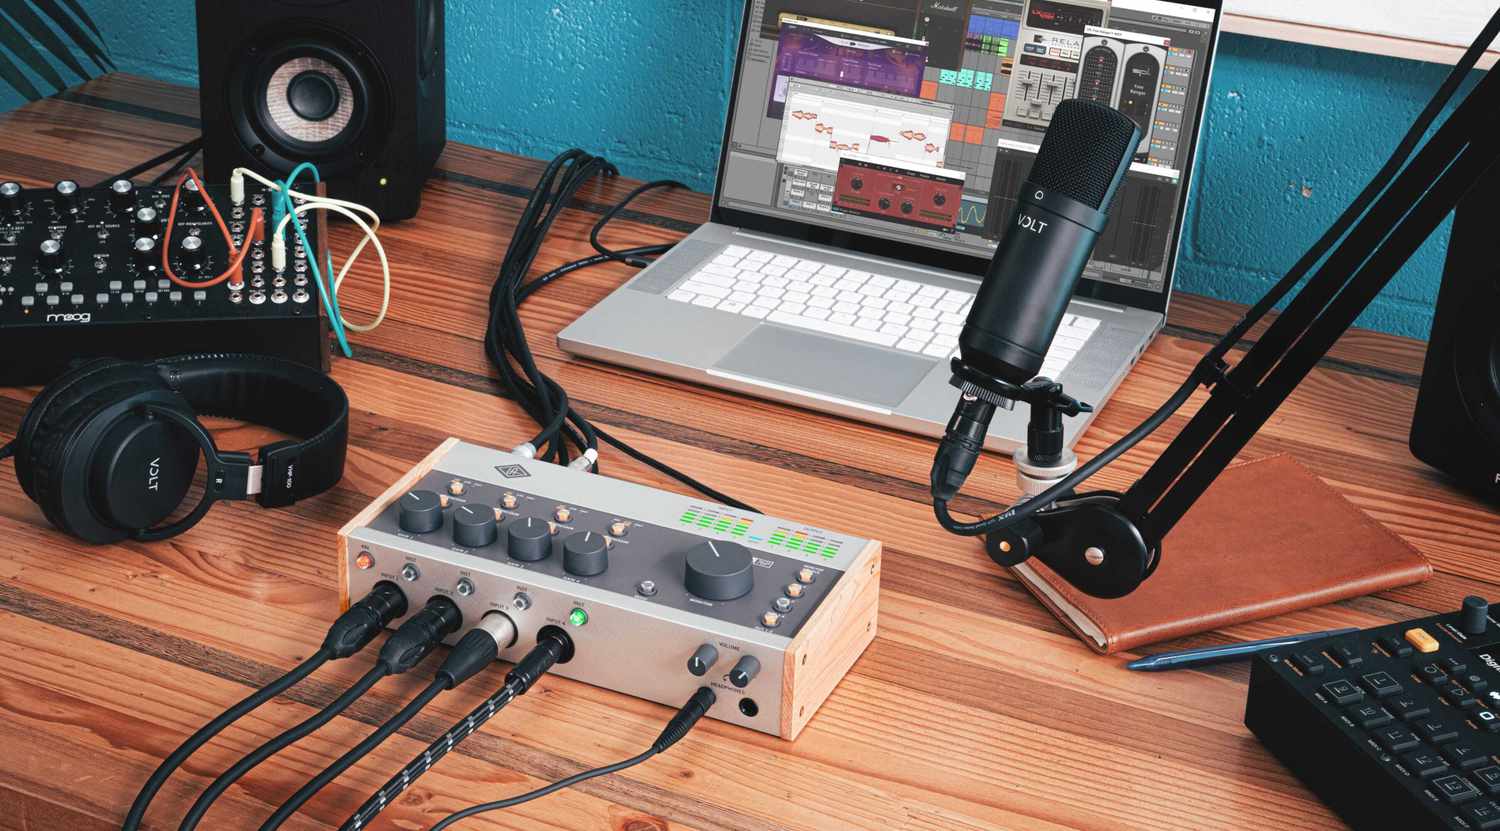
USB microphones have become increasingly popular due to their convenience and versatility. They offer high-quality sound capture and are compatible with various devices, including laptops, desktop computers, and gaming consoles. However, by default, the audio from a USB microphone is routed to the recording application, such as a digital audio workstation (DAW) or video conferencing software. This means that you’ll only be able to hear the microphone audio through your headphones or the speakers connected to your recording device.
But what if you want to listen to the USB microphone audio directly through your speakers? Fortunately, it’s possible to achieve this with a few adjustments in your system settings. In this guide, we’ll walk you through the step-by-step process of connecting your USB microphone to your speakers and configuring the audio settings to enable playback. Whether you’re a beginner or a tech-savvy individual, we’ve got you covered.
Before we dive into the details, it’s important to note that the specific steps may vary slightly depending on your operating system and the audio configuration of your device. However, the general principles remain the same, and we’ll provide instructions for both Windows and Mac users to ensure you can follow along regardless of your setup.
So, if you’re ready to take your audio experience to the next level and start playing USB microphone audio through your speakers, let’s get started with Step 1: Checking Compatibility.
Step 1: Check Compatibility
The first step in playing USB microphone audio through your speakers is to ensure that your USB microphone is compatible with your operating system. Most USB microphones are designed to work with both Windows and Mac systems, but it’s always a good idea to double-check before proceeding.
To check compatibility, start by reviewing the documentation or the manufacturer’s website for your USB microphone. Look for information regarding supported operating systems to ensure that your device is compatible with your specific setup. Additionally, you can search online forums or community groups related to USB microphones to see if other users have successfully used the same microphone with your operating system.
If you’re unsure about the compatibility of your USB microphone, you can also try connecting it to your computer and see if it’s recognized. Plug in the USB microphone and wait for your operating system to recognize the device. If you see a notification or a pop-up indicating that the device is detected and installed properly, chances are it’s compatible with your system.
It’s worth noting that some USB microphones may require additional drivers or software to function correctly. In such cases, the manufacturer will usually provide the necessary files or instructions on how to download and install them. Check the documentation or the manufacturer’s website for any driver or software requirements specific to your USB microphone model.
Once you’ve confirmed compatibility, you’re ready to move on to the next step: connecting your USB microphone to your computer.
Step 2: Connect the USB Microphone
Now that you’ve verified the compatibility of your USB microphone with your operating system, it’s time to connect it to your computer. Connecting your USB microphone is a straightforward process, and here’s how to do it:
- Locate an available USB port on your computer. Typically, USB ports are located on the front or back panel of your desktop tower or on the sides of your laptop.
- Take the USB cable that came with your microphone and connect it to the USB port on your computer. Ensure that the connection is secure.
- Once connected, your computer will detect the USB microphone and begin installing any necessary drivers or software automatically. Wait for the installation process to complete. You may see a notification or pop-up indicating the successful installation.
If your USB microphone requires additional drivers or software that you’ve downloaded from the manufacturer’s website, follow the provided instructions to install them before connecting the microphone to your computer.
It’s important to note that some USB microphones have built-in headphone jacks. If you prefer to monitor the audio through headphones instead of the speakers, you can connect your headphones directly to the microphone. This allows you to listen to your recordings in real-time without any audio delay. However, if you want to play the USB microphone audio through your speakers, we’ll cover the necessary steps in the next sections.
With your USB microphone now connected to your computer, it’s time to move on to configuring the audio settings.
Step 3: Configure Audio Settings
After connecting your USB microphone to your computer, the next step is to configure the audio settings to enable playback through your speakers. The process may slightly differ depending on your operating system. Here’s how to configure the audio settings on both Windows and Mac systems:
Windows:
- Right-click on the speaker icon in the taskbar and select “Open Sound settings.”
- In the Sound settings window, under the “Choose your output device” section, select the speaker or audio device you want to use for playback.
- Scroll down and click on the “App volume and device preferences” link.
- Under the “Output” section, use the drop-down menu to select your USB microphone as the default output device. If you don’t see your USB microphone listed, make sure it’s properly connected and recognized by your computer.
- Adjust the volume slider if necessary, and then close the Settings window.
Mac:
- Click on the Apple menu and select “System Preference.”
- In the System Preferences window, click on “Sound.”
- Go to the “Output” tab and select your speaker or audio device from the list.
- Click on the “Input” tab and select your USB microphone from the list.
- Adjust the output and input volume sliders if needed.
Once you’ve configured the audio settings on your computer, any audio captured by your USB microphone should now be played through your speakers. You can test it by speaking into the microphone and checking if the sound is being played back through your selected output device.
If you’re not hearing any audio or experiencing issues, proceed to the next step for troubleshooting tips.
Step 4: Set Default Playback Device
In some cases, even after configuring the audio settings, you may find that the USB microphone audio is still not playing through your speakers. This could be due to the default playback device not set correctly on your computer. To resolve this issue, follow the steps below to set the default playback device:
Windows:
- Right-click on the speaker icon in the taskbar and select “Open Sound settings.”
- Scroll down and click on the “Sound control panel” link under the “Related settings” section.
- In the Sound window, go to the “Playback” tab.
- Look for your desired speaker or audio device in the list of playback devices.
- Right-click on the desired device and select “Set as Default Device.”
- Click on “Apply” and then “OK” to save the changes.
Mac:
- Click on the Apple menu and select “System Preference.”
- In the System Preferences window, click on “Sound.”
- Go to the “Output” tab.
- Select your desired speaker or audio device from the list.
- Close the System Preferences window.
By setting the correct default playback device, you ensure that any audio output from your computer is routed through the selected device, including the USB microphone audio. Once you’ve configured the default playback device, test your USB microphone again to see if the audio is now playing through your speakers.
If you’re still facing issues with playback or need further troubleshooting, continue to the next step for some additional tips.
Step 5: Adjust Volume Levels
After configuring the audio settings and setting the default playback device, it’s important to ensure that the volume levels are properly adjusted for optimal audio playback. Here’s how to adjust the volume levels on both Windows and Mac systems:
Windows:
- Right-click on the speaker icon in the taskbar and select “Open Volume Mixer.”
- Find the volume slider for your USB microphone.
- Move the slider up or down to adjust the volume level according to your preference. Ensure that the volume is not too low or too high.
Mac:
- Click on the speaker icon in the menu bar and select “Sound Preferences.”
- Go to the “Output” tab.
- Adjust the output volume slider to increase or decrease the volume level of your speakers.
- You can also adjust the input volume slider if you want to adjust the microphone sensitivity.
By fine-tuning the volume levels, you can ensure that the USB microphone audio is balanced and clear when played through your speakers. Avoid setting the volume levels too high, as it can result in distortion or audio clipping. Additionally, make sure that your speakers are not muted or set to extremely low volume.
Once you’ve adjusted the volume levels, listen to the USB microphone audio through your speakers to ensure that it’s clear and at an appropriate volume. If necessary, make further adjustments until you’re satisfied with the audio playback.
With the volume levels properly adjusted, you’re now ready to enjoy USB microphone audio through your speakers. If you encounter any issues or need further assistance, refer to the next step for troubleshooting tips.
Step 6: Troubleshooting Tips
Sometimes, despite following all the steps correctly, you may encounter issues with playing USB microphone audio through your speakers. Here are some troubleshooting tips to help you address common problems:
- Check USB connections: Ensure that the USB cable connecting your microphone to the computer is securely plugged in. Try disconnecting and reconnecting the USB cable to ensure a proper connection.
- Restart your computer: Sometimes, a simple computer restart can resolve software or driver-related issues. Restart your computer and check if the USB microphone audio can be played through the speakers.
- Update drivers: Check if there are any updated drivers available for your USB microphone. Visit the manufacturer’s website and download the latest drivers or instructions on updating the drivers for your specific model.
- Try a different USB port: If you’re experiencing issues with a specific USB port, try connecting your USB microphone to a different port on your computer. Sometimes, certain ports may have compatibility or power issues.
- Test on a different system: If available, try connecting your USB microphone to a different computer or device to determine if the issue is specific to your setup or the microphone itself.
- Disable exclusive mode: In the sound settings of your operating system, disable any exclusive mode settings for your USB microphone. This can prevent conflicts between applications using the microphone and allow audio playback through the speakers.
- Reset audio settings: If you’ve made various audio configuration changes, you can try resetting the audio settings on your computer to default. This can help resolve any conflicts or incorrect settings that may be affecting the playback.
By following these troubleshooting tips, you’ll have a higher chance of resolving any issues that may arise when playing USB microphone audio through your speakers. If the problem persists, it may be necessary to reach out to the manufacturer’s support or seek assistance from a professional.
Remember, each USB microphone and computer setup may have unique challenges, so it’s important to explore different troubleshooting options to find the one that works best for you. Once you’ve successfully resolved any issues, you can enjoy the enhanced audio experience of playing USB microphone audio through your speakers.
Conclusion
Congratulations! You have successfully learned how to play USB microphone audio through your speakers. By following the steps outlined in this guide, you can enhance your audio experience for various purposes, including podcasting, music recording, video calls, and gaming.
We started by checking the compatibility of your USB microphone with your operating system to ensure a seamless connection. Then, we walked through the process of connecting the USB microphone to your computer, configuring the audio settings, setting the default playback device, adjusting the volume levels, and troubleshooting common issues that may arise.
Remember, the specific steps may vary slightly depending on your operating system and the configuration of your device. Always refer to the documentation provided by the manufacturer for detailed instructions that are specific to your USB microphone model.
With USB microphone audio playing through your speakers, you can enjoy clear and high-quality sound without the need for headphones. Whether you’re recording podcasts, jamming to your favorite tunes, or engaging in online meetings, the ability to hear your USB microphone audio through your speakers adds a new level of convenience and immersion to your audio setup.
If you encounter any difficulties or need further assistance, don’t hesitate to consult the user manual or reach out to the manufacturer’s support team for guidance. With a little troubleshooting and patience, you’ll be able to resolve any issues and achieve the desired audio setup.
Now that you have the knowledge and steps to play USB microphone audio through your speakers, go ahead and enjoy the enhanced audio experience. Take your recordings, music, or online communication to the next level with crystal-clear sound that fills your space.
Thank you for following along this guide, and we hope you found it informative and helpful. Happy audio playback through your speakers!


