Introduction
Exploring New Musical Depths with Lower Octaves
Welcome to the dynamic world of music production! If you're an aspiring or seasoned music producer using FL Studio, you understand the pivotal role that MIDI keyboards play in crafting captivating melodies and harmonies. One intriguing technique that can elevate your compositions to new heights is the art of lowering the octave on your MIDI keyboard. By delving into lower octaves, you can infuse your music with depth, richness, and a unique sonic character that captivates listeners.
Lowering the octave on your MIDI keyboard opens the door to a realm of creative possibilities, allowing you to explore a deeper, more resonant tonal palette. Whether you're aiming to create a brooding bassline that reverberates through the mix or to add a haunting, atmospheric quality to your melodies, mastering the technique of lowering the octave empowers you to sculpt the sonic landscape of your compositions with precision and artistry.
In this comprehensive guide, we will delve into the intricacies of setting up your MIDI keyboard in FL Studio and seamlessly lowering the octave to unlock a world of musical expression. Additionally, we'll explore valuable tips for harnessing the power of lower octaves in your music production endeavors, providing you with the knowledge and insight to enhance your creative process and expand your sonic repertoire.
So, whether you're a producer seeking to infuse your tracks with a newfound depth or a budding musician eager to explore the endless possibilities of your MIDI keyboard, join us on this enlightening journey as we unravel the art of lowering the octave on FL Studio MIDI keyboards. Let's embark on this musical odyssey together and unlock the transformative potential of lower octaves in your compositions.
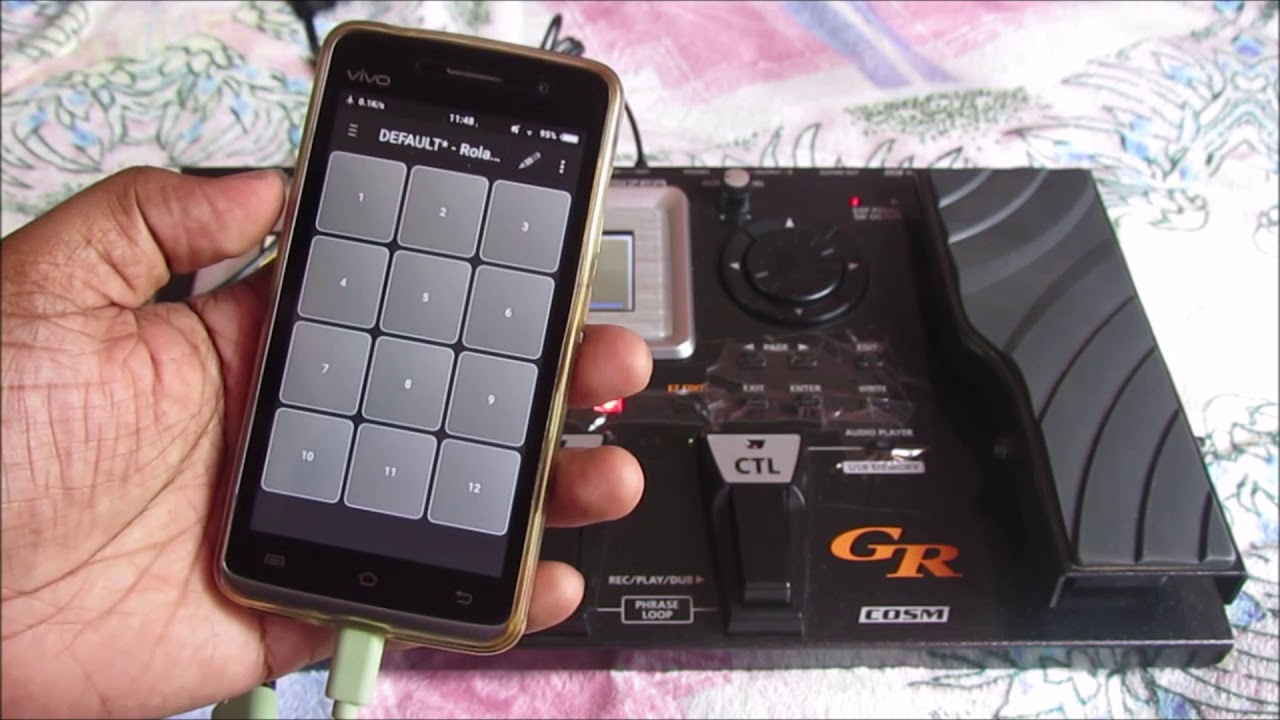
Setting up your MIDI keyboard in FL Studio
Seamless Integration for Uninterrupted Creativity
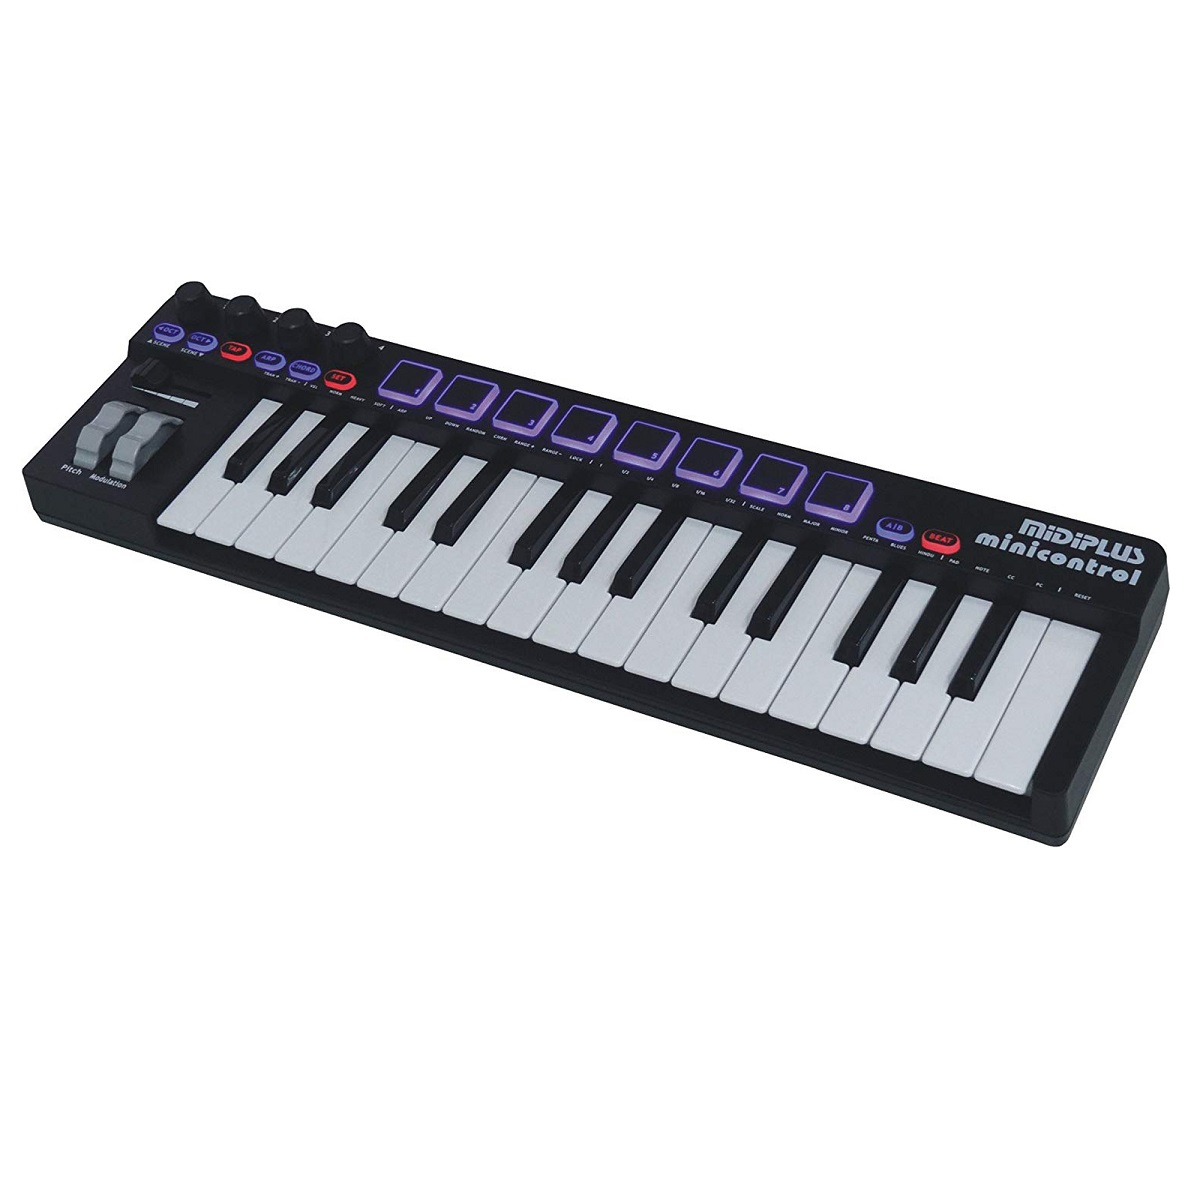
Before delving into the captivating realm of lower octaves, it’s crucial to ensure that your MIDI keyboard is seamlessly integrated into FL Studio, providing you with a fluid and intuitive platform for musical expression. Here’s a step-by-step guide to setting up your MIDI keyboard in FL Studio:
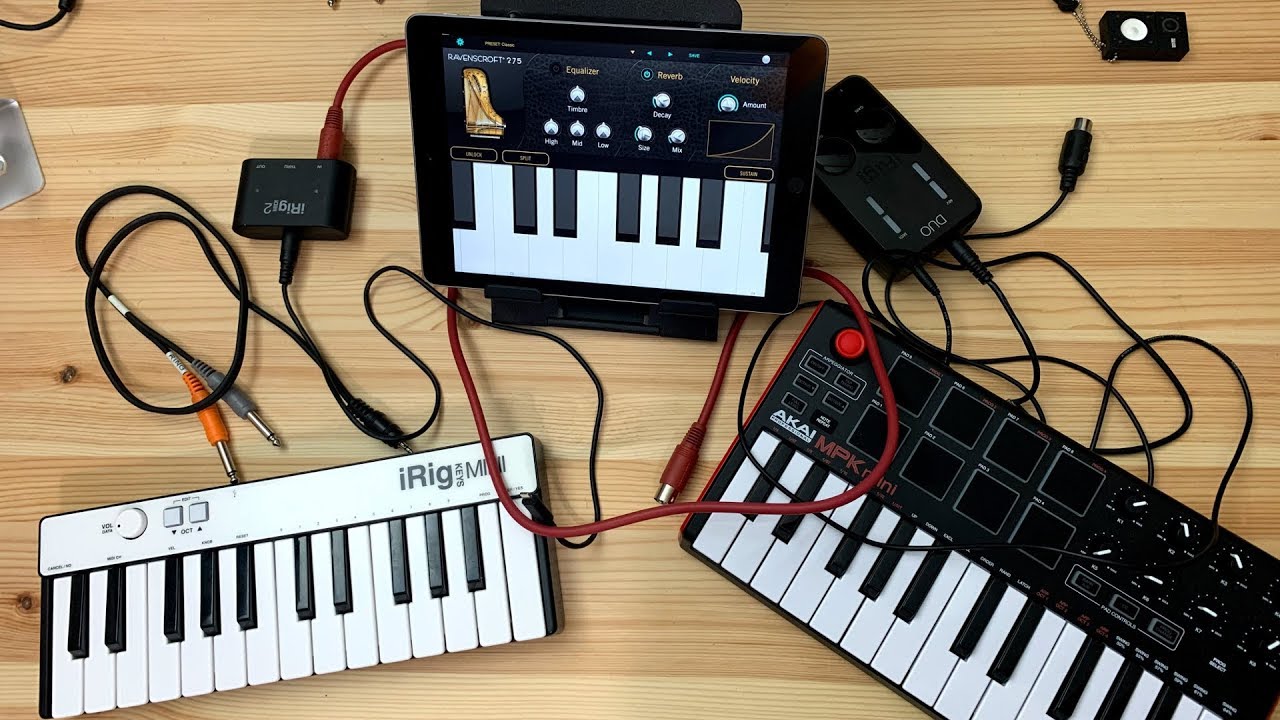
- Connect your MIDI keyboard: Begin by connecting your MIDI keyboard to your computer using a USB cable or MIDI interface. Ensure that the necessary drivers are installed to facilitate smooth communication between your MIDI keyboard and FL Studio.
- Launch FL Studio: Open FL Studio on your computer and navigate to the “Options” menu. Select “MIDI Settings” to access the MIDI configuration panel.
- Configure MIDI input: In the MIDI settings panel, locate your MIDI keyboard in the input list and enable it by checking the box next to its name. FL Studio should now recognize your MIDI keyboard as a designated input device.
- Assign MIDI channels: If your MIDI keyboard supports multiple MIDI channels, you can assign specific channels to different instruments or sound generators within FL Studio. This enables you to control various elements of your composition using different sections of your MIDI keyboard.
- Test MIDI input: To ensure that your MIDI keyboard is functioning as expected, play a few notes or chords on the keyboard and verify that FL Studio registers the input. You can monitor the MIDI activity in FL Studio’s MIDI settings panel to confirm that the software is receiving signals from your keyboard.
By following these straightforward steps, you can establish a seamless connection between your MIDI keyboard and FL Studio, laying the foundation for a productive and immersive music production experience. With your MIDI keyboard primed for action, you’re now ready to explore the enchanting world of lower octaves and unlock a wealth of creative possibilities in your compositions.
Lowering the octave on your MIDI keyboard
Unlocking New Sonic Dimensions
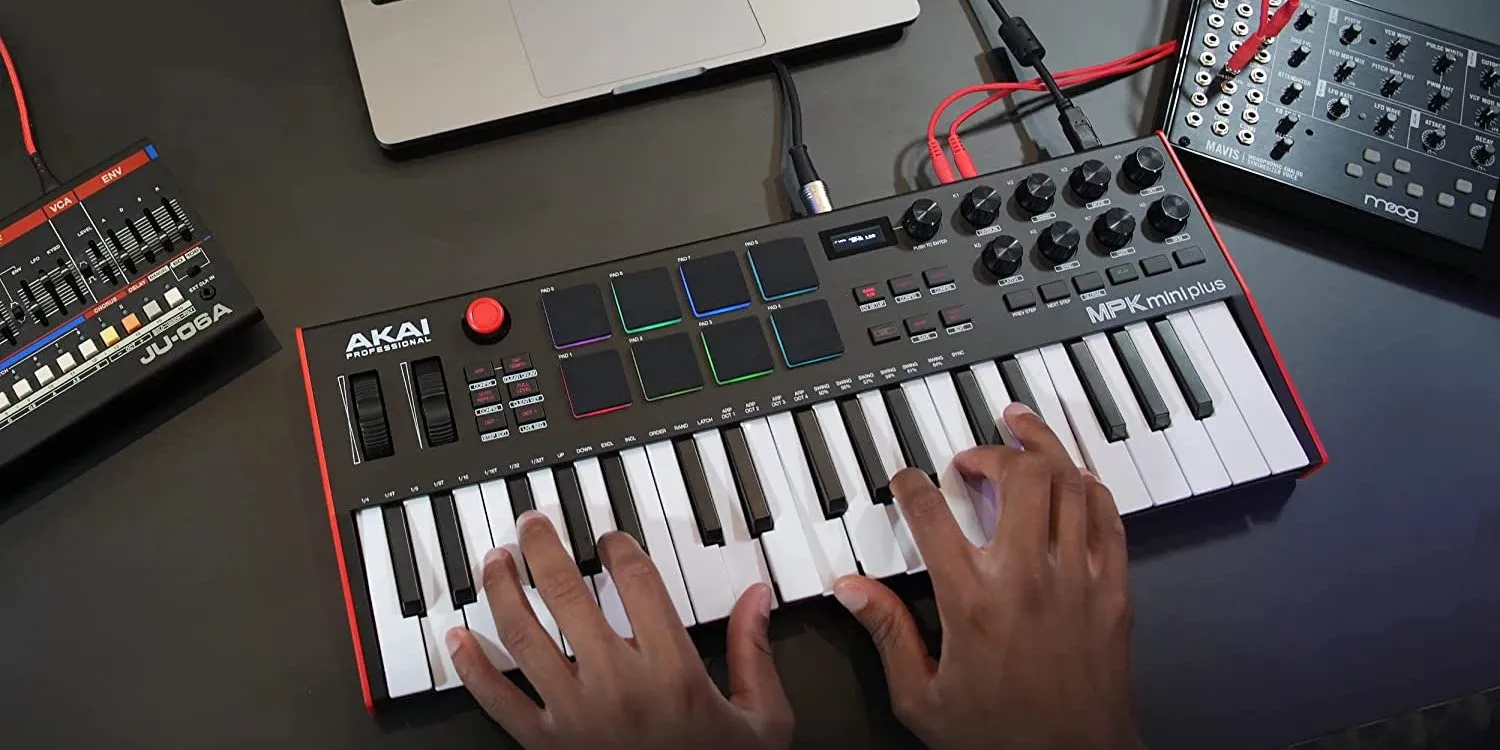
Now that your MIDI keyboard is seamlessly integrated into FL Studio, it’s time to embark on the transformative journey of lowering the octave to expand your musical horizons. Lowering the octave on your MIDI keyboard empowers you to explore new sonic dimensions and infuse your compositions with depth and resonance. Here’s how you can effortlessly lower the octave on your MIDI keyboard in FL Studio:
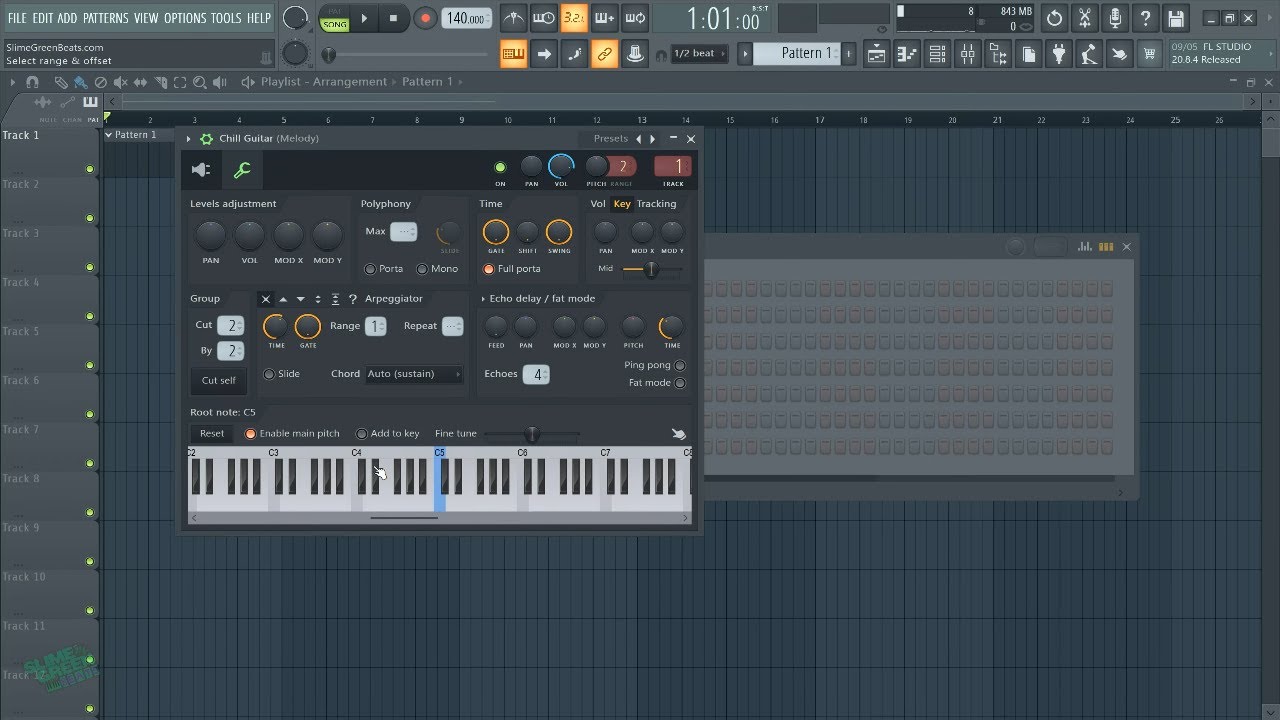
- Select the desired instrument: In FL Studio, choose the instrument or sound generator that you wish to play with a lower octave. This could be a bass instrument, synth pad, or any melodic element that you envision with a deeper tonal quality.
- Transpose the MIDI notes: Once the instrument is selected, you can transpose the MIDI notes to lower the octave. This can typically be achieved by selecting the MIDI notes in the piano roll or MIDI editor and shifting them down by 12 semitones, which equates to lowering the octave by one octave.
- Utilize the octave shift function on your MIDI keyboard: Many MIDI keyboards feature octave shift buttons or knobs that allow you to transpose the keyboard’s entire range up or down by octaves. By utilizing this functionality, you can instantly lower the octave of your MIDI keyboard, enabling you to play lower-pitched notes with ease.
- Experiment with different octaves: As you explore lower octaves, take the opportunity to experiment with various octave settings to find the perfect tonal range for your composition. Whether you’re crafting a thunderous bassline or adding a haunting undertone to your melodies, adjusting the octave settings on your MIDI keyboard can yield captivating results.
By embracing these techniques, you can seamlessly lower the octave on your MIDI keyboard, unlocking a wealth of creative possibilities and imbuing your music with a captivating depth and resonance. Whether you’re sculpting a brooding atmosphere or crafting a powerful bass foundation, the art of lowering the octave empowers you to shape your compositions with unparalleled artistry and expression.
Tips for using lower octaves in your music production
Elevating Your Compositions with Lower Octaves
As you delve into the captivating realm of lower octaves in your music production endeavors, it’s essential to harness this technique with finesse and creativity. Here are valuable tips to maximize the impact of lower octaves and elevate your compositions to new heights:
- Embrace the power of contrast: Lower octaves can serve as a compelling contrast to higher-pitched elements in your compositions. By juxtaposing deep, resonant tones with higher frequencies, you can create a rich sonic tapestry that captivates listeners and adds a compelling dynamic range to your music.
- Layer lower octaves for depth: Experiment with layering lower octave elements to enrich the harmonic foundation of your compositions. Whether you’re combining multiple bass instruments or integrating lower-pitched synth textures, layering lower octaves can imbue your music with a profound sense of depth and complexity.
- Explore rhythmic possibilities: Lower octaves offer a wealth of rhythmic potential, especially when crafting impactful basslines and rhythmic motifs. Leverage the inherent weight and presence of lower-pitched elements to anchor your compositions with compelling rhythms that drive the musical narrative forward.
- Cultivate atmospheric textures: Lower octaves can evoke a sense of mystery and depth, making them ideal for creating atmospheric textures that envelop your compositions in an ethereal aura. Whether you’re sculpting ambient soundscapes or crafting cinematic soundtracks, lower octaves can infuse your music with evocative sonic landscapes.
- Balance and integration: When incorporating lower octaves, strive for a harmonious balance with other musical elements. Ensure that the lower-pitched components integrate seamlessly with the overall mix, enhancing the sonic tapestry without overpowering or overshadowing other essential elements in your compositions.
By embracing these tips, you can harness the transformative potential of lower octaves to enrich your music production endeavors. Whether you’re crafting immersive soundtracks, pulsating electronic compositions, or genre-defying sonic explorations, the art of utilizing lower octaves empowers you to sculpt captivating musical experiences that resonate deeply with your audience.