Introduction
Understanding the Basics of Condenser Microphones
Condenser microphones are a vital tool for capturing high-quality audio in a wide range of recording scenarios. Whether you're a musician, podcaster, content creator, or audio engineer, understanding how to maximize the performance of a condenser microphone is essential for achieving professional sound quality.
In this comprehensive guide, we'll explore the fundamental principles of condenser microphones, providing insights into selecting the right microphone for your needs, setting it up effectively, and optimizing its performance to capture pristine audio. From mic placement and room acoustics to post-processing techniques, we'll cover every aspect to help you harness the full potential of your condenser microphone.
By delving into the intricacies of condenser microphones, you'll gain the knowledge and skills necessary to elevate your audio recordings to new heights. Whether you're aiming to capture the nuanced details of a vocal performance, the intricate tones of a musical instrument, or the clarity of spoken dialogue, mastering the art of utilizing condenser microphones will empower you to achieve exceptional sound reproduction.
Throughout this guide, we'll provide practical tips, techniques, and best practices to assist you in harnessing the full capabilities of condenser microphones. By the end of this journey, you'll be equipped with the expertise to unleash the true potential of your condenser microphone, ensuring that your audio recordings are characterized by unparalleled clarity, richness, and fidelity.
So, let's embark on this exploration of condenser microphones, unraveling the mysteries of their operation and discovering the methods to achieve optimal sound capture in any recording environment. Whether you're a novice seeking to enhance your recording setup or a seasoned professional aiming to refine your techniques, this guide is designed to cater to your needs and aspirations in the realm of audio production.
Understanding Condenser Microphones
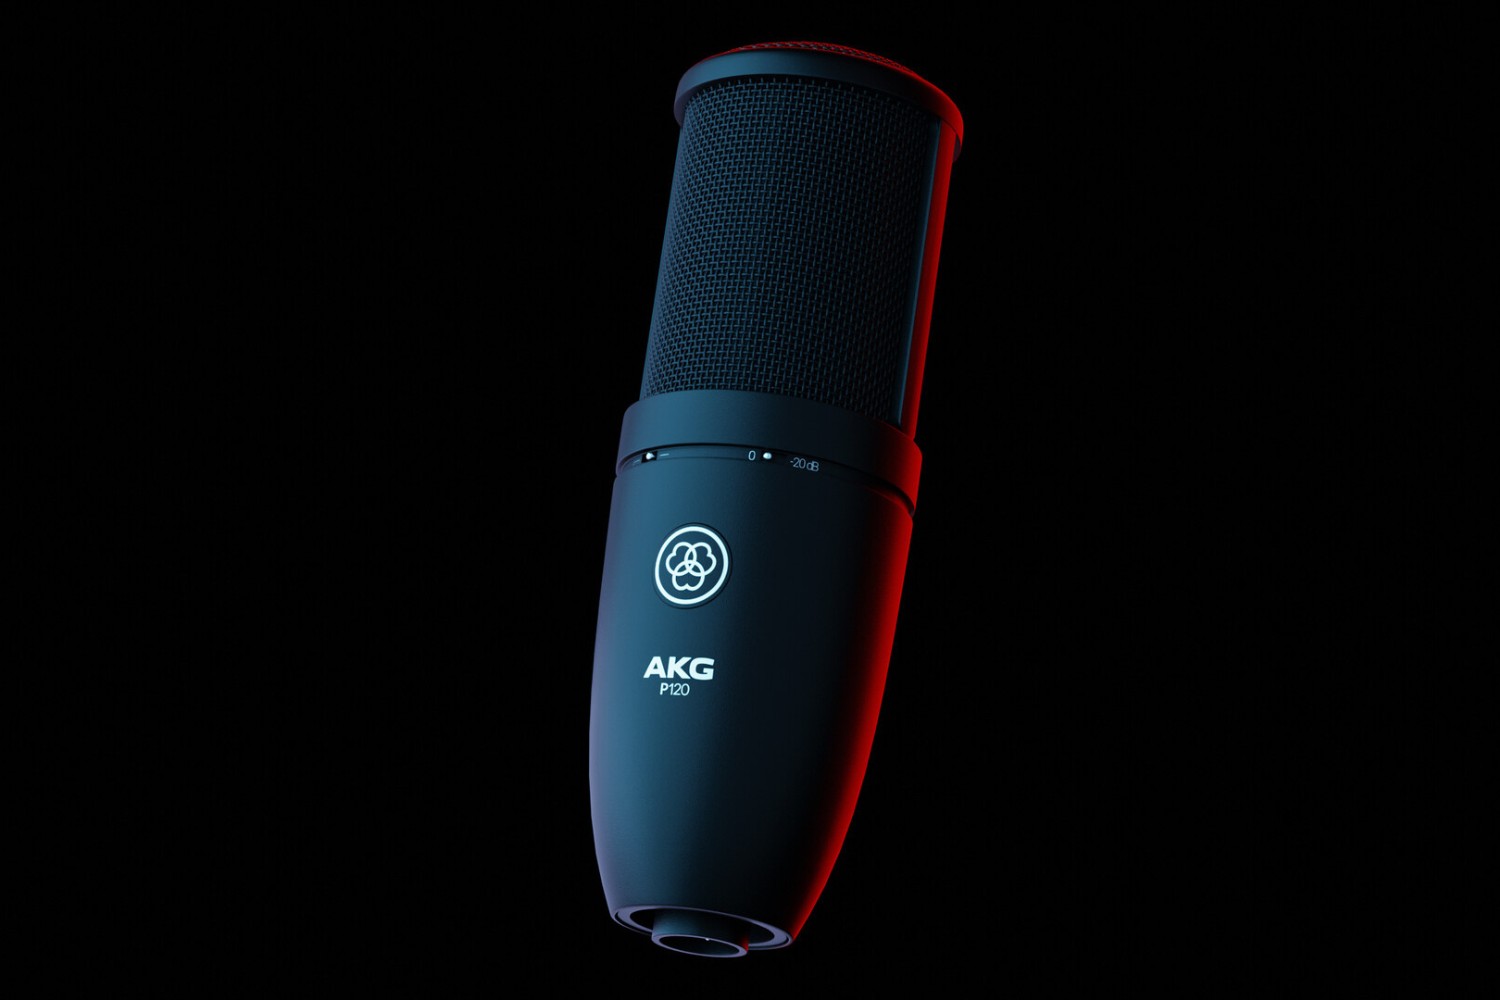
Condenser microphones, also known as capacitor microphones, are a popular choice for capturing high-fidelity audio due to their exceptional transient response and wide frequency range. Unlike dynamic microphones, condenser microphones utilize an electrically-charged diaphragm and a backplate to convert sound waves into electrical signals. This design allows condenser microphones to offer superior sensitivity and capture intricate details with remarkable precision.
One of the defining characteristics of condenser microphones is their ability to deliver a transparent and natural sound reproduction, making them ideal for recording vocals, acoustic instruments, and ambient sounds. This makes them a top choice for studio recording, live performances, podcasting, and field recording.
Condenser microphones are available in two main types: large-diaphragm and small-diaphragm. Large-diaphragm condenser microphones are revered for their warm and rich sound, making them a popular choice for vocal recording and studio applications. On the other hand, small-diaphragm condenser microphones are prized for their accuracy and detailed sound reproduction, making them well-suited for capturing acoustic instruments, ensemble performances, and high-frequency sound sources.
Understanding the polar patterns of condenser microphones is crucial for achieving optimal results in different recording scenarios. The most common polar patterns for condenser microphones are cardioid, omnidirectional, and figure-8. Each polar pattern offers distinct characteristics, allowing for versatile use in various recording environments and applications. For instance, a cardioid condenser microphone is ideal for isolating sound sources and minimizing background noise, making it suitable for vocal recording and studio work.
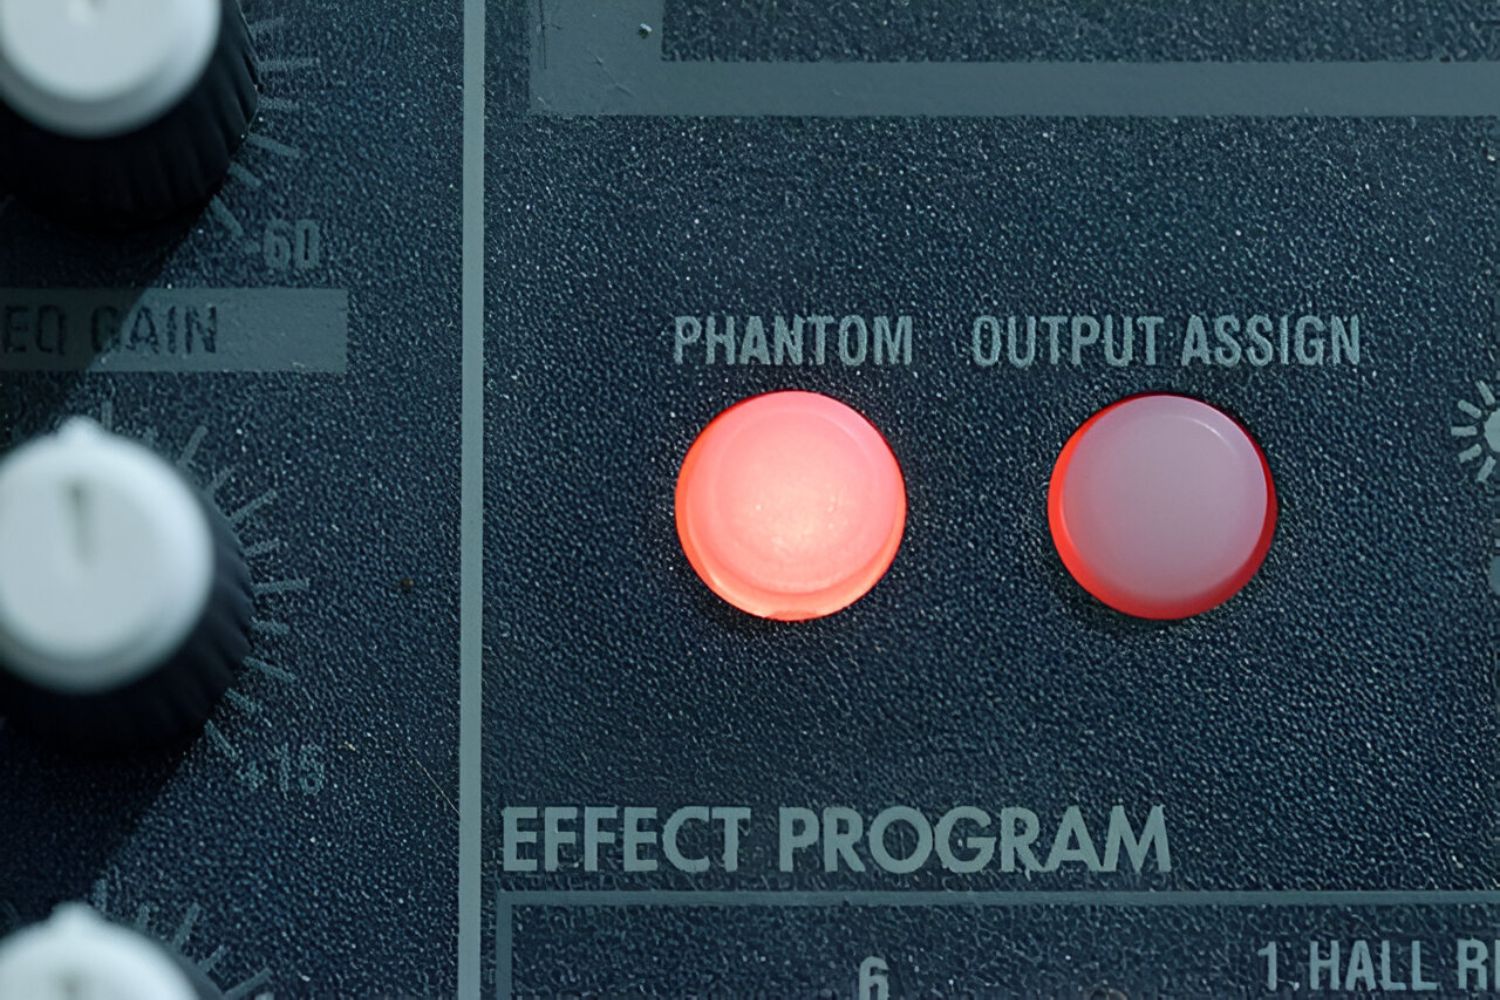
Furthermore, condenser microphones require phantom power to operate, typically provided by audio interfaces, mixing consoles, or dedicated power supplies. This essential feature enables condenser microphones to maintain their high sensitivity and deliver exceptional audio quality, making them indispensable tools for professional audio production.
By comprehending the inner workings and capabilities of condenser microphones, you can leverage their strengths to capture stunning audio with unparalleled clarity and fidelity. Whether you’re embarking on a vocal recording, capturing the nuances of acoustic instruments, or documenting the ambience of a live performance, condenser microphones empower you to achieve outstanding sound reproduction in any recording scenario.
Choosing the Right Condenser Microphone
When selecting a condenser microphone, it’s essential to consider various factors to ensure that it aligns with your specific recording needs and preferences. The wide array of condenser microphones available in the market offers diverse features, tonal characteristics, and applications, making it crucial to make an informed decision based on your intended use and budget.
First and foremost, identifying the primary purpose of the microphone is paramount. If you intend to record vocals, a large-diaphragm condenser microphone is often the preferred choice due to its ability to capture the nuances and warmth of the human voice. Alternatively, for capturing acoustic instruments, ensemble performances, or high-frequency sound sources, a small-diaphragm condenser microphone is well-suited for its accuracy and detailed sound reproduction.
Consider the polar pattern that best suits your recording environment and the sound sources you intend to capture. For instance, if you’re recording in a controlled studio environment and need to isolate the sound source while minimizing background noise, a cardioid condenser microphone is an excellent option. Conversely, if you aim to capture the ambience of a space or record multiple sound sources simultaneously, an omnidirectional or figure-8 condenser microphone may better serve your needs.
Furthermore, evaluating the frequency response of a condenser microphone is crucial to ensure that it complements the tonal characteristics of the sound source. Some condenser microphones are tailored to accentuate certain frequencies, offering a specific sonic coloration that may enhance the recorded material. Understanding the frequency response of a microphone allows you to make an informed choice based on the desired tonal qualities and sonic characteristics you wish to capture.
Budget considerations also play a significant role in the selection process. While high-end condenser microphones may offer premium build quality, advanced features, and pristine sound reproduction, there are also budget-friendly options that deliver commendable performance for various recording applications. Assessing your budget and balancing it with the desired features and sonic attributes will guide you in making a well-informed decision when choosing a condenser microphone.
By carefully evaluating your recording requirements, understanding the sonic characteristics of different condenser microphones, and considering your budget constraints, you can confidently select the right condenser microphone that aligns with your creative vision and elevates the quality of your audio recordings.
Setting Up Your Condenser Microphone
Properly setting up your condenser microphone is crucial to ensure optimal performance and capture pristine audio. Whether you’re preparing for a vocal recording, instrument tracking, podcasting, or live sound reinforcement, following best practices for microphone setup is essential for achieving professional-grade results.
Before connecting your condenser microphone, it’s important to ensure that your audio interface, preamp, or mixer provides phantom power, typically 48 volts, to power the microphone. Without phantom power, condenser microphones will not function, so verifying this essential requirement is the first step in the setup process.
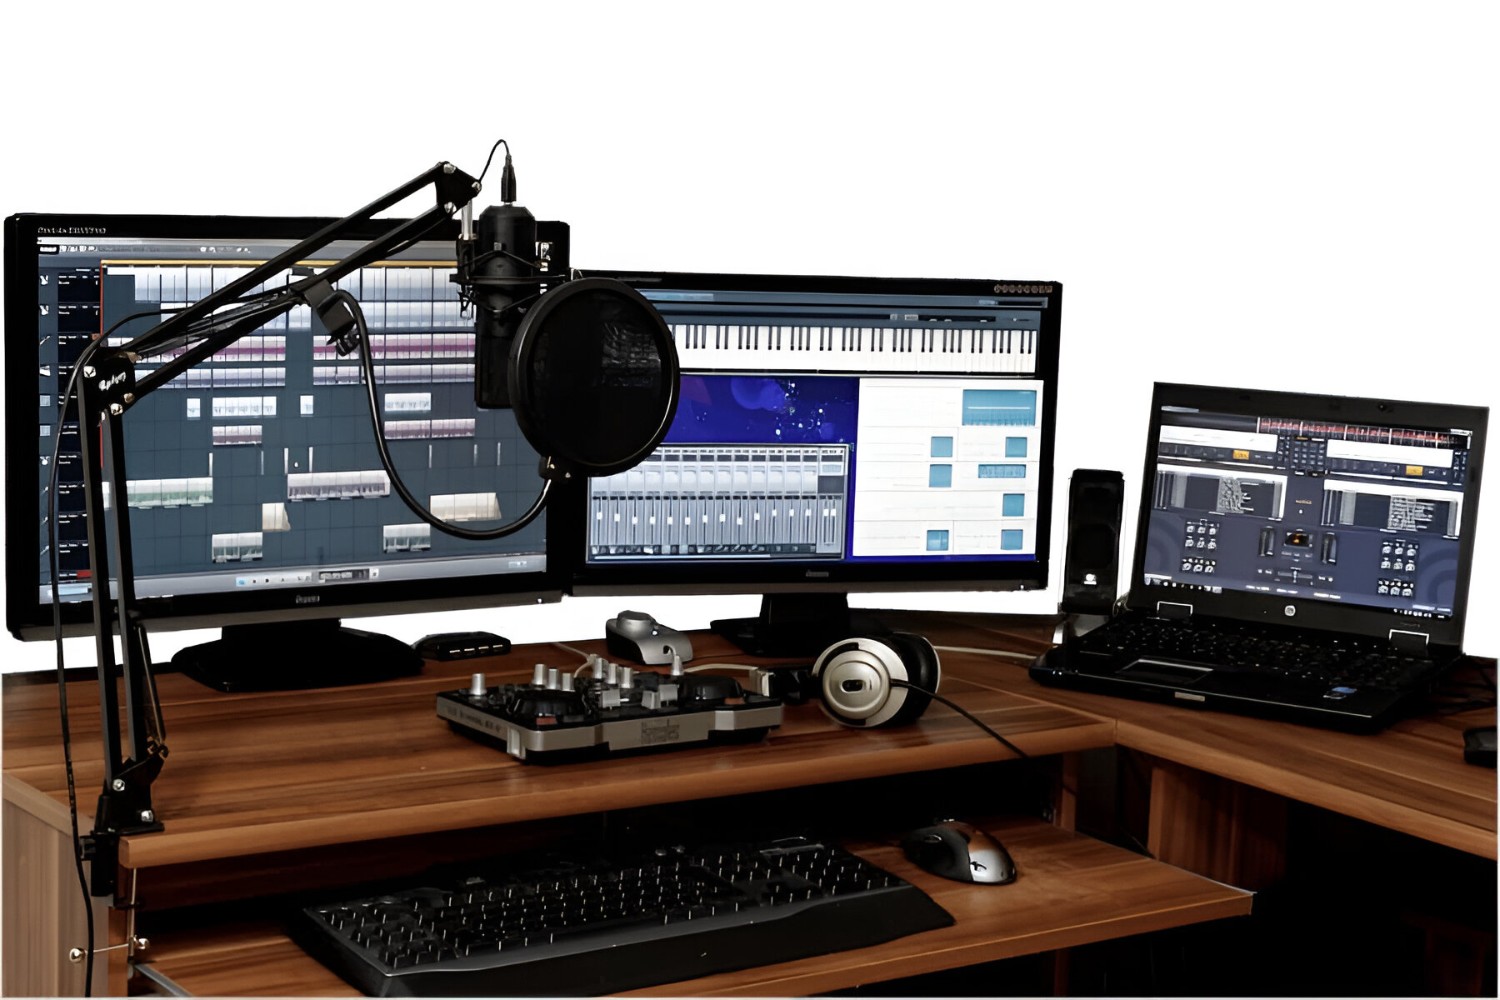
Once you’ve confirmed the availability of phantom power, connect your condenser microphone to the appropriate input on your audio interface or preamp using a balanced XLR cable. Ensure that the connections are secure to prevent any signal interference or disruptions during recording.
Positioning the microphone appropriately is crucial for achieving the desired sound capture. For vocal recordings, place the microphone at a comfortable distance from the vocalist, typically 6 to 12 inches away, and adjust the angle to capture the optimal tonal characteristics of the voice. When recording instruments, experiment with mic placement to find the sweet spot that accentuates the instrument’s sonic qualities while minimizing unwanted room reflections and ambient noise.
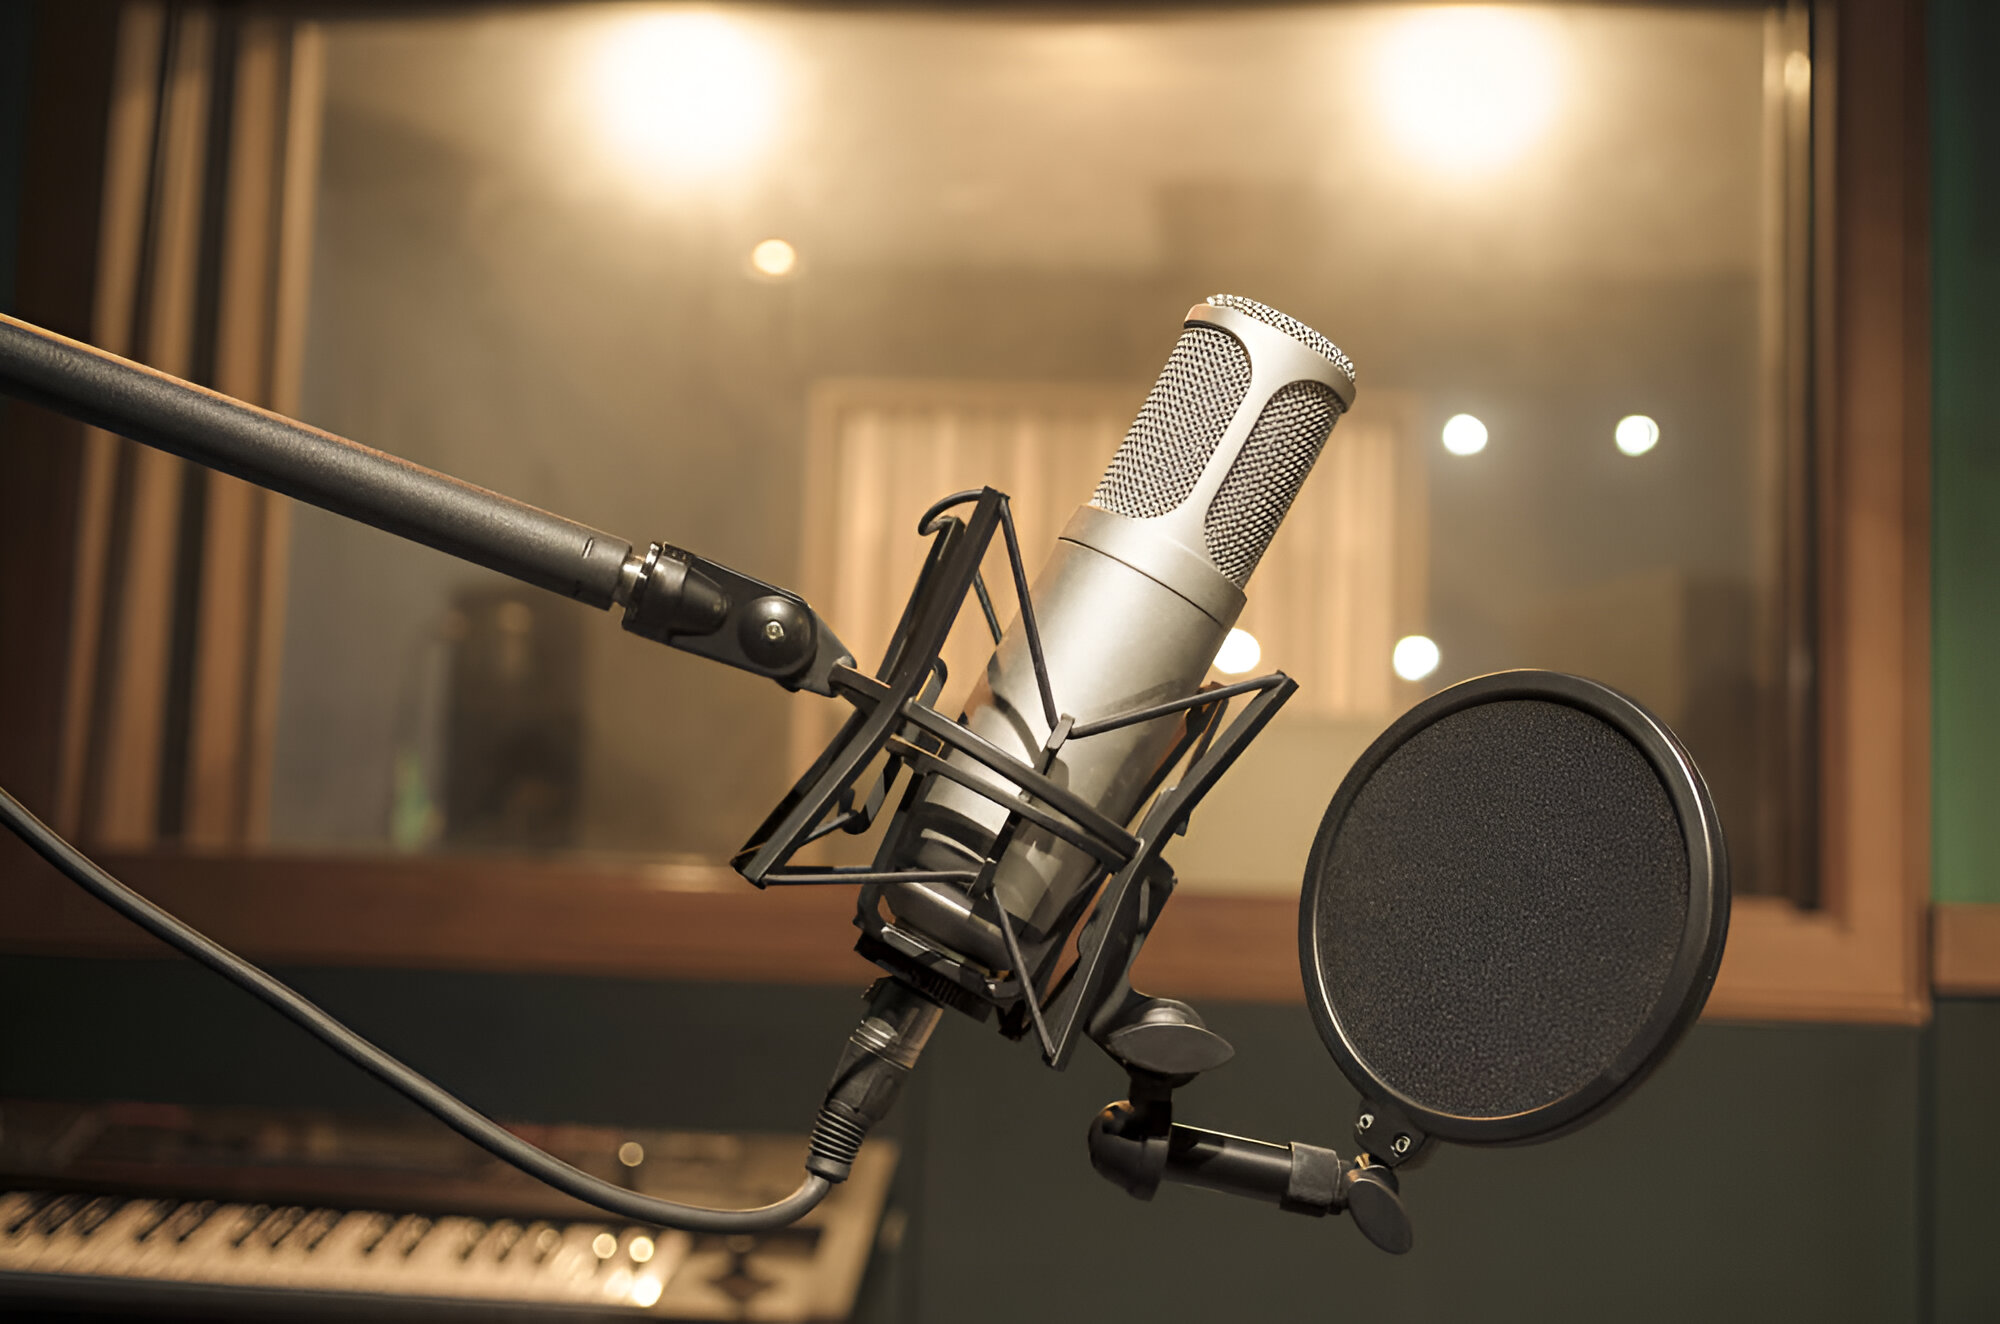
Consider using a shock mount to isolate the microphone from vibrations and handling noise, ensuring that unwanted mechanical disturbances do not compromise the recording. Additionally, a sturdy microphone stand or boom arm provides stability and flexibility in positioning the microphone, allowing for precise adjustments to capture the best sound possible.
Monitoring the audio signal during setup is essential to ensure that the microphone is capturing sound accurately and without distortion. Use headphones or studio monitors to listen to the microphone’s output and make any necessary adjustments to the input gain on your audio interface or preamp. Aim to set the input levels to achieve a healthy signal without clipping or overloading the input stage.
By meticulously setting up your condenser microphone, paying attention to phantom power, secure connections, optimal positioning, and appropriate input levels, you lay the foundation for capturing exceptional audio that faithfully represents the intended sound source. This meticulous approach to microphone setup sets the stage for successful recording sessions and ensures that your condenser microphone performs at its best in any recording scenario.
Mic Placement and Positioning
Strategic mic placement and positioning are pivotal in capturing the desired sonic characteristics of a sound source while minimizing unwanted ambient noise and room reflections. Whether you’re recording vocals, acoustic instruments, or ensemble performances, the placement of your condenser microphone significantly influences the quality and fidelity of the captured audio.
When recording vocals, positioning the microphone at an optimal distance and angle is essential for capturing the nuances and tonal qualities of the vocalist’s voice. A common technique is to place the microphone approximately 6 to 12 inches away from the vocalist, slightly off-axis to minimize plosives and sibilance. Experimenting with mic placement allows you to find the sweet spot that accentuates the vocalist’s timbre and articulation while maintaining a balanced frequency response.
For recording acoustic instruments, such as guitars, pianos, or stringed instruments, mic placement plays a critical role in capturing the instrument’s natural resonance and tonal characteristics. Utilizing techniques like the X-Y stereo configuration, spaced pair, or mid-side (M-S) recording allows for versatile mic placement options to capture the instrument’s sound with depth and spatial accuracy.
When recording ensemble performances or live sessions, mic placement and positioning are instrumental in achieving a balanced and cohesive sound. Employing techniques like the Decca Tree, ORTF, or Blumlein array enables you to position multiple microphones to capture the ensemble’s dynamics, spatial imaging, and tonal balance, creating a lifelike representation of the performance.
Room acoustics and sound treatment also influence mic placement decisions, as the characteristics of the recording space impact the captured audio. Assessing the room’s acoustics and implementing sound absorption, diffusion, and bass trapping techniques can mitigate unwanted reflections and resonances, providing a more controlled acoustic environment for mic placement and recording.
Using pop filters and windshields is essential for managing plosives and wind noise during vocal recordings and outdoor field recording sessions. These accessories help attenuate bursts of air and wind gusts, ensuring that the microphone captures clean and intelligible vocal performances without unwanted artifacts.
By mastering the art of mic placement and positioning, you can harness the full potential of your condenser microphone to capture stunning audio with precision, clarity, and spatial depth. Whether you’re aiming to record intimate vocal performances, intricate instrumental details, or expansive ensemble arrangements, strategic mic placement and positioning are indispensable tools for achieving exceptional sound reproduction in any recording environment.
Room Acoustics and Sound Treatment
The acoustic characteristics of the recording environment significantly impact the quality and fidelity of audio captured by condenser microphones. Understanding room acoustics and implementing sound treatment measures are essential for creating an optimal sonic environment that enhances the performance of your microphone and ensures pristine sound reproduction.
Assessing the inherent acoustics of your recording space is the first step in optimizing room acoustics. Factors such as room dimensions, wall materials, ceiling height, and flooring impact the room’s natural reverb, reflections, and resonances. Identifying the acoustic properties of the room allows you to address specific challenges and tailor sound treatment solutions to improve the overall sonic environment.
Sound absorption plays a crucial role in managing unwanted reflections and reverberations within the room. Installing acoustic panels, bass traps, and diffusers strategically in the recording space helps attenuate mid and high-frequency reflections, control low-frequency resonances, and create a more balanced and controlled acoustic environment. This mitigates the detrimental effects of excessive room reverb and ensures that the microphone captures a more direct, focused sound from the source.
Moreover, diffusers disperse sound reflections, creating a more diffuse sound field that contributes to a balanced and spacious acoustic environment. By strategically placing diffusers in the room, you can minimize the impact of early reflections and create a more enveloping and natural sonic ambiance for recording.
Controlling low-frequency resonances is crucial for achieving a tight and well-defined low end in recordings. Bass traps, positioned in room corners and at reflection points, effectively absorb and diffuse low-frequency energy, reducing room modes and standing waves that can compromise the accuracy and clarity of recorded audio.
When recording in untreated or less-than-ideal acoustic spaces, utilizing portable sound shields and reflection filters can help mitigate the impact of room reflections and background noise. These tools provide a degree of isolation and acoustic control, allowing you to capture cleaner and more focused audio, especially in challenging recording environments.
By addressing room acoustics and implementing sound treatment solutions, you create an optimized sonic environment that maximizes the performance of your condenser microphone. The result is audio recordings characterized by enhanced clarity, definition, and fidelity, free from the detrimental effects of room reflections and resonances. Whether you’re recording in a professional studio, home studio, or unconventional space, optimizing room acoustics and implementing sound treatment measures are indispensable for achieving exceptional sound quality and sonic precision.
Using Pop Filters and Windshields
Pop filters and windshields are essential accessories for condenser microphones, serving to mitigate undesirable artifacts and environmental interferences that can compromise the quality of audio recordings. These tools play a vital role in managing plosives, wind noise, and other unwanted disturbances, allowing condenser microphones to capture clean and intelligible audio with enhanced clarity and fidelity.
When recording vocals, the use of a pop filter is instrumental in managing plosives, which are bursts of air that occur during the pronunciation of certain consonants, such as “p” and “b.” By positioning the pop filter between the vocalist and the microphone, the force of the plosives is diffused, preventing them from reaching the microphone diaphragm and causing disruptive low-frequency thumps and pops in the recorded audio. This ensures that vocal performances are captured with clarity and articulation, free from distracting plosive artifacts.
Additionally, pop filters help minimize sibilance, which refers to the harsh, high-frequency sounds produced by “s” and “sh” sounds in vocal performances. By dispersing the airflow and attenuating the intensity of sibilant sounds, pop filters contribute to smoother and more controlled vocal recordings, reducing the need for excessive post-processing to address sibilance issues.
When recording in outdoor or windy environments, windshields are indispensable for managing wind noise and environmental disturbances. Windshields, also known as windsocks or dead cats, are designed to attenuate the impact of wind gusts and air movement on the microphone diaphragm, preventing intrusive wind noise from compromising the audio quality. Whether capturing outdoor field recordings, location sound effects, or on-location interviews, windshields provide a degree of isolation and protection, ensuring that the microphone captures clean and unobstructed audio in challenging environmental conditions.
Furthermore, windshields offer protection against airborne particles, moisture, and light impact, safeguarding the microphone diaphragm from potential damage and contamination. This is particularly beneficial for outdoor recording sessions and field production work, where environmental elements pose a risk to the microphone’s sensitive components.
By incorporating pop filters and windshields into your recording setup, you enhance the performance of your condenser microphone, allowing it to capture pristine audio with reduced interference from plosives, sibilance, and wind noise. These essential accessories contribute to cleaner, more intelligible recordings, ensuring that vocal performances and outdoor sound capture are characterized by clarity, precision, and professional-grade fidelity.
Gain Staging and Input Levels
Proper gain staging and setting appropriate input levels are fundamental aspects of optimizing the performance of condenser microphones and ensuring the integrity of audio signals throughout the recording chain. By understanding and implementing best practices for gain staging, you can maintain optimal signal-to-noise ratios, prevent signal distortion, and capture audio with pristine clarity and fidelity.
When setting the input gain for a condenser microphone, it’s essential to achieve a healthy signal level without overloading the microphone preamp or audio interface. Aim to set the input level such that the average signal peaks fall within the optimal operating range, typically around -18 to -12 dBFS on the digital meter, allowing sufficient headroom to accommodate transient peaks without clipping or distortion.
Monitoring the input levels during recording is crucial to ensure that the microphone signal remains within the desired range. Utilize the level meters on your audio interface or digital audio workstation to observe the input signal, making real-time adjustments to the input gain as needed to maintain an appropriate level throughout the recording session.
Furthermore, maintaining consistent input levels across multiple recording channels is essential when using multiple condenser microphones for ensemble recordings, drum miking, or live sound reinforcement. Balancing the input levels ensures uniform signal strength across all channels, contributing to a balanced and cohesive mix during post-production and signal processing.
Implementing proper gain staging practices extends beyond the microphone preamp, encompassing subsequent stages of the signal chain, such as outboard gear, analog-to-digital converters, and digital processing. By optimizing the signal levels at each stage and preventing excessive signal amplification, you preserve the dynamic range and fidelity of the audio signal, resulting in recordings characterized by clarity, definition, and sonic integrity.
Understanding the concept of headroom is essential when setting input levels for condenser microphones. Headroom refers to the margin between the average operating level and the maximum level before clipping occurs. Allowing adequate headroom in the input signal ensures that transient peaks are accommodated without distortion, preserving the natural dynamics and transient response of the recorded audio.
By adhering to best practices for gain staging and input level management, you lay the foundation for capturing audio with optimal clarity, fidelity, and dynamic range. These foundational principles contribute to the preservation of sonic integrity and ensure that the full potential of condenser microphones is realized, resulting in professional-grade recordings with exceptional sonic precision and pristine audio quality.
Monitoring and Adjusting Sound Levels
Effective monitoring and precise adjustment of sound levels are critical elements in the recording process, ensuring that condenser microphones capture audio with accuracy, balance, and fidelity. By employing proper monitoring techniques and making real-time adjustments to sound levels, you can maintain optimal signal integrity, prevent distortion, and achieve professional-grade audio recordings.
Utilizing high-quality studio monitors or headphones for monitoring allows you to accurately assess the audio signal captured by condenser microphones. Studio monitors with a flat frequency response provide an uncolored representation of the recorded audio, allowing you to make informed decisions regarding tonal balance, spatial imaging, and dynamic range during the recording process. Similarly, using closed-back headphones with accurate frequency response and sound isolation facilitates critical listening and precise sound level adjustments.
When monitoring audio levels, paying attention to the signal-to-noise ratio is crucial for capturing clean and noise-free recordings. Ensuring that the microphone signal remains well above the noise floor of the recording system contributes to recordings characterized by minimal background noise and optimal signal clarity. By monitoring the signal-to-noise ratio, you can make informed adjustments to the input gain and microphone placement to maximize the signal strength and minimize unwanted noise in the recorded audio.
Real-time adjustments to sound levels are essential for maintaining a balanced and consistent audio signal throughout the recording session. Monitoring the input levels on the audio interface or preamp allows you to make immediate adjustments to the input gain, ensuring that the microphone signal remains within the desired range and avoids clipping or distortion. By actively monitoring and adjusting sound levels, you preserve the dynamic range of the audio signal and capture performances with precision and fidelity.
During ensemble recordings or live sound reinforcement, monitoring and adjusting sound levels across multiple microphones and input channels are crucial for achieving a balanced and cohesive mix. By listening attentively to the individual microphone signals and making real-time adjustments to input levels, you can ensure that each sound source contributes harmoniously to the overall sonic landscape, resulting in a well-balanced and immersive audio experience.
By prioritizing effective monitoring and meticulous adjustment of sound levels, you empower condenser microphones to capture audio with exceptional clarity, balance, and fidelity. These practices contribute to the preservation of sonic integrity, ensuring that the recorded audio faithfully represents the nuances and dynamics of the source material. Whether capturing intimate vocal performances, intricate instrumental details, or expansive ensemble arrangements, precise monitoring and sound level adjustments are essential for achieving professional-grade recordings with unparalleled sonic precision.
Post-Processing and Editing Techniques
After capturing audio with condenser microphones, employing post-processing and editing techniques is essential for refining the recorded material, enhancing its sonic characteristics, and achieving a polished and professional sound. By leveraging a range of post-production tools and editing processes, you can elevate the quality of audio recordings, address imperfections, and sculpt the sonic landscape to align with your creative vision.
Equalization (EQ) plays a pivotal role in shaping the tonal balance and frequency response of recorded audio. Utilizing parametric, graphic, or shelving EQs allows you to sculpt the frequency spectrum, attenuate resonant frequencies, and accentuate sonic details, resulting in a more balanced and defined audio representation. Whether enhancing the clarity of vocals, refining the timbre of instruments, or addressing tonal imbalances, strategic EQ adjustments contribute to a more cohesive and polished sonic presentation.
Dynamic processing, including compression, expansion, and limiting, is instrumental in controlling the dynamic range and transient response of audio recordings. Applying compression to vocals, instruments, or ensemble performances helps manage dynamic inconsistencies, smooth out transient peaks, and ensure a more consistent and controlled audio signal. Additionally, utilizing limiters safeguards against signal peaks that exceed the desired level, preventing distortion and ensuring that the audio remains within the intended dynamic range.
Reverberation and spatial effects contribute to the sense of depth, dimension, and ambience in audio recordings. By incorporating reverb, delay, and spatial processing, you can create a more immersive sonic environment, add spatial depth to vocals and instruments, and emulate the acoustic characteristics of different environments. These effects enrich the sonic landscape, imparting a sense of space and dimension to the recorded audio, enhancing its realism and spatial presence.
Noise reduction and restoration techniques are valuable for mitigating background noise, hum, hiss, and other unwanted artifacts present in recorded audio. Utilizing spectral editing, noise reduction plugins, and restoration tools allows you to address environmental noise, microphone self-noise, and other sonic imperfections, resulting in cleaner, more intelligible recordings with enhanced clarity and fidelity.
Utilizing time-based effects, such as modulation, chorus, and flanging, adds movement, texture, and character to audio recordings. These effects contribute to the sonic richness and spatial interest of the recorded material, allowing for creative manipulation of the audio’s timbral and textural qualities. By integrating time-based effects, you can infuse the audio with depth and dimension, creating a more engaging and dynamic sonic experience.
By harnessing the capabilities of post-processing and editing techniques, you refine the sonic characteristics of audio recordings captured with condenser microphones, ensuring that the final output aligns with your artistic vision and sonic aspirations. These tools and processes enable you to sculpt the sonic landscape, address imperfections, and elevate the audio to a professional standard, resulting in recordings characterized by exceptional clarity, fidelity, and sonic precision.