Introduction
Welcome to this comprehensive guide on how to connect a USB microphone to an iPad. With the increasing popularity of content creation, podcasting, and video recording, having a high-quality microphone can greatly enhance your audio recording experience. While iPads are known for their versatility and portability, connecting a USB microphone to them can be a bit tricky if you’re unfamiliar with the process.
In this guide, we will walk you through the step-by-step procedure to connect a USB microphone to your iPad and ensure that it works seamlessly. Whether you’re a podcaster, journalist, musician, or simply someone looking to improve the audio quality of your recordings, this guide will provide you with all the information you need. We will also troubleshoot common issues that you may encounter along the way, so you can successfully connect your USB microphone and start recording high-quality audio on your iPad.
Before we dive into the steps, let’s briefly discuss the requirements for connecting a USB microphone to your iPad.
Requirements
Before you begin the process of connecting a USB microphone to your iPad, there are a few essential requirements you need to fulfill. Here’s what you’ll need:
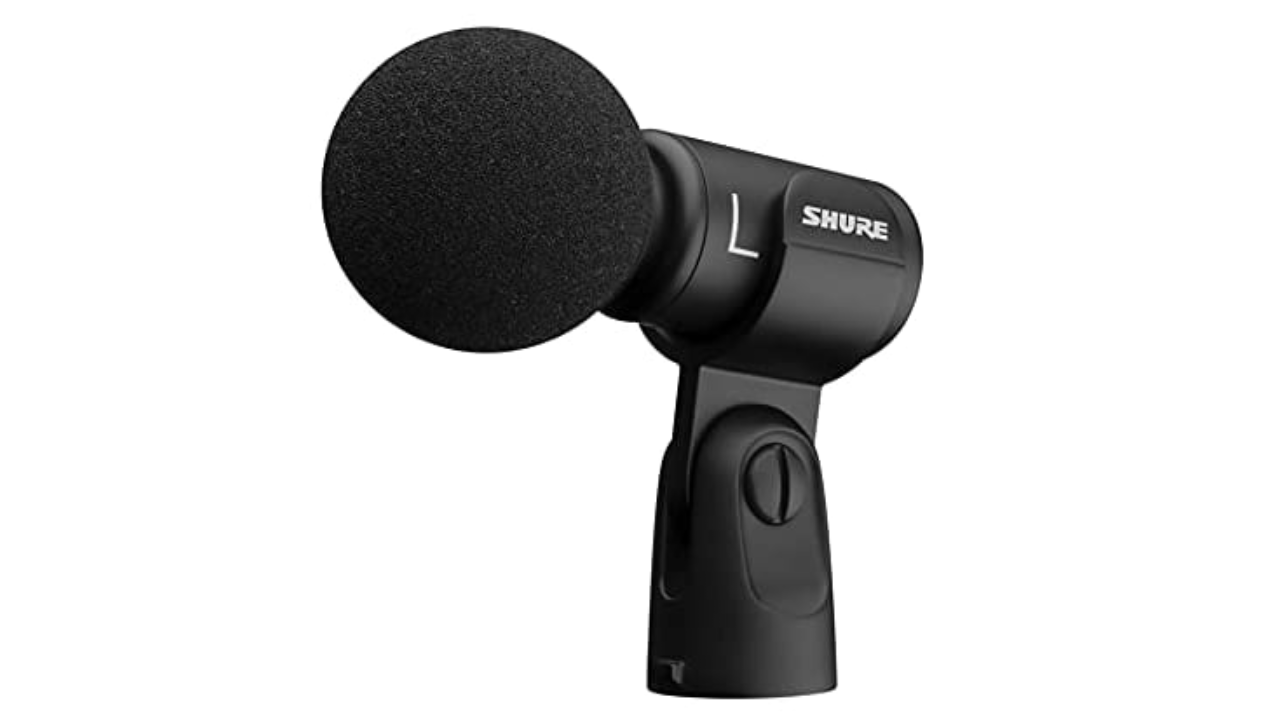
- USB Microphone: Make sure you have a USB microphone that is compatible with your iPad. There are various USB microphones available in the market, so ensure that the one you have supports iOS devices.
- iPad: You’ll, of course, need an iPad to connect the USB microphone to. Any recent iPad model that supports the latest iOS updates should work fine.
- Lightning to USB Adapter: Since iPads don’t have built-in USB ports, you’ll need a Lightning to USB adapter to connect the USB microphone. This adapter allows you to connect USB devices, such as a microphone, to your iPad.
- USB cable: Depending on the USB microphone you have, you may need a USB cable to connect it to the Lightning to USB adapter. Make sure you have the appropriate USB cable compatible with your microphone.
- Power source: It is recommended to ensure that your iPad is connected to a power source during the process of connecting the USB microphone. This will help maintain a stable power supply and prevent any potential issues.
Once you have gathered all the necessary requirements, you’re ready to proceed with the step-by-step process of connecting your USB microphone to your iPad. Now let’s move on to the first step, which is checking the compatibility of your USB microphone.
Step 1: Check the compatibility of your USB microphone
Before you connect your USB microphone to your iPad, it’s crucial to ensure compatibility. Not all USB microphones work with iPads, so it’s important to check if your microphone is supported. Here’s how you can do it:
- Check the microphone’s compatibility: Review the specifications of your USB microphone to see if it is compatible with iOS devices, specifically iPads. Manufacturers usually mention compatibility information on their websites or in the product manual. Look for keywords like “iOS compatible” or “works with iPad.”
- Research online: If you’re unsure about your microphone’s compatibility, you can search online forums and communities where users discuss their experiences with different USB microphones and iPads. Look for users who have successfully connected similar microphones to iPads.
- Contact the manufacturer: If you still have questions or doubts about your microphone’s compatibility, it’s best to reach out to the manufacturer directly. They will be able to provide you with accurate information and guide you on whether your USB microphone can be connected to an iPad.
By checking the compatibility of your USB microphone beforehand, you can avoid any potential issues during the connection process. In the next step, we will cover how to physically connect the USB microphone to your iPad using a USB adapter.
Step 2: Connect the USB microphone to the iPad using a USB adapter
Once you have ensured the compatibility of your USB microphone, it’s time to physically connect it to your iPad using a USB adapter. Follow these steps:
- Plug in the USB adapter: Take your Lightning to USB adapter and connect it to the Lightning port of your iPad. Ensure that it fits securely.
- Connect the USB microphone: Take the USB cable that came with your microphone (or an appropriate USB cable) and connect one end to the USB port of the adapter.
- Connect the other end to the USB microphone: Take the other end of the USB cable and connect it to the USB port on your USB microphone. Ensure a firm and secure connection.
Once you have completed these steps, your USB microphone should now be physically connected to your iPad through the USB adapter. However, before you start recording, there are a few additional adjustments you need to make to ensure the microphone works correctly with your iPad.
In the next step, we will guide you on how to adjust the microphone settings on your iPad.
Step 3: Adjust the microphone settings on the iPad
After connecting your USB microphone to your iPad, it’s important to adjust the microphone settings to ensure optimal performance. Here’s what you need to do:
- Open the Settings: On your iPad, go to the Settings app, which is represented by a gear icon.
- Find the ‘Microphone’ settings: Scroll down and look for the ‘Microphone’ or ‘Audio’ section. The exact location may depend on your iPad model and iOS version.
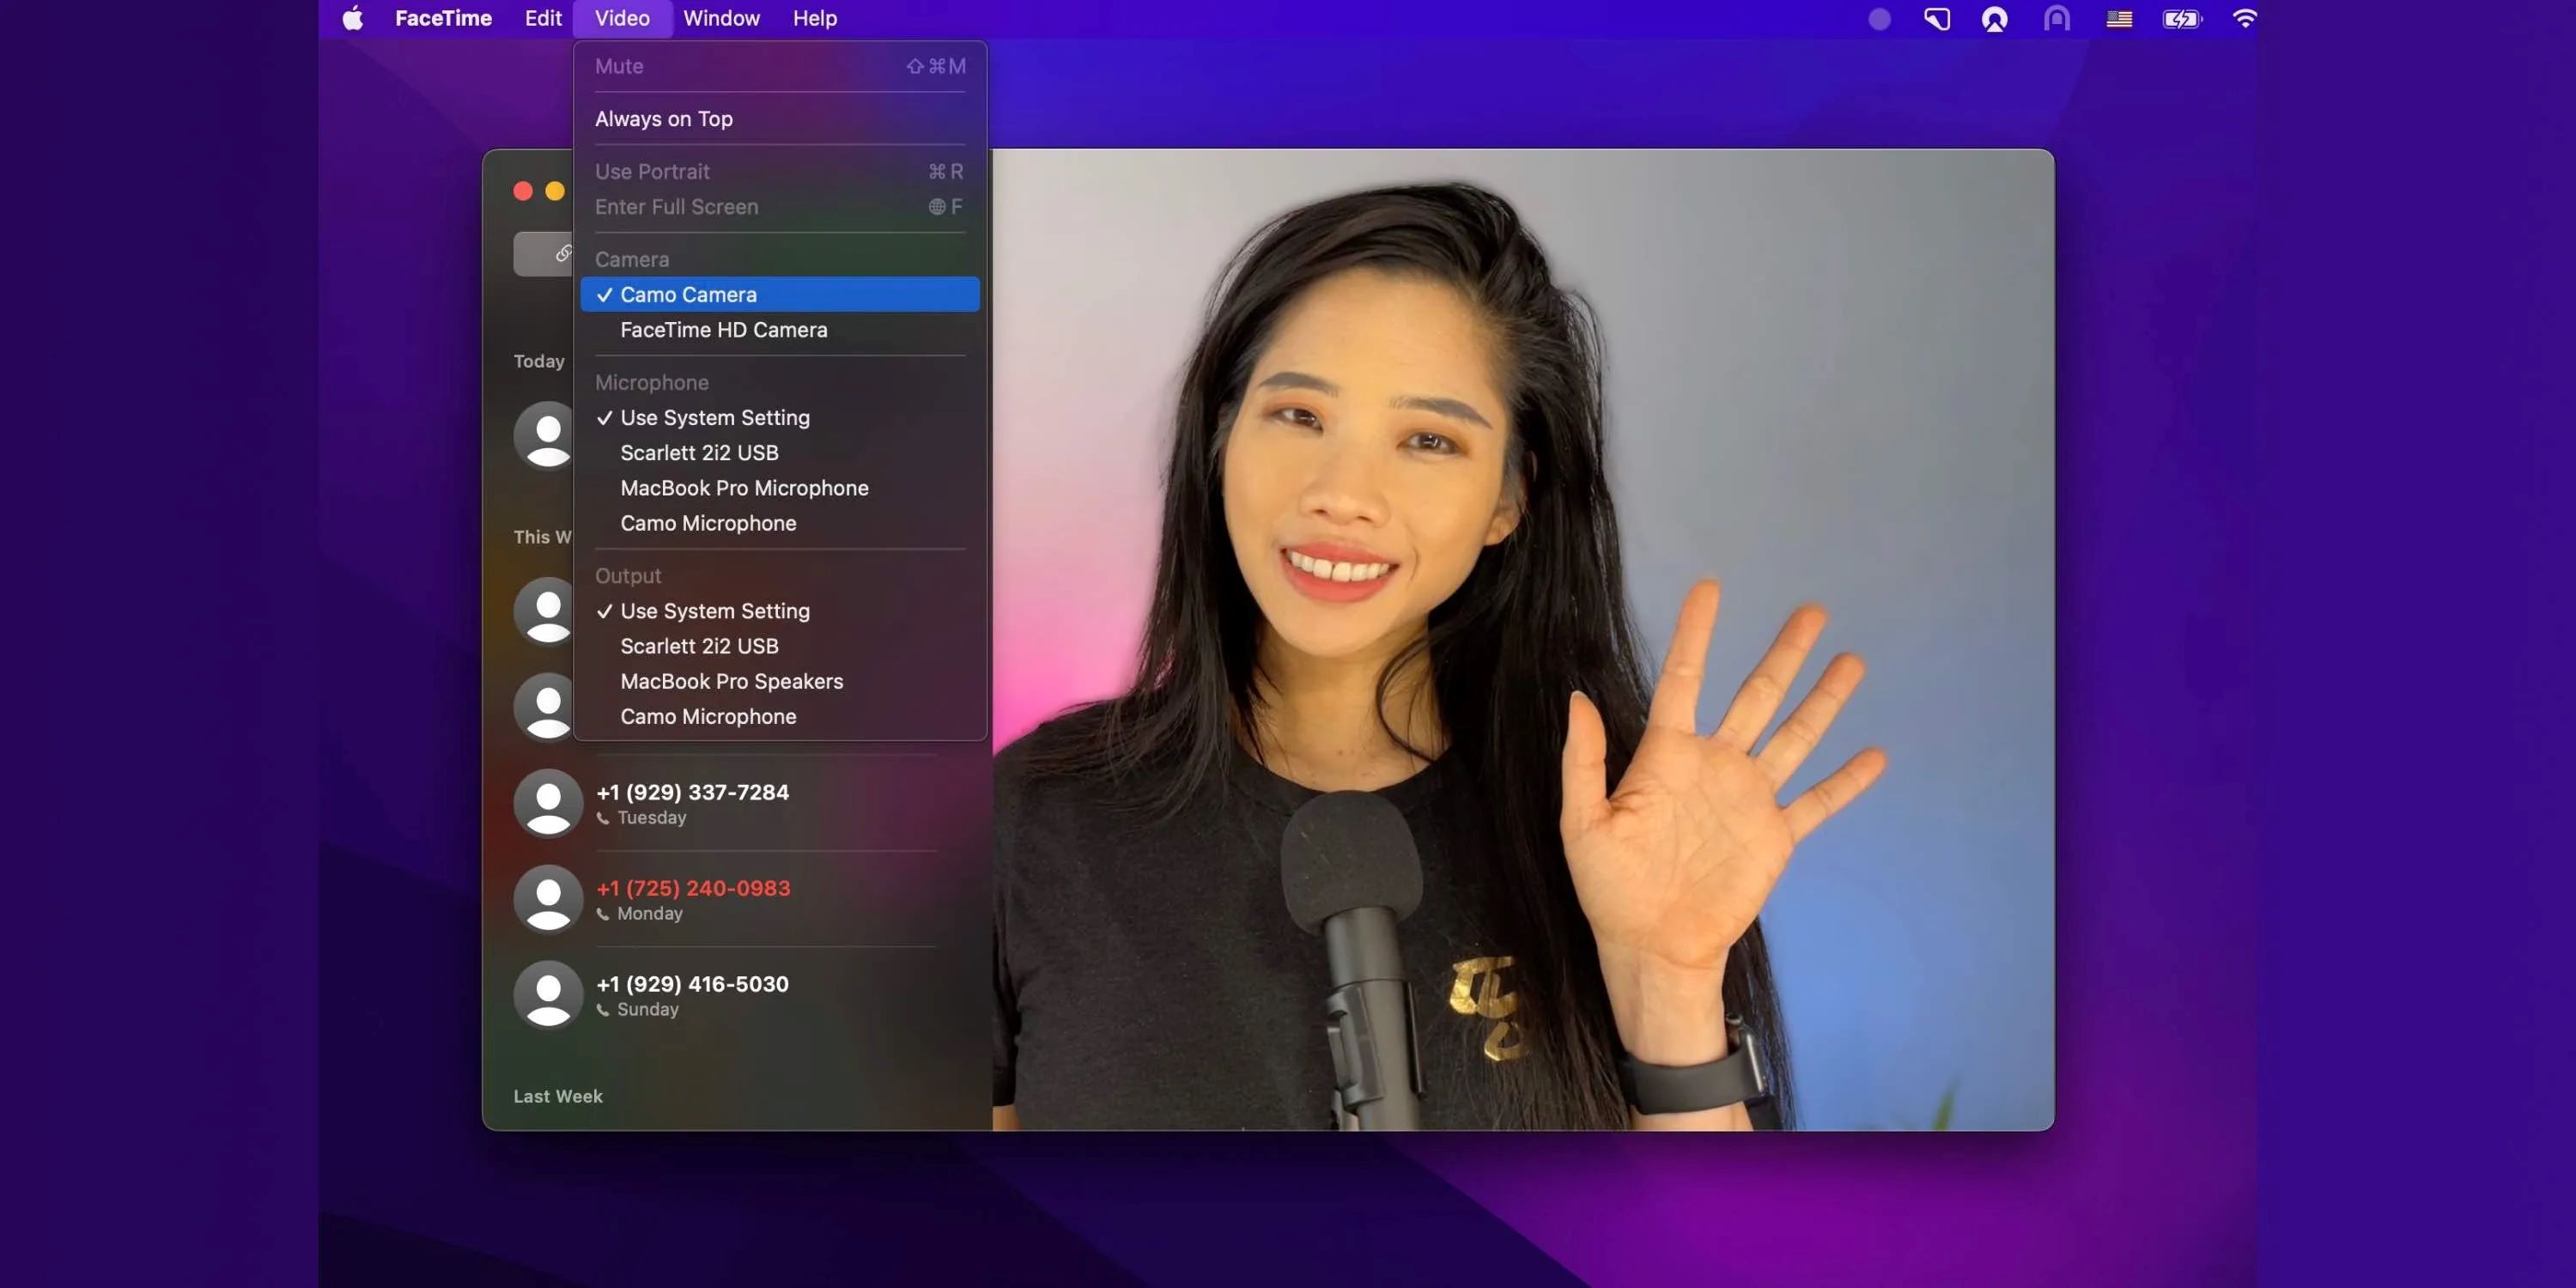
- Select the USB microphone: In the microphone settings, you should see a list of available microphones. Select the USB microphone you have connected to your iPad.
- Adjust the input level: Depending on your recording environment and microphone sensitivity, you may need to adjust the input level. Use the slider or options provided to increase or decrease the microphone input level.
- Test the microphone: To ensure everything is working correctly, open a recording app or any app that uses the microphone. Speak into the USB microphone and monitor if the audio is being captured properly.
By adjusting these settings, you can optimize the performance of your USB microphone and ensure that it is functioning correctly with your iPad. If you encounter any issues or the microphone isn’t working as expected, don’t worry. We will address common troubleshooting tips in the next section.
Now that you have adjusted the microphone settings, it’s time to test the USB microphone on your iPad. Continue to the next step to learn how.
Step 4: Test the USB microphone on your iPad
Once you have connected and adjusted the settings for your USB microphone on your iPad, it’s vital to test it before starting your recording or audio-related activities. Follow these steps to test your USB microphone:
- Choose a recording app: Open a recording app on your iPad, such as Voice Memos or GarageBand. If you don’t have one installed, you can download a suitable app from the App Store.
- Select the USB microphone as the input source: Within the recording app, check the settings or preferences to ensure that the USB microphone is selected as the input source. This step may vary depending on the app you’re using.
- Record a sample: Start a new recording and speak into the USB microphone. Monitor the audio levels to ensure that the microphone is picking up sound properly.
- Playback and assess the recording: Once you’ve finished recording, play it back to verify the quality and clarity. Listen for any unwanted background noise or distortions. If the audio sounds clear and matches your expectations, your USB microphone is working correctly on your iPad.
If you encounter any issues during the testing process, refer to the troubleshooting section in the next part of this guide. These troubleshooting tips can help you overcome common problems you may face when connecting and using a USB microphone on your iPad.
Congratulations! You have successfully connected and tested your USB microphone on your iPad. Now you can confidently use your USB microphone for various purposes, such as recording podcasts, creating content, or conducting interviews.
Troubleshooting common issues
While connecting and using a USB microphone on your iPad is usually a smooth process, you may encounter some common issues along the way. Here are a few troubleshooting tips to help you address these issues:
- No sound or distorted sound: Ensure that the USB microphone is securely connected to the iPad and that the microphone’s volume is turned up. Additionally, check the microphone settings on your iPad and adjust the input level if needed.
- Compatibility issues: If you’re experiencing compatibility issues, double-check that your USB microphone is indeed compatible with iOS devices, specifically iPads. Contact the manufacturer for further assistance or consider using a different USB microphone that is known to be compatible with iPads.
- Interference or background noise: If you’re experiencing unwanted background noise or interference, try connecting the USB microphone to a different USB port on the Lightning to USB adapter. Additionally, ensure that the microphone’s cable is not tangled or near any electrical equipment that may cause interference.
- App-specific issues: If you’re encountering issues with a specific recording app, try using a different app to see if the problem persists. Updating the app to the latest version or reinstalling it may also help resolve any compatibility or performance issues.
- Power-related issues: Sometimes, insufficient power supply can cause problems with USB microphones. Ensure that your iPad is connected to a power source during the connection process to provide a stable power supply to the microphone.
If you have tried these troubleshooting tips and are still experiencing issues with your USB microphone on your iPad, it’s recommended to reach out to the manufacturer or seek further technical support for a more in-depth resolution.
With these troubleshooting tips in mind, you should be able to overcome any common issues that may arise when connecting and using a USB microphone on your iPad.
Conclusion
Congratulations! You have successfully learned how to connect a USB microphone to your iPad. By following the step-by-step instructions and troubleshooting tips provided in this guide, you can now enjoy high-quality audio recordings on your iPad for various purposes, such as podcasting, content creation, or music production.
Remember to ensure the compatibility of your USB microphone with your iPad before attempting to connect it. Take the time to gather all the necessary requirements, including a USB microphone, Lightning to USB adapter, and a compatible USB cable. Checking the specifications, reaching out to the manufacturer, and conducting online research can help you make sure your USB microphone is suitable for use with your iPad.
Once you have confirmed compatibility, it’s a matter of physically connecting the USB microphone to your iPad using the Lightning to USB adapter. Adjust the microphone settings on your iPad and test the microphone using a recording app to ensure everything is working correctly.
If you encounter any issues, the troubleshooting section provides common solutions to address them. From no sound or distorted sound to compatibility issues or unwanted background noise, the troubleshooting tips can help you overcome these challenges and ensure smooth and optimal performance.
Now that you have mastered the art of connecting a USB microphone to your iPad, you can unleash your creativity and capture professional-quality audio wherever you go. Enjoy your enhanced audio recording capabilities and make the most out of your iPad’s versatility.
Happy recording!


