Introduction
Setting up a MIDI keyboard with ASIO can significantly enhance your music production experience. ASIO, which stands for Audio Stream Input/Output, is a low-latency sound card driver protocol developed by Steinberg. It allows for high-quality audio recording and playback with minimal delay, making it an essential tool for musicians, producers, and audio engineers.
By configuring your MIDI keyboard with ASIO, you can achieve lower latency and better audio performance, ultimately improving the overall music production process. This guide will walk you through the steps to set up and configure your MIDI keyboard with ASIO, ensuring that you can make the most of its capabilities.
Whether you are a beginner looking to improve your music production setup or a seasoned professional seeking to optimize your workflow, understanding how to configure a MIDI keyboard with ASIO is a valuable skill. With the right setup, you can unleash the full potential of your MIDI keyboard and create music with greater precision and efficiency.
In the following sections, we will delve into the intricacies of ASIO, guide you through the process of setting up your MIDI keyboard, and provide detailed instructions for configuring ASIO to work seamlessly with your MIDI keyboard. Additionally, we will cover testing and troubleshooting to ensure that everything is functioning as intended.
By the end of this guide, you will have the knowledge and confidence to harness the power of ASIO and integrate your MIDI keyboard into your music production setup effectively. Let's embark on this journey to optimize your music production environment and elevate your creative process.
Understanding ASIO
ASIO, which stands for Audio Stream Input/Output, is a sound card driver protocol developed by Steinberg, renowned for its low-latency audio processing capabilities. Unlike standard Windows audio drivers, ASIO is designed to provide direct communication between software applications and the audio interface, minimizing latency and optimizing audio performance.
One of the key advantages of ASIO is its ability to bypass the audio path used by the operating system, allowing for a streamlined and efficient data transfer process. This direct communication pathway significantly reduces latency, which is crucial for real-time audio processing, recording, and playback. As a result, ASIO has become the preferred choice for musicians, producers, and audio engineers who require precise and responsive audio performance.
ASIO drivers are known for their stability and reliability, offering consistent performance across different audio interfaces and software applications. This standardization ensures compatibility and seamless integration, allowing users to focus on their creative endeavors without being hindered by technical limitations.
When configuring a MIDI keyboard with ASIO, it is essential to understand the impact of low latency on the overall music production process. By minimizing delay and optimizing audio performance, ASIO empowers musicians and producers to interact with their MIDI keyboards in real time, capturing the nuances of their performances with precision and accuracy.
Furthermore, ASIO provides greater control over audio settings, allowing users to fine-tune parameters such as buffer size and sample rate to suit their specific requirements. This level of customization ensures that the MIDI keyboard and ASIO interface are optimized for the best possible performance, resulting in a more immersive and responsive music production experience.
As we delve deeper into the process of setting up and configuring a MIDI keyboard with ASIO, it is crucial to grasp the foundational principles of ASIO and its role in shaping the modern music production landscape. With a solid understanding of ASIO’s capabilities and benefits, you can harness its potential to elevate your music production workflow and achieve professional-grade results.
Setting up the MIDI Keyboard
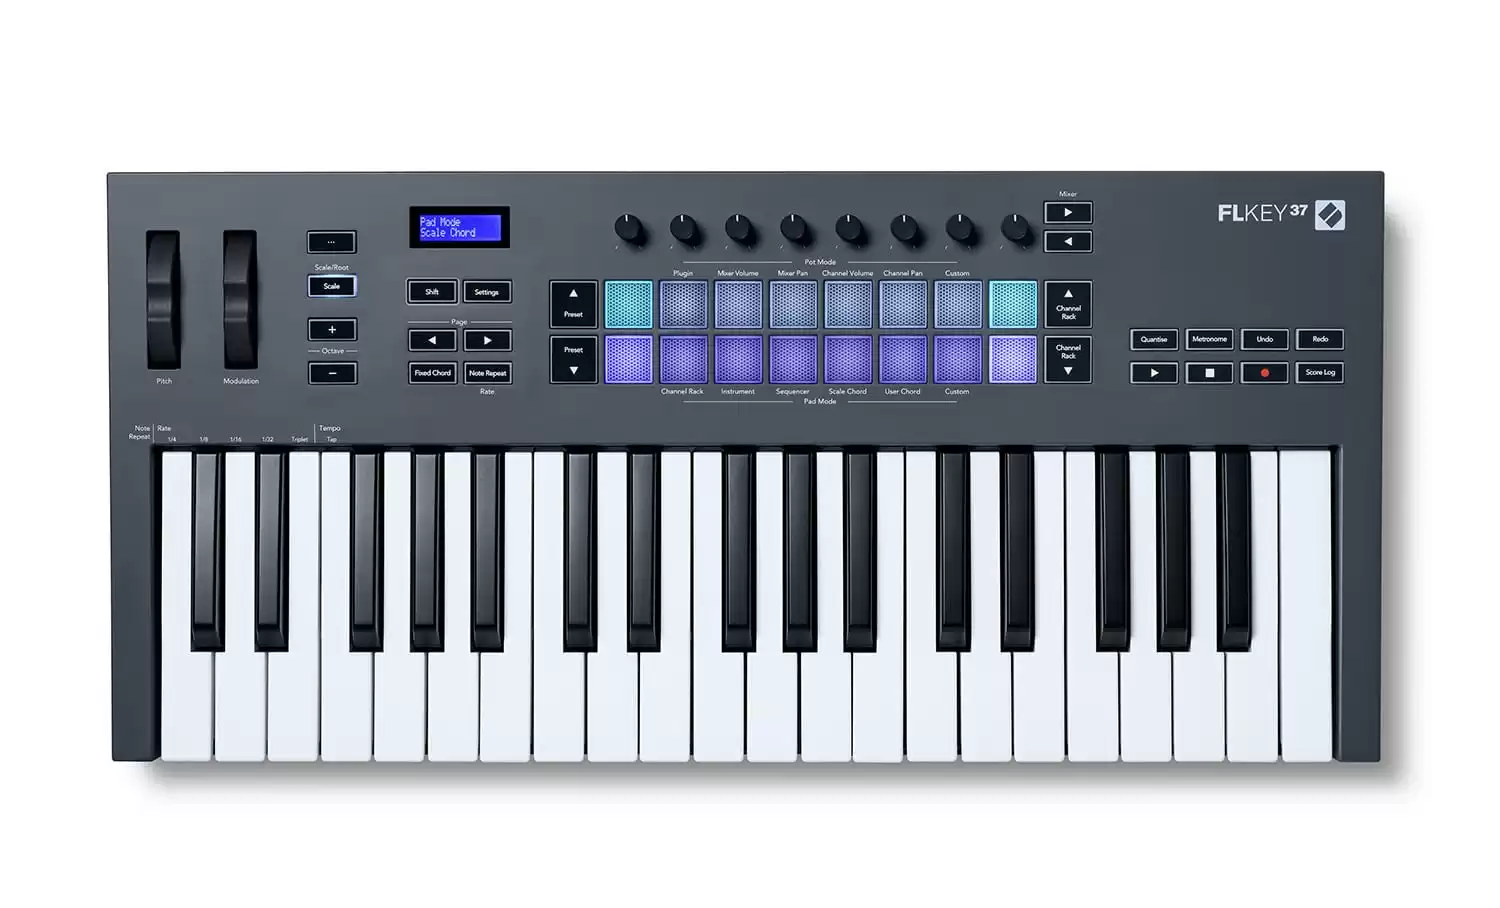
Before diving into the configuration of ASIO, it is essential to ensure that your MIDI keyboard is properly set up and connected to your computer. Whether you are using a MIDI controller, synthesizer, or digital piano, the following steps will guide you through the process of preparing your MIDI keyboard for integration with ASIO.
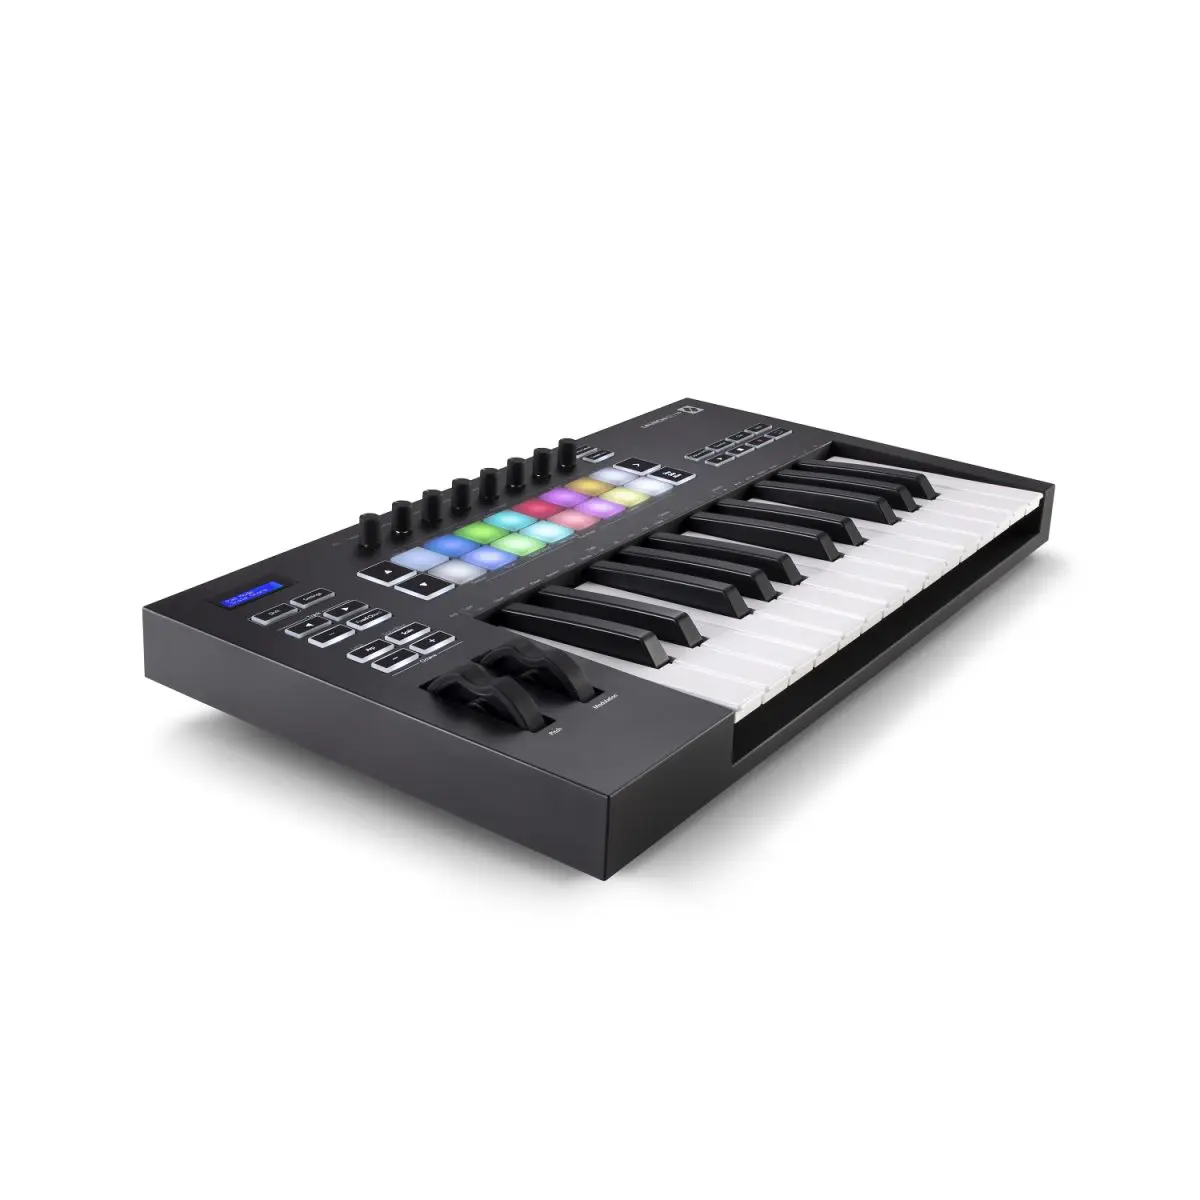
- Physical Connection: Begin by connecting your MIDI keyboard to your computer using a USB cable or MIDI interface, depending on the available connectivity options. Ensure that the connections are secure and that the MIDI keyboard is receiving power.
- Driver Installation: If your MIDI keyboard requires specific drivers to communicate with your computer, download and install the necessary drivers from the manufacturer’s website. This step is crucial for establishing a stable and reliable connection between your MIDI keyboard and your music production software.
- Software Configuration: Once the drivers are installed, open your digital audio workstation (DAW) or music production software and navigate to the MIDI settings. Locate your MIDI keyboard in the list of available devices and ensure that it is selected as the input device for MIDI data. This step enables your software to recognize and respond to MIDI input from your keyboard.
- Testing MIDI Input: To verify that your MIDI keyboard is set up correctly, play a few notes or trigger some MIDI events on the keyboard. You should see visual feedback within your music production software, indicating that MIDI data is being received. If the MIDI input is not registering, revisit the software configuration and ensure that the correct MIDI device is selected.
By following these steps, you can establish a solid foundation for integrating your MIDI keyboard with ASIO. A properly set up MIDI keyboard forms the basis for seamless communication with ASIO, allowing you to leverage its low-latency capabilities and optimize your music production workflow.
Configuring ASIO with the MIDI Keyboard
Once your MIDI keyboard is set up and connected to your computer, the next step is to configure ASIO to work in tandem with your MIDI keyboard. This process involves selecting the appropriate ASIO driver for your audio interface and optimizing the settings to achieve low latency and high-performance audio processing.
To configure ASIO with your MIDI keyboard, follow these essential steps:
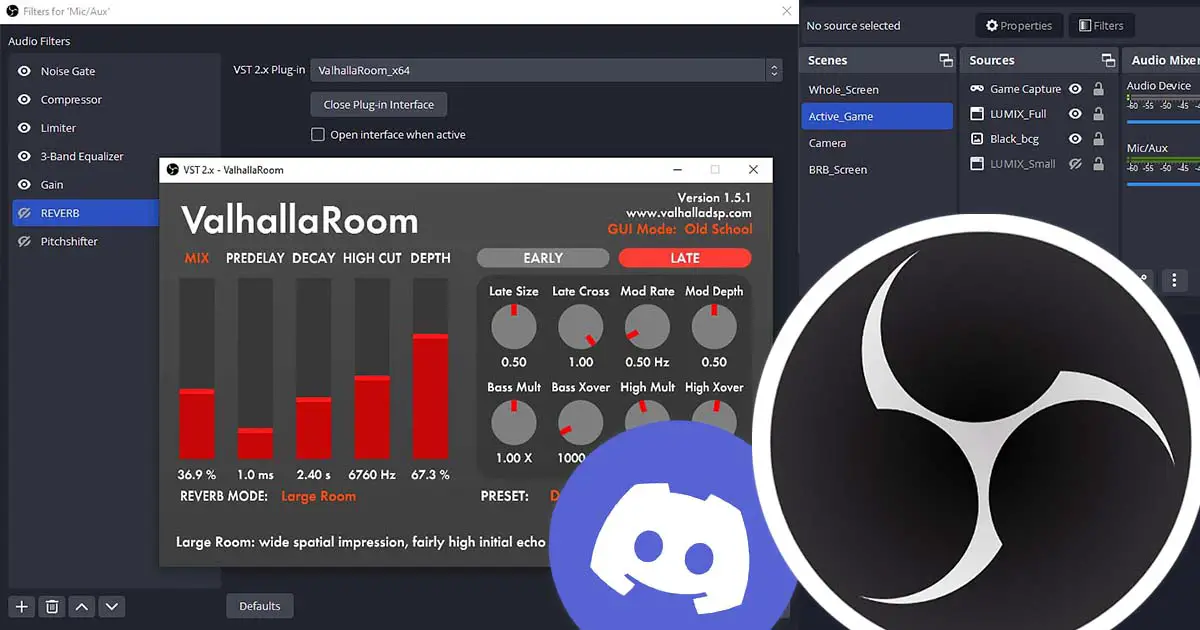
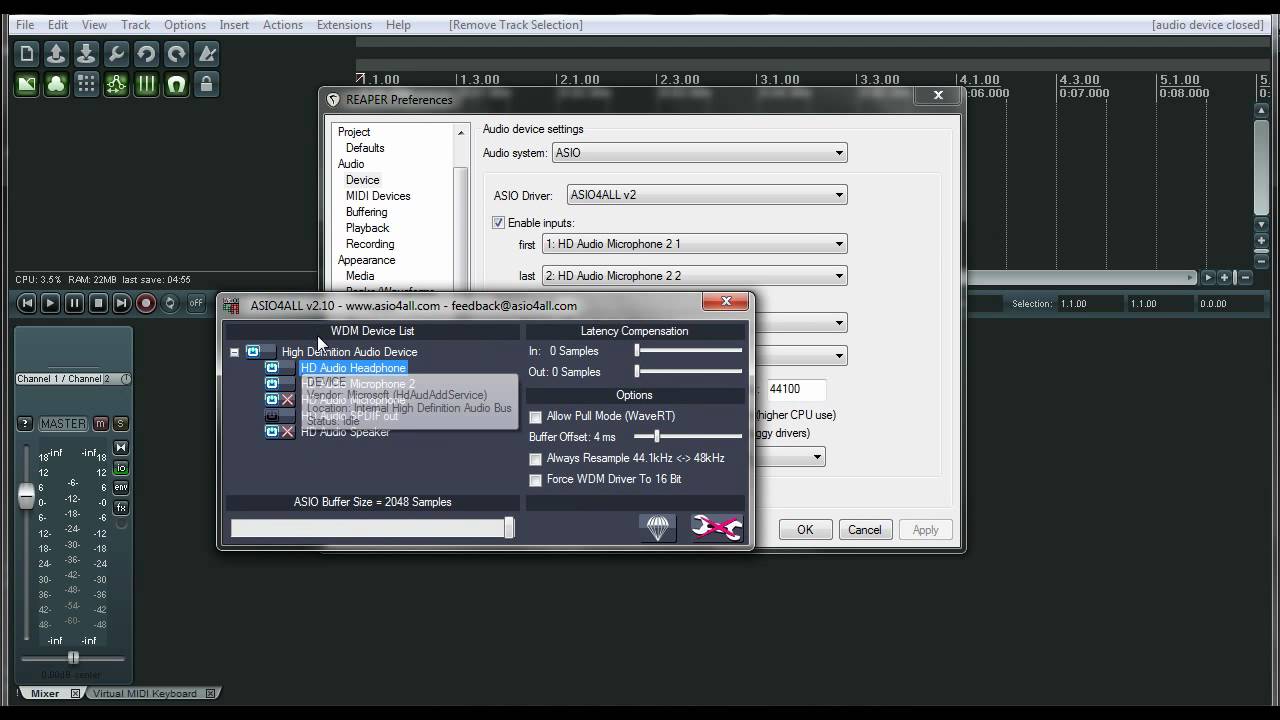
- ASIO Driver Selection: Open your music production software and access the audio settings or preferences. Look for the option to select the audio driver and choose the ASIO driver corresponding to your audio interface. If the ASIO driver is not already installed, download and install it from the manufacturer’s website.
- Buffer Size Adjustment: Within the ASIO settings, you will find an option to adjust the buffer size. A smaller buffer size results in lower latency but requires more processing power. Experiment with different buffer sizes to find the optimal balance between low latency and system stability. For real-time MIDI performance, a smaller buffer size is generally preferred.
- Sample Rate Configuration: Set the sample rate within the ASIO settings to match the specifications of your audio interface and project requirements. Common sample rates include 44.1 kHz and 48 kHz, but higher sample rates may be supported by your audio interface for enhanced audio fidelity. Ensure that the sample rate is consistent across all devices in your audio setup.
- Input and Output Routing: Verify that the MIDI input from your keyboard is correctly routed to the desired tracks or instruments within your music production software. Similarly, confirm that the audio output from your software is routed to the appropriate playback devices, such as studio monitors or headphones connected to your audio interface.
By meticulously configuring ASIO to align with your MIDI keyboard and audio interface, you can unlock the full potential of low-latency audio processing and real-time MIDI performance. This seamless integration empowers you to interact with your MIDI keyboard with unparalleled responsiveness, capturing the nuances of your musical expressions with precision and accuracy.
As you fine-tune the ASIO settings to accommodate your MIDI keyboard, remember to save your configurations for future use. This ensures that your optimized ASIO setup remains consistent across your music production projects, allowing you to focus on creating music without encountering technical obstacles.
With ASIO configured to complement your MIDI keyboard, you are poised to embark on a creative journey where real-time musical interactions and high-performance audio processing converge to elevate your music production endeavors.
Testing and Troubleshooting
After configuring ASIO with your MIDI keyboard, it is crucial to conduct thorough testing to verify the functionality and address any potential issues that may arise. Testing your setup ensures that the MIDI keyboard and ASIO interface work harmoniously, delivering the desired low-latency performance and seamless integration with your music production software.
Here are essential steps for testing and troubleshooting your MIDI keyboard with ASIO:
- Latency Testing: Perform latency tests to evaluate the responsiveness of your MIDI keyboard within your music production software. Play notes or trigger MIDI events and observe the real-time playback to assess the latency levels. If the latency is higher than expected, revisit the ASIO settings and adjust the buffer size to minimize latency without compromising system stability.
- Audio Playback and Recording: Record MIDI performances and play back the recordings to ensure that the audio output is synchronized with your MIDI input. Listen for any discrepancies or timing irregularities that may indicate latency issues. Additionally, test the audio recording functionality to capture MIDI performances accurately without any audio artifacts or glitches.
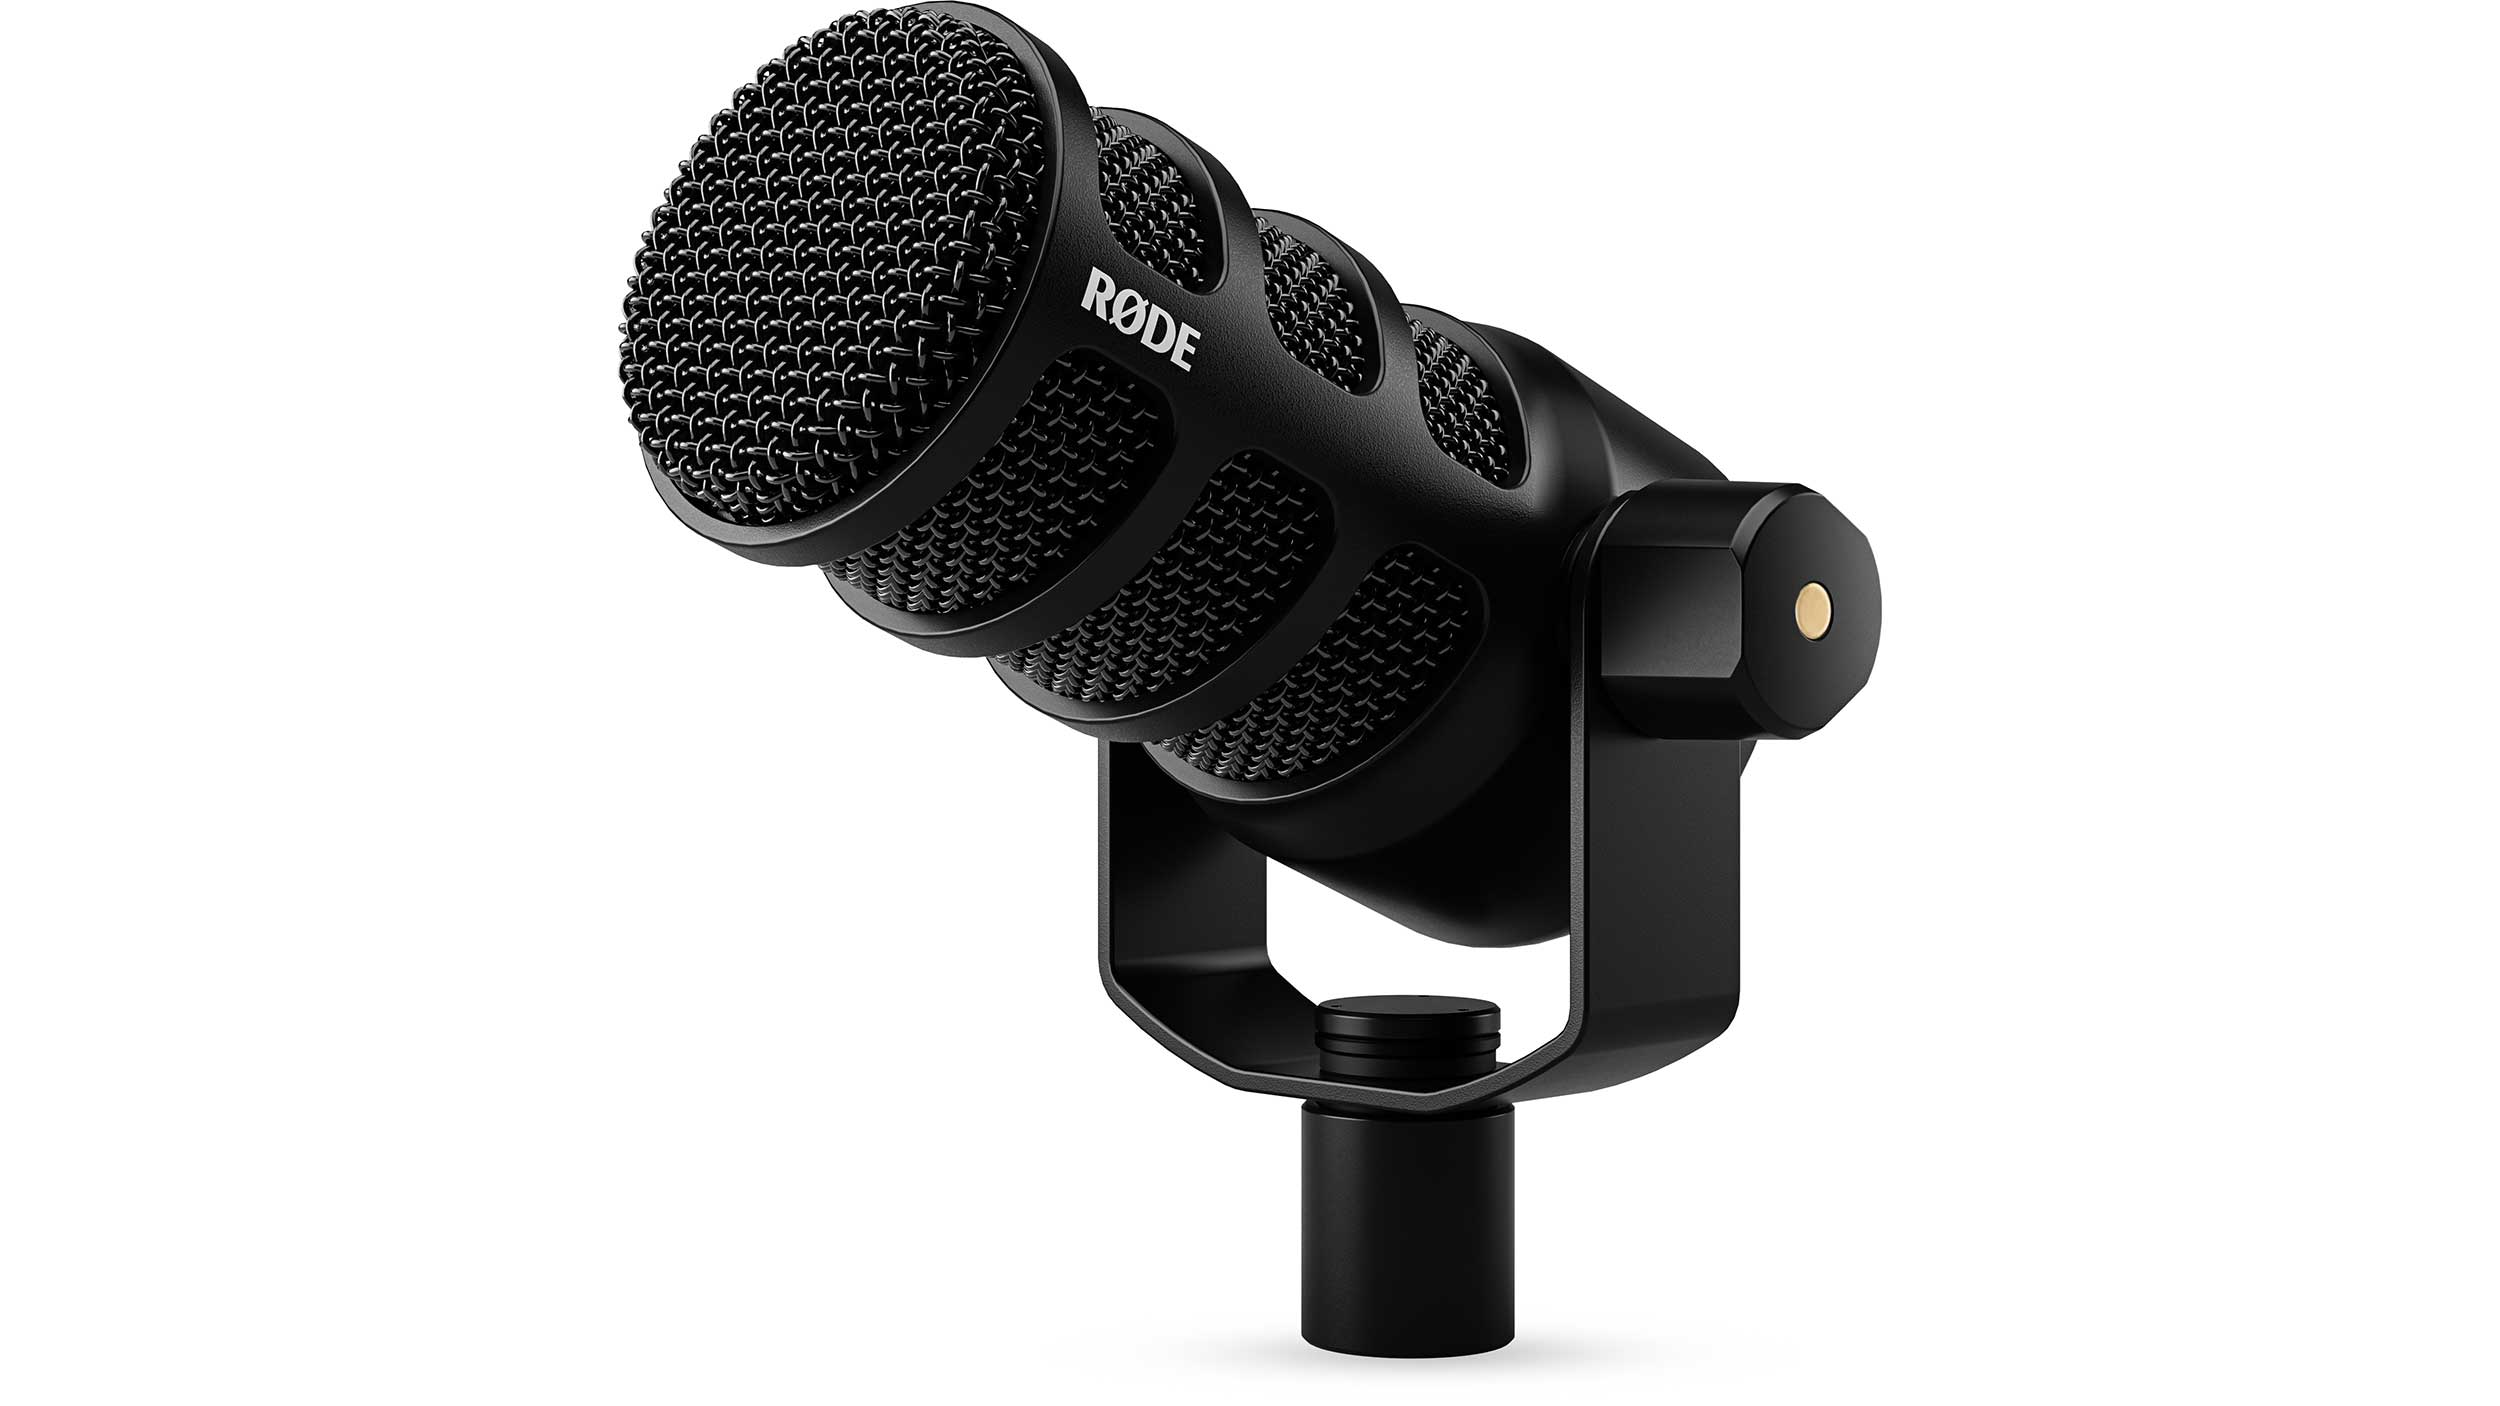
- MIDI Mapping and Functionality: Verify that all MIDI keys, knobs, sliders, and other controls on your keyboard are properly mapped and functional within your music production software. Test the MIDI controller’s capabilities to manipulate virtual instruments, effects parameters, and other software controls, ensuring seamless interaction between the MIDI keyboard and your software environment.
- Driver and Firmware Updates: Check for any available driver or firmware updates for your MIDI keyboard and ASIO audio interface. Keeping the drivers and firmware up to date can address compatibility issues, enhance performance, and resolve potential software-hardware integration challenges.
If you encounter any issues during the testing process, consider the following troubleshooting steps:
- Restarting the System: Reboot your computer and audio interface to refresh the system and resolve any temporary software or driver-related issues that may be affecting the performance of your MIDI keyboard and ASIO setup.
- Driver Reinstallation: Reinstall the ASIO driver for your audio interface and ensure that the MIDI keyboard drivers are correctly installed and functioning. This step can rectify driver conflicts and restore proper communication between the devices.
- Hardware Connectivity Check: Inspect the physical connections between your MIDI keyboard, audio interface, and computer to ensure that all cables are securely plugged in. A loose connection can lead to intermittent functionality and performance issues.
By conducting comprehensive testing and employing effective troubleshooting strategies, you can fine-tune your MIDI keyboard and ASIO setup to deliver optimal performance and reliability. Addressing any potential issues proactively ensures that you can immerse yourself in the creative process without being hindered by technical obstacles.
Conclusion
Configuring a MIDI keyboard with ASIO presents a transformative opportunity to elevate your music production capabilities, enabling real-time interactions and low-latency performance that enhance the creative process. By understanding the principles of ASIO, setting up the MIDI keyboard, configuring ASIO to align with your audio interface, and conducting thorough testing, you have established a robust foundation for seamless integration and optimized performance.
As you embark on your music production journey with a finely-tuned MIDI keyboard and ASIO setup, it is essential to embrace the potential for innovation and artistic expression that this integration offers. The ability to capture nuanced musical performances with precision, manipulate virtual instruments with unparalleled responsiveness, and immerse yourself in a fluid creative workflow is now within reach, thanks to the synergy between your MIDI keyboard and ASIO.
With the knowledge gained from this guide, you possess the tools to harness the power of ASIO and maximize the potential of your MIDI keyboard, transcending technical barriers and immersing yourself in the art of music creation. The seamless integration of your MIDI keyboard with ASIO empowers you to channel your creativity without limitations, shaping your musical vision with unparalleled control and immediacy.
As you continue to explore the possibilities offered by your MIDI keyboard and ASIO setup, remember the significance of ongoing experimentation, refinement, and adaptation. Embrace the dynamic nature of music production, and leverage your enhanced setup to push the boundaries of your creativity, ultimately shaping your unique sonic identity.
By optimizing the synergy between your MIDI keyboard and ASIO, you have unlocked a realm of possibilities, where musical expression knows no bounds and technical prowess seamlessly supports your artistic endeavors. Embrace this newfound synergy, and let your music resonate with the authenticity and passion that define your creative journey.