Introduction
Introduction
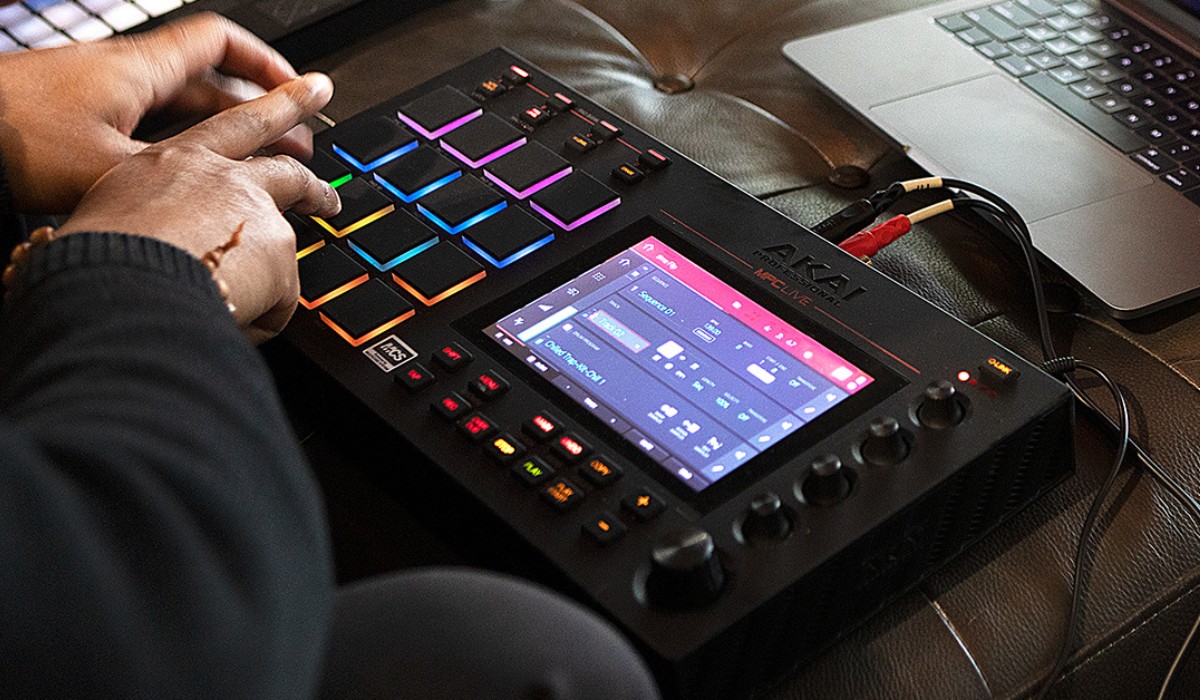
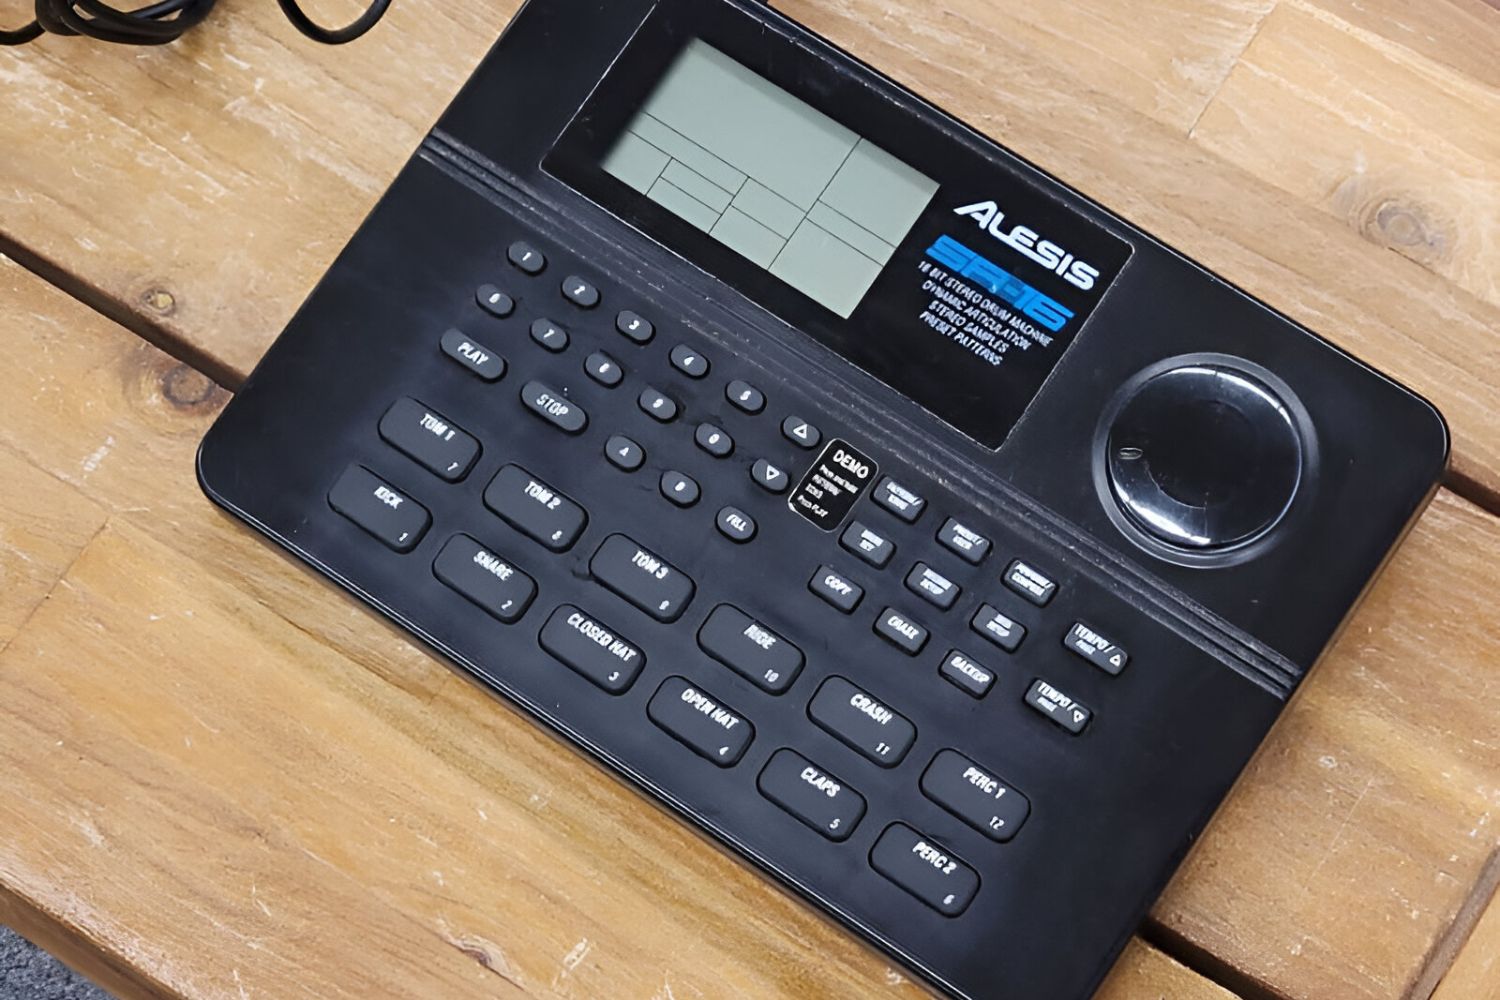
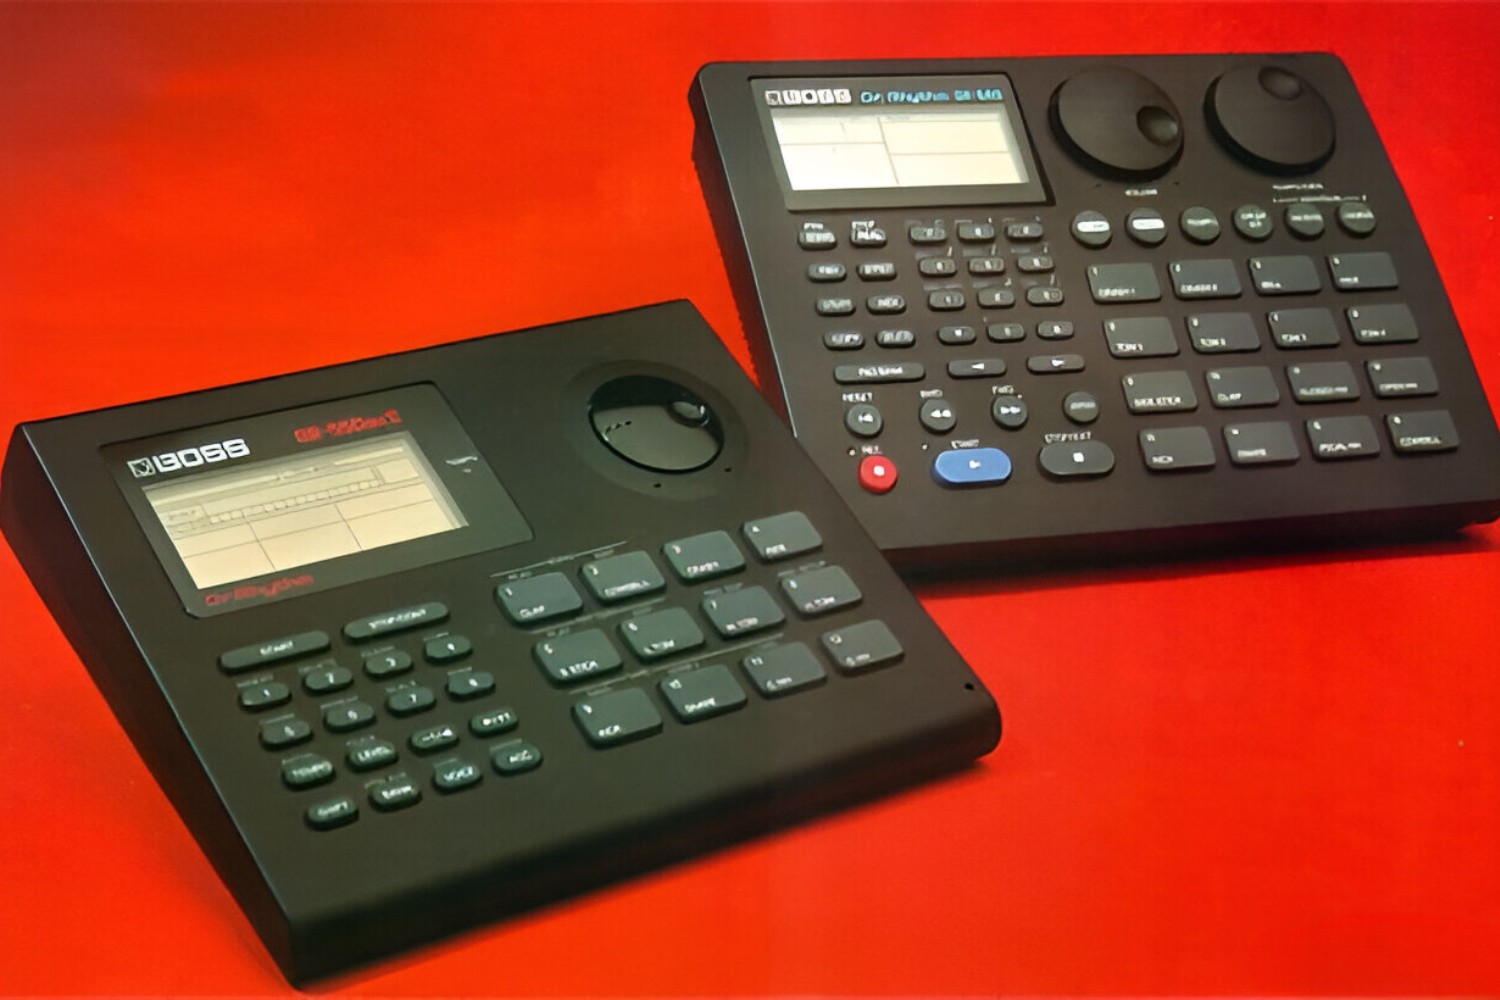
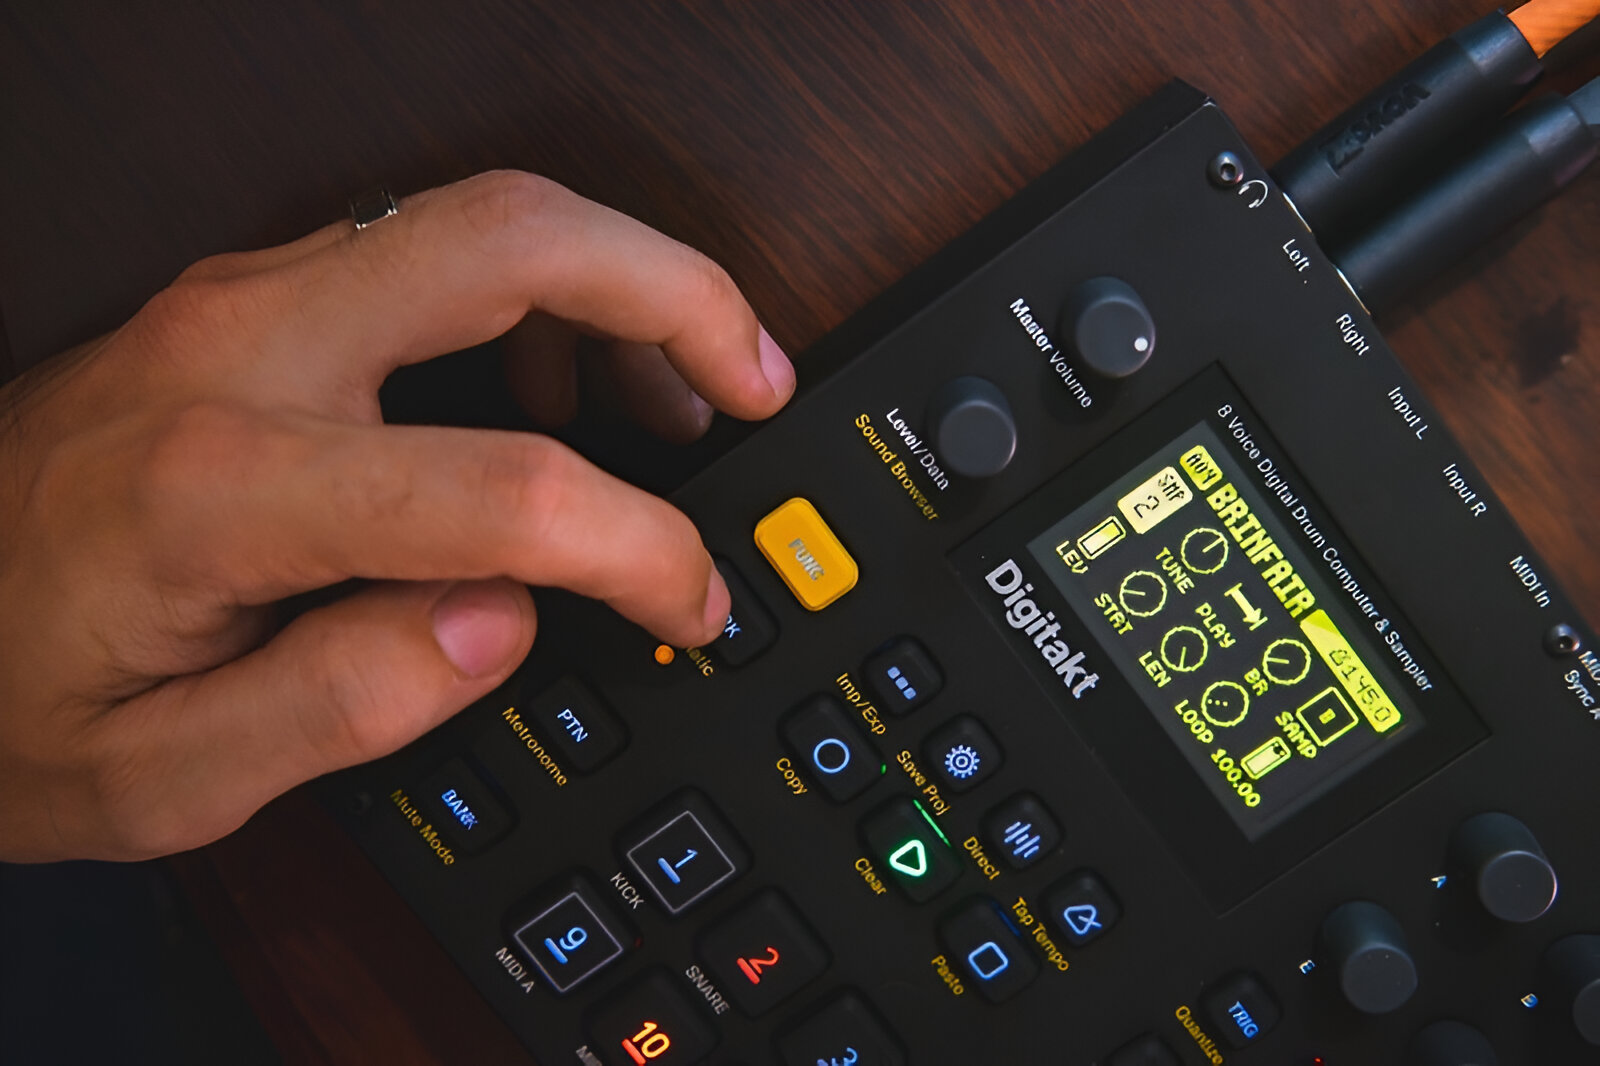
Welcome to the world of music production! If you’re looking to add some rhythmic flair to your recordings, recording a drum machine in Audacity is a fantastic way to achieve professional-quality drum tracks. Whether you’re a seasoned musician or just starting out, integrating a drum machine into your recordings can elevate your music to new heights. In this guide, we’ll walk you through the process of setting up and recording your drum machine in Audacity, a powerful open-source audio editing software.
By harnessing the capabilities of Audacity, you can capture the dynamic beats and rhythms produced by your drum machine and seamlessly integrate them into your recordings. This opens up a world of possibilities for creating diverse and captivating musical compositions across various genres.
Recording a drum machine in Audacity allows you to harness the full potential of your drum machine’s sound and rhythm, enabling you to craft compelling and polished tracks with precision and finesse. Whether you’re aiming for the punchy impact of electronic beats or the organic warmth of acoustic drum sounds, Audacity provides the tools you need to capture and manipulate your drum machine recordings with ease.
Throughout this guide, we’ll cover the essential steps to help you seamlessly integrate your drum machine into your Audacity workflow. From setting up your drum machine to adjusting levels and settings, recording, and finally editing and mixing your drum machine tracks, you’ll gain the knowledge and skills needed to produce professional-grade drum machine recordings in Audacity.
So, grab your drum machine, fire up Audacity, and let’s dive into the exciting process of recording and refining captivating drum tracks that will take your music to the next level.
Setting Up Your Drum Machine
Before diving into the recording process, it’s crucial to ensure that your drum machine is set up correctly to seamlessly integrate with Audacity. Here’s a step-by-step guide to setting up your drum machine:
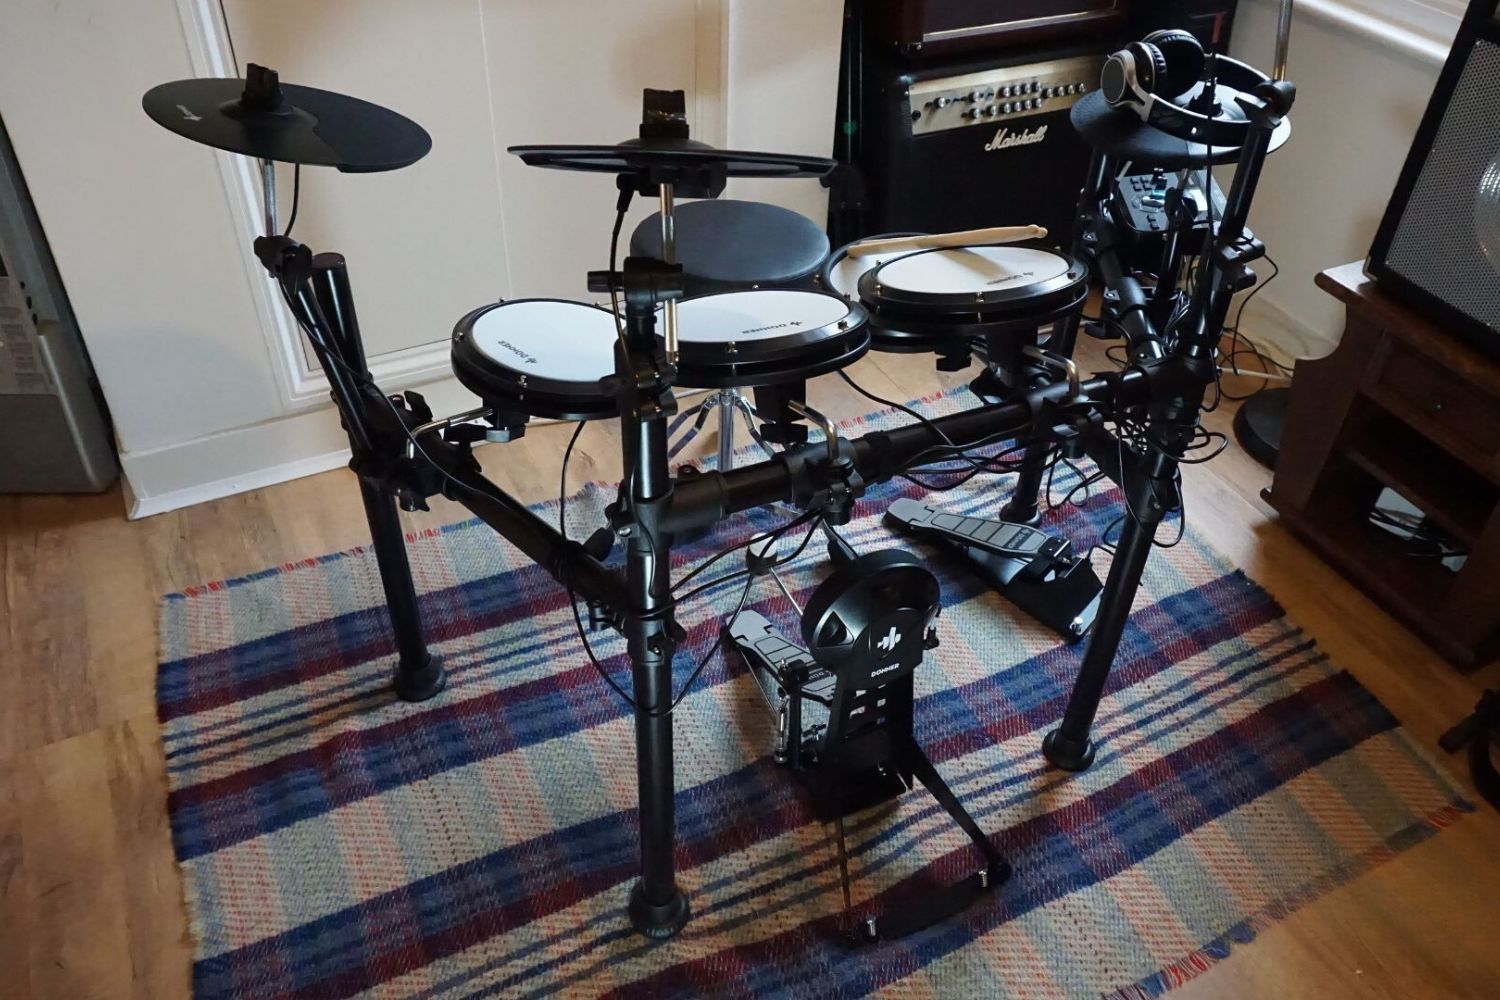
- Power and Connectivity: Begin by powering up your drum machine and connecting it to your audio interface or computer using appropriate cables. Ensure that the connections are secure to prevent any signal loss or interference.
- Audio Routing: Verify that the audio output from your drum machine is routed to the input of your audio interface or directly into your computer’s audio input. This enables Audacity to receive the audio signal from the drum machine for recording.
- Sync Options: If your drum machine offers synchronization options, such as MIDI or USB connectivity, explore the available settings to synchronize its playback with Audacity. This can facilitate precise timing and tempo synchronization between the drum machine and your recording software.
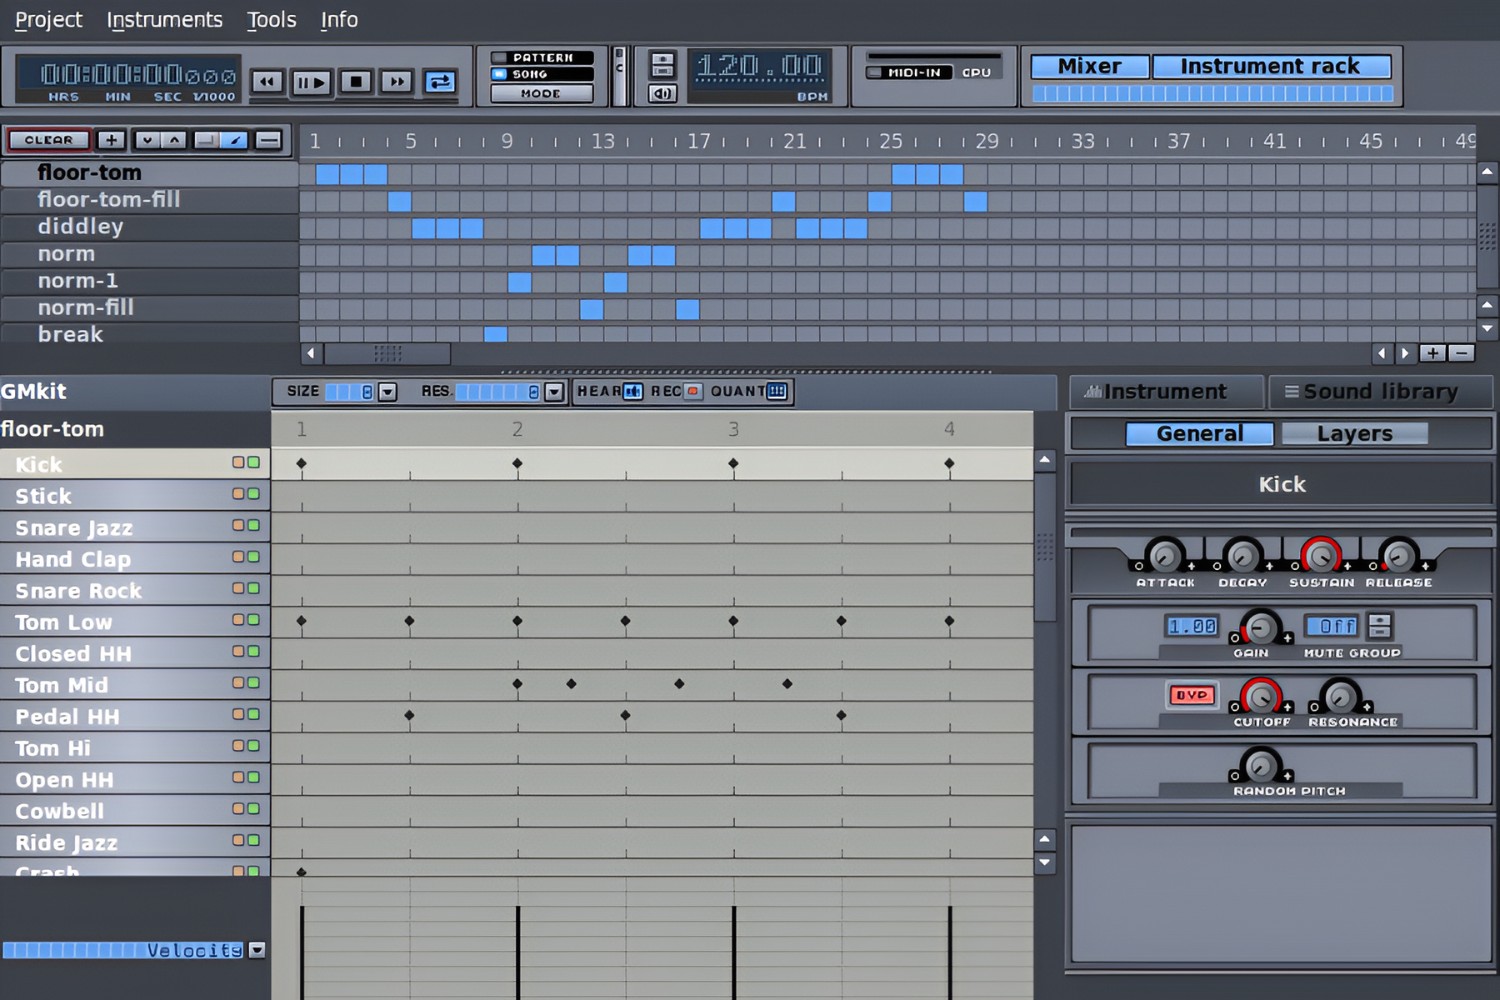
- Sound Selection: Familiarize yourself with the sound selection and programming features of your drum machine. Experiment with different drum kits, patterns, and effects to tailor the sound to complement your musical vision.
- Testing and Calibration: Before recording, conduct a brief test to ensure that the audio signal from your drum machine is being received and processed correctly by your recording setup. Adjust levels and settings as needed to optimize the audio quality and prevent clipping or distortion.
By meticulously setting up your drum machine, you lay the groundwork for a smooth and efficient recording process in Audacity. Taking the time to establish a solid connection and familiarize yourself with the features of your drum machine sets the stage for capturing high-quality drum tracks that align seamlessly with your musical compositions.
Connecting Your Drum Machine to Audacity
Once your drum machine is set up and ready to go, the next step is to establish a seamless connection between your drum machine and Audacity. Here’s a detailed guide on connecting your drum machine to Audacity:
- Audio Interface Configuration: If you’re using an audio interface, ensure that it is properly configured within Audacity. Verify that the input channels corresponding to your drum machine are selected and properly routed for recording.
- Software Input Settings: Access Audacity’s input settings to designate the input source for recording. Select the input channel connected to your drum machine to enable Audacity to receive the audio signal during recording.
- Monitoring Setup: Configure Audacity’s monitoring settings to enable real-time monitoring of the drum machine’s audio signal. This allows you to listen to the drum machine output while recording, facilitating precise adjustments and monitoring of the recording levels.
- Signal Detection: Test the signal detection by playing the drum machine and monitoring the input levels within Audacity. Ensure that the audio signal is being received at an optimal level without exceeding the recording threshold.
- Playback Synchronization: If your drum machine offers synchronization options, such as MIDI clock or USB synchronization, configure Audacity to receive and synchronize with the drum machine’s playback tempo. This ensures that the recorded drum tracks align perfectly with your project’s tempo and timing.
Establishing a robust connection between your drum machine and Audacity is pivotal in capturing the nuances and dynamics of your drum performances. By configuring the input settings, monitoring options, and synchronization features, you create an environment conducive to capturing pristine drum machine recordings with precision and clarity.
Adjusting Levels and Settings
Before commencing the recording process, it’s essential to fine-tune the levels and settings to optimize the audio quality and ensure that your drum machine recordings are captured with clarity and depth. Here’s a comprehensive guide to adjusting levels and settings for your drum machine in Audacity:
- Input Gain Calibration: Set the input gain on your audio interface or within Audacity to achieve an optimal signal level from your drum machine. Avoid overloading the input to prevent distortion while ensuring that the signal remains robust and well-defined.
- Monitoring and Headroom: Adjust the monitoring levels and headroom within Audacity to accommodate the dynamic range of your drum machine. Maintain a comfortable monitoring level while leaving sufficient headroom to prevent clipping and distortion during intense drum performances.
- Equalization and Effects: Explore the option of applying equalization and effects within Audacity to enhance the tonal characteristics of your drum machine recordings. Experiment with EQ settings and effects such as compression, reverb, and delay to sculpt the drum sounds to suit your creative vision.
- Panning and Spatial Placement: Utilize panning controls and spatial placement techniques within Audacity to position the individual drum sounds in the stereo field. This can add depth and dimension to your drum machine recordings, creating a more immersive sonic experience.
- Monitoring and Playback Tests: Conduct monitoring and playback tests to assess the impact of the adjusted levels and settings on the drum machine recordings. Listen critically to the playback and make necessary adjustments to achieve the desired tonal balance and sonic impact.
By meticulously adjusting the levels and settings, you can harness the full sonic potential of your drum machine within the realm of Audacity. Fine-tuning the input gain, monitoring levels, and applying creative processing empowers you to capture drum machine recordings that resonate with clarity, impact, and expressive character.
Recording Your Drum Machine in Audacity
With your drum machine set up, connected, and levels adjusted, it’s time to embark on the exhilarating process of recording your drum machine in Audacity. Here’s a detailed exploration of the steps involved in capturing your drum machine performances:
- Track Configuration: Create a new track in Audacity designated for recording your drum machine. Ensure that the input source is set to receive the audio signal from your drum machine, and the track is armed for recording.
- Pre-Roll and Count-In: Consider enabling a pre-roll or count-in within Audacity to provide a brief lead-in before recording begins. This can assist in preparing for the recording and syncing your drum machine performance with the project’s timeline.
- Performance Capture: Initiate the recording process in Audacity and commence your drum machine performance. Focus on delivering expressive and dynamic drum patterns, leveraging the capabilities of your drum machine to infuse energy and rhythm into the recording.
- Multiple Takes and Sections: If needed, record multiple takes or sections of your drum machine performance to explore different variations and nuances. This allows you to capture diverse rhythmic ideas and select the most compelling sections for your composition.
- Real-Time Monitoring: Utilize real-time monitoring within Audacity to listen to the drum machine performance as it is being recorded. This facilitates immediate feedback and adjustments, ensuring that the captured performance meets your desired sonic and rhythmic criteria.
Recording your drum machine in Audacity presents an opportunity to encapsulate the essence of your rhythmic creativity with precision and fidelity. By configuring tracks, leveraging pre-roll options, and embracing real-time monitoring, you can capture captivating drum machine performances that serve as the rhythmic foundation of your musical endeavors.
Editing and Mixing Your Drum Machine Recording
Once your drum machine performances are captured in Audacity, the next phase involves refining and integrating them into your musical compositions through meticulous editing and mixing. Here’s a comprehensive guide to editing and mixing your drum machine recordings:
- Track Segmentation: Utilize Audacity’s editing tools to segment and organize the recorded drum machine performances into distinct sections. This facilitates targeted editing and manipulation of individual rhythmic elements within your compositions.
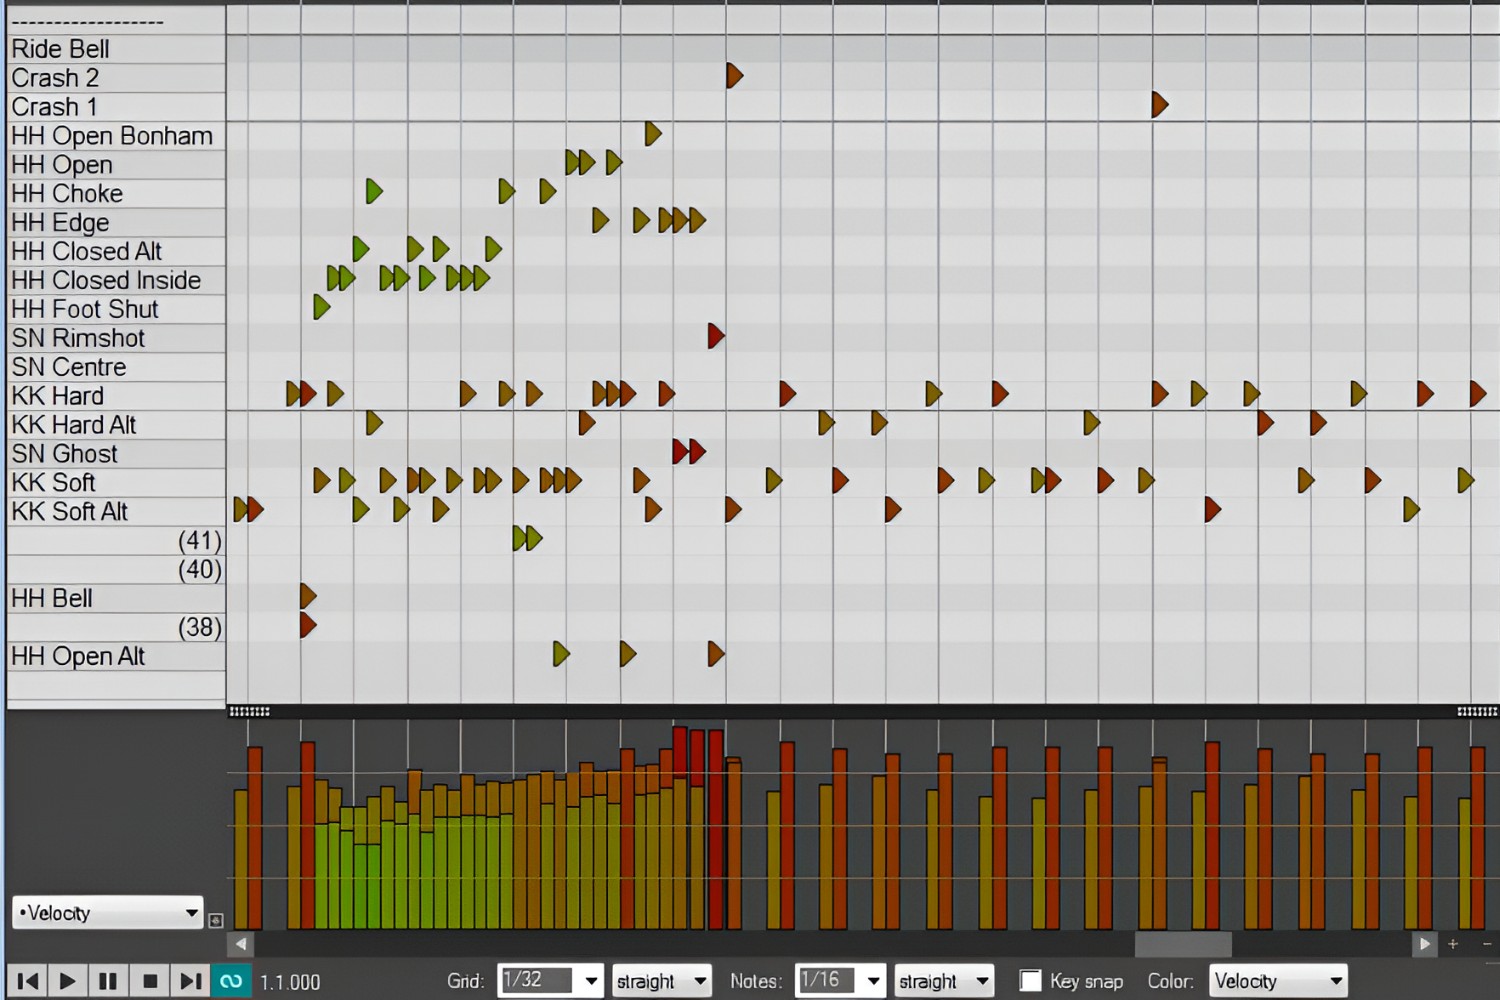
- Quantization and Alignment: Explore the option of quantizing and aligning the drum machine recordings to enhance rhythmic precision and synchronization with other tracks. This can be especially beneficial for achieving tight and cohesive rhythmic arrangements.
- Dynamic Processing: Apply dynamic processing techniques such as compression and transient shaping to refine the impact and consistency of the drum machine recordings. This helps in balancing the dynamics and enhancing the overall punch and clarity of the drum tracks.
- EQ and Tonality Sculpting: Employ equalization to sculpt the tonal characteristics of the drum machine recordings, emphasizing the desired frequencies and addressing any sonic imbalances. Tailor the drum sounds to complement the overall sonic palette of your compositions.
- Effects Integration: Integrate creative effects such as reverb, delay, and modulation to infuse spatial depth and sonic character into the drum machine recordings. Experiment with effects to evoke a sense of ambiance and dimension within the rhythmic elements.
- Level Balancing and Spatial Placement: Fine-tune the levels and spatial placement of the drum machine recordings within the mix, ensuring that they blend harmoniously with other instruments while occupying a defined sonic space. Balance the relative volumes and spatial positioning to achieve a cohesive and immersive mix.
Editing and mixing your drum machine recordings in Audacity empowers you to refine and shape the rhythmic foundation of your music with precision and artistry. By segmenting tracks, applying dynamic processing, and sculpting tonal characteristics, you can seamlessly integrate the expressive energy of your drum machine performances into captivating musical compositions.


