Introduction
Welcome to the exciting world of gaming audio! The Turtle Beach Ear Force XO One Gaming Headset is a fantastic addition to your gaming setup, providing immersive sound quality and clear communication with other players. Whether you're a seasoned gamer or just starting out, this guide will walk you through the process of setting up and optimizing your gaming experience with the XO One headset.
Gaming headsets have become an essential accessory for gamers of all levels, offering a competitive edge and a more immersive gaming experience. The XO One headset, in particular, is designed to deliver high-quality audio, comfort, and versatility. With its powerful sound and comfortable design, this headset is an excellent choice for gamers who want to take their gaming experience to the next level.
In this guide, we will cover everything you need to know to get started with your Turtle Beach XO One Gaming Headset. From unboxing the headset to troubleshooting common issues, we've got you covered. You'll learn how to connect the headset to your gaming console, adjust settings for the best gaming experience, and resolve any potential challenges along the way.
So, whether you're gearing up for an intense gaming session with friends or diving into a solo adventure, the XO One headset is here to elevate your gaming experience. Let's dive in and explore the exciting world of gaming audio with the Turtle Beach Ear Force XO One Gaming Headset.
Unboxing the Turtle Beach Ear Force XO One Gaming Headset
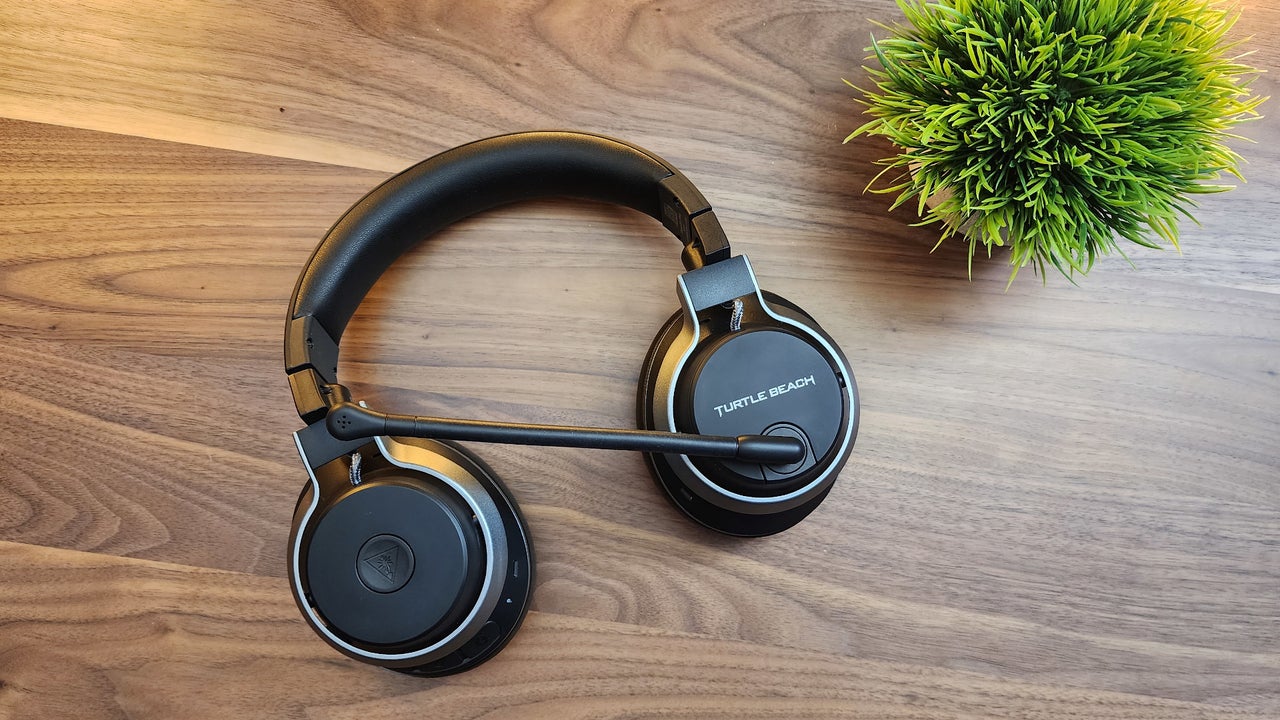
As you eagerly unbox your Turtle Beach Ear Force XO One Gaming Headset, you’ll be greeted by a carefully crafted gaming accessory designed to enhance your audio experience. The packaging is sleek and modern, reflecting the high-quality technology within. Opening the box, you’ll find the XO One headset nestled securely, exuding a sense of premium craftsmanship and attention to detail.
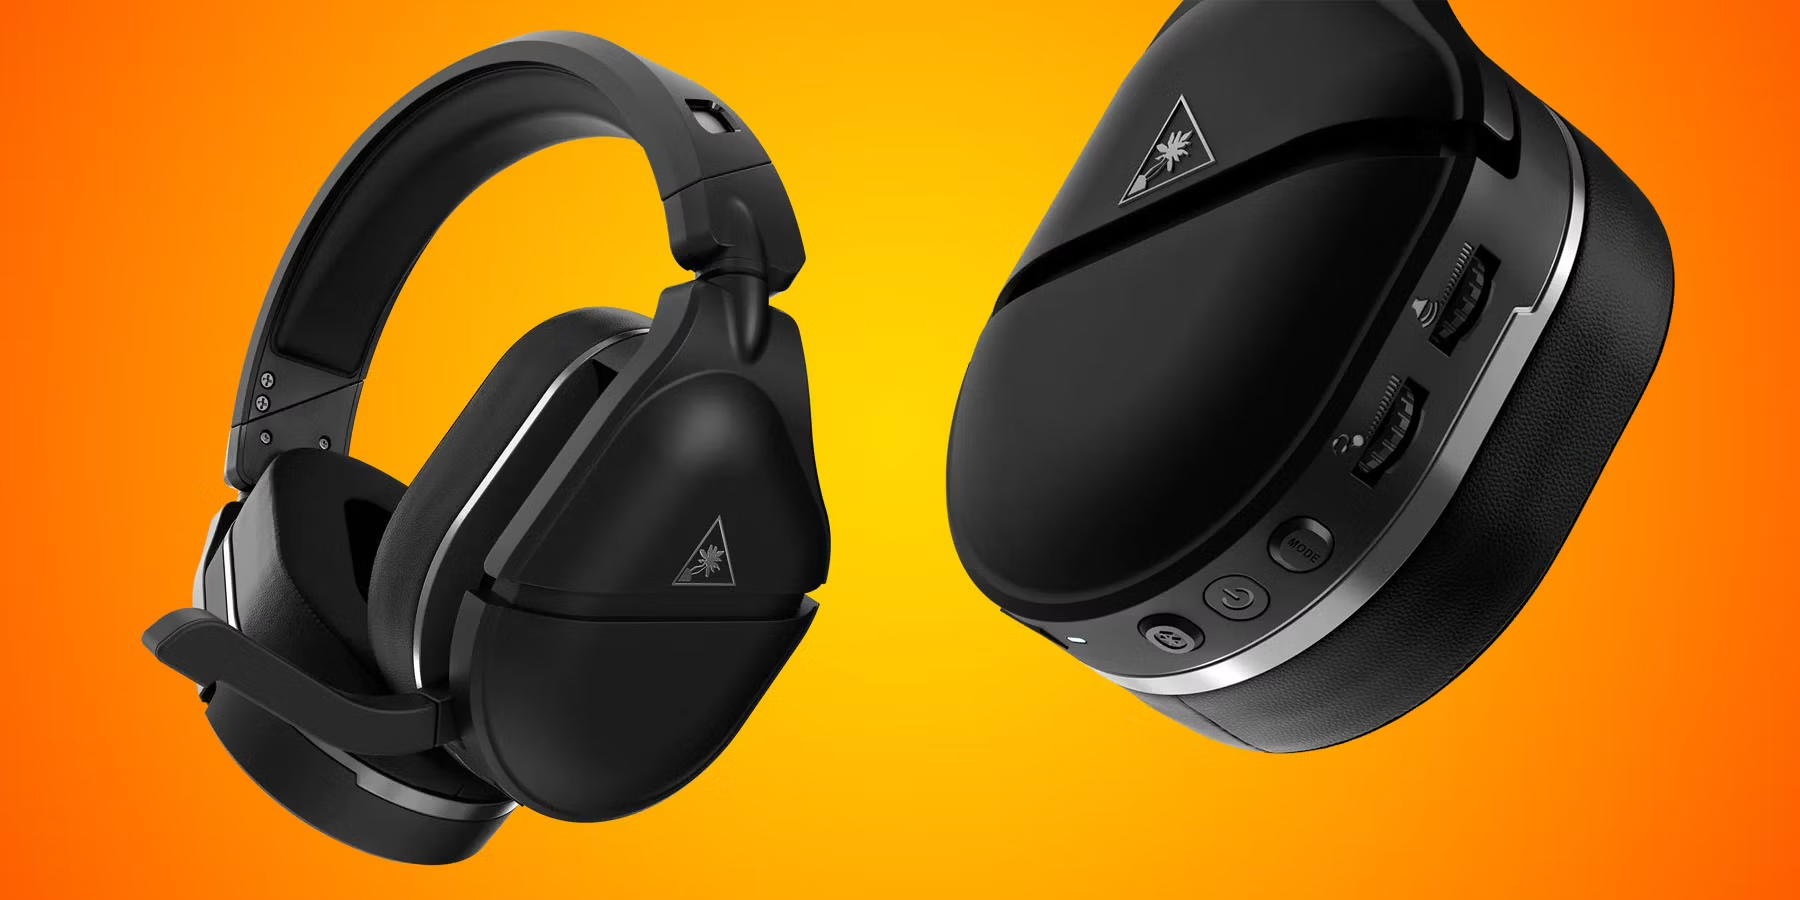
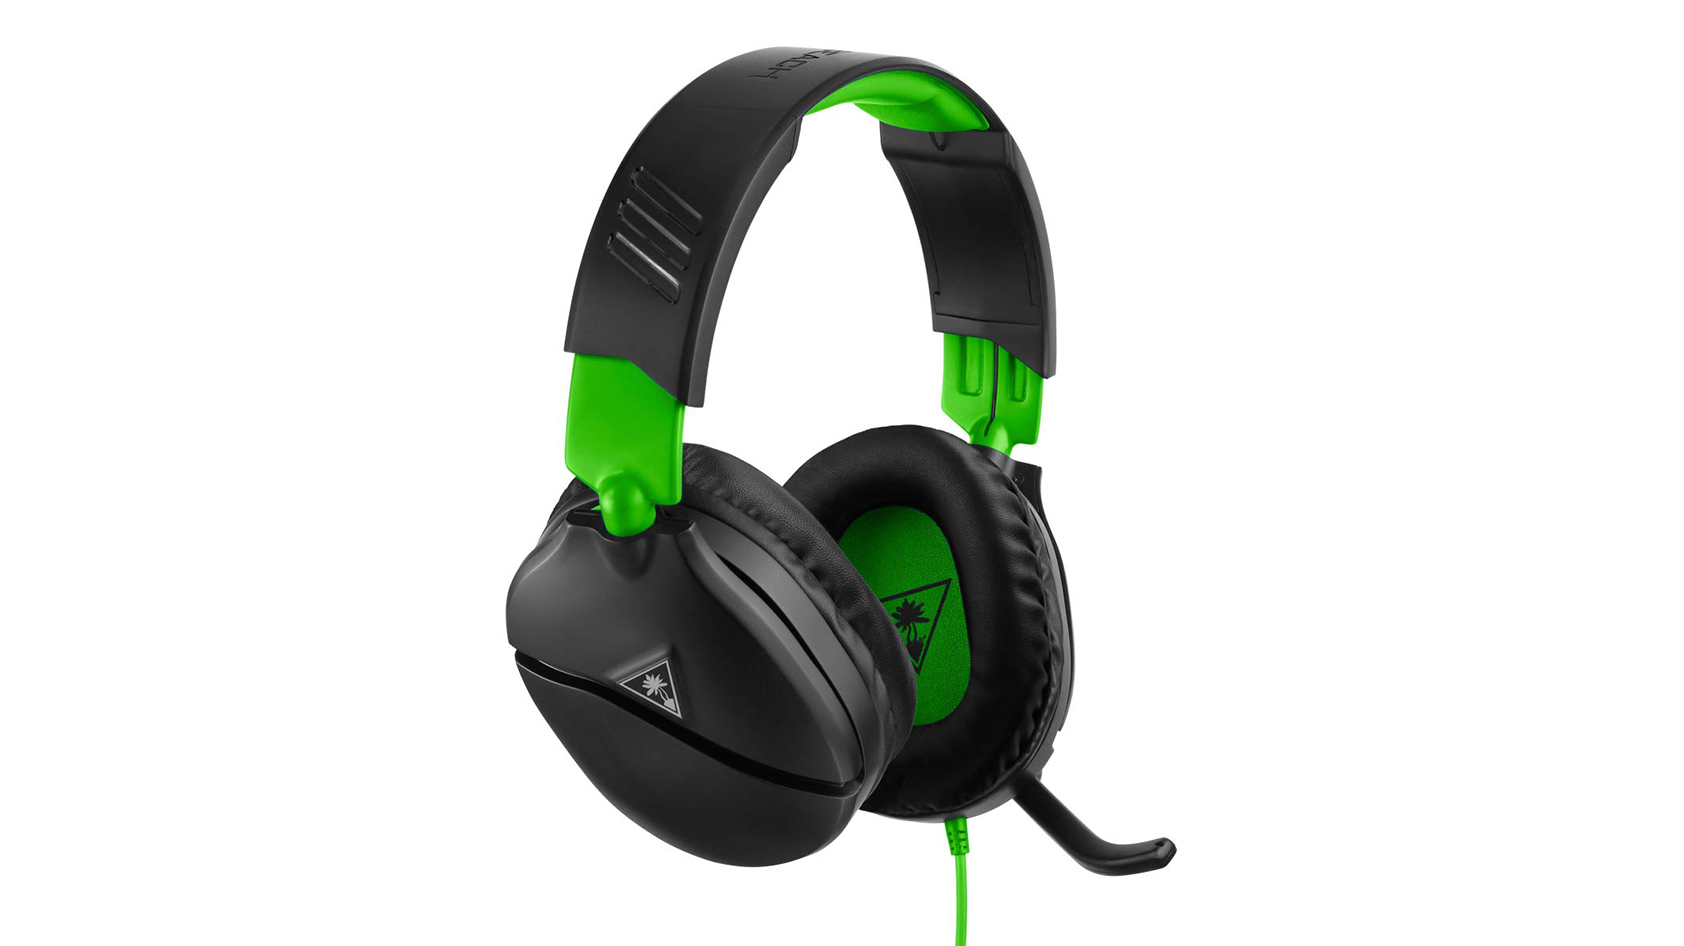
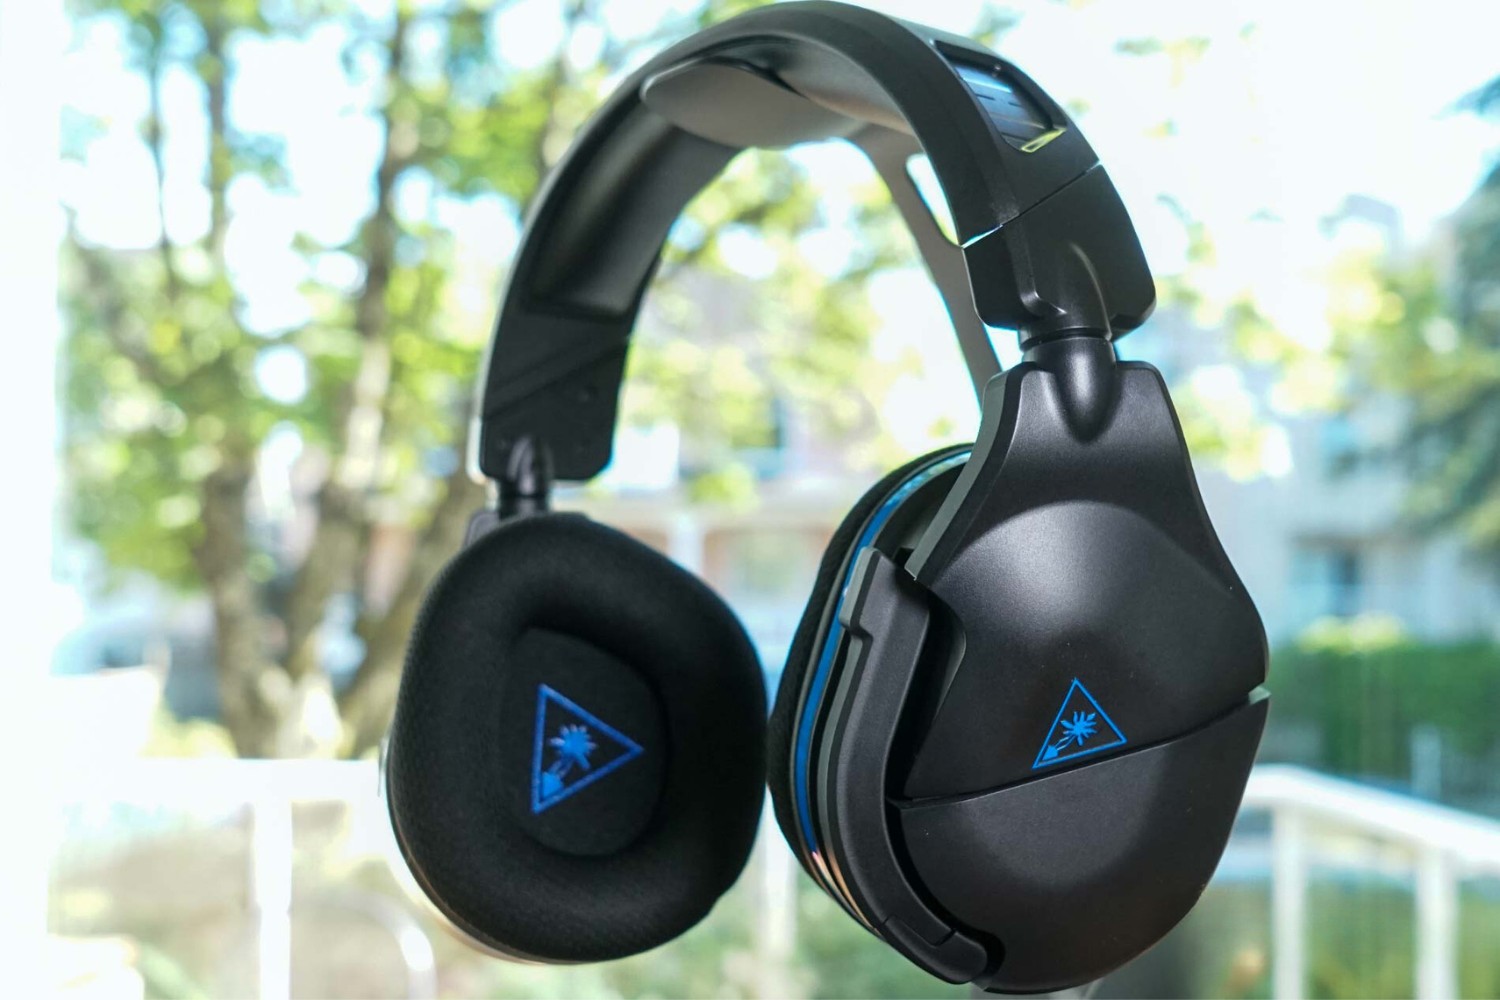
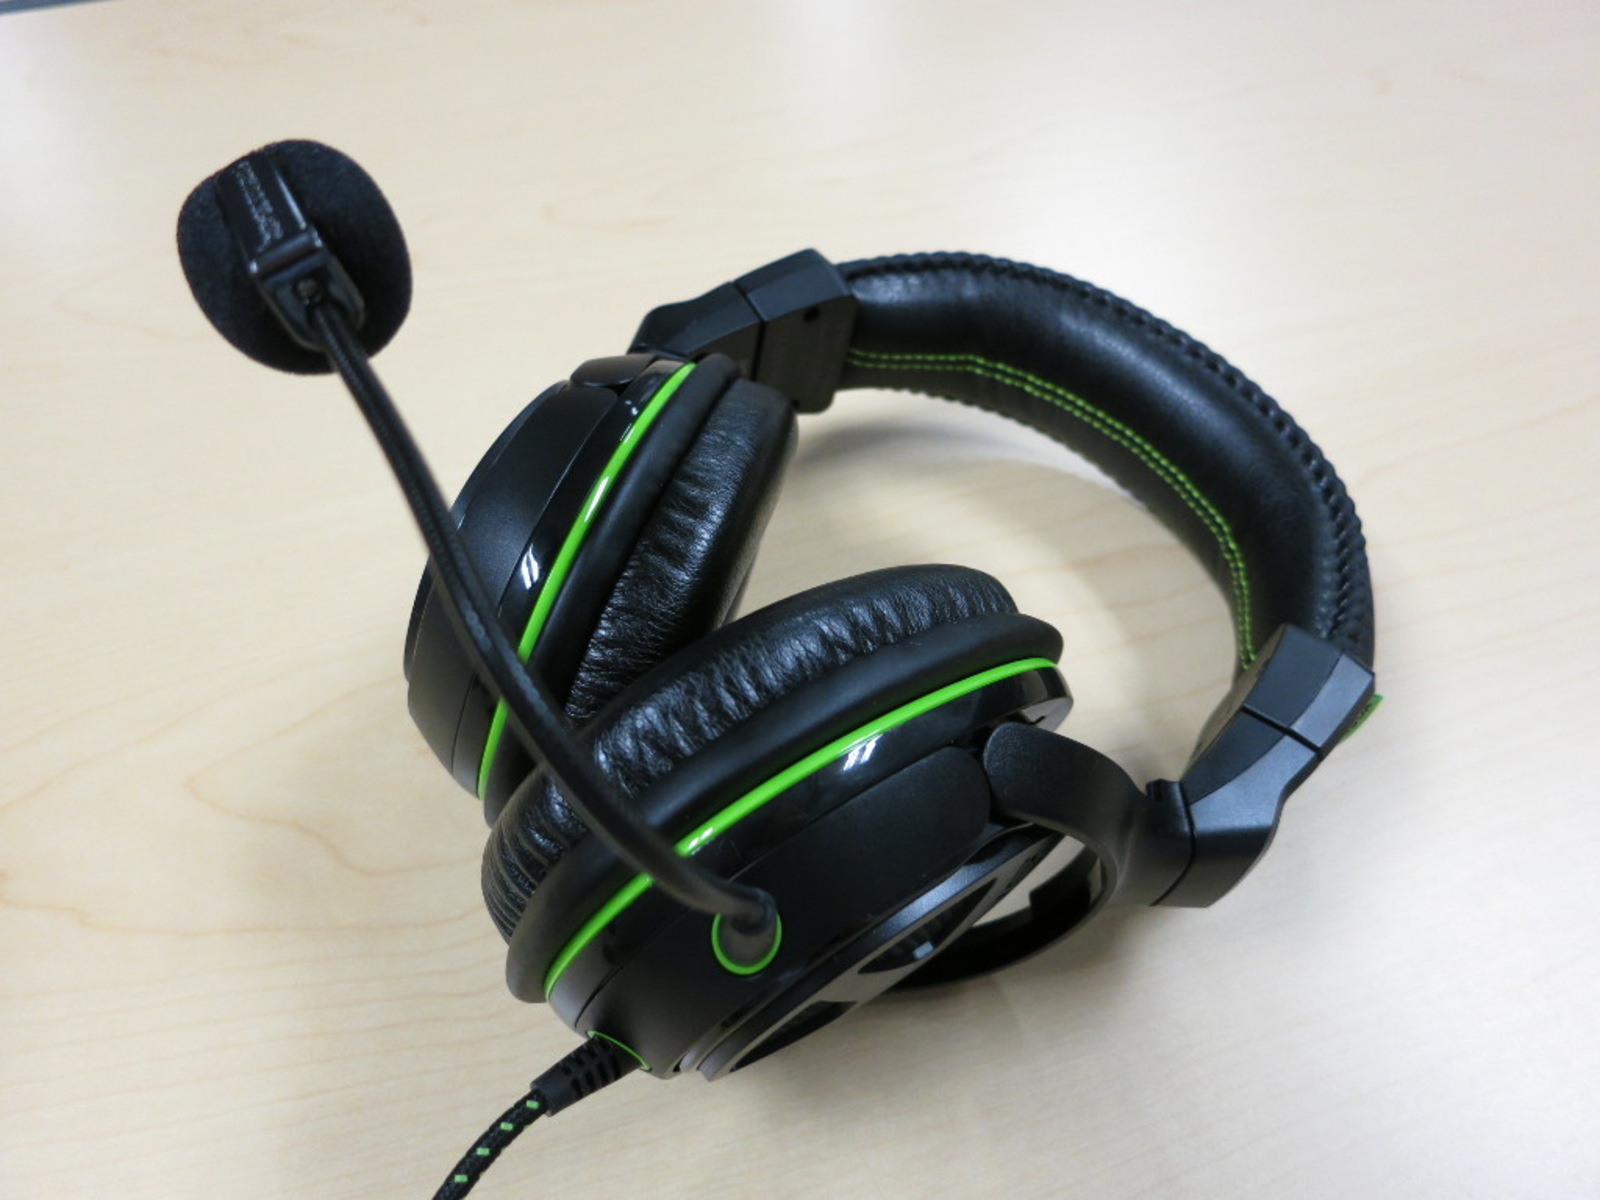
The first thing you’ll notice is the headset’s striking design, featuring a sleek and adjustable headband, plush ear cushions, and a flexible, high-sensitivity microphone. The build quality is immediately apparent, signaling that you’re about to experience top-tier audio performance and comfort during your gaming sessions.
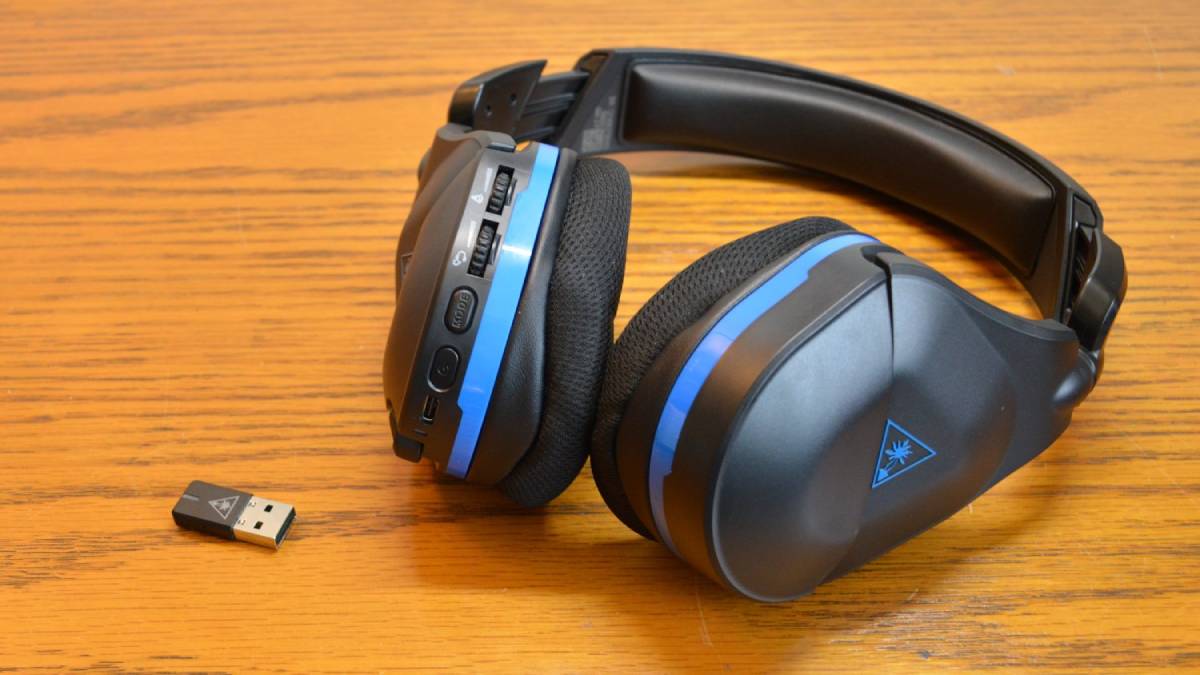
Delving further into the box, you’ll discover the versatile audio controller, a key component that enables you to fine-tune your audio settings with ease. This intuitive controller allows you to adjust game and chat audio levels, mute the microphone, and even monitor your own voice, putting you in control of your gaming audio experience.
Accompanying the headset and audio controller, you’ll find the necessary cables for connecting the XO One to your gaming console, ensuring a seamless setup process. The inclusion of these cables demonstrates Turtle Beach’s commitment to providing a hassle-free experience for gamers, allowing you to dive into your gaming adventures without delay.
Additionally, the packaging may include a quick start guide and warranty information, offering valuable insights into the setup process and providing peace of mind with regard to product support. These resources are designed to empower you as you embark on your journey with the XO One headset, ensuring that you can make the most of its features and capabilities.
Unboxing the Turtle Beach Ear Force XO One Gaming Headset is an exciting first step toward unlocking the full potential of your gaming audio. The attention to detail in both the packaging and the contents within sets the stage for an exceptional gaming experience, promising immersive sound, clear communication, and long-lasting comfort. With the headset in hand and the components laid out before you, it’s time to embark on the next phase of your gaming journey: connecting the XO One to your gaming console.
Connecting the Headset to Your Gaming Console
Now that you’ve unboxed the Turtle Beach Ear Force XO One Gaming Headset, it’s time to seamlessly integrate it with your gaming console to unlock its full potential. Whether you’re a dedicated Xbox or PlayStation enthusiast, the XO One is designed to elevate your gaming experience on both platforms. Let’s explore the straightforward process of connecting the headset to your gaming console, ensuring that you’re ready to immerse yourself in captivating audio and seamless communication.
Xbox One Integration:
If you’re a proud owner of an Xbox One console, connecting the XO One headset is a breeze. The headset comes equipped with a 3.5mm audio jack, allowing for direct compatibility with the Xbox One controller. Simply plug the headset’s 3.5mm cable into the controller’s audio jack, and you’re ready to experience immersive gaming audio and crystal-clear communication. The seamless integration ensures that you can focus on your gaming adventures without encountering any connectivity hurdles.
PlayStation 4 Integration:
For PlayStation 4 enthusiasts, the XO One headset offers a versatile and straightforward setup process. The headset’s 3.5mm cable can be connected directly to the DualShock 4 controller, providing instant compatibility and access to high-quality audio. By leveraging the 3.5mm audio jack on the controller, the XO One seamlessly integrates with the PlayStation 4, allowing you to dive into your favorite games with enhanced sound and communication capabilities.
With the XO One headset seamlessly connected to your gaming console, you’re now poised to experience the full spectrum of its audio prowess. The simple integration process ensures that you can focus on what matters most: immersing yourself in captivating gaming worlds and communicating effectively with fellow players. Now that the headset is securely connected, it’s time to fine-tune the audio settings to optimize your gaming experience.
Adjusting the Settings for the Best Gaming Experience
Now that your Turtle Beach Ear Force XO One Gaming Headset is seamlessly connected to your gaming console, it’s time to fine-tune the audio settings to ensure an optimal gaming experience. The XO One headset offers a range of customizable features that allow you to tailor the audio output to your preferences, providing immersive sound quality and clear communication. Let’s explore the various settings and adjustments that will enhance your gaming experience with the XO One headset.
Audio Controller Customization:
The XO One headset comes equipped with an intuitive audio controller that empowers you to customize your audio experience effortlessly. The controller allows you to adjust game and chat audio levels independently, enabling you to strike the perfect balance between immersive game sound and clear communication with other players. Additionally, the controller features a microphone mute option, ensuring that you have full control over when your voice is transmitted to your fellow gamers.
Microphone Monitoring:
The XO One headset offers a valuable feature known as microphone monitoring, which allows you to hear your own voice in the headset. This feature helps you maintain an optimal speaking volume during intense gaming moments, ensuring that you communicate effectively without inadvertently raising your voice. By enabling microphone monitoring, you can maintain clear and consistent communication with your gaming allies, enhancing teamwork and coordination during multiplayer battles.
Equalization Settings:
For gamers who are passionate about audio customization, the XO One headset provides the option to adjust equalization settings. By fine-tuning the equalization, you can tailor the headset’s audio output to suit your preferred gaming genres, whether you’re diving into action-packed shooters or exploring atmospheric open-world adventures. This level of customization ensures that the XO One delivers an immersive and personalized audio experience that aligns with your gaming preferences.
By leveraging these customizable features, you can unlock the full potential of the Turtle Beach Ear Force XO One Gaming Headset, ensuring that every gaming session is enriched with immersive sound and effective communication. With the audio settings optimized to your preferences, you’re ready to embark on captivating gaming adventures with a heightened sense of audio immersion and clarity.
Troubleshooting Common Issues
While the Turtle Beach Ear Force XO One Gaming Headset is designed to deliver seamless audio performance, encountering occasional issues is not uncommon. Understanding how to troubleshoot common problems ensures that you can swiftly address any challenges that may arise, allowing you to resume your gaming adventures without interruption. Let’s explore some common issues that users may encounter with the XO One headset and the corresponding troubleshooting steps to resolve them.
Audio Connectivity Issues:
If you experience audio connectivity issues, such as intermittent sound or a lack of audio output, begin by ensuring that the headset’s 3.5mm cable is securely connected to the controller or audio adapter. Additionally, check the integrity of the cable for any signs of damage or wear. If the issue persists, try connecting the headset to a different controller or audio device to determine if the problem lies with the original connection point.
Mic Sensitivity and Clarity:
Should you encounter challenges related to microphone sensitivity or clarity, first ensure that the microphone boom is fully inserted into the headset and positioned correctly near your mouth. Adjust the microphone’s position and angle to optimize its performance, and verify that the microphone isn’t obstructed by any objects or clothing. If other players report difficulty hearing you or notice background noise, adjusting the microphone’s sensitivity settings on your gaming console may help alleviate these issues.
Audio Imbalance:
If you notice an imbalance between game audio and chat audio levels, begin by adjusting the corresponding settings on the XO One’s audio controller. Ensure that the game and chat audio levels are appropriately balanced to suit your preferences. If the imbalance persists, consider testing the headset with a different controller or audio device to determine if the issue is specific to the original setup. Additionally, inspect the headset’s audio cable for any signs of damage or wear that may affect the audio balance.
By familiarizing yourself with these troubleshooting steps, you can swiftly address common issues that may arise with the Turtle Beach Ear Force XO One Gaming Headset, ensuring that your gaming experience remains uninterrupted and enjoyable. With a proactive approach to addressing potential challenges, you can maximize the longevity and performance of your XO One headset, immersing yourself in captivating gaming audio with confidence.
Conclusion
Congratulations! You’ve successfully navigated the setup, customization, and troubleshooting aspects of the Turtle Beach Ear Force XO One Gaming Headset, gaining valuable insights into optimizing your gaming audio experience. By unboxing the XO One headset, connecting it to your gaming console, adjusting settings for personalized audio immersion, and addressing common issues, you’ve embarked on a journey to elevate your gaming adventures with enhanced sound quality and communication capabilities.
The XO One headset’s intuitive design, coupled with its versatile compatibility with Xbox One and PlayStation 4, ensures a seamless integration process that empowers you to focus on what you love most: gaming. The inclusion of an audio controller, microphone monitoring, and equalization settings provides a comprehensive suite of customization options, allowing you to tailor the headset’s audio output to suit your preferred gaming genres and communication preferences.
Furthermore, familiarizing yourself with troubleshooting steps for common issues equips you with the knowledge and confidence to swiftly address any challenges that may arise, ensuring that your gaming experience remains uninterrupted and enjoyable. By proactively addressing connectivity, microphone, and audio balance issues, you can maintain the XO One headset’s performance and longevity, immersing yourself in captivating gaming audio with ease.
As you venture into the world of gaming with the Turtle Beach Ear Force XO One Gaming Headset, remember that your audio experience is a crucial element of your gaming journey. Whether you’re embarking on thrilling multiplayer battles, exploring immersive open worlds, or engaging in intense competitive gameplay, the XO One headset is your trusted companion, delivering immersive sound and clear communication every step of the way.
With the knowledge and insights gained from this guide, you’re well-equipped to harness the full potential of the Turtle Beach Ear Force XO One Gaming Headset, ensuring that your gaming adventures are enriched with high-quality audio and seamless communication. Embrace the power of immersive gaming audio, elevate your gaming experience, and embark on countless memorable adventures with the XO One headset by your side.