Introduction
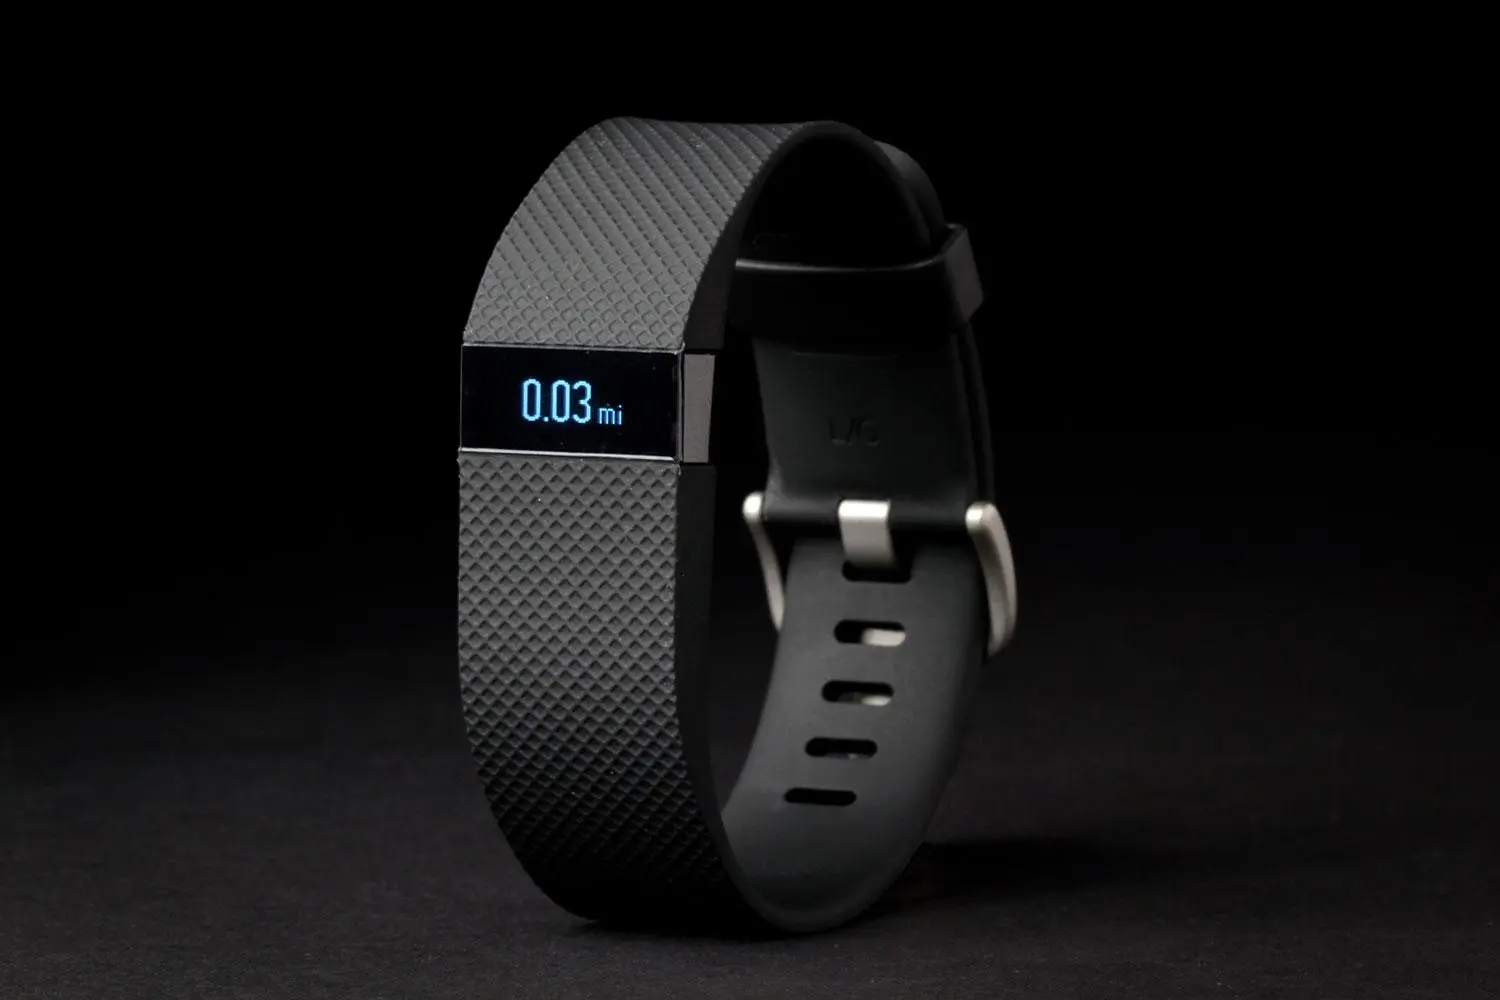
Changing the time on your Fitbit Charge HR is a simple yet essential task to ensure that your wearable device accurately reflects the current time. Whether you're traveling to a different time zone or daylight saving time is in effect, updating the time on your Charge HR is crucial for maintaining accurate activity tracking and notifications. This guide will walk you through the straightforward process of adjusting the time on your Fitbit Charge HR, ensuring that you stay in sync with the correct time no matter where you are.
The Fitbit Charge HR, with its sleek design and advanced features, has become a popular choice for fitness enthusiasts and individuals seeking to monitor their daily activity levels. From tracking heart rate and sleep patterns to providing real-time workout stats, the Charge HR offers a comprehensive fitness tracking experience. However, to fully benefit from its capabilities, it's important to ensure that the device's time settings are accurate and up to date.
By following the steps outlined in this guide, you'll be able to seamlessly adjust the time on your Fitbit Charge HR, enabling you to stay on top of your fitness goals and daily schedule. Whether you're a seasoned Fitbit user or new to the world of wearable fitness technology, this guide will provide you with the knowledge and confidence to effortlessly change the time on your Charge HR. So, let's dive into the easy-to-follow steps to ensure that your Fitbit Charge HR reflects the correct time, keeping you in sync with your active lifestyle.
Step 1: Accessing the Settings
Accessing the settings on your Fitbit Charge HR is the first step towards changing the time on your device. To begin, ensure that your Fitbit Charge HR is charged and within range of your smartphone or computer. The Fitbit app serves as the primary interface for managing your Charge HR's settings, including the time adjustment feature.
Start by opening the Fitbit app on your smartphone or accessing the Fitbit dashboard on your computer. Once you're logged in, select the Charge HR device from the list of connected Fitbit devices. This will direct you to the device's settings, where you can access various features, including the option to change the time.
Upon selecting the Charge HR device, navigate to the "Settings" or "Device Settings" section within the app or dashboard. Here, you'll find a range of customizable options for your Charge HR, such as display preferences, alarms, and, most importantly, the time settings.
Once you've located the time settings, you'll be able to proceed to the next step of changing the time zone or manually adjusting the time on your Fitbit Charge HR. Accessing the settings is a crucial initial step that sets the stage for ensuring that your device accurately reflects the current time, allowing you to seamlessly transition to the next phase of the time adjustment process.
By accessing the settings through the Fitbit app or dashboard, you gain the ability to customize and fine-tune various aspects of your Charge HR, empowering you to tailor the device to your specific preferences and requirements. This user-friendly approach to accessing the settings ensures that you have full control over your Fitbit Charge HR, including the pivotal task of modifying the time settings to align with your current location or time zone.
In summary, accessing the settings on your Fitbit Charge HR is a straightforward process that provides you with the necessary platform to manage and customize your device. This foundational step sets the stage for seamlessly adjusting the time on your Charge HR, enabling you to maintain accurate timekeeping and synchronization with your active lifestyle.
Step 2: Changing the Time Zone
Changing the time zone on your Fitbit Charge HR is a vital aspect of ensuring that the device accurately reflects the local time, especially when traveling or transitioning between different time zones. By adjusting the time zone settings, you can seamlessly align your Charge HR with the current location, enabling precise activity tracking and notifications based on the local time.
To change the time zone on your Fitbit Charge HR, begin by accessing the time settings within the Fitbit app or dashboard, as outlined in the previous step. Once you've located the time settings, look for the option to modify the time zone. In the time zone section, you'll find a list of available time zones, allowing you to select the one that corresponds to your current location.
When selecting the new time zone, ensure that you choose the correct region or city that represents your current geographical location. This step is crucial for accurately aligning the time on your Charge HR with the local time zone, preventing discrepancies in activity tracking and notifications.
After selecting the appropriate time zone, proceed to save the changes within the Fitbit app or dashboard. This action will prompt the Charge HR to update its time settings based on the newly selected time zone, ensuring that the device reflects the correct local time.
It's important to note that changing the time zone on your Fitbit Charge HR is particularly beneficial when traveling to different regions or countries with distinct time zones. By promptly adjusting the time zone settings, you can seamlessly transition your Charge HR to the local time, allowing you to maintain accurate activity tracking and receive notifications based on the current geographical location.
Furthermore, the ability to change the time zone on your Fitbit Charge HR underscores the device's flexibility and adaptability to diverse environments, catering to the dynamic lifestyles of users who may frequently traverse various time zones.
In essence, changing the time zone on your Fitbit Charge HR empowers you to effortlessly synchronize the device with the local time, ensuring that it remains a reliable companion for tracking your fitness activities and keeping you informed throughout your daily pursuits. This seamless adjustment process exemplifies the user-centric design of the Charge HR, enabling users to seamlessly adapt the device to their ever-changing environments and schedules.
Step 3: Syncing the Changes
Syncing the changes after adjusting the time settings on your Fitbit Charge HR is a crucial step to ensure that the device accurately reflects the updated time and seamlessly integrates the modifications across its functionalities. By syncing the changes, you enable the Charge HR to align its internal clock with the newly adjusted time settings, thereby ensuring precision in activity tracking, workout summaries, and notifications.
To initiate the syncing process, access the synchronization feature within the Fitbit app or dashboard, following the same intuitive navigation used to access the time settings. Look for the option to sync the device, which may be located within the device settings or in a dedicated synchronization section. Once you've located the sync option, initiate the process to prompt the Fitbit app or dashboard to communicate with your Charge HR and transmit the updated time settings to the device.
Upon initiating the sync, the Fitbit app or dashboard will establish a connection with your Charge HR, facilitating the seamless transmission of the adjusted time settings to the device. This synchronization process ensures that the Charge HR's internal clock is accurately updated to reflect the modified time zone or manually adjusted time, effectively aligning the device with the current local time.
After the syncing process is complete, verify that the time displayed on your Fitbit Charge HR corresponds to the updated time settings you've configured. This verification step serves as a confirmation that the device has successfully synchronized with the modified time settings, reaffirming its ability to accurately track your activities and provide timely notifications based on the current time.
It's important to emphasize the significance of syncing the changes on your Fitbit Charge HR, as it serves as the final step in ensuring that the device's time settings are accurately updated and reflected across its features. By seamlessly syncing the changes, you empower your Charge HR to maintain precision in timekeeping, aligning it with your current location or time zone and reinforcing its reliability in tracking your fitness endeavors.
In essence, the process of syncing the changes on your Fitbit Charge HR epitomizes the device's seamless integration of user-defined settings, affirming its commitment to providing a personalized and accurate fitness tracking experience. By completing this essential step, you can confidently rely on your Charge HR to keep pace with your active lifestyle, delivering precise timekeeping and synchronized notifications tailored to your current environment.
Conclusion
In conclusion, the ability to change the time on your Fitbit Charge HR is a fundamental aspect of ensuring that the device remains in sync with your active lifestyle and current geographical location. By following the straightforward steps outlined in this guide, you can seamlessly adjust the time settings on your Charge HR, empowering the device to accurately track your fitness activities and provide timely notifications based on the correct local time.
The process begins with accessing the settings on your Fitbit Charge HR through the intuitive interface of the Fitbit app or dashboard. This initial step sets the stage for customizing various aspects of your device, including the pivotal task of modifying the time settings. By providing users with a user-friendly platform to access the settings, Fitbit underscores its commitment to delivering a personalized and adaptable fitness tracking experience.
Furthermore, changing the time zone on your Fitbit Charge HR is particularly beneficial for individuals who frequently travel or find themselves in different geographical regions with distinct time zones. The seamless process of adjusting the time zone settings ensures that your Charge HR remains aligned with the local time, allowing for precise activity tracking and notifications tailored to your current environment.
Once the time settings have been modified, syncing the changes is essential to ensure that your Fitbit Charge HR accurately reflects the updated time across its functionalities. This final step solidifies the device's reliability in timekeeping, reinforcing its ability to seamlessly integrate user-defined settings and maintain precision in activity tracking and notifications.
In essence, the process of changing the time on your Fitbit Charge HR exemplifies the device's adaptability and user-centric design, catering to the dynamic needs of individuals who lead active and diverse lifestyles. By effortlessly adjusting the time settings and syncing the changes, you can rely on your Charge HR to remain a reliable companion in tracking your fitness endeavors, keeping you informed, and seamlessly adapting to your ever-changing environments and schedules.
Ultimately, the ability to change the time on your Fitbit Charge HR embodies the device's commitment to providing a seamless and accurate fitness tracking experience, ensuring that it remains in sync with your active lifestyle, no matter where your pursuits take you.


