Introduction
Removing the SIM card from a Samsung S3 is a simple yet crucial process. Whether you're switching to a new device or need to troubleshoot network connectivity issues, safely removing the SIM card is essential to prevent any damage to the card or the device itself. In this comprehensive guide, we will walk you through the step-by-step process of removing the SIM card from your Samsung S3. By following these instructions, you can ensure a smooth and hassle-free experience while safeguarding the integrity of your SIM card and device.
The Samsung S3, known for its sleek design and powerful performance, features a discreetly placed SIM card slot that may not be immediately obvious to all users. Understanding the location and the proper removal method is crucial to avoid any unintended damage. With the increasing reliance on mobile devices for communication, entertainment, and productivity, a seamless SIM card removal process is essential for maintaining uninterrupted connectivity.
As we delve into the step-by-step instructions, it's important to note that the SIM card houses vital information, including your phone number, contacts, and network settings. Mishandling the SIM card during removal could potentially lead to data loss or damage. Therefore, approaching this process with care and attention is paramount.
By the end of this guide, you will have a clear understanding of how to safely remove the SIM card from your Samsung S3, empowering you to manage your device with confidence and ease. Let's embark on this journey to seamlessly navigate the intricacies of SIM card removal, ensuring that you can effortlessly transition between devices or address any connectivity concerns that may arise.
Step 1: Power off the Samsung S3
Before embarking on the process of removing the SIM card from your Samsung S3, it is crucial to power off the device. This initial step serves as a fundamental precautionary measure to prevent any potential damage to the SIM card or the device itself during the removal process.
To power off your Samsung S3, simply press and hold the power button located on the right-hand side or the top of the device, depending on the specific model. Upon pressing and holding the power button, a menu will appear on the screen, prompting you to power off the device. Slide or tap the option to power off, and the device will commence the shutdown process.
By powering off the Samsung S3, you effectively mitigate the risk of electrical interference or damage that could occur if the device were to remain powered on during the SIM card removal. This precautionary step aligns with best practices for handling electronic devices and ensures a safe environment for manipulating the SIM card slot.
Additionally, powering off the device provides a clear visual indication that the device is in a safe state for SIM card removal. This simple yet crucial step sets the stage for a smooth and trouble-free SIM card removal process, allowing you to proceed with the subsequent steps confidently and without the concern of potential device malfunctions.
Once the Samsung S3 is powered off, you are ready to proceed to the next step, which involves locating the SIM card slot on the device. This pivotal step marks the beginning of the physical SIM card removal process, and by adhering to the proper sequence of steps, you can ensure a seamless and risk-free experience while handling the SIM card and your Samsung S3 device.
Step 2: Locate the SIM card slot
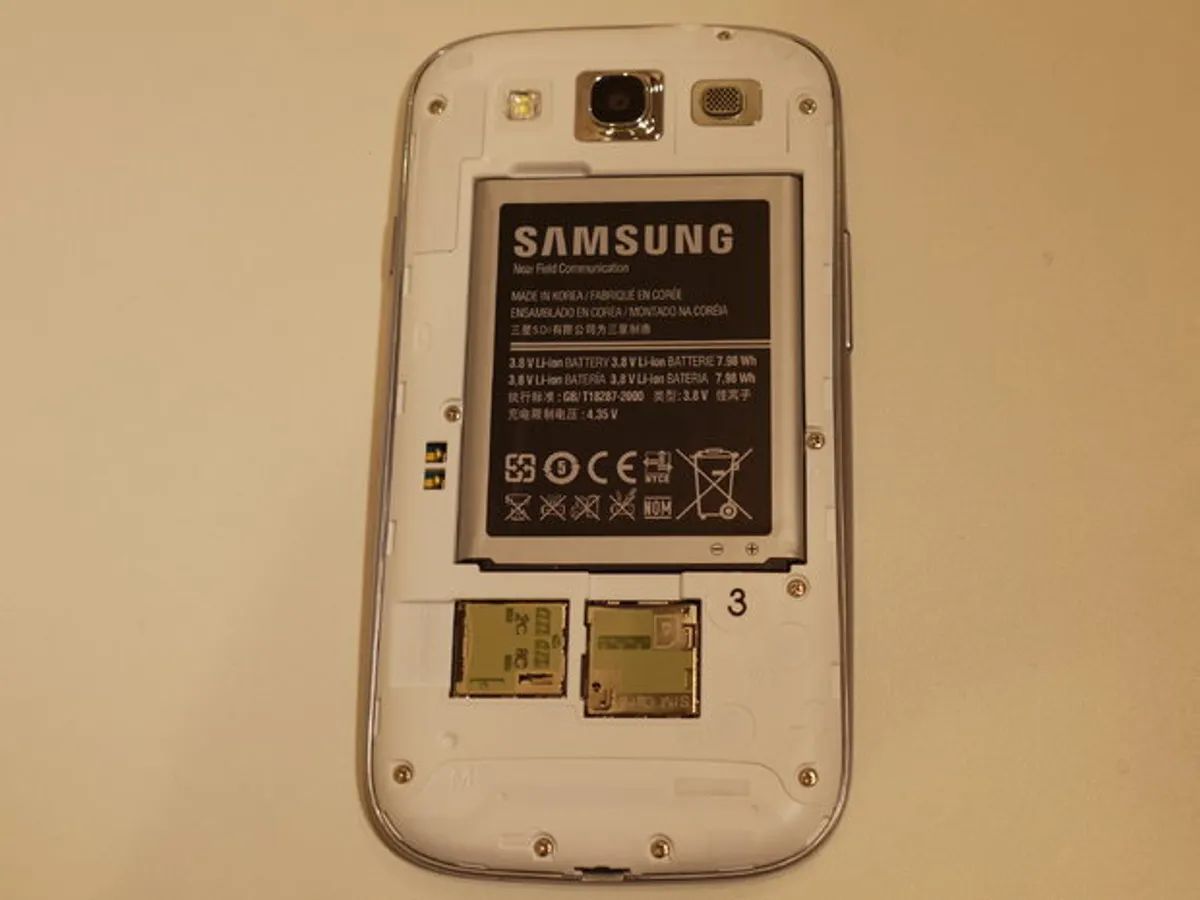
Locating the SIM card slot on your Samsung S3 is a crucial step in the process of removing the SIM card. While the design and placement of the SIM card slot may vary slightly depending on the specific model of the Samsung S3, it is typically situated on the side of the device.
To locate the SIM card slot, start by examining the edges of your Samsung S3. You may notice a small pinhole or a removable panel along the sides of the device. The SIM card slot is often concealed behind this panel or located adjacent to the pinhole.
In some models, the SIM card slot may be positioned near the top or bottom edge, while in others, it could be integrated into the side of the device. The exact location can usually be identified by a small icon depicting a SIM card or by the presence of a small tray with a tiny hole, indicating the slot's placement.
Once you have identified the SIM card slot, take a moment to familiarize yourself with its precise location and the method required to access it. Some Samsung S3 models feature a removable panel that can be gently pried open to reveal the SIM card slot, while others may require the use of a SIM card removal tool or a paperclip to eject the SIM card tray from the device.
It's important to approach this step with patience and attentiveness, ensuring that you accurately pinpoint the SIM card slot's location before proceeding further. By taking the time to locate the SIM card slot with precision, you set the stage for a smooth and efficient SIM card removal process, minimizing the risk of inadvertently applying force to the wrong area of the device.
Once you have successfully located the SIM card slot, you are ready to move on to the subsequent step, which involves using the appropriate tool to access and remove the SIM card from your Samsung S3. With the SIM card slot identified, you are now equipped to proceed with confidence, knowing that you have successfully navigated this pivotal stage of the SIM card removal process.
Step 3: Use the SIM card removal tool or a paperclip
Once you have located the SIM card slot on your Samsung S3, the next step involves using the appropriate tool to access and remove the SIM card. Depending on the specific model of your device, you will either utilize a SIM card removal tool or a paperclip to proceed with this essential phase of the SIM card removal process.
If your Samsung S3 is accompanied by a SIM card removal tool, you will find it included in the original packaging or provided by the manufacturer as part of the device's accessories. This specialized tool is designed to facilitate the safe and effortless removal of the SIM card from the device. Its compact and precise design enables users to navigate the intricacies of the SIM card slot with ease, minimizing the risk of damage to the device or the SIM card itself.
In the absence of a SIM card removal tool, a standard paperclip can serve as an effective alternative for ejecting the SIM card tray from the device. By straightening one end of the paperclip, you can fashion a makeshift tool that aligns with the dimensions and functionality of the SIM card removal tool. This simple yet ingenious solution empowers users to proceed with the SIM card removal process even without the specialized tool, ensuring that they can navigate this step with confidence and precision.
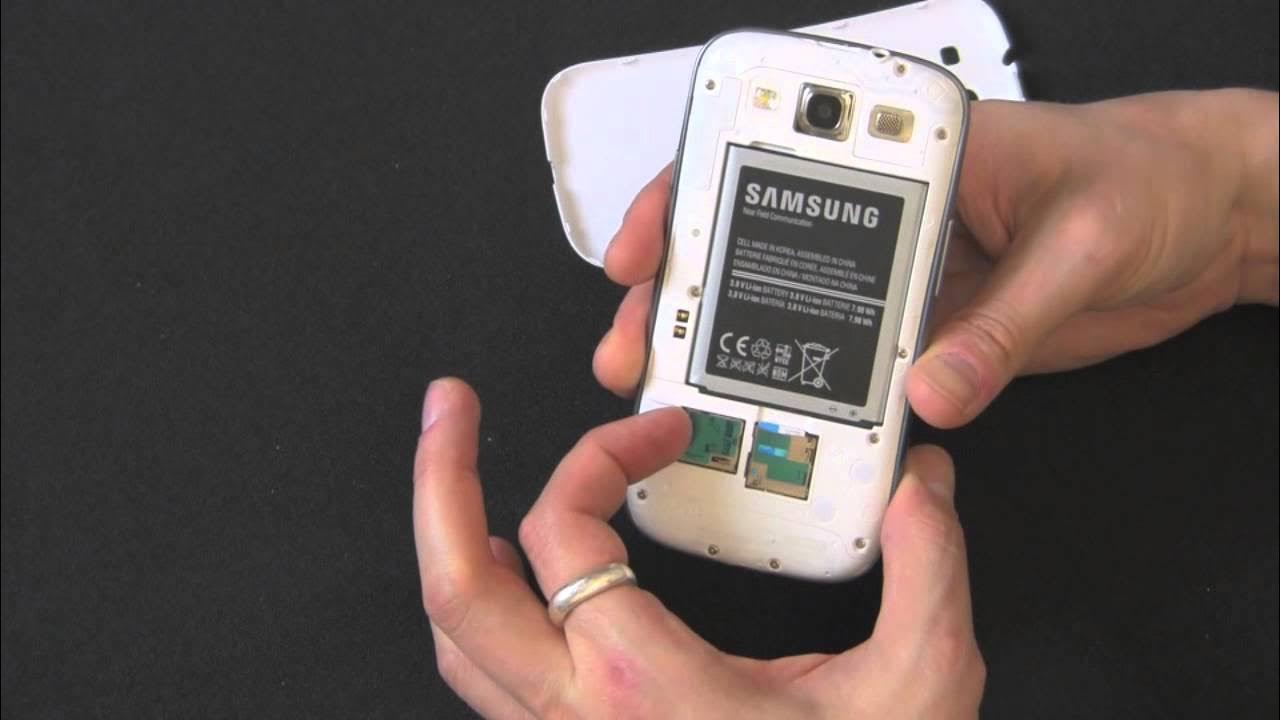
When using the SIM card removal tool or a paperclip, it's important to approach the process with caution and precision. Insert the tool or the straightened end of the paperclip into the small pinhole adjacent to the SIM card slot, applying gentle and consistent pressure. As you do so, you will feel a slight resistance, indicating that the tool has engaged with the internal mechanism responsible for ejecting the SIM card tray.
By maintaining a steady and controlled approach, you can effectively trigger the release of the SIM card tray from the device. Once the tray is partially ejected, carefully pull it out from the device, revealing the SIM card nestled within. Exercise patience and attentiveness throughout this process, ensuring that you handle the SIM card and the tray with care to prevent any accidental damage.
With the SIM card tray removed, you can now proceed to the final step of the SIM card removal process, which involves safely extracting the SIM card from the tray. This pivotal stage marks the culmination of the physical removal process, setting the stage for a seamless transition or troubleshooting of your Samsung S3's connectivity.
Following these instructions with precision and care, you can confidently navigate the use of the SIM card removal tool or a paperclip, ensuring that you safely access the SIM card and prepare for its removal from your Samsung S3.
Step 4: Gently push the tool into the pinhole
With the SIM card tray partially ejected from your Samsung S3, the next critical step involves gently pushing the tool into the pinhole to fully release the tray. This process requires precision and a delicate touch to ensure the smooth extraction of the SIM card tray without causing any damage to the device or the SIM card itself.
As you prepare to push the tool into the pinhole, it's essential to maintain a steady and controlled approach, aligning the tool with the designated area adjacent to the SIM card slot. The pinhole, typically located near the SIM card slot, serves as the entry point for the tool to engage with the internal mechanism responsible for releasing the tray.
With the tool positioned in alignment with the pinhole, apply gentle pressure in a straight and even manner. You may feel a subtle resistance as the tool makes contact with the mechanism within the device. This resistance indicates that the tool has successfully engaged with the release mechanism, initiating the final stage of the SIM card tray's ejection process.
By exercising patience and attentiveness, you can navigate this phase of the SIM card removal process with confidence, knowing that a careful and deliberate approach is crucial for a successful outcome. As you push the tool into the pinhole, maintain a firm but gentle touch, ensuring that you do not exert excessive force that could potentially lead to unintended damage.
As the tool advances into the pinhole, you will notice the SIM card tray gradually disengaging from the device, reaching the point of full release. At this juncture, the tray will be fully accessible, allowing you to safely extract it from the device and proceed to the final step of removing the SIM card from the tray.
This pivotal step in the SIM card removal process sets the stage for a seamless and risk-free transition, enabling you to navigate the intricacies of the device with precision and confidence. By following these instructions and approaching the process with care, you can ensure that the SIM card removal from your Samsung S3 is executed with the utmost attention to detail, safeguarding both the device and the SIM card from any potential harm.
Step 5: Remove the SIM card from the slot
With the SIM card tray fully released from your Samsung S3, the final and crucial step in the SIM card removal process involves safely extracting the SIM card from the tray. This delicate maneuver requires precision and care to ensure that the SIM card is handled with the utmost attention to detail, minimizing the risk of damage or data loss.
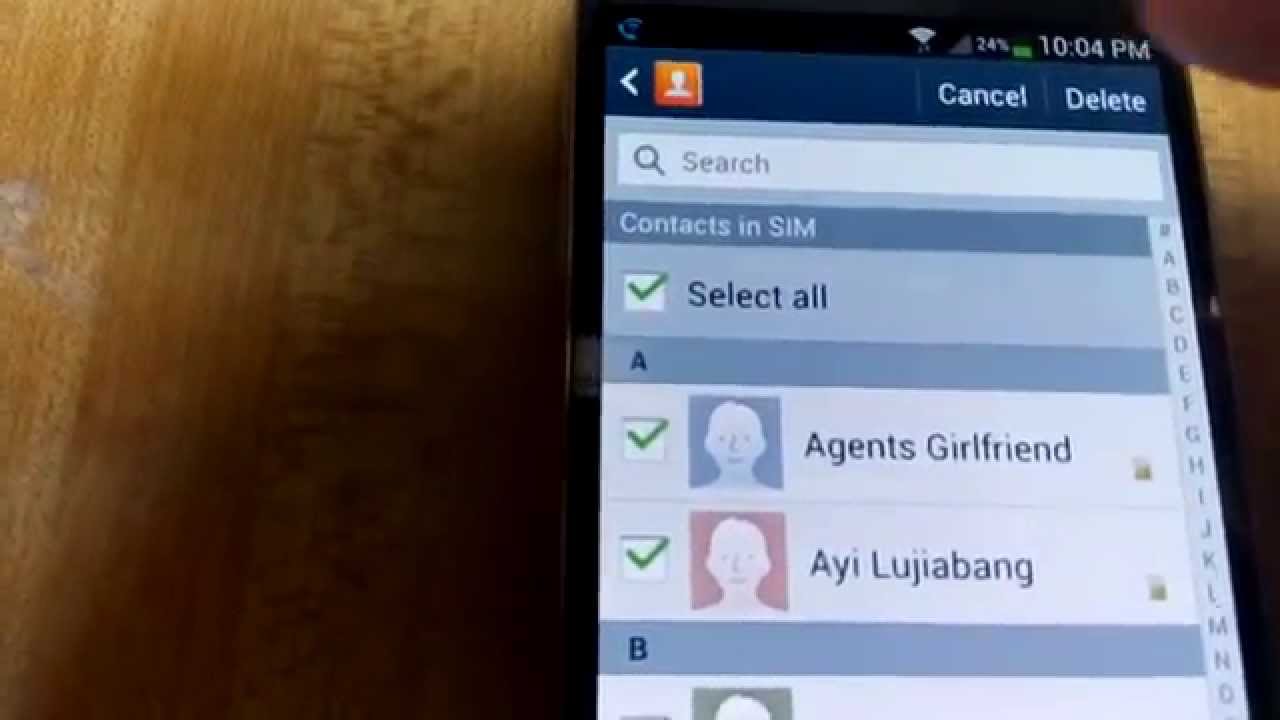
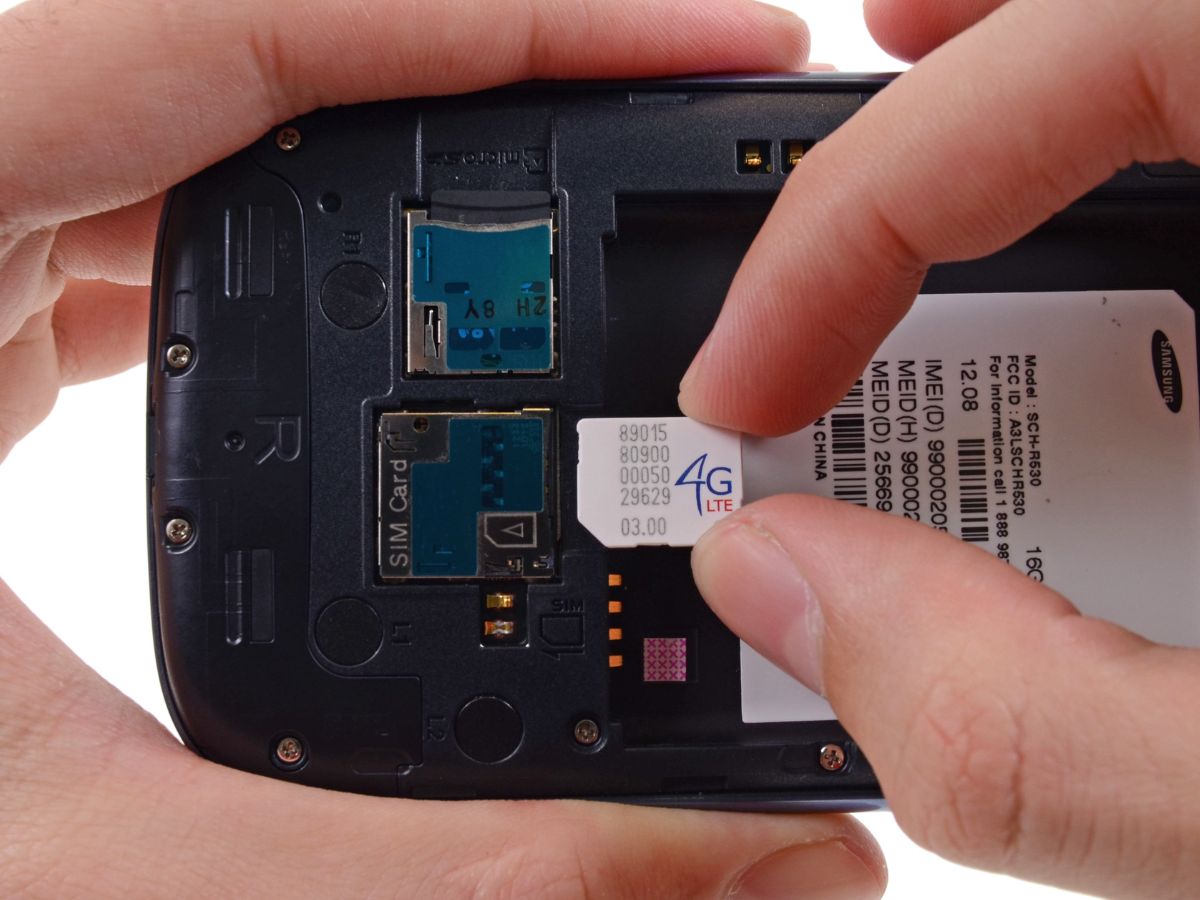
Upon accessing the SIM card tray, you will notice the SIM card nestled within a designated slot. It's essential to approach this step with caution, recognizing the significance of the information stored on the SIM card, including your phone number, contacts, and network settings. Mishandling the SIM card during removal could potentially lead to data loss or damage, underscoring the importance of executing this step with care and attentiveness.
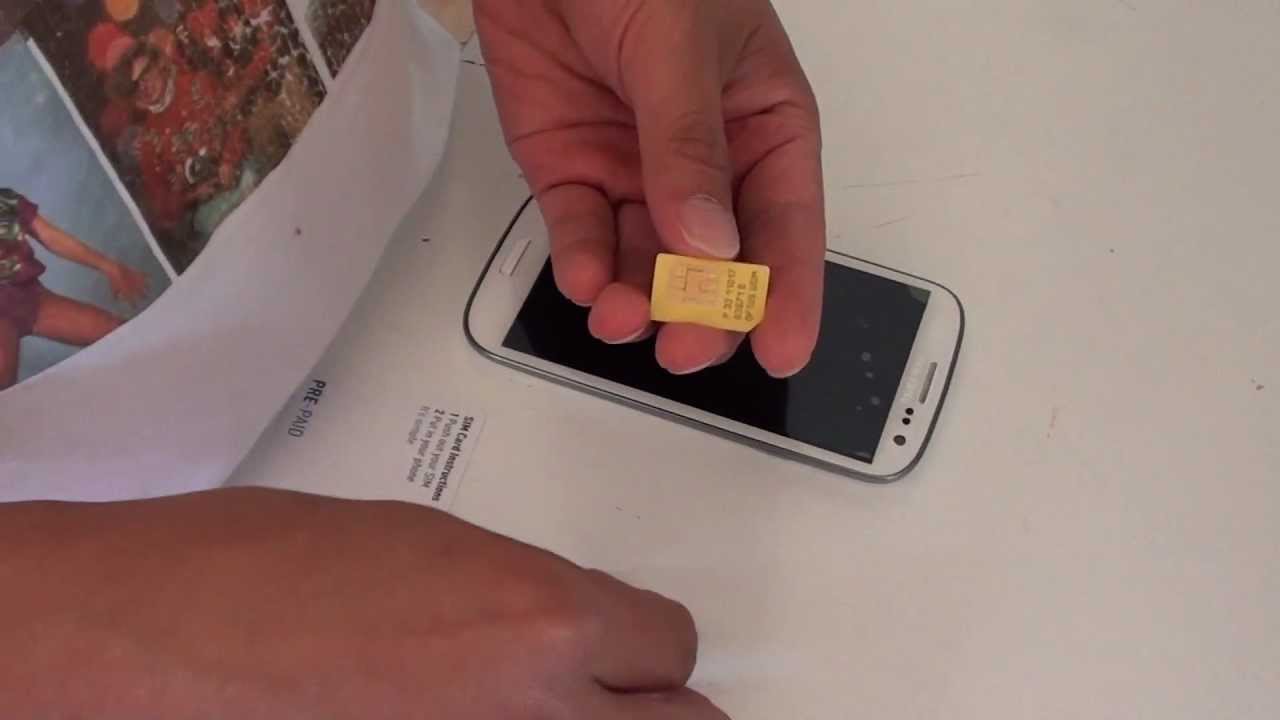
To remove the SIM card from the tray, gently slide it out from the designated slot, ensuring a smooth and controlled motion. Exercise patience and precision, avoiding any abrupt or forceful movements that could compromise the integrity of the SIM card. As you carefully maneuver the SIM card out of the tray, take note of its orientation and position to facilitate a seamless reinstallation, should the need arise.
Inspect the SIM card and the tray for any signs of damage or debris, ensuring that both components are in optimal condition. Any foreign particles or irregularities should be addressed before reinserting the SIM card into the tray to maintain uninterrupted connectivity and data integrity.
Once the SIM card has been safely removed from the tray, take a moment to verify its condition and cleanliness. By handling the SIM card with care and attention to detail, you can mitigate the risk of potential issues arising from mishandling or neglect during the removal process.
With the SIM card safely extracted, you have successfully completed the process of removing the SIM card from your Samsung S3. Whether you are transitioning to a new device or troubleshooting network connectivity issues, this meticulous approach to SIM card removal ensures a seamless and risk-free experience, allowing you to manage your device with confidence and ease.
Conclusion
In conclusion, the process of safely removing the SIM card from your Samsung S3 is a fundamental aspect of device maintenance and troubleshooting. By following the step-by-step instructions outlined in this comprehensive guide, you can confidently navigate the intricacies of SIM card removal, ensuring a seamless and risk-free experience while safeguarding the integrity of both the SIM card and the device itself.
The initial step of powering off the Samsung S3 sets the stage for a safe and controlled environment, mitigating the risk of electrical interference during the SIM card removal process. This precautionary measure aligns with best practices for handling electronic devices and provides a clear visual indication that the device is in a safe state for SIM card manipulation.
Locating the SIM card slot is a pivotal stage that requires attentiveness and precision. By identifying the exact location of the SIM card slot, users can proceed with confidence, knowing that they have successfully pinpointed the area for accessing and removing the SIM card from the device.
Utilizing the SIM card removal tool or a paperclip, users can effectively access the SIM card tray, setting the stage for the subsequent steps of the removal process. This step underscores the adaptability and resourcefulness of the removal process, ensuring that users can proceed with confidence even in the absence of the specialized tool.
Gently pushing the tool into the pinhole marks the final phase of releasing the SIM card tray, requiring a delicate touch and a steady approach. By exercising patience and attentiveness, users can ensure a smooth and controlled ejection of the tray, setting the stage for the safe extraction of the SIM card.
The final step of removing the SIM card from the tray demands precision and care to safeguard the vital information stored on the card. By executing this step with diligence, users can minimize the risk of data loss or damage, ensuring the seamless reinstallation or transition of the SIM card as needed.
In essence, the process of safely removing the SIM card from your Samsung S3 is a culmination of careful attention to detail, precision, and a meticulous approach to device maintenance. By following these instructions, users can confidently manage their devices, address connectivity concerns, and seamlessly transition between devices, knowing that they have navigated the SIM card removal process with the utmost care and expertise.