Introduction
Activating your SIM card is a crucial step in getting your mobile device up and running. Whether you've just purchased a new smartphone or switched to a new carrier, ensuring that your SIM card is properly activated is essential for making calls, sending texts, and accessing mobile data. Understanding the activation process can help you navigate through the necessary steps with confidence and ease.
In this comprehensive guide, we will walk you through the step-by-step process of activating your SIM card. From gathering the required materials to completing the activation process, you will gain valuable insights into each stage of the activation journey. By following these instructions, you will be able to seamlessly activate your SIM card and begin using your mobile device without any hiccups.
So, let's dive into the details and demystify the SIM card activation process. Whether you're a tech-savvy individual or a newcomer to the world of mobile devices, this guide will equip you with the knowledge and skills needed to successfully activate your SIM card. With clear and concise instructions, you'll be well-prepared to embark on this essential task and enjoy the full functionality of your mobile device.
Step 1: Gather Your Materials
Before embarking on the SIM card activation process, it's essential to gather the necessary materials to ensure a smooth and hassle-free experience. Here's a comprehensive list of items you'll need to have on hand before initiating the activation process:
-
SIM Card: The first and most crucial item you'll need is the SIM card itself. This small, rectangular card, typically provided by your mobile carrier, contains essential information that uniquely identifies your device on the network.
-
Device Manual: It's always helpful to have the user manual for your mobile device readily available. The manual can provide valuable insights into the specific location of the SIM card slot and offer device-specific activation instructions.
-
Ejector Tool or Paperclip: Depending on your device, you may need an ejector tool or a simple paperclip to access the SIM card slot. Many smartphones have a small pinhole that requires an ejector tool or a bent paperclip to open.
-
Stable Internet Connection: To complete the activation process, you'll need a stable internet connection. This can be achieved through Wi-Fi or mobile data, ensuring that your device can communicate with your carrier's network during the activation.
-
Charged Device: It's important to ensure that your mobile device is adequately charged before initiating the activation process. A charged device will prevent any interruptions during the setup and activation steps.
-
Account Information: Depending on your carrier, you may need account-specific information, such as your account number, PIN, or other credentials, to complete the activation process.
By gathering these materials beforehand, you'll set the stage for a seamless and efficient SIM card activation process. With everything at your fingertips, you'll be well-prepared to move on to the next steps and successfully activate your SIM card, bringing your mobile device to life and ready for use.
Step 2: Locate Your SIM Card Slot
Locating the SIM card slot is a fundamental step in the activation process, as it allows you to access the compartment where the SIM card will be inserted. The exact location of the SIM card slot varies depending on the make and model of your mobile device. Here's a detailed guide to help you locate the SIM card slot on your smartphone or tablet:
For Smartphones:
-
Consult the User Manual: If you're unsure about the location of the SIM card slot, referring to the user manual that came with your smartphone can provide precise instructions and illustrations. The manual often includes a section dedicated to the physical layout of the device, highlighting the location of the SIM card slot.
-
Inspect the Exterior: In most cases, the SIM card slot is located on the side of the smartphone. Look for a small tray with a pinhole or a removable panel. The tray may be accompanied by an ejector tool icon, indicating that a specialized tool or a paperclip is required to access the slot.
-
Check the Top or Bottom Edge: Some smartphone models have the SIM card slot positioned at the top or bottom edge of the device. It may be concealed by a small cover that can be opened using your fingernail or a gentle push.
For Tablets:
-
Examine the Edges: Tablets often have the SIM card slot located along the edges of the device. Look for a small compartment with a pinhole or a removable cover. The slot may be labeled with a SIM card icon or marked with a "SIM" abbreviation.
-
Review the Device Specifications: If you're unable to locate the SIM card slot through physical inspection, referring to the device's specifications online can provide specific details about the location of the slot.
-
Seek Professional Assistance: If you encounter difficulties locating the SIM card slot, reaching out to the device manufacturer's customer support or visiting a certified service center can offer expert guidance.
By following these steps, you'll be able to pinpoint the exact location of the SIM card slot on your smartphone or tablet. Once you've successfully identified the slot, you can proceed to the next step of inserting the SIM card, bringing you closer to completing the activation process and unleashing the full potential of your mobile device.
Step 3: Insert Your SIM Card
Inserting your SIM card correctly is a crucial step in the activation process, as it establishes the vital connection between your mobile device and your carrier's network. Follow these detailed instructions to ensure a seamless and successful insertion of your SIM card:
For Smartphones:
- Power Off Your Device: Before inserting the SIM card, power off your smartphone to prevent any potential damage to the card or the device.
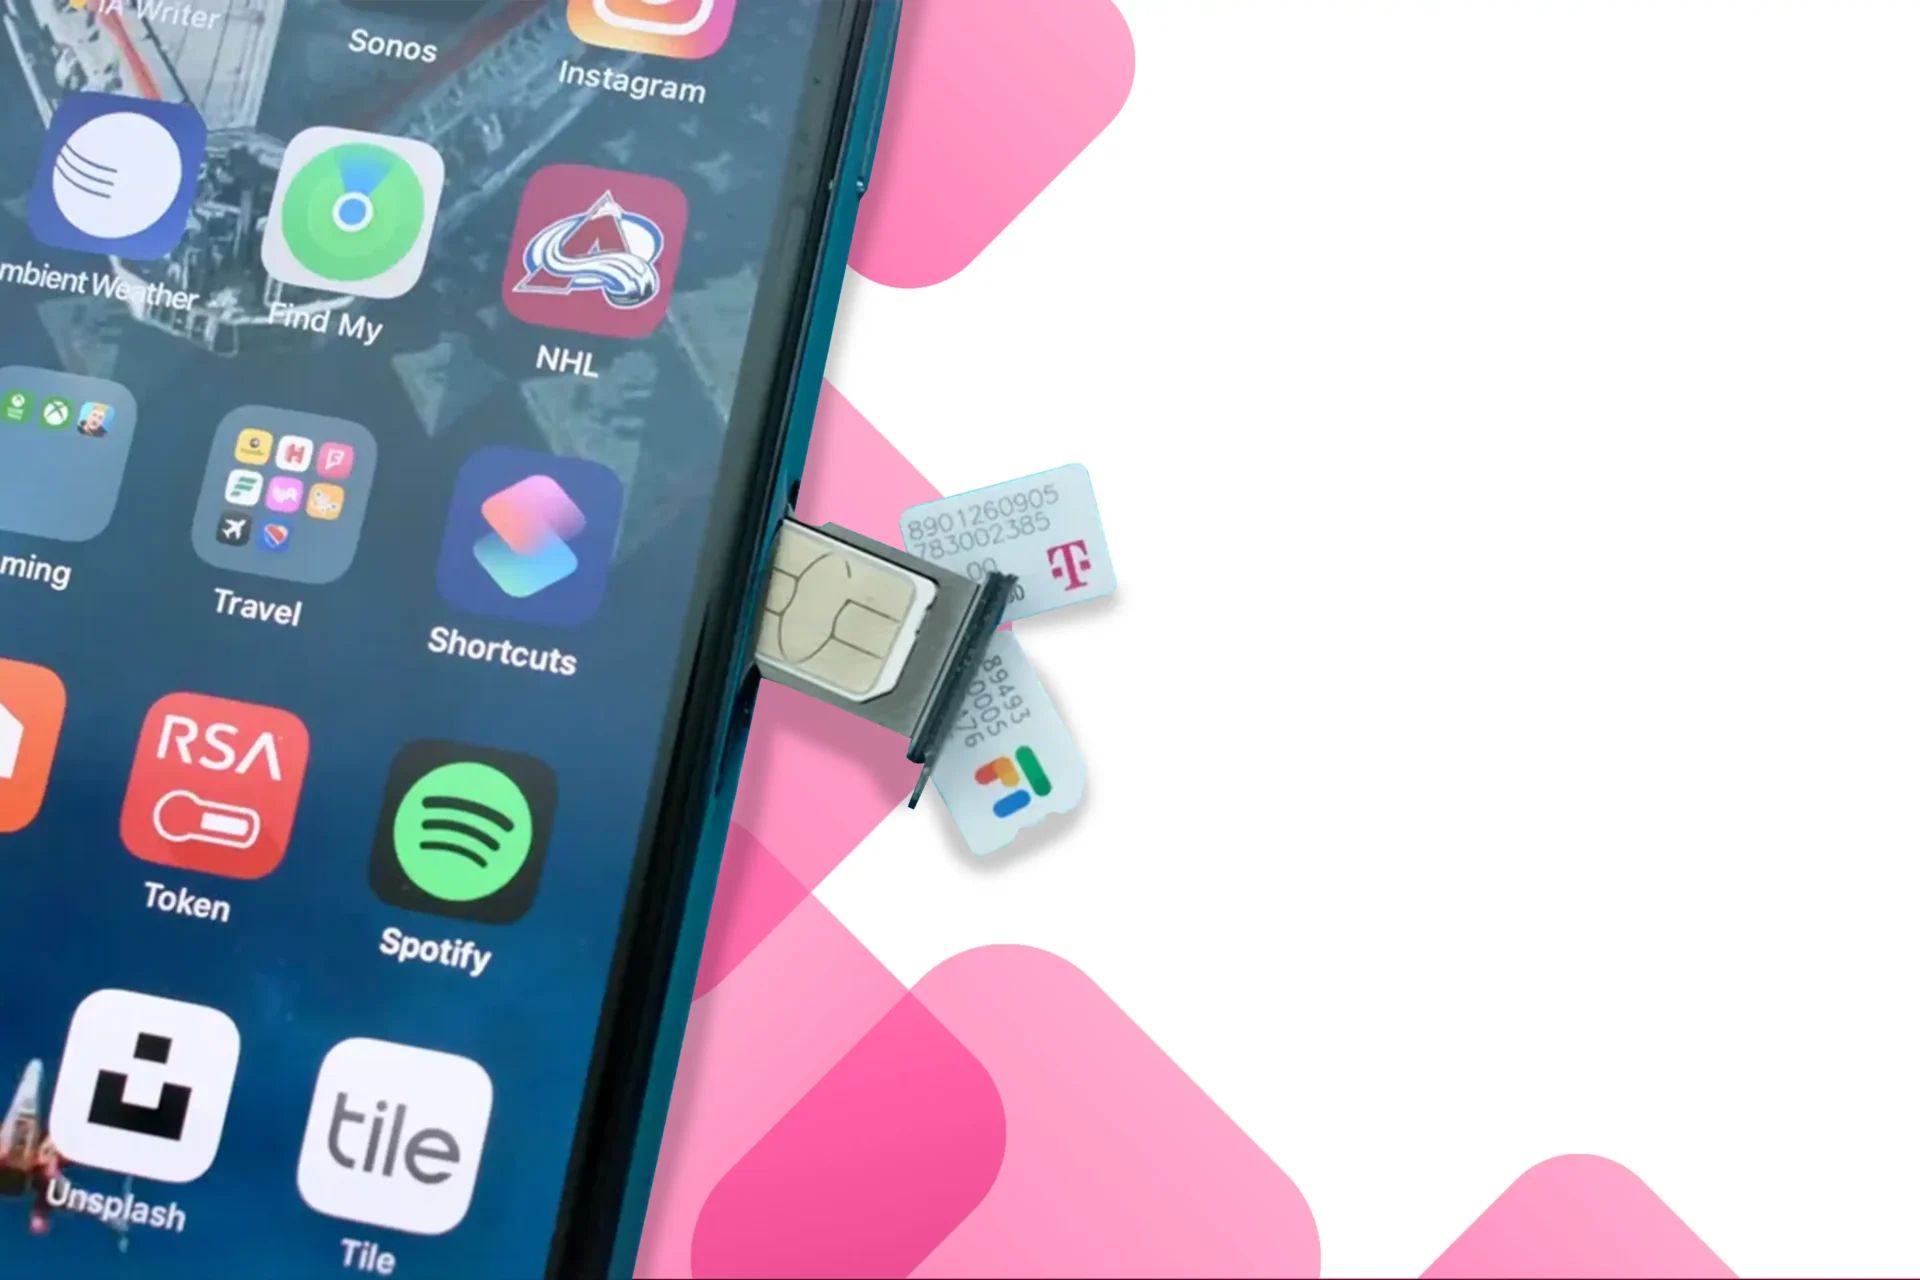
- Locate the SIM Card Slot: Using the guidelines from Step 2, locate the SIM card slot on your smartphone. If required, use an ejector tool or a paperclip to gently open the slot.
- Position the SIM Card: Carefully place the SIM card into the designated slot, ensuring that the gold contacts on the card align with the contacts in the slot. The card should fit snugly without any forceful pushing.
- Close the Slot: If applicable, gently push the slot back into place until it clicks, securing the SIM card within the device.
- Power On Your Device: Once the SIM card is securely inserted, power on your smartphone and wait for it to establish a connection with the carrier's network.
For Tablets:
- Turn Off Your Tablet: Similar to smartphones, ensure that your tablet is powered off before proceeding with the SIM card insertion.
- Locate and Access the Slot: Using the guidelines from Step 2, locate the SIM card slot on your tablet and open the compartment using the appropriate method.
- Insert the SIM Card: Place the SIM card into the slot, aligning it properly to fit within the designated space. Avoid applying excessive pressure while inserting the card.
- Secure the Slot: If the tablet has a removable cover, carefully secure it back in place to ensure the SIM card remains in position.
- Power Up Your Tablet: Turn on your tablet and allow it to initialize the SIM card, establishing the necessary connection for activation.
By following these steps, you will have successfully inserted your SIM card into your smartphone or tablet, setting the stage for the final steps of the activation process. With the SIM card securely in place, your device is one step closer to being fully activated and ready for use.
Step 4: Power On Your Device
After successfully inserting your SIM card into the designated slot, the next crucial step is to power on your device. This action initiates the process of establishing a connection between your mobile device and your carrier's network, paving the way for the activation to take place seamlessly.
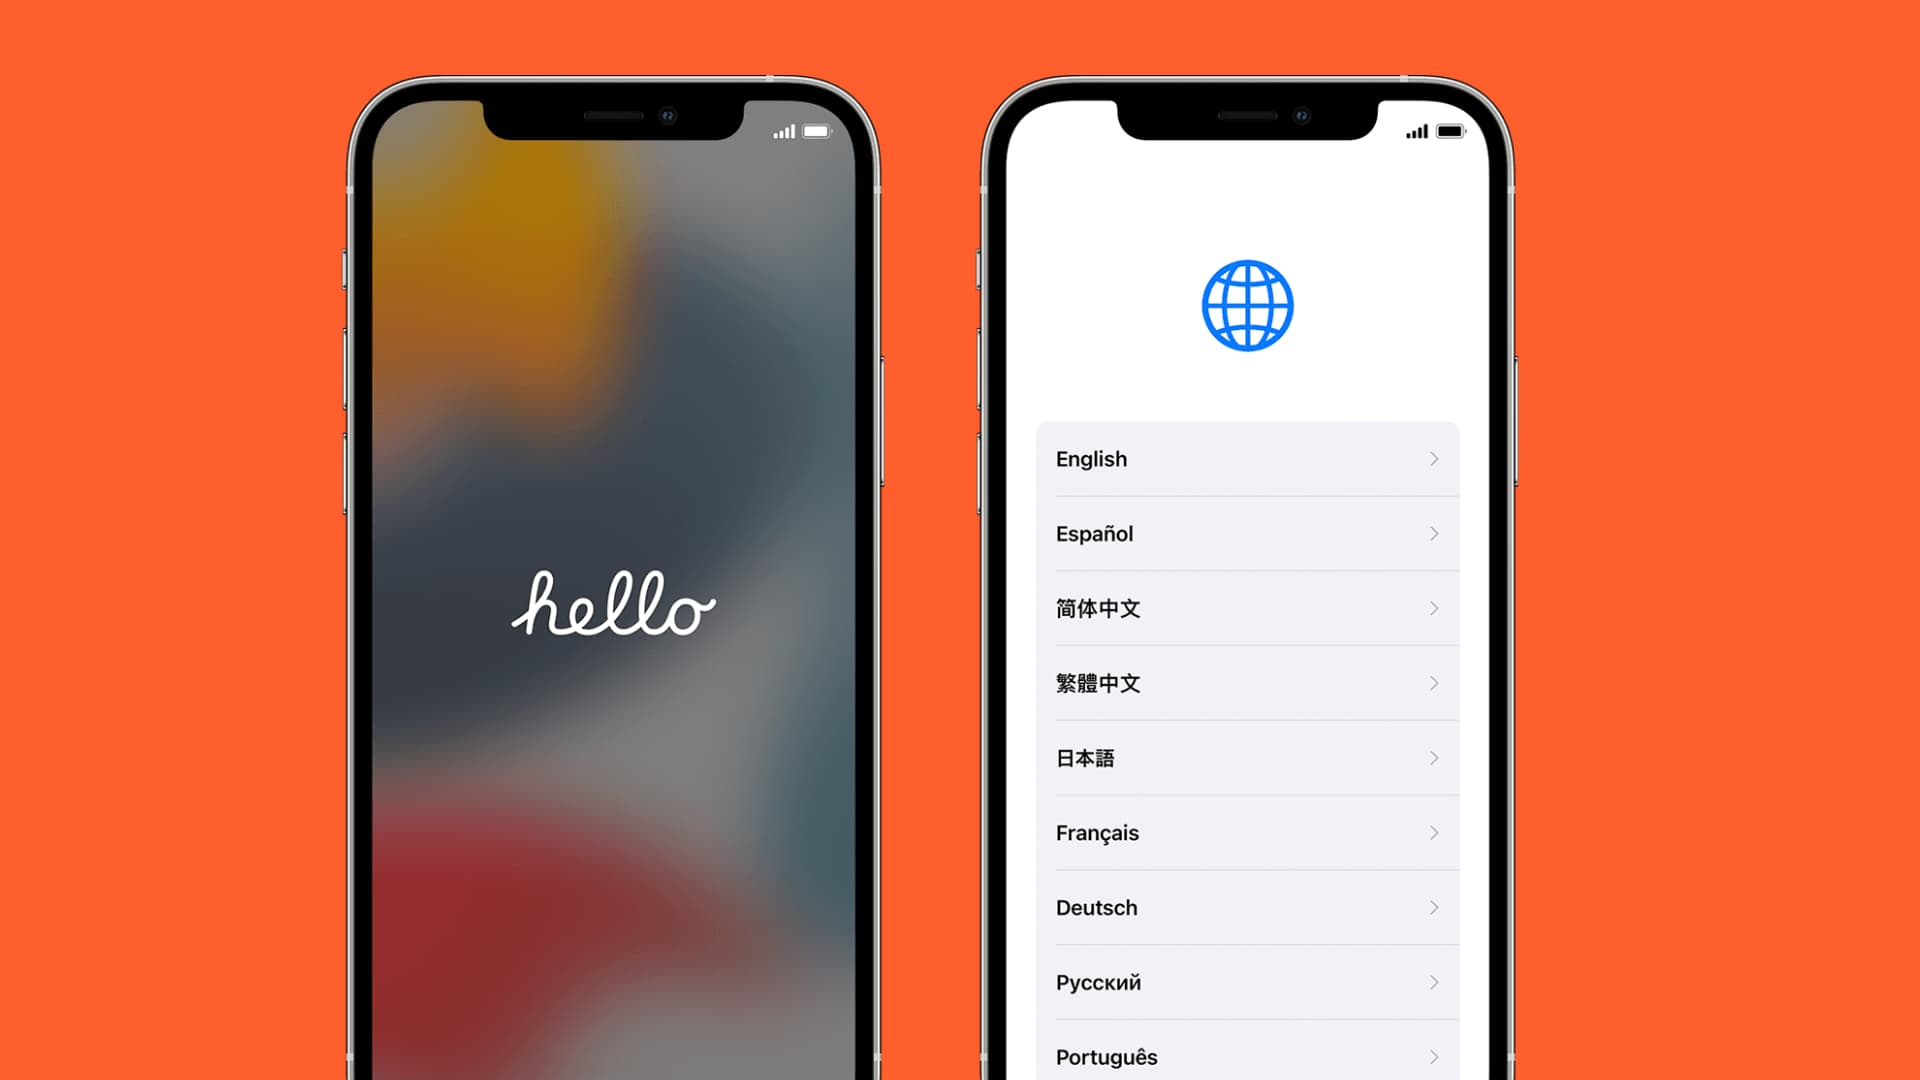
For smartphones, pressing and holding the power button, typically located on the side or top of the device, will power on the device. After a few seconds, the smartphone's screen will illuminate, displaying the device manufacturer's logo or an animated boot-up sequence.
Similarly, for tablets, the power button, often located on the side or top edge of the device, is used to turn on the device. Upon pressing the power button, the tablet's screen will come to life, indicating that the device is initializing and preparing to establish a connection with the carrier's network.
As your device powers on, it undergoes a series of internal processes to recognize the newly inserted SIM card and communicate with your carrier's network. This synchronization is essential for activating the SIM card and enabling the device to make calls, send texts, and access mobile data.
During the power-up phase, it's important to allow the device sufficient time to complete its initialization procedures. Depending on the device model and network conditions, this process may take a few moments. Patience is key during this stage, as the device establishes the necessary connections to finalize the activation.
Once the device has successfully powered on and established a connection with the carrier's network, you'll notice indications such as signal bars, network provider name, or a mobile data icon on the screen. These visual cues signify that the SIM card activation process is underway, and your device is on its way to becoming fully operational.
By powering on your device, you've initiated the critical phase of the activation process, bringing your mobile device one step closer to being fully activated and ready for use. With the device powered on and the SIM card in place, you're now prepared to proceed to the final step of completing the activation process, unlocking the full potential of your mobile device.
Step 5: Complete the Activation Process
Completing the activation process is the final step in unleashing the full potential of your mobile device. Once your device has powered on and established a connection with the carrier's network, it's time to finalize the activation, ensuring that your SIM card is fully functional and ready for use.
Upon powering on your device, you may notice prompts or notifications guiding you through the activation process. If not, you can manually initiate the activation by accessing the device's settings and navigating to the "SIM card" or "Network" section. Here, you'll find options to activate the SIM card and complete any remaining setup steps.
Depending on your carrier and device, the activation process may involve the following steps:
-
Network Registration: Your device will register with the carrier's network, allowing it to authenticate the SIM card and establish the necessary connections for voice, text, and data services.
-
Carrier-Specific Activation: Some carriers require additional steps, such as entering a provided activation code or confirming your account details to complete the activation process. This information is typically provided by the carrier at the time of SIM card purchase or plan activation.
-
Network Configuration: The device will receive and apply network-specific settings, ensuring seamless integration with the carrier's network. This includes settings for voice call routing, messaging services, and mobile data connectivity.
-
Confirmation and Testing: After completing the activation steps, it's essential to confirm that the SIM card is fully activated. This can be done by placing a test call, sending a text message, and accessing mobile data to ensure that the services are functioning as expected.
Once these steps are successfully completed, your SIM card is fully activated, and your mobile device is ready for use. You'll be able to make calls, send texts, and access mobile data, experiencing the full range of functionalities offered by your carrier's network.
With the activation process finalized, you've successfully navigated through the essential steps of activating your SIM card. By following this comprehensive guide, you've gained the knowledge and confidence needed to ensure a seamless and efficient activation experience, allowing you to make the most of your mobile device from the moment it powers on.
Conclusion
Congratulations on successfully activating your SIM card and bringing your mobile device to life! By following the step-by-step guide outlined in this article, you've gained valuable insights into the essential process of activating a SIM card, empowering you to seamlessly integrate your device with your carrier's network.
The activation journey began with gathering the necessary materials, ensuring that you had everything at hand to facilitate a smooth and efficient process. From the SIM card itself to the user manual, ejector tool, stable internet connection, and account information, each item played a pivotal role in setting the stage for a successful activation.
Locating the SIM card slot was the next crucial step, requiring attention to detail and a keen eye for the specific location on your smartphone or tablet. By following the detailed instructions, you were able to identify and access the slot, preparing it for the insertion of the SIM card.
Inserting the SIM card was a pivotal moment, as it established the vital connection between your device and your carrier's network. With careful precision, you positioned the SIM card, ensuring that it fit snugly and securely within the designated slot, setting the stage for the subsequent activation steps.
Powering on your device marked a significant milestone in the activation process, initiating the synchronization between your mobile device and the carrier's network. As your device powered on, it established the necessary connections, paving the way for the final activation steps to unfold.
Completing the activation process was the culmination of your efforts, as you navigated through the carrier-specific steps, network configuration, and confirmation of services. With each step successfully completed, your SIM card was fully activated, and your mobile device was ready to deliver the full range of functionalities offered by your carrier's network.
By embracing this comprehensive guide, you've not only activated your SIM card but also gained a deeper understanding of the intricate process that underpins the seamless connectivity of your mobile device. As you embark on your journey with a fully activated device, you can confidently explore the myriad possibilities that await, from staying connected with loved ones to accessing a wealth of information and entertainment on the go.
With your mobile device now activated and ready for use, you're poised to make the most of its capabilities, leveraging the power of seamless connectivity and communication at your fingertips. As you embark on this next chapter with your activated device, may it serve as a gateway to boundless opportunities and enriching experiences in the digital realm.