Introduction
Bixby, the virtual assistant developed by Samsung, is designed to make our lives easier by assisting with various tasks and providing personalized recommendations. However, there can be instances when Bixby may not function as expected. This can be frustrating, especially if you heavily rely on Bixby for daily tasks and information. But fear not, as there are several potential reasons why Bixby might not be working and solutions to resolve these issues.
In this article, we will explore the possible reasons behind Bixby’s malfunctioning and the steps you can take to troubleshoot the problem. Whether Bixby fails to respond to your voice commands or doesn’t launch at all, we’ve got you covered. By following the recommendations provided, you’ll be able to get Bixby up and running smoothly again, ensuring that you can make the most of its features and capabilities.
Understanding why Bixby isn’t working is the first step towards resolving the issue. It could be due to a connectivity problem, a software glitch, or even some settings that need adjustment. By identifying the underlying cause, you can tackle the problem more effectively and find a suitable solution. So let’s dive in and explore the various factors that can contribute to Bixby’s malfunction and the steps you can take to fix them.
Possible Reasons for Bixby Not Working
There are several potential reasons why Bixby may not be working as expected. It’s important to consider these factors before proceeding with troubleshooting steps. Here are the most common causes to be aware of:
- Connectivity Issues: One of the primary reasons for Bixby not working is a problem with your internet connection. Bixby heavily relies on an active internet connection to process your voice commands and fetch relevant information. Ensure that you have a stable Wi-Fi or mobile data connection to eliminate this possibility.
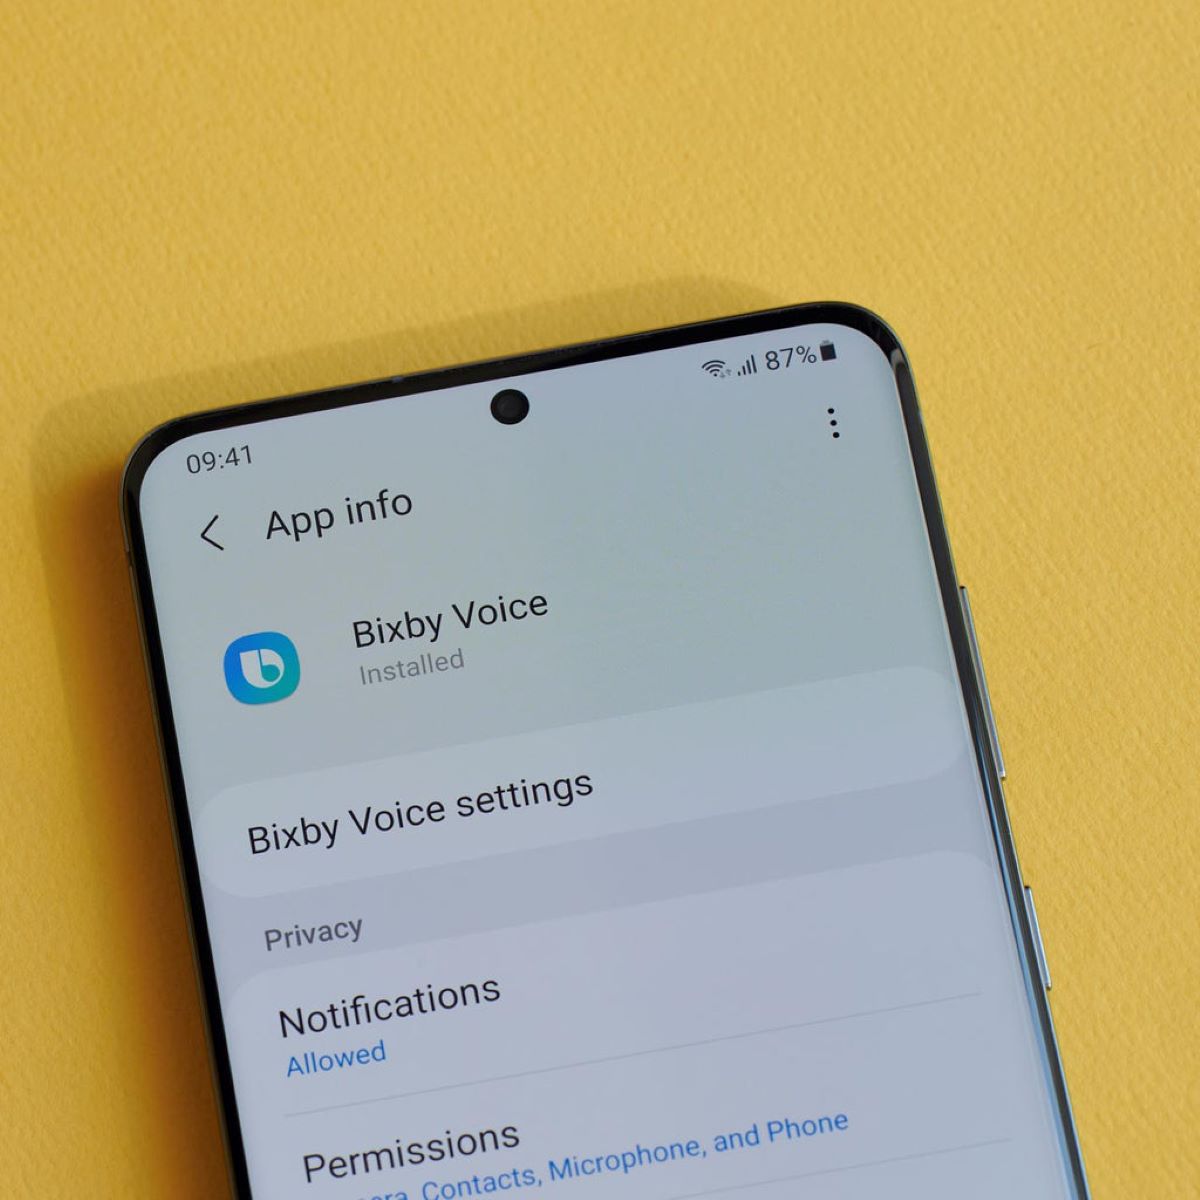
- Bixby being Disabled: It is possible that Bixby has been disabled on your device unintentionally. Check your settings to ensure that Bixby is enabled and allowed to function properly.
- Outdated Software: Like any other application, Bixby is regularly updated with bug fixes and enhancements. If you’re using an outdated version of Bixby or have pending software updates for your device, it could disrupt Bixby’s functionality. Make sure to update both Bixby and your device software to the latest available versions.
- Device Restart: Sometimes, a simple restart can resolve temporary glitches and restore Bixby’s functionality. Restart your device and check if Bixby starts working again.
- Bixby App Cache and Data: Accumulated cache and data for the Bixby app can cause issues with its performance. Clearing the cache and data can help reset the app and resolve any conflicts or errors. Go to your device settings, find Bixby in the application list, and clear its cache and data.
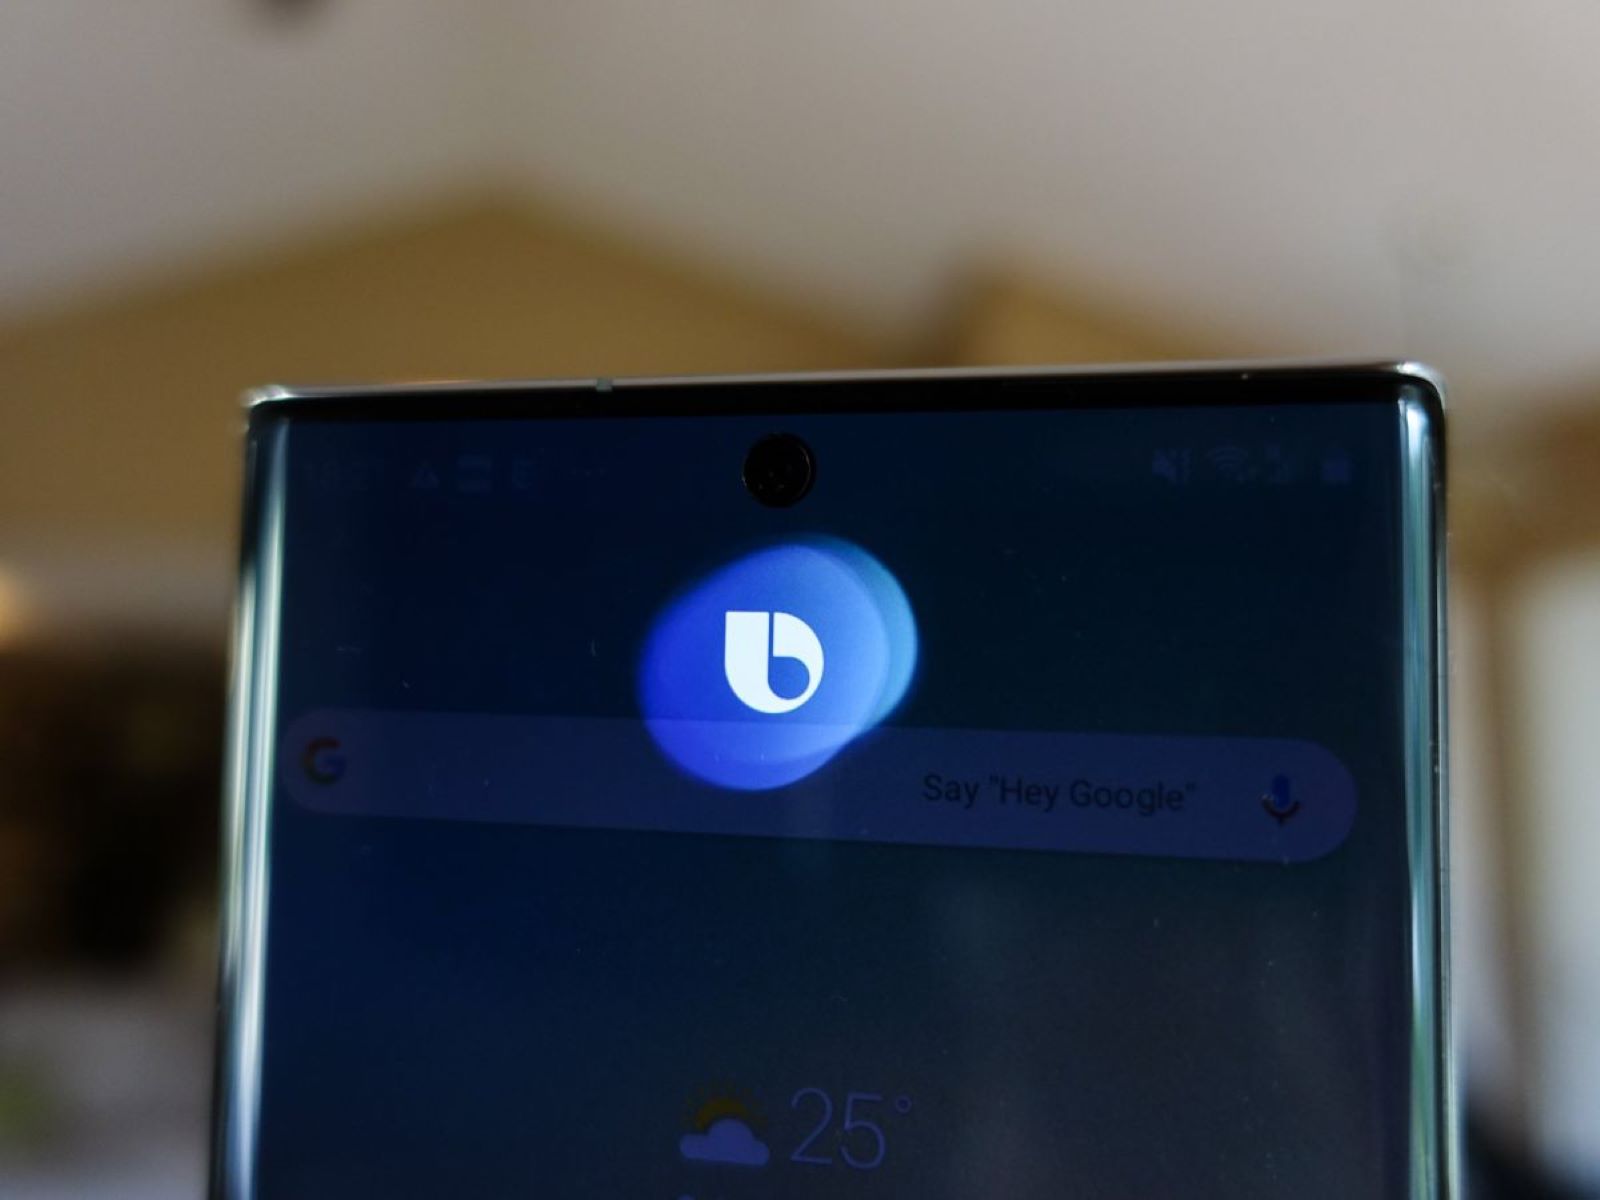
- Bixby Voice Wake-Up Settings: If Bixby isn’t responding when you try to activate it by saying “Hi, Bixby,” there might be an issue with the Voice Wake-Up settings. Go to Bixby settings and ensure that the Voice Wake-Up feature is enabled, and the wake-up command is properly set.
- Bixby Voice Language Settings: Bixby supports multiple languages, and the language set for voice commands might be different from your preferred language. Check the language settings in Bixby and ensure that the correct language is selected.
- Battery Optimization: Sometimes, the device’s battery optimization settings can interfere with Bixby’s functionality. Disable battery optimization for the Bixby app to prevent it from being restricted in the background.
- Bixby Service Status: There may be instances when Bixby experiences outages or server issues on Samsung’s end. Check the Bixby service status online or social media channels to see if there are any known issues being addressed. If so, you may need to wait for the problem to be resolved on their side.
By taking these potential causes into consideration, you’ll be able to pinpoint the issue and take the necessary steps to get Bixby back in working order. In the following sections, we will explore each troubleshooting step in more detail, providing instructions on how to resolve the specific problems you may encounter with Bixby.
Check Your Internet Connection
A stable internet connection is crucial for Bixby to function properly. If Bixby is not working, the first step is to check your internet connection, as it may be the culprit behind the issue. Here are a few steps you can take to ensure that your internet connection is not causing the problem:
- Wi-Fi Connection: If you’re using Bixby with a Wi-Fi connection, make sure that you are connected to a reliable and stable Wi-Fi network. Check if other devices on the same Wi-Fi network are able to access the internet without any issues. If not, try disconnecting and reconnecting to the Wi-Fi network or restarting your router.
- Mobile Data Connection: If you’re using Bixby with a mobile data connection, ensure that you have sufficient mobile data available and that your mobile data is enabled. Check if other apps or websites are able to access the internet using your mobile data. If not, try toggling the mobile data off and on or restarting your device.
- Signal Strength: Weak signal strength can also affect Bixby’s performance. If you’re using Bixby in an area with low signal strength, try moving to a location with better coverage. Alternatively, if you’re indoors, you can try moving closer to a window or using Wi-Fi instead of mobile data.
- Network Speed: Bixby requires a certain minimum network speed to function properly. Test your internet speed using a reliable speed test app or website. If your internet speed is significantly lower than expected, contact your internet service provider to address any issues or upgrade your plan if necessary.
- Firewall or VPN: If you have a firewall or a virtual private network (VPN) enabled on your device, it may be blocking Bixby’s access to the internet. Disable any firewall or VPN temporarily and check if Bixby starts working. If it does, you may need to adjust the settings of your firewall or VPN to allow Bixby to access the internet.
By checking and ensuring a stable internet connection, you eliminate one of the potential causes of Bixby not working. If the issue persists even after confirming that your internet connection is stable, proceed to the next troubleshooting steps to further investigate and resolve the problem.
Ensure Bixby is Enabled
If Bixby is not responding or launching on your device, the next step is to ensure that Bixby is enabled. It’s possible that Bixby may have been inadvertently disabled, preventing it from working as intended. Here’s how you can check and enable Bixby on your device:
- Device Settings: First, navigate to the settings on your device. The location of the settings may vary depending on your device model and software version.
- Bixby Settings: Once in the settings, look for the “Bixby” or “Bixby Voice” option. It should typically be listed under the “Advanced features” or “Voice and language” section.
- Enable Bixby: In the Bixby settings, ensure that the toggle switch for Bixby is turned on or set to “Enabled.” This will activate Bixby and allow it to function properly.
- Choose Default Assistant: Some devices may have an option to choose a default assistant. Make sure that Bixby is selected as the default assistant, so that it responds to your voice commands and initiates tasks accordingly.
- Restart Bixby: After enabling Bixby, restart it to ensure that the changes take effect. You can do this by either restarting your device or force quitting the Bixby app and relaunching it.
By verifying that Bixby is enabled on your device, you eliminate the possibility of it being disabled and causing the issue. If Bixby is already enabled, proceed to the next troubleshooting steps to further investigate and resolve the problem.
Update Bixby and Device Software
Outdated software can often cause compatibility issues and disrupt the proper functioning of Bixby. It’s important to ensure that both Bixby and your device’s software are up to date. Here’s how you can update Bixby and your device software to resolve any potential conflicts:
- Check for Bixby Updates: Open the Galaxy Store or the Samsung Apps Store on your device and search for “Bixby.” If an update is available, you will see an “Update” option next to the Bixby app. Tap on it to initiate the update process. After the update is completed, restart your device to apply the changes.
- Check for Device Software Updates: Go to the device settings and look for the “Software Update” or “System Update” option. Tap on it to check for any available updates for your device’s software. If an update is available, follow the on-screen instructions to download and install it. Restart your device after the update is completed.
- Automatic App Updates: Ensure that automatic app updates are enabled on your device. This will ensure that Bixby and other apps receive updates automatically as soon as they become available. Open the device settings, go to the “Apps” or “Applications” section, and look for the option to enable automatic app updates.
Updating Bixby and your device’s software can resolve any known issues, bugs, or compatibility problems, allowing Bixby to function smoothly. Additionally, updated software often includes new features and improvements, enhancing the overall Bixby experience on your device.
If Bixby is already up to date and your device software is current, proceed to the next troubleshooting steps to further investigate and resolve the issue.
Restart Your Device
Sometimes, a simple restart can resolve temporary glitches and restore Bixby’s functionality. Restarting your device can clear any temporary files, refresh the system, and resolve minor software conflicts that may be affecting Bixby. Here’s how you can restart your device:
- Power Off: Press and hold the power button on your device until the power menu appears on the screen.
- Restart Option: Look for the “Restart” or “Reboot” option in the power menu.
- Confirm: Tap on the “Restart” or “Reboot” option to initiate the restart process.
- Wait and Reboot: Wait for your device to shut down completely and then turn it back on. The restart process may take a few moments.
Once your device has restarted, check if Bixby starts working as expected. Restarting your device can fix various software-related issues and provide a fresh start to all the system components, including Bixby. If the problem persists, proceed to the next troubleshooting steps to further investigate and resolve the issue.
Clear Bixby App Cache and Data
Accumulated cache and data for the Bixby app can sometimes cause conflicts and affect its performance. Clearing the app’s cache and data can help resolve these issues and restore Bixby’s functionality. Here’s how you can clear the Bixby app cache and data on your device:
- Device Settings: Open the settings on your device
- Apps: Look for the “Apps” or “Applications” section in the settings menu and tap on it.
- Bixby: Scroll through the list of installed apps and find Bixby. Tap on it to access the app settings.
- Storage: In the Bixby app settings, you’ll find the “Storage” or “Storage & cache” option. Tap on it to proceed.
- Clear cache: Tap on the “Clear cache” button to remove the cached files associated with the Bixby app.
- Clear data: If clearing the cache doesn’t resolve the issue, you can also choose to clear the app data. However, be aware that clearing the data will reset the app to its initial state, deleting any personalization or customization you had set for Bixby. Tap on the “Clear data” or “Clear storage” button to proceed.
- Confirmation: A prompt may appear asking you to confirm the action. Read the warning and tap on “OK” to confirm the clearing of the cache or data.
After clearing the Bixby app’s cache and data, restart your device and check if Bixby starts working properly. Clearing the cache and data can help eliminate any accumulated files, temporary conflicts, or corrupted data that might be causing issues with Bixby. If the problem persists, proceed to the next troubleshooting steps to further investigate and resolve the issue.
Check Bixby Voice Wake-Up Settings
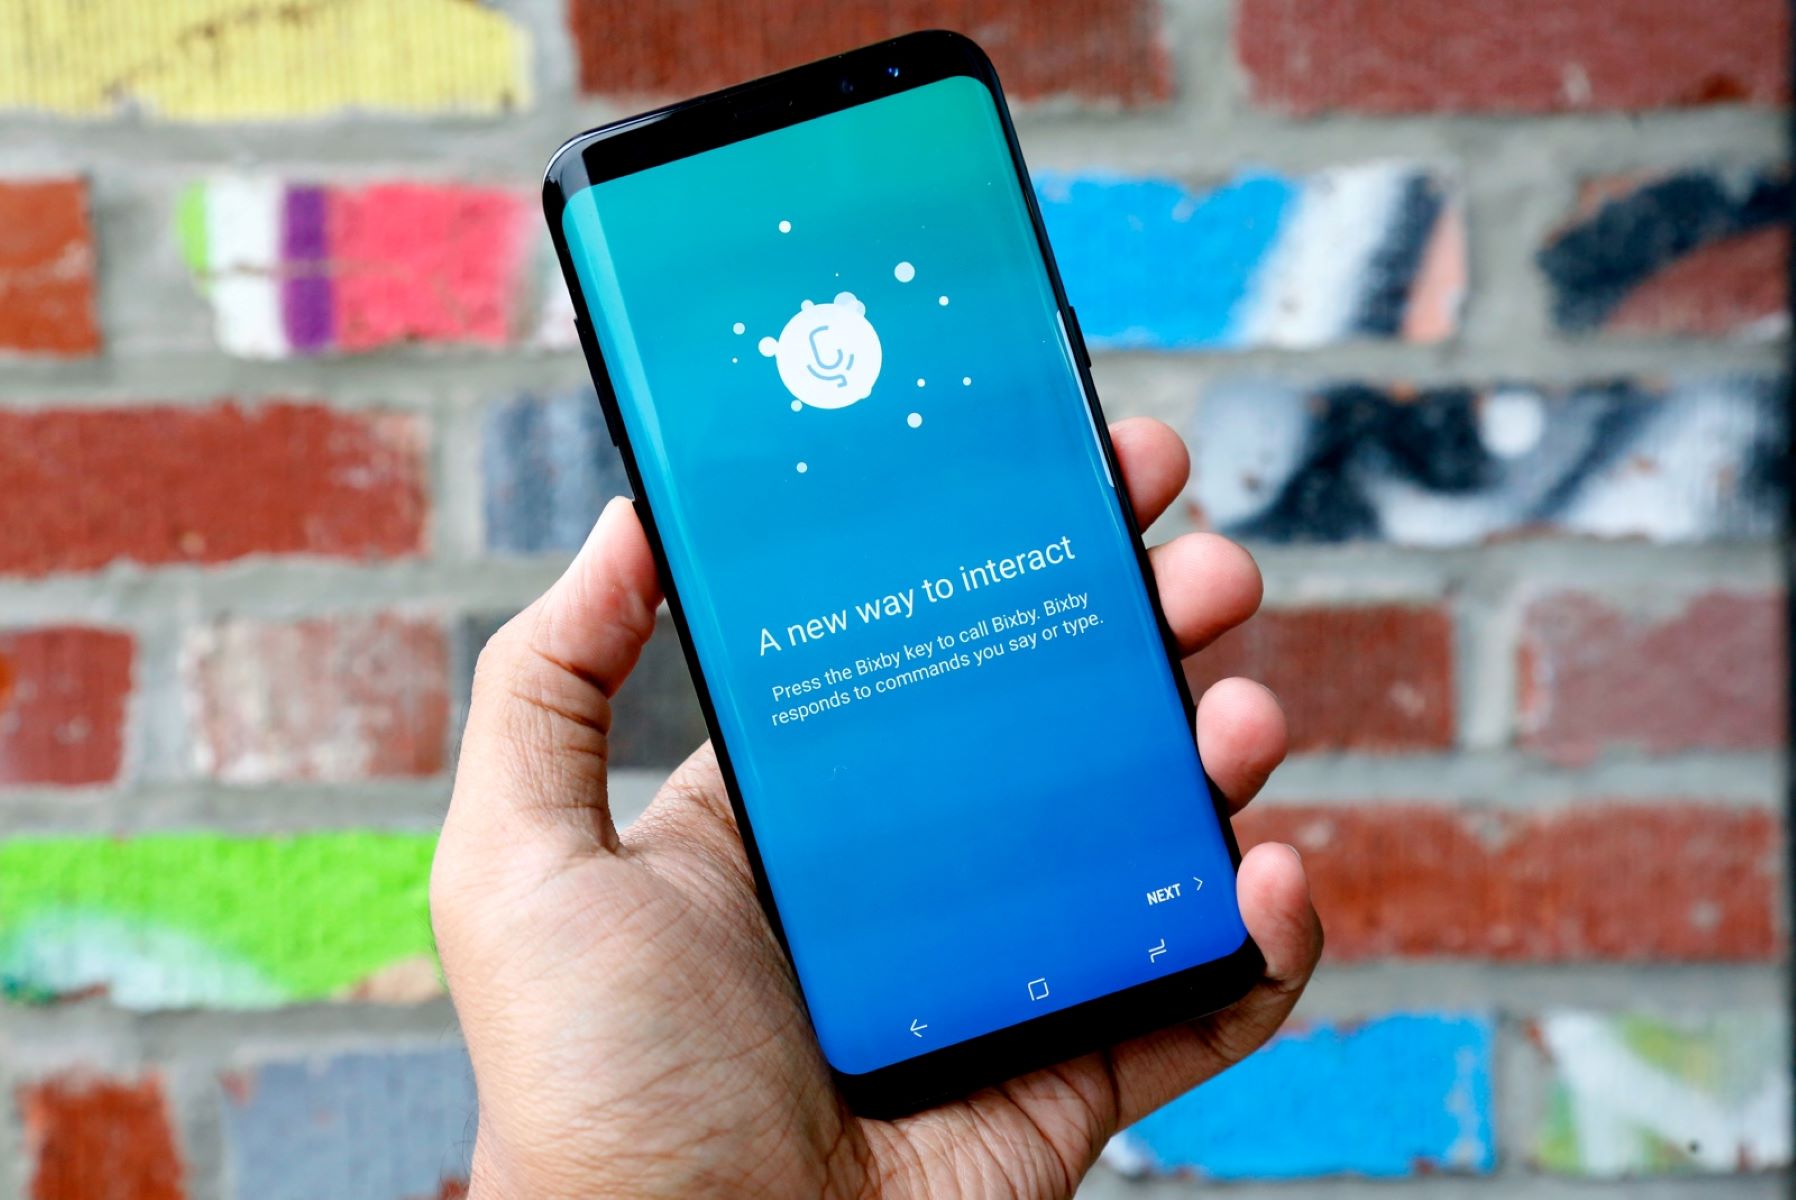
If Bixby isn’t responding when you try to activate it by saying “Hi, Bixby,” there might be an issue with the Voice Wake-Up settings. The Voice Wake-Up feature allows you to wake up Bixby without physically touching your device. Here’s how you can check and adjust the Bixby Voice Wake-Up settings:
- Launch Bixby: Open the Bixby app on your device. You can access it by either swiping right on the home screen or using the Bixby dedicated button (if available).
- Bixby Settings: Tap on the three-dot menu icon in the top-right corner of the Bixby app to open the settings menu.
- Voice Wake-Up: In the Bixby settings menu, look for the “Voice Wake-Up” or “Wake-up word” option. Tap on it to access the Voice Wake-Up settings.
- Enable Voice Wake-Up: Make sure that the Voice Wake-Up feature is enabled. If it’s already enabled, try toggling it off and on again to refresh the settings.
- Set Wake-Up Command: Bixby requires a specific wake-up command to activate the voice assistant. Check if the wake-up command is properly set. If not, tap on the “Set wake-up command” option to choose a new wake-up phrase.
- Training: If Bixby is still not responding to your voice commands, there might be an issue with the voice recognition. Tap on the “Re-train voice model” option to retrain Bixby’s voice recognition for better accuracy.
By checking and adjusting the Bixby Voice Wake-Up settings, you can ensure that Bixby responds to your voice commands promptly and accurately. If the issue persists, proceed to the next troubleshooting steps to further investigate and resolve the issue.
Verify Bixby Voice Language Settings
Bixby supports multiple languages, and it’s important to ensure that the correct language is selected for your voice commands. If Bixby is not understanding or responding to your voice properly, the language settings might be the cause. Here’s how you can verify and adjust the Bixby Voice Language settings:
- Launch Bixby: Open the Bixby app on your device. You can access it by either swiping right on the home screen or using the Bixby dedicated button (if available).
- Bixby Settings: Tap on the three-dot menu icon in the top-right corner of the Bixby app to open the settings menu.
- Language and Voice Style: In the Bixby settings menu, look for the “Language and voice style” option. Tap on it to access the language settings.
- Language Selection: Check if the correct language is selected for Bixby’s voice commands. If not, tap on the “Language” option and choose the appropriate language from the list.
- Voice Style: Some languages may have variations in voice styles. If desired, you can also select a voice style associated with the chosen language.
- Save Changes: After making any adjustments to the language settings, make sure to save the changes by tapping on the “Save” or “Apply” button.
By verifying and selecting the correct language in the Bixby Voice settings, you can ensure that Bixby understands and responds to your voice commands accurately. If the issue persists, proceed to the next troubleshooting steps to further investigate and resolve the issue.
Disable Battery Optimization for Bixby
Battery optimization settings on your device can sometimes restrict the background activity of apps, including Bixby. This can affect Bixby’s performance and responsiveness. Disabling battery optimization for Bixby ensures that it runs smoothly and doesn’t get restricted in the background. Here’s how you can disable battery optimization for Bixby:
- Device Settings: Open the settings on your device.
- Battery: Look for the “Battery” or “Battery & power” section in the settings menu and tap on it.
- Battery Optimization: In the Battery settings, you may find an option called “Battery optimization,” “App optimization,” or “Optimize battery usage.”
- Bixby: Tap on the “Battery optimization” option to open the list of apps.
- Disable: Scroll through the list of apps and find Bixby. Tap on it to open its optimization settings.
- Don’t Optimize: Change the optimization setting for Bixby to “Don’t optimize” or “Disable.”
- Save Changes: After disabling battery optimization for Bixby, make sure to save the changes by tapping on the “Save” or “Apply” button if available in the settings menu.
By disabling battery optimization for Bixby, you ensure that it can run seamlessly in the background and respond to your commands without any restrictions. If the issue persists, proceed to the next troubleshooting steps to further investigate and resolve the problem.
Check Bixby Service Status
If you’ve tried all the previous troubleshooting steps and Bixby is still not working, it’s worth checking the Bixby service status. At times, there may be temporary outages or server issues on Samsung’s end that can affect Bixby’s functionality. Here’s how you can check the Bixby service status:
- Visit Samsung Support: Open a web browser on your device and search for the official Samsung support website.
- Support Page: Navigate to the support page and look for the section related to Bixby.
- Service Status: In the Bixby section of the support page, you may find information about any ongoing issues or service disruptions. Check if there are any reported problems with Bixby.
- Social Media Channels: Follow official Samsung social media channels, such as Twitter or Facebook, which often provide updates on service status and known issues. Check if there are any recent posts or announcements regarding Bixby.
- Online Forums and Communities: Explore Samsung-related online forums and communities where users discuss their experiences. Look for any threads or discussions related to Bixby not working. This can help you determine if others are experiencing similar issues.
By checking the Bixby service status, you can confirm if there are any known issues or outages that may be causing Bixby to malfunction. If there are reported problems on Samsung’s end, you may need to wait until the issues are resolved. However, if the service status appears normal and no known problems are reported, you can proceed to contact Samsung support for further assistance.
Contact Samsung Support
If all the previous troubleshooting steps fail to resolve the issue with Bixby not working, it’s time to seek assistance from Samsung Support. Samsung’s support team is well-equipped to handle technical queries and provide further guidance to resolve the problem. Here’s how you can contact Samsung Support:
- Official Website: Visit the official Samsung support website on your device.
- Support Section: Navigate to the support section of the website.
- Contact Options: Look for the contact options available. Samsung typically provides various support channels, including phone support, live chat, and email.
- Phone Support: If phone support is available, try calling the provided support number. Prepare your device’s information and describe the issue you’re facing with Bixby to the support representative.
- Live Chat: If live chat is an option, you can engage in a chat session with a support representative. Provide the required details and explain the problem you’re experiencing with Bixby.
- Email Support: If email support is provided, you can send an email describing your issue with Bixby. Make sure to include the necessary details, such as your device model, software version, and a detailed description of the problem.
By contacting Samsung Support, you’ll have access to professional assistance specifically tailored to address the Bixby issue. The support team will guide you through additional troubleshooting steps, offer personalized solutions, or help arrange repairs if necessary. They have the knowledge and expertise to resolve complex technical problems related to Bixby effectively.
Remember to provide all relevant information and be patient during the support process. By working closely with Samsung support, you increase the chances of resolving the issue and getting Bixby back to working condition.