Introduction
Welcome to the world of digital photography! In this day and age, almost everyone has a digital camera, whether it’s a dedicated DSLR or a smartphone with a built-in camera. While many people are familiar with basic photography concepts like composition and lighting, there is one term that often mystifies beginners: ISO. What exactly is ISO, and how does it affect your digital photographs?
ISO stands for International Organization for Standardization, which is the governing body that sets the standards for camera sensitivity. In simple terms, ISO refers to the camera’s sensitivity to light. The higher the ISO value, the more sensitive the camera is to light, and vice versa. Understanding ISO settings and how to use them effectively is crucial for capturing well-exposed and noise-free images.
In this article, we will delve deeper into ISO on a digital camera, exploring its significance in exposure, image quality, and noise. We will also provide some tips and tricks for using ISO in different lighting conditions to enhance your photography skills. So, let’s jump right into it and demystify the world of ISO!
What is ISO?
ISO is one of the three pillars of photography, along with aperture and shutter speed. It is a crucial element in determining the exposure of a photograph. In film photography, ISO refers to the sensitivity of the film to light. A higher ISO film would be more sensitive to light, allowing for faster shutter speeds and the ability to shoot in low-light conditions. In digital photography, ISO refers to the sensitivity of the image sensor. It plays a similar role in controlling exposure.
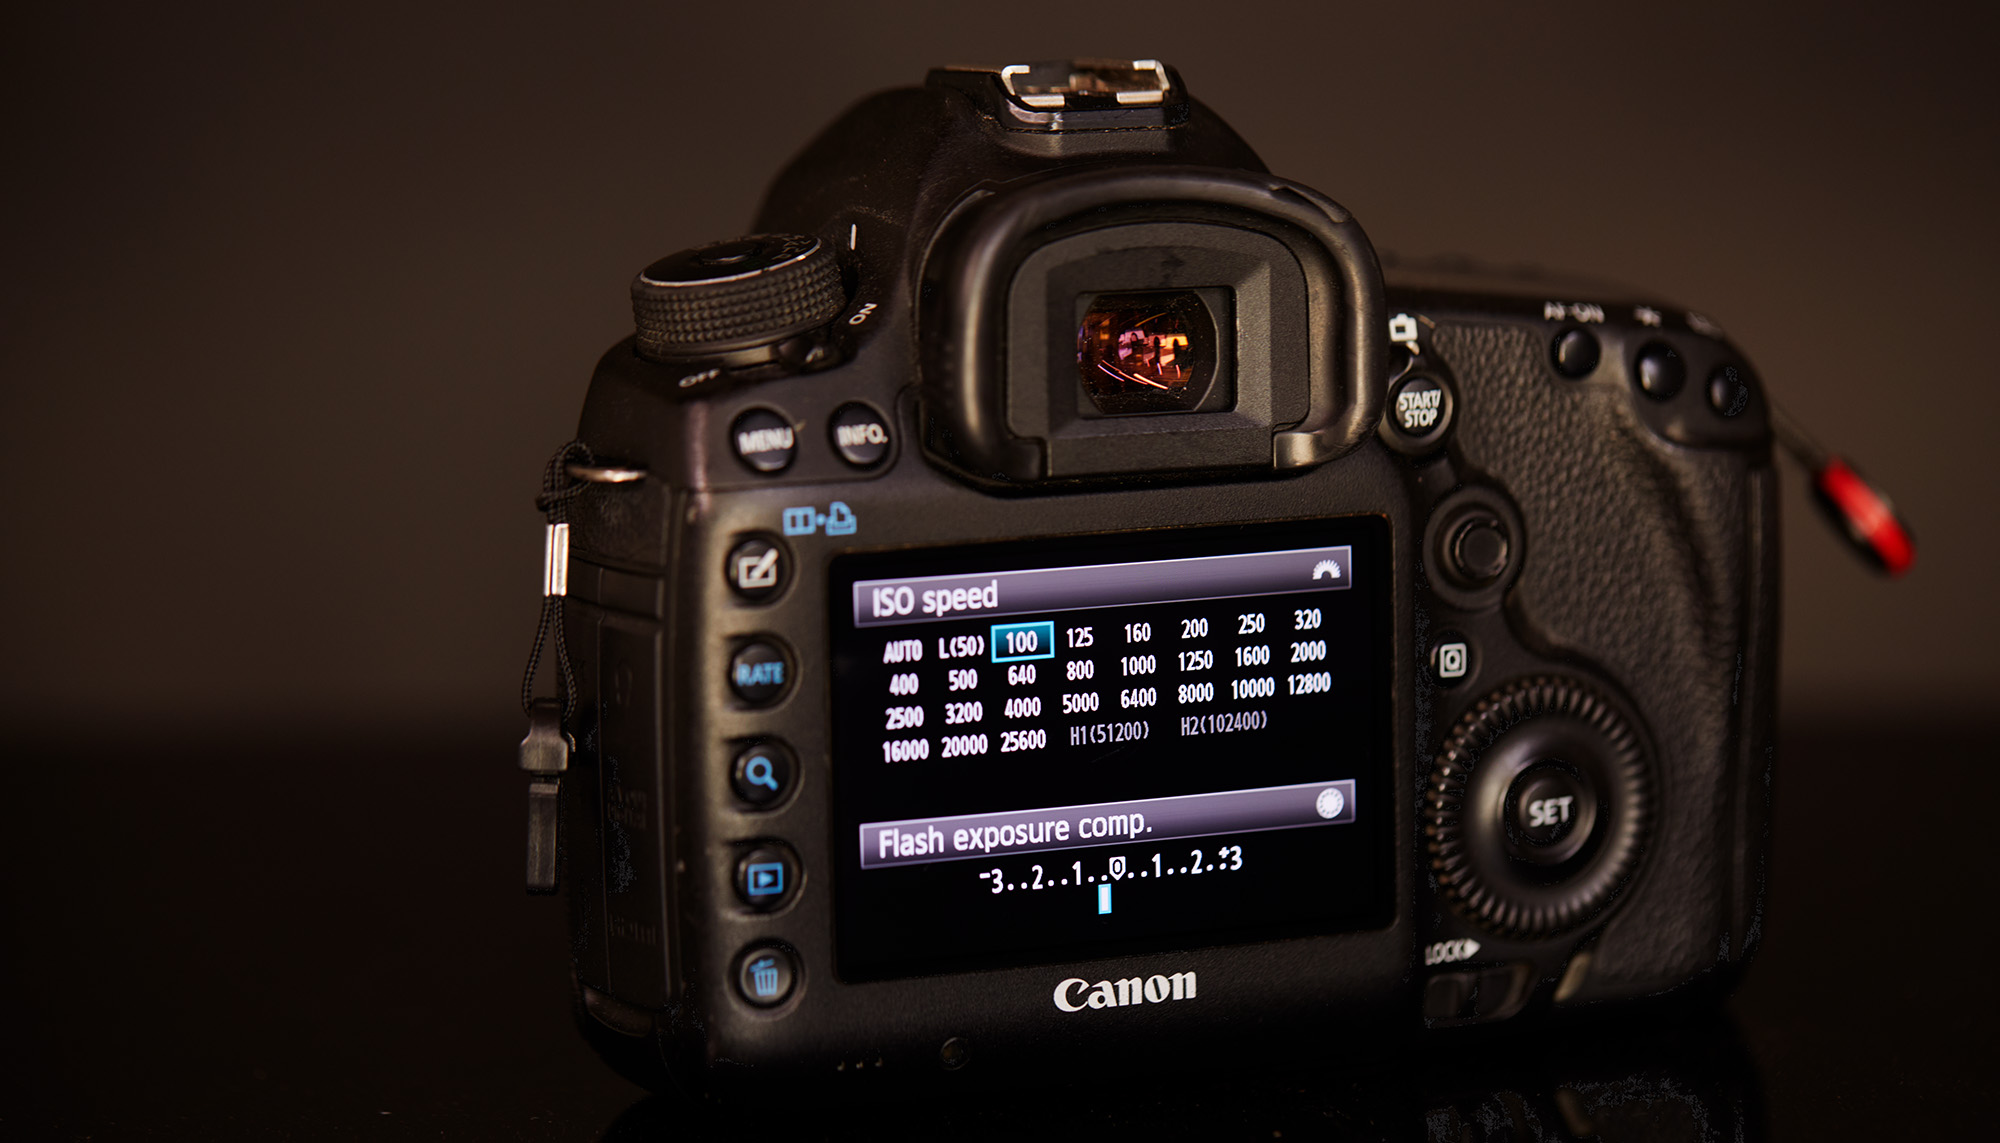
The ISO is typically represented as a numeric value on a camera, ranging from low values such as ISO 100 to high values like ISO 6400 or even higher in some cameras. The lower the ISO value, the less sensitive the camera sensor is to light, while higher ISO values make the sensor more sensitive to light.
When shooting in bright lighting conditions, such as a bright sunny day, you can use a lower ISO setting like ISO 100 or 200. These low ISO values produce the cleanest and sharpest images with minimal noise. However, when shooting in low-light situations or when you need to freeze fast-moving subjects, you may need to increase the ISO to higher values, such as 800, 1600, or even beyond.
It’s important to note that increasing the ISO also increases the exposure of the image, allowing you to use faster shutter speeds or smaller apertures to achieve the desired exposure. However, there’s a trade-off when using higher ISO values. As the camera sensitivity increases, so does the amount of digital noise in the image.
To summarize, ISO is the measure of a camera sensor’s sensitivity to light. It is represented by a numeric value, and a higher ISO makes the sensor more sensitive to light. Using a higher ISO allows for faster shutter speeds and shooting in low-light conditions, but it also introduces more noise into the image. Understanding ISO and its impact on exposure and image quality is important for capturing well-exposed and noise-free photographs.
ISO on a Digital Camera
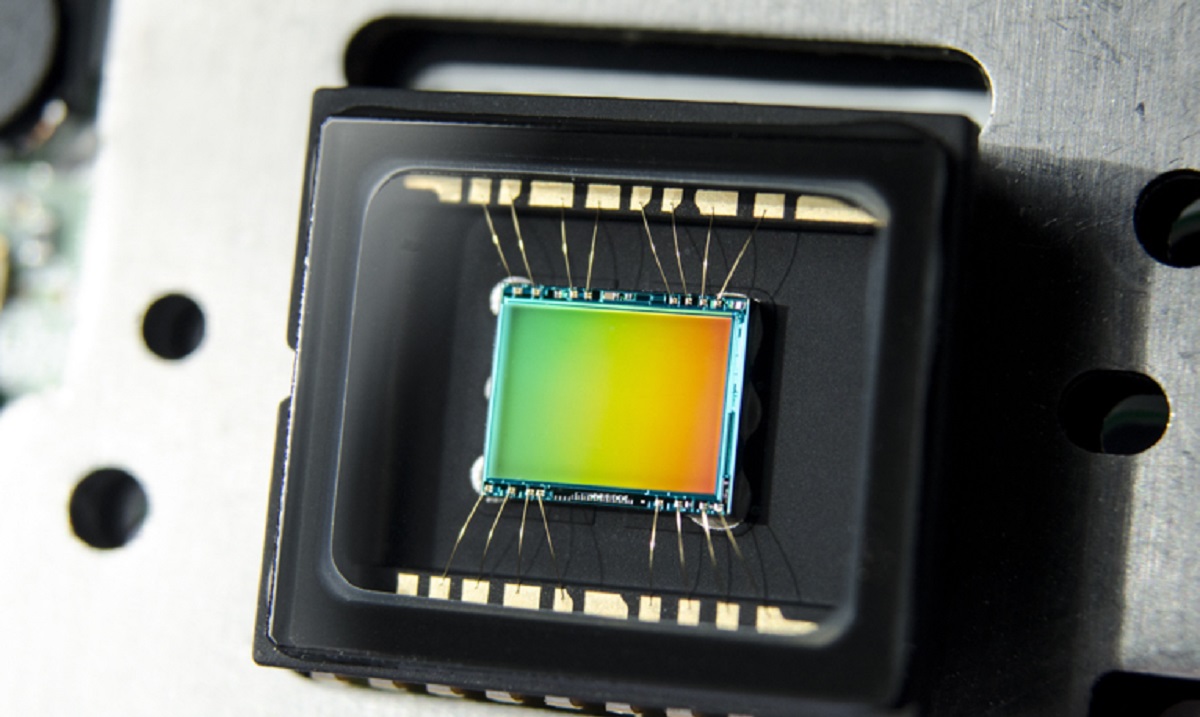
ISO on a digital camera works in a similar way to ISO in film photography but with some differences. In digital cameras, ISO is adjusted electronically, affecting the sensitivity of the camera’s image sensor to light. This adjustment is done by amplifying the signal from the sensor to achieve the desired exposure.
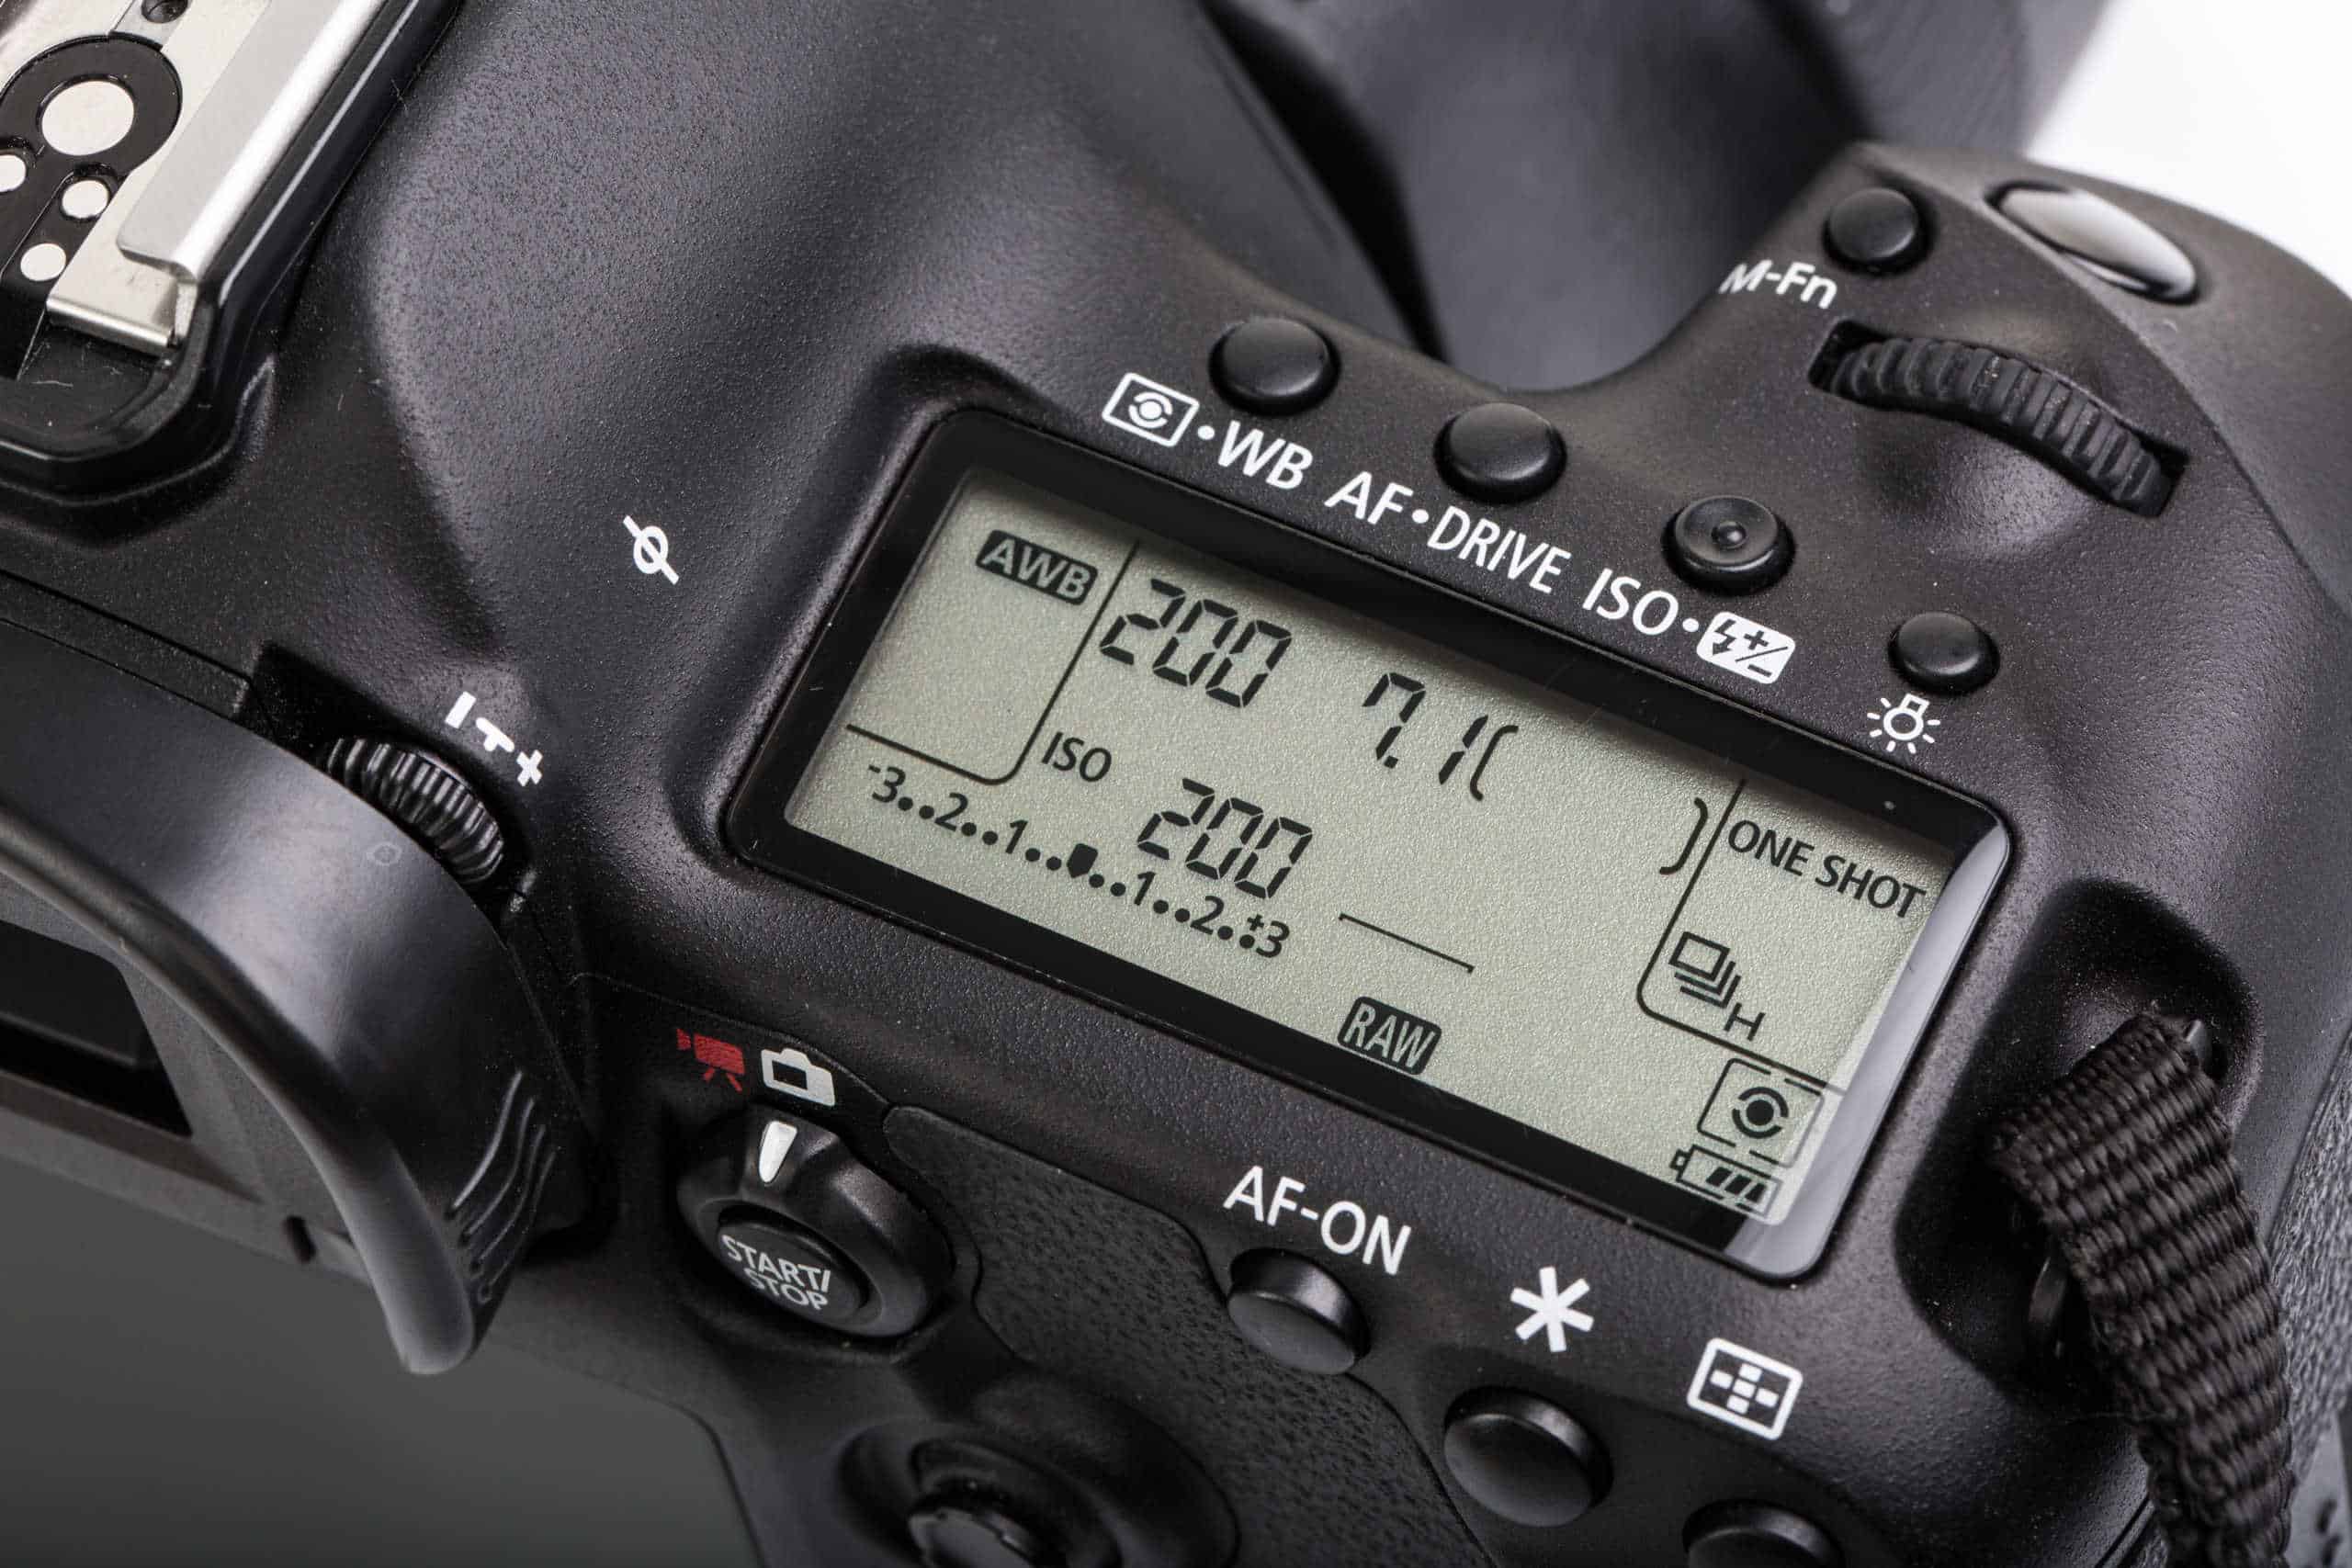
Most digital cameras have a range of ISO settings that you can choose from. This range varies from camera to camera, but typically starts from a low value, such as ISO 100 or 200, and goes up to higher values like ISO 6400 or even beyond. Additionally, many cameras offer an Auto ISO mode, where the camera automatically adjusts the ISO sensitivity based on the lighting conditions.
When you change the ISO setting on your digital camera, you are essentially telling the camera how sensitive the image sensor should be to the light. Higher ISO settings are useful when shooting in low-light environments or when you need to use faster shutter speeds to freeze motion. On the other hand, lower ISO settings are ideal for well-lit situations or when you want to minimize the noise in your images.
It is important to understand that increasing the ISO also increases the image sensor’s sensitivity to both light and noise. This means that as you raise the ISO, you may start to notice grainy or speckled patterns in your photos, commonly referred to as digital noise. The amount of noise introduced at higher ISO settings depends on the camera model and its sensor’s capabilities.
Some advanced digital cameras today offer the ability to shoot at extremely high ISO values without overly compromising image quality. However, for most cameras, maintaining a balance between ISO and image quality is important. As a photographer, it’s crucial to experiment with different ISO settings and understand the limits of your camera to achieve the desired balance between exposure and noise.
Modern digital cameras often provide options to control noise reduction, allowing you to mitigate the impact of noise at higher ISO settings. It’s worth noting that noise reduction processes can also have an impact on image details, so finding the right balance is essential to preserving image quality.
Understanding and utilizing the ISO settings on your digital camera is key to achieving optimal exposure and controlling noise in your photographs. It gives you flexibility in adjusting the sensitivity of your camera sensor to suit various shooting scenarios and lighting conditions.
How ISO Affects Exposure
ISO plays a significant role in determining the exposure of a photograph. It affects the camera’s sensitivity to light and can be adjusted to compensate for different lighting conditions or achieve a specific creative effect.
When you increase the ISO setting on your camera, you are effectively making the image sensor more sensitive to light, allowing you to capture a well-exposed image in darker environments. This increased sensitivity allows you to use faster shutter speeds or smaller apertures while maintaining a proper exposure.
Conversely, decreasing the ISO setting makes the image sensor less sensitive to light. Lower ISO settings are typically used in well-lit conditions, where there is ample light available, and you want to minimize the amount of noise in your photographs. Lower ISO settings allow for sharper images with less digital noise, resulting in better image quality.
Understanding how ISO affects exposure is crucial for achieving the desired results in your photographs. Increasing the ISO can be useful in situations where you need to capture fast-moving subjects or shoot in low-light conditions without using a flash. For example, when photographing indoor sports events or concerts, you may need to increase the ISO to maintain a fast enough shutter speed to freeze the action.
On the other hand, decreasing the ISO can be beneficial when photographing landscapes or using longer shutter speeds to create motion blur effects. Lower ISO settings are also advantageous in situations where there is ample light available, such as outdoor daytime photography or well-lit interiors.
It’s important to note that changing the ISO setting alone will not significantly impact your image’s depth of field or the appearance of motion blur. Those aspects are primarily determined by the aperture and shutter speed settings, respectively. Rather, ISO allows you to achieve the desired exposure by affecting the sensitivity of the camera sensor to light.
In summary, ISO affects exposure by modifying the camera’s sensitivity to light. Increasing the ISO allows you to capture properly exposed images in low-light conditions or when you need to use faster shutter speeds. Decreasing the ISO reduces the sensor’s sensitivity to light, resulting in cleaner images with less noise. Understanding how to adjust the ISO setting and its impact on exposure is vital for creating well-exposed photographs in various lighting situations.
Choosing the Right ISO Setting
Choosing the appropriate ISO setting is essential for achieving the desired exposure and image quality in your photographs. Here are a few factors to consider when selecting the right ISO setting:
- Available Lighting: Consider the lighting conditions of your environment. In well-lit situations, such as outdoor daylight, you can use a lower ISO setting like 100 or 200 to maintain image quality. In dimly lit environments, raise the ISO to higher values like 800 or above to ensure a properly exposed image.
- Subject Movement: If your subject is moving quickly, you may need to increase the ISO to use a faster shutter speed and freeze the action. This is particularly important in sports photography or capturing fast-moving wildlife.
- Noise Tolerance: Assess your tolerance for digital noise in your images. Higher ISO settings introduce more noise into the photograph. If you prioritize image quality and want cleaner images, stick to lower ISO values. However, if the shot requires a higher ISO for proper exposure, you can use noise reduction software during post-processing to minimize its impact.
- Depth of Field: Keep in mind that the ISO setting doesn’t directly affect the depth of field. It’s primarily controlled by the aperture setting. Adjust your ISO to achieve the desired exposure while maintaining the desired depth of field through the appropriate aperture setting.
- Experiment and Test: Familiarize yourself with your camera’s ISO performance by experimenting in various lighting conditions. Take sample shots at different ISO settings and evaluate the results. This will help you understand the camera’s noise performance and which ISO range delivers acceptable results for your needs.
It’s important to strike a balance between achieving the necessary exposure and managing noise in your photographs. Different cameras have varying ISO capabilities and noise performance, so it’s crucial to understand the limitations and capabilities of your specific camera model.
Remember that the optimal ISO setting will vary depending on the shooting conditions and your creative intentions. By understanding how ISO works and considering factors like available light, subject movement, noise tolerance, and depth of field, you can confidently select the right ISO setting for each photographic situation.
ISO and Image Quality
ISO setting can have a significant impact on the overall image quality. While higher ISO values allow for proper exposure in low-light conditions, they also introduce digital noise, which can degrade image quality. Understanding the relationship between ISO and image quality is crucial for obtaining the best results in your photographs.
When using a low ISO setting, such as ISO 100 or 200, the image sensor is less sensitive to light, resulting in cleaner and less noisy images. This is ideal for situations with ample light, such as outdoor photography in daylight or well-lit interiors. Lower ISO settings help retain image details and produce smoother tonal transitions.
However, as you increase the ISO, the image sensor becomes more sensitive to light, allowing for better exposure in low-light conditions. While this can be beneficial, it also increases the likelihood of noise appearing in the images. Noise often manifests as grainy or speckled patterns, particularly in darker areas of the photograph.
Different camera models handle high ISO settings differently, with varying noise performance. Advanced cameras may have better noise reduction algorithms, allowing them to produce cleaner images even at higher ISOs. Nevertheless, noise can still be noticeable, especially at extremely high ISO values or when viewing images at larger sizes.
To minimize the impact of noise and preserve image quality, it is important to strike a balance between ISO and the level of acceptable noise for a given situation. This will require understanding the limitations of your camera and experimenting with different ISO settings to find the sweet spot that delivers the desired exposure without compromising image quality too much.
Post-processing software also plays a role in managing noise. Noise reduction techniques, such as applying filters or using specialized noise reduction software, can further reduce the appearance of noise, although this may come at the expense of some fine details in the image.
Ultimately, the choice of ISO setting will depend on the specific shooting conditions, the intended use of the photograph, and personal preferences. It’s essential to consider the balance between exposure and noise when selecting the ISO, striving to achieve an optimal compromise that suits your requirements and aesthetic preferences.
ISO and Noise
Noise is a common concern when it comes to higher ISO settings. As the ISO is increased, the amplification of the signal from the image sensor can lead to an increase in unwanted digital noise in the photograph. Understanding the relationship between ISO and noise is crucial for managing image quality in your photographs.
Noise is characterized by random variations in brightness or color that appear as grainy or speckled patterns in the image. It becomes more noticeable in darker or shadow areas of the photo. The severity of noise largely depends on the camera model and its sensor’s capabilities, as well as the specific ISO setting used.
Lower ISO settings, such as ISO 100 or 200, produce images with minimal noise. This is due to the lower sensitivity of the sensor, resulting in cleaner and smoother images. However, as you increase the ISO to higher values like 800, 1600, or beyond, the image sensor becomes more sensitive to light, helping to achieve proper exposure in low-light conditions. Nonetheless, this increased sensitivity also enhances the visibility of digital noise.
Managing noise is a delicate balance between achieving the necessary exposure and minimizing the impact of noise on image quality. While noise can be unpleasant, it’s important to remember that higher ISO values are sometimes necessary to capture a well-exposed image. The key is to understand the limitations of your camera and the acceptable level of noise for your intended use of the photograph.
Post-processing techniques can also help reduce the visibility of noise. Software tools, such as denoise filters or noise reduction plugins, can be applied during post-processing to mitigate the appearance of noise. However, it’s essential to use these tools judiciously, as excessive noise reduction can result in loss of fine details and a loss of image sharpness.
The relationship between ISO and noise is an important consideration when shooting in challenging lighting conditions. In situations where noise is unacceptable, using a tripod to stabilize the camera and shooting at a lower ISO value can help produce cleaner images. Additionally, utilizing the camera’s noise reduction settings or shooting in RAW format and applying noise reduction during post-processing can further assist in managing noise-related issues.
Understanding how ISO affects noise and having proper noise reduction techniques in your photographic workflow will enable you to strike a balance between achieving the desired exposure and managing noise effectively.
ISO in Different Lighting Conditions
The ISO setting on your camera plays a crucial role in capturing well-exposed photographs in different lighting conditions. Understanding how to adjust the ISO based on the available light can significantly impact the quality of your images.
In low-light conditions, such as at dusk or indoors with limited lighting, increasing the ISO is often necessary to achieve a proper exposure. By raising the ISO sensitivity, the camera becomes more receptive to the available light, allowing for faster shutter speeds and reducing the likelihood of blurry images due to camera shake or subject movement.
When shooting in low light, you can start by increasing the ISO to a moderate value, such as ISO 800 or 1600, and adjust it as needed. Be mindful that higher ISO settings may introduce more digital noise into your photographs, so finding the right balance between exposure and noise is crucial. It’s also important to note that some cameras have better noise performance at higher ISOs than others, so understanding your camera’s limitations is key.
In well-lit conditions, such as outdoor photography on a sunny day, you can use lower ISO settings to maintain optimal image quality. Starting with a base ISO value of 100 or 200 is often suitable for these situations. Lower ISO settings tend to produce cleaner images with minimal noise, resulting in sharper details and smoother tonal transitions.
When shooting in mixed lighting conditions, where some areas are brightly lit while others remain in shadows, using a higher ISO can help balance the exposure. This allows you to properly expose both the highlight and shadow areas in the image, minimizing the chances of overexposed or underexposed regions.
It’s worth mentioning that modern digital cameras often have an Auto ISO feature, which automatically adjusts the ISO sensitivity based on the available light. While this can be convenient, it’s important to keep an eye on the ISO values selected by the camera and intervene manually if needed to achieve the desired exposure and noise control.
Understanding how ISO works in different lighting conditions enables you to make informed decisions when setting the ISO on your camera. By selecting the appropriate ISO sensitivity, you can ensure well-exposed images that showcase the desired level of detail, without compromising image quality or introducing excessive noise.
ISO Tips and Tricks
Here are some tips and tricks to help you make the most out of your ISO settings and improve your photography:
- Use the lowest ISO possible: Whenever possible, start with the lowest ISO setting on your camera. This will help maintain the highest image quality and reduce the amount of digital noise in your photographs.
- Adjust ISO in relation to available light: Increase the ISO when shooting in low-light conditions to achieve a properly exposed image. Experiment with different ISO settings to find the balance between exposure and noise that works for your specific camera model.
- Utilize exposure compensation: If shooting in auto mode, keep an eye on the camera’s exposure compensation. Adjusting the exposure compensation can help you control the ISO and maintain the desired exposure level.
- Pair higher ISO with larger apertures: When shooting in low-light situations and raising the ISO, consider using larger aperture settings (smaller f-stop numbers) like f/2.8 or wider. This combination allows more light to reach the sensor, resulting in better exposure and minimizing noise.
- Use noise reduction techniques: During post-processing, utilize noise reduction software or plugins to reduce the appearance of noise in your images. However, be cautious not to overdo it, as excessive noise reduction can lead to loss of detail and sharpness.
- Shoot in RAW format: Shooting in RAW gives you more flexibility in adjusting exposure and noise reduction settings during post-processing. RAW files retain more information compared to JPEG, which can help in minimizing noise and optimizing image quality.
- Bracketing for exposure: If unsure about the proper ISO setting, consider using exposure bracketing. This technique involves taking multiple shots at different exposures, including varying ISO values. This allows you to select the best exposure and ISO setting while post-processing.
- Experiment and practice: The best way to truly understand the impact of ISO on your photographs is to experiment and practice. Test different ISO settings in various lighting conditions and review the results to gain a better understanding of your camera’s capabilities and noise performance.
By utilizing these tips and tricks, you can effectively manage ISO settings to achieve optimal exposure, minimize noise, and create stunning photographs in a wide range of shooting conditions.
Conclusion
ISO is a fundamental aspect of digital photography that determines the sensitivity of the camera’s image sensor to light. Understanding how ISO works and how it affects exposure and image quality is essential for capturing well-exposed photographs in various lighting conditions.
By adjusting the ISO setting on your camera, you can control the sensor’s sensitivity to light and achieve the desired exposure. Increasing the ISO allows for faster shutter speeds and shooting in low-light situations, but it also introduces digital noise into your images. On the other hand, lowering the ISO helps produce cleaner and sharper images in well-lit conditions, but it may require longer exposure times or larger apertures.
Mastering the usage of ISO involves finding the right balance between exposure and noise control. This requires understanding the limitations of your camera, experimenting with different ISO settings, and utilizing post-processing techniques for noise reduction if necessary.
Remember that ISO is just one piece of the exposure puzzle, alongside aperture and shutter speed. The three work in harmony to achieve the desired outcome, and adjusting one can impact the others. Therefore, finding the right combination of ISO, aperture, and shutter speed is key to capturing stunning and well-exposed photographs.
With practice and experimentation, you can harness the power of ISO to push the boundaries of your photography and produce remarkable images in any lighting conditions. So grab your camera and start exploring the world of ISO, unlocking its potential to elevate your photography skills to new heights.