Introduction
Welcome to the world of digital projectors, where movie nights, presentations, and immersive gaming experiences come to life. Gone are the days of bulky, cumbersome projectors that required complicated setups. The advent of digital technology has revolutionized the way we view and share content, and digital projectors have quickly become a staple in both professional and personal settings.
Whether you’re a business professional looking to deliver impactful presentations, an educator seeking to engage students in a dynamic learning environment, or a movie enthusiast in pursuit of a cinematic experience at home, a digital projector can fulfill your needs.
In this article, we will delve into the ins and outs of digital projectors, shedding light on what they are, how they work, the different types available, and key features to consider when purchasing one. We’ll also provide tips on setting up and using a digital projector for optimal performance, as well as guidance on maintenance and care to prolong its lifespan.
So, if you’re curious about the wonders a digital projector can offer, whether for personal or professional use, grab some popcorn, get comfortable, and let’s dive into the fascinating world of digital projectors.
What is a Digital Projector?
A digital projector, also known as a data projector or multimedia projector, is a device that takes an input signal, typically in the form of digital content, and projects it onto a screen or surface for viewing. It allows you to display images, videos, presentations, and other multimedia content on a larger scale, providing a more immersive and visually stunning experience.
Unlike traditional projectors that use analog technology, digital projectors utilize advanced digital imaging techniques to produce high-quality images with vibrant colors, sharp details, and enhanced clarity. They are capable of supporting various resolutions, including standard definition (SD), high definition (HD), and even ultra-high definition (UHD) or 4K resolutions, depending on the model.
One of the key advantages of digital projectors is their versatility. They can be connected to a wide range of devices, such as laptops, computers, smartphones, gaming consoles, and DVD players, through HDMI, VGA, or USB ports. This allows you to access and project content from different sources, making them suitable for a variety of applications, including business presentations, classroom teaching, home theater setups, and entertainment events.
Furthermore, digital projectors offer flexibility in terms of screen size. Depending on the model and the distance between the projector and the screen, you can adjust the image size to suit your needs, ranging from smaller projections for intimate settings to larger displays for audiences in auditoriums or outdoor venues.
Overall, digital projectors have become an indispensable tool for professionals, educators, and entertainment enthusiasts alike. They have revolutionized the way we share information, tell stories, and consume media, adding a new dimension to visual experiences and engaging audiences in captivating ways.
How Does a Digital Projector Work?
To understand how a digital projector works, let’s take a closer look at its fundamental components and the process involved in projecting images onto a screen.
At the core of a digital projector is a light source, typically a high-intensity lamp or LED, which emits a powerful beam of light. This light is directed towards an optical system consisting of lenses and mirrors that help focus and shape the light beam.
The next important component is the digital imaging device, which is responsible for converting the input signal into an image that can be projected. There are different types of imaging devices used in digital projectors, including liquid crystal display (LCD), digital light processing (DLP), and liquid crystal on silicon (LCOS).
In LCD projectors, the image is created by passing light through a series of tiny liquid crystal panels, each representing a pixel. These panels can selectively block or allow light to pass through, creating the desired image. DLP projectors utilize an array of mirrors that tilt in response to the input signal, reflecting light to create the image. LCOS projectors combine both LCD and DLP technologies to produce high-quality images.
Once the image is formed, it is passed through a color filter system that adds color to the image. This system typically uses red, green, and blue filters, which combine to produce a wide range of colors. The colored image then passes through another set of lenses that further refine the projection and adjust the focus.
Finally, the projected image is displayed on a screen or surface for viewing. The quality of the projection depends on factors such as the resolution of the imaging device, the brightness and contrast of the light source, and the quality of the optics used in the projector.
In addition to these main components, digital projectors often include other features to enhance performance and connectivity. These may include built-in speakers, keystone correction to adjust image distortion, zoom capabilities to adjust the image size without physically moving the projector, and various input ports for connecting external devices.
Overall, the process of a digital projector involves rendering the input signal into an image, applying color and focus adjustments, and projecting the image onto a surface, delivering a captivating visual experience for the audience.
The Components of a Digital Projector
A digital projector is composed of several crucial components that work together to create and project images onto a screen. Understanding these components can help you make informed decisions when choosing a projector that meets your specific needs and preferences.
1. Light Source: The light source is responsible for emitting a strong beam of light that illuminates the image being projected. Traditional projectors typically use high-intensity lamps, while newer models may use light-emitting diodes (LEDs) for improved energy efficiency and longevity.
2. Imaging Device: The imaging device plays a critical role in creating the image that will be projected. There are three primary types of imaging devices used in digital projectors:
- Liquid Crystal Display (LCD): LCD projectors use small liquid crystal panels to selectively block or allow light to pass through, creating the image pixel by pixel. They offer excellent color reproduction and sharp detail.
- Digital Light Processing (DLP): DLP projectors rely on an array of tiny mirrors that tilt to either reflect or not reflect light, effectively creating the image. DLP projectors are known for their high contrast ratios and smooth video playback.
- Liquid Crystal on Silicon (LCOS): LCOS projectors combine the best of LCD and DLP technologies, delivering high-quality images with exceptional color accuracy, contrast, and detail.
3. Optical System: The optical system consists of lenses and mirrors that help focus and shape the light beam produced by the light source. This system ensures that the projected image is clear, sharp, and properly aligned.
4. Color Filter System: The color filter system adds color to the image by using red, green, and blue filters. These three primary colors are combined in various combinations to produce a full spectrum of colors, resulting in vibrant and realistic images.
5. Lens System: The lens system is responsible for projecting the image onto the screen and determining the size and focus of the projection. The quality and type of lenses used can impact the sharpness, brightness, and clarity of the projected image.
6. Signal Processing: Digital projectors include signal processing capabilities to handle the input signal and convert it into a format suitable for projection. This processing ensures that the image is properly scaled, optimized, and adjusted to match the capabilities of the projector.
7. Connectivity and Control Interfaces: Projectors offer various input ports such as HDMI, VGA, and USB, allowing you to connect different devices like computers, laptops, gaming consoles, and media players. Additionally, projectors may include built-in Wi-Fi or Ethernet connectivity for seamless wireless presentations and remote control options.
By understanding the components of a digital projector, you can evaluate and compare different models to find the one that best suits your specific requirements, whether it’s for professional presentations, home theater setups, or educational purposes.
Types of Digital Projectors
When it comes to digital projectors, there are several types available, each with its own unique features, strengths, and applications. Understanding the different types can help you choose the one that best suits your specific needs and preferences. Let’s explore some of the most common types of digital projectors:
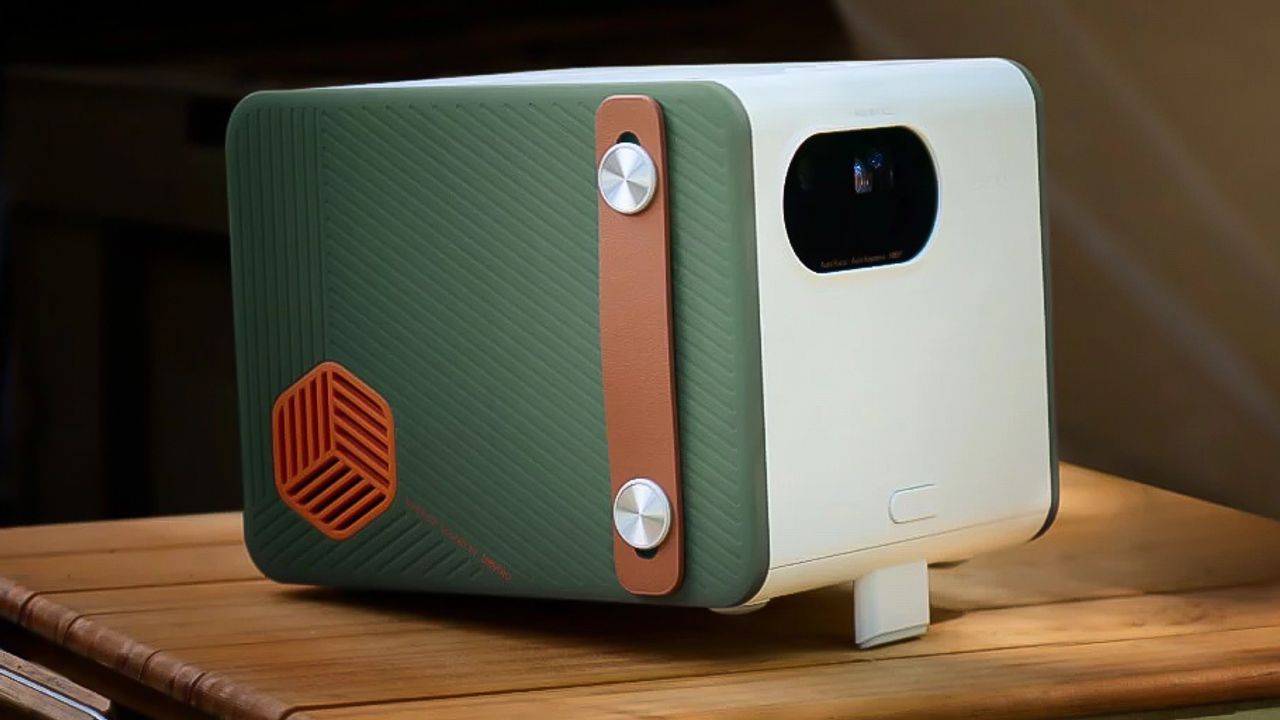
- Portable Projectors: As the name suggests, portable projectors are lightweight and compact, making them highly convenient for on-the-go use. These projectors are typically smaller in size and offer lower brightness levels compared to larger models. They are commonly used for impromptu presentations, movie nights, and classrooms where mobility and flexibility are important.
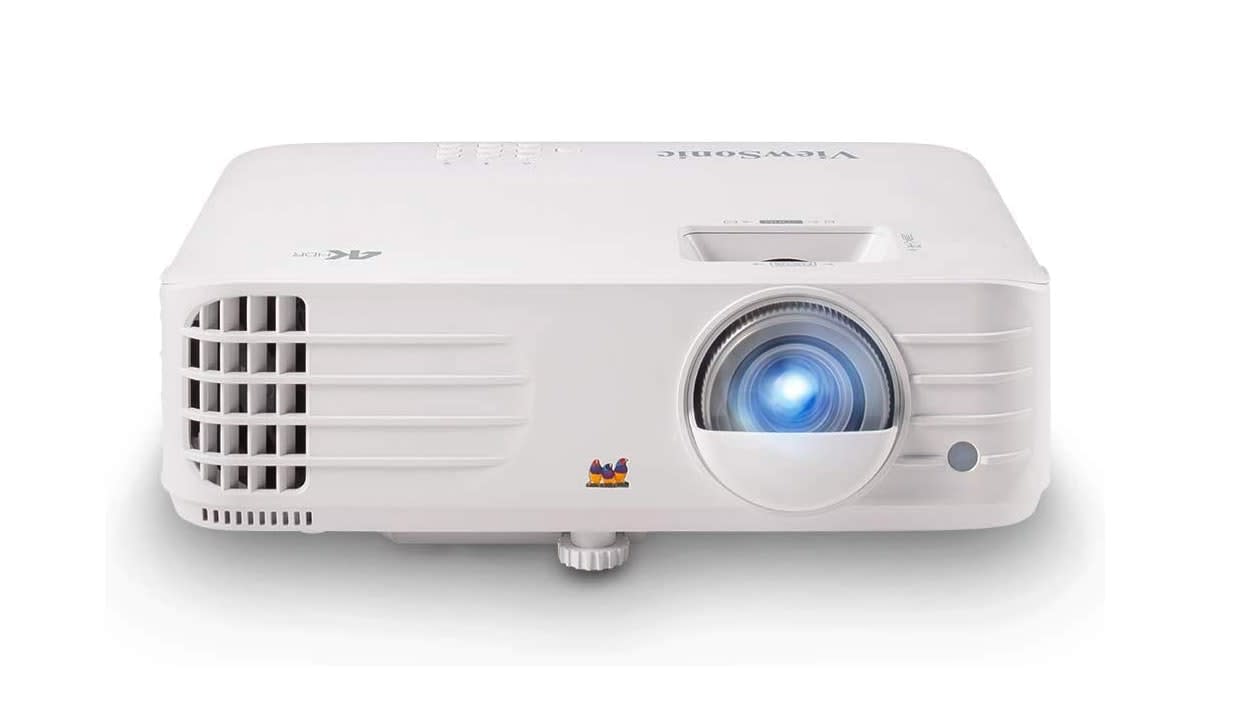
- Business Projectors: Business projectors are designed specifically for professional settings and presentations. They offer high brightness levels, sharp image quality, and advanced connectivity options to accommodate various business needs. Features like keystone correction, multiple input ports, and wireless connectivity make these projectors ideal for boardrooms, conference rooms, and corporate events.
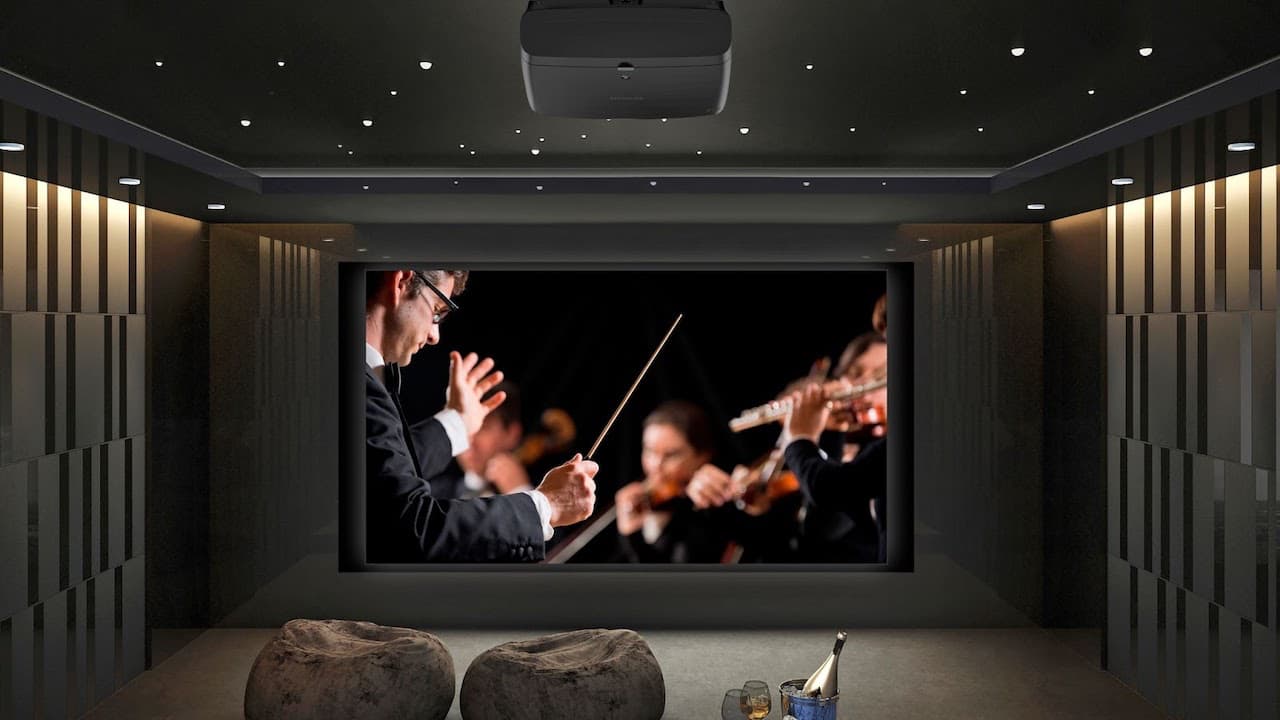
- Home Theater Projectors: Home theater projectors are built to provide a cinematic experience in the comfort of your own home. These projectors offer high resolution, vibrant color reproduction, and wide aspect ratios to deliver immersive images. They are often used in dedicated home theater rooms or living rooms to project movies, TV shows, and sporting events on a large screen.
- Short-Throw and Ultra-Short-Throw Projectors: Short-throw and ultra-short-throw projectors are designed to project large images from a short distance. These projectors eliminate the need for extensive space between the projector and the screen, making them ideal for smaller rooms and spaces where a traditional projector setup would not be feasible. They are commonly used in classrooms, small offices, and home entertainment setups.
- Gaming Projectors: Gaming projectors are specifically optimized for gaming enthusiasts who want larger-than-life gaming experiences. These projectors offer fast response times, high refresh rates, and low input lag to ensure smooth and immersive gameplay. They often come with gaming-specific features such as Game Mode settings and enhanced color accuracy for a dynamic and captivating gaming experience.
- Interactive Projectors: Interactive projectors are equipped with touch-sensitive capabilities, allowing users to interact directly with the projected image using touch or gestures. These projectors are commonly used in classrooms, training sessions, and collaborative environments, enabling interactive learning, brainstorming, and engagement.
When choosing a digital projector, consider the intended use, lighting conditions, required image quality, and available space to determine the most suitable type. It is important to carefully assess the features and specifications of each type to find the projector that perfectly aligns with your specific requirements.
Key Features to Consider
When selecting a digital projector, it’s essential to consider certain key features that can greatly impact your overall viewing experience and usability. These features will help you find a projector that meets your specific needs and delivers optimal performance. Here are some crucial features to consider:
- Resolution: The resolution of the projector determines the level of detail and clarity in the projected image. Common resolutions include HD (1280×720 pixels), Full HD (1920×1080 pixels), and 4K UHD (3840×2160 pixels). Choose a resolution that matches your content and desired image quality.
- Brightness: The brightness of a projector is measured in lumens and determines how well the image will be visible in various lighting conditions. Consider the ambient light in your environment and the size of the projected image when choosing the appropriate brightness level. Higher lumens are recommended for brighter spaces or larger screens.
- Contrast Ratio: The contrast ratio refers to the difference between the darkest and brightest parts of an image. A higher contrast ratio produces more lifelike and vibrant images with better color accuracy. Look for projectors with a high contrast ratio for improved image quality.
- Connectivity: Check the available connectivity options on the projector to ensure compatibility with your devices. HDMI, VGA, and USB ports are commonly used for connecting laptops, computers, gaming consoles, and media players. Some projectors also offer wireless connectivity for convenient streaming and screen mirroring.
- Throw Distance: The throw distance is the distance between the projector and the screen required to achieve a specific image size. Consider the available space and the desired screen size when choosing a projector with the appropriate throw distance capabilities.
- Noise Level: Projectors contain cooling fans and other internal components that can produce noise. If you plan to use the projector in a quiet environment, look for models with lower noise levels or consider investing in a projector enclosure or soundproofing options to mitigate the noise.
- Zoom and Lens Shift: Zoom and lens shift features provide flexibility in adjusting the image size and positioning without physically moving the projector. This allows for easier setup and adaptation to different screen sizes and room configurations.
- Aspect Ratio: The aspect ratio refers to the width-to-height ratio of the projected image. Common aspect ratios include 16:9 (widescreen) and 4:3 (standard). Choose the aspect ratio that best suits your content, whether it’s for movies, presentations, or gaming.
- Available Accessories: Consider the availability of additional accessories such as ceiling mounts, projector screens, and carrying bags. These accessories can enhance the usability and convenience of your projector setup.
By carefully considering these key features, you can select a digital projector that delivers the image quality, connectivity options, and overall functionality that align with your specific needs and preferences. Take the time to research and compare different models to find the perfect fit for your intended use and budget.
Choosing the Right Digital Projector for Your Needs
Choosing the right digital projector can greatly enhance your viewing experience, whether for business presentations, home theater setups, or educational purposes. To ensure you select the projector that best suits your needs, consider the following factors:
- Intended Use: Determine the primary purpose of the projector. Are you using it for professional presentations, movie nights, gaming, or educational use? This will help you identify the features and specifications required for your specific use case.
- Budget: Set a budget for your projector purchase. Determine the price range that aligns with your needs and explore options within that range. Balance your budget with the features and quality you require.
- Room Size and Ambient Lighting: Consider the size of the room and the lighting conditions. For larger rooms or spaces with significant ambient light, look for a projector with higher brightness levels and a higher contrast ratio to ensure clear and vibrant images.
- Image Quality: Evaluate the resolution, contrast ratio, and color accuracy of the projector. Higher resolutions and contrast ratios, along with accurate color reproduction, can elevate your viewing experience and make the content more engaging and immersive.
- Connectivity Options: Check the connectivity options offered by the projector. Ensure it has the necessary input ports to connect your devices, such as HDMI, VGA, or USB. Wireless connectivity can also be a useful feature for seamless streaming and screen mirroring.
- Portability: Consider whether you need a portable projector that can be easily moved and set up in different locations. Portable projectors are lightweight and compact, making them convenient for business professionals, educators, or anyone on the go.
- User-Friendly Interface: Look for a projector with an intuitive and easy-to-use interface. A user-friendly interface will simplify the setup and navigation process, ensuring a smoother and more enjoyable experience.
- Reviews and Recommendations: Read customer reviews and seek recommendations from trusted sources. Consider the experiences of others who have used the projector you’re interested in to gain insights into its performance, reliability, and overall value.
- Warranty and Customer Support: Check the warranty and customer support options provided with the projector. A reputable brand that offers reliable warranty coverage and responsive customer support can provide peace of mind and assistance if any issues arise.
By considering these factors, you can make an informed decision when choosing the right digital projector for your specific needs. Remember to prioritize features that are important for your intended use, while staying within your budget, and select a projector from a reputable brand with positive reviews and reliable customer support.
Setting up and Using a Digital Projector
Setting up and using a digital projector may seem daunting at first, but with a few simple steps, you can easily enjoy the benefits of a larger screen and immersive viewing experience. Here’s a guide to help you set up and effectively use your digital projector:
- Choose the Right Location: Select a suitable location where you will set up your projector. Consider factors such as distance from the screen or wall, availability of power outlets, and ambient lighting conditions.
- Positioning the Projector: Place the projector on a stable surface or mount it securely if using a ceiling mount. Ensure that the projector is aligned with the center of the screen and perpendicular to it for optimal image quality.
- Connect Your Devices: Connect your devices, such as a laptop or media player, to the projector using the appropriate cables or wireless connectivity options. Make sure the projector is powered on and set to the correct input source to receive the signal from your device.
- Adjusting the Image: Adjust the zoom, focus, and keystone correction settings on the projector to obtain a clear and properly aligned image. Some projectors may have automatic adjustment features to simplify this process.
- Screen Selection: If you have a dedicated projection screen, ensure it is clean and properly mounted. Alternatively, you can use a blank wall or a white screen surface to project the image. Avoid textured or colored walls, as they may affect the image quality.
- Test and Fine-Tune: Once the setup is complete, test the projected image for clarity, brightness, and color accuracy. Make any necessary adjustments to achieve the desired picture quality.
- Audio Setup: If the projector has built-in speakers, ensure they are enabled and adjust the volume as needed. For a more immersive audio experience, consider connecting external speakers or a sound system to enhance the sound quality.
- Remote Control: Familiarize yourself with the functions and controls on the projector’s remote control. This will allow you to easily adjust settings, switch input sources, and navigate through menus without needing to use the physical buttons on the projector.
- Proper Shutdown: When you are finished using the projector, shut it down using the proper procedure outlined in the manual. Allow the projector to cool down before moving or storing it to avoid any damage.
- Maintenance: Regularly clean the projector lens and air vents to prevent dust buildup, which can affect image quality and cause overheating. Refer to the manufacturer’s instructions for specific cleaning guidelines.
By following these steps and taking proper care of your digital projector, you can enjoy seamless setup and optimal performance for a variety of applications. Remember to consult the user manual provided by the manufacturer for detailed instructions specific to your projector model.
Tips for Maximizing the Performance of Your Digital Projector
A digital projector can provide you with stunning visuals and an immersive viewing experience. To ensure you get the most out of your projector and optimize its performance, consider the following tips:
- Ensure Proper Ventilation: Make sure your projector has adequate space around it for airflow. Avoid placing it in enclosed spaces or near other heat-generating devices as it can lead to overheating and reduced performance.
- Regularly Clean the Lens: Dust and smudges on the lens can affect image quality. Clean the lens periodically with a soft, lint-free cloth to maintain optimal clarity and sharpness.
- Use the Correct Aspect Ratio: Set the correct aspect ratio on your projector to match the content you are viewing. This ensures that the image is displayed in the correct proportions without distortion.
- Manage Ambient Light: Minimize ambient light in the viewing area to enhance image clarity and contrast. Use curtains or blinds to block out external light sources and create a darker environment for better viewing conditions.
- Adjust Brightness and Contrast: Optimize the brightness and contrast settings based on the lighting conditions in the room. You can increase brightness in well-lit areas and adjust contrast to enhance the details in darker scenes.
- Calibrate Colors: Use the color calibration settings on your projector to adjust color accuracy and ensure vibrant and true-to-life visuals. Some projectors also offer pre-set color modes for different types of content.
- Avoid Image Distortion: Make sure the projector is positioned at the correct angle and distance to avoid keystone distortion. Adjust the keystone correction settings on the projector or use a mount to maintain a square image.
- Optimize Audio Setup: If the projector has built-in speakers, consider using external speakers or a sound system for better audio quality. Position the speakers appropriately to achieve a balanced and immersive sound experience.
- Control Ambient Noise: Minimize any unnecessary noise in the viewing area, as it can detract from the overall viewing experience. Close windows, turn off fans or other appliances, and choose a quieter projection location if possible.
- Update Firmware and Software: Check for firmware and software updates regularly from the manufacturer’s website. Keeping your projector’s software up to date ensures you have access to the latest features and bug fixes.
By implementing these tips, you can optimize the performance of your digital projector and fully enjoy your viewing experience. Experiment with various settings and adjustments to find the perfect balance for your specific environment and content.
Maintenance and Care for a Digital Projector
To ensure the longevity and optimal performance of your digital projector, proper maintenance and care are essential. By following these maintenance tips, you can extend the lifespan of your projector and enjoy consistent image quality:
- Regular Cleaning: Keep the projector clean by regularly cleaning the exterior and air vents. Use a soft, lint-free cloth to wipe away dust and smudges. Avoid using abrasive materials or liquid cleaners that may damage the surface.
- Clean the Filter: If your projector has an air filter, regularly check and clean it according to the manufacturer’s instructions. A clogged or dirty filter can cause overheating and impact image quality.
- Avoid Excessive Heat: Keep the projector in a well-ventilated area and avoid exposing it to direct sunlight or extreme temperatures. Excessive heat can damage the internal components and reduce the projector’s lifespan.
- Proper Shutdown: Always turn off the projector using the proper shutdown procedure outlined in the user manual. This allows the projector’s internal components to cool down before it is powered off completely.
- Avoid Moving the Projector While in Use: Do not move the projector while it is powered on or in use. Allow it to cool down and power off before relocating or packing it away.
- Storage Guidelines: If you need to store the projector for an extended period, ensure it is stored in a clean, dry, and dust-free environment. Use the original packaging or a protective case to prevent any damage during storage.
- Keep the Projector Dust-Free: Regularly clean the projector’s lens and ventilation ports to prevent dust buildup. Dust can block airflow and cause overheating, affecting the projector’s performance and image quality.
- Avoid Power Surges: Protect the projector from power surges by using a surge protector or uninterruptible power supply (UPS). Power surges can damage the internal components of the projector.
- Follow Lamp Replacement Guidelines: If your projector uses a replaceable lamp, follow the manufacturer’s guidelines for lamp replacement. Overused or expired lamps can result in decreased brightness and image quality.
- Regularly Update Firmware: Check for firmware updates from the manufacturer’s website and update your projector’s firmware as recommended. Firmware updates can address bugs, improve performance, and introduce new features.
- Read the User Manual: Familiarize yourself with the user manual to understand the specific maintenance requirements and guidelines for your projector model. The user manual provides valuable information on proper care and troubleshooting.
By implementing these maintenance and care practices, you can prolong the lifespan of your digital projector and maintain optimal performance. Regular cleaning, proper storage, and following the manufacturer’s guidelines are key to ensuring an optimal viewing experience over the projector’s lifespan.
Conclusion
Digital projectors have revolutionized the way we view and share content, providing us with larger-than-life visuals and immersive experiences. Whether for business presentations, educational purposes, or home entertainment setups, choosing the right digital projector can greatly enhance your viewing experience.
In this article, we explored the various aspects of digital projectors, starting with what they are and how they work. We discussed the key components of a digital projector, including the light source, imaging device, and color filter system. We also looked at different types of projectors, such as portable projectors, business projectors, home theater projectors, gaming projectors, interactive projectors, and more.
We then highlighted the key features to consider when selecting a digital projector, such as resolution, brightness, connectivity options, and throw distance. These factors play a crucial role in determining the overall performance and suitability of the projector for your specific needs.
Additionally, we provided tips on setting up and using a digital projector effectively, including proper positioning, screen selection, adjusting image settings, optimizing audio setup, and following correct shutdown procedures. We also discussed the importance of maintenance and care to prolong the lifespan of the projector, covering cleaning, avoiding excessive heat, and following manufacturer guidelines.
By considering all these aspects and implementing the recommended practices, you can maximize the performance, lifespan, and enjoyment of your digital projector. Remember to research and compare different models, read customer reviews, and seek recommendations to make an informed decision.
So, whether you’re presenting to a boardroom, hosting a movie night at home, or engaging students in a classroom setting, a digital projector can elevate your visual experiences and captivate your audience. Embrace the possibilities and bring your content to life with the magic of a digital projector.