Introduction
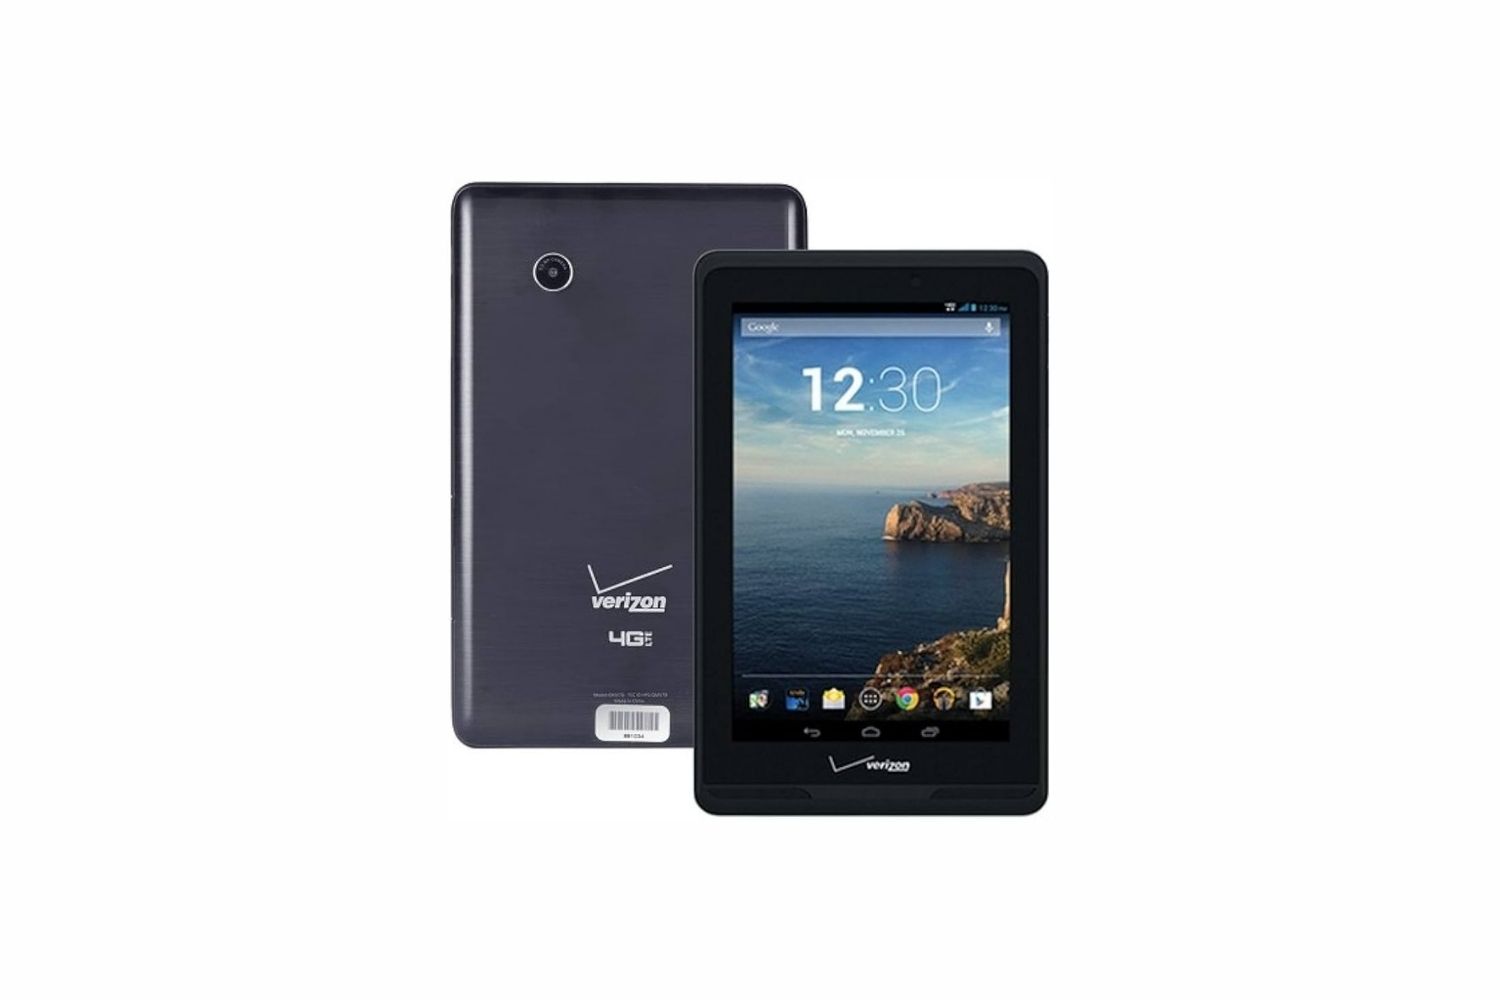
Welcome to this guide on how to move apps to an SD card on your Verizon Qmv7B Tablet. If you’re running low on internal storage or simply want to free up space on your device, moving apps to an SD card can be a great solution. The SD card offers additional storage capacity and allows you to keep your tablet running smoothly by offloading some of the app data.
Before diving into the steps, it’s important to note that not all apps can be moved to an SD card. Some apps are specifically designed to be run from internal storage, and moving them to an external storage location might cause issues. However, many apps, especially smaller ones and those you’ve downloaded from the Play Store, can be easily moved without any problems.
In this guide, we’ll explore the necessary steps to move compatible apps to the SD card on your Verizon Qmv7B Tablet. We’ll also provide some tips and precautions to ensure a smooth and successful process. Let’s get started!
Step 1: Check Compatibility
Before proceeding with moving apps to the SD card, it’s essential to ensure that your Verizon Qmv7B Tablet supports this feature. Not all devices have the capability to move apps to external storage, so it’s crucial to verify compatibility.
To check if your tablet supports moving apps to the SD card, follow these steps:
- Go to the Settings menu on your device by tapping on the gear icon in the app drawer or by swiping down from the top of the screen and selecting the gear icon in the notification panel.
- Scroll down and locate the “Apps” or “Applications” option. Tap on it to access the app settings.
- Look for an option like “App info” or “Manage apps” and tap on it.
- You should now see a list of all the apps installed on your device. Select any app from the list.
- Once you’re on the app information screen, look for the “Storage” or “Storage usage” option. Tap on it.
- In the storage section, check if there is an option to “Change” or “Move” the app to the SD card. If you find this option, it means your tablet supports moving apps to external storage.
If you don’t see the option to move apps to the SD card, it’s likely that your tablet doesn’t support this feature. In that case, you can still free up space by uninstalling unnecessary apps or clearing app caches.
It’s important to note that even if your tablet supports moving apps to the SD card, not all apps can be moved. System apps and some pre-installed apps may not have the option to be moved. Additionally, some apps require specific permissions or settings to be changed before they can be moved to external storage.
Now that you’ve checked the compatibility of your Verizon Qmv7B Tablet, and confirmed that it supports moving apps to the SD card, let’s move on to the next step: inserting the SD card.
Step 2: Insert SD Card
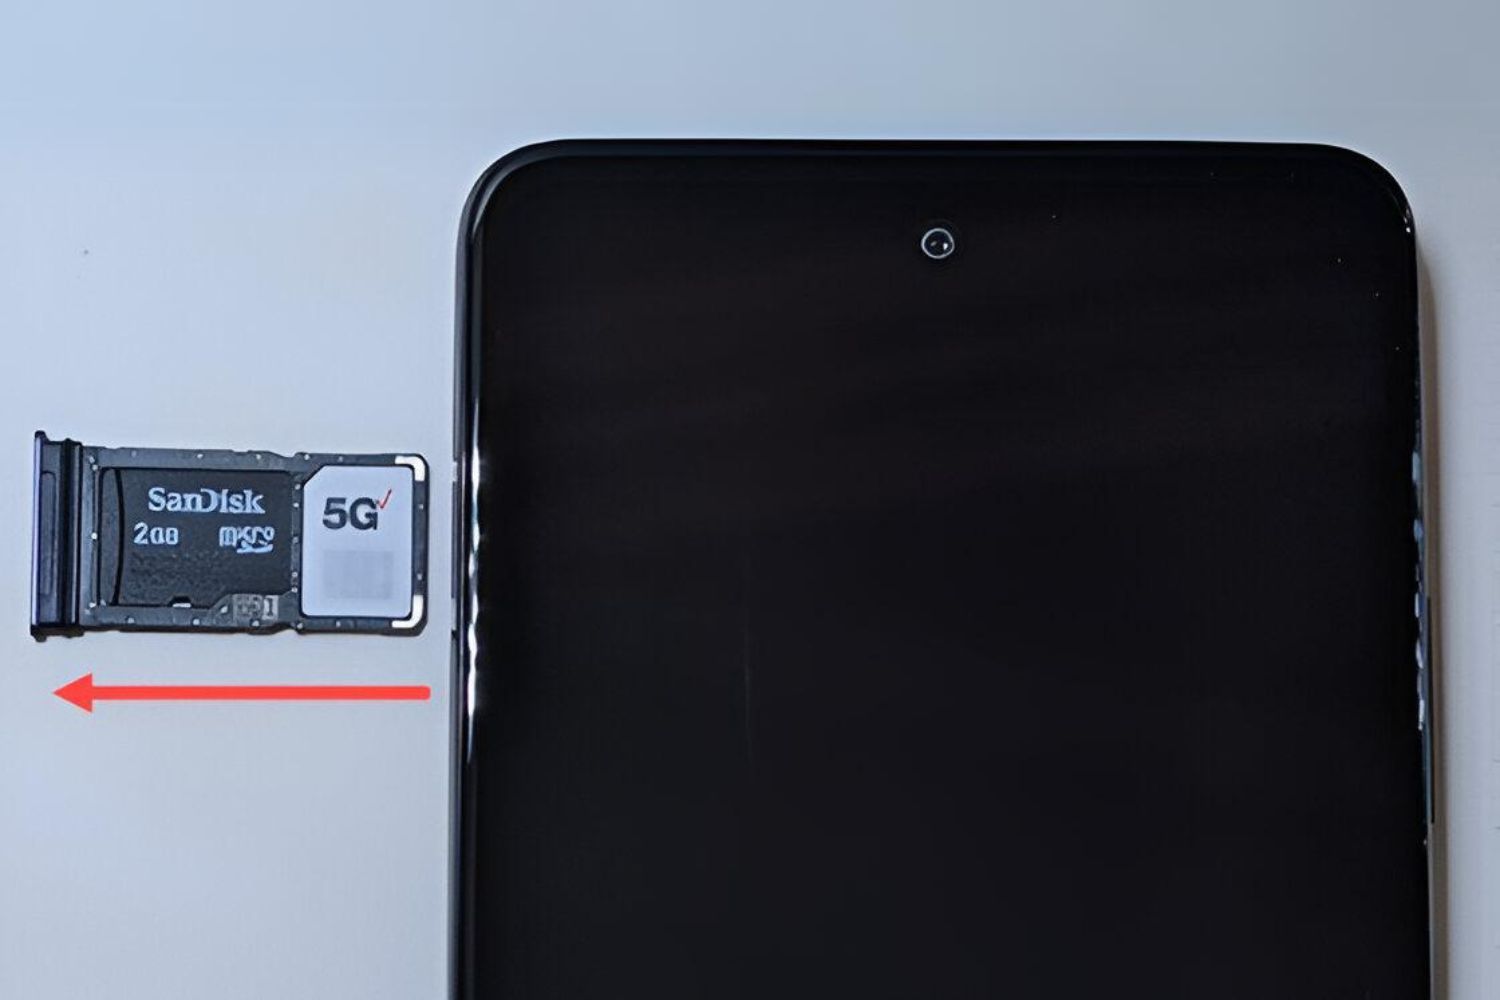
In order to move apps to the SD card, you’ll need to have an SD card inserted into your Verizon Qmv7B Tablet. Here’s how you can insert an SD card into your device:
- Locate the SD card slot on your tablet. Typically, it can be found on the side or the top of the device. Refer to your tablet’s user manual for the exact location.
- Using a SIM card removal tool or a small paperclip, gently push the tool into the hole next to the SD card slot. This will release the spring-loaded tray.
- Remove the tray from the tablet. You may need to pull it out carefully, ensuring not to force it.
- Place the SD card into the tray, aligning the metal contacts on the card with those in the tray. Make sure the card is securely placed.
- Gently push the tray back into the tablet until it is fully inserted and clicks into place.
Once the SD card is inserted, your Verizon Qmv7B Tablet will detect it and you’ll be able to use it as portable storage.
Note that if you already have an SD card inserted, it’s a good idea to check its compatibility and storage capacity. Some older or slower SD cards may not be suitable for storing apps. It’s recommended to use a Class 10 or UHS-I rated SD card for optimal performance.
Now that your SD card is inserted into your Verizon Qmv7B Tablet, let’s move on to the next step: formatting the SD card.
Step 3: Format the SD Card
Before you can start moving apps to the SD card, it’s important to format the SD card to ensure compatibility and optimal performance with your Verizon Qmv7B Tablet. Formatting will erase all data on the SD card, so be sure to back up any important files or data before proceeding.
Here are the steps to format an SD card on your Verizon Qmv7B Tablet:
- Go to the Settings menu on your tablet by tapping the gear icon in the app drawer or swiping down from the top of the screen and selecting the gear icon in the notification panel.
- Scroll down and tap on “Storage” or “Storage & USB.”
- Next, select “SD card” or “SD card and phone storage.”
- Tap on the three-dot menu icon in the top-right corner of the screen and choose “Storage settings” or “SD card settings.”
- From the available options, select “Format” or “Format as portable.”
- Read the on-screen warnings and instructions, and then tap “Format” to begin the formatting process.
- Wait patiently while your SD card is being formatted. The time taken may vary depending on the size and speed of the SD card.
- Once formatting is complete, you’ll receive a notification indicating that the SD card has been formatted successfully.
With the SD card formatted, you’re now ready to proceed to the next step: changing the default storage location on your Verizon Qmv7B Tablet.
Step 4: Change Default Storage Location
In order to move apps to the SD card, you need to change the default storage location on your Verizon Qmv7B Tablet. By doing so, any new apps you install will automatically be stored on the SD card instead of the internal storage. Here’s how you can change the default storage location:
- Open the Settings menu on your tablet by tapping the gear icon in the app drawer or swiping down from the top of the screen and selecting the gear icon in the notification panel.
- Scroll down and tap on “Storage” or “Storage & USB.”
- Look for the option “Default location” or “Default write disk” and tap on it.
- You’ll see two choices: “Internal storage” and “SD card.” Select “SD card” to set it as the default storage location for new app installations.
- A warning message may appear, explaining that changing the default storage location may affect the performance or stability of your tablet. Read the message and tap “OK” to proceed.
- Now, any new apps you install will be automatically stored on the SD card. However, keep in mind that this setting will not affect the apps you already have installed on your tablet.
Please note that changing the default storage location only applies to newly installed apps. Existing apps will remain on the internal storage, and you’ll need to manually move them to the SD card. We’ll cover that in the next step.
Now that you’ve changed the default storage location to the SD card, let’s move on to the next step: moving apps to the SD card.
Step 5: Move Apps to SD Card
With the default storage location set to the SD card, it’s time to move existing apps from the internal storage to the SD card on your Verizon Qmv7B Tablet. Here’s how you can do it:
- Go to the Settings menu on your tablet by tapping the gear icon in the app drawer or swiping down from the top of the screen and selecting the gear icon in the notification panel.
- Scroll down and tap on “Apps” or “Applications.”
- You’ll see a list of all the apps installed on your tablet. Select the app you want to move to the SD card.
- Tap on the “Storage” or “Storage usage” option.
- Depending on the app, you may see an option like “Change” or “Move to SD card.” Tap on it to initiate the app transfer.
- The transfer process may take some time, especially for larger apps. Be patient and avoid interrupting the process.
- Once the app has been successfully moved to the SD card, you’ll see a confirmation message on the screen.
- Repeat the same process for other apps that you want to move to the SD card.
Keep in mind that not all apps can be moved to the SD card. Some apps, especially system apps and certain pre-installed apps, may not have the option to be moved. Additionally, certain app data or functionality may still remain on the internal storage, even after moving the app itself to the SD card.
Now that you’ve successfully moved some apps to the SD card, let’s move on to the final step: verifying the app transfer.
Step 6: Verify App Transfer
After moving your apps to the SD card on your Verizon Qmv7B Tablet, it’s important to verify that the transfer was successful. Here’s how you can check if the apps are now stored on the SD card:
- Go to the Settings menu on your tablet by tapping the gear icon in the app drawer or swiping down from the top of the screen and selecting the gear icon in the notification panel.
- Scroll down and tap on “Apps” or “Applications.”
- In the list of apps, select one of the apps you previously moved to the SD card.
- Tap on the “Storage” or “Storage usage” option.
- Verify that the app is now listed as using storage on the SD card instead of the internal storage.
If the app is indeed using the SD card for storage, you can be confident that the transfer was successful. Repeat this process for other apps you moved to ensure they are also stored on the SD card.
It’s important to note that moving apps to the SD card can have implications for app performance, especially if the SD card has slower read and write speeds compared to the internal storage. Some larger apps or apps that require frequent read/write operations may experience slightly slower load times or performance. However, for most apps, the difference in performance should be minimal.
Congratulations! You have successfully moved apps to the SD card on your Verizon Qmv7B Tablet. By doing so, you have freed up valuable internal storage space and optimized the performance of your device.
If you ever need to move an app back to the internal storage, simply follow the same steps as before but select “Internal storage” instead of the SD card when prompted. It’s also a good idea to periodically clear the cache of your apps to further optimize storage space.
Thank you for following this guide, and enjoy using your Verizon Qmv7B Tablet with increased storage capacity!
Conclusion
Congratulations on successfully moving apps to the SD card on your Verizon Qmv7B Tablet! By following the steps outlined in this guide, you have freed up valuable internal storage space and optimized the performance of your device. With the default storage location set to the SD card, any new apps you install will be automatically stored on the external storage, reducing the burden on your tablet’s internal memory.
Remember to check the compatibility of your device before attempting to move apps to the SD card. Not all devices support this feature, and some apps may not be movable. Additionally, formatting the SD card and changing the default storage location are crucial steps to ensure a smooth and successful app transfer process.
It’s important to note that while moving apps to the SD card can expand your device’s storage capacity, it may affect app performance, especially for larger apps or those that require frequent read and write operations. Be mindful of the SD card’s speed and consider using a high-performance Class 10 or UHS-I rated card for optimal results.
Lastly, remember to periodically verify the app transfer and check that apps are indeed stored on the SD card. This will help you ensure that the process was successful and that you have effectively created more space on your tablet’s internal storage.
Thank you for following this guide, and we hope that you enjoy the increased storage capacity and improved performance of your Verizon Qmv7B Tablet. If you have any further questions or need additional assistance, don’t hesitate to consult the device’s user manual or reach out to Verizon customer support.


