Introduction
Welcome to our guide on how to zoom out your webcam! In today’s digital age, webcams have become an essential tool for video conferencing, online meetings, content creation, and staying connected with friends and family. However, you may find yourself in a situation where your webcam’s default view is too zoomed in, resulting in a limited field of view or an uncomfortably close perspective. This can be particularly frustrating if you want to capture a broader image or fit more people into your video frame.
In this guide, we will explore various methods that you can use to zoom out your webcam and adjust the viewing angle to your preference. Whether you’re using a built-in webcam on your laptop or an external webcam, we’ve got you covered. From physical adjustments to software settings and third-party applications, we’ll walk you through each step to help you achieve the perfect zoom level for your webcam.
Before we dive into the methods, it’s important to note that the availability of certain features and settings may vary depending on the type and model of your webcam. Additionally, some methods may require administrative privileges on your computer, so make sure you have the necessary access before attempting any changes. Now, let’s explore why you might need to zoom out your webcam and the methods to achieve it!
Why Do You Need to Zoom Out Your Webcam?
There are several reasons why you might need to zoom out your webcam. Here are some common scenarios where adjusting the zoom can be beneficial:
1. Capture a Wider View: When your webcam is zoomed in too much, it restricts the field of view, making it difficult to capture a broader image. By zooming out, you can include more of the surrounding area in the frame, which can be useful for showcasing your environment or capturing group shots during video calls or live streaming.
2. Enhance Visual Presentation: Zooming out your webcam can be beneficial for visual presentations or demonstrations. It allows you to show more details in the background, showcase props, or provide a better view of your workspace or whiteboard. This can significantly improve the clarity and effectiveness of your presentations.
3. Improve Video Conferencing Experience: During video conferences or online meetings, a zoomed-out webcam view can be helpful. It allows participants to see your body language and hand gestures, making communication more natural and engaging. It also enables you to move around without going out of the frame.
4. Comfortable Distance: If your webcam is zoomed in too closely, it may create a sense of intimacy or uncomfortably invade your personal space. Zooming out provides a more comfortable distance between you and the camera, making you feel at ease during virtual interactions.
5. Facilitate Collaborative Work: When collaborating on projects that require a shared workspace, a zoomed-out webcam allows participants to see the entire workspace, including documents, materials, and shared screens. This promotes better understanding and collaboration among team members.
Remember, the need to zoom out your webcam will vary depending on your specific situation and preferences. It’s always a good idea to experiment with different zoom levels to find the one that best suits your needs. In the next section, we will explore the methods you can use to zoom out your webcam and achieve the desired view.
Methods to Zoom Out Your Webcam
Now that we understand the importance of zooming out your webcam, let’s explore the different methods you can use to achieve this:
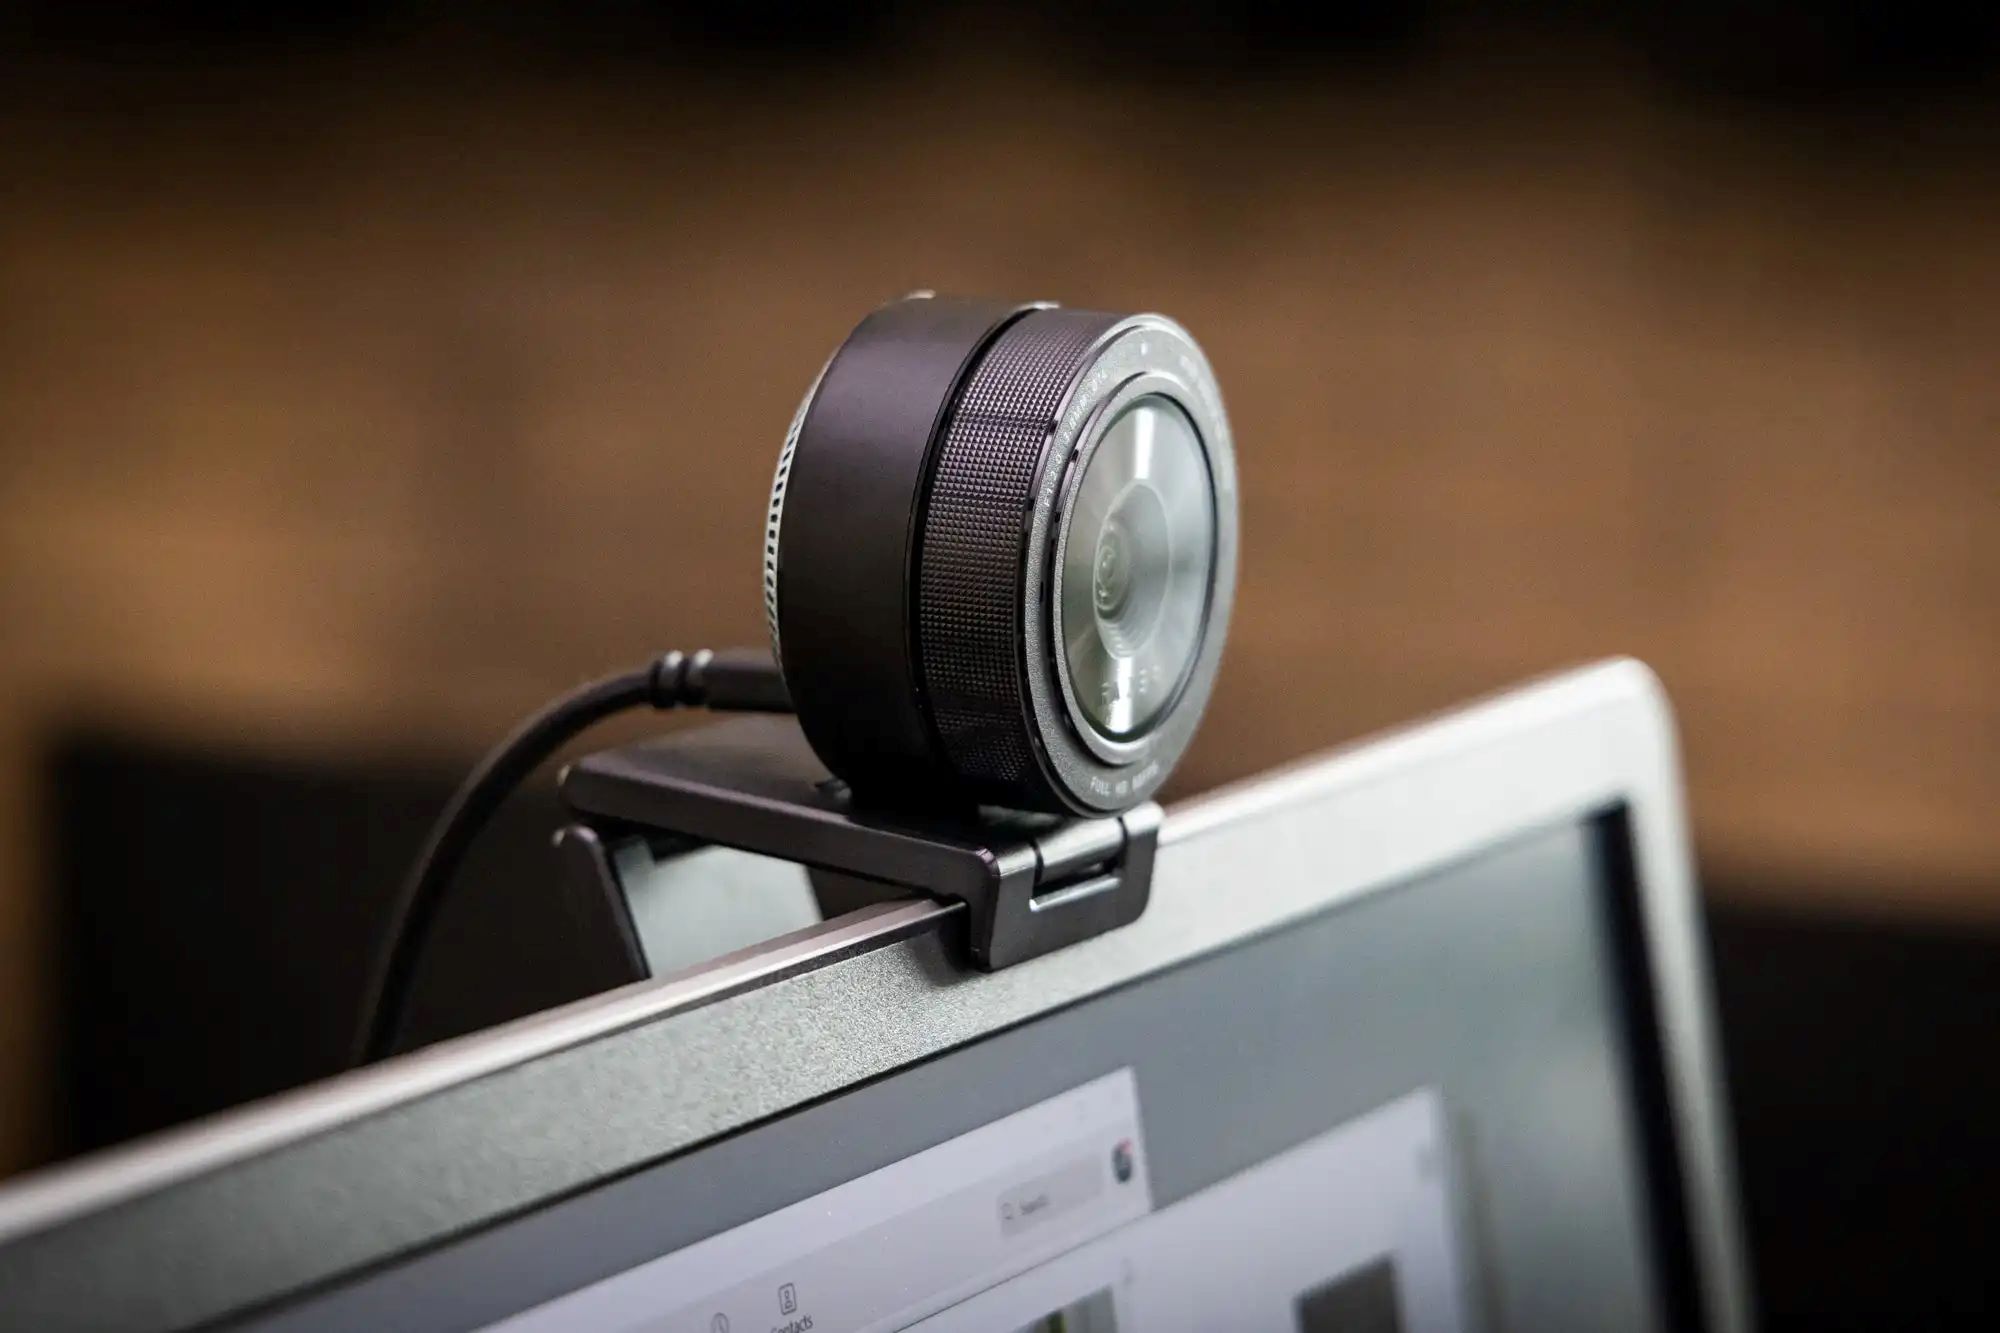
1. Method 1: Adjusting the Physical Zoom: Some webcams have a physical zoom feature that allows you to manually adjust the zoom level. Look for a zoom ring or button on your webcam and rotate it clockwise to zoom out. This method is straightforward and does not require any software or additional tools.
2. Method 2: Changing the Webcam Settings: Most webcams come with software that allows you to adjust various settings, including zoom. Open the webcam software or access the settings through your computer’s control panel. Look for options related to zoom or view angle and decrease the zoom level to achieve a wider view. Experiment with the settings until you find the ideal zoom level for your needs.
3. Method 3: Using Third-Party Software: If your webcam does not have built-in software or lacks advanced zoom options, you can turn to third-party software. There are many applications available that offer more extensive control over your webcam settings, including zoom. Some popular options include OBS Studio, ManyCam, and Logitech Capture. Download and install the software of your choice, and explore the available zoom features to adjust your webcam accordingly.
4. Method 4: Adjusting the Distance: Another simple way to achieve a zoomed-out effect is by adjusting the distance between you and the webcam. Move further away from the camera to capture a wider view. This method works best if you have a fixed webcam setup and can physically adjust your position during the video call or recording.
Remember, the availability of certain methods may vary depending on your webcam model and the software you have installed. Explore the options available to you and find the method that works best for your specific setup. In the next section, we will provide some tips to enhance your webcam zooming experience and achieve optimal results.
Method 1: Adjusting the Physical Zoom
If your webcam has a physical zoom feature, you can easily adjust the zoom level by following these steps:
1. Locate the Zoom Ring or Button: Look for a zoom ring or button on your webcam. It is usually located around the lens or on the side of the camera. The zoom ring may be a rotating ring or a button that you can press and hold.
2. Rotate the Zoom Ring or Press the Button: If you have a zoom ring, rotate it clockwise to zoom out and counterclockwise to zoom in. If you have a button, press and hold it while moving the camera away from you to zoom out. Each webcam may have a different mechanism, so refer to your webcam’s user manual if you’re unsure about the specific instructions.
3. Test and Adjust: After adjusting the zoom, check the live preview or use a video conferencing software to see the changes and ensure you have achieved the desired zoom level. Repeat the process until you are satisfied with the zoomed-out view.
Adjusting the physical zoom is a straightforward method that doesn’t require any additional software or tools. However, keep in mind that not all webcams have this feature, especially built-in webcams on laptops or older models. If your webcam doesn’t have a physical zoom option, don’t worry! There are other methods you can try, as we’ll explore in the next sections.
It’s also important to note that adjusting the physical zoom may affect the focus and image quality. If you notice any blurriness or distortion after zooming out, you may need to manually adjust the focus or explore other methods, such as changing the webcam settings or using third-party software.
Now that we’ve covered the physical zoom method, let’s move on to the next method: changing the webcam settings.
Method 2: Changing the Webcam Settings
If your webcam doesn’t have a physical zoom feature or you’re looking for more precise control over the zoom level, you can adjust the webcam settings on your computer. Follow these steps to change the webcam settings and achieve the desired zoom:
1. Access the Webcam Settings: Open the software or application that came with your webcam, or access the webcam settings through your computer’s control panel. The exact steps may vary depending on your operating system and webcam software. Look for options such as “Webcam Settings” or “Camera Settings”.
2. Find the Zoom Setting: Within the webcam settings, locate the zoom option. It is usually a slider or a numerical value that represents the zoom level. If you can’t find a specific zoom setting, look for options related to view angle, field of view, or camera zoom.
3. Decrease the Zoom Level: Adjust the zoom slider or enter a lower value to decrease the zoom level. As you make changes, you should see the live preview updating to show the new zoomed-out view. Keep adjusting until you achieve the desired zoom level.
4. Test and Refine: Once you have made the adjustments, test the webcam by using a video conferencing software or recording a short video. Make sure the zoom level is to your liking and provides the desired wider view. If necessary, go back to the settings and make further adjustments until you are satisfied.
Changing the webcam settings gives you more control over the zoom level and allows for precise adjustments. This method is commonly available for most webcams and offers flexibility in achieving the desired zoomed-out view. However, keep in mind that not all webcam software may have advanced settings or a dedicated zoom option. In such cases, you can explore the next method: using third-party software.
In the next section, we will discuss how third-party software can be a viable option for adjusting the zoom on your webcam.
Method 3: Using Third-Party Software
If your webcam’s built-in software or settings do not provide sufficient control over the zoom level, you can turn to third-party software for more advanced options. Here’s how you can use third-party software to adjust the zoom on your webcam:
1. Research and Choose Software: Start by researching reputable third-party webcam software that offers advanced features, including zoom control. Popular options include OBS Studio, ManyCam, Logitech Capture, and CamTwist. Visit their official websites, read reviews, and compare features to determine which software best suits your needs.
2. Download and Install: Once you have selected the software, download it from the official website and follow the installation instructions. Make sure to choose the appropriate version for your operating system.
3. Configure Webcam: After installation, launch the software and locate the webcam settings or configuration options. Look for zoom-related settings, such as zoom range, zoom level, or zoom sensitivity. Adjust these settings according to your preference to achieve the desired zoomed-out view.
4. Test and Fine-Tune: To verify the changes, open a video conferencing software or use the software’s built-in preview option. Check if the zoom level is to your liking and provides the wider view you desire. If necessary, go back to the software’s settings and fine-tune the zoom until you are satisfied with the result.
Using third-party software gives you more control and flexibility over your webcam’s zoom settings. These software solutions often offer additional features and customization options beyond just zoom control. Explore the software’s capabilities to enhance your webcam experience further, such as adding overlays, backgrounds, or adjusting image properties.
Keep in mind that third-party software may have a learning curve, and some features may be locked behind paid versions. Take some time to familiarize yourself with the software’s interface and settings to make the most out of the zoom and other available options.
In the next section, we will share some tips to enhance your overall webcam zooming experience and help you achieve optimal results.
Tips for a Better Webcam Zooming Experience
To ensure you make the most out of your webcam’s zooming capabilities and achieve the best results, here are some tips to keep in mind:
1. Lighting is Key: Good lighting plays a crucial role in webcam video quality. Make sure you have adequate lighting in your environment to avoid grainy or dimly lit footage. Natural light or a well-positioned desk lamp can significantly improve the overall clarity and image quality.
2. Consider Your Background: Pay attention to the background behind you during video calls or recordings. Choose a clean and uncluttered backdrop that is visually appealing and not distracting. Ensure that your background is well-lit and free from any personal or sensitive information.
3. Position Yourself Appropriately: Adjust your seating position and distance from the webcam to ensure that you’re comfortably framed within the video. Sit at an appropriate distance where your face and upper body are visible without being too close or too far from the camera.
4. Experiment with Different Zoom Levels: While zooming out is often desired to capture a wider view, don’t be afraid to experiment with different zoom levels to find the optimal balance. Test different zoom settings and observe how they affect the framing, field of view, and overall composition of your video.
5. Test Before Important Sessions: Before important video conferences, presentations, or recordings, always test your webcam setup, including the zoom level, lighting, and audio quality. Use the video conferencing software’s preview feature or record a short video to ensure everything looks and sounds as desired.
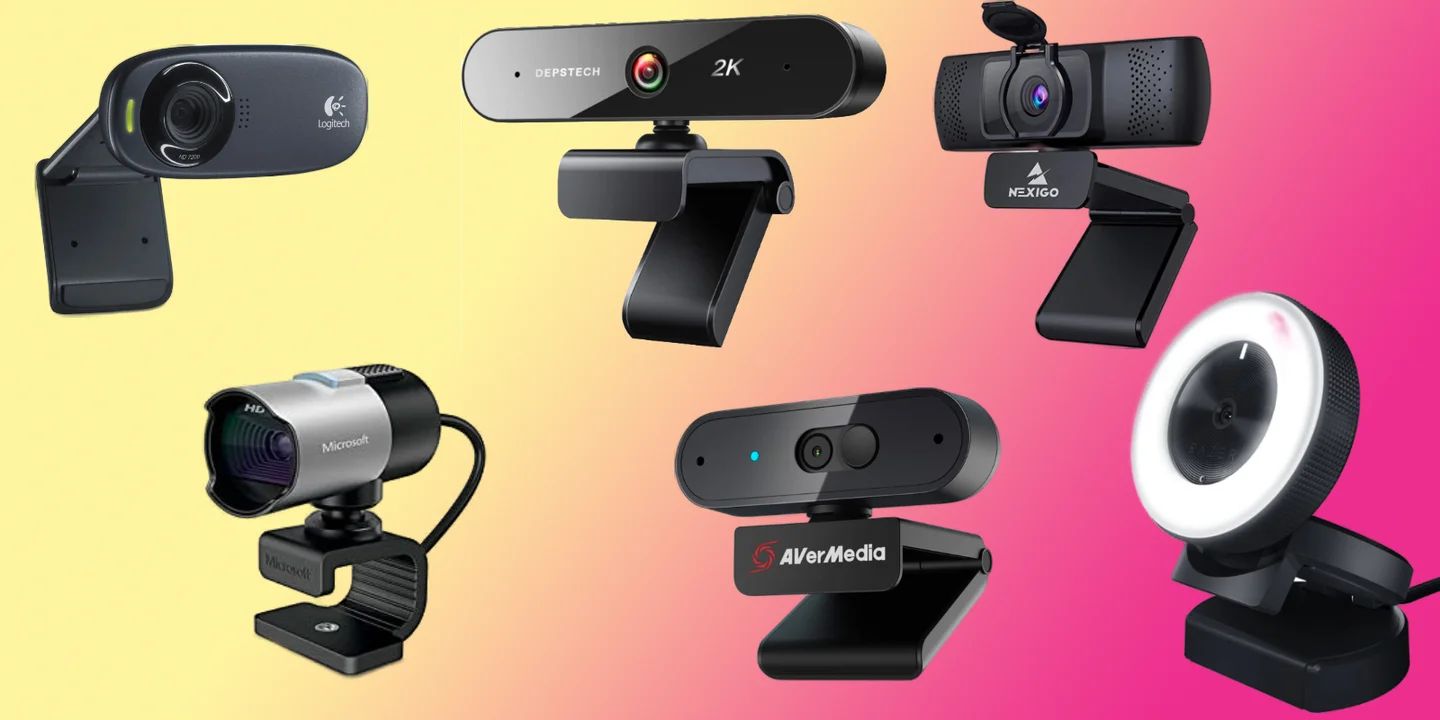
6. Invest in a Quality Webcam: If you frequently use your webcam for professional purposes or content creation, consider investing in a high-quality external webcam. These webcams often offer more advanced features, better image quality, and superior zoom control compared to built-in webcams.
7. Regularly Clean Your Webcam Lens: Dust and smudges on your webcam lens can affect the image quality. Clean the lens regularly using a microfiber cloth or a lens cleaning solution to ensure a clear and sharp view.
Remember, the goal of zooming out your webcam is to provide a wider and more comfortable view for your video calls, presentations, or content creation. Explore different settings and methods to find the right balance for your specific needs and equipment.
By following these tips, you can enhance your overall webcam zooming experience and deliver a professional and visually pleasing image to your viewers. Now, let’s summarize what we’ve covered so far in this guide.
Conclusion
Zooming out your webcam can greatly enhance your video conferencing experience, content creation, and online presentations. By adjusting the zoom level, you can capture a wider view, showcase your surroundings, and create a more engaging and professional presence. Throughout this guide, we have explored various methods to help you achieve the desired zoom level for your webcam.
We started by understanding the reasons why you may need to zoom out your webcam, such as capturing a wider view, improving visual presentations, and facilitating collaborative work. We then discussed three main methods: adjusting the physical zoom (if available), changing the webcam settings, and using third-party software. Each method offers its own benefits and flexibility, allowing you to find the best approach based on your webcam model and personal preferences.
Additionally, we provided tips to enhance your overall webcam zooming experience, emphasizing the importance of lighting, background selection, positioning, and testing before important sessions. By following these tips, you can ensure that you make the most out of your webcam’s zoom capabilities and achieve optimal results.
Remember, the specific steps and features may vary depending on your webcam model, software, and computer setup. Therefore, it’s essential to refer to your webcam’s user manual and explore the available options within your software or applications.
With the knowledge gained from this guide, you are now equipped to adjust the zoom level of your webcam and achieve the perfect view for your needs. Whether it’s for video conferences, presentations, live streaming, or simply staying connected with loved ones, zooming out your webcam opens up new possibilities and enhances the visual communication experience.
So go ahead, try out the methods shared in this guide, experiment with different zoom levels, and enjoy the benefits of a wider and more immersive webcam view!


