Introduction
Welcome to our step-by-step guide on how to wire a smart light switch! Smart light switches are a fantastic addition to any home automation system, allowing you to control your lights remotely through a smartphone app or with voice commands using a virtual assistant like Alexa or Google Assistant. Not only do smart light switches offer convenience, but they also help you save energy and enhance the security of your home.
Before we dive into the wiring process, it’s important to note that electrical work can be dangerous if not performed correctly. If you’re not comfortable working with electricity, we highly recommend consulting a licensed electrician. Safety should always be your top priority.
In this guide, we’ll walk you through each step of the process, ensuring that you can install your smart light switch safely and efficiently. We’ll cover the necessary tools and materials, how to turn off the power, remove an existing switch, identify wires, connect the smart light switch, mount it, and finally, test it to ensure everything is working properly.
By following our instructions carefully, you’ll be able to enjoy the benefits of a smart light switch and control your lights with ease. So, let’s get started! But remember, if at any point during the process you feel unsure or uncomfortable, it’s best to consult a professional electrician.
Safety Precautions
Before you begin any electrical work, it’s crucial to take the necessary safety precautions to protect yourself and others. Here are some important safety measures to keep in mind:
- Turn off the power: Before starting any electrical work, turn off the power at the circuit breaker or fuse box to ensure there is no electricity flowing through the wires you’ll be working with. Use a voltage tester to double-check that the power is indeed off before proceeding.
- Use appropriate personal protective equipment (PPE): Wear protective gloves and safety glasses to shield yourself from any potential electrical hazards or debris. Safety should always be your top priority.
- Read the manufacturer’s instructions: Each smart light switch may have specific installation instructions provided by the manufacturer. Make sure to carefully read and understand these instructions before beginning the installation process.
- Avoid wet areas: Do not attempt to install a smart light switch in wet or damp areas. Water and electricity do not mix, and this can lead to dangerous situations.
- Inspect the wiring: Before proceeding with the installation, inspect the existing wiring for any signs of damage or wear. If you notice any issues, it’s best to contact a licensed electrician to address them.
- Work in a well-lit area: Ensure that the area where you’ll be working is well-lit to avoid any accidental mishaps or confusion. This will help you clearly see what you’re doing and avoid mistakes.
- Take it slow and be careful: Always work at a comfortable pace and avoid rushing through the installation process. Take your time to ensure that each step is completed correctly and securely.
- Keep children and pets away: During the installation process, it’s crucial to keep children and pets away from the work area to prevent accidents or injuries. Set up barriers if necessary to create a safe zone.
- Double-check your connections: Once you have completed the installation, double-check all your connections to ensure they’re secure and properly aligned. Any loose or faulty wiring can lead to potential hazards.
By following these safety precautions, you can minimize risks and ensure a safe and successful installation of your smart light switch. Always prioritize your well-being and seek professional help if needed.
Tools and Materials Needed
Before you begin wiring your smart light switch, make sure you have the following tools and materials on hand:
- Screwdriver: A flathead or Phillips screwdriver will be necessary for removing the existing switch and connecting the wires to the smart light switch.
- Wire stripper: A wire stripper will allow you to remove the insulation from the wiring without damaging the copper wires.
- Voltage tester: A voltage tester is essential for checking if the power is off before you start working. It ensures your safety by confirming that no electricity is present in the circuit.
- Needle-nose pliers: These pliers will come in handy for bending and manipulating the wires as needed during the installation process.
- Electrical tape: Electrical tape is used to insulate the exposed wires and ensure a secure connection. It provides an extra layer of protection against potential electrical hazards.
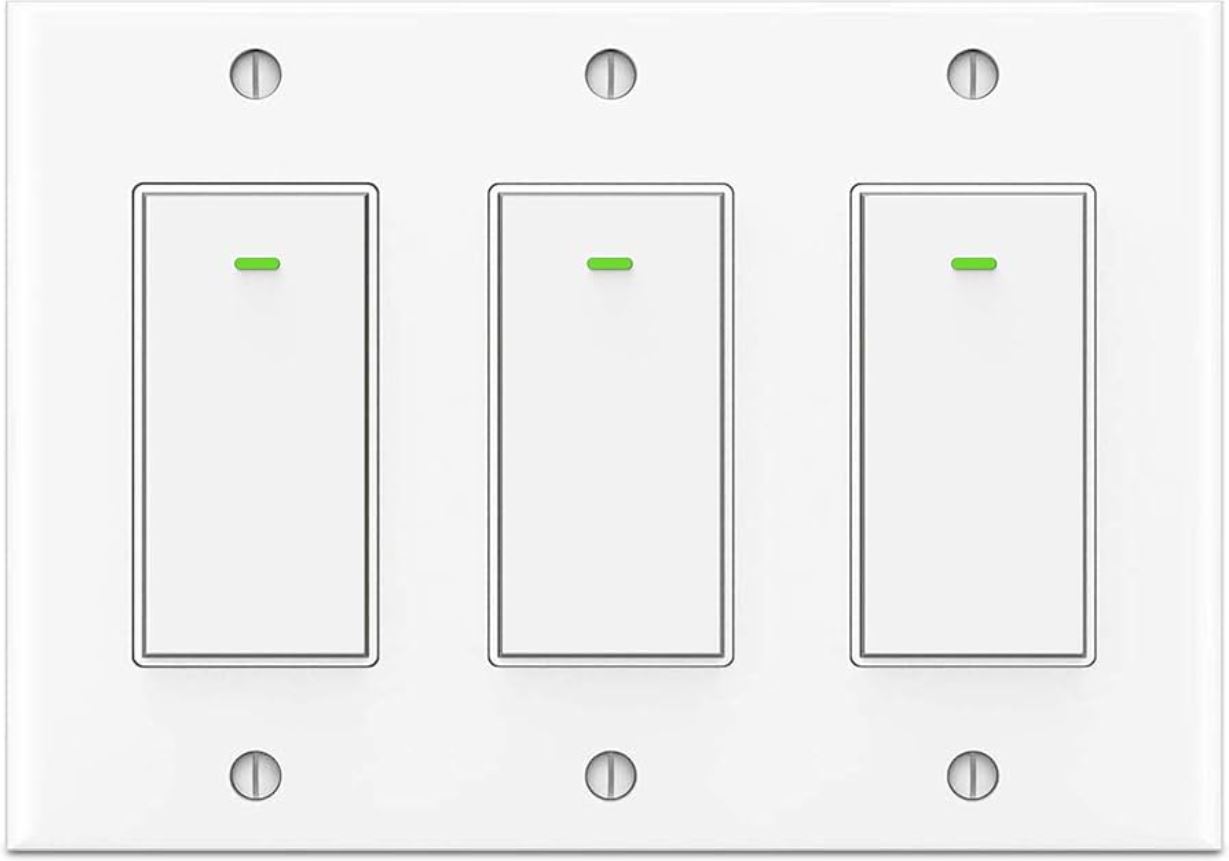
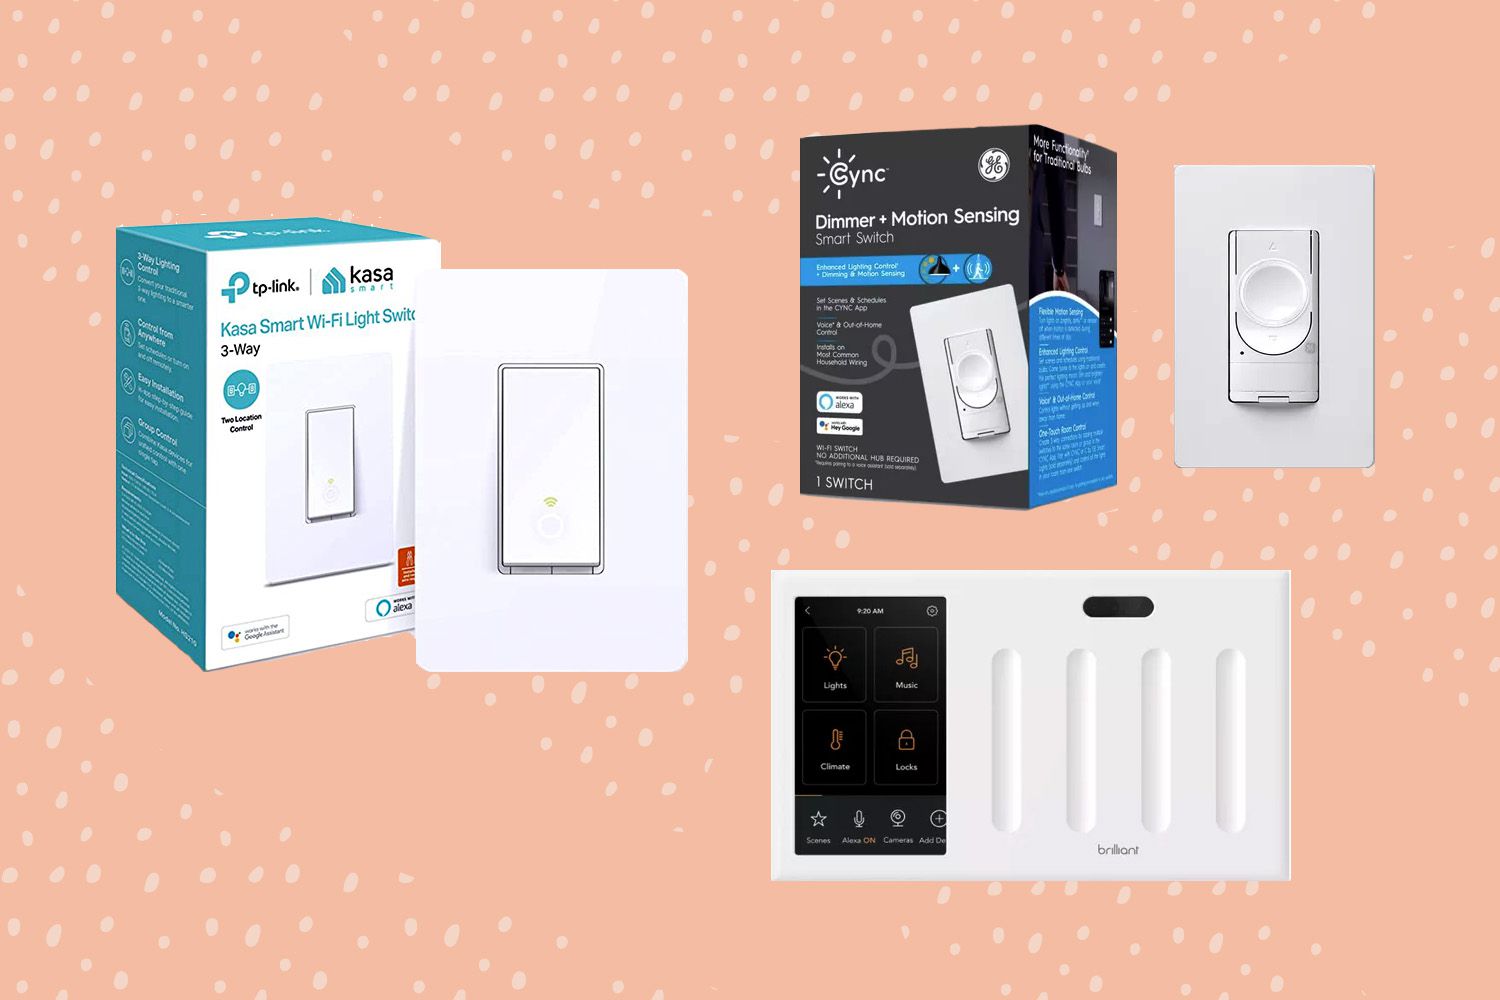
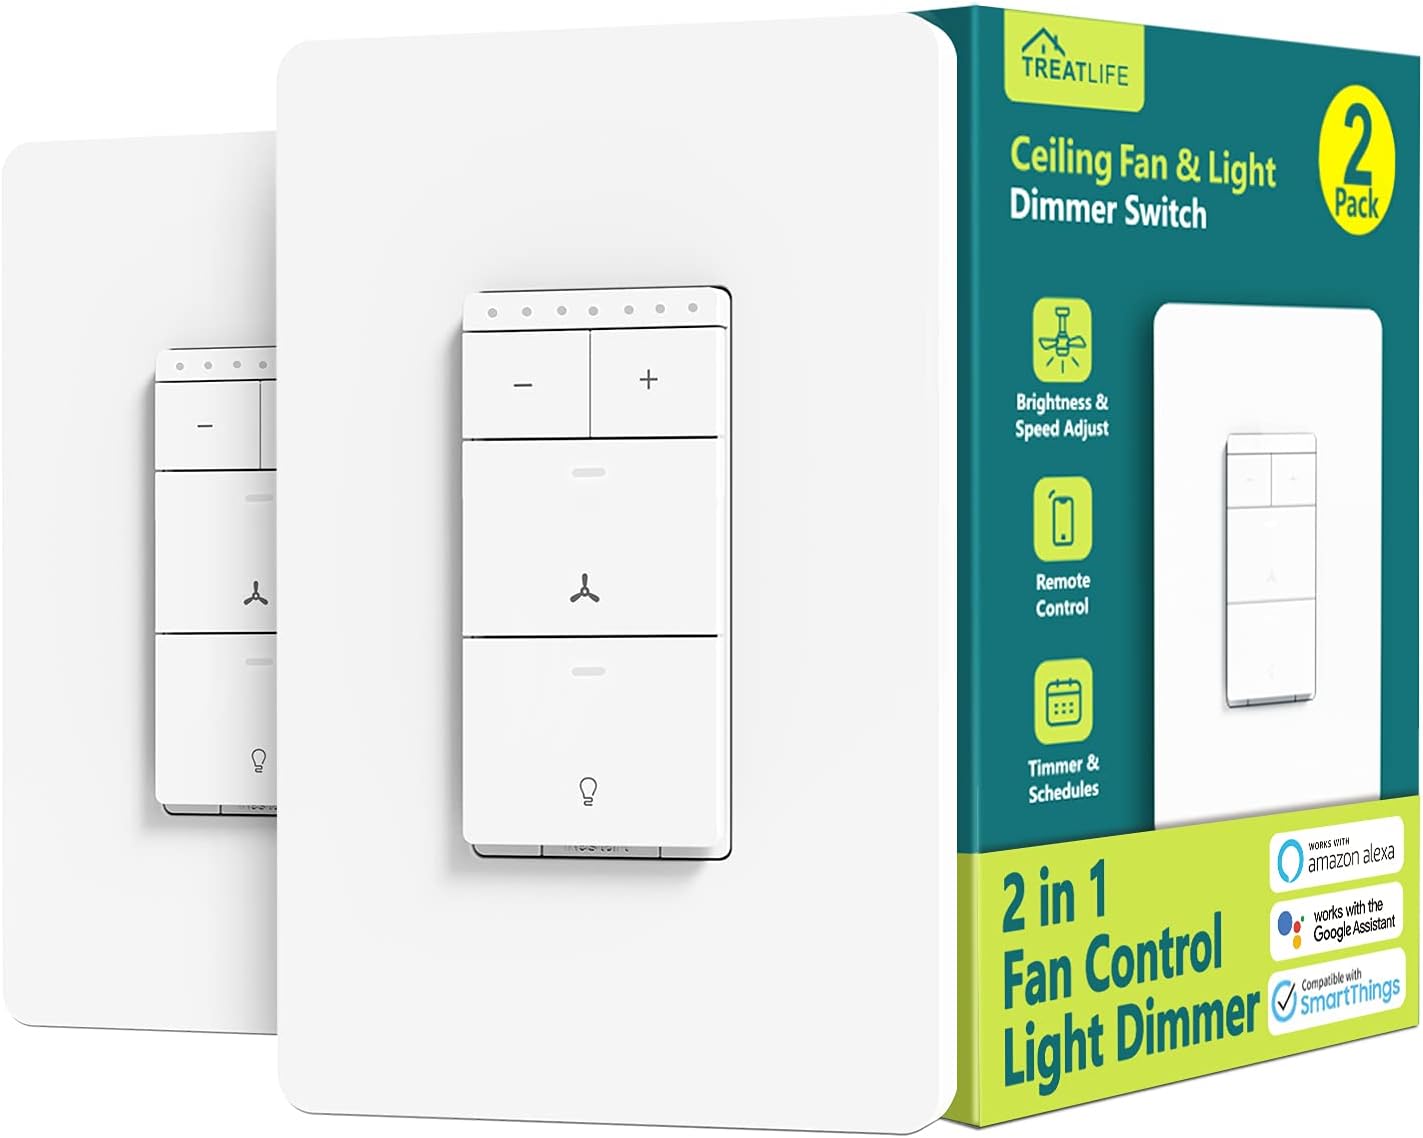
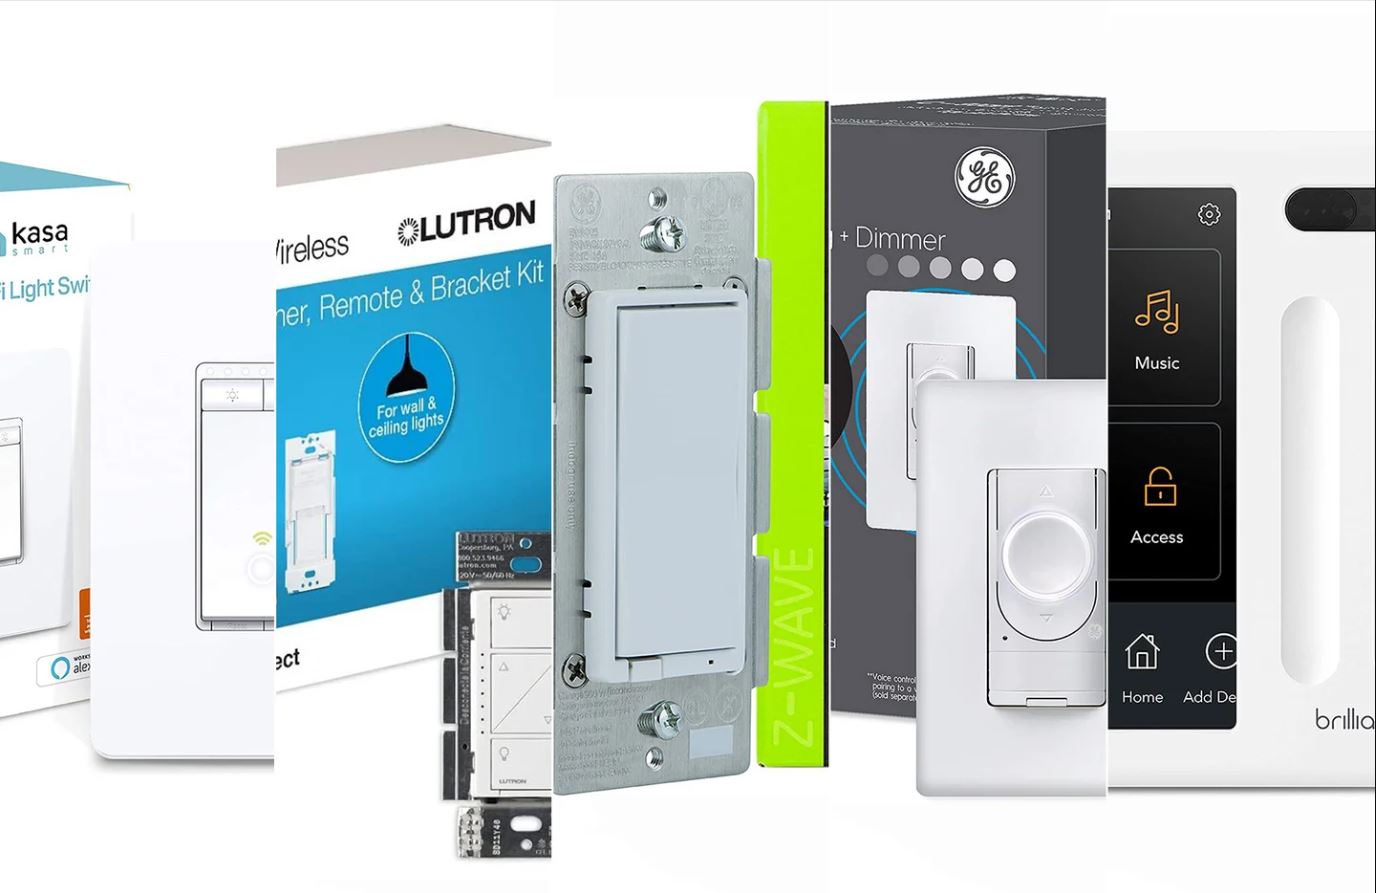
- Smart light switch: Choose a smart light switch that is compatible with your home automation system or wireless protocols like Wi-Fi, Z-Wave, or Zigbee. Check the specifications and compatibility requirements before purchasing.
- Wire nuts: Wire nuts are connectors used for joining wires together. They provide a secure and insulated connection.
- Marker or label: Labeling the wires during the process can help you identify them later, making the installation and troubleshooting easier.
Additionally, ensure that you have the necessary materials, such as electrical wiring, mounting screws, and a faceplate for the smart light switch. These may be included with the switch or need to be purchased separately, depending on the specific model you choose.
Having these tools and materials ready before you begin will save you time and ensure a smooth installation process. If you’re unsure about any of the tools or materials required, consult the manufacturer’s instructions or seek guidance from a qualified professional.
Step 1: Turn off the Power
Before you start working on wiring your smart light switch, it is crucial to turn off the power to prevent any electrical accidents. Follow these steps to ensure the power is off:
- Locate the circuit breaker box or fuse box in your home. It is usually found in the basement, garage, or utility room.
- Identify the circuit breaker or fuse that controls the circuit you will be working on. Look for labels or use trial and error by switching off each circuit breaker or removing each fuse one at a time and checking if the power is still on.
- Once you have identified the correct circuit breaker or fuse, switch it to the off position or remove the fuse from its socket.
- Double-check that the power is off by testing the wires with a voltage tester. Place the voltage tester against the exposed wires to ensure that there is no electricity flowing through them. If the voltage tester does not detect any electrical activity, it is safe to proceed.
Remember to inform other household members about the power shutdown to prevent accidental reactivation while you are working. It’s also a good idea to place a note or a sign on the circuit breaker or fuse box to serve as a visual reminder that the power is turned off.
Turning off the power is a critical step in ensuring your safety during the installation process. Always treat electricity with caution and double-check that there is no power before proceeding to the next steps.
Step 2: Remove Existing Switch
Now that you have ensured the power is turned off, it’s time to remove the existing switch. Follow these steps to safely remove the old switch:
- Remove the switch cover plate by unscrewing the screws holding it in place. Set the screws aside as you will need them later.
- Gently pull the switch out of the wall box, exposing the wiring behind it. Take note of how the wires are connected to the switch.
- Using a screwdriver, unscrew the screws that secure the switch to the electrical box. Keep the screws in a safe place as you may need them for the installation of the smart light switch.
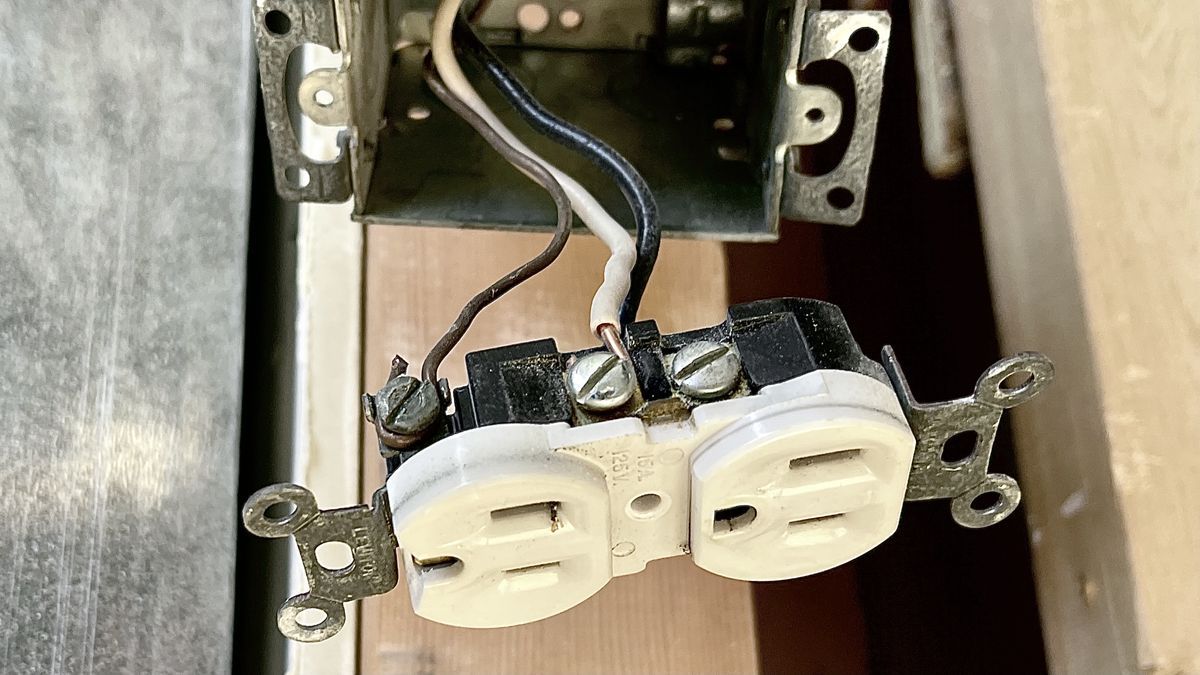
- Carefully disconnect the wires from the existing switch. Depending on the wiring setup, you may find one or more wires connected to the switch.
- Once the wires are detached, carefully pull the existing switch out of the wall box.
- Inspect the wires to ensure they are in good condition. Look for any signs of fraying, damaged insulation, or loose connections. If you notice any issues, it is best to consult a licensed electrician to address them.
Remember to handle the existing switch and its components with care to avoid any damage or injury. Take note of the wire connections and the orientation of the switch as this will be helpful when installing the new smart light switch.
By carefully following these steps, you have successfully removed the existing switch. Now you’re ready to move on to the next step and start connecting the smart light switch.
Step 3: Identify Wires
After removing the existing switch, the next step is to identify the wires that are connected to it. Understanding the different wires and their functions is crucial for correctly wiring the smart light switch. Follow these steps to identify the wires:
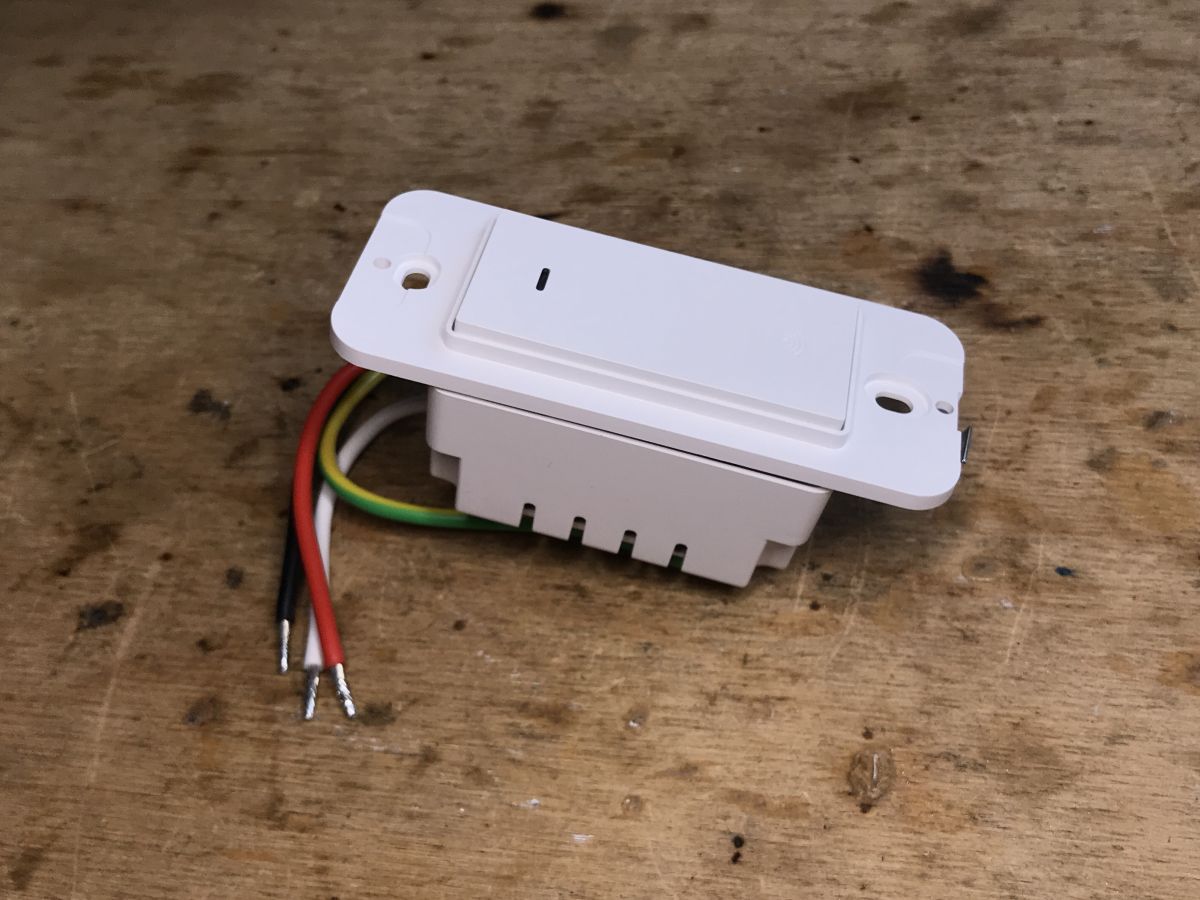
- Visually inspect the exposed wires in the wall box. You will typically see three types of wires: live wires (usually black or red), neutral wires (usually white), and ground wires (usually green or copper).
- Using a voltage tester, double-check that the power is indeed off by touching the tester to each wire. The voltage tester should not indicate any electricity flowing through the wires.
- If the wires are not already labeled, it’s a good idea to label them now to avoid confusion later. You can use a marker or adhesive labels to identify the wires based on their functions.
- Identify the live wire. This wire carries the main electrical current and is typically connected to the black or red wire. Confirm its status with the voltage tester by touching the tester to the wire while turning the power back on at the circuit breaker. The tester should now indicate that electricity is flowing through the live wire.
- Identify the neutral wire. This wire completes the electrical circuit and is usually connected to the white wire. The neutral wire typically does not carry any electrical current when the power is off.
- Identify the ground wire. This wire provides a path for electrical currents in case of faults and is typically connected to the green or copper wire. It is an important safety feature.
Properly identifying the wires will help you connect them correctly to the smart light switch during the installation process. Make sure to handle the wires carefully and avoid touching any exposed ends to prevent any electrical shocks.
Once you have identified and labeled the wires, you are ready to move on to the next step and start connecting the smart light switch.
Step 4: Connect the Smart Light Switch
With the wires identified and labeled, it’s time to connect the smart light switch. Follow these steps to ensure the proper connection:
- Start by matching the labeled wires from the wall box to the corresponding terminals on the smart light switch. Most smart light switches have clearly marked terminals, such as “live,” “neutral,” and “ground.
- Take the live wire from the wall box and connect it to the live terminal on the smart light switch. Insert the exposed end of the wire into the terminal and tighten the screw to secure the connection. Ensure that the wire is securely fastened and there are no loose strands.
- Next, take the neutral wire from the wall box and connect it to the neutral terminal on the smart light switch. Again, insert the exposed end of the wire into the terminal and tighten the screw to establish a secure connection.
- If there is a ground wire in the wall box, connect it to the ground terminal on the smart light switch. Follow the same process of inserting the wire and tightening the screw to ensure a solid connection.
- Ensure that all connections are tight and secure. Give the wires a gentle tug to double-check that they are firmly attached to their respective terminals.
It’s important to note that some smart light switches may have additional terminals or requirements, depending on the specific model. Always refer to the manufacturer’s instructions provided with the smart light switch to ensure you are making the correct connections.
Once all the wiring connections are complete and secure, you can proceed to the next step of mounting the smart light switch in the wall box.
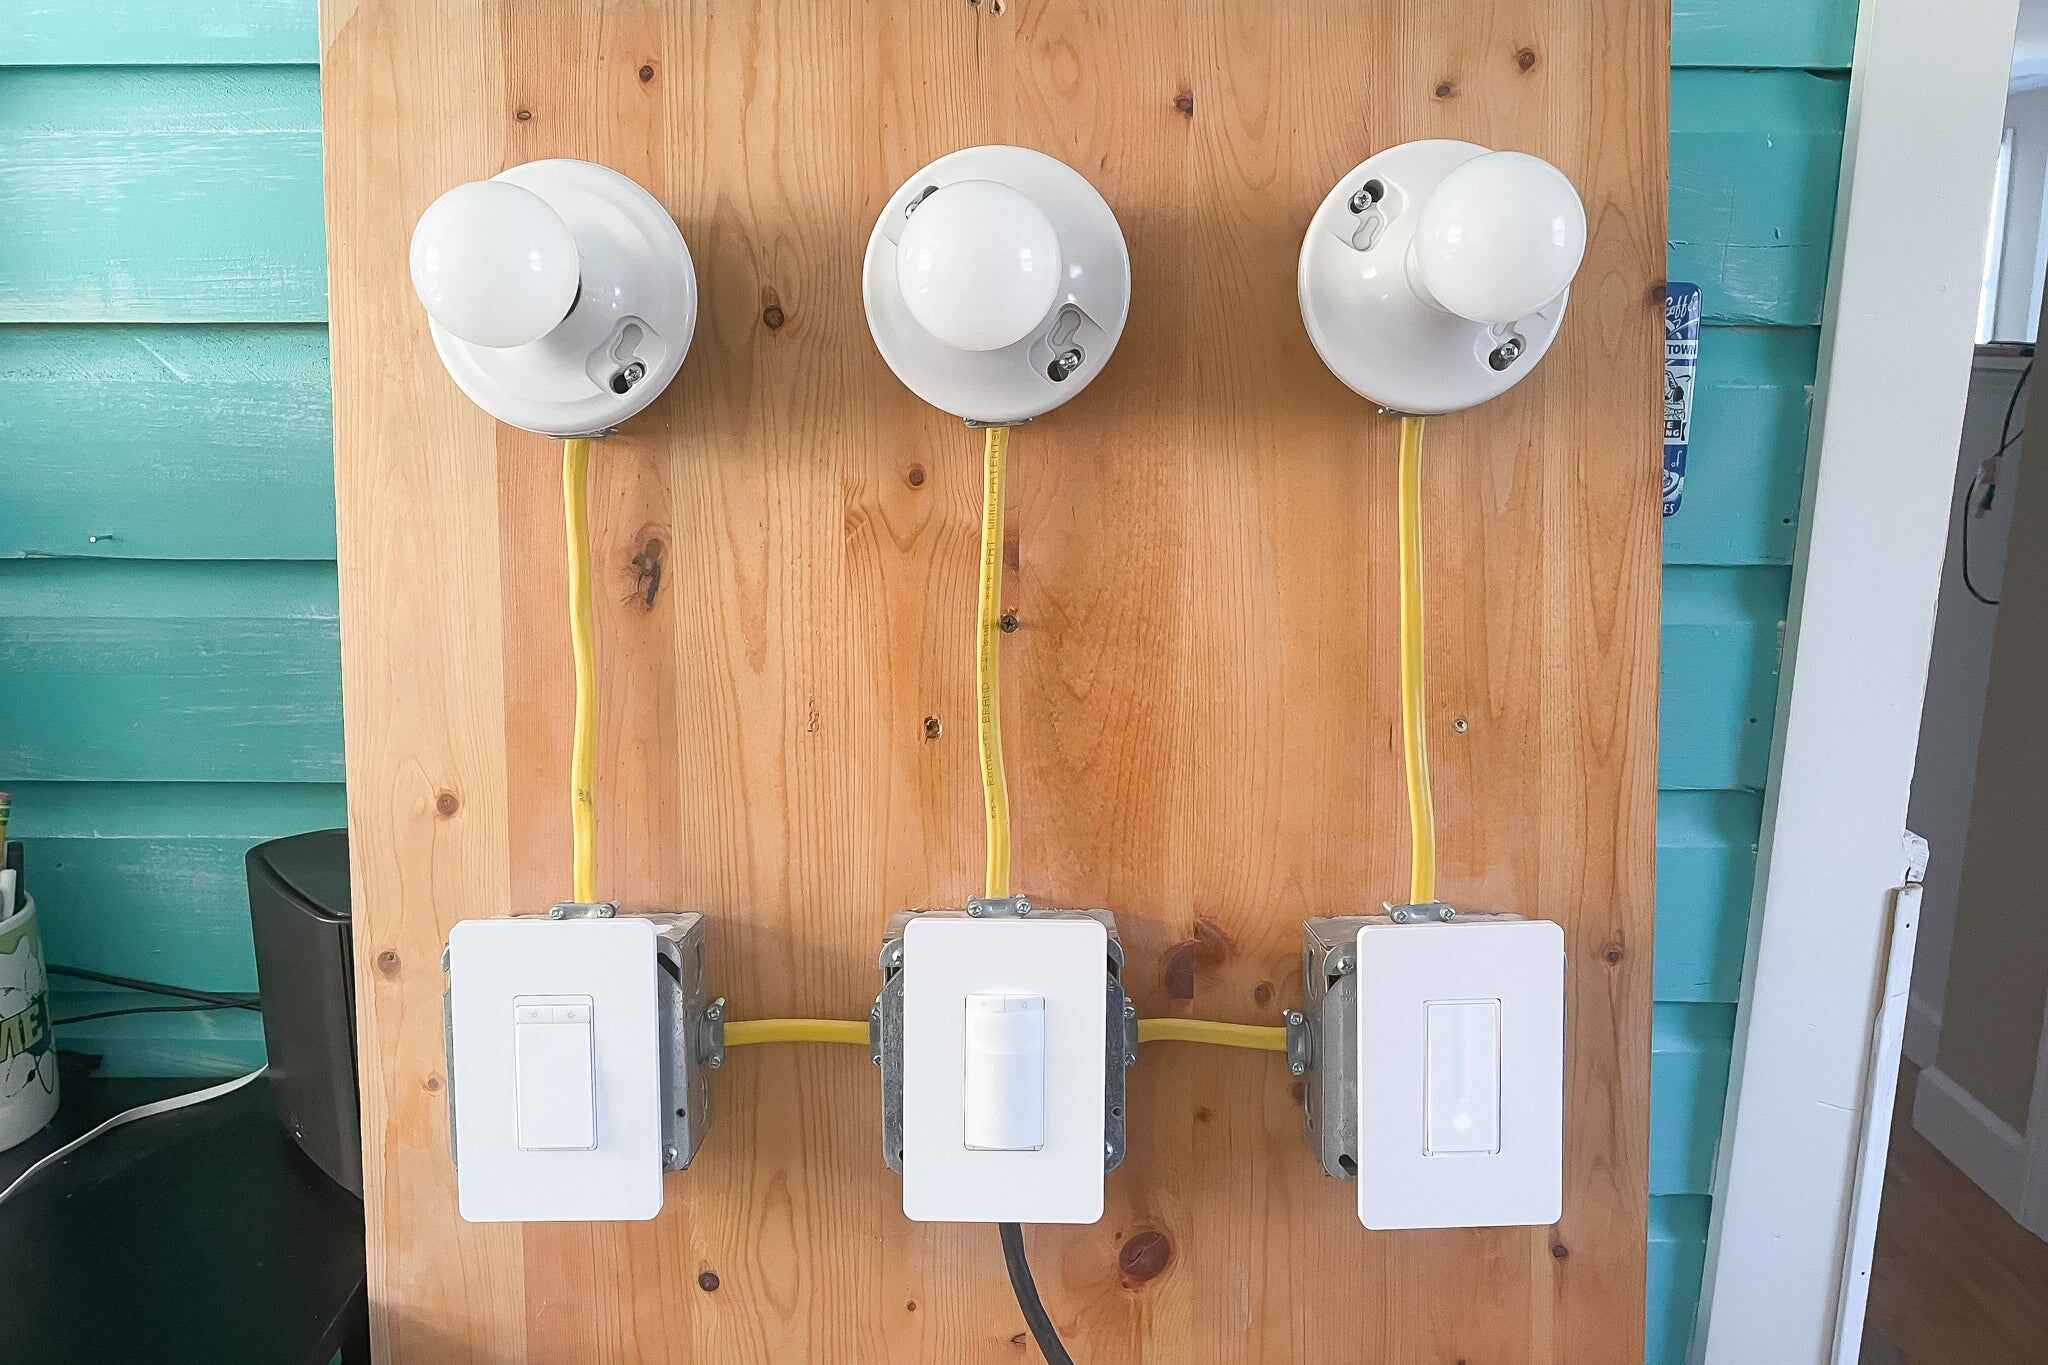
Step 5: Mount the Smart Light Switch
Now that the smart light switch is wired correctly, it’s time to mount it securely in the wall box. Follow these steps to ensure proper mounting:
- Gently push the wires into the wall box, taking care not to disturb the connections you’ve just made. Make sure all the wires are neatly tucked inside the box.
- Align the smart light switch with the screw holes on the wall box. The screw holes should line up with the corresponding holes on the switch.
- Using the screws that came with the smart light switch, insert them through the screw holes on the switch and tighten them into the wall box. Use a screwdriver to ensure a snug fit. Avoid over-tightening the screws to prevent damage to the switch or the wall box.
- Once the switch is securely mounted, give it a gentle tug to ensure it is firmly in place. It should not move or wiggle.
- If your smart light switch has a faceplate, attach it to the switch by aligning the screw holes and tightening the screws provided.
Ensure that the smart light switch is mounted straight and flush with the wall. This will provide a professional and seamless appearance once the installation is complete.
Once the smart light switch is properly mounted, it’s time to move on to the final step to test the switch and ensure it is functioning correctly.
Step 6: Test the Smart Light Switch
After completing the installation and mounting of the smart light switch, it’s important to test its functionality to ensure everything is working properly. Follow these steps to test the smart light switch:
- Turn the power back on at the circuit breaker or fuse box.
- Ensure that the smart light switch is in the “off” position.
- Using either the smartphone app or the physical switch on the smart light switch, attempt to turn on the connected light or lights.
- If the light(s) turn on, switch the smart light switch to the “on” position and confirm that the light(s) turn off. This will verify that the switch is functioning correctly.
- Test the smart features of the switch if applicable. This could include dimming capabilities, scheduling, or integration with virtual assistants like Alexa or Google Assistant.
- If the light(s) do not respond or the switch is not functioning as expected, double-check the wiring connections and consult the manufacturer’s instructions for troubleshooting tips.
It’s important to test the smart light switch before finalizing the installation to catch any potential issues or misconfigurations. This way, you can address them promptly and ensure the complete functionality of the switch.
If the testing is successful and the smart light switch is working as intended, you can proceed to replace the switch cover plate, ensuring it is securely fastened. Take a moment to admire your newly installed and functional smart light switch!
By following these steps, you have successfully wired, mounted, and tested your smart light switch. Enjoy the convenience and control that a smart lighting system brings to your home!
Conclusion
Congratulations on successfully wiring and installing your smart light switch! By following the step-by-step guide outlined in this article, you have taken a big step towards enhancing your home automation system and improving the functionality of your lighting.
Throughout the process, it’s important to prioritize safety by turning off the power, using the right tools and materials, and taking your time to ensure proper connections. Always consult the manufacturer’s instructions and seek professional assistance if you feel unsure or uncomfortable with any step.
Remember that smart light switches offer not only convenience but also energy efficiency and enhanced security for your home. With the ability to control your lights remotely and integrate with voice assistants, you now have a more flexible and customizable lighting system at your fingertips.
Make sure to regularly update and maintain your smart home system, including the light switch firmware and associated apps, to ensure optimal performance and security. Additionally, take advantage of the various smart features available, such as scheduling, dimming, and integration with other smart devices to maximize the benefits of your smart light switch.
We hope this guide has been helpful in guiding you through the process of wiring and installing your smart light switch. Enjoy the convenience, comfort, and energy savings that come with smart lighting, and continue exploring other ways to enhance your smart home experience.