Introduction
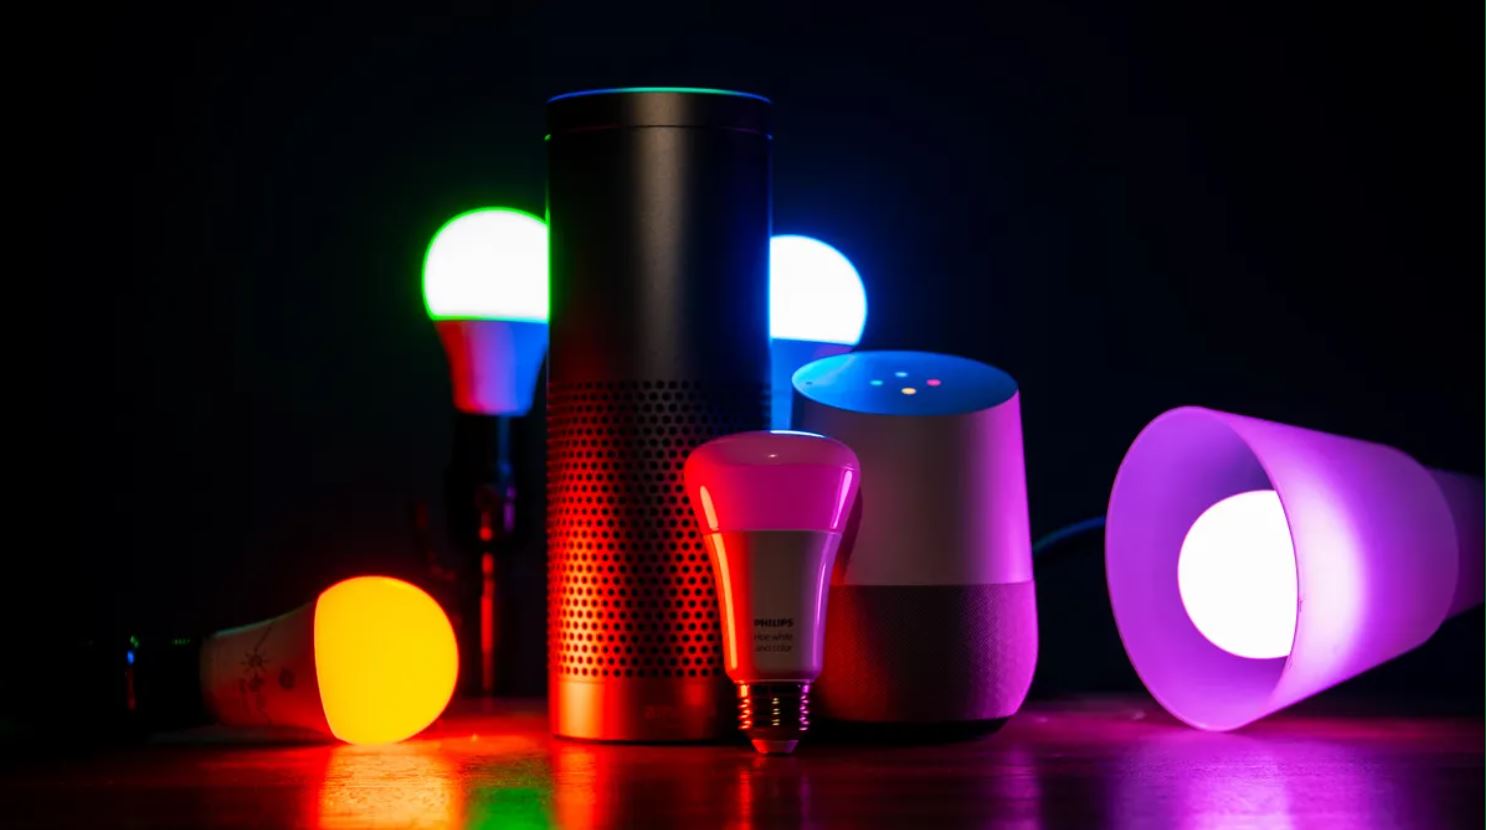
Welcome to the world of smart lighting! With the emergence of smart home technology, controlling your lights has become incredibly convenient and efficient. By connecting your light bulbs to a smart hub and using a dedicated mobile app, you can effortlessly customize your lighting preferences, create schedules, and even control your lights with voice commands. In this article, we will guide you through the process of connecting a smart light bulb, step by step.
Smart light bulbs offer a plethora of advantages over traditional bulbs. Not only do they provide the ability to adjust the brightness and color temperature to suit your mood, but they also offer features like remote control, energy efficiency, and compatibility with virtual assistants such as Amazon Alexa or Google Assistant.
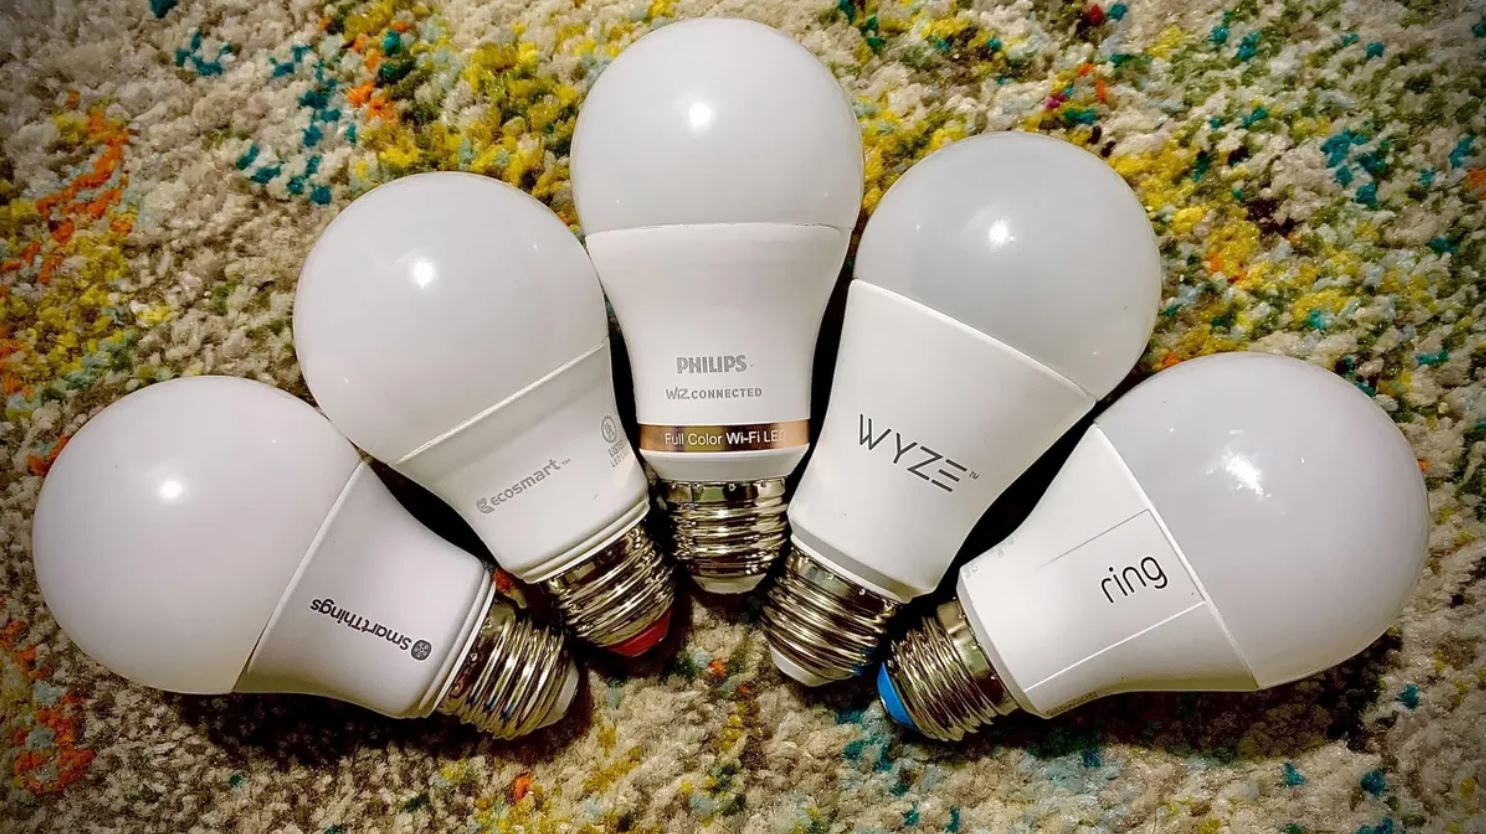
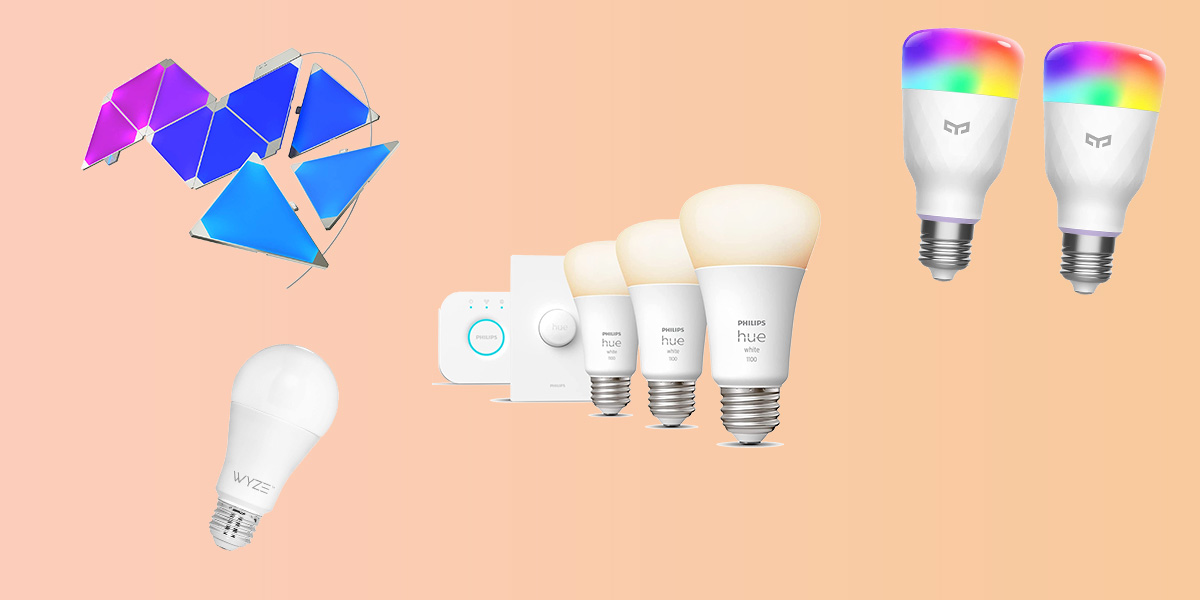
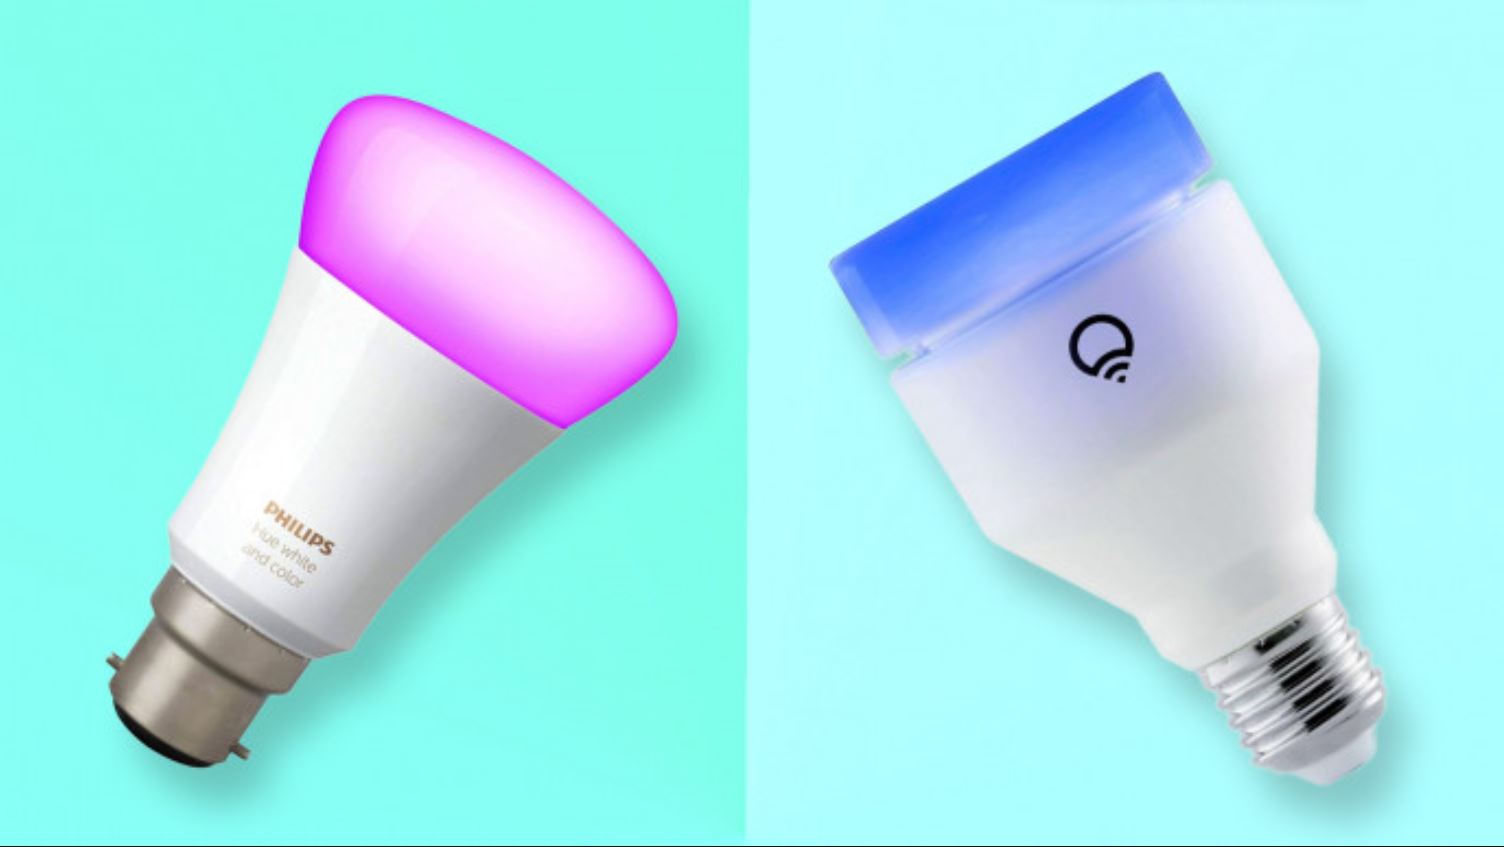
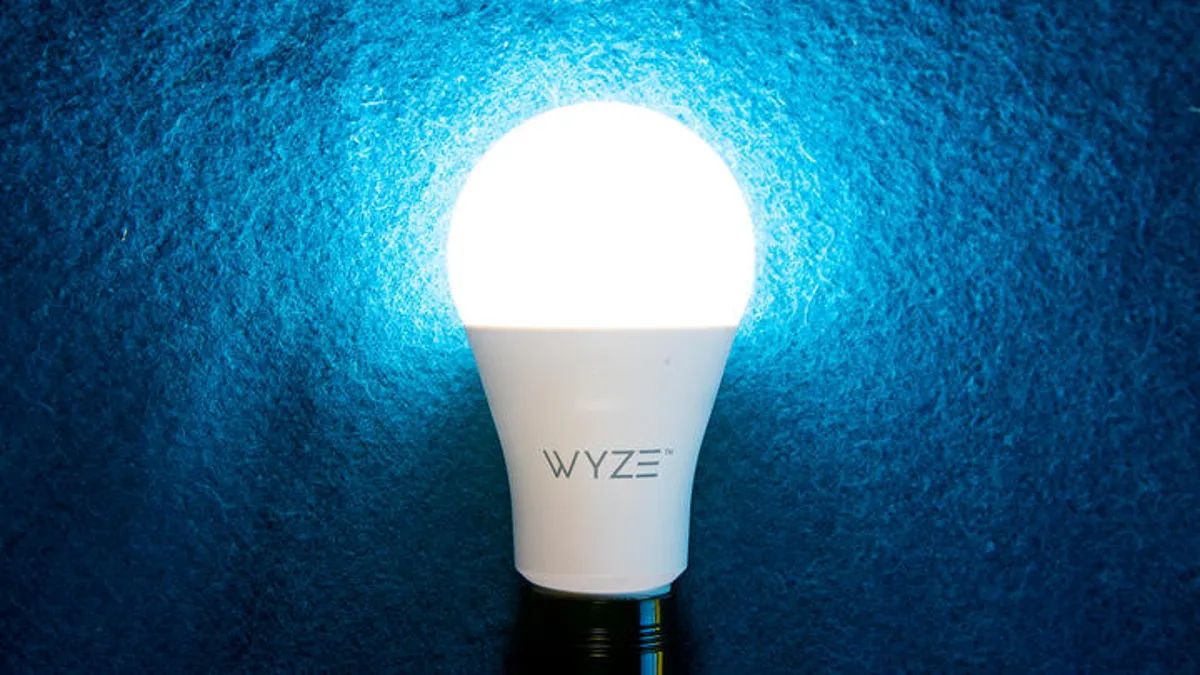
Before diving into the process, it’s essential to choose the right smart light bulb that fits your needs. There are various options available in the market, including Wi-Fi-enabled bulbs, Bluetooth bulbs, and those that require a dedicated hub. Consider factors such as connectivity, compatibility, bulb type, and additional features to make an informed decision.
Once you have the perfect smart light bulb, the next step is to set up the smart light bulb hub, if required. Some bulbs connect directly to your existing Wi-Fi network, while others require a hub to act as a bridge between your bulbs and the app. Follow the manufacturer’s instructions to ensure a smooth setup process.
After setting up the hub, it’s time to install the smart light bulb in your desired fixture. Smart light bulbs are typically designed to fit most standard sockets, so replacing your existing bulb shouldn’t be a problem. Make sure to turn off the power before installing the smart bulb for safety.
Once the bulb is installed, the next step is to download and set up the dedicated smart light bulb app. The app acts as the control center for your smart lights, allowing you to customize settings, create scenes, and remotely control your lights from anywhere.
With the app installed, it’s time to connect the smart light bulb to the app. This process may vary depending on the brand and model of the bulb, but typically involves scanning a QR code or entering a unique code provided with the bulb. Follow the on-screen instructions in the app to complete the setup.
After connecting the bulb to the app, you’ll have the freedom to customize and control your lighting preferences. From adjusting brightness and color to setting up schedules and timers, the possibilities are endless. Additionally, most smart light bulbs are compatible with virtual assistants like Amazon Alexa or Google Assistant, allowing you to control your lights with simple voice commands.
In the next section, we will delve into each step in detail, providing you with the necessary information to successfully connect your smart light bulb. Let’s get started!
Step 1: Choosing the Right Smart Light Bulb
Before embarking on your smart lighting journey, it’s crucial to choose the right smart light bulb that meets your specific requirements. With a wide variety of options available, selecting the perfect bulb can seem overwhelming. Here are some key factors to consider:
1. Connectivity: Smart light bulbs typically connect to your home network either by Wi-Fi or Bluetooth. Wi-Fi-enabled bulbs offer the advantage of remote control from anywhere using your smartphone, while Bluetooth bulbs require your device to be within a certain range. Consider the range and convenience of connectivity based on your needs.
2. Compatibility: Ensure that the smart light bulb you choose is compatible with your existing smart home ecosystem. If you use virtual assistants like Amazon Alexa or Google Assistant, check if the bulb integrates seamlessly with them. Also, verify if the bulb works with any other smart home platforms or third-party apps you may already be using.
3. Bulb type: Smart light bulbs come in various types, including standard screw-in bulbs, bayonet bulbs, and specialty bulbs like floodlights or candles. Ensure that the bulb is of the correct type and size for your fixtures to avoid any compatibility issues or the need for additional adapters.
4. Features: Consider the additional features that the smart light bulb offers. Some bulbs come with features like color temperature adjustment, dimming capabilities, and even the ability to sync with music or create dynamic lighting effects. Assess your preferences and choose a bulb that aligns with your desired lighting experience.
5. Energy efficiency: Look for bulbs that are energy-efficient and have a high lumens-to-watt ratio. Smart LED bulbs are known for their energy-saving abilities, which can lead to long-term cost savings on your electricity bill.
6. User reviews and ratings: Before making a final decision, it’s always a good idea to read user reviews and ratings of the smart light bulb you’re considering. This can provide valuable insights into the bulb’s performance, reliability, and ease of use.
Once you have considered these factors, you will be able to narrow down your options and make an informed decision. Remember, choosing the right smart light bulb is crucial for a seamless and enjoyable smart lighting experience. In the next step, we will guide you through setting up the smart light bulb hub, if necessary.
Step 2: Setting up the Smart Light Bulb Hub
If you have chosen a smart light bulb that requires a hub, this step will guide you through the process of setting it up. The hub acts as a bridge between your smart bulbs and the dedicated app, allowing for seamless communication and control. Here’s how to set up the smart light bulb hub:
1. Read the instructions: Carefully read the manufacturer’s instructions that come with the smart light bulb hub. Each hub may have a slightly different setup process, so it’s important to familiarize yourself with the specific instructions provided.
2. Find a central location: Identify a central location in your home where the hub can be placed. This ensures optimal connectivity with all your smart light bulbs. Avoid placing the hub in a closet or an area with limited Wi-Fi signal to ensure uninterrupted communication.
3. Connect the hub: Plug in the hub and connect it to a power source. Some hubs may also require an Ethernet connection to your router. Follow the instructions provided to establish a stable connection between the hub and your home network.
4. Install the app: Download and install the dedicated app for your smart light bulb system on your smartphone or tablet. The app will be used to control and customize your smart lights later in the process.
5. Pair the hub with the app: Open the app and follow the on-screen instructions to pair the hub with the app. The process may involve scanning a QR code, entering a unique code, or selecting the hub from a list of available devices. Ensure that your mobile device is connected to the same Wi-Fi network as the hub during this step.
6. Set up user accounts: Depending on the smart light bulb system, you may need to create a user account or sign in to an existing one. This enables personalized settings and syncs your preferences across multiple devices.
7. Verify the hub connection: Once the hub is successfully paired with the app, verify the connection by checking the status in the app. It should indicate a successful connection to the hub. If not, double-check the hub’s power and network connections, and repeat the pairing process if necessary.
8. Add the smart light bulbs: With the hub successfully set up, it’s time to add your smart light bulbs to the system. Refer to the manufacturer’s instructions on how to add each bulb to the hub. This process may involve putting the bulb in pairing mode and following the app’s instructions to detect and connect the bulb to the hub.
Once you have completed these steps, your smart light bulb hub should be up and running, ready to control your smart bulbs. In the next step, we will guide you through the process of installing the smart light bulb in your desired fixture.
Step 3: Installing the Smart Light Bulb
Now that you have set up the smart light bulb hub, it’s time to install the smart light bulb in your desired fixture. The installation process is straightforward and doesn’t require any technical expertise. Here’s how to install the smart light bulb:
1. Turn off the power: Before installing the smart light bulb, make sure to turn off the power to the fixture at the circuit breaker or by flipping the light switch to the off position. This step is crucial to ensure your safety during the installation process.
2. Remove the old bulb: If there is an existing bulb in the fixture, gently twist it counterclockwise to remove it from the socket. Set the old bulb aside in a safe location.
3. Check compatibility: Verify that the smart light bulb you have chosen is compatible with the type of fixture you are installing it in. Most smart bulbs are designed to fit standard sockets, but it’s always a good idea to double-check to avoid any compatibility issues.
4. Attach the smart light bulb: Taking the smart light bulb, align the base with the socket and insert it into the fixture. Gently twist the bulb clockwise until it is securely in place. Avoid overtightening, as it may damage the bulb or socket.
5. Turn on the power: Once the smart light bulb is securely installed, turn the power back on by flipping the light switch or resetting the circuit breaker. The bulb should illuminate, indicating that it is correctly installed and ready for further setup.
It’s important to note that some smart light bulbs may have additional installation steps or requirements, such as connecting a separate hub or following specific instructions provided by the manufacturer. Be sure to refer to the user manual or installation guide included with your smart light bulb for any additional steps or considerations.
Now that the smart light bulb is installed, it’s time to move on to the next step: downloading and setting up the dedicated smart light bulb app. This will allow you to take full control over your smart lighting and explore the various features and customization options available.
Step 4: Downloading and Setting up the Smart Light Bulb App
With the smart light bulb installed, it’s time to download and set up the dedicated app that will allow you to control and customize your lighting experience. Here’s how to download and set up the smart light bulb app:
1. Identify the app: Find out the name of the specific app associated with your smart light bulb. The app name will typically be mentioned in the user manual or on the packaging of the bulb. You can also search the app store on your smartphone or tablet using keywords like the brand or model name of your smart light bulb.
2. Download the app: Once you have identified the app, visit the respective app store on your device, be it the Apple App Store or Google Play Store. Search for the app by its name and tap on the “Download” or “Install” button to initiate the download process.
3. Install the app: After the app is downloaded, tap on it to install it on your device. The installation process may take a few moments, depending on your device’s speed and internet connection.
4. Launch the app: Once the app is installed, locate its icon on your device’s home screen or app drawer and tap on it to launch the app.
5. Create a user account (if necessary): Some smart light bulb apps require you to create a user account to access their full functionality. If prompted, follow the on-screen instructions to create an account by providing the necessary information, such as your email address and password. If you already have an account, sign in using your credentials.
6. Grant app permissions (if prompted): Depending on your device’s operating system, the app may prompt you to grant certain permissions, such as access to your device’s location or microphone. Review the requested permissions and tap “Allow” or “Accept” to grant the necessary permissions for the app to function properly.
7. Set up the app: Once you have signed in or created an account, the app may guide you through an initial setup process. This setup process may involve selecting your preferred language, adding or configuring the smart light bulb hub, and customizing your lighting preferences. Follow the on-screen instructions provided by the app to complete the setup.
8. Explore the app features: Once the app setup is complete, take some time to familiarize yourself with the various features and options available. These may include choosing different lighting presets, creating custom scenes, setting schedules or timers, adjusting color temperature or brightness, and exploring any additional features specific to your smart light bulb system. The app’s user interface should be intuitive and easy to navigate, allowing you to customize your lighting experience to your liking.
With the app successfully downloaded and set up, you are now ready to take full control of your smart light bulb and unleash its potential. In the next step, we will guide you through the process of connecting the smart light bulb to the app itself.
Step 5: Connecting the Smart Light Bulb to the App
Now that you have downloaded and set up the dedicated smart light bulb app, it’s time to connect the smart light bulb to the app itself. This will allow you to control and customize your lighting settings directly from your smartphone or tablet. Follow these steps to connect the smart light bulb to the app:
1. Launch the smart light bulb app: Open the app on your device by tapping on its icon from your home screen or app drawer.
2. Create a connection: In the app, look for an option to add a new device or connect a smart light bulb. The location of this option may vary depending on the app, but it is usually accessible from the main screen or a settings menu.
3. Put the smart light bulb in pairing mode: Refer to the user manual or instructions provided by the smart light bulb manufacturer to put the bulb into pairing mode. This step usually involves turning the bulb on and off in a specific sequence or using the app-specific method to initiate the pairing process.
4. Scan the QR code or enter the unique code: Once the smart light bulb is in pairing mode, the app may prompt you to scan a QR code or enter a unique code associated with the bulb. Follow the on-screen instructions to scan the code using your device’s camera or manually enter the code into the app.
5. Connect to the smart light bulb: After scanning the QR code or entering the unique code, the app will attempt to establish a connection with the smart light bulb. This process may take a few moments, so be patient while the app searches for the bulb.
6. Confirm the connection: Once the app successfully connects to the smart light bulb, you will receive a confirmation message or prompt within the app. This indicates that the smart light bulb is now connected and ready for further customization.
7. Test the control: To ensure that the connection is functioning properly, test the control of the smart light bulb through the app. Use the app’s interface to turn the bulb on and off, adjust the brightness, or experiment with any other available settings. The bulb’s response should be reflected in real-time within the app.
8. Repeat for additional smart light bulbs (if applicable): If you have multiple smart light bulbs to connect, repeat the previous steps for each bulb, ensuring that each bulb is in pairing mode before attempting to connect it to the app.
Once you have successfully connected the smart light bulb to the app, you can now fully explore and personalize the lighting settings. This includes customizing the color, brightness, and creating schedules or scenes to fit your preferences. Additionally, many smart light bulb apps allow integration with voice assistants or third-party platforms, enabling convenient control of your lights using simple voice commands or automated routines.
In the next step, we will guide you through controlling the smart light bulb through voice commands for a hands-free and effortless experience.
Step 6: Controlling the Smart Light Bulb through Voice Commands
One of the most convenient features of smart light bulbs is the ability to control them through voice commands. By integrating your smart lighting system with virtual assistants like Amazon Alexa or Google Assistant, you can effortlessly control your smart light bulb using simple voice commands. Follow these steps to set up and control your smart light bulb through voice commands:
1. Set up the virtual assistant: If you haven’t already, set up your preferred virtual assistant by following the instructions provided by the respective platform. This typically involves downloading the virtual assistant’s app, creating an account, and setting up any necessary devices or connections.
2. Enable the smart light bulb skill: Once the virtual assistant is set up, enable the skill or skill app associated with your smart light bulb system. For example, if using Amazon Alexa, search for the skill associated with your smart light bulb brand and enable it in the Alexa app.
3. Connect the smart light bulb to the virtual assistant: In the virtual assistant app or settings, navigate to the smart home devices section and select “Add Device.” Follow the on-screen instructions to connect your smart light bulb to the virtual assistant. This may involve linking your smart light bulb account, discovering the devices, or entering any necessary authentication codes.
4. Name the smart light bulb: Once connected, you may be prompted to assign a name or nickname to your smart light bulb. This will allow you to easily identify and refer to the bulb when giving voice commands. Choose a name that is easy to remember and pronounce.
5. Control the smart light bulb with voice commands: With the setup complete, you can now control your smart light bulb using voice commands. For example, you can say “Hey Google, turn on the living room lights” or “Alexa, dim the bedroom lights to 50%.” Experiment with different commands to turn the lights on or off, adjust the brightness, change the color, or activate pre-set scenes. Follow the specific voice command structure and syntax recommended by the virtual assistant for the best results.
6. Explore advanced voice commands: Depending on your smart light bulb system and virtual assistant, you may have access to more advanced voice commands and features. For example, you can create routines or automation that trigger specific lighting scenes or actions based on certain events or times. Refer to the virtual assistant’s documentation or explore the app for more advanced voice command options.
Controlling your smart light bulb through voice commands adds a whole new level of convenience and simplicity to your smart home setup. It allows you to easily adjust the lighting without having to touch any buttons or open any apps, providing a hands-free and effortless experience.
In the next step, we will discuss common troubleshooting tips to help you resolve any issues you may encounter with your smart light bulb system.
Step 7: Troubleshooting Common Issues
While smart light bulb systems are generally reliable, you may occasionally encounter some common issues that can hinder the performance or functionality of your smart light bulbs. Here are some troubleshooting tips to help you resolve these issues:
1. Connectivity issues: If your smart light bulb is not connecting to the app or experiencing intermittent connectivity, try the following:
- Ensure that your smart light bulb is within range of the Wi-Fi router or hub.
- Restart your router or hub to reset the network connection.
- Verify that you have entered the correct Wi-Fi credentials during the setup process.
- Try moving the smart light bulb and hub closer together to improve the signal strength.
2. Unresponsive app: If the smart light bulb app is not responding or crashing, try these troubleshooting steps:
- Close the app and relaunch it.
- Check for app updates and install them if available.
- Clear the app cache or storage if applicable.
- Restart your smartphone or tablet to refresh the device’s system.
3. Bulb pairing issues: If you are having trouble pairing a smart light bulb with the app or hub, try the following:
- Ensure that the bulb is in pairing mode as specified by the manufacturer.
- Restart the app or hub and try the pairing process again.
- Reset the bulb by turning it off and on several times or following the reset instructions provided by the manufacturer.
- Make sure you are following the correct pairing instructions specific to your smart light bulb and app.
4. Performance issues: If the performance of your smart light bulbs, such as brightness or color accuracy, is not as expected, try these troubleshooting steps:
- Check the bulb’s brightness and color settings in the app and adjust them to your preference.
- Make sure the bulb is securely installed in the fixture and has proper ventilation to prevent overheating.
- Consider checking for firmware updates for your smart light bulbs and updating them if available.
- Try resetting the smart light bulb to its default settings and reconfiguring it from scratch.
If you have gone through these troubleshooting steps and still encounter issues with your smart light bulb system, consult the manufacturer’s support resources, such as user manuals, online forums, or customer support. They can provide further assistance and guidance specific to your smart light bulb brand and model.
By troubleshooting common issues, you can ensure that your smart light bulb system operates optimally, providing you with the convenience and functionality you expect from smart lighting technology.
In the next section, we will conclude our guide to connecting a smart light bulb and summarize the key steps and considerations.
Conclusion
Congratulations! You have successfully completed the journey to connect your smart light bulb. By following the step-by-step process outlined in this guide, you have taken full control of your lighting, allowing for customization, scheduling, and effortless control through voice commands. Let’s recap the key steps:
- Choose the right smart light bulb that meets your connectivity, compatibility, and feature preferences.
- Set up the smart light bulb hub, if required, to act as a bridge between your bulbs and the app.
- Install the smart light bulb in your desired fixture, ensuring proper safety precautions.
- Download and set up the dedicated smart light bulb app, providing you with a centralized control center for your smart lighting.
- Connect the smart light bulb to the app, using unique codes or QR codes for seamless integration.
- Control your smart light bulb through voice commands by connecting it to popular virtual assistants like Amazon Alexa or Google Assistant.
- Troubleshoot common issues that may arise, such as connectivity or performance concerns.
With your smart light bulb system successfully set up, you now have the power to create the perfect lighting ambiance for any occasion, whether it’s a cozy movie night, a vibrant party, or a peaceful bedtime routine. Customize your colors, brightness, and schedules to suit your preferences and enjoy the convenience of controlling your lights with simple voice commands.
Remember to explore the additional features offered by your smart light bulb system, such as creating scenes, setting up automation, or integrating with other smart home devices for a seamless and immersive experience.
As with any technology, keep in mind that updates and advancements may occur in the world of smart lighting. Stay informed about firmware updates, new features, and accessories that may enhance your smart light bulb system even further.
Now, go ahead and bask in the wonderful world of smart lighting! Enjoy greater control, convenience, and energy efficiency with your smart light bulbs, and let your imagination illuminate your home in ways you never thought possible.