Introduction
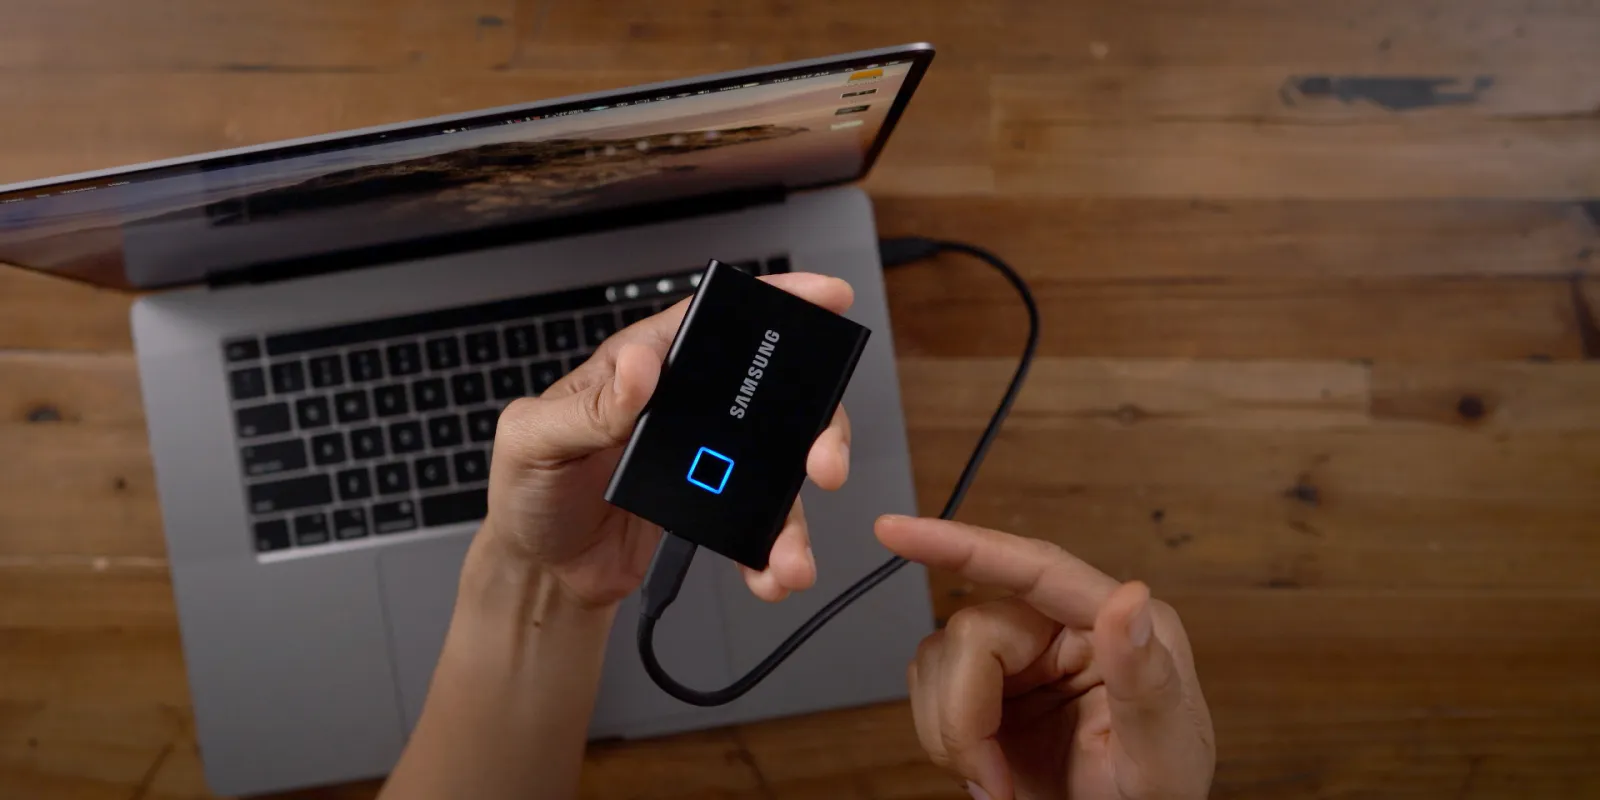
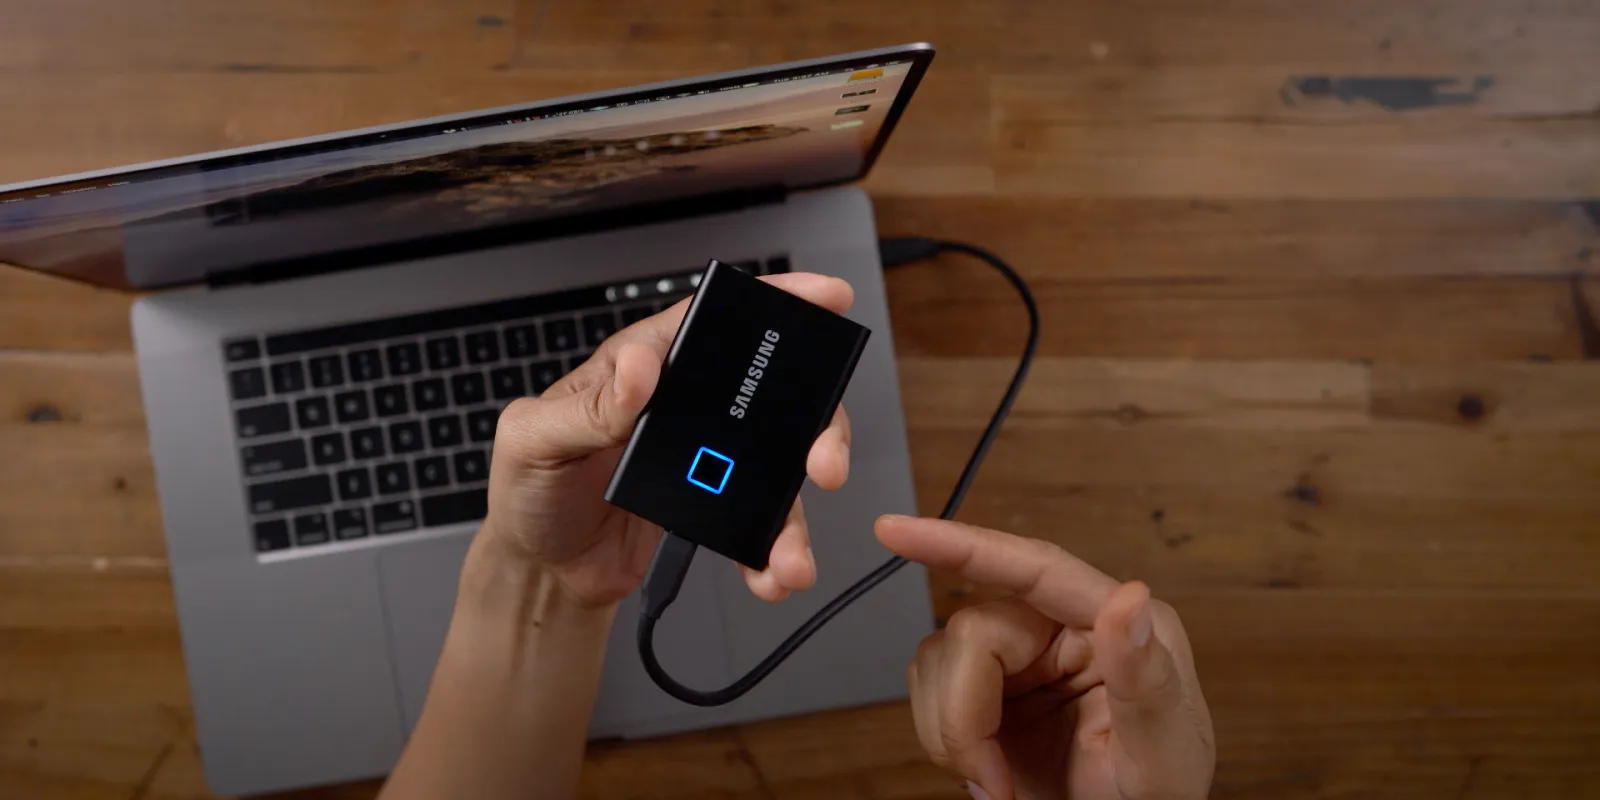
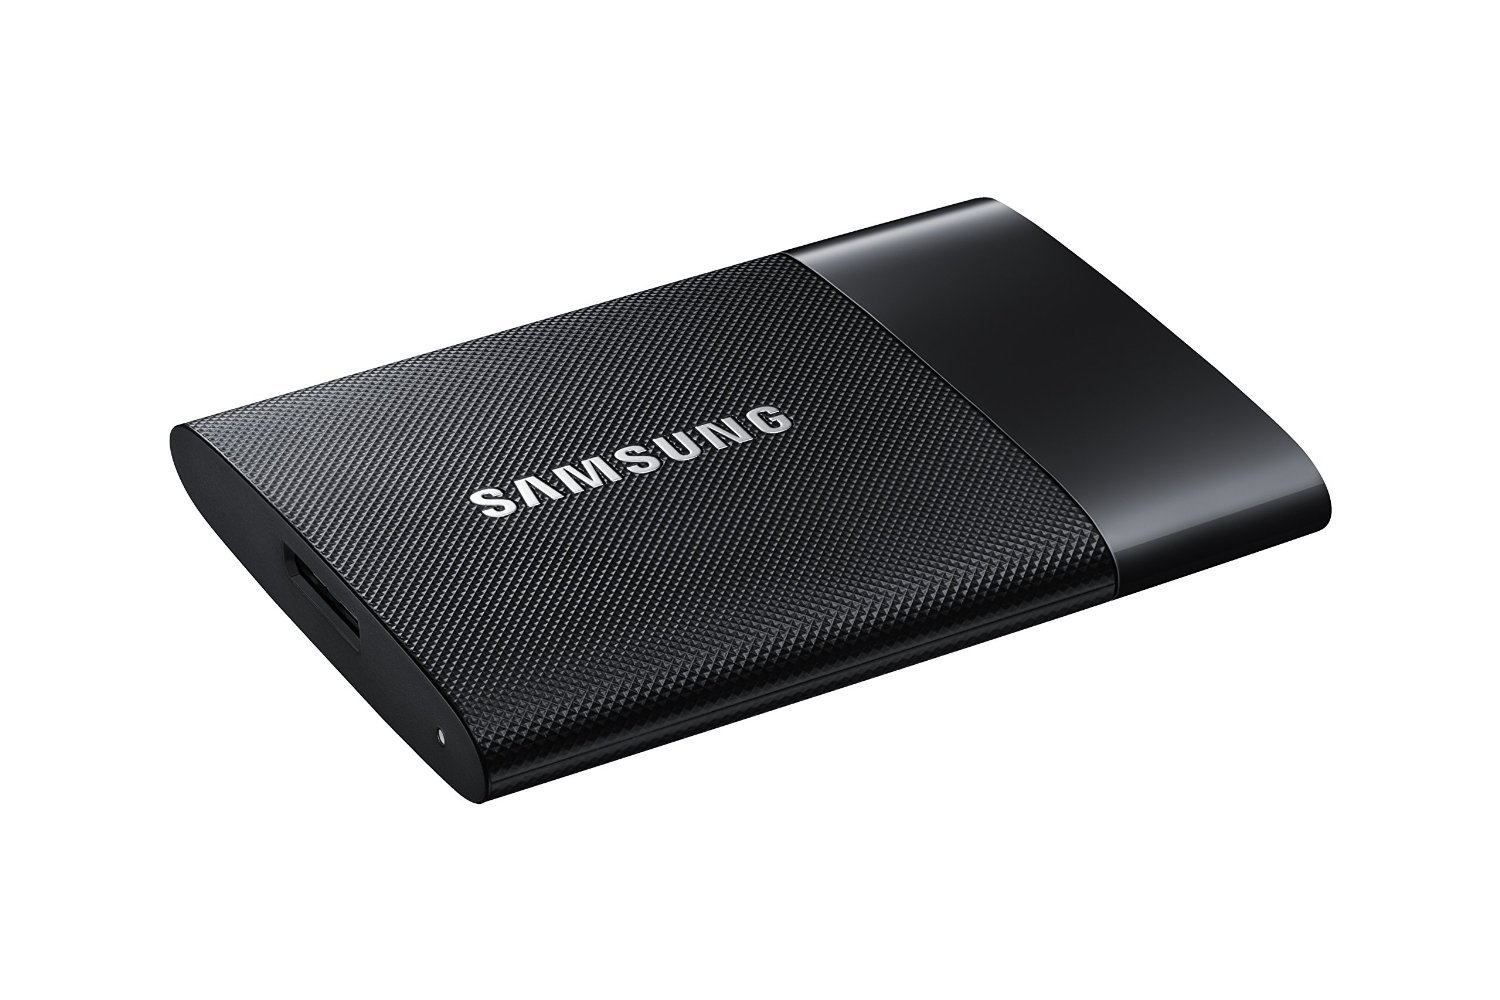
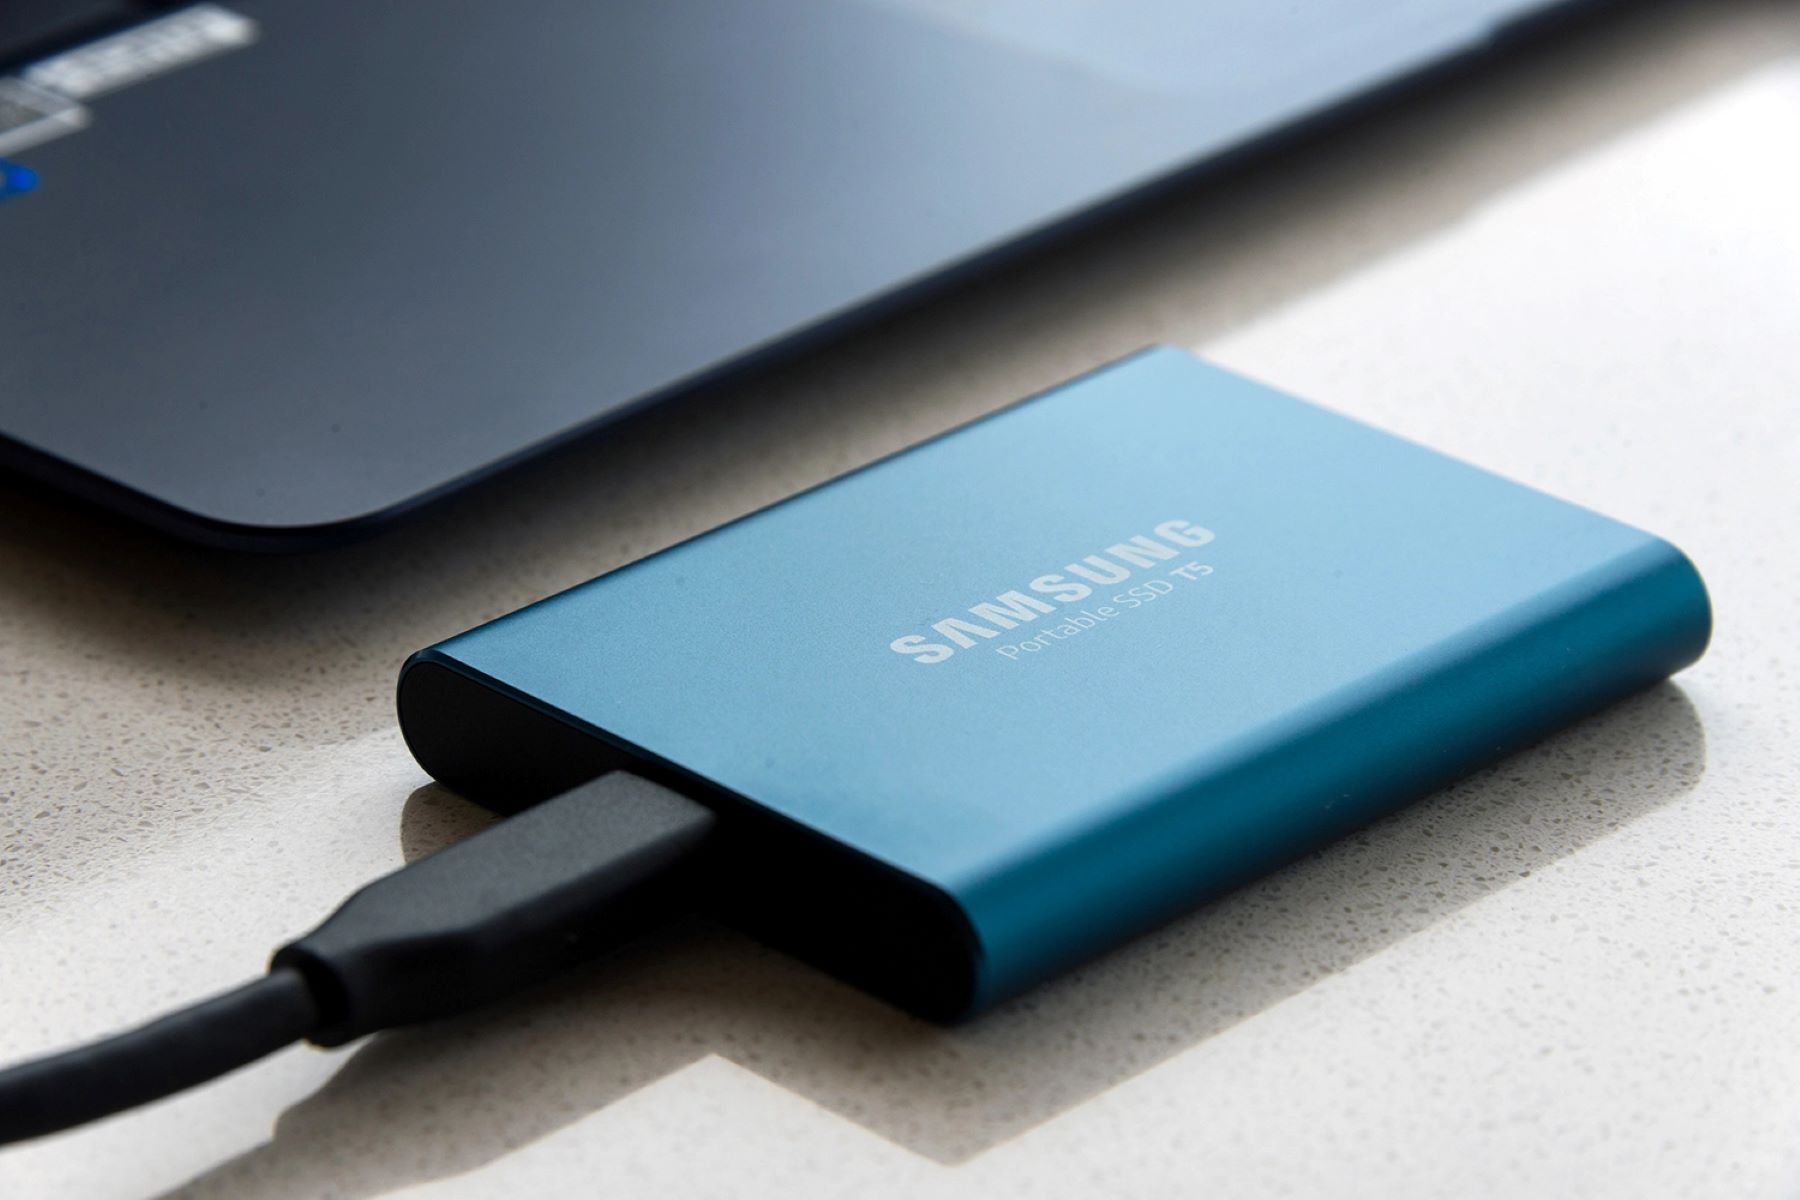
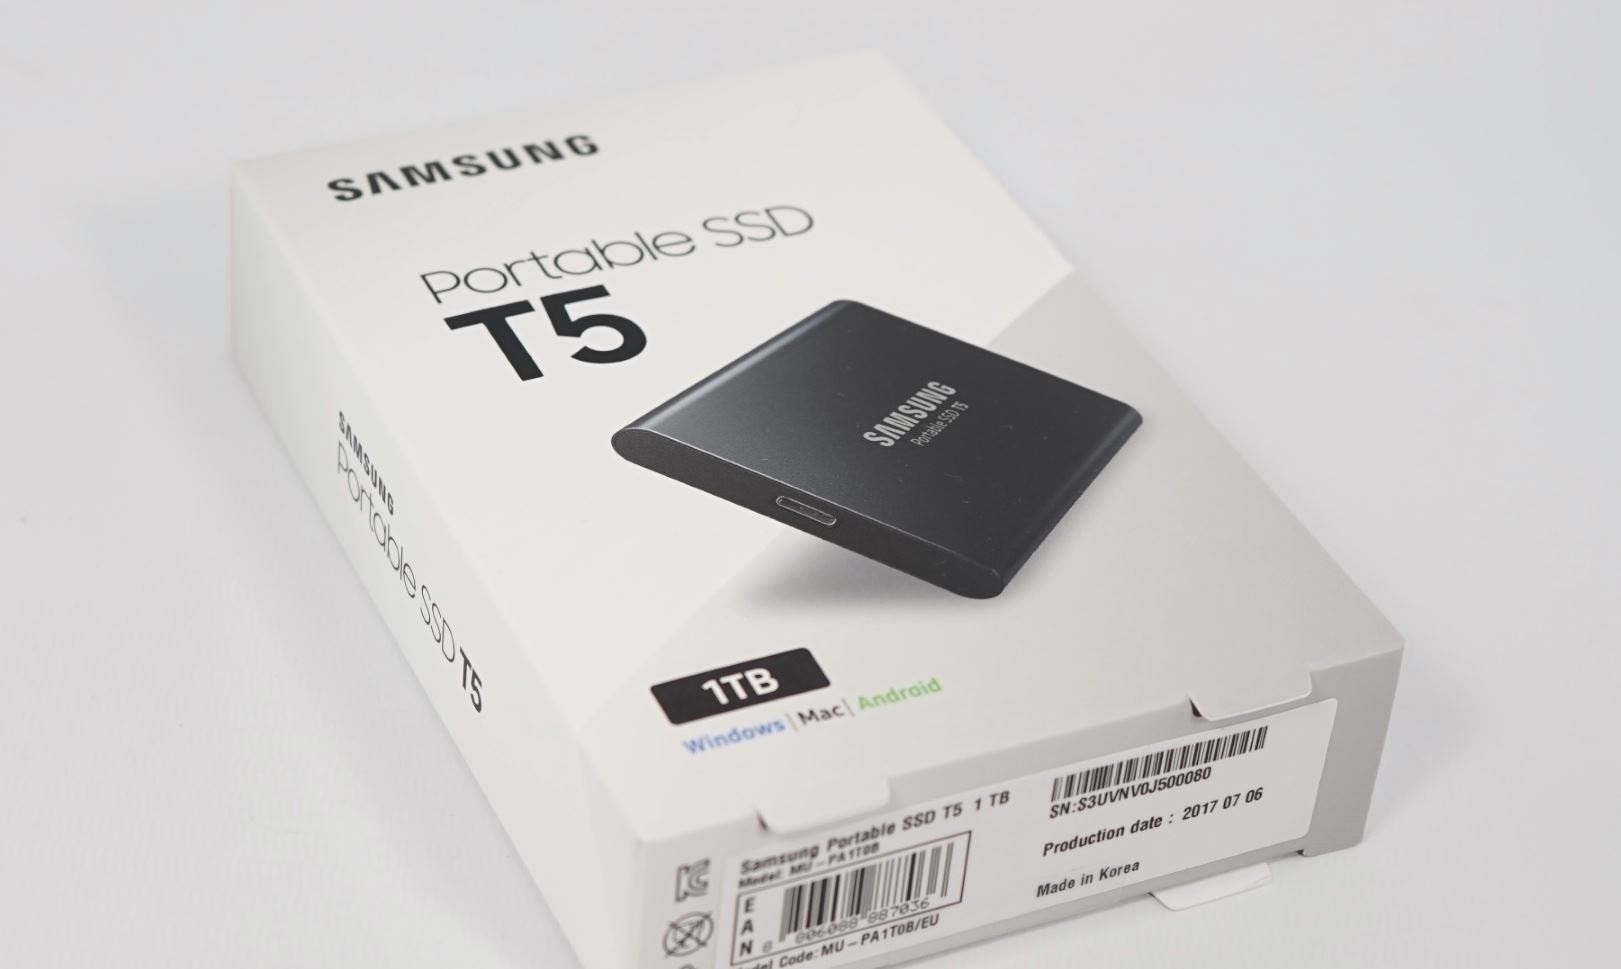
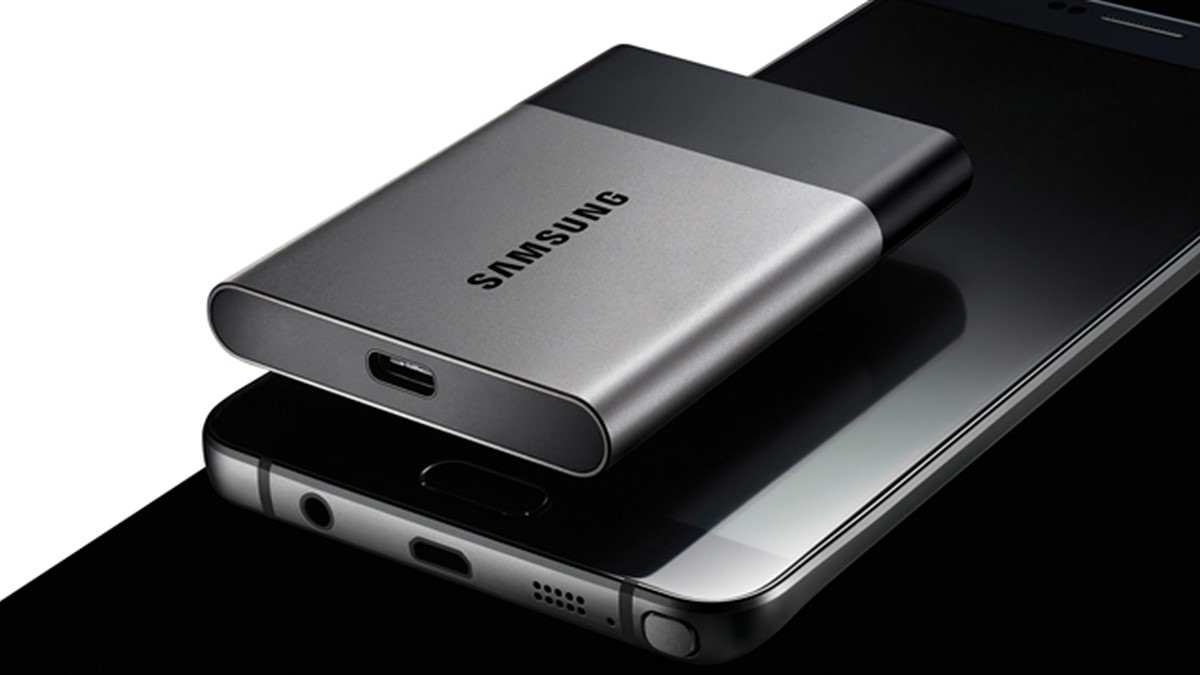
The Samsung Portable SSD T7 is a powerful and compact storage solution that allows you to easily transfer and access your files on-the-go. With its lightning-fast transfer speeds and durable design, it’s the perfect companion for Mac users who need to store and backup their important data. Whether you’re a professional photographer, videographer, or simply need extra storage for your personal files, the Samsung Portable SSD T7 delivers exceptional performance and reliability.
This article will guide you through the process of using the Samsung Portable SSD T7 on your Mac. You’ll learn how to connect the SSD to your Mac, format it for optimal compatibility, set up Time Machine backup, transfer files, and safely eject the device. By following these steps, you can ensure a seamless experience and make the most out of your Samsung Portable SSD T7.
Before we get started, make sure you have the necessary system requirements and the latest Samsung Portable SSD software installed on your Mac. This will ensure that you have the best performance and compatibility with your device.
System Requirements
Before you begin using the Samsung Portable SSD T7 on your Mac, it’s important to ensure that your system meets the necessary requirements. This will ensure a smooth and efficient experience when using the SSD. Here are the system requirements for using the Samsung Portable SSD T7 on your Mac:
- A Mac computer with an available Thunderbolt 3 (USB-C) or USB 3.2 Gen 2 (10Gbps) port
- macOS 10.13 High Sierra or later
- At least 1GB of free disk space for installing the Samsung Portable SSD software
- The latest version of the Samsung Portable SSD software, which can be downloaded from the official Samsung website
It’s important to note that while the Samsung Portable SSD T7 is compatible with Mac computers, it may require reformatting for optimal performance. This will be covered in the next section. Additionally, make sure your Mac is updated to the latest version of macOS to ensure compatibility and stability.
Once you have confirmed that your Mac meets these requirements, you’re ready to proceed with connecting and setting up the Samsung Portable SSD T7.
Step 1: Connect the Samsung Portable SSD T7 to Your Mac
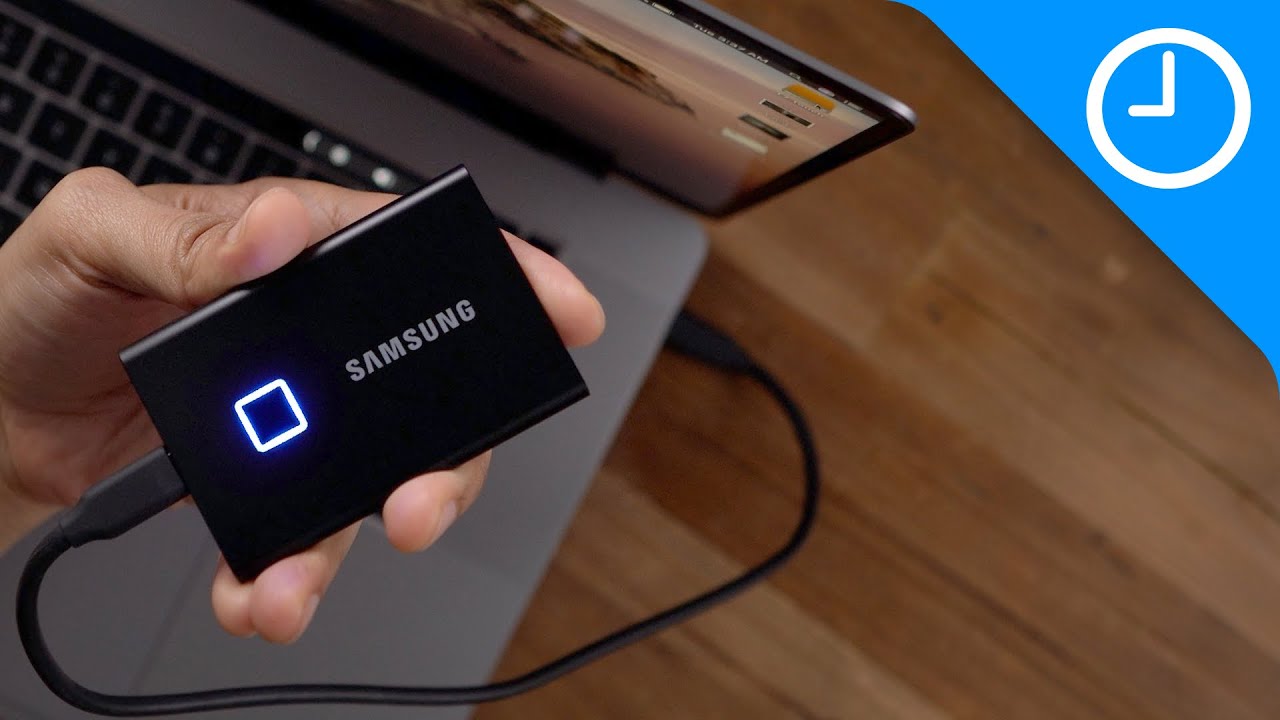
Connecting the Samsung Portable SSD T7 to your Mac is a simple and straightforward process. Follow the steps below to get started:
- Locate the USB-C port on your Mac. Depending on your Mac model, it may be a Thunderbolt 3 (USB-C) port or a USB 3.2 Gen 2 (10Gbps) port.
- Take the USB-C cable that came with your Samsung Portable SSD T7 and plug one end into the USB-C port on your Mac.
- Connect the other end of the USB-C cable to the USB-C port on the Samsung Portable SSD T7.
- Once the SSD is connected, you should see a notification on your Mac indicating that a new device has been detected.
- Wait for a few seconds to allow your Mac to recognize the Samsung Portable SSD T7. If prompted, enter your Mac password to authorize the device.
- Once the connection is established, you can now access the Samsung Portable SSD T7 on your Mac and begin using it for storing and transferring files.
It’s important to make sure that the cable is securely connected on both ends to ensure a stable and reliable connection. If the SSD is not being detected by your Mac, try using a different USB-C cable or port on your Mac.
Now that you have successfully connected the Samsung Portable SSD T7 to your Mac, it’s time to proceed with formatting the SSD to ensure optimal compatibility with macOS. This will be covered in the next section.
Step 2: Format the Samsung Portable SSD T7 for Mac
Formatting the Samsung Portable SSD T7 for Mac is an essential step to ensure that it works seamlessly with macOS. By formatting the SSD, you will be able to take full advantage of its features and compatibility. Follow the steps below to format the Samsung Portable SSD T7 for Mac:
- Open the “Finder” application on your Mac by clicking on the Finder icon in the Dock.
- On the left-hand side of the Finder window, you will see a list of drives and devices. Locate and select the Samsung Portable SSD T7. It should be listed under “Devices” or “External Drives”.
- With the Samsung Portable SSD T7 selected, click on the “File” menu at the top of the screen and choose “Get Info”. Alternatively, you can use the shortcut “Command + I”.
- In the “Get Info” window, navigate to the “General” section and locate the “Format” option.
- Click on the dropdown menu next to “Format” and choose “Mac OS Extended (Journaled)”. This is the recommended format for optimal performance and compatibility with macOS.
- Next, click on the “Erase” button located at the bottom of the “Get Info” window.
- A confirmation dialog will appear, informing you that erasing the disk will delete all data on it. Make sure you have backed up any important files before proceeding.
- Click on the “Erase” button in the confirmation dialog to begin the formatting process.
- Wait for the formatting process to complete. This may take a few minutes, depending on the size of your SSD.
- Once the formatting is finished, you will receive a notification indicating that the Samsung Portable SSD T7 has been successfully formatted for Mac.
After formatting the Samsung Portable SSD T7 for Mac, you can start using it as your primary storage or as a backup device. In the next section, we will cover the process of setting up Time Machine backup on the SSD.
Step 3: Set up Time Machine Backup on the Samsung Portable SSD T7
Setting up Time Machine backup on the Samsung Portable SSD T7 allows you to automatically back up your Mac’s data and ensure that your files are safe and secure. Time Machine is a built-in backup feature of macOS that offers seamless and effortless data protection. Follow the steps below to set up Time Machine backup on the Samsung Portable SSD T7:
- Connect the Samsung Portable SSD T7 to your Mac using the USB-C cable.
- Open the “System Preferences” on your Mac by clicking on the Apple menu at the top-left corner of the screen and selecting “System Preferences”.
- In the “System Preferences” window, click on “Time Machine”.
- Click on the “Select Backup Disk” button.
- From the list of available disks, select the Samsung Portable SSD T7 as the backup disk.
- Click on the “Use Disk” button to confirm your selection.
- If prompted, you will be asked if you want to encrypt the backup disk. Encryption adds an extra layer of security to your backup, and your data will be password protected. Select the option that suits your preferences.
- Next, Time Machine will start the initial backup process, which may take some time depending on the amount of data on your Mac.
- Once the initial backup is completed, Time Machine will automatically back up your Mac’s data at regular intervals.
With Time Machine backup set up on the Samsung Portable SSD T7, you can have peace of mind knowing that your important files are protected. In the next section, we will explore how to transfer files to and from the Samsung Portable SSD T7.
Step 4: Transfer Files to and from the Samsung Portable SSD T7
Transferring files to and from the Samsung Portable SSD T7 is a breeze, thanks to its high-speed performance and compatibility with Mac. Whether you need to backup your important documents, transfer large media files, or simply organize your data, follow the steps below to easily transfer files to and from the Samsung Portable SSD T7:
- Connect the Samsung Portable SSD T7 to your Mac using the USB-C cable. Ensure that the SSD is properly connected and recognized by your Mac.
- Open a Finder window by clicking on the Finder icon in the Dock.
- In the Finder window, you will see a list of locations on the left-hand side. Under the “Devices” section, you should see the Samsung Portable SSD T7 listed. Click on it to open the SSD.
- To transfer files from your Mac to the Samsung Portable SSD T7, simply drag and drop the files or folders from your Mac to the SSD window. You can also use the copy and paste method.
- To transfer files from the Samsung Portable SSD T7 to your Mac, select the files or folders you want to transfer from the SSD window and drag them to the desired location on your Mac.
- The transfer process will begin, and depending on the size of the files and the speed of your SSD, it may take a few moments to complete.
- You can monitor the progress of the transfer in the Finder window, and once it’s finished, you can safely disconnect the Samsung Portable SSD T7 from your Mac.
Remember to properly eject the SSD before disconnecting it from your Mac to avoid data corruption. You can do this by right-clicking on the SSD icon and selecting “Eject” or by dragging the SSD icon to the Trash bin.
The Samsung Portable SSD T7 provides a quick and efficient way to transfer and manage your files, giving you flexibility and convenience. Now, let’s move on to the final step of safely ejecting the Samsung Portable SSD T7 from your Mac.
Step 5: Safely Eject the Samsung Portable SSD T7 from Your Mac
When you’re done using the Samsung Portable SSD T7 on your Mac, it’s important to safely eject the device to prevent any data loss or corruption. Follow the steps below to safely eject the Samsung Portable SSD T7 from your Mac:
- Ensure that all file transfers to or from the Samsung Portable SSD T7 are complete.
- Locate the Samsung Portable SSD T7 icon on your Mac’s desktop or in the Finder window.
- Right-click on the SSD icon and select “Eject” from the dropdown menu. Alternatively, you can also drag the SSD icon to the Trash bin on your desktop.
- Wait for macOS to finish ejecting the Samsung Portable SSD T7. Once the SSD icon disappears from the desktop or Finder window, it is safe to disconnect the device.
- Carefully remove the USB-C cable from both your Mac and the Samsung Portable SSD T7.
- You can now safely store or transport the Samsung Portable SSD T7 without any risk of data loss.
It’s important to follow these steps to ensure that all data is properly written and saved before disconnecting the SSD. Abruptly removing the device without ejecting may result in data corruption or loss.
By safely ejecting the Samsung Portable SSD T7 from your Mac, you can maintain the integrity of your files and prevent any potential data issues. With this final step completed, you have successfully learned how to use the Samsung Portable SSD T7 on your Mac.
Conclusion
The Samsung Portable SSD T7 is a versatile and reliable storage solution for Mac users. In this article, we have discussed the step-by-step process of using the Samsung Portable SSD T7 on your Mac.
We started by examining the system requirements, ensuring that your Mac meets the specifications needed to use the SSD effectively. We then walked through the process of connecting the Samsung Portable SSD T7 to your Mac, formatting it for optimal compatibility, setting up Time Machine backup, transferring files to and from the SSD, and safely ejecting it from your Mac.
By following these steps, you can take advantage of the lightning-fast transfer speeds and durable design of the Samsung Portable SSD T7, making it a reliable storage solution for your important files.
Remember to regularly back up your Mac’s data using Time Machine to ensure that your files are protected and easily recoverable. Additionally, always practice safe ejection by properly ejecting the Samsung Portable SSD T7 from your Mac before disconnecting it.
The Samsung Portable SSD T7 offers convenience, performance, and peace of mind when it comes to storing and transferring files on your Mac. Whether you’re a creative professional or a casual user, the Samsung Portable SSD T7 is a valuable companion for your Mac storage needs.
So, go ahead and start enjoying the benefits of the Samsung Portable SSD T7 on your Mac. Experience fast and secure file transfers, reliable backup options, and enhanced storage capacity with this remarkable device.


