Introduction
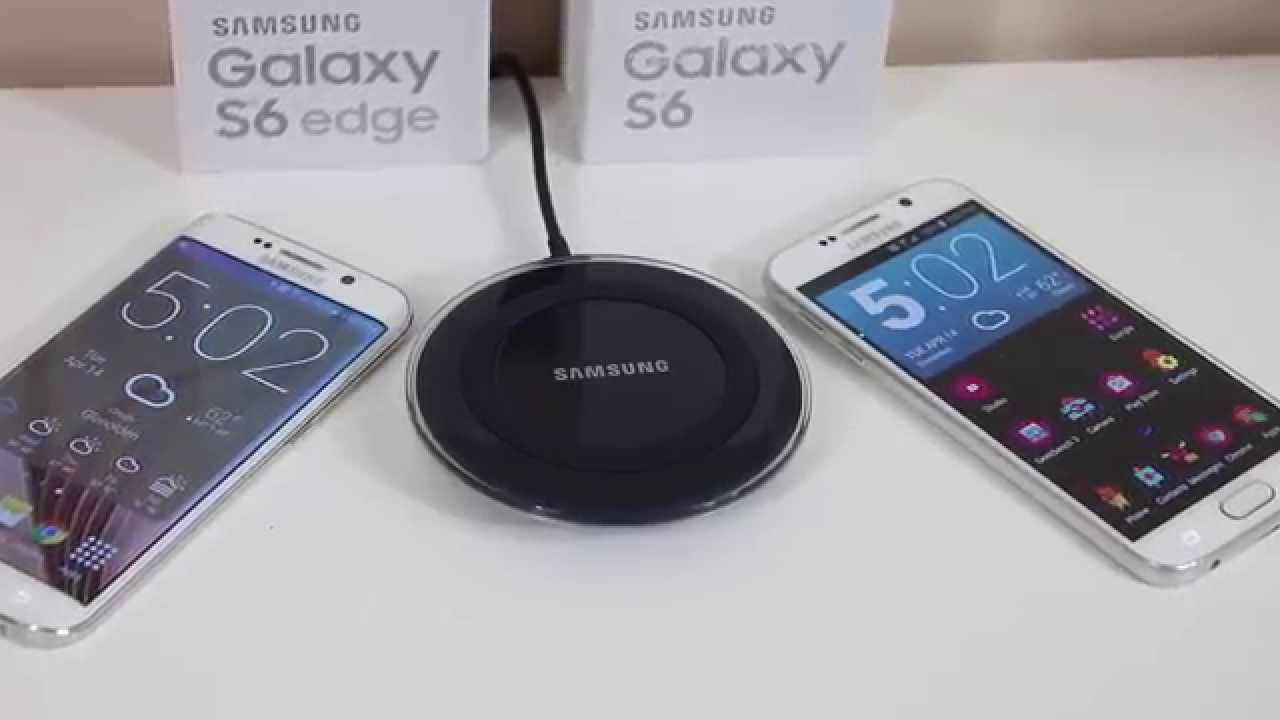
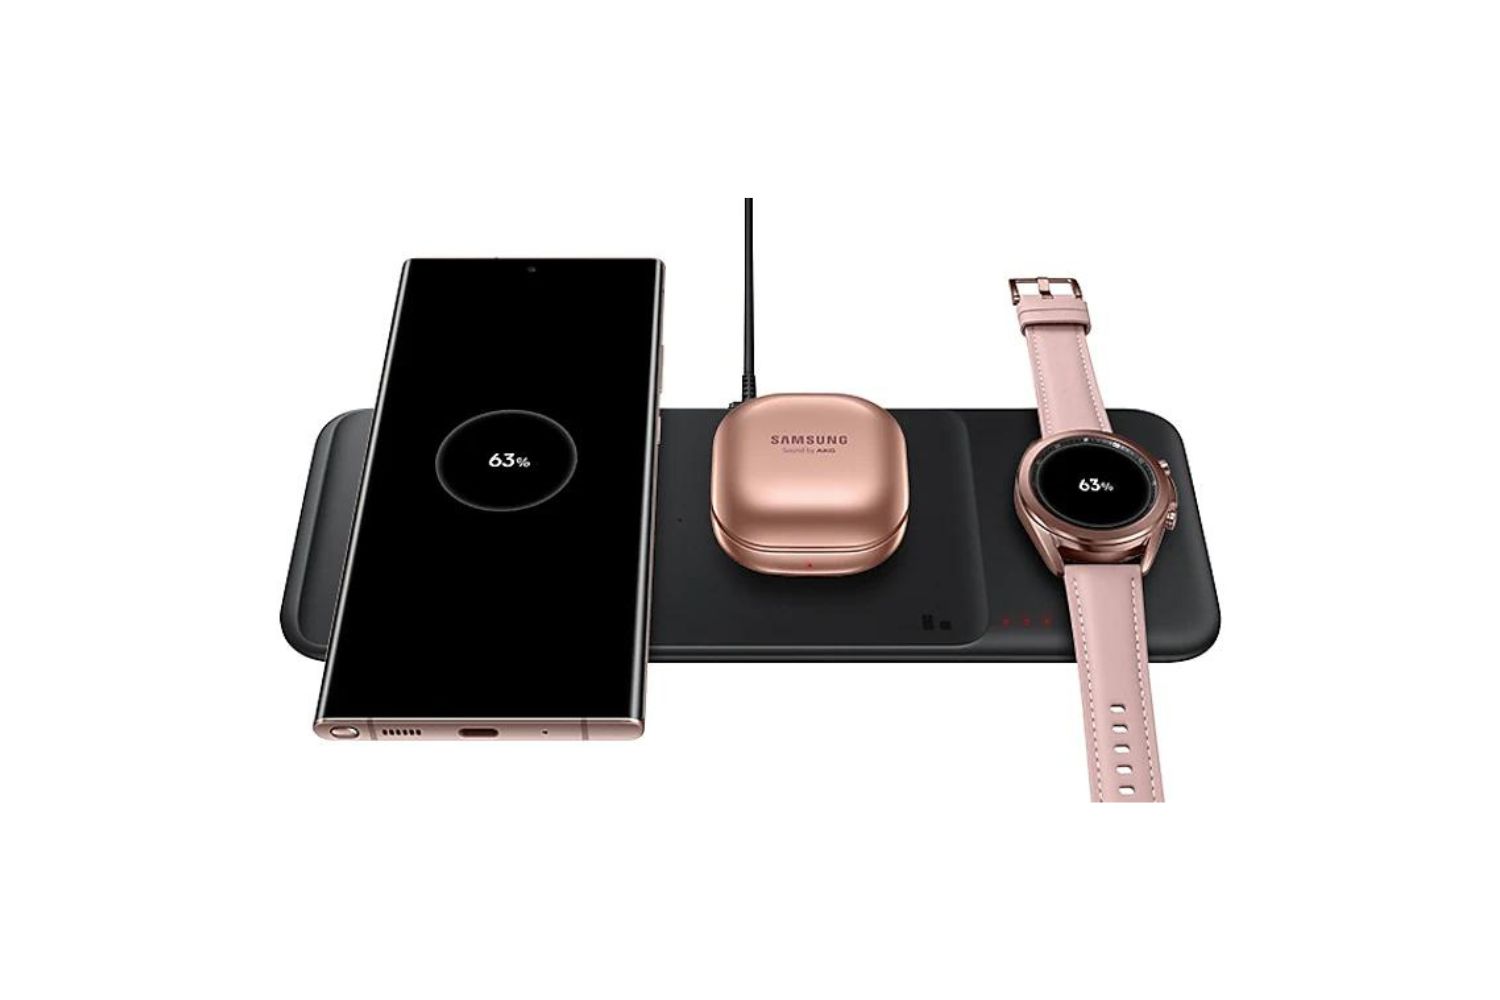
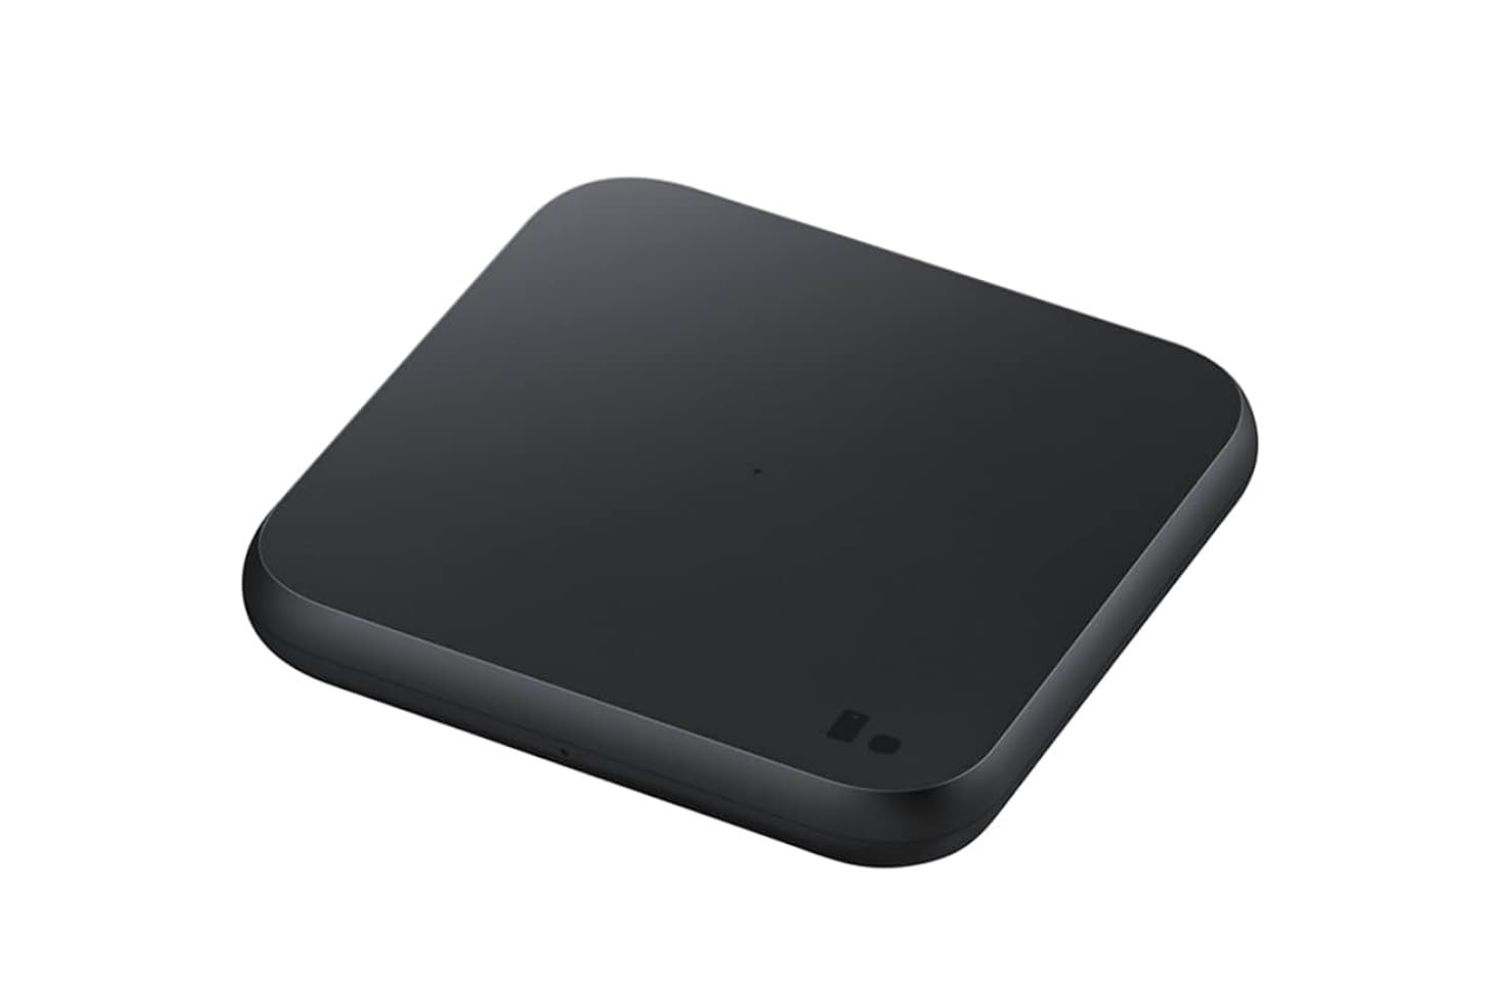
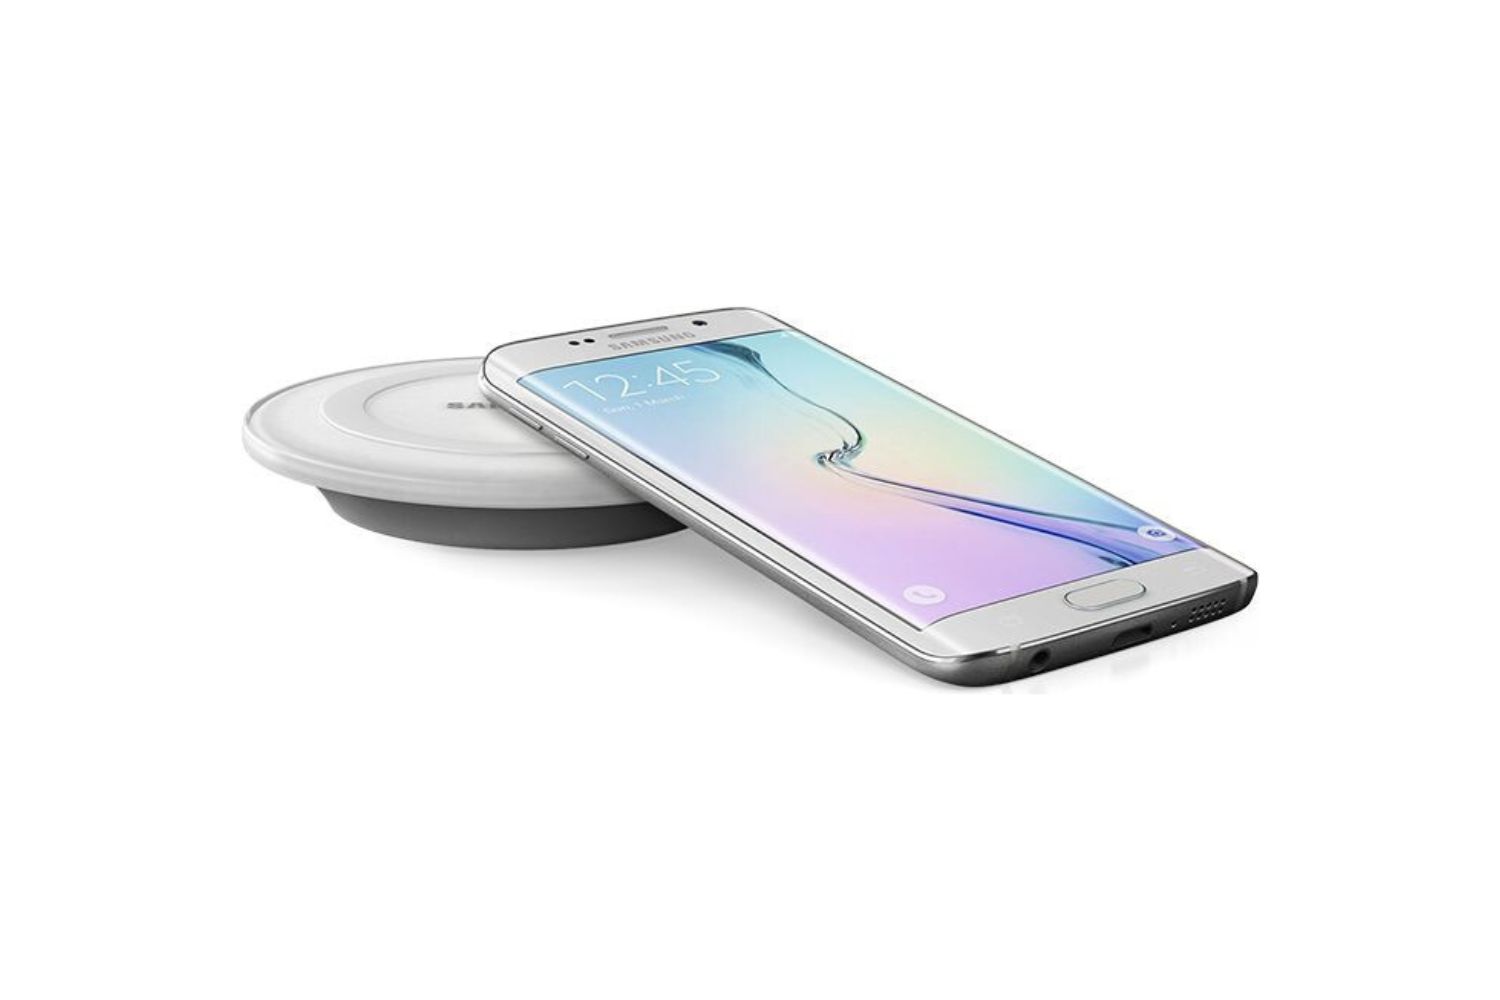
Welcome to the world of wireless charging with the Samsung Charging Pad. Gone are the days of dealing with tangled cords and searching for a free power outlet. With the Samsung Charging Pad, you can conveniently charge your Samsung device without the need for any cables or plugs.
Wireless charging technology has revolutionized the way we power our devices, providing a hassle-free charging experience. Whether you have a Samsung smartphone or tablet that supports wireless charging, the Samsung Charging Pad is a must-have accessory that will simplify your life.
In this guide, we will walk you through the step-by-step process of using the Samsung Charging Pad to ensure a seamless charging experience. From finding the perfect location for your charging pad to verifying that your device is charging, we will cover all the essential details.
So, if you’re ready to go cord-free and experience the convenience of wireless charging, let’s dive into the wonderful world of the Samsung Charging Pad!
Step 1: Find a suitable location for your wireless charging pad
The first step to using the Samsung Charging Pad is finding the perfect location to place it. Ideally, you want to choose a flat, stable surface that is easily accessible and within reach. Here are some factors to consider when selecting the right spot:
- Stability: Ensure that the surface you choose is stable and won’t wobble or move when you place your device on the charging pad. This will prevent any accidental slips or falls.
- Accessibility: Select a location that is easily accessible, such as a desk, bedside table, or kitchen counter. This will ensure that you can conveniently place and retrieve your device from the charging pad.
- Avoiding Obstacles: Make sure that there are no barriers or obstacles that may obstruct the charging process. Keep the charging pad away from metal objects or other electronic devices to prevent interference.
- Adequate Ventilation: Wireless charging pads may generate a small amount of heat during the charging process. To prevent overheating, choose a location with proper ventilation, away from enclosed spaces or objects that can block air circulation.
- Visibility: While the charging pad doesn’t require visual accessibility, it’s always convenient to place it in a spot where you can easily monitor the charging progress or check your notifications without any hassle.
Once you have considered these factors, it’s time to find the perfect spot for your Samsung Charging Pad. Remember, the location you choose should align with your lifestyle and personal preferences, ensuring that charging your device becomes a seamless part of your daily routine.
Step 2: Connect the wireless charging pad to the power source
Now that you have found the ideal location for your Samsung Charging Pad, it’s time to connect it to a power source. Follow these simple steps to ensure a proper connection:
- Locate the power cable: The Samsung Charging Pad comes with a power cable that will be used to connect it to a power source. Find the cable and make sure it is free from any tangles or obstructions.
- Connect the power cable to the charging pad: On the back or side of the charging pad, you will find a port where the power cable needs to be plugged in. Take the power cable and insert it securely into the charging pad’s port.
- Connect the other end of the power cable: The other end of the power cable typically has a standard USB or USB-C connector. Plug this end into a power source, such as a wall adapter or a USB port on your computer.
- Verify the connection: Once the power cable is connected at both ends, you should see a subtle indicator light on the charging pad, indicating that it is successfully connected to the power source. This light may vary depending on the model of the charging pad, so refer to the user manual for specific details.
It’s important to note that the Samsung Charging Pad relies on a steady power supply to function optimally. Therefore, ensure that the power source you are using is reliable and delivers a consistent power output.
Once you have completed these steps, your Samsung Charging Pad is now connected to the power source and ready to charge your device wirelessly. In the next step, we will learn how to place your Samsung device on the charging pad to initiate the charging process.
Step 3: Place your Samsung device on the charging pad
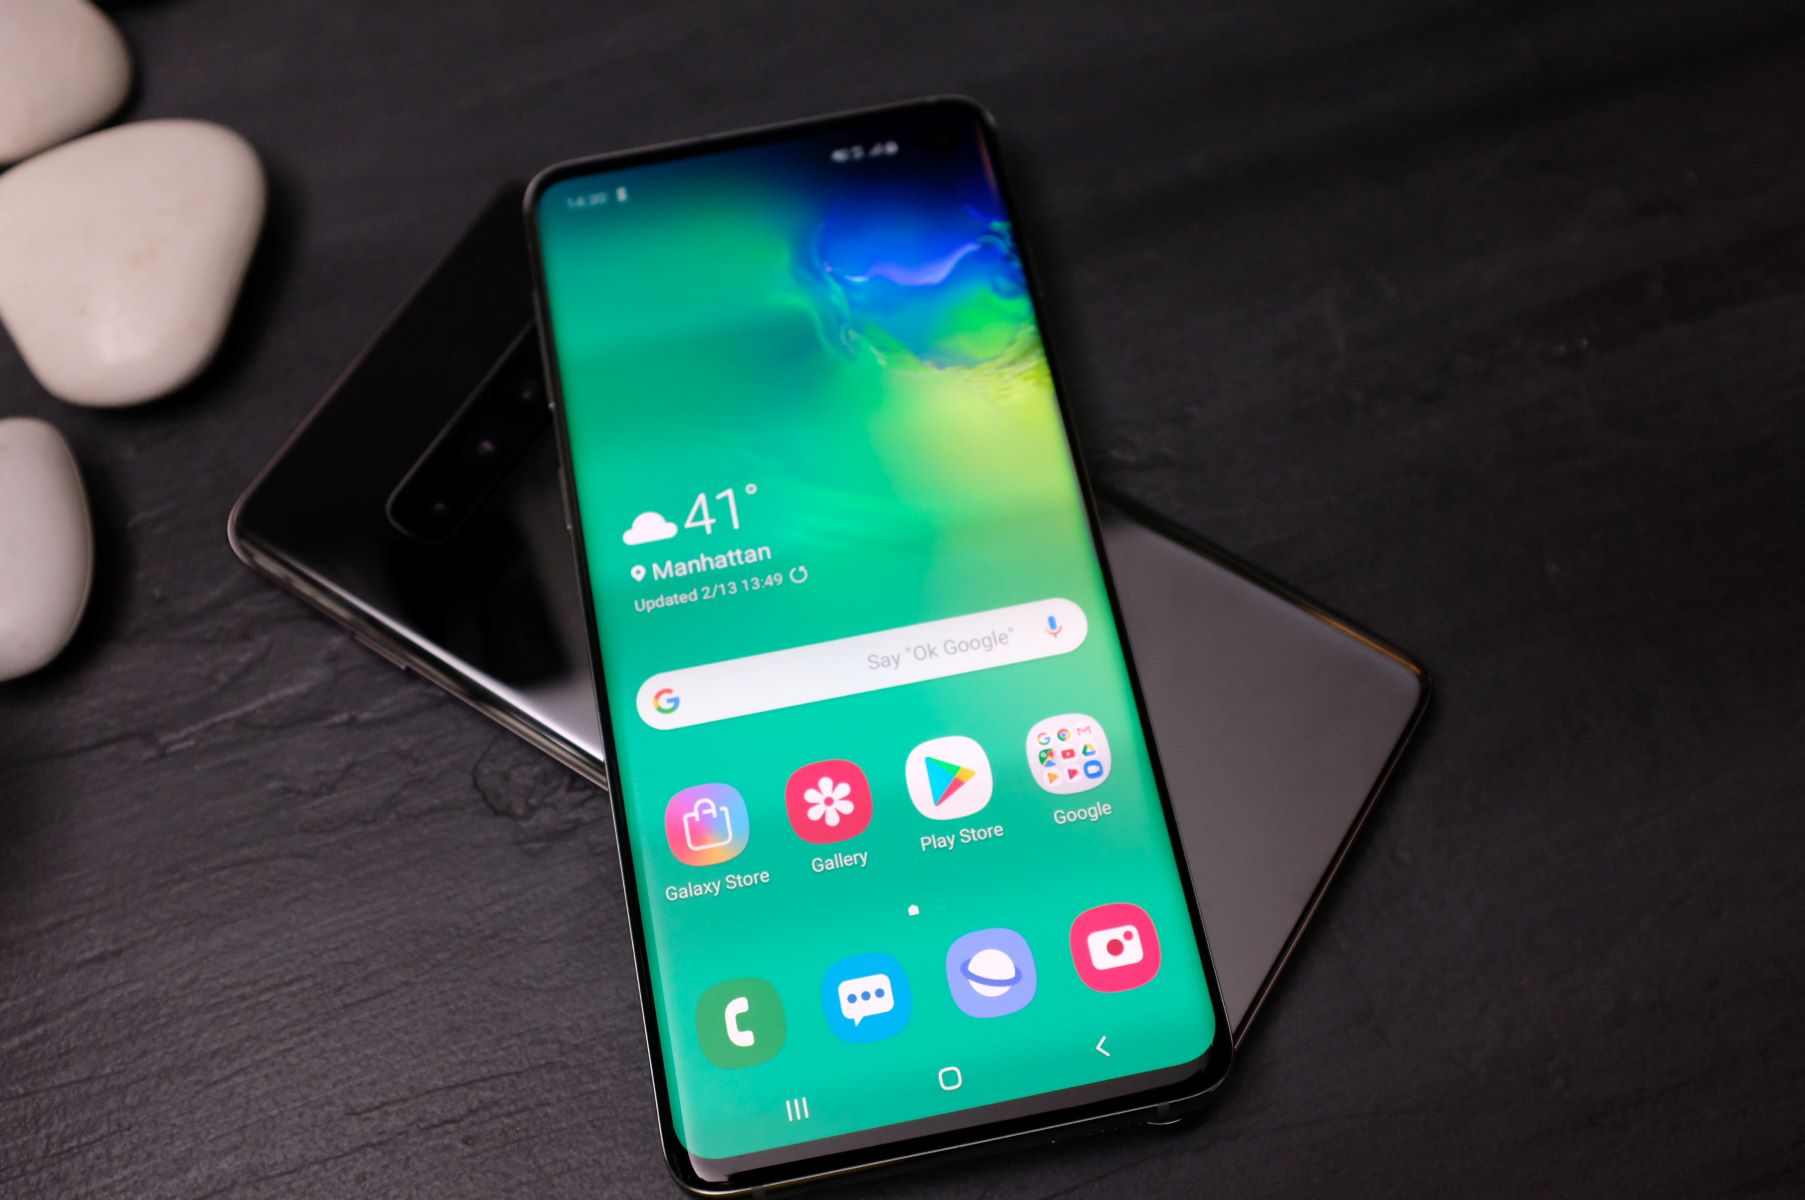
Now that your Samsung Charging Pad is connected to the power source, it’s time to place your Samsung device on the pad to begin the wireless charging process. Follow these steps to ensure a successful charging experience:
- Remove any obstacles: Before placing your device on the charging pad, remove any cases or covers that may hinder the wireless charging process. Some thicker cases or metal accessories can interfere with the charging capabilities of the Samsung Charging Pad.
- Align your device: Position your Samsung device carefully on the charging pad, ensuring that the center of the pad aligns with the center of your device’s charging coil. This will optimize the charging efficiency and ensure a reliable connection.
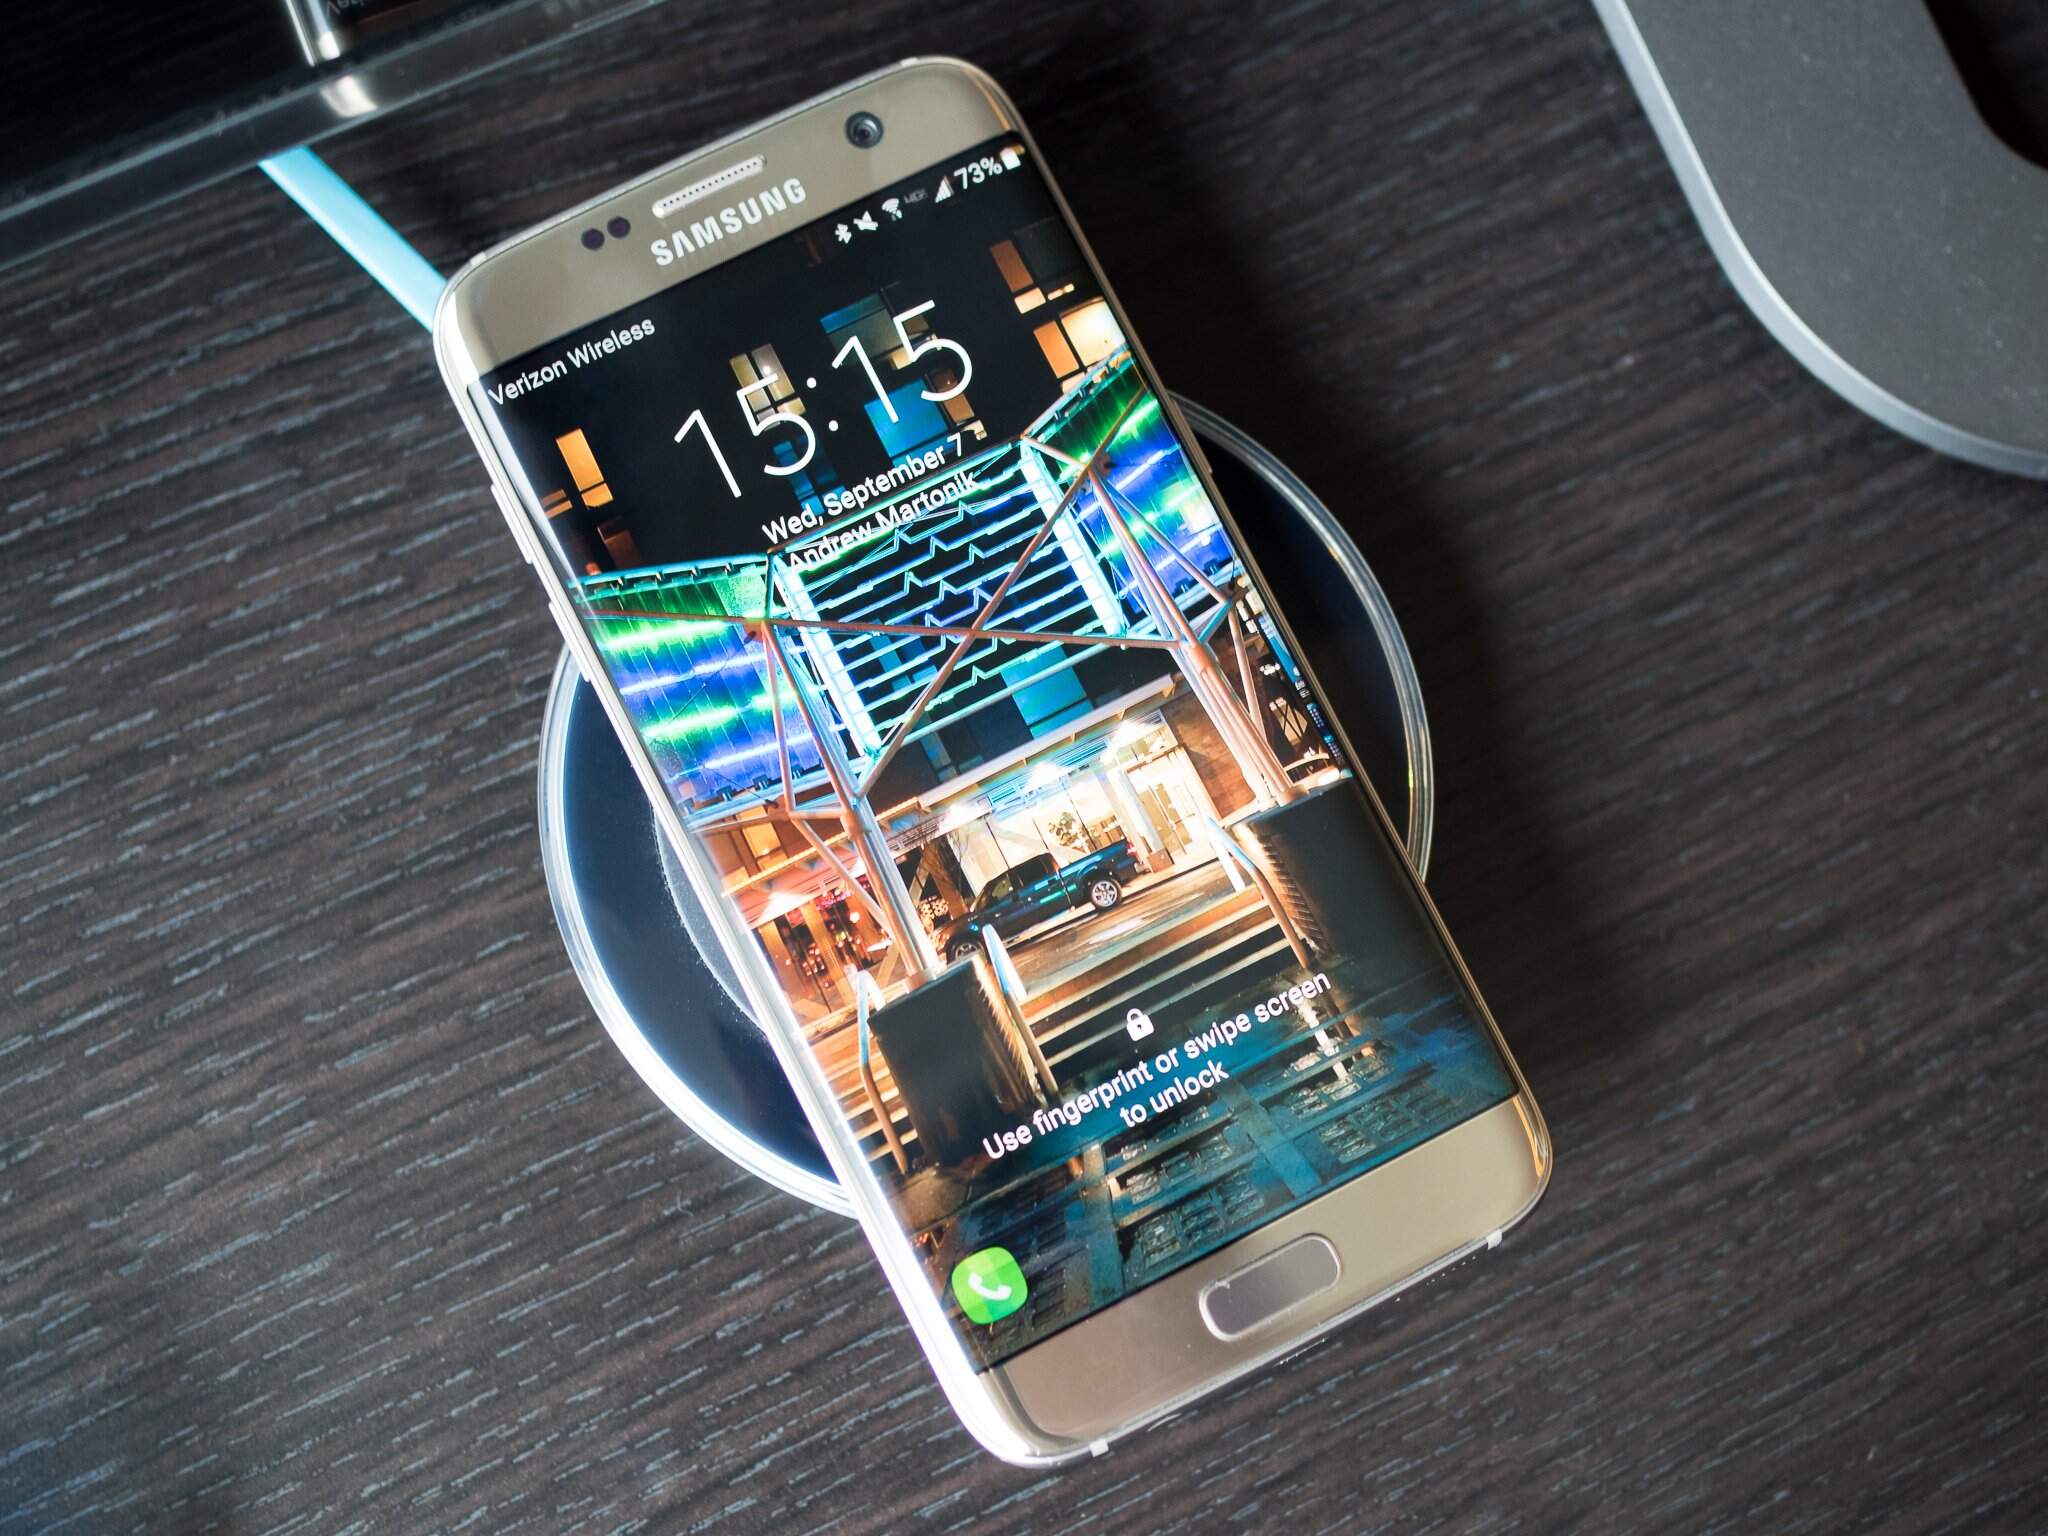
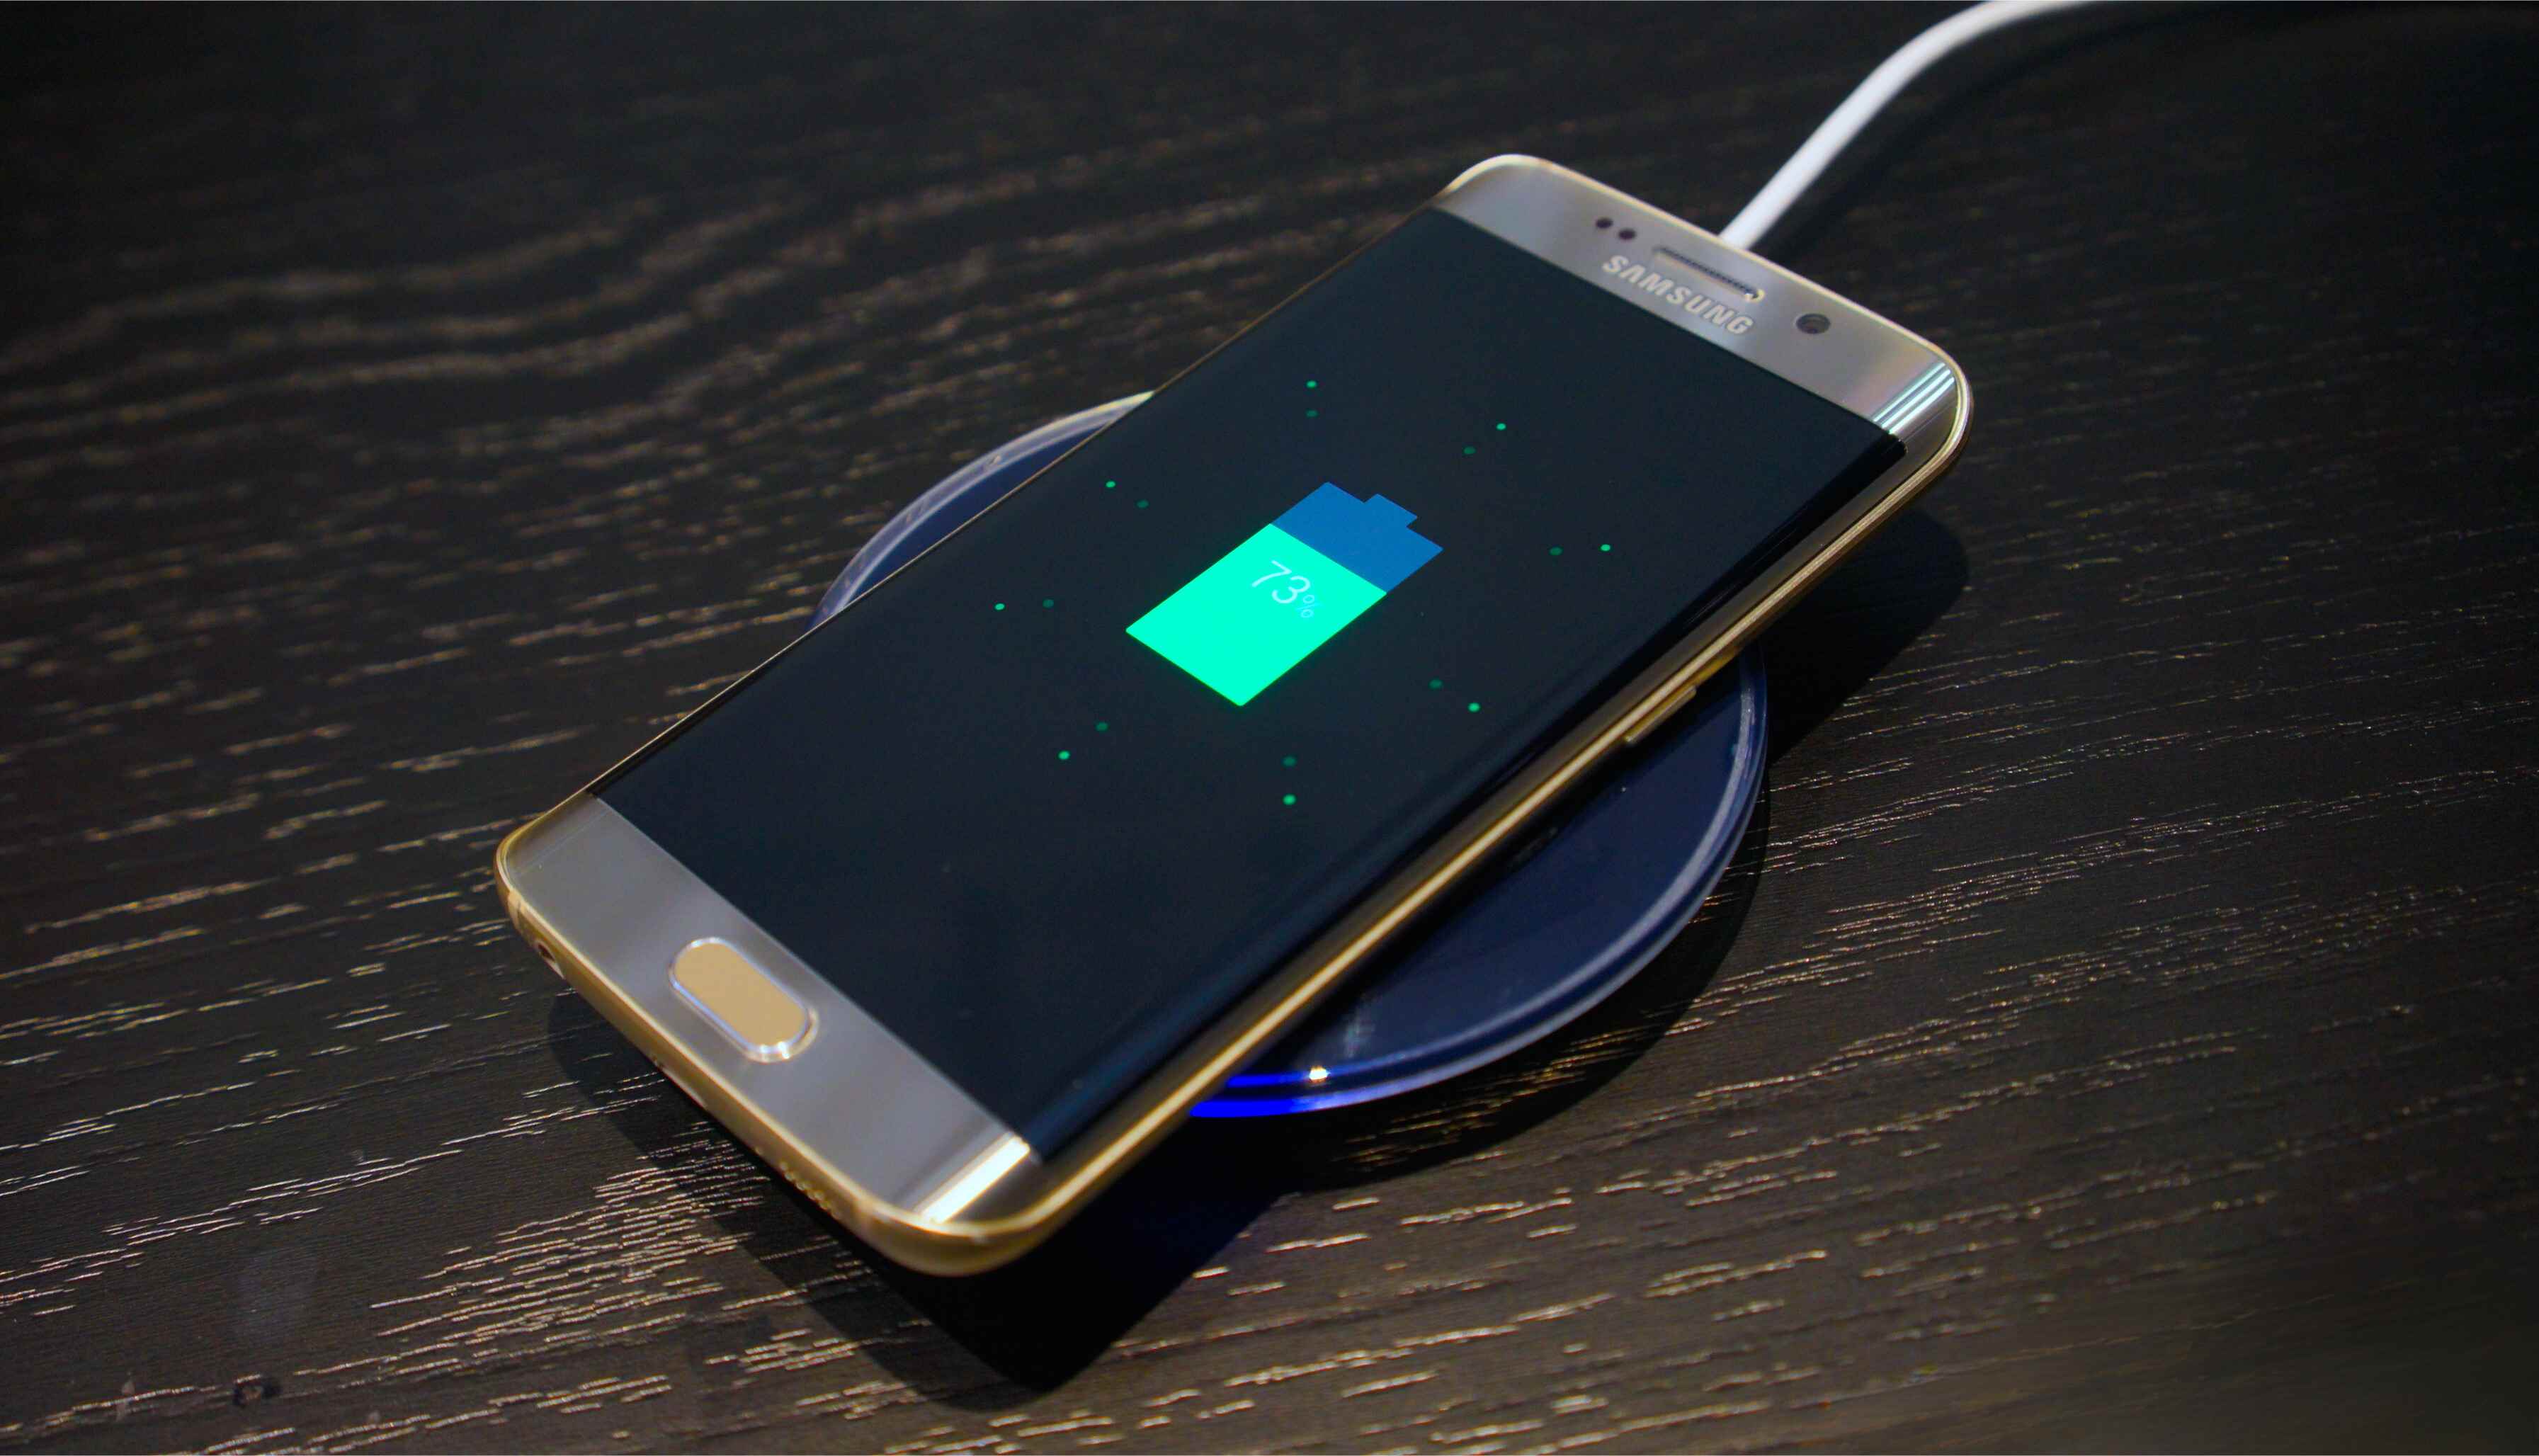
- Confirmation of charging: Once your device is placed correctly on the charging pad, you should see a charging indicator on your device’s screen or on the charging pad itself, depending on the model. The indicator may be a blinking LED light or a notification on your device, confirming that it is charging wirelessly.
- Check the position: Ensure that your device is placed securely on the charging pad and that it doesn’t wobble or move. This will prevent any interruptions in the charging process and maintain a stable connection.
Note that some Samsung devices may have specific alignment requirements for wireless charging. Refer to your device’s user manual to understand any device-specific instructions or recommendations to ensure the optimal charging position.
Now that your Samsung device is placed on the charging pad and charging wirelessly, it’s time to verify that the charging process is underway. In the next step, we will discuss how to confirm that your device is charging successfully.
Step 4: Verify that your device is charging
Once your Samsung device is placed on the charging pad, it’s important to verify that the charging process has begun. Follow these steps to ensure that your device is charging successfully:
- Check the charging indicator: Look for the charging indicator on your device’s screen or on the charging pad itself. Depending on the device model, you may see a battery icon or a percentage indicating that the device is charging. Additionally, some charging pads have LED lights that change color or blink to indicate the charging status.
- Monitor the battery level: Keep an eye on your device’s battery level to see if it is increasing over time. You can check this by going to your device’s settings or by looking at the battery icon on your device’s screen. If the battery level is going up, it confirms that the wireless charging is working as intended.
- Ensure proper alignment: If you notice that the charging process is not starting, make sure that your device is properly aligned with the charging pad. Adjust its position slightly if needed to establish a better connection.
- Remove any obstructions: Check for any foreign objects or debris between the device and the charging pad. Dust, dirt, or other particles can disrupt the charging process. Clean both the device and the charging pad before placing the device back on the pad.
- Reposition if necessary: If you still are not able to verify that your device is charging, try repositioning it slightly to find a sweet spot where the charging process initiates. Some devices may have specific placement requirements, so refer to your device’s user manual for any guidance.
If, after following these steps, you are able to confirm that your Samsung device is indeed charging wirelessly, congratulations! You can now enjoy the convenience of hassle-free charging. However, if you encounter any issues or are unable to verify the charging process, you may need to troubleshoot or contact Samsung support for further assistance.
Now that you have successfully verified that your device is charging, it’s time to learn how to remove it from the charging pad in the next step.
Step 5: Remove your Samsung device from the charging pad
When you no longer need to charge your Samsung device or it has reached a sufficient battery level, it’s time to remove it from the charging pad. Follow these steps to safely remove your device:
- Remove any obstacles: Before lifting your device off the charging pad, ensure that there are no objects or accessories obstructing its path. This includes any charging cables, cases, or other items that may have been placed nearby.
- Lift your device gently: Using both hands, lift your Samsung device gently off the charging pad to avoid any sudden movements or jerking motions. It’s essential to handle your device with care to prevent any accidental drops or damage.
- Disconnect the charging pad if needed: If you no longer need to use the charging pad, it’s a good practice to unplug it from the power source. This will conserve energy and prevent any potential damage to the charging pad or your device.
- Replace any protective accessories: If you had removed any cases or covers before placing your device on the charging pad, make sure to reattach them securely after removing it. This will help protect your device from any potential damage or scratches.
By following these simple steps, you can safely remove your Samsung device from the charging pad without any issues. Remember to handle your device with care and always keep it secure during the removal process.
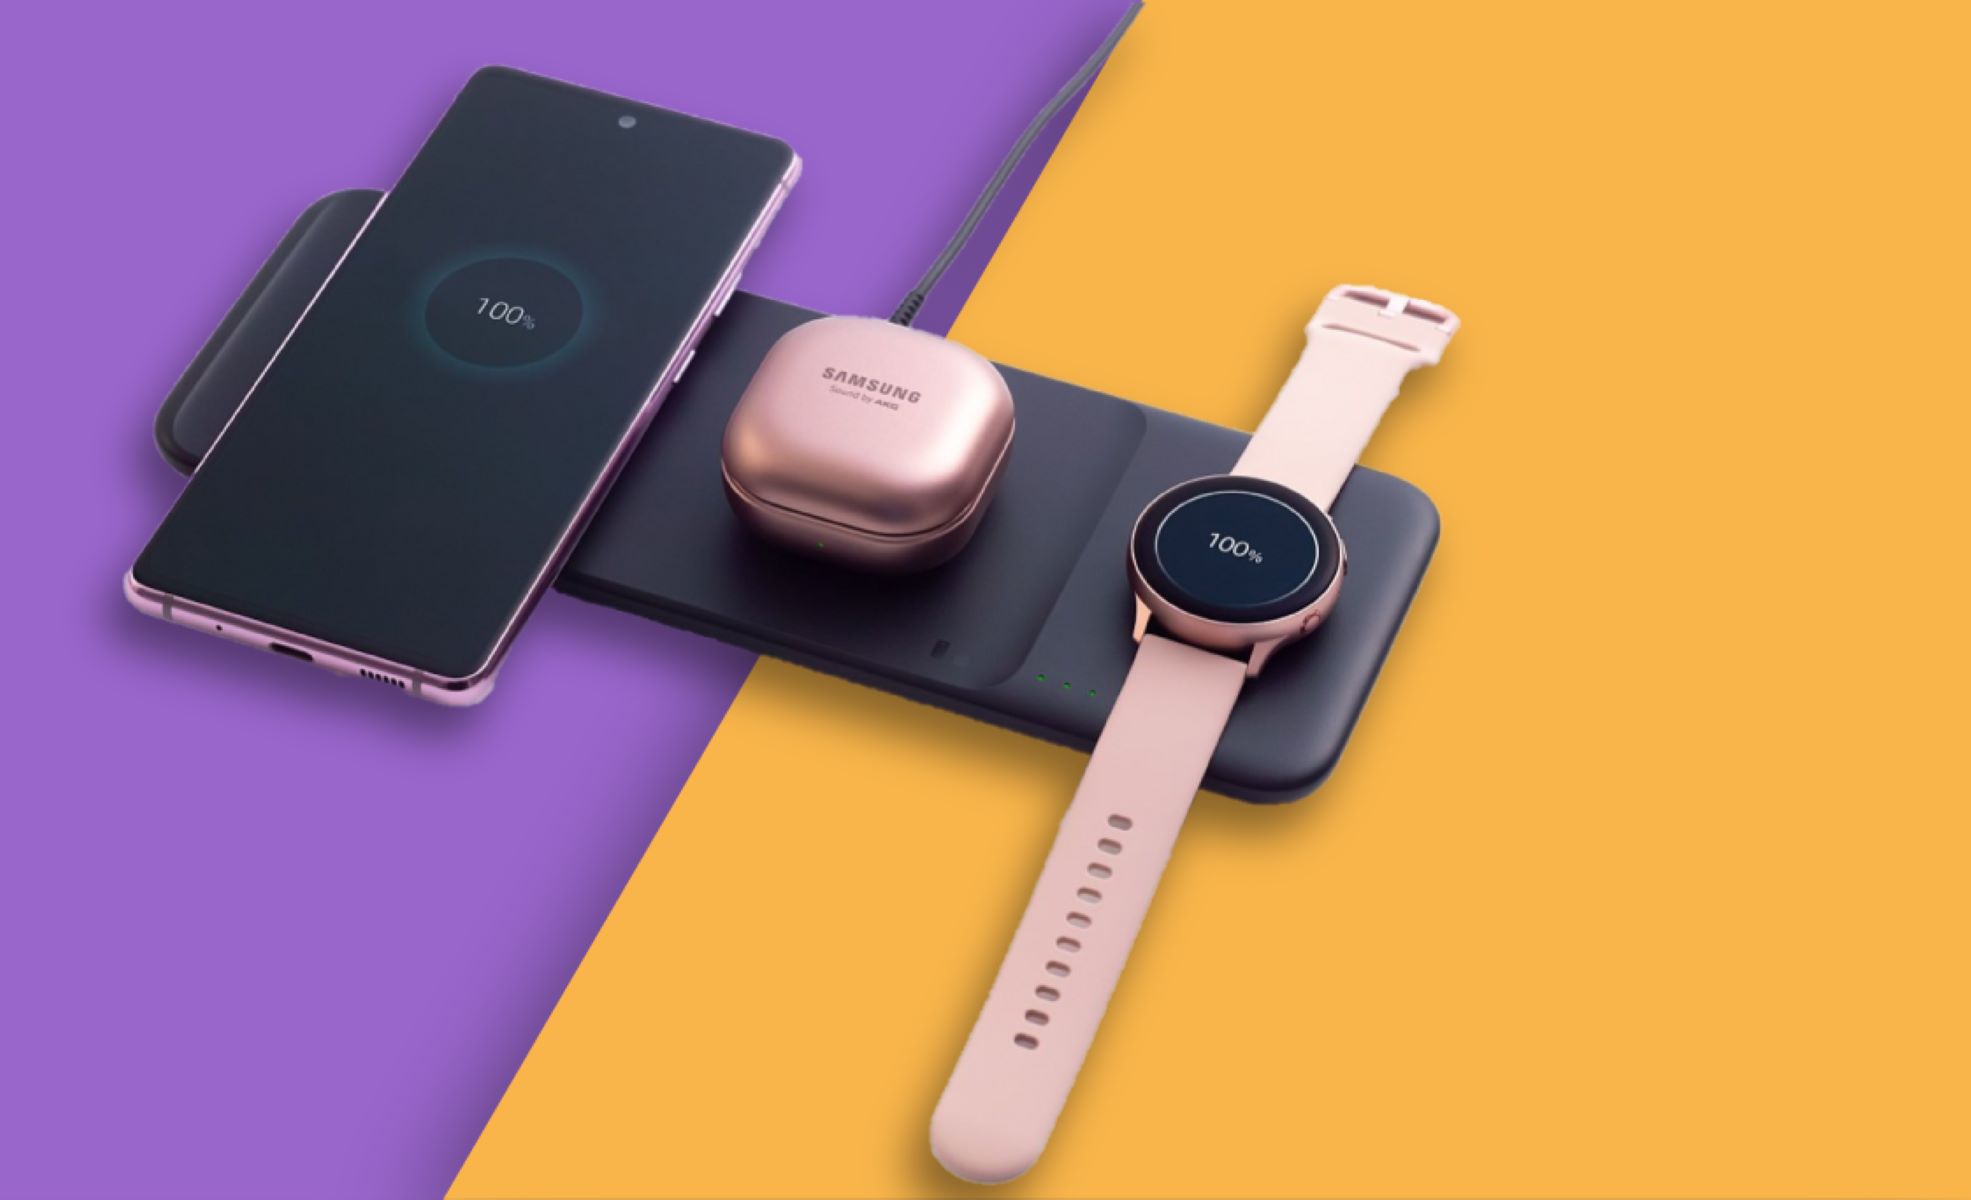
Now that you have successfully completed all the steps, you can enjoy the convenience and freedom of wireless charging with your Samsung device. Whether it’s a smartphone or tablet, the Samsung Charging Pad offers a simple and efficient way to keep your device powered up throughout the day.
We hope this guide has been helpful in assisting you with the usage of the Samsung Charging Pad. If you have any further questions or need additional support, don’t hesitate to reach out to Samsung customer service for assistance.
Conclusion
Wireless charging has undoubtedly transformed the way we power our devices, and the Samsung Charging Pad is a fantastic accessory that offers a convenient and tangle-free charging experience. In this guide, we have explored the step-by-step process of using the Samsung Charging Pad to ensure a seamless charging experience for your Samsung devices.
First, we discussed the importance of finding a suitable location for your charging pad, considering factors such as stability, accessibility, and ventilation. We then moved on to connecting the charging pad to a power source and verifying the connection. Next, we covered the crucial step of placing your Samsung device on the charging pad with proper alignment and confirming that it is charging.
To ensure a successful charging experience, we provided tips on verifying that your device is charging, such as checking the charging indicator, monitoring the battery level, and making necessary adjustments. Lastly, we learned how to safely remove your device from the charging pad, emphasizing the importance of gentle handling and reconnecting any protective accessories.
The Samsung Charging Pad offers a convenient and clutter-free charging solution for your Samsung devices. By following the steps outlined in this guide, you can make the most out of this wireless charging technology and enjoy the freedom it brings to your daily life.
We hope this guide has provided you with the necessary information and guidance to effectively use the Samsung Charging Pad. If you have any further questions or need troubleshooting assistance, be sure to consult the user manual or reach out to Samsung customer support for prompt and reliable help.
Now, go ahead and experience the ease and convenience of wireless charging with your Samsung device using the Samsung Charging Pad! Say goodbye to tangled cords and hello to hassle-free power.


