Introduction
Welcome to the world of portable entertainment! In this digital age, having the ability to project your favorite movies, videos, or presentations on a big screen gives you a whole new level of flexibility and enjoyment. And that’s where the PVO projector comes in.
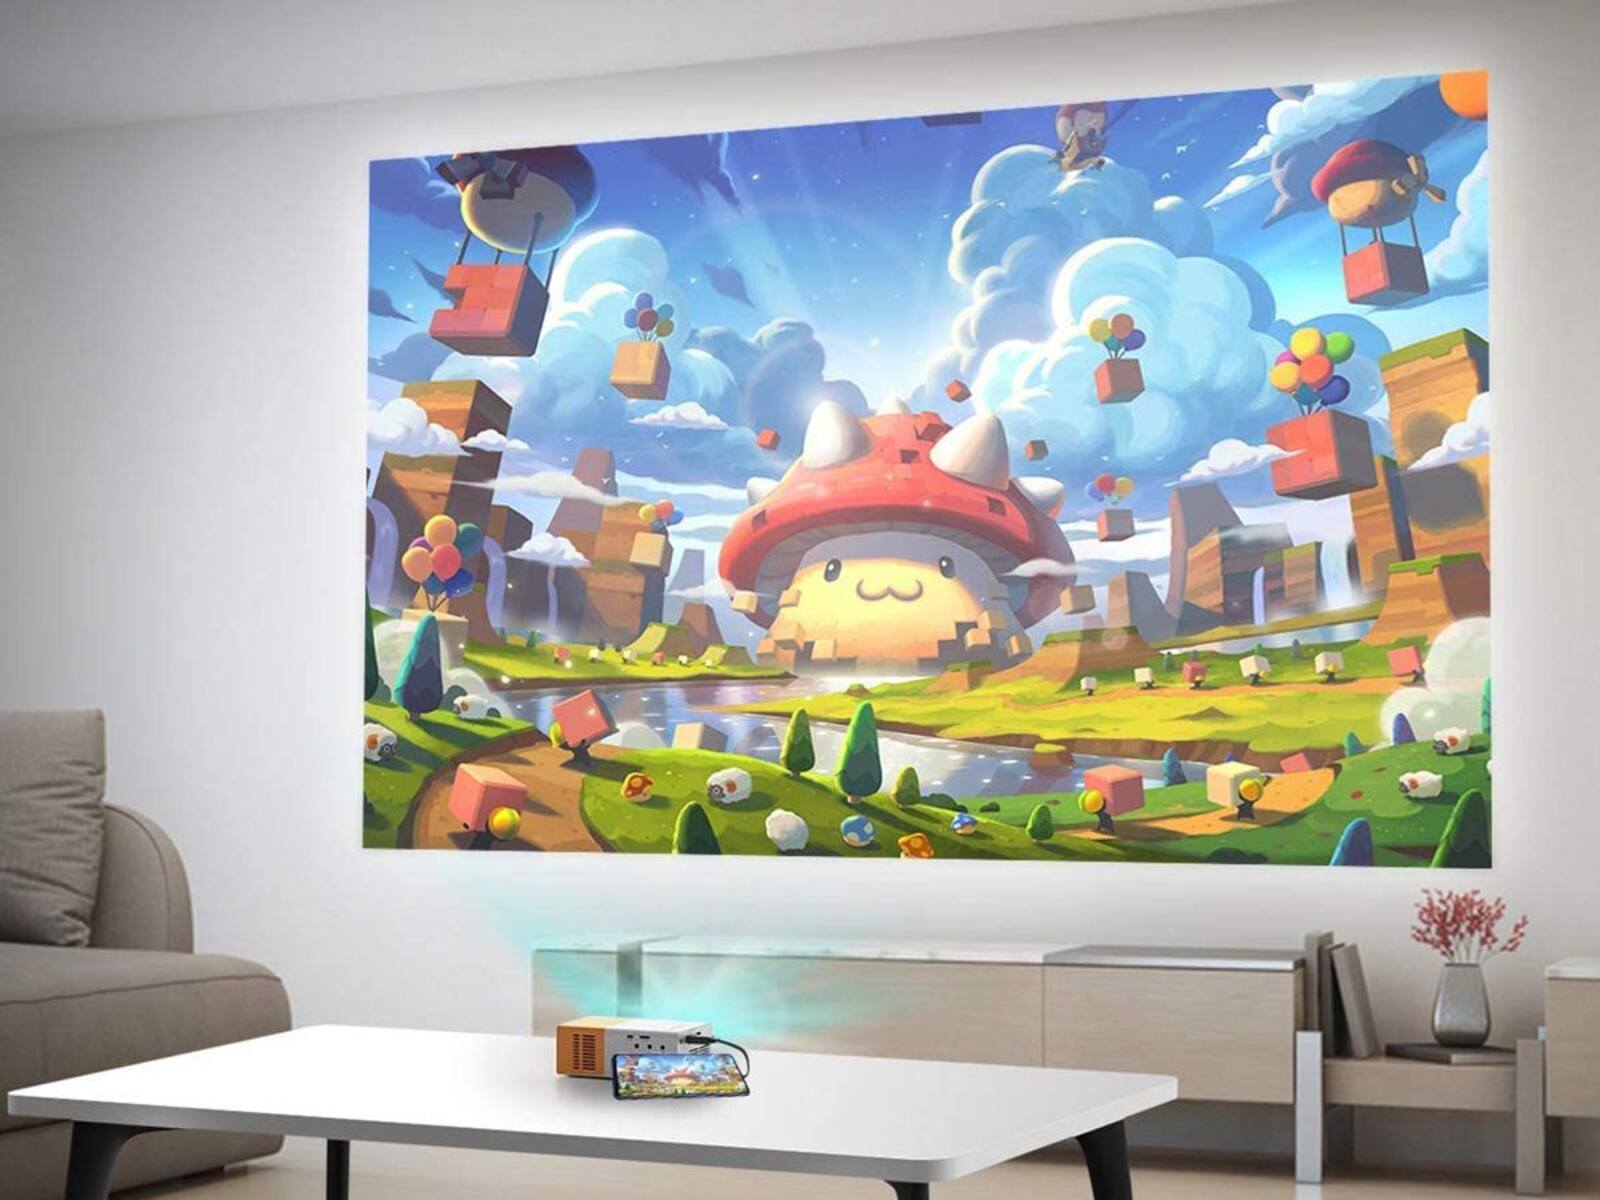
The PVO projector is a compact and lightweight device that allows you to transform any surface into a vibrant display. Whether you’re at home, on a camping trip, or giving a presentation at work, this portable projector offers convenience and versatility like no other.
In this article, we’ll explore what exactly a PVO projector is, discuss the benefits of using one, and provide you with a step-by-step guide on how to make the most out of your PVO projector experience. From setup to troubleshooting, we’ve got you covered!
If you’re looking to bring the big screen experience wherever you go, then keep reading to discover the wonders of the PVO projector.
What is a PVO Projector?
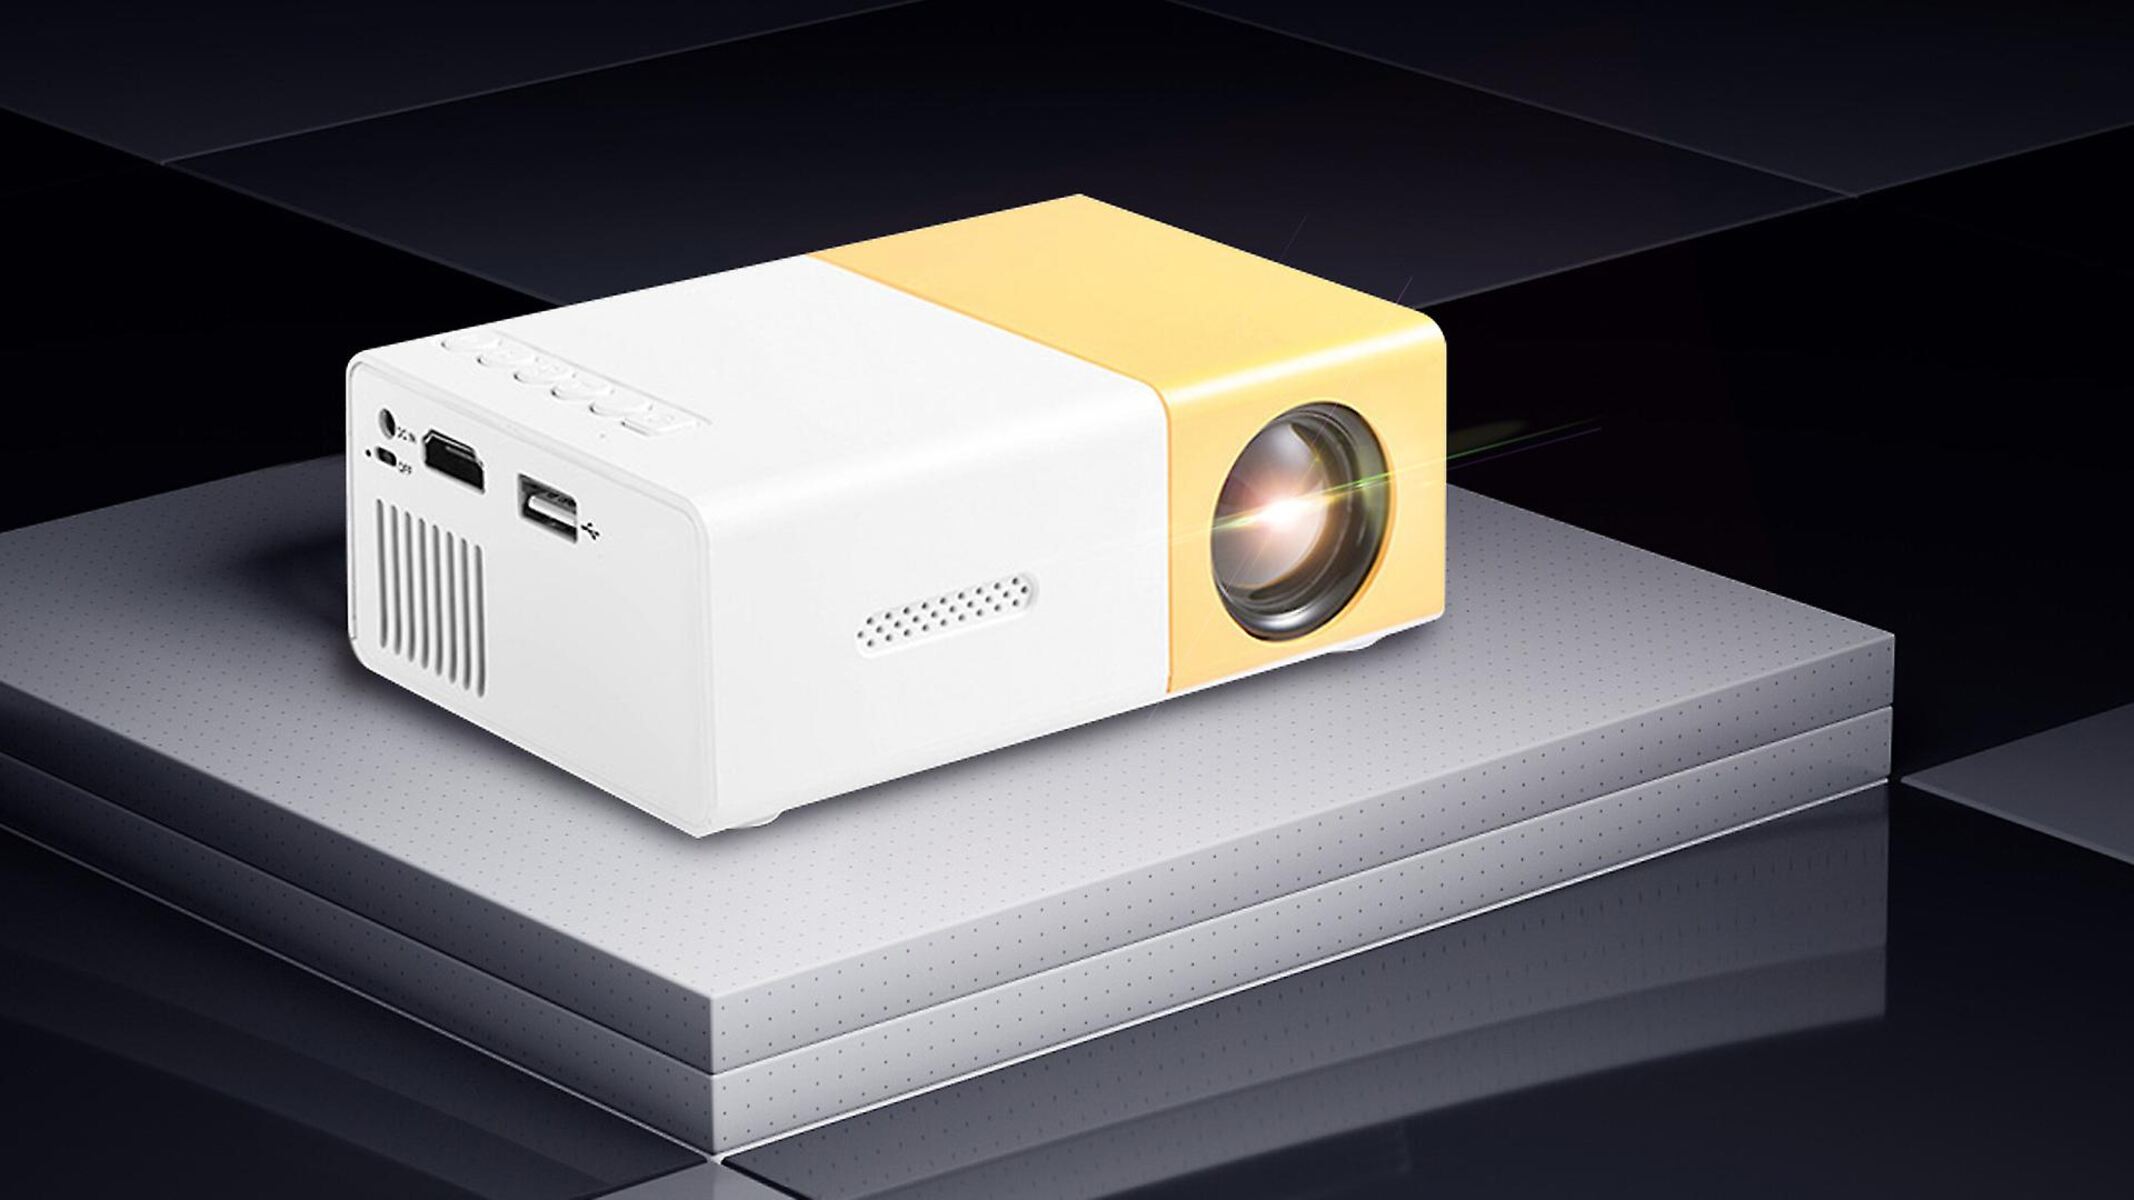
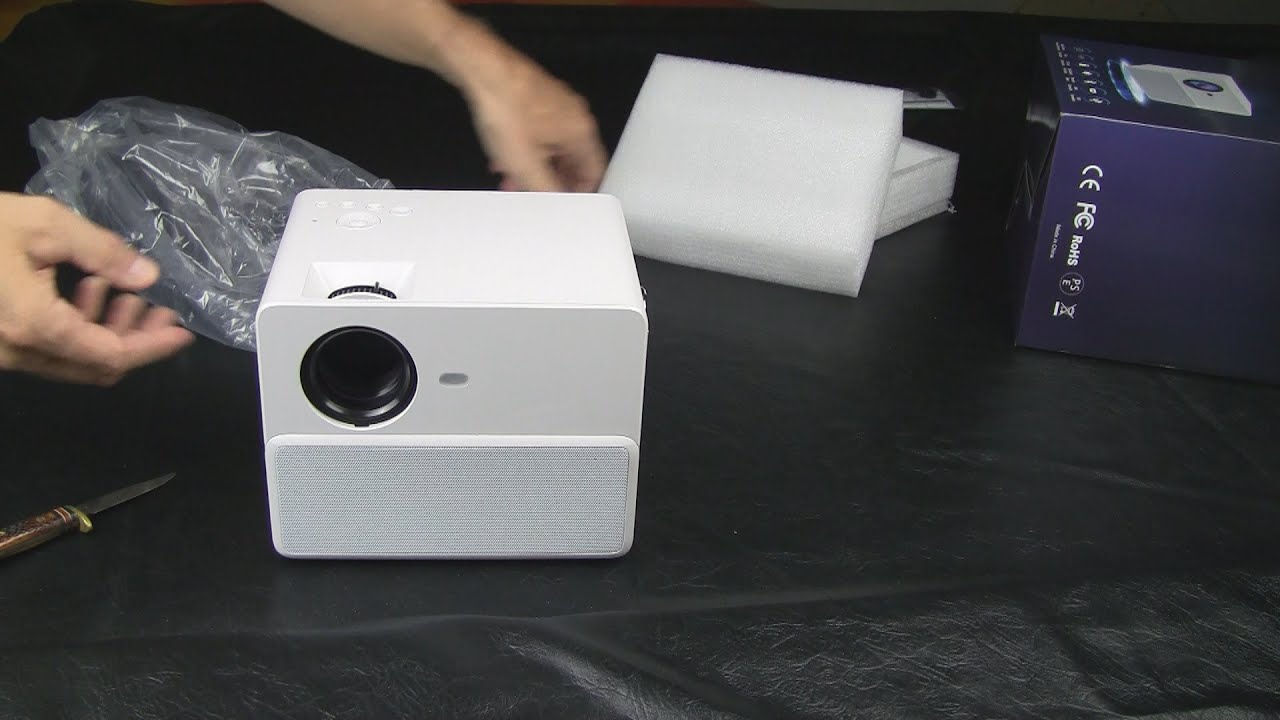
A PVO projector, also known as a portable mini projector, is a compact device that allows you to project images, videos, and presentations onto a larger surface. These projectors are designed to be lightweight, portable, and user-friendly, making them ideal for on-the-go entertainment or professional use.
PVO projectors utilize advanced display technologies to deliver high-quality and immersive visuals. They feature LED or LCD light sources, which provide bright and vibrant images, even in low-light environments. With resolutions ranging from 480p to 1080p, these projectors ensure sharp and detailed visuals, bringing your content to life.
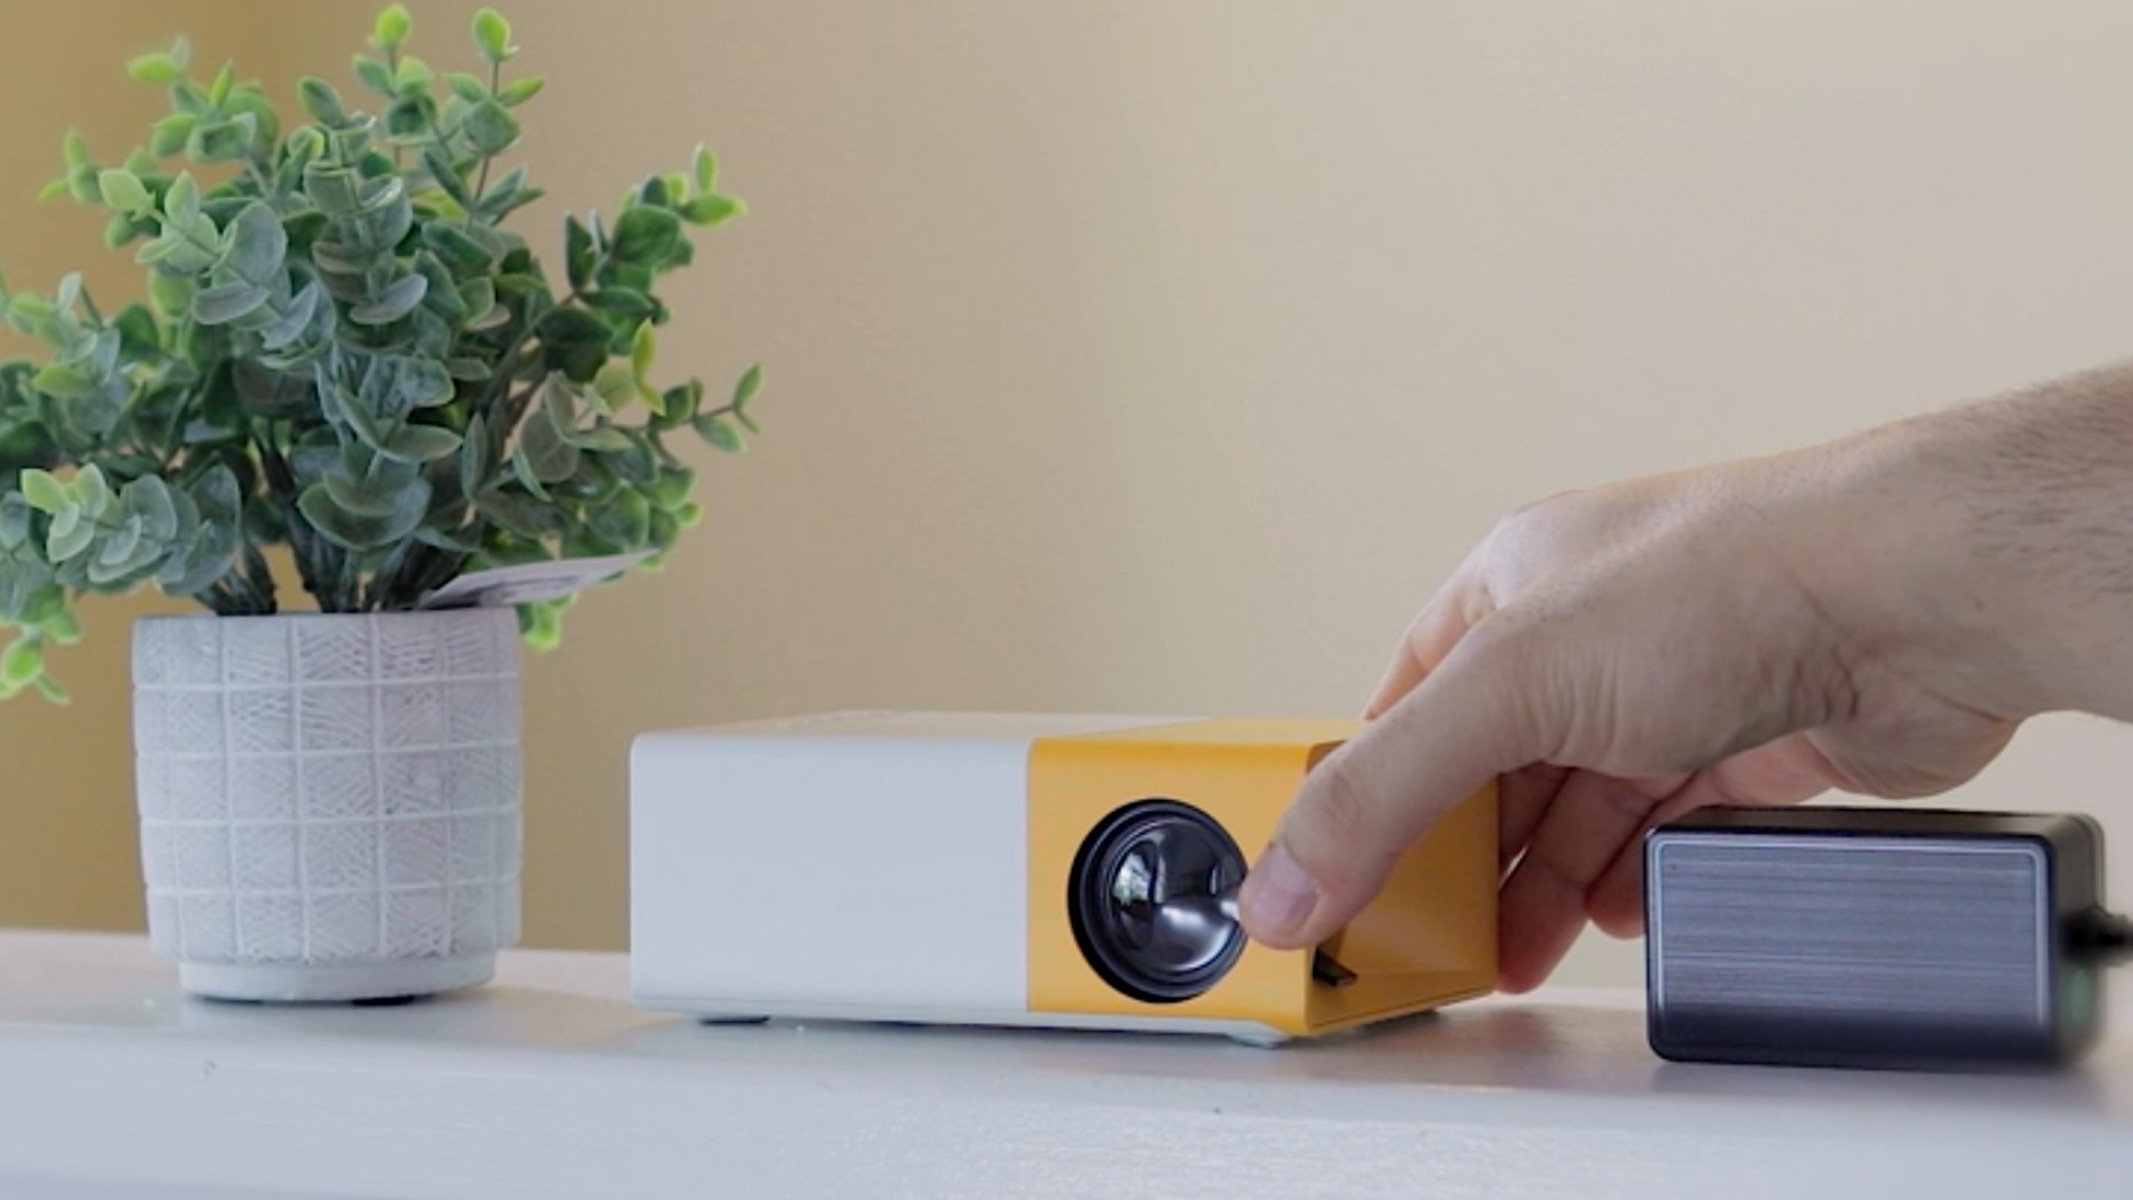
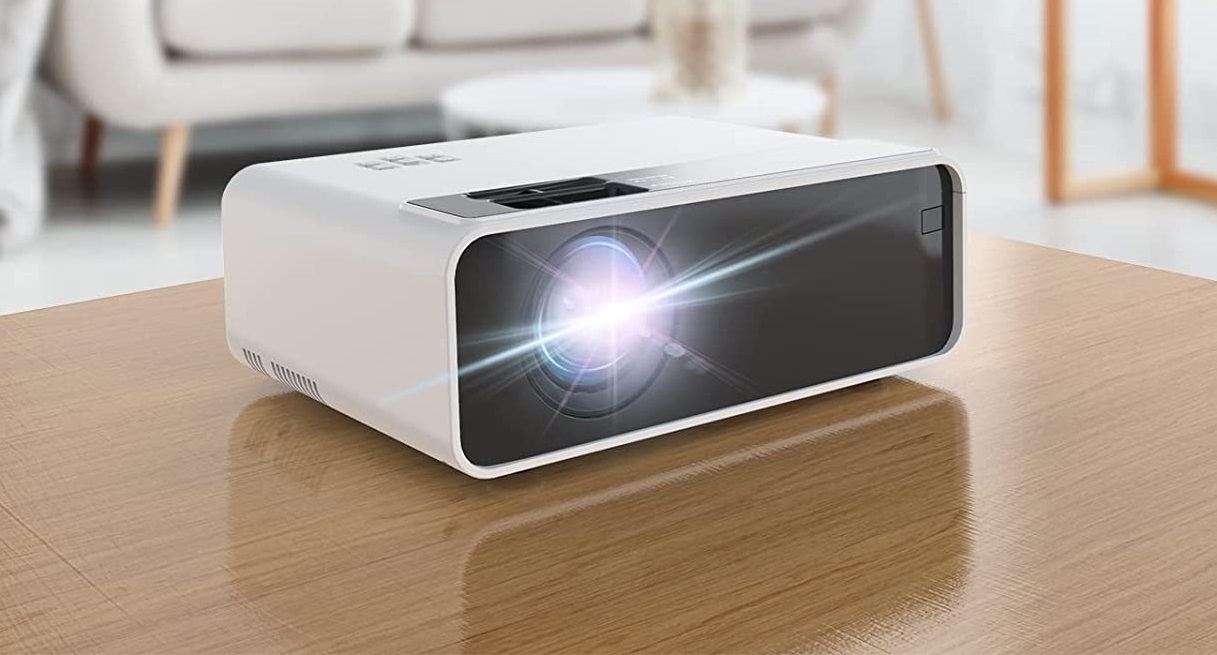
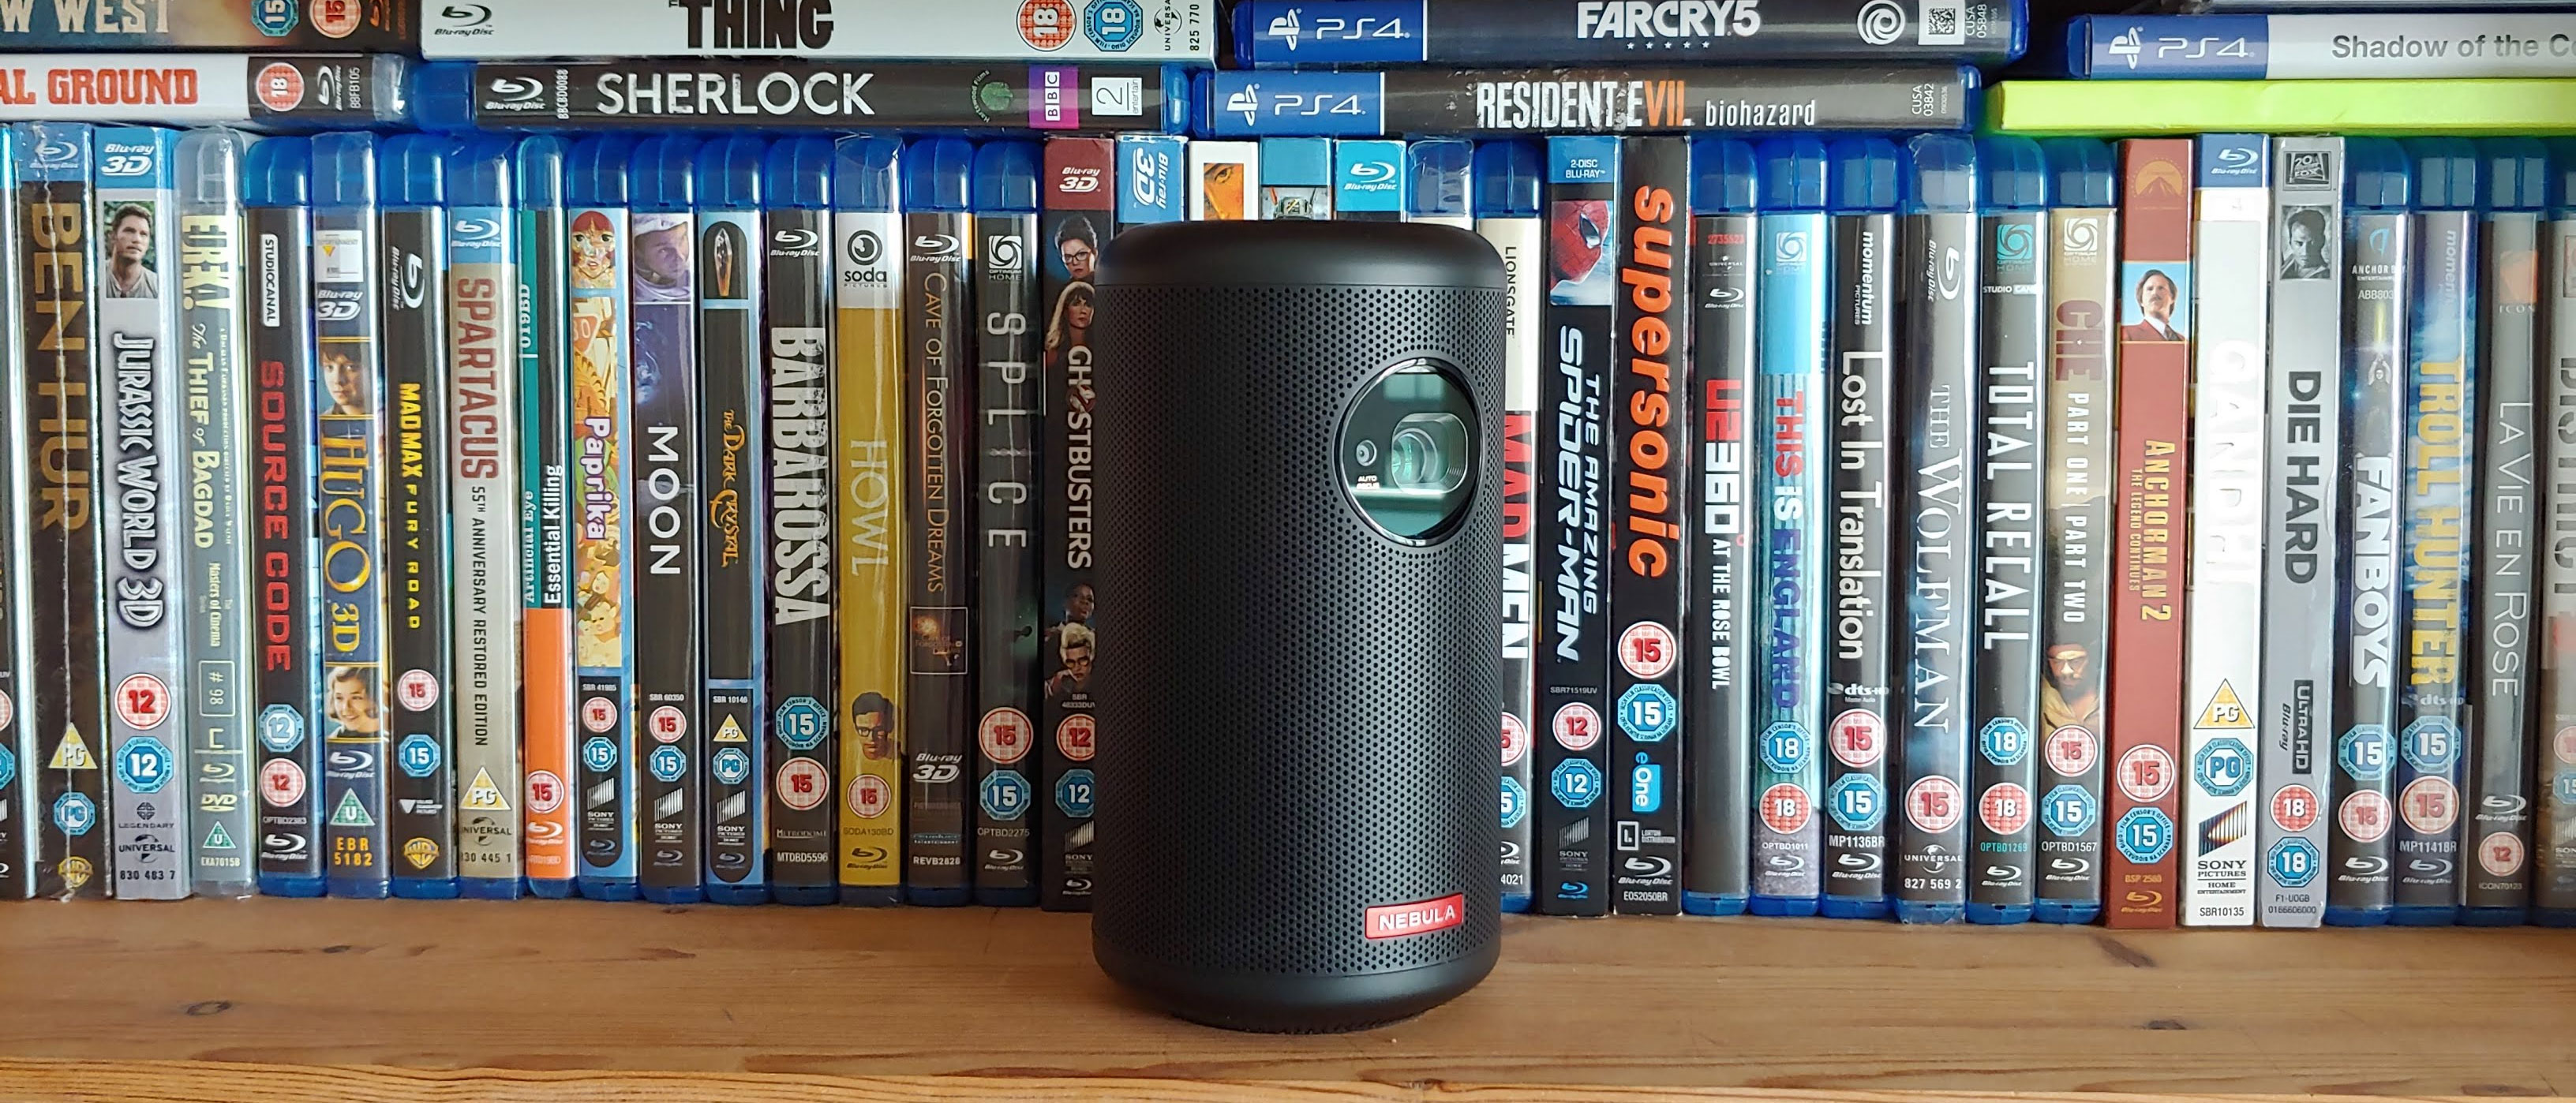
One of the key features of a PVO projector is its portability. Unlike traditional projectors that can be bulky and require extensive setup, PVO projectors are designed to be compact and lightweight, making them easy to carry around in your bag or pocket. This makes them perfect for movie nights under the stars, impromptu presentations, or sharing memories with friends and family.
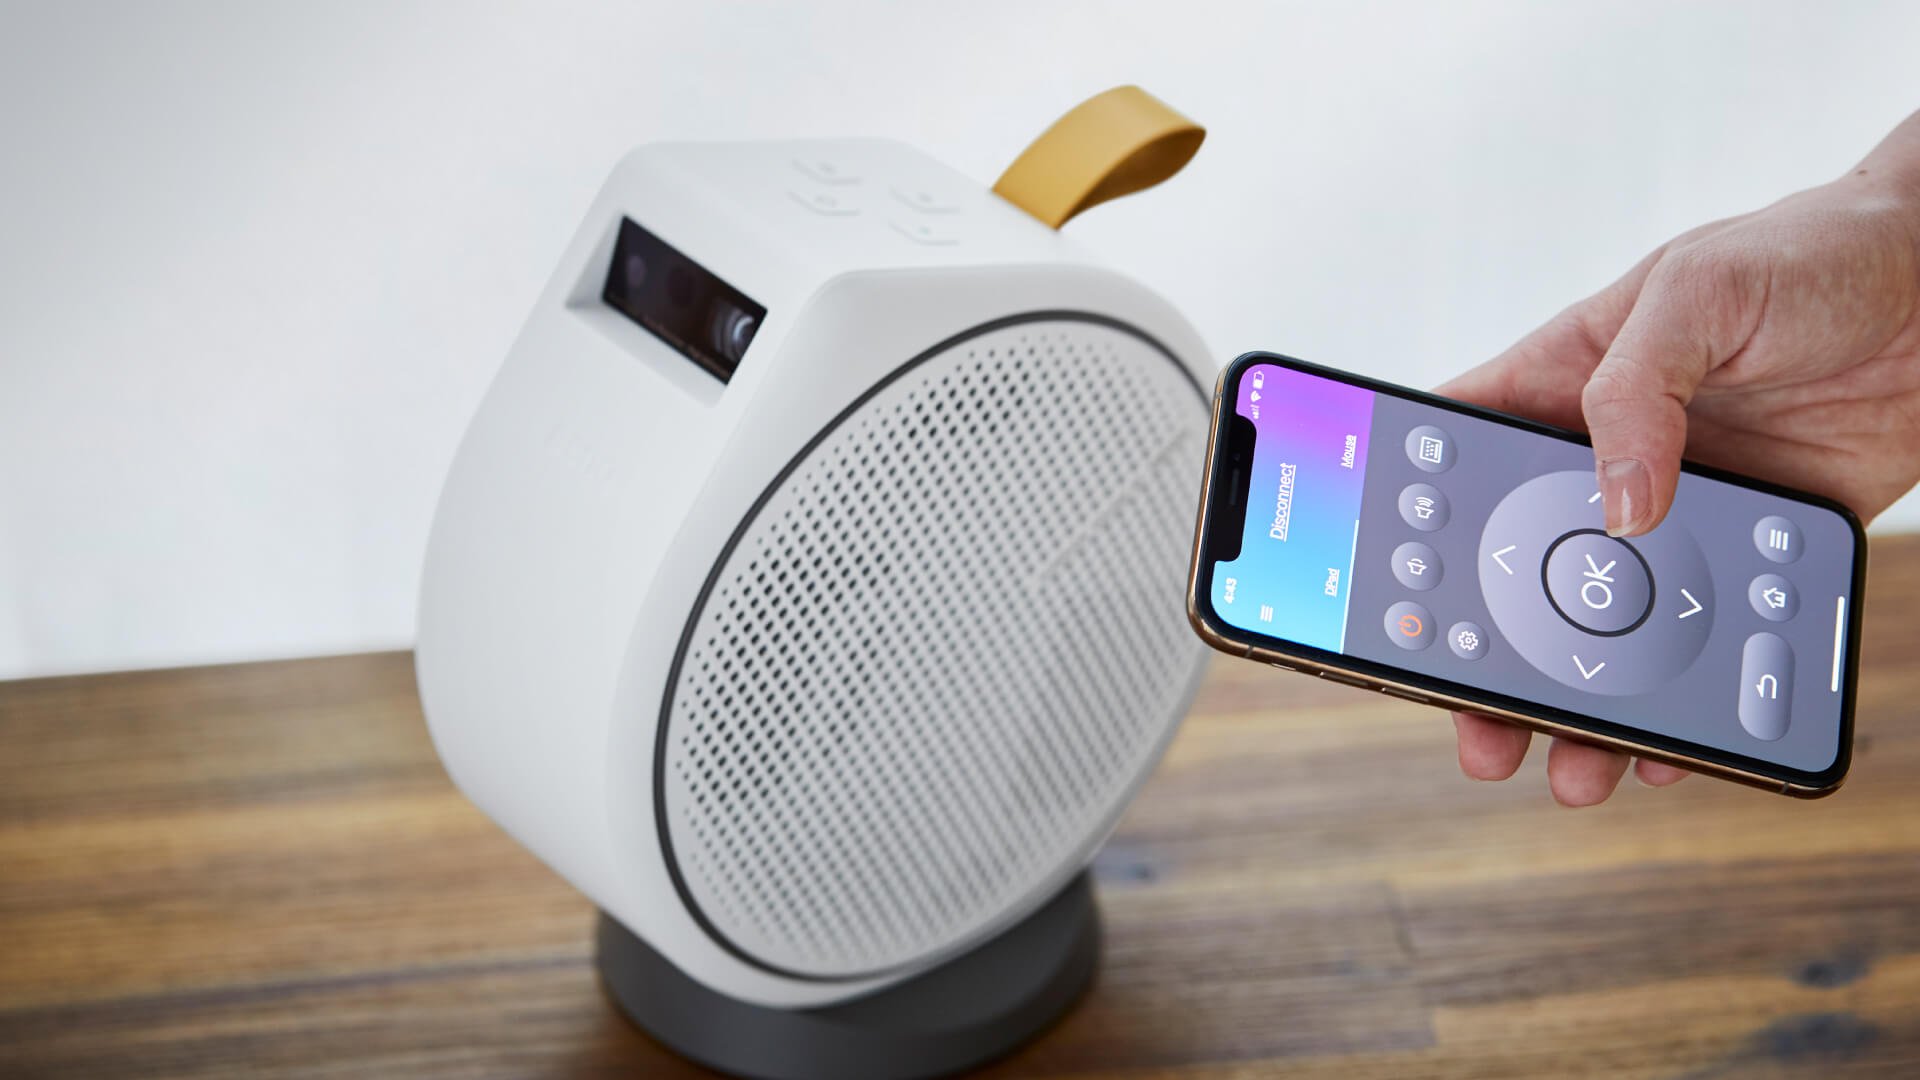
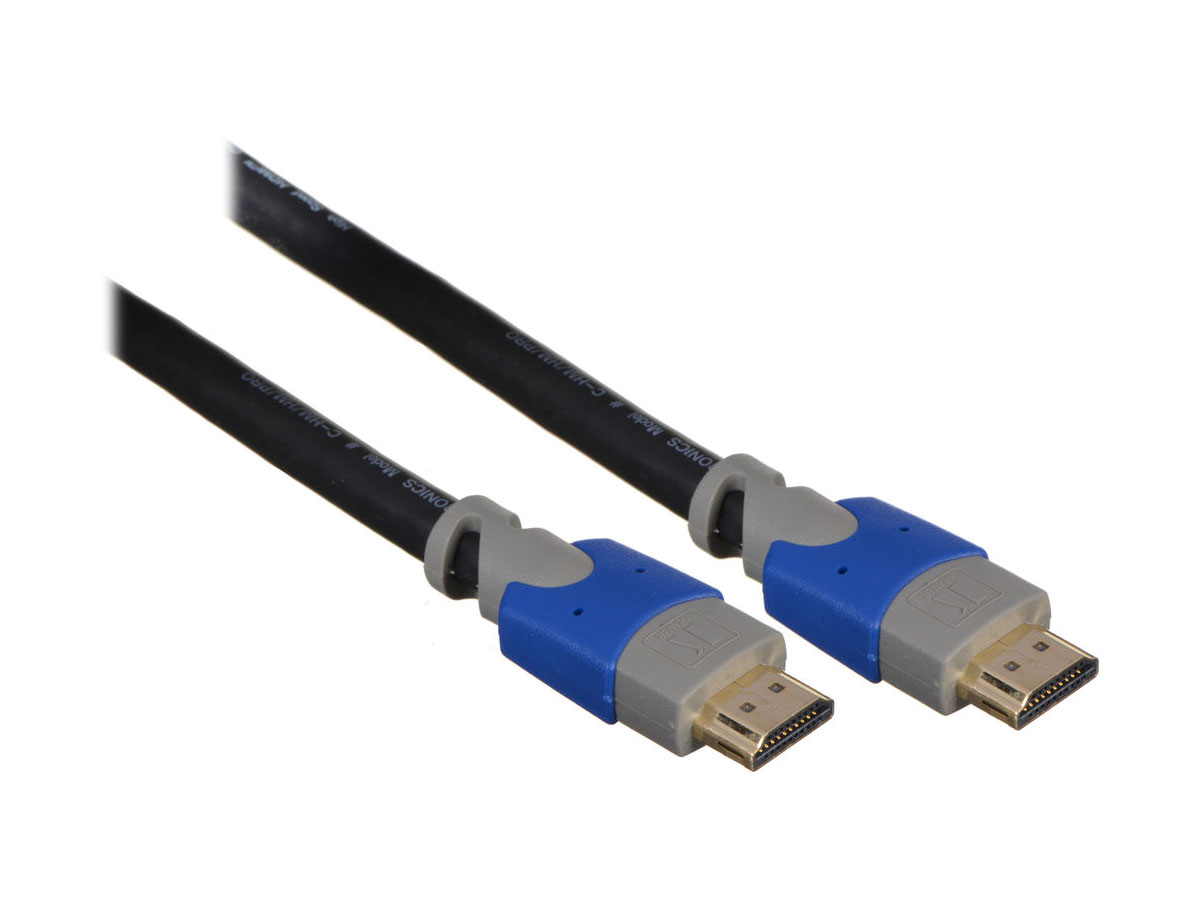
Another important aspect of PVO projectors is their connectivity options. Most PVO projectors come equipped with HDMI, USB, and audio ports, allowing you to easily connect your devices such as laptops, smartphones, gaming consoles, or DVD players. Some PVO projectors even offer wireless connectivity options, such as Bluetooth or Wi-Fi, enabling you to stream content directly from your smartphone or tablet.
PVO projectors also offer user-friendly interfaces, with simple navigation and control options. Many models come with built-in speakers, eliminating the need for external audio devices. Additionally, some PVO projectors have built-in rechargeable batteries, providing hours of entertainment without the need for a constant power source.
Overall, a PVO projector offers a convenient and versatile solution for enjoying movies, videos, and presentations on a bigger screen. Whether you’re looking to create a portable home theater, deliver impactful presentations, or simply have a fun outdoor movie night, a PVO projector is a great companion to have.
Benefits of Using a PVO Projector
The PVO projector offers a multitude of benefits that make it a must-have device for anyone who wants to enjoy a big-screen experience on the go. Here are some of the key advantages of using a PVO projector:
1. Portability: One of the greatest advantages of a PVO projector is its portability. These projectors are compact and lightweight, making them easy to carry around in your bag or pocket. Whether you’re traveling, camping, or attending a business meeting, you can conveniently bring your entertainment or presentations wherever you go.
2. Versatility: PVO projectors are incredibly versatile. You can use them for a variety of purposes, such as watching movies, sharing photos and videos with friends and family, gaming, or delivering professional presentations. With multiple connectivity options, you can easily connect your devices and enjoy a seamless multimedia experience.
3. Big-screen Experience: With a PVO projector, you can instantly turn any surface into a big-screen display. Whether it’s a blank wall, a white bedsheet, or a projector screen, you can enjoy your favorite movies, videos, or presentations in a larger-than-life format. This immersive experience enhances your enjoyment and brings your content to life.
4. High-quality Visuals: Despite their small size, PVO projectors offer impressive image quality. With LED or LCD technology, these projectors produce bright and vibrant visuals with sharp details and accurate colors. Some models even support HD resolutions, ensuring a crisp and clear display. Whether you’re watching a movie or presenting important visuals, the PVO projector delivers stunning image quality.
5. Easy Set-up and User-friendly interface: PVO projectors are designed with user convenience in mind. They come with easy-to-follow setup instructions and intuitive interfaces, allowing you to quickly get up and running. Even if you’re not tech-savvy, you can easily navigate the projector’s menu options and adjust settings to suit your preferences.
6. Wireless Connectivity: Many PVO projectors offer wireless connectivity options, such as Bluetooth or Wi-Fi. This means you can stream content directly from your smartphone, tablet, or laptop without the hassle of connecting cables. This seamless wireless connection enhances the overall user experience and provides more flexibility in content choices.
7. Portability: PVO projectors are incredibly energy-efficient and often have built-in rechargeable batteries. This means you can enjoy hours of entertainment without the need for a constant power source. Whether you’re camping in the wilderness or having a backyard movie night, the PVO projector ensures uninterrupted entertainment.
With all these benefits, it’s easy to see why the PVO projector is becoming increasingly popular among enthusiasts and professionals alike. Whether you’re a movie lover, a presenter, or someone who enjoys multimedia entertainment, the PVO projector is a perfect companion for your on-the-go lifestyle.
Step-by-Step Guide on How to Use a PVO Projector
Using a PVO projector is a straightforward process that allows you to enjoy your favorite content on a bigger screen. Here is a step-by-step guide on how to use a PVO projector:
Step 1: Setting up the PVO Projector
- Choose a suitable location where you want to use the PVO projector. Make sure you have enough space and a suitable surface for projection.
- Place the projector on a stable surface, such as a table or tripod stand.
- If applicable, open the lens cover or adjust the lens to focus the projection.
- Ensure that the projector is plugged into a power source or that the battery is fully charged.
Step 2: Connecting the PVO Projector to Your Device
- Determine the type of connectivity option your PVO projector supports, such as HDMI, USB, or wireless.
- If using a wired connection, connect one end of the cable (HDMI, USB, or audio) to the appropriate port on the projector and the other end to your device.
- If using a wireless connection, enable the Wi-Fi or Bluetooth feature on both the projector and your device. Follow the instructions provided in the projector’s manual to establish a wireless connection.
Step 3: Adjusting the Display Settings
- Turn on the PVO projector and wait for it to boot up. Consult the projector’s manual for specific instructions on how to power on and navigate the settings menu.
- Access the display settings on the projector’s menu. Adjust the brightness, contrast, sharpness, and aspect ratio to suit your preferences and optimize the image quality.
- If necessary, adjust the Keystone Correction feature to ensure a rectangular and distortion-free projection on the surface.
Step 4: Playing Content on the PVO Projector
- Ensure that your device is turned on and that the content you want to project is ready to play.
- If your projector has built-in speakers, you can use them to hear the audio. Alternatively, you can connect external speakers or headphones to enhance the sound quality.
- Start the video, presentation, or any other content on your device.
Step 5: Enjoying the Big-screen Experience
- Once your content is playing, check that the projected image is properly aligned and focused on the surface.
- Sit back, relax, and immerse yourself in the big-screen experience provided by the PVO projector.
- After you finish using the projector, properly turn it off and disconnect any cables from your device.
Now that you’re familiar with the steps involved in using a PVO projector, you can easily set it up and enjoy your favorite movies, videos, or presentations on a larger screen wherever you go.
Setting up the PVO Projector
Setting up a PVO projector is a crucial first step in ensuring optimal performance and a seamless viewing experience. Follow these steps to set up your PVO projector:
1. Choose a suitable location: Select a location where you want to use the PVO projector. Consider factors like available space, access to power outlets, and the desired projection surface. It’s ideal to have a dark or dimly lit area for better image quality.
2. Prepare the projection surface: Clear the chosen surface of any obstacles, such as furniture or decorations. You can use a blank wall, projector screen, or a flat white surface as your projection area. Ensure that the surface is clean and smooth for the best results.
3. Place the projector securely: Find a stable surface to place the PVO projector. You can use a table or a tripod stand for stability. Make sure the projector is placed at an appropriate distance from the projection surface to achieve the desired screen size.
4. Adjust the projection angle: Once the projector is set up, adjust its angle to ensure a proper rectangular projection. Most PVO projectors come with keystone correction features that help eliminate image distortion caused by projecting at an angle.
5. Powering the projector: Connect the PVO projector to a power source. Check if your projector operates on battery power or requires a power adapter. If using batteries, ensure they are fully charged. If using a power adapter, connect it to a reliable power outlet.
6. Lens focus and image adjustment: Some PVO projectors have a manual focus ring or a zoom feature to adjust the clarity and sharpness of the projected image. If applicable, adjust the focus until the image appears crisp and clear. You may also need to adjust the image size by physically moving the projector closer to or farther away from the projection surface.
7. Test the projection: Power on the PVO projector and test the projection by displaying a test image or any content of your choice. Check if the image is aligned properly and if any adjustments are needed to get the desired screen size and clarity.
8. Fine-tune the settings: Access the projector’s settings menu to adjust the brightness, contrast, color settings, and other display options according to your preference. This allows you to customize the visuals to your liking and optimize the image quality.
9. Additional accessories: Depending on your requirements, you may need additional accessories such as external speakers or audio cables to enhance the sound quality. Follow the manufacturer’s instructions to connect and configure these accessories properly.
10. Keep the projection area tidy: Make sure the projector’s projection area is free from any light source or objects that may obstruct or interfere with the projected image. Keep the area clutter-free to maintain the best possible viewing experience.
By following these steps to set up your PVO projector, you are one step closer to enjoying a movie theater experience in the comfort of your own space. Take your time to fine-tune the setup to get the best image quality and create unforgettable entertainment moments.
Connecting the PVO Projector to Your Device
Connecting your PVO projector to your device is a crucial step in enjoying the big-screen experience. Follow these steps to ensure a seamless connection:
1. Determine the connectivity options: Identify the available connectivity options on your PVO projector. Common options include HDMI, USB, VGA, and wireless connections like Bluetooth or Wi-Fi. Refer to the projector’s manual to find out which options are supported.
2. Prepare the necessary cables: Depending on the connectivity option you’re using, retrieve the appropriate cables for the connection. Ensure the cables are in good condition and compatible with both the projector and your device.
3. Power off the devices: Before connecting any cables, power off both the PVO projector and the device you want to connect. This prevents any potential damage to the devices or interruption during the connection process.
4. Connect the cables: Connect one end of the cable to the appropriate port on the PVO projector. Common connections include HDMI or USB ports. If the projector has multiple input options, choose the one that is compatible with your device.
5. Connect the other end to your device: Connect the other end of the cable to the corresponding port on your device. For example, if using an HDMI cable, connect one end to the HDMI port on the projector and the other end to the HDMI port on your device.
6. Set the input source: On the PVO projector, navigate to the input source settings. Select the input option that matches the connection you made in the previous step. This tells the projector to receive input from the connected device.
7. Power on the devices: Power on both the PVO projector and your device. Wait for them to boot up and establish a connection. In some cases, you may need to manually switch the source option on your device to ensure the content is being transmitted to the projector.
8. Adjust display settings: Once the connection is established, you may need to adjust the display settings on your device to match the projector’s capabilities. Set the resolution, aspect ratio, and other display parameters to ensure the best possible image quality and compatibility.
9. Test the connection: Play a test video or display a sample image on your device to verify that the content is properly transmitted to the PVO projector. If the projection does not appear correctly, double-check the cable connections and the input source settings on both devices.
10. Enjoy the big-screen experience: Once you’ve successfully connected the PVO projector to your device, sit back, relax, and enjoy your favorite movies, videos, or presentations on a larger screen. You can control the playback and volume on your device or utilize any remote control options provided by the projector.
With these steps, you can easily connect your PVO projector to your device and unlock endless entertainment possibilities on the big screen. Whether it’s for movie nights, presentations, or sharing special moments with friends and family, the PVO projector offers a versatile and immersive visual experience.
Adjusting the Display Settings
To ensure the optimal viewing experience with your PVO projector, it’s important to adjust the display settings according to your preference and the environment you’re in. Follow these steps to fine-tune the display settings:
1. Brightness: Adjust the brightness level to ensure that the projected image is neither too dim nor too bright. A balance between brightness and the ambient lighting in the room is crucial for a clear and comfortable viewing experience. Most projectors have a dedicated brightness setting in their menu options.
2. Contrast: Set the contrast level to achieve a good balance between dark and light areas of the projected image. A higher contrast ratio enhances the overall visual quality, providing sharper details and more vibrant colors.
3. Sharpness: Adjust the sharpness setting to enhance the clarity of the projected image. Be mindful not to set it too high, as it may introduce artifacts and make the image appear unnatural. Fine-tuning the sharpness level can help optimize the details in the picture.
4. Color temperature: The color temperature setting affects the overall color tone projected by the PVO projector. It allows you to adjust the warmth or coolness of the colors. Experiment with the different color temperature options to find the one that best suits your personal preference or the content you’re viewing.
5. Aspect ratio: Select the appropriate aspect ratio to match the content you’re viewing. Common options include 4:3 (standard) and 16:9 (widescreen). Choose the aspect ratio that matches the original aspect ratio of the content to avoid distortion or black bars.
6. Keystone correction: If your PVO projector supports keystone correction, use this feature to eliminate image distortion caused by projecting at an angle. Adjust the keystone correction until the projected image appears rectangular and well-proportioned.
7. Image size and focus: Position the projector at an appropriate distance from the projection surface to achieve the desired screen size. To achieve a crisp and clear image, adjust the focus using the focus ring or zoom feature (if available), ensuring that the projected image is sharp and well-defined.
8. Test and fine-tune: After adjusting the display settings, play a test video or display a sample image to assess the impact of your adjustments. Make any necessary refinements until you’re satisfied with the image quality.
9. Save the settings: Many projectors allow you to save your preferred display settings as presets. If available, save your adjusted settings as a custom preset to avoid reconfiguring them each time you use the projector.
By taking the time to adjust the display settings of your PVO projector, you can optimize the image quality and tailor the visuals to your liking. Remember to consider the lighting conditions in the room and the specific requirements of the content you’re projecting, ensuring a captivating and immersive viewing experience.
Playing Content on the PVO Projector
Once you have set up and adjusted the settings of your PVO projector, it’s time to start playing your desired content on the big screen. Follow these steps to enjoy a seamless playback experience:
1. Prepare the content: Ensure that the content you want to play is stored on a compatible device (e.g., laptop, smartphone, or USB drive) and is ready for playback. This could include movies, videos, presentations, or even live streaming.
2. Connect the device: Depending on the options available, connect your device to the PVO projector using the appropriate cable or through a wireless connection. Common options include HDMI, USB, or wireless streaming via Bluetooth or Wi-Fi.
3. Select the input source: On the PVO projector, choose the correct input source that corresponds to the connected device. This allows the projector to receive the input signal and display it on the screen.
4. Control the playback: Use the playback controls available on your device to start, pause, stop, or navigate through the content you want to play. If your PVO projector comes with a remote control, you can also use it to control basic playback functions.
5. Audio setup: If your PVO projector has built-in speakers, you can enjoy the content with the projector’s audio output. However, for better sound quality, consider connecting external speakers or audio devices via the audio output port available on the projector.
6. Adjust volume and audio settings: Use the volume controls on your device or the projector to adjust the sound level according to your preference. Additionally, access the audio settings on your device to adjust the audio output format, balance, or other audio parameters if needed.
7. Display settings: Depending on the content and your personal preference, you may further fine-tune the display settings on the projector. This can include adjusting the brightness, contrast, color temperature, or aspect ratio to enhance the visual experience.
8. Enjoy the content: Sit back, relax, and enjoy your content on the big screen provided by the PVO projector. Immerse yourself in the cinematic experience or deliver impactful presentations with confidence, knowing that your audience can also enjoy a larger, more immersive view.
9. Control playback on the go: If you’re using a wireless connection or streaming from a mobile device, you can control playback from your device even when you’re not close to the projector. This allows for greater flexibility and convenience during presentations or when enjoying multimedia content.
10. Remember to disconnect: Once you’re finished with your content, properly pause or stop the playback and disconnect your device from the PVO projector.
By following these steps, you can effortlessly play your favorite movies, videos, presentations, or any other content on the PVO projector, taking your entertainment or professional presentations to a whole new level.
Tips and Tricks for Using the PVO Projector
Maximize your experience with the PVO projector by utilizing these helpful tips and tricks:
1. Optimize the projection surface: For the best image quality, use a smooth, white projection surface. Avoid textured or reflective surfaces that can distort the image or create unwanted reflections.
2. Consider ambient lighting: Dim the room lights or create a dark environment for a better viewing experience. Lowering the ambient lighting helps enhance the contrast and prevents washed-out images.
3. Adjust the projection distance: Experiment with the distance between the projector and the projection surface to achieve the desired image size. Refer to the user manual for the recommended projection distance range.
4. Use a screen or dedicated projection surface: While a blank wall can work, using a proper projection screen or dedicated projection surface will provide a more uniform and higher-quality image.
5. Utilize external speakers: If you desire a richer sound experience, consider connecting external speakers to the projector for enhanced audio quality. This is particularly useful when watching movies or presentations that require clear and immersive audio.
6. Take advantage of keystone correction: If the projector is positioned at an angle, use the keystone correction feature to adjust the image and eliminate any trapezoidal distortion, ensuring a proper rectangular projection.
7. Explore different content sources: Don’t limit yourself to just one type of content. Explore various sources such as streaming platforms, USB drives, or gaming consoles to enjoy a wide range of entertainment options.
8. Regularly clean the projector: Dust and dirt can accumulate on the projector’s lens and vents, affecting the image quality and performance. Clean the lens and vents periodically using a soft cloth to maintain the optimal projection performance.
9. Test and adjust settings beforehand: Prior to important presentations or gatherings, do a dry run to ensure that the projector settings are tailored to your preferences and the specific content. This allows you to make any necessary adjustments ahead of time.
10. Keep the projector cool: Avoid placing the projector near sources of heat or in direct sunlight. Overheating can adversely affect the projector’s performance and lifespan. Ensure proper ventilation and let the projector cool down after extended use.
11. Read the user manual: Familiarize yourself with the user manual to understand the specific features, settings, and capabilities of your PVO projector. This will help you make the most of its functionalities and troubleshoot common issues.
By employing these tips and tricks, you can enhance your overall experience, optimize image and audio quality, and ensure smooth and trouble-free usage of your PVO projector. So go ahead, explore, and immerse yourself in the wonderful world of big-screen entertainment!
Troubleshooting Common Issues with the PVO Projector
Encountering a problem with your PVO projector can be frustrating, but most issues can be easily resolved. Here are some common problems you might face and their troubleshooting solutions:
1. No power or failure to turn on: Ensure that the power source is working and the power cable is securely connected. Check if the batteries, if applicable, are properly inserted and fully charged. Try using a different power outlet or replacing the batteries if necessary.
2. No image or black screen: Check the cables and connections between the projector and your device. Ensure that the correct input source is selected on the projector. Adjust the focus or zoom settings to ensure a clear image. If using a laptop, make sure the display settings are configured correctly to extend or duplicate the display on the projector.
3. Image distortion or keystone issues: Use the keystone correction feature in the projector’s settings menu to adjust image distortion caused by projecting at an angle. Make sure the projector is positioned perpendicular to the screen and at the correct distance to minimize keystone effects. If necessary, reposition the projector or adjust the projection angle.
4. Poor image quality: Ensure that the projection surface is clean and smooth. Experiment with different display settings like brightness, contrast, and color temperature to find the optimal combination for your environment. Clean the projector lens if it appears dirty or smudged. If the issue persists, consider the quality of the source content or the limitations of the projector’s capabilities.
5. Connectivity issues: Check the cables for any visible damage or loose connections. Ensure that the correct input source is selected on the projector. If using a wireless connection, verify that both the projector and the device are connected to the same Wi-Fi or Bluetooth network. Restart both the projector and the device to reestablish the connection if needed.
6. Excessive fan noise or overheating: Make sure the projector has proper ventilation and is not obstructed by objects or placed in confined spaces. Clean the projector vents to remove any dust or debris that may be blocking airflow. If the issue persists, consult the user manual for recommended operating temperatures or contact the manufacturer for assistance.
7. Audio problems: Check the audio cables and connections between the projector and external speakers, if used. Adjust the volume settings on both the projector and the connected device. Ensure that the audio output is not muted on both devices. Test the audio output using different sources or content to rule out specific multimedia files as the cause of audio issues.
8. Remote control not functioning: Replace the batteries in the remote control with fresh ones. Ensure that there are no obstructions between the remote control and the projector. Point the remote directly at the projector’s infrared sensor. If necessary, try resetting the remote control or contacting the manufacturer for further assistance.
9. Input signal compatibility: Verify that the input source you are using (e.g., HDMI, USB) is compatible with the projector. Some projectors may not support certain resolutions or file formats. In such cases, consider converting or adjusting the content to a compatible format or trying alternative input sources.
10. Prolonged lamp life: Regularly clean the projector’s air filter to prevent dust buildup and ensure proper air circulation. Avoid abruptly turning off the projector after use; allow it to go through its cooling cycle. Follow the manufacturer’s recommendations for lamp replacement intervals and consider replacing the lamp if the projected image appears dim or distorted.
By troubleshooting these common issues, you can resolve most problems that arise with your PVO projector. If you are unable to resolve a particular issue, refer to the user manual provided by the manufacturer or contact their customer support for further assistance and guidance.
Conclusion
Congratulations! You’ve now gained a comprehensive understanding of how to use and make the most out of your PVO projector. Whether you’re seeking portable entertainment or professional presentation capabilities, the PVO projector offers a versatile and convenient solution.
We started by introducing the concept of the PVO projector, highlighting its portability and ease of use. We discussed the benefits of owning a PVO projector, including its versatility, big-screen experience, and high-quality visuals. From there, we provided a step-by-step guide on how to set up the projector, connect it to your devices, adjust display settings, and play content seamlessly.
Additionally, we shared some valuable tips and tricks to enhance your projector experience, including optimizing the projection surface, considering ambient lighting, and utilizing external speakers. We also addressed common troubleshooting issues, ensuring that you have the knowledge to overcome any obstacles that may arise.
Now, armed with these instructions, tips, and troubleshooting solutions, you’re ready to bring the magic of the big screen to your home, office, or any location of your choice. Enjoy movie nights, share memorable moments with friends and family, or deliver impactful presentations with confidence and convenience.
Remember to refer back to the user manual provided by the manufacturer for specific instructions and guidance tailored to your PVO projector model. Should you encounter any issues beyond what was discussed, don’t hesitate to reach out to the manufacturer’s customer support for further assistance.
So, go ahead, explore the possibilities, and immerse yourself in the vibrant world of portable entertainment and professional projection with your PVO projector.