Introduction
Welcome to the world of streaming entertainment, where you can enjoy a wide variety of movies and TV shows right from the comfort of your own living room. With the advent of smart TVs, accessing popular streaming platforms like Netflix has become easier than ever before. Whether you’re a binge-watcher or just someone who loves to relax with a good film, having Netflix on your smart TV opens up a whole world of entertainment possibilities.
Netflix is a popular streaming service that offers unlimited access to a vast library of movies, TV shows, documentaries, and more. With its user-friendly interface and wide range of content, it has gained millions of subscribers worldwide. In this article, we’ll guide you through the process of using Netflix on your smart TV, from setting up your device to playing your favorite movies and TV shows.
Before we dive in, it’s important to note that the steps may vary slightly depending on the make and model of your smart TV. However, the overall process remains relatively similar across different brands. So, let’s get started and unlock the world of Netflix on your smart TV!
Step 1: Setting up your smart TV
Before you can start enjoying Netflix on your smart TV, you’ll need to set it up properly. The exact setup process may vary depending on the brand and model of your TV, but here are the general steps to follow:
- Unpack your smart TV and remove any packaging materials. Place it on a sturdy surface where it can easily be connected to other devices.
- Attach the TV stand or mount it on the wall according to the manufacturer’s instructions. Make sure it is securely fixed to avoid any accidents.
- Plug in the power cord and connect it to a power outlet. Ensure the TV is receiving proper power supply to turn on and function.
- Locate the HDMI ports on the back of your TV. These ports are used to connect external devices like a cable box, DVD player, or streaming device.
- Connect the HDMI cable from your cable box or streaming device to the HDMI port on your smart TV. If your TV has multiple HDMI ports, choose one that’s convenient for you.
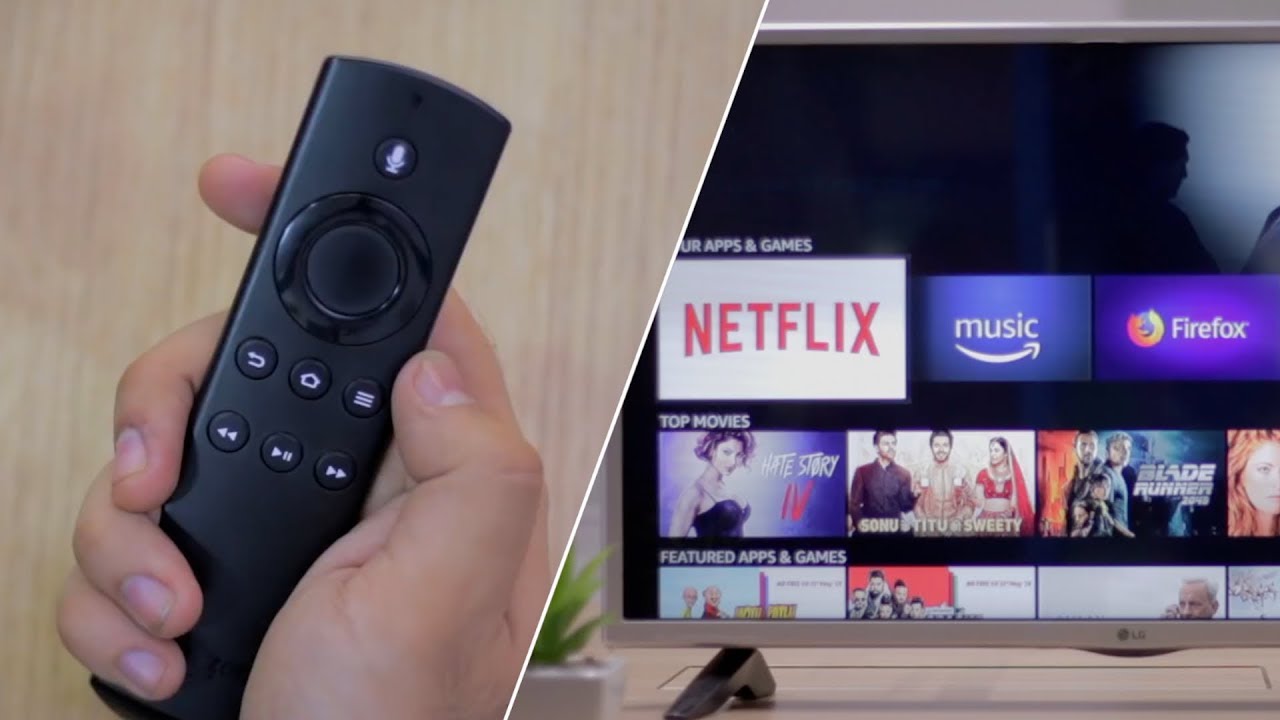
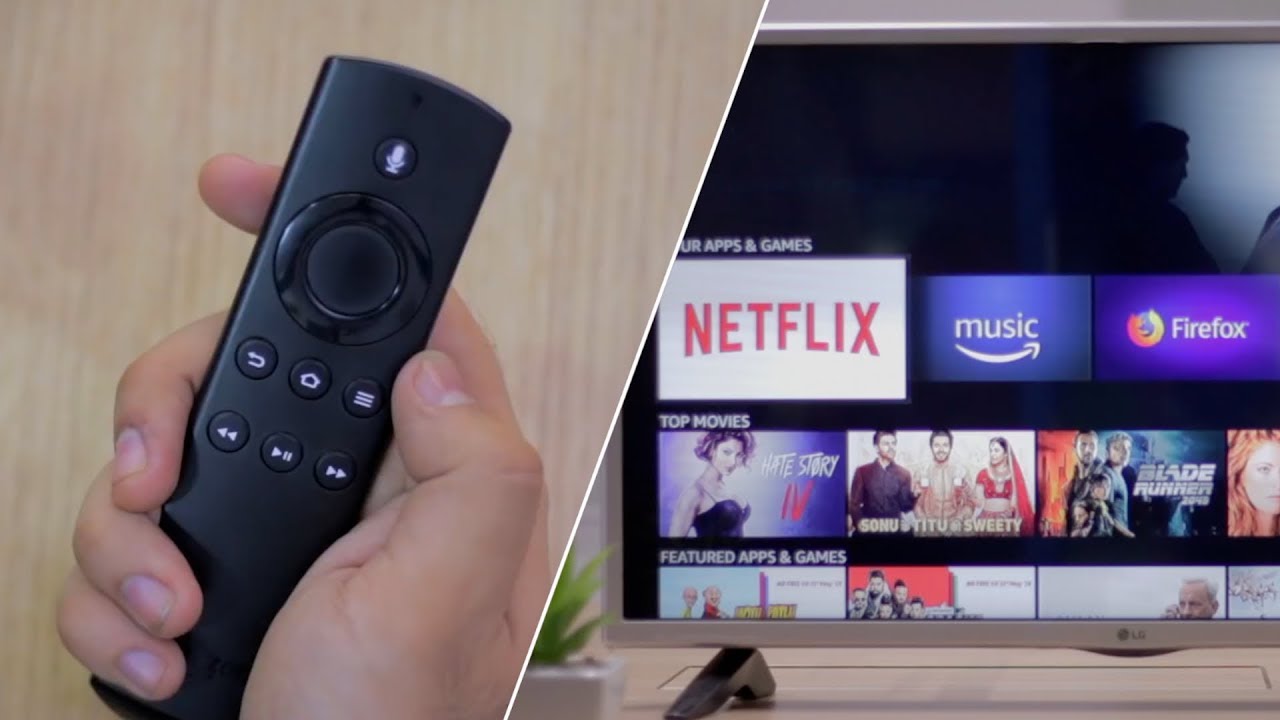
- If you’re using an external streaming device, such as a Roku or Amazon Fire Stick, make sure it is also properly connected to a power source and the HDMI port on your TV.
- Power on your smart TV by pressing the power button on the remote control or on the TV itself. Wait for it to boot up and display the initial setup screen.
- Follow the on-screen prompts to set your preferred language, time zone, and other system settings. Use the arrow buttons on your remote to navigate through the options.
- Once you’ve completed the initial setup, your smart TV is now ready to be connected to the internet. We’ll cover this step in the next section.
Setting up your smart TV is the first step towards accessing Netflix. By carefully following the manufacturer’s instructions and connecting all necessary cables and devices, you ensure a smooth and hassle-free streaming experience. Now that your TV is set up, let’s move on to connecting it to the internet!
Step 2: Connecting your smart TV to the internet
Once you’ve set up your smart TV, the next crucial step is to connect it to the internet. Without an internet connection, you won’t be able to access streaming services like Netflix. Follow these steps to get your smart TV connected:
- Press the “Menu” or “Settings” button on your remote control to access the TV’s menu.
- Navigate to the “Network” or “Internet” section using the arrow buttons on your remote control.
- Select the “Wireless” or “Wi-Fi” option if you have a wireless network. If you prefer a wired connection, select the “Wired” option and follow the instructions to connect an Ethernet cable to your TV.
- If you’re using a wireless network, your TV will display a list of available networks. Choose your home network from the list.
- If your home network is password-protected, you’ll be prompted to enter the network security key or password. Use the remote’s on-screen keyboard to enter the password and connect to the network.
- Wait for your TV to establish a connection with the network. Once connected, a confirmation message will be displayed on the screen.
- Test your internet connection by launching a built-in web browser or opening a streaming app. If the page or app loads successfully, your TV is connected to the internet.
- For a more stable streaming experience, ensure that your smart TV is within range of your Wi-Fi router. If needed, consider using a Wi-Fi extender or positioning the router closer to your TV.
By connecting your smart TV to the internet, you unlock a world of online content and streaming services like Netflix. It’s important to have a reliable internet connection to ensure smooth playback and uninterrupted streaming. Now that your TV is connected to the internet, let’s move on to accessing the Netflix app!
Step 3: Accessing the Netflix app
Now that your smart TV is connected to the internet, it’s time to access the Netflix app and start enjoying your favorite movies and shows. Follow these steps to find and launch the Netflix app on your smart TV:
- Turn on your smart TV by pressing the power button on the remote or the TV itself.
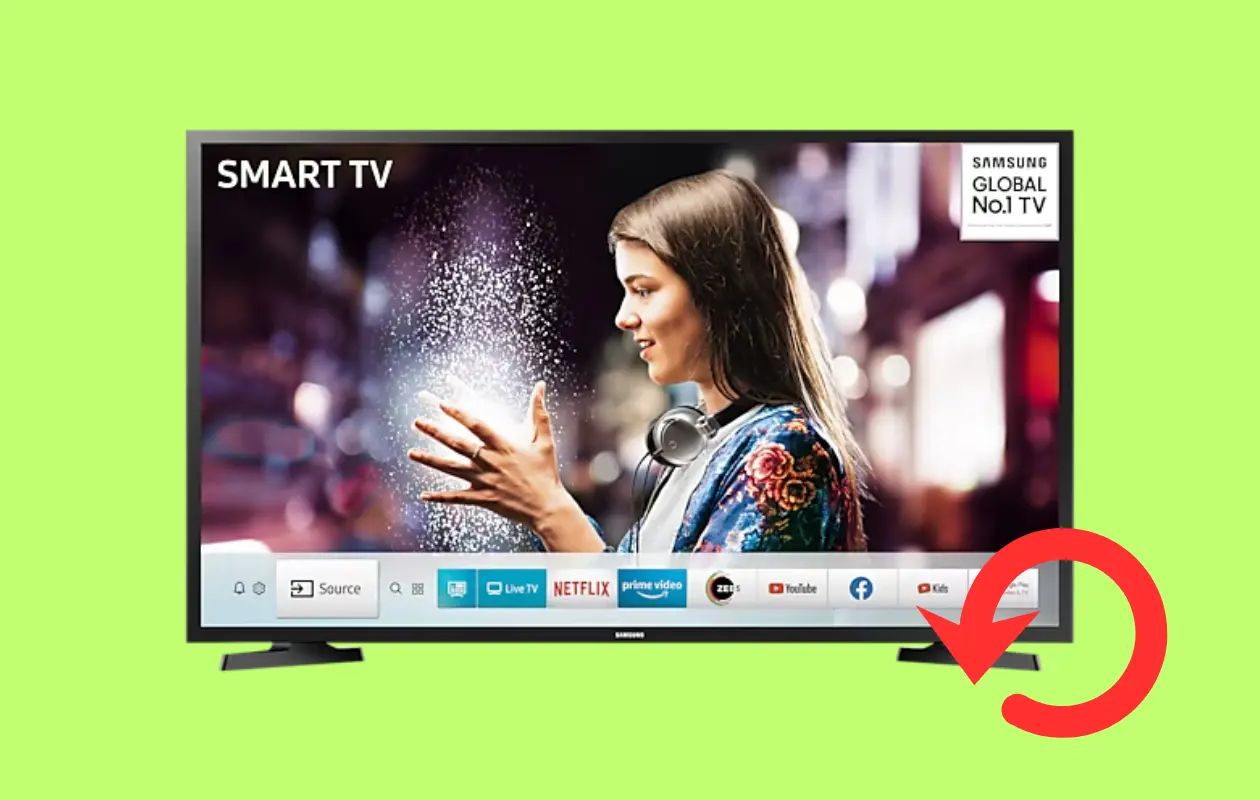
- Using the remote control, navigate to the smart TV’s home screen. This is usually achieved by pressing the “Home” or “Smart” button.
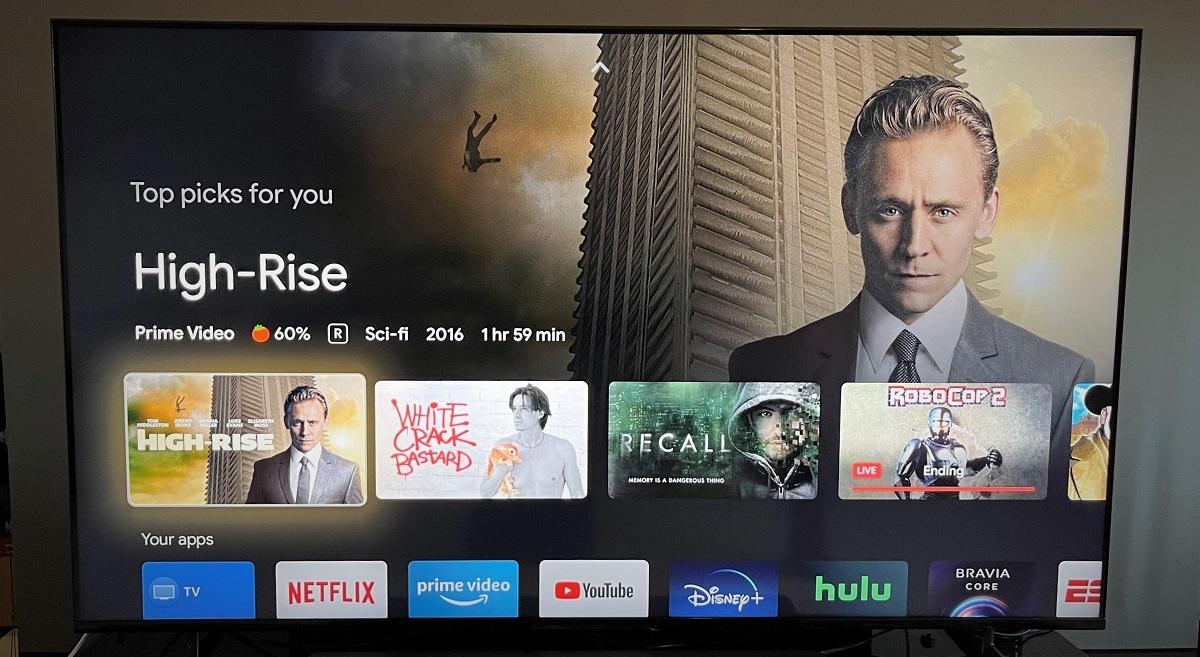
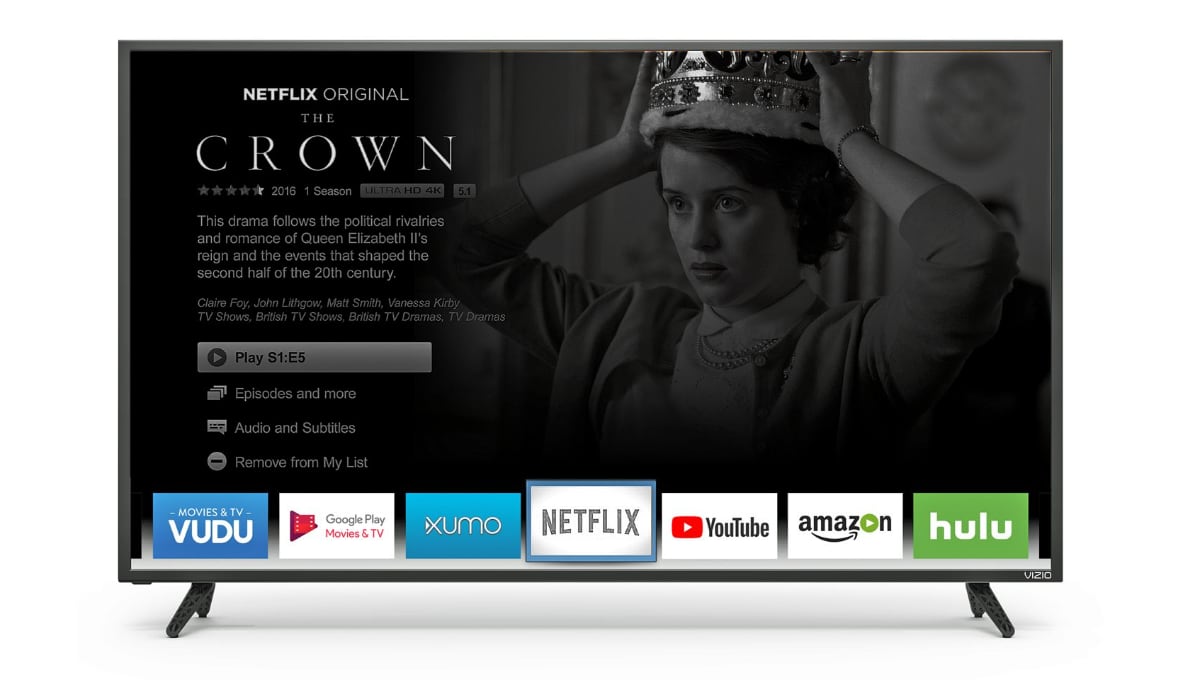
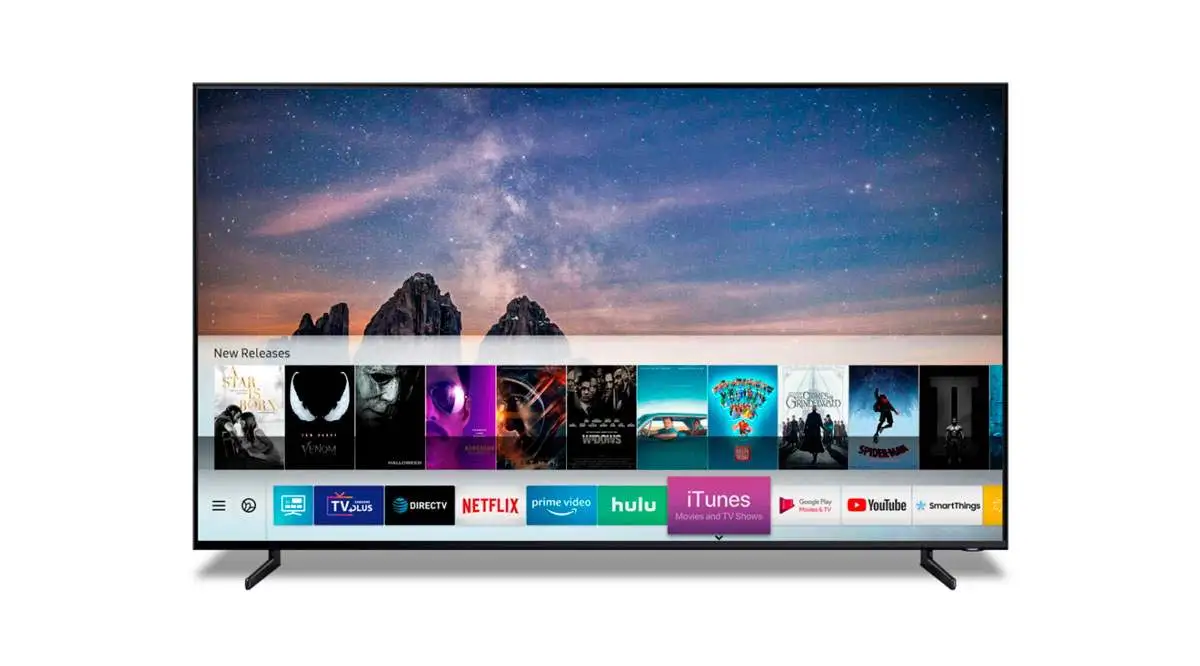
- Scroll through the available apps or tiles until you find the Netflix app icon. It typically displays the famous red Netflix logo.
- Once you’ve located the Netflix app, highlight it and press the “Enter” or “OK” button on your remote to select it.
- If you don’t see the Netflix app on your home screen, you may need to access the TV’s app store or marketplace. Look for an icon like “LG Content Store,” “Samsung Apps,” or “Sony Select.”
- Open the app store and search for “Netflix.” Once you find the app, select it and follow the prompts to install it on your smart TV.
- Once the Netflix app is opened or installed, you may be prompted to sign in to your Netflix account. If you already have an account, enter your email address and password using the on-screen keyboard. If you’re new to Netflix, proceed to the next step to create an account.
Accessing the Netflix app on your smart TV is the gateway to unlimited entertainment. Whether you find the app on your home screen or have to download it from the app store, it’s just a few clicks away from bringing you a world of movies and TV shows. With the Netflix app accessible, let’s proceed to the next step of creating a Netflix account.
Step 4: Creating a Netflix account
If you don’t have a Netflix account yet, you’ll need to create one to access the full range of content on the streaming platform. Follow these steps to create your Netflix account:
- Launch the Netflix app on your smart TV. If you have already signed in, skip to the next step.
- On the app’s home screen or sign-in page, select the “Sign up” or “Join Now” option. This will take you to a new screen where you can start the account creation process.
- Choose a subscription plan that suits your preferences and budget. Netflix offers a variety of plans with different features and pricing options. Select the plan that best fits your needs.
- Enter your email address, and create a strong and secure password for your Netflix account. Make sure to remember this information as you’ll need it to sign in to Netflix on your smart TV and other devices.
- Click or tap the “Continue” or “Next” button to proceed to the next step.
- Provide your payment information to complete the account creation process. Netflix accepts various payment methods, such as credit or debit cards, PayPal, or gift cards. Follow the prompts to enter your payment details securely.
- Review and accept the Terms of Use and Privacy Policy. It’s important to understand and agree to Netflix’s terms before creating your account.
- Click or tap the “Start Membership” or “Join Netflix” button to finalize the account creation process.
- Once your account is created, you’ll be redirected to the Netflix app’s home screen. You can now start exploring the extensive catalog of movies and TV shows.
By creating a Netflix account, you gain access to a world of entertainment that can be enjoyed on your smart TV and other devices. Make sure to choose a subscription plan that suits your preferences, and provide accurate payment information to ensure a seamless streaming experience. Now that you’ve created a Netflix account, let’s move on to signing in to Netflix on your smart TV.
Step 5: Signing in to Netflix on your smart TV
Now that you’ve created a Netflix account, it’s time to sign in to Netflix on your smart TV. Follow these steps to sign in and start enjoying your favorite movies and TV shows:
- Open the Netflix app on your smart TV by navigating to the home screen and selecting the Netflix app icon.
- On the Netflix app’s sign-in page, enter the email address and password associated with your Netflix account. Use the on-screen keyboard or remote control to input the information accurately.
- Once you’ve entered your credentials, click or tap the “Sign In” button to proceed.
- If the login information is correct, you’ll be signed in to your Netflix account, and the app’s home screen will appear.
- If you’re having trouble signing in, make sure you’ve entered the correct email address and password. If you’ve forgotten your password, you can select the “Forgot password” option and follow the prompts to reset it.
- Some smart TVs may offer the option to save your login information for future use or enable automatic sign-in. If you prefer this convenience, you can select the “Remember Me” or similar option when signing in.
- Once signed in, you can start browsing and streaming the vast selection of movies and TV shows available on Netflix. Use the remote control and on-screen menus to navigate through categories, search for specific titles, and explore personalized recommendations.
Signing in to Netflix on your smart TV allows you to access your personalized profile, resume watching from where you left off on other devices, and enjoy a seamless streaming experience. Now that you’re signed in, let’s move on to the next step of browsing and searching for content on Netflix.
Step 6: Browsing and searching for content
Once you’re signed in to Netflix on your smart TV, it’s time to start exploring the vast library of movies and TV shows. Follow these steps to browse and search for content on Netflix:
- From the Netflix app’s home screen, you’ll see various sections and rows that showcase different genres, popular titles, and personalized recommendations based on your viewing history.
- Use the remote control’s arrow buttons to navigate through the different rows and categories. Highlight a title and press the “Enter” or “OK” button to view more details about it.
- As you scroll through the titles, you’ll notice that each one has a brief synopsis and related information, such as the cast, director, and rating.
- If you have a specific movie or TV show in mind, use the search function to find it quickly. Look for the magnifying glass or search icon on the Netflix app’s home screen. Select it and use the on-screen keyboard to enter the title.
- As you enter the search query, the app will display relevant results in real-time. Select the desired title from the suggestions or continue typing to refine your search.
- Once you’ve found a title that interests you, highlight it and press the “Enter” or “OK” button to view more details and options.
- From the title’s page, you can view additional information, watch the trailer, add it to your watchlist, or start playing it immediately. Use the on-screen buttons and menus to navigate these options.
- While browsing, you can also access different genres and categories by selecting the “Browse” or “Genres” option on the Netflix app’s home screen.
- If you want a personalized experience, Netflix offers profiles for different users within an account. You can create and switch between profiles to have tailored recommendations and separate watchlists.
- Once you’ve found a title to watch, select it and press the “Enter” or “OK” button to start streaming. Enjoy your chosen movie or TV show right on your smart TV.
Browsing and searching for content on Netflix is a fun and engaging process. With the wide array of categories, personalized recommendations, and search functionality, you’ll always find something that suits your taste. Now that you know how to browse and search for content, let’s move on to the next step of playing movies and TV shows on Netflix.
Step 7: Playing movies and TV shows
Once you’ve found a movie or TV show you want to watch on Netflix, it’s time to start streaming and enjoying the content on your smart TV. Follow these steps to play movies and TV shows:
- Select the desired title from your search results, browse categories, or from your watchlist.
- On the title’s page, you’ll usually see a large “Play” button or a similar option. Use your remote control to highlight the “Play” button and press the “Enter” or “OK” button to initiate playback.
- Once you’ve started playing the movie or TV show, sit back, relax, and enjoy the streaming experience on your smart TV. Use the remote control buttons to control playback, pause, rewind, or fast forward when needed.
- If you want to change the audio or subtitles, look for the settings or options menu during playback. This allows you to customize the language and viewing experience to your preference.
- If you need to take a break from watching, you can pause the playback and resume it later by selecting the “Play” button again. Netflix remembers your progress, so you can easily continue where you left off.
- While watching a series, Netflix automatically plays the next episode unless you disable the autoplay feature. This allows for uninterrupted binge-watching of your favorite TV shows.
- If you want to explore other titles while still watching, use the on-screen menus or return to the home screen. Netflix will continue streaming the content in a small window, allowing you to browse and switch between titles without interruption.
- Once you’ve finished watching a movie or TV show, you can rate it and provide feedback. Netflix uses this information to offer personalized recommendations based on your preferences.
Playing movies and TV shows on Netflix is a seamless and enjoyable experience. With just a few clicks, you can immerse yourself in captivating content on your smart TV. Now that you know how to play titles on Netflix, let’s move on to customizing your Netflix experience in the next step.
Step 8: Customizing your Netflix experience
Netflix offers various customization options that allow you to personalize your streaming experience on your smart TV. Follow these steps to customize your Netflix settings:
- Open the Netflix app on your smart TV and sign in to your account if you haven’t already.
- Navigate to the home screen or use the dedicated menu button on your remote control to access the settings or options menu.
- From the menu, select the “Account” or “Settings” option to access your Netflix account settings.
- In your account settings, you’ll find a range of customization options. These may include profile management, parental controls, playback settings, language preferences, and more.
- Customize your profiles by adding or removing profiles, changing profile pictures, or modifying the content preferences for each profile.
- If you have children or want to restrict certain content, set up parental controls to ensure a safe and age-appropriate viewing experience.
- Adjust the playback settings to optimize video and audio quality based on your internet connection and TV capabilities.
- Explore the language options to select your preferred audio and subtitle languages for a more immersive viewing experience.
- Further personalize your Netflix experience by modifying notification preferences, managing your viewing activity, or updating payment information.
- After making any changes, ensure to save your settings by selecting the appropriate options or buttons.
By customizing your Netflix experience, you can tailor it to your preferences and create a personalized viewing environment on your smart TV. Take advantage of the various settings and options available to enhance your streaming experience. Now that you’ve customized your Netflix settings, let’s move on to the next step of managing your Netflix account.
Step 9: Managing your Netflix account settings
Managing your Netflix account settings is an essential step in maintaining control over your subscription and ensuring a smooth streaming experience. Follow these steps to manage your Netflix account settings:
- Open the Netflix app on your smart TV and sign in to your account if you haven’t already.
- Using the remote control, navigate to the home screen or access the settings or options menu.
- Look for the “Account” or “Settings” option and select it to access your Netflix account settings.
- In your account settings, you’ll find various options to manage your subscription. These may include updating personal information, changing your plan, viewing account details, and managing payment methods.
- To update your personal information, such as your name, email address, or password, select the appropriate option and follow the prompts to make the necessary changes.
- If you want to change your subscription plan, navigate to the “Plan Details” or “Change Plan” section. Choose a new plan that suits your needs, whether it’s upgrading to a higher tier or downgrading to a lower tier.
- Review your account details, including your billing history, payment information, and current subscription status. Make any necessary updates to ensure the accuracy of your account information.
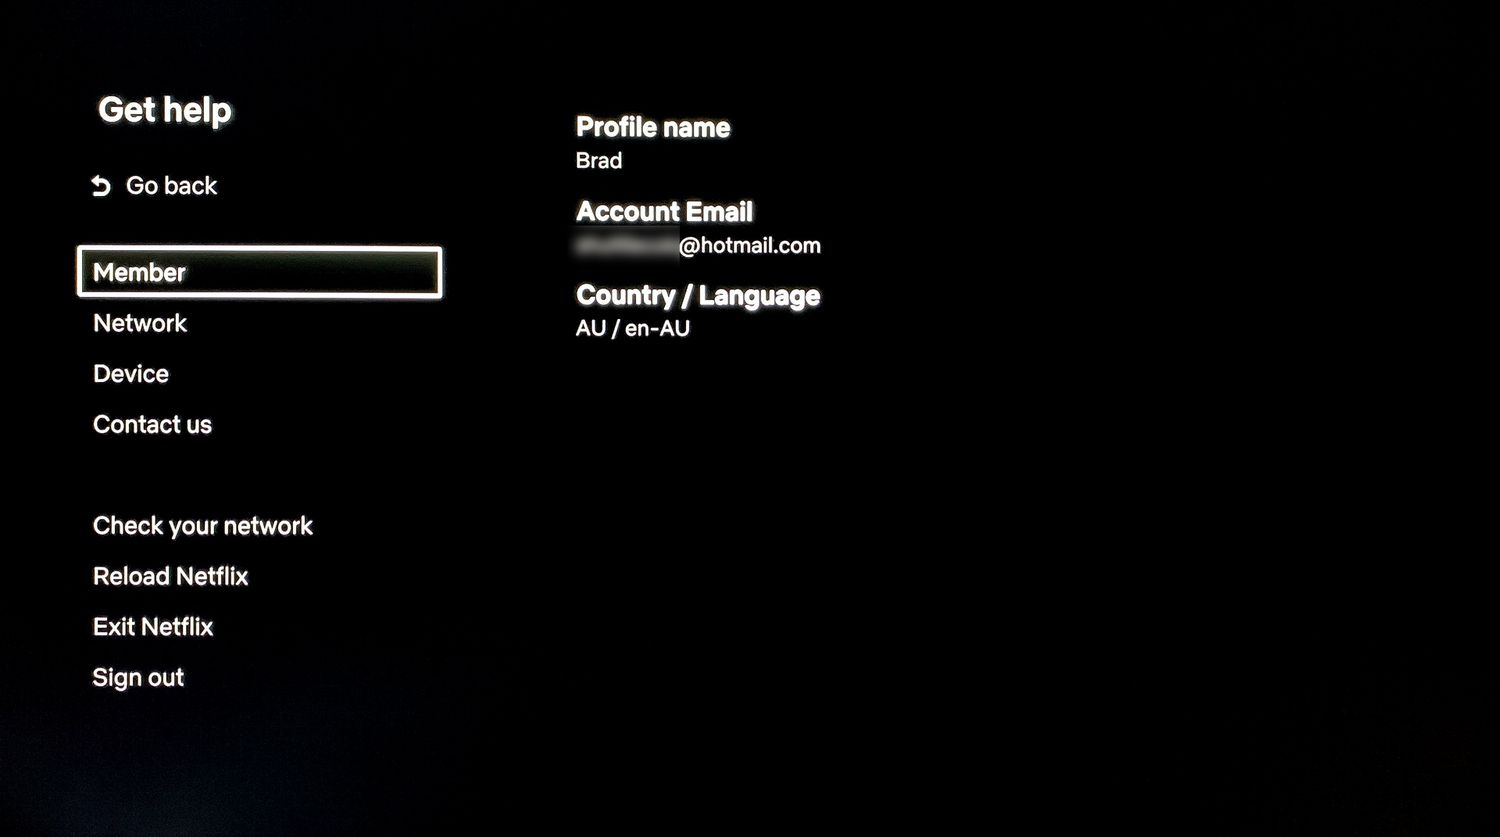
- If you need assistance or have any questions about your Netflix account, look for the “Help” or “Contact Us” option. Netflix provides extensive support resources and customer service channels to address any concerns or inquiries you may have.
- After managing your account settings, ensure to save any changes you’ve made before exiting the settings menu.
Managing your Netflix account settings allows you to have full control over your subscription and ensures that your account information is up to date. By regularly reviewing and managing your account settings, you can ensure a seamless and hassle-free streaming experience on your smart TV. Now that you’ve learned how to manage your Netflix account settings, you’re well-equipped to navigate the world of streaming entertainment.
Conclusion
Using Netflix on your smart TV opens up a world of entertainment possibilities, allowing you to enjoy a vast library of movies, TV shows, documentaries, and more right from the comfort of your own living room. By following the steps outlined in this guide, you can easily set up your smart TV, connect it to the internet, access the Netflix app, create an account, sign in, browse and search for content, play movies and TV shows, customize your Netflix experience, and manage your account settings.
Setting up your smart TV is the initial step, ensuring that it is securely connected to the internet. From there, you can access the Netflix app and create a Netflix account, providing you with personalized streaming content. Signing in to Netflix on your smart TV allows you to explore and enjoy an extensive selection of movies and TV shows.
Browsing and searching for content on Netflix helps you discover new titles or find specific ones. Once you’ve found a movie or TV show you want to watch, playing it on your smart TV is a seamless process with options to control playback and customize audio and subtitle settings.
To enhance your Netflix experience, you can customize various settings such as profiles, parental controls, playback preferences, and language options. Additionally, managing your Netflix account settings lets you update personal information, change subscription plans, and view account details, ensuring that your account remains accurate and in line with your preferences.
With the knowledge gained through this guide, you’re well-equipped to make the most of the Netflix experience on your smart TV. So, grab your remote, settle into your favorite spot on the couch, and let the streaming entertainment begin!


