Introduction
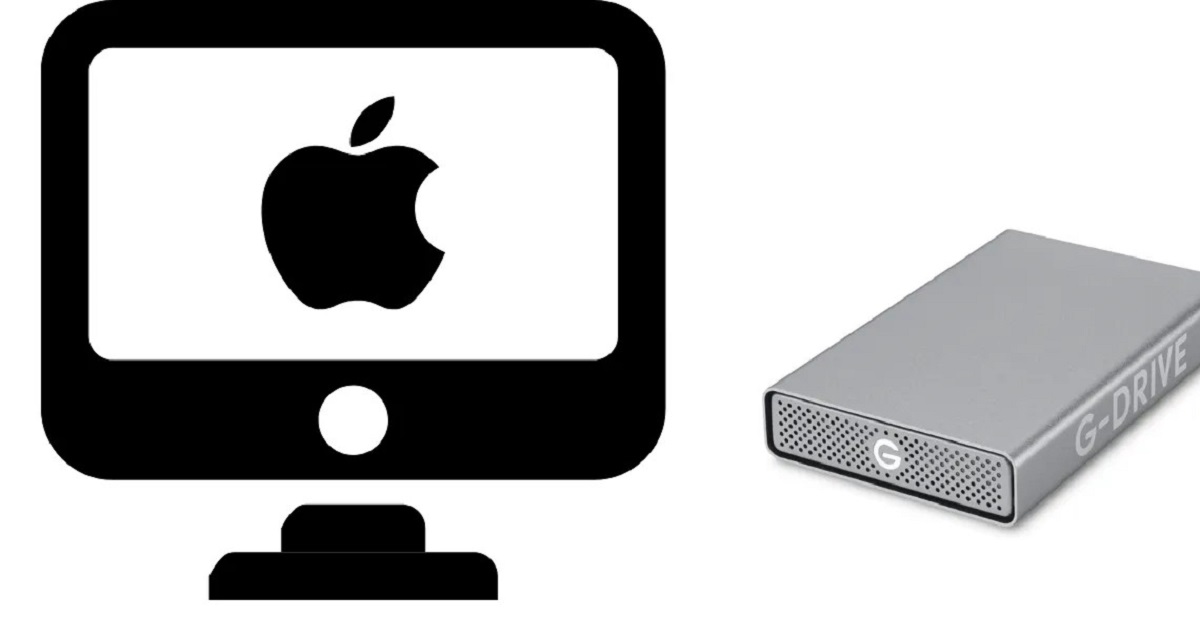
Are you running out of storage space on your Mac? Look no further, as the G-Drive External Hard Drive is here to save the day! By connecting this powerful storage device to your Mac, you can free up valuable space and effortlessly keep your files organized. In this guide, we will walk you through the step-by-step process of using the G-Drive External Hard Drive on your Mac.
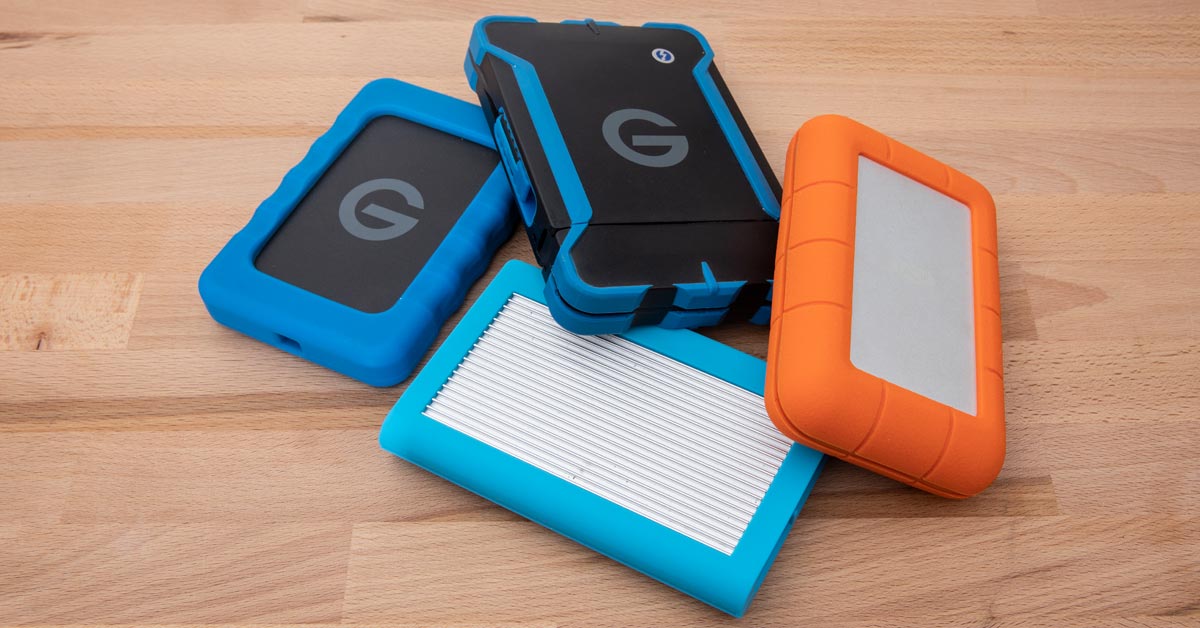
With its sleek design and high storage capacity, the G-Drive External Hard Drive is a perfect companion for your Mac. Whether you need additional space for multimedia files, large applications, or backups, this versatile device has got you covered.
Using the G-Drive External Hard Drive on your Mac is a straightforward process that requires minimal setup. Once connected, you can transfer files, create backups, and access your data with ease. Whether you are a professional designer, photographer, or simply someone who needs extra storage, the G-Drive External Hard Drive is a reliable solution.
In the following sections, we will outline the steps required to set up and use the G-Drive External Hard Drive on your Mac. From formatting the drive to transferring files and safely ejecting it, we will cover everything you need to know to make the most out of this powerful storage device.
So, if you are ready to expand your storage capabilities and simplify your digital life, let’s dive into the step-by-step process of using the G-Drive External Hard Drive on your Mac.
Step 1: Setting up your G-Drive External Hard Drive
Before you can start using your G-Drive External Hard Drive on your Mac, you first need to set it up properly. Follow these simple steps to get your G-Drive ready for use:
- Start by unpacking your G-Drive External Hard Drive from its packaging and locating the included USB cable.
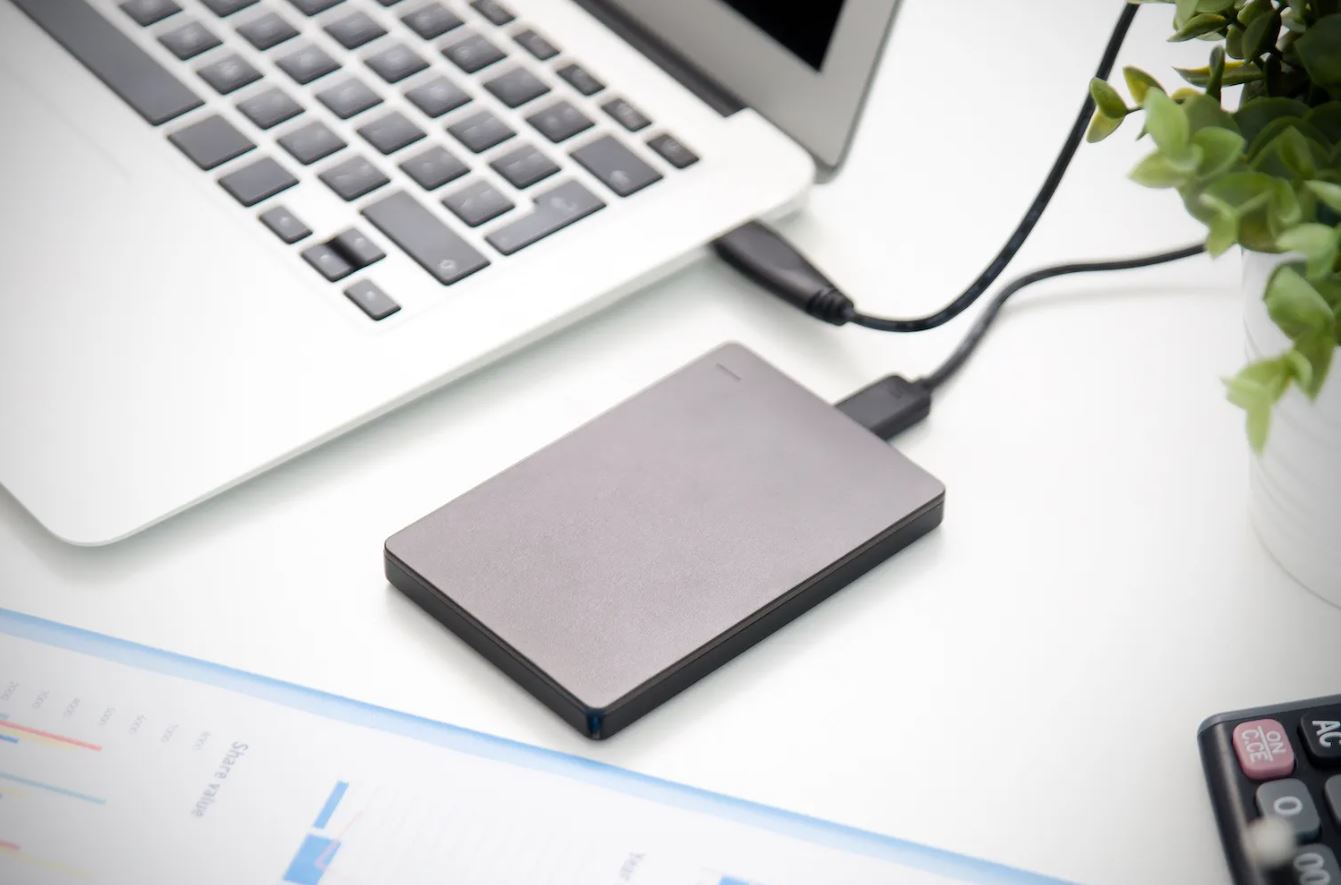
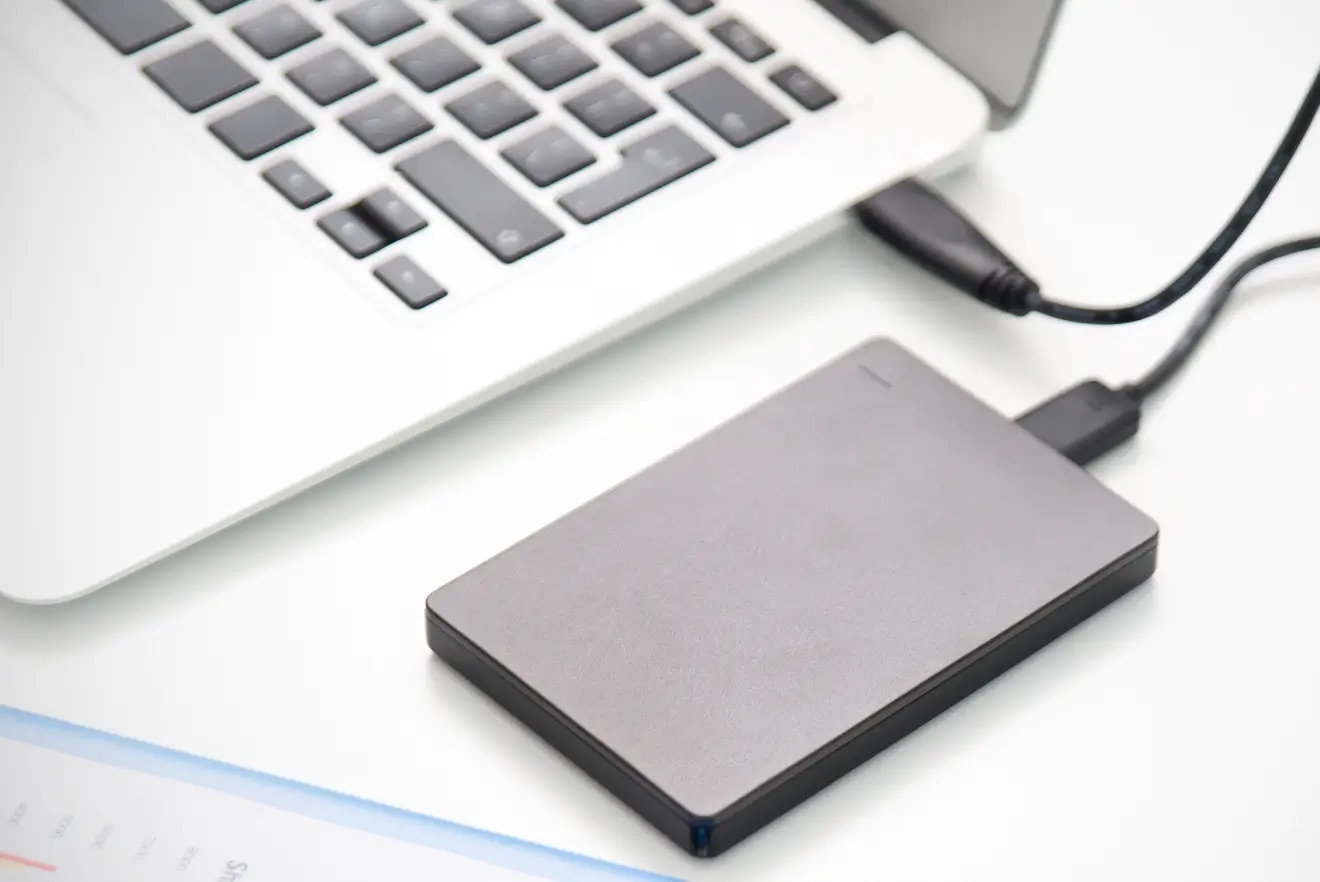
- Connect one end of the USB cable to the USB port on your Mac and the other end to the USB port on the G-Drive. Make sure both connections are secure.
- Next, connect the power adapter to a power outlet and plug the other end into the G-Drive. This will provide the necessary power for the drive to function.
- Once the power is connected, turn on the G-Drive by pressing the power button if it has one. Some models might automatically power on when connected to your Mac.
- Wait for your Mac to detect the G-Drive. You might see a notification or an icon appearing on your desktop, indicating that the drive has been recognized.
Congratulations! You have successfully set up your G-Drive External Hard Drive. In the next step, we will guide you through the process of connecting the G-Drive to your Mac.
Step 2: Connecting the G-Drive to your Mac
Now that your G-Drive External Hard Drive is set up and powered on, it’s time to connect it to your Mac. Follow these steps to establish a connection between the two devices:
- Locate an available USB port on your Mac. Depending on the model, you might have multiple USB ports on the side or back of your Macbook or iMac.
- Take the USB cable that came with your G-Drive External Hard Drive and connect one end to the G-Drive itself.
- Connect the other end of the USB cable to the available USB port on your Mac. Ensure that the connection is secure.
Once the connection is established, your Mac will recognize the G-Drive External Hard Drive. You may see a notification or an icon representing the G-Drive on your desktop or in the Finder window.
It’s essential to ensure that the USB cable is properly connected to both the G-Drive and your Mac to avoid any issues with data transfer or device recognition. If the G-Drive does not appear on your Mac, try disconnecting and reconnecting the USB cable or using a different USB port.
In the next step, we will explore how to format the G-Drive External Hard Drive specifically for your Mac, allowing you to optimize its compatibility and performance.
Step 3: Formatting the G-Drive for Mac
After connecting the G-Drive External Hard Drive to your Mac, the next step is to format it to ensure compatibility and optimize its performance. Follow these instructions to format the G-Drive specifically for your Mac:
- Open the Finder application on your Mac by clicking on its icon in the dock or using the Command + Space shortcut and typing “Finder”.
- In the Finder window, locate and select the G-Drive from the list of devices and drives in the sidebar.
- With the G-Drive selected, go to the “File” menu at the top of the screen and choose “Get Info” or press the Command + I shortcut.
- A new window will appear, displaying information about the selected drive. Make sure you are in the “General” tab of the window.
- Under the “Format” section, click on the dropdown menu and select “Mac OS Extended (Journaled)”. This is the recommended format for compatibility with Mac systems.
- Double-check that you have selected the correct drive and format. Formatting will erase all data on the G-Drive, so ensure you have backed up any important files before proceeding.
- Click on the “Erase” button at the bottom of the window to start the formatting process. You may be prompted to enter your administrator password.
- Wait for the formatting process to complete. This may take a few minutes, depending on the size of the G-Drive.
Once the formatting process is finished, your G-Drive External Hard Drive will be ready to use with your Mac. It is now optimized for compatibility and performance with macOS. You can start transferring files, creating backups, and organizing your data on the G-Drive.
In the next step, we will explore how to transfer files to the G-Drive External Hard Drive from your Mac.
Step 4: Transferring files to the G-Drive
With your G-Drive External Hard Drive formatted and ready to use on your Mac, it’s time to transfer your files to the drive. Follow these steps to easily transfer your files and take advantage of the additional storage space:
- Open a new Finder window on your Mac by clicking on the Finder icon in the dock or using the Command + N shortcut.
- In the sidebar of the Finder window, locate and select the G-Drive from the list of devices and drives.
- Navigate to the location of the files or folders you want to transfer to the G-Drive. You can select multiple files or folders at once by holding down the Command key while clicking on them.
- Once you have selected the desired files or folders, simply drag and drop them into the opened Finder window for the G-Drive. Alternatively, you can right-click on the selected items and choose “Copy”, then navigate to the G-Drive and right-click again, selecting “Paste” to transfer the files.
- Wait for the file transfer process to complete. The time it takes depends on the size and number of files being transferred.
Congratulations! You have successfully transferred your files to the G-Drive External Hard Drive. The files will now be stored on the G-Drive, freeing up space on your Mac and ensuring easy access to your data whenever needed.
Feel free to organize your files in folders or create a folder structure on the G-Drive to keep everything well-organized. This will make it easier to locate and manage your files in the future.
In the next step, we will cover the proper way to safely eject the G-Drive from your Mac to avoid any data corruption or loss.
Step 5: Safely ejecting the G-Drive from your Mac
After using the G-Drive External Hard Drive on your Mac, it is important to safely eject it to avoid any potential data corruption or loss. Follow these steps to properly eject the G-Drive from your Mac:
- Ensure that all file transfers or operations involving the G-Drive are complete. Make sure that no files are currently being accessed or copied from or to the G-Drive.
- Locate the G-Drive icon on your desktop or in the Finder sidebar.
- Right-click on the G-Drive icon and select “Eject” from the contextual menu. Alternatively, you can drag the G-Drive icon to the Trash icon in the dock, and it will turn into an eject symbol.
- Wait until the G-Drive icon disappears from the desktop or Finder sidebar. This indicates that the drive has been safely ejected from your Mac.
- Physically disconnect the USB cable connecting the G-Drive to your Mac by gently unplugging it from both ends. Ensure that you hold the connector firmly and pull straight out to avoid any accidental damage.
By following these steps, you can safely disconnect the G-Drive External Hard Drive from your Mac without any risk to your data. It is important to always eject the drive before physically disconnecting it to prevent potential data loss or damage.
Remember to store your G-Drive External Hard Drive in a safe place when not in use, protecting it from dust, moisture, and any potential physical damage. This will ensure the longevity and reliability of the drive.
With the G-Drive External Hard Drive and your Mac working together seamlessly, you now have the added storage space and flexibility to manage your files effectively. Whether you’re storing multimedia files, creating backups, or organizing your data, the G-Drive provides the convenience and reliability you need.
Conclusion
In this guide, we have discussed the step-by-step process of using the G-Drive External Hard Drive on your Mac. From setting up the drive to formatting it for Mac compatibility, transferring files, and safely ejecting the drive, you now have a comprehensive understanding of how to make the most out of your G-Drive.
The G-Drive External Hard Drive offers a reliable and convenient storage solution for Mac users. With its high storage capacity and sleek design, it is a perfect companion for those in need of additional space for multimedia files, large applications, or backups.
By following the steps outlined in this guide, you can easily set up your G-Drive, connect it to your Mac, format it for optimal performance, transfer files, and safely disconnect the drive. This will help you keep your files organized, free up valuable space on your Mac, and ensure the smooth operation of your G-Drive.
Remember to always safely eject the G-Drive from your Mac before disconnecting it physically to avoid any potential data corruption or loss. Additionally, consider storing your G-Drive in a safe place to protect it from damage and ensure its longevity.
With the G-Drive External Hard Drive on your side, you can now enjoy expanded storage capabilities, seamless file transfers, and efficient data management on your Mac. So, embrace the convenience and reliability of the G-Drive, and take control of your digital life.


