Introduction
Welcome to the world of solid-state storage! In today’s digital age, where data storage and accessibility are paramount, using a solid-state drive (SSD) as an external drive can offer a myriad of benefits. Whether you’re a student, professional, or even a casual computer user, harnessing the power of an SSD can greatly enhance your storage and transfer capabilities.
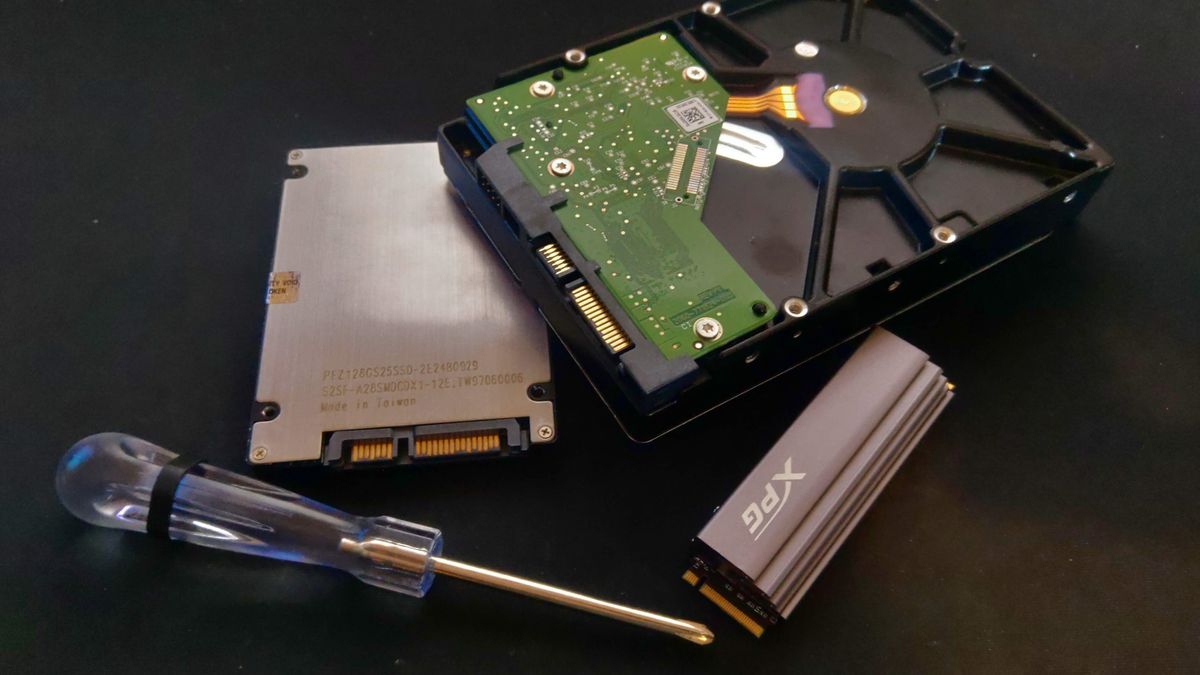
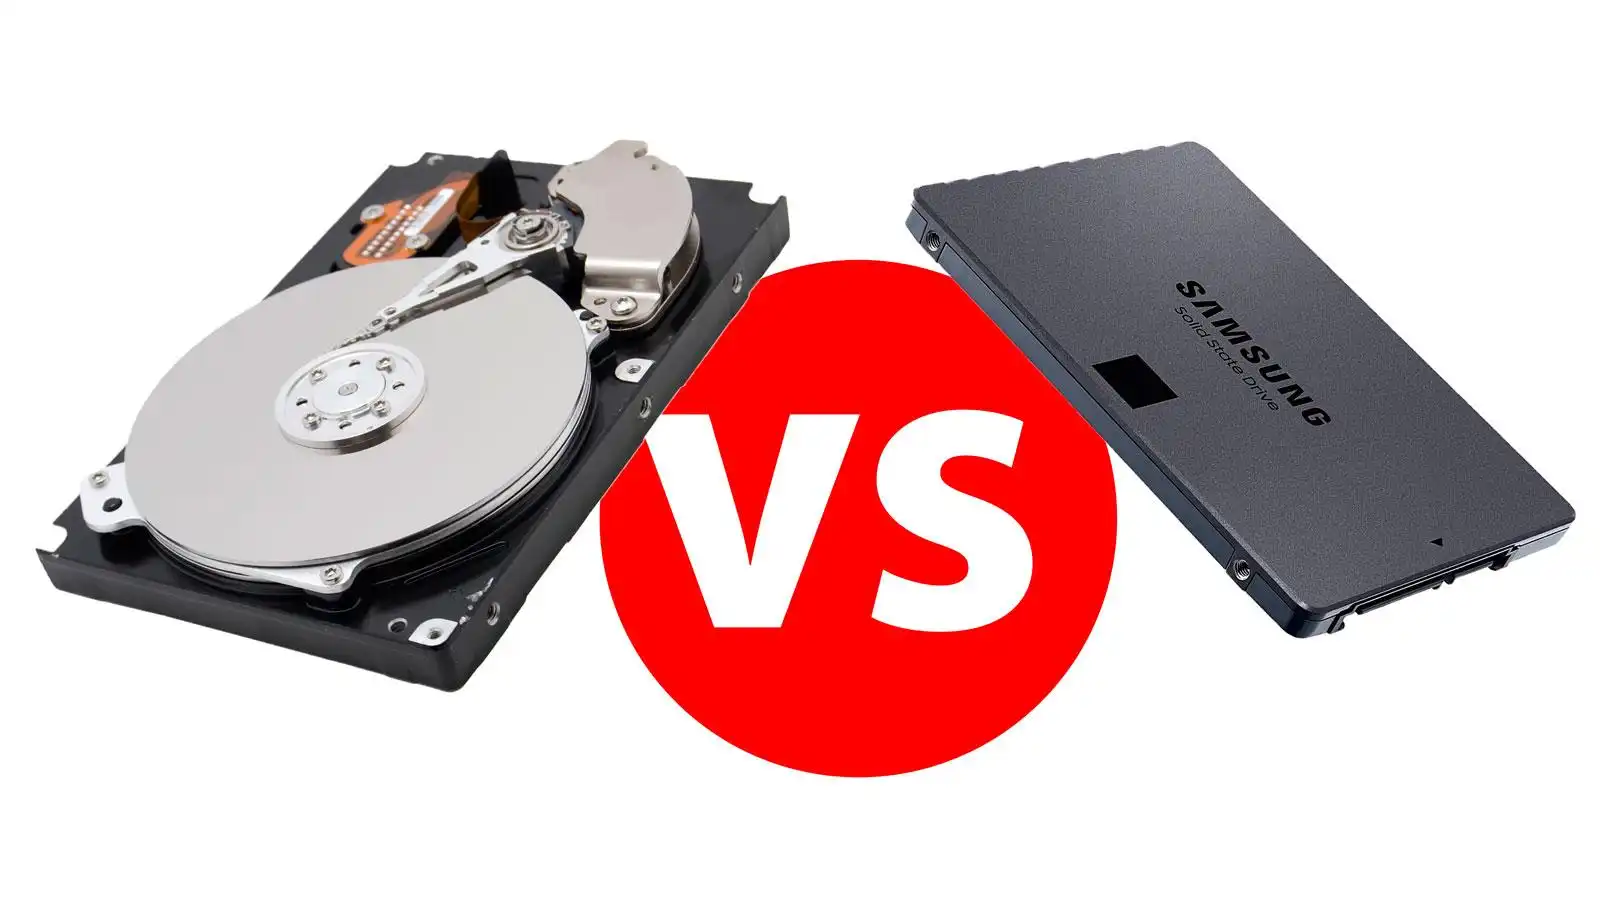
Unlike traditional hard disk drives (HDDs) that rely on spinning platters and magnetic heads, SSDs utilize flash memory to store and retrieve data quickly. This technology not only improves performance but also provides multiple advantages when used as an external drive.
In this article, we will explore the various benefits of using an SSD as an external drive, guide you through the process of choosing the right SSD, and provide step-by-step instructions for setting up and utilizing it effectively.
Whether you need to transfer large files, work with resource-intensive applications, or simply optimize the overall performance of your computer, an SSD external drive can offer unparalleled speed, reliability, and convenience. So let’s dive in and discover how to make the most out of your SSD storage.
Benefits of Using an SSD as an External Drive
Using an SSD as an external drive brings with it a host of benefits that can greatly enhance your overall computing experience. Here are some key advantages:
1. Speed and Performance: One of the biggest advantages of using an SSD as an external drive is the significant boost in speed and performance. SSDs have lightning-fast read and write speeds, allowing for faster file transfers, quicker access to data, and reduced loading times for applications and games.
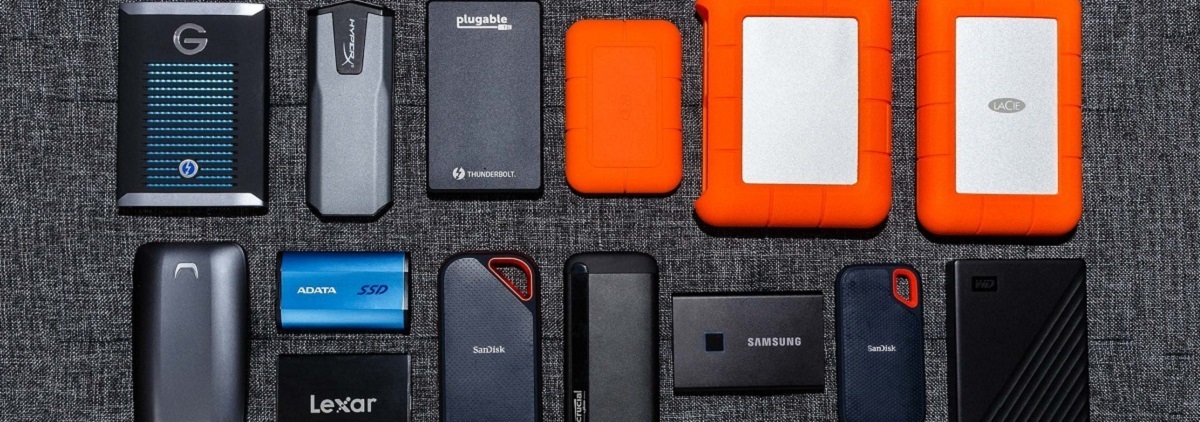
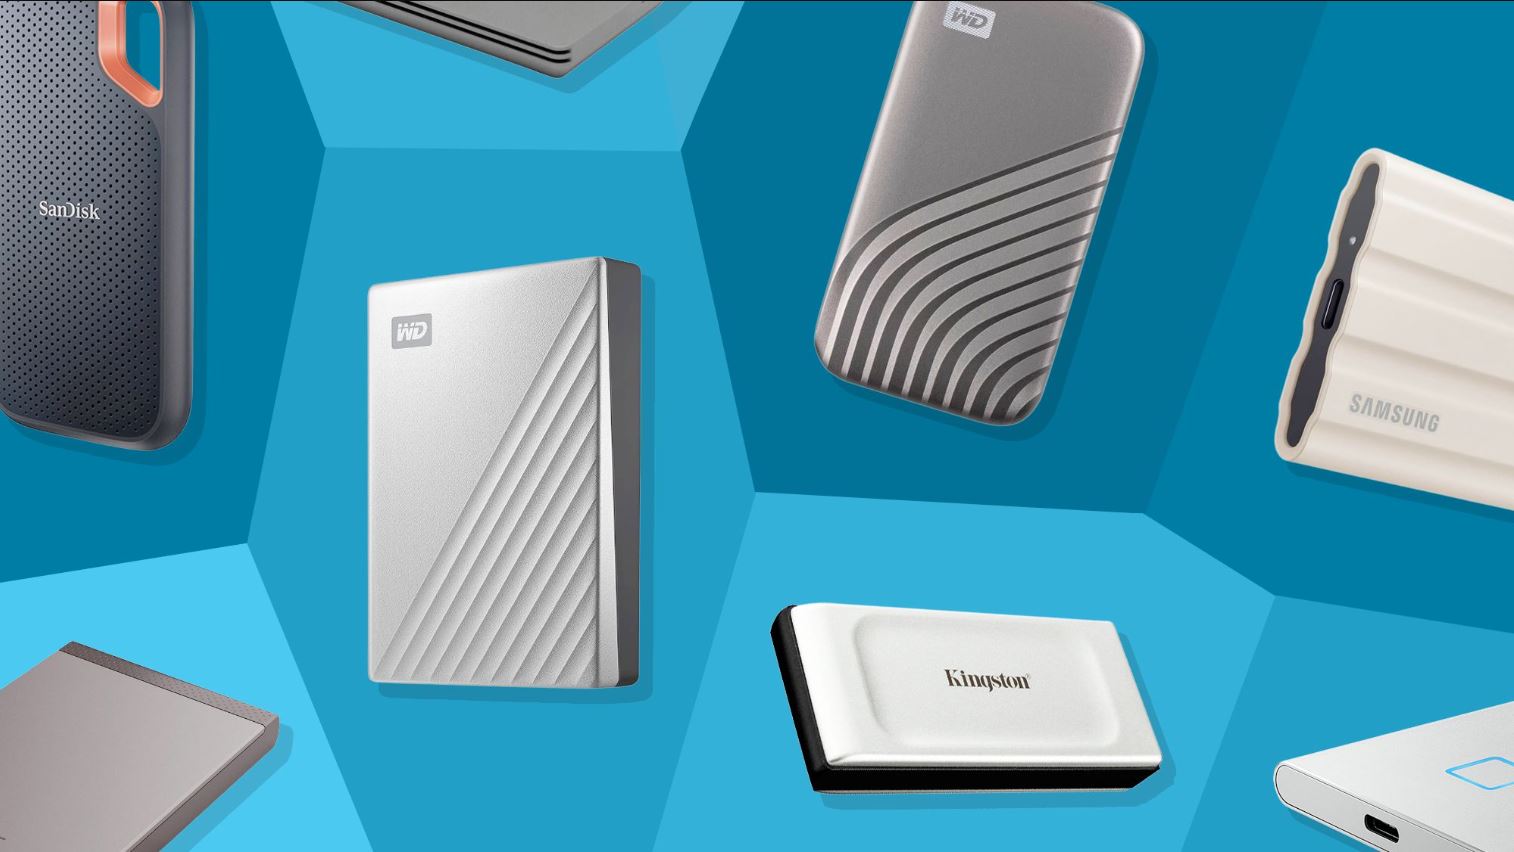
2. Portability: SSDs are compact, lightweight, and portable, making them ideal for on-the-go use. Whether you need to transfer files between different computers, work on projects while traveling, or simply carry your digital media library with you, an SSD can fit snugly in your bag or pocket without weighing you down.
3. Durability: Unlike traditional HDDs, SSDs have no moving parts, making them highly resistant to shock, vibration, and physical damage. This durability is particularly advantageous when using an external drive, as it reduces the risk of data loss due to accidental drops or bumps.
4. Energy Efficiency: SSDs consume less power compared to HDDs, resulting in increased battery life for laptops and other portable devices. Additionally, the lack of moving parts in SSDs contributes to lower heat generation, minimizing the need for cooling mechanisms and maintaining a quieter computing environment.
5. Noiseless Operation: HDDs often produce noticeable noise while reading and writing data due to the spinning of their internal components. On the other hand, SSDs operate silently, providing a noise-free and more pleasant working environment.
6. Improved Productivity: With an SSD external drive, you can experience improved productivity levels. The fast data transfer speeds and reduced loading times enable quick access to your files and applications, allowing you to work efficiently and complete tasks in less time.
7. Data Security: Many SSDs come with built-in encryption features, offering an added layer of security for your sensitive data. Encrypting your files ensures that even if the SSD is lost or stolen, unauthorized users won’t be able to access your information.
By harnessing the power of an SSD as an external drive, you can revolutionize your storage capabilities, boost your productivity, and enjoy seamless data accessibility wherever you go.
Choosing the Right SSD
When it comes to selecting the right SSD for external use, several factors need to be considered. Here are some important aspects to keep in mind:
1. Storage Capacity: Determine your storage needs before deciding on the capacity of the SSD. Consider the type and size of files you will be storing. If you primarily work with large media files or need ample space for backups, opt for higher capacity SSDs like 1TB or 2TB. However, if you mostly deal with documents and smaller files, a lower capacity SSD might suffice.
2. Interface: The interface of the SSD determines how it connects to your computer. Common interfaces include SATA, USB, and Thunderbolt. SATA offers compatibility with most computers, while USB is widely supported and allows for easy connectivity across various devices. If you require lightning-fast data transfer speeds, consider investing in an SSD with Thunderbolt interface.
3. Speed and Performance: Look for SSDs with fast read and write speeds to ensure quick data transfers and smooth operation. Pay attention to the SSD’s performance specifications, such as sequential read and write speeds, as these play a crucial role in determining its overall performance.
4. Reliability and Endurance: SSDs have a limited number of write cycles, so it’s essential to choose a reliable SSD with a high endurance rating. Check for manufacturer-provided information regarding endurance or terabytes written (TBW) ratings to ensure long-term durability.
5. Price: Price is an important consideration when choosing an SSD. Compare prices and features to find the best SSD that fits your budget while still meeting your performance and storage requirements.
6. Brand Reputation: Opt for reputable brands known for their quality and reliable products. Established brands often provide better customer support, warranties, and firmware updates, ensuring a smoother experience.
7. Reviews and Ratings: Research customer reviews and expert opinions to gather insights into the SSD’s performance, reliability, and compatibility. This can help you make an informed decision and avoid potential pitfalls.
Remember, choosing the right SSD involves finding a balance between your storage needs, performance requirements, and budget. By considering these factors, you can select an SSD that will meet your expectations and provide a seamless external storage solution.
Setting up Your SSD
Setting up your SSD as an external drive is a straightforward process. Follow these steps to get started:
1. Check Compatibility: Ensure that your computer or device supports the interface of your SSD. For example, if you’re using a USB SSD, make sure your computer has USB ports. If your SSD requires specific drivers, check if they are compatible with your operating system.
2. Prepare Your SSD: Remove any protective covers or packaging from your SSD. If necessary, consult the SSD manufacturer’s instructions for any additional setup steps specific to your drive.
3. Connect Your SSD to Power: Depending on the type of SSD you have, you may need to connect it to a power source. Some SSDs draw power directly from the computer through the interface cable, while others require an external power supply. Refer to your SSD’s manual for guidance.
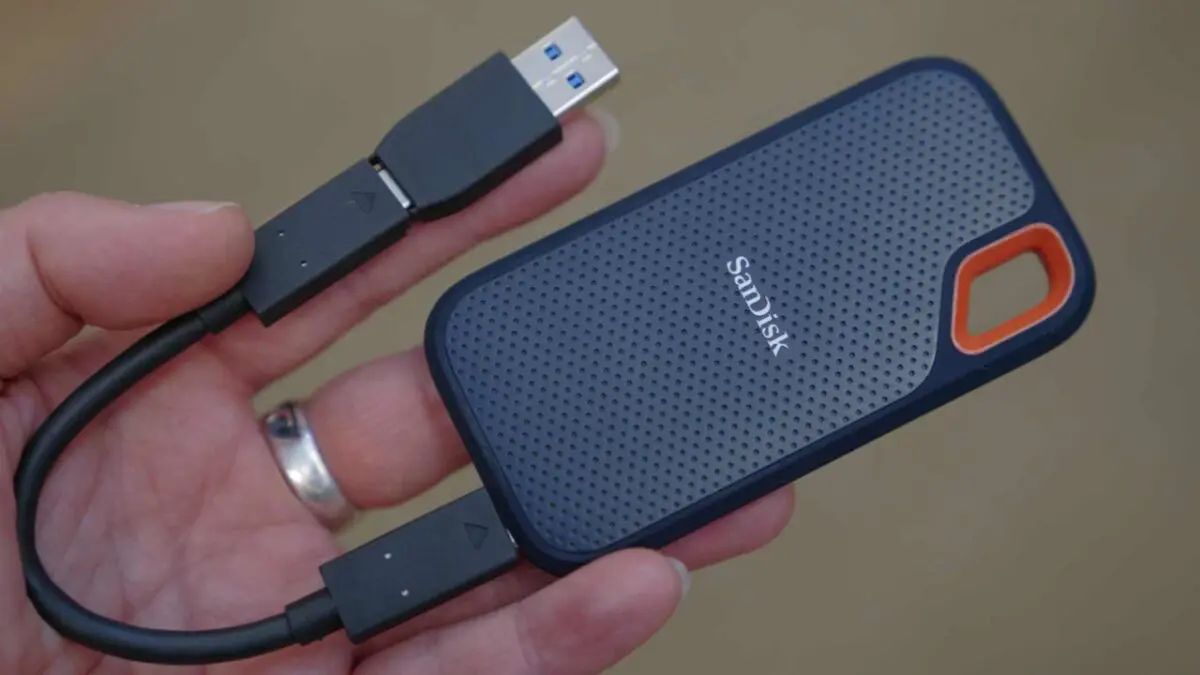
4. Connect Your SSD to Your Computer: Use the appropriate cable or adapter to connect your SSD to your computer. If using a USB SSD, plug one end of the USB cable into the SSD and the other end into an available USB port on your computer. For other interfaces, ensure proper connection according to their specifications.
5. Power on Your SSD: If your SSD has an on/off switch, turn it on. This step is not applicable if your SSD does not have a power switch.
6. Ensure SSD Recognition: Once connected, your computer should recognize the SSD and display it as a new drive. You may need to wait a few moments for the SSD to be detected, or you may need to go to your computer’s disk management settings to manually initialize and format the drive.
7. Initialize and Format the SSD: If your SSD is not automatically recognized or assigned a drive letter, you may need to initialize and format it. To do this, open the disk management utility on Windows or the disk utility on macOS. Locate your SSD, right-click on it, and follow the prompts to initialize and format it with the desired file system (such as NTFS for Windows or APFS for macOS).
8. Assign a Drive Letter: After formatting, assign a drive letter to your SSD to make it easier to identify and access. This is done through the disk management utility on Windows or the disk utility on macOS.
9. Test Your SSD: Once setup is complete, test your SSD by transferring some files to and from the drive. This will ensure that the SSD is functioning correctly and that data can be transferred without any issues.
Following these steps will allow you to set up your SSD as an external drive quickly and easily. Always refer to the manufacturer’s instructions for specific setup guidelines related to your SSD model.
Connecting Your SSD to Your Computer
Connecting your SSD to your computer is a crucial step in using it as an external drive. Here’s how to properly connect the SSD:
1. Identify the Interface: Determine the interface of your SSD, such as USB, SATA, or Thunderbolt. This will help you select the appropriate cable or adapter for the connection.
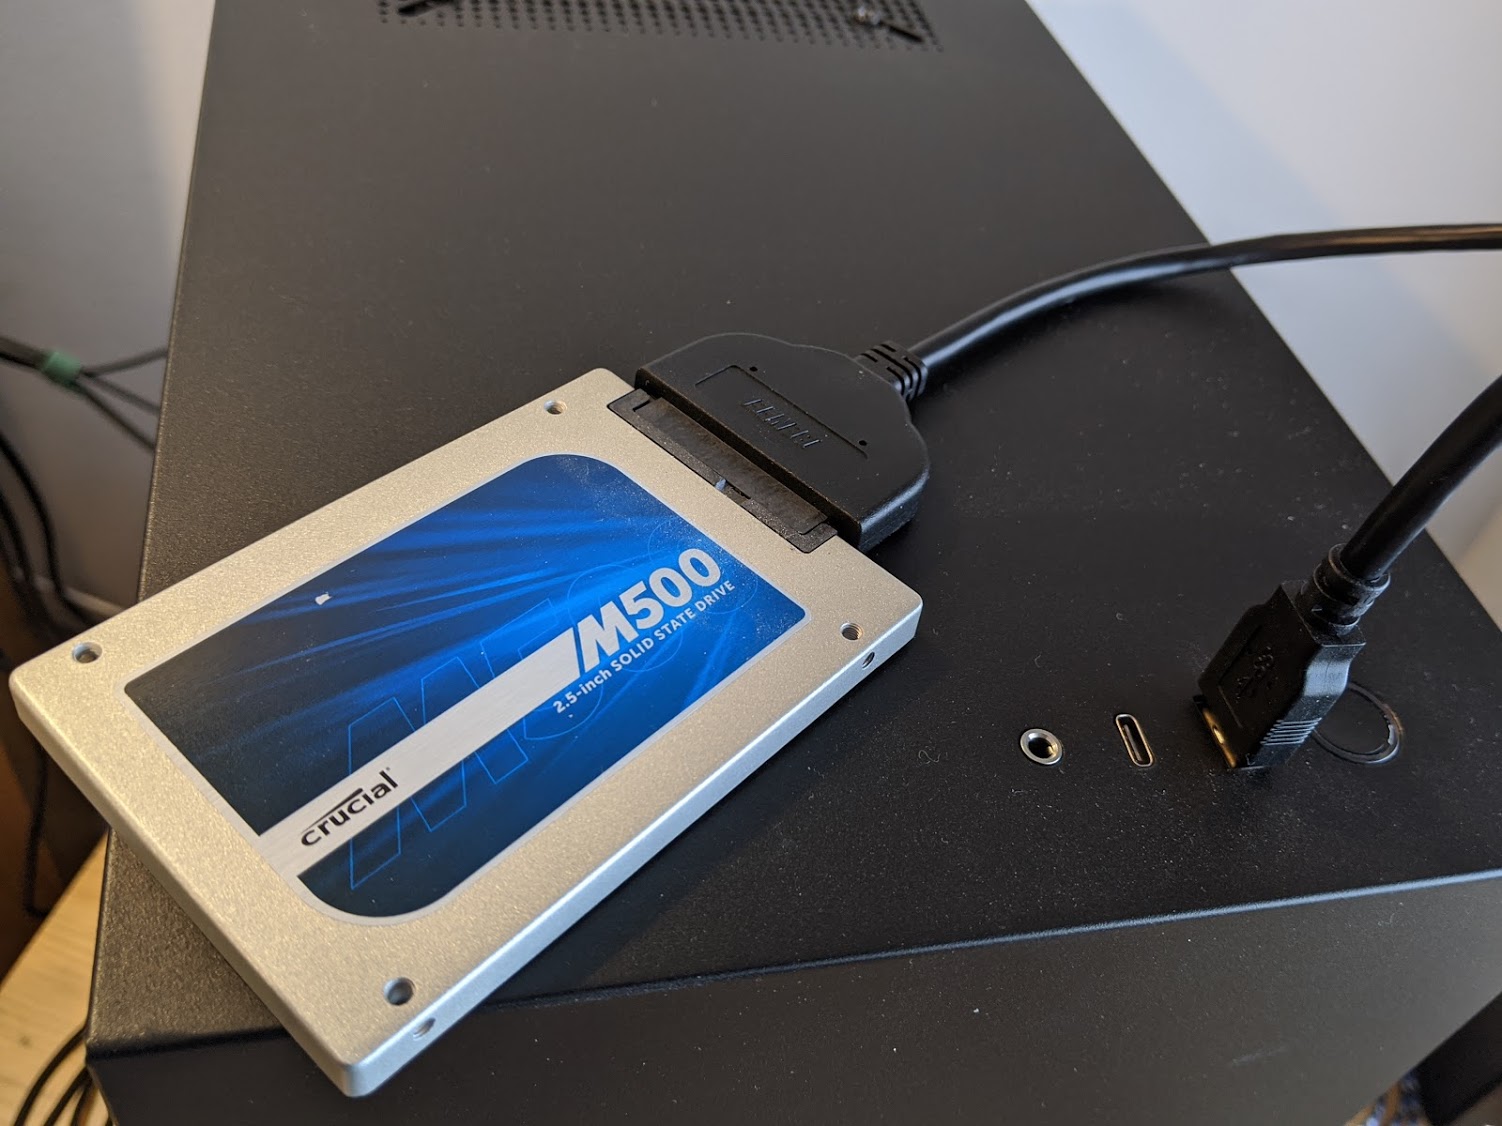
2. Select the Right Cable or Adapter: Depending on the interface, choose the corresponding cable or adapter. For USB, use a USB cable; for SATA, use a SATA-to-USB adapter or enclosure; for Thunderbolt, utilize a Thunderbolt cable. Ensure that the cable or adapter matches the specific connectors on your SSD and computer.
3. Connect the Cable to the SSD: If your SSD has a removable cable, connect one end of the cable to the appropriate port on the SSD.
4. Connect the Cable to the Computer: Plug the other end of the cable into an available USB port, SATA port, or Thunderbolt port on your computer. Make sure the connection is secure.
5. Power on the SSD: If your SSD requires separate power, connect the power cable from the SSD to a power source, such as a wall outlet or a powered USB hub. Some SSDs draw power directly from the computer via the data cable and do not require external power.
6. Turn on Your Computer: Ensure that your computer is powered on and running before connecting the SSD. This will allow the computer to properly detect the new external SSD device.
7. Wait for Recognition: Give your computer a few moments to recognize the SSD. Depending on the system, an on-screen notification may appear informing you that a new device has been detected.
8. Access the SSD: Once recognized, you can access the SSD by opening your computer’s file explorer or finder. The SSD should appear as a new drive or volume. From there, you can manage and transfer files to and from the SSD.
It’s important to ensure that the connections are secure and properly seated. If the SSD is not recognized, try reconnecting the cable or adapter, or test the SSD with a different port or computer to rule out any potential issues.
Remember to follow the manufacturer’s instructions for your specific SSD model, as some devices may have unique connectivity requirements. By connecting your SSD correctly, you can begin enjoying the benefits of fast, reliable external storage for your computer.
Formatting Your SSD
Before you can start using your SSD as an external drive, you may need to format it to ensure compatibility with your computer’s operating system. Here’s how to format your SSD:
1. Back up Your Data: Formatting your SSD will erase all existing data. Therefore, it is crucial to back up any important files or data stored on the SSD before proceeding. This will prevent any data loss during the formatting process.
2. Open Disk Management Utility: On Windows, right-click on the Start menu, select “Disk Management” from the context menu, and wait for the Disk Management utility to open. On macOS, go to “Applications” > “Utilities” > “Disk Utility”.
3. Locate Your SSD: In the Disk Management utility, locate your SSD in the list of drives. It will be displayed with the SSD’s model name or the allocated drive letter.
4. Right-click on the SSD: Right-click on the SSD and select the “Format” option from the context menu. On macOS, click on the SSD and then click on the “Erase” tab.
5. Select the File System: Choose the desired file system format for your SSD. For Windows, the recommended file system is NTFS, which offers compatibility with Windows-based systems. On macOS, consider using the APFS (Apple File System) for better performance and compatibility.
6. Assign a Volume Label: Provide a name or label for your SSD. This is optional but can be useful for easy identification of the drive. Choose a descriptive label that reflects the contents or purpose of the drive.
7. Choose Quick Format (Optional): On Windows, you can select the “Quick Format” option if you want a faster format process. This skips the full verification of the SSD, but keep in mind that it may impact performance in the long run. On macOS, quick formatting is the default option.
8. Start the Formatting Process: Click on the “Format” or “Erase” button to initiate the formatting process. A warning may appear, notifying you that all data on the SSD will be erased. Confirm your decision to proceed.
9. Wait for Formatting to Complete: The formatting process may take a few minutes, depending on the size of the SSD. Once it is complete, you will receive a notification indicating the successful formatting of your SSD.
10. Confirm the Formatting: Double-check that the SSD is now formatted and appears as a healthy, formatted drive in the Disk Management utility or Disk Utility on macOS.
By following these steps, you can easily format your SSD as an external drive, ensuring compatibility with your computer’s operating system. Remember to exercise caution during the formatting process, as all data on the SSD will be permanently erased.
Safely Ejecting Your SSD
Properly ejecting or safely removing your SSD ensures that all data has been written to the drive and that it is safe to disconnect it from your computer. Here’s how to safely eject your SSD:
1. Save and Close Files: Before ejecting your SSD, ensure that all files and applications stored on the drive are saved and closed. This prevents any data loss or corruption during the ejection process.
2. Close any Open Applications: Check if any applications or processes are actively accessing or using the SSD. If so, close them to ensure that all operations are completed.
3. Find the Eject Option: On Windows, right-click on the SSD in the File Explorer, and select “Eject” or “Safely Remove Hardware.” On macOS, locate the SSD in the Finder sidebar or on the desktop, and drag it to the trash. Alternatively, you can click on the eject icon (upward arrow) next to the SSD’s name in the Finder sidebar.
4. Wait for Confirmation: After initiating the ejection process, wait for your operating system to confirm that it is safe to disconnect the SSD. You will typically see a notification or an indication that the SSD can be safely removed.
5. Safely Disconnect the SSD: Once you have received the confirmation, physically disconnect the SSD from your computer. If using a USB cable, gently unplug it from the USB port. If using a SATA cable, power off the computer before removing the cable.
6. Store Your SSD Safely: After safely ejecting your SSD, store it in a safe and secure place. Protect it from physical damage or exposure to extreme temperatures or moisture.
Safely ejecting your SSD prevents potential data corruption or loss and ensures that all write operations have been completed before disconnecting it from your computer. Failure to safely eject your SSD may result in data integrity issues or damage to the drive itself. Remember to always follow the proper ejection process to maintain the reliability and longevity of your SSD.
Transferring Files to Your SSD
Transferring files to your SSD is a simple process that allows you to easily manage and access your data. Here’s how to transfer files to your SSD:
1. Connect Your SSD: Make sure your SSD is properly connected to your computer using the appropriate cable or adapter. Ensure that the SSD is recognized by your computer’s operating system.
2. Open File Explorer or Finder: On Windows, open File Explorer by pressing the Windows key + E or by clicking on the folder icon in the taskbar. On macOS, open Finder by clicking on the Finder icon in the dock.
3. Navigate to the Source Files: Locate the files or folders that you want to transfer to your SSD. This could be in your computer’s internal storage, an external storage device, or a cloud storage service.
4. Select the Files: Select the files or folders you want to transfer. To select multiple files, hold down the Ctrl key (Windows) or the Command key (macOS) and click on each file. To select a range of files, click on the first file, hold down the Shift key, and click on the last file in the range.
5. Copy or Cut the Files: Right-click on the selected files and choose either “Copy” or “Cut” from the context menu. “Copy” will create a duplicate of the files, while “Cut” will move the files from their current location.
6. Navigate to the SSD: In the File Explorer or Finder, navigate to the SSD. It should be listed as a separate drive or volume. Click on it to open it.
7. Paste the Files: Right-click on an empty space inside the SSD and choose “Paste” from the context menu. The copied or cut files will now be transferred to your SSD. You can also use the keyboard shortcuts Ctrl+V (Windows) or Command+V (macOS) to paste the files.
8. Monitor the Transfer: Depending on the size and number of files being transferred, the process can take some time. Keep an eye on the progress bar or status indicator to monitor the transfer.
9. Verify the Transfer: Once the transfer is complete, go to the SSD and confirm that the transferred files are present and accessible. Double-check that the files are in the correct locations on your SSD.
10. Eject Your SSD (if necessary): If you are finished transferring files, follow the proper ejection process for your operating system to safely disconnect your SSD. Refer to the previous section, “Safely Ejecting Your SSD,” for detailed instructions.
By following these steps, you can easily transfer files to your SSD and take advantage of its fast read and write speeds. Whether it’s documents, photos, videos, or any other types of files, your SSD provides a reliable and efficient storage solution for your data.
Backing up Your Data on Your SSD
Backing up your data is essential to ensure the safety and recovery of your files in case of accidental deletion, hardware failure, or other unforeseen events. Here’s how to back up your data on your SSD:
1. Choose a Backup Method: Determine the backup method that suits your needs. You can opt for manual file copying, using backup software, or utilizing cloud storage services. Each method has its advantages, so select the one that aligns with your preferences and requirements.
2. Create a Backup Schedule: Establish a regular backup schedule to ensure that your data is consistently backed up. Consider backing up your SSD on a daily, weekly, or monthly basis, depending on the frequency of changes to your files.
3. Select the Files for Backup: Identify the files and folders that you want to include in your backup. This may encompass important documents, photos, videos, and any other files you deem significant to preserve. Consider organizing your files into separate folders to facilitate easier backups.
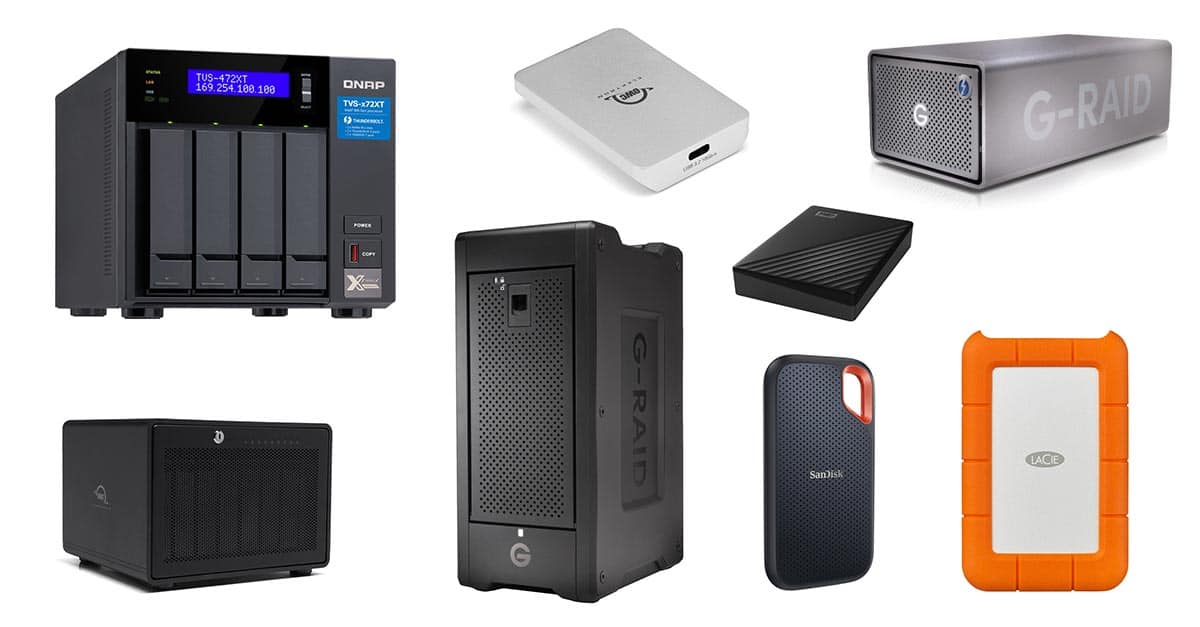
4. Manual Backup: If you prefer a manual approach, copy and paste the selected files from your SSD to an external storage device, such as another SSD, a hard drive, or a network-attached storage (NAS). Ensure that the destination device has sufficient storage capacity for your backup files.
5. Backup Software: Utilize backup software to simplify the backup process. A wide range of backup applications are available, both free and paid. Research and choose a reliable backup software that suits your needs. Set up the software to automatically back up the selected files from your SSD to an external storage device or cloud storage.
6. Cloud Storage: Consider using cloud storage services, such as Google Drive, Dropbox, or OneDrive, to back up your files. These services offer convenient and secure storage options with the added benefit of access to your files from anywhere with an internet connection.
7. Encrypt Your Backup: If your backup files contain sensitive or confidential information, consider encrypting them for an extra layer of security. Many backup software and cloud storage services offer encryption options to safeguard your data from unauthorized access.
8. Test the Backup: After the initial backup, verify that your backed-up files are intact and accessible. Perform occasional test restores to ensure the backup data can be successfully recovered if needed.
Remember to keep multiple backup copies in different locations to protect against physical damage or loss. Regularly update and maintain your backups to include any newly created or modified files. By implementing a solid backup strategy, you can safeguard your valuable data stored on your SSD and have peace of mind knowing that your files are securely backed up.
Disconnecting Your SSD from Your Computer
Properly disconnecting your SSD from your computer is crucial to avoid any data loss or potential damage to the drive. Here’s how to safely disconnect your SSD:
1. Save and Close Files: Before disconnecting your SSD, ensure that all files and applications stored on the drive are saved and closed. This helps prevent any data corruption or loss during the disconnection process.
2. Close any Open Applications: Check if any applications or processes are actively using or accessing the SSD. Close them to ensure that all operations are completed before disconnection.
3. Eject the SSD: On Windows, right-click on the SSD icon in the File Explorer or right-click on the drive letter assigned to the SSD and select “Eject” or “Safely Remove Hardware.” On macOS, click and hold the SSD icon on the desktop or in the Finder sidebar, then select “Eject” from the context menu that appears.
4. Wait for Confirmation: After initiating the ejection process, wait for your operating system to confirm that it is safe to disconnect the SSD. You may see a notification or an indication that the SSD can be safely removed.
5. Safely Disconnect the SSD: Once you receive the confirmation, you can physically disconnect the SSD from your computer. For USB SSDs, gently unplug the USB cable from the USB port. For SATA SSDs, power off the computer before removing the SATA cable.
6. Store Your SSD Safely: After safely disconnecting your SSD, store it in a safe and secure place. Protect it from physical damage, extreme temperatures, or moisture.
It’s important to always follow the proper disconnection process to prevent any potential data corruption or damage to the SSD. Abruptly disconnecting the SSD without properly ejecting it can result in the loss of data or even render the drive unusable.
If you frequently connect and disconnect your SSD, consider using hot-swappable connections or using an external SSD enclosure that provides convenient and safe mounting and dismounting of the drive.
By safely disconnecting your SSD, you ensure that your data remains intact and your SSD stays in good working condition, ready for future use.
Conclusion
Using an SSD as an external drive offers numerous benefits, such as increased speed, portability, durability, and energy efficiency. By choosing the right SSD and following the necessary setup steps, you can transform your SSD into a reliable and versatile storage solution.
When connecting your SSD to your computer, ensure that you choose the correct cable or adapter and establish a secure connection. Formatting the SSD is essential to ensure compatibility with your operating system, and safely ejecting the SSD helps prevent data corruption or damage.
Transferring files to your SSD allows for easy management and quick access to your data. Consider implementing a regular backup strategy to protect your files from potential loss or damage.
Finally, always follow the proper procedure for disconnecting your SSD to safeguard your data and maintain the integrity of the drive. By following these guidelines, you can maximize the benefits of using an SSD as an external drive and enjoy the heightened performance and convenience it provides.
Remember to refer to the manufacturer’s instructions and guidelines specific to your SSD model for detailed information on setup, operation, and maintenance. With the right SSD and proper utilization, you can enhance your storage capabilities and streamline your computing experience.