Introduction
Welcome to our guide on how to use a glucose monitor. If you or a loved one has been diagnosed with diabetes, monitoring your blood glucose levels regularly is crucial for managing the condition effectively. A glucose monitor, also known as a blood glucose meter, is a portable device that allows you to measure your blood sugar levels at home or on the go. By understanding how to use a glucose monitor correctly, you can gain valuable insight into your body’s response to food, exercise, medication, and other factors that can affect your blood sugar levels.
Living with diabetes can be challenging, but with proper management, you can lead a healthy and fulfilling life. Regularly monitoring your blood glucose levels is an essential part of diabetes self-care. By keeping track of your blood sugar levels, you can make informed decisions about your diet, medication, and lifestyle choices. This knowledge empowers you to better manage your diabetes and prevent complications.
In this guide, we will take you through the process of using a glucose monitor step by step. From preparing the device and yourself for testing to interpreting the results, we will cover everything you need to know to ensure accurate and reliable glucose monitoring. Whether you are a newly diagnosed diabetic or looking to refresh your knowledge on using a glucose monitor, this guide will serve as a handy resource.
It is important to note that this guide should not replace any instructions provided by your healthcare professional. Always consult with your doctor or diabetes educator for personalized guidance on managing your diabetes and using a glucose monitor. With that said, let’s dive into the world of glucose monitoring and equip ourselves with the knowledge and skills necessary for effective diabetes management.
What Is a Glucose Monitor?
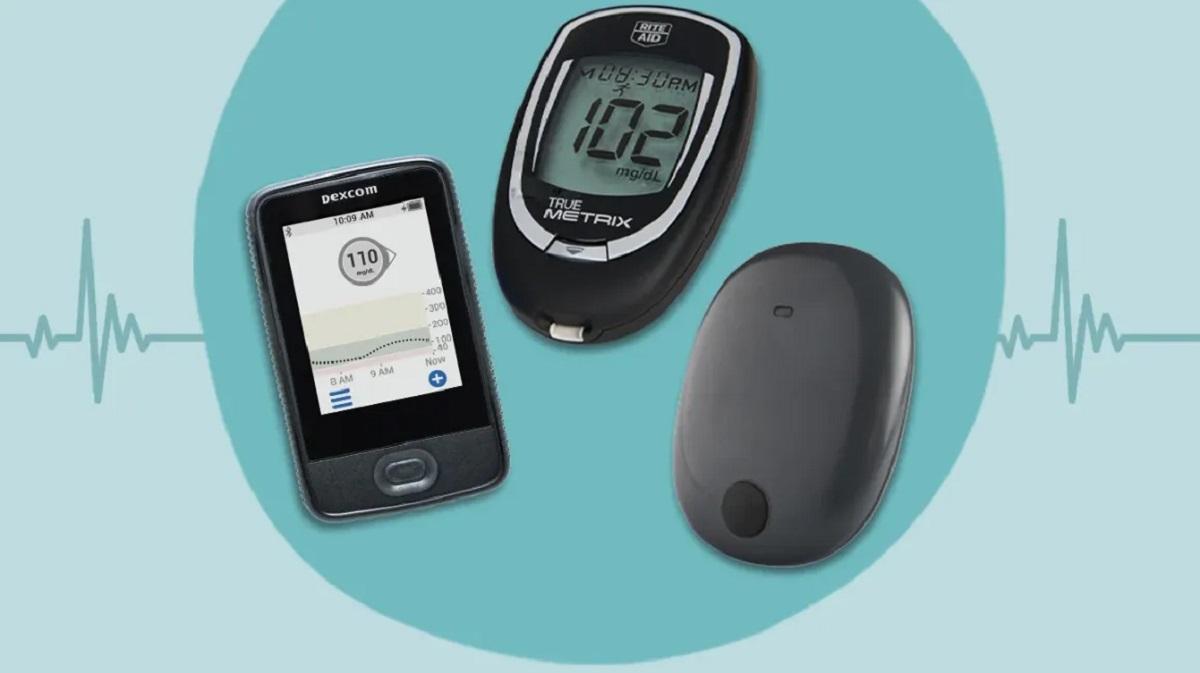
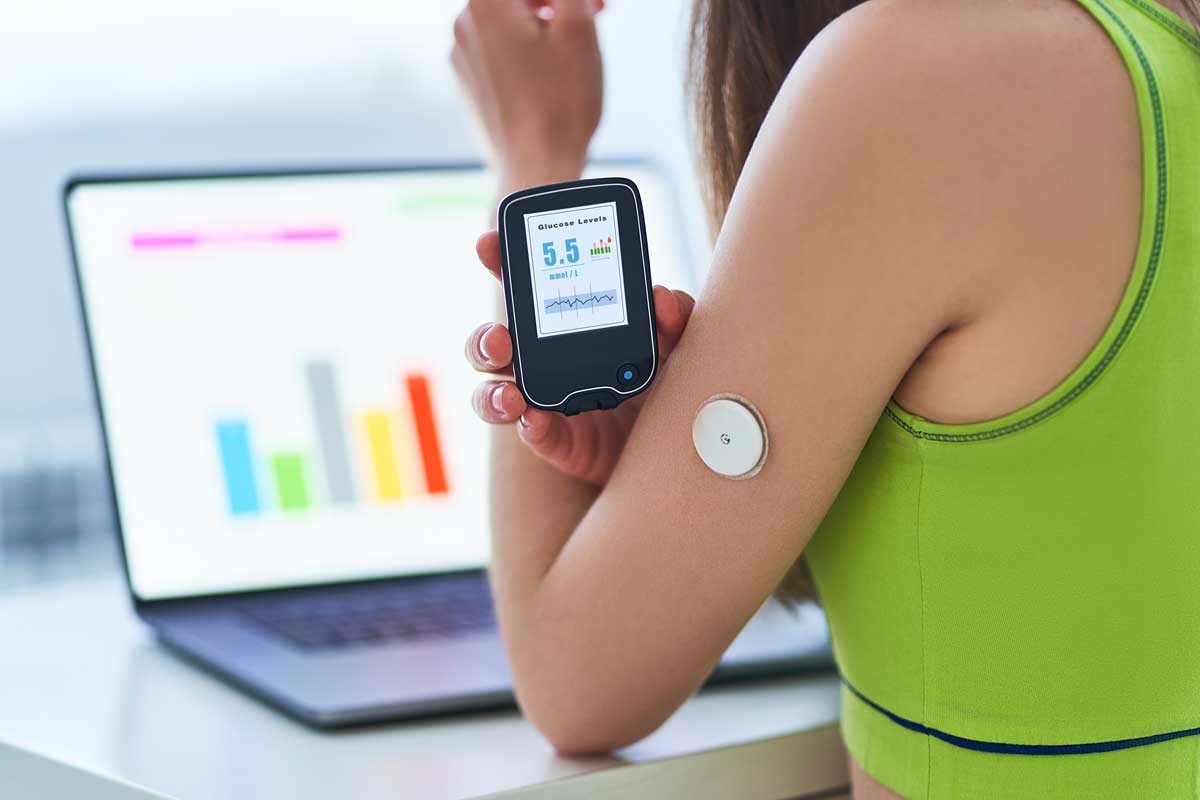
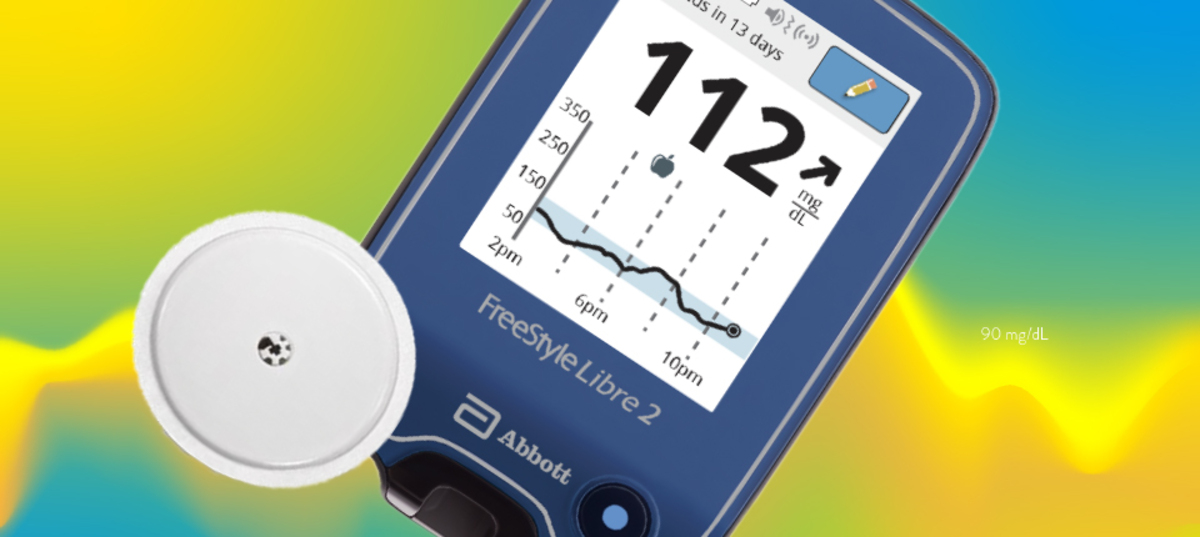
A glucose monitor, also known as a blood glucose meter, is a portable device that allows individuals with diabetes to measure their blood sugar levels at home or on the go. It plays a crucial role in diabetes management by providing real-time information about blood glucose levels.
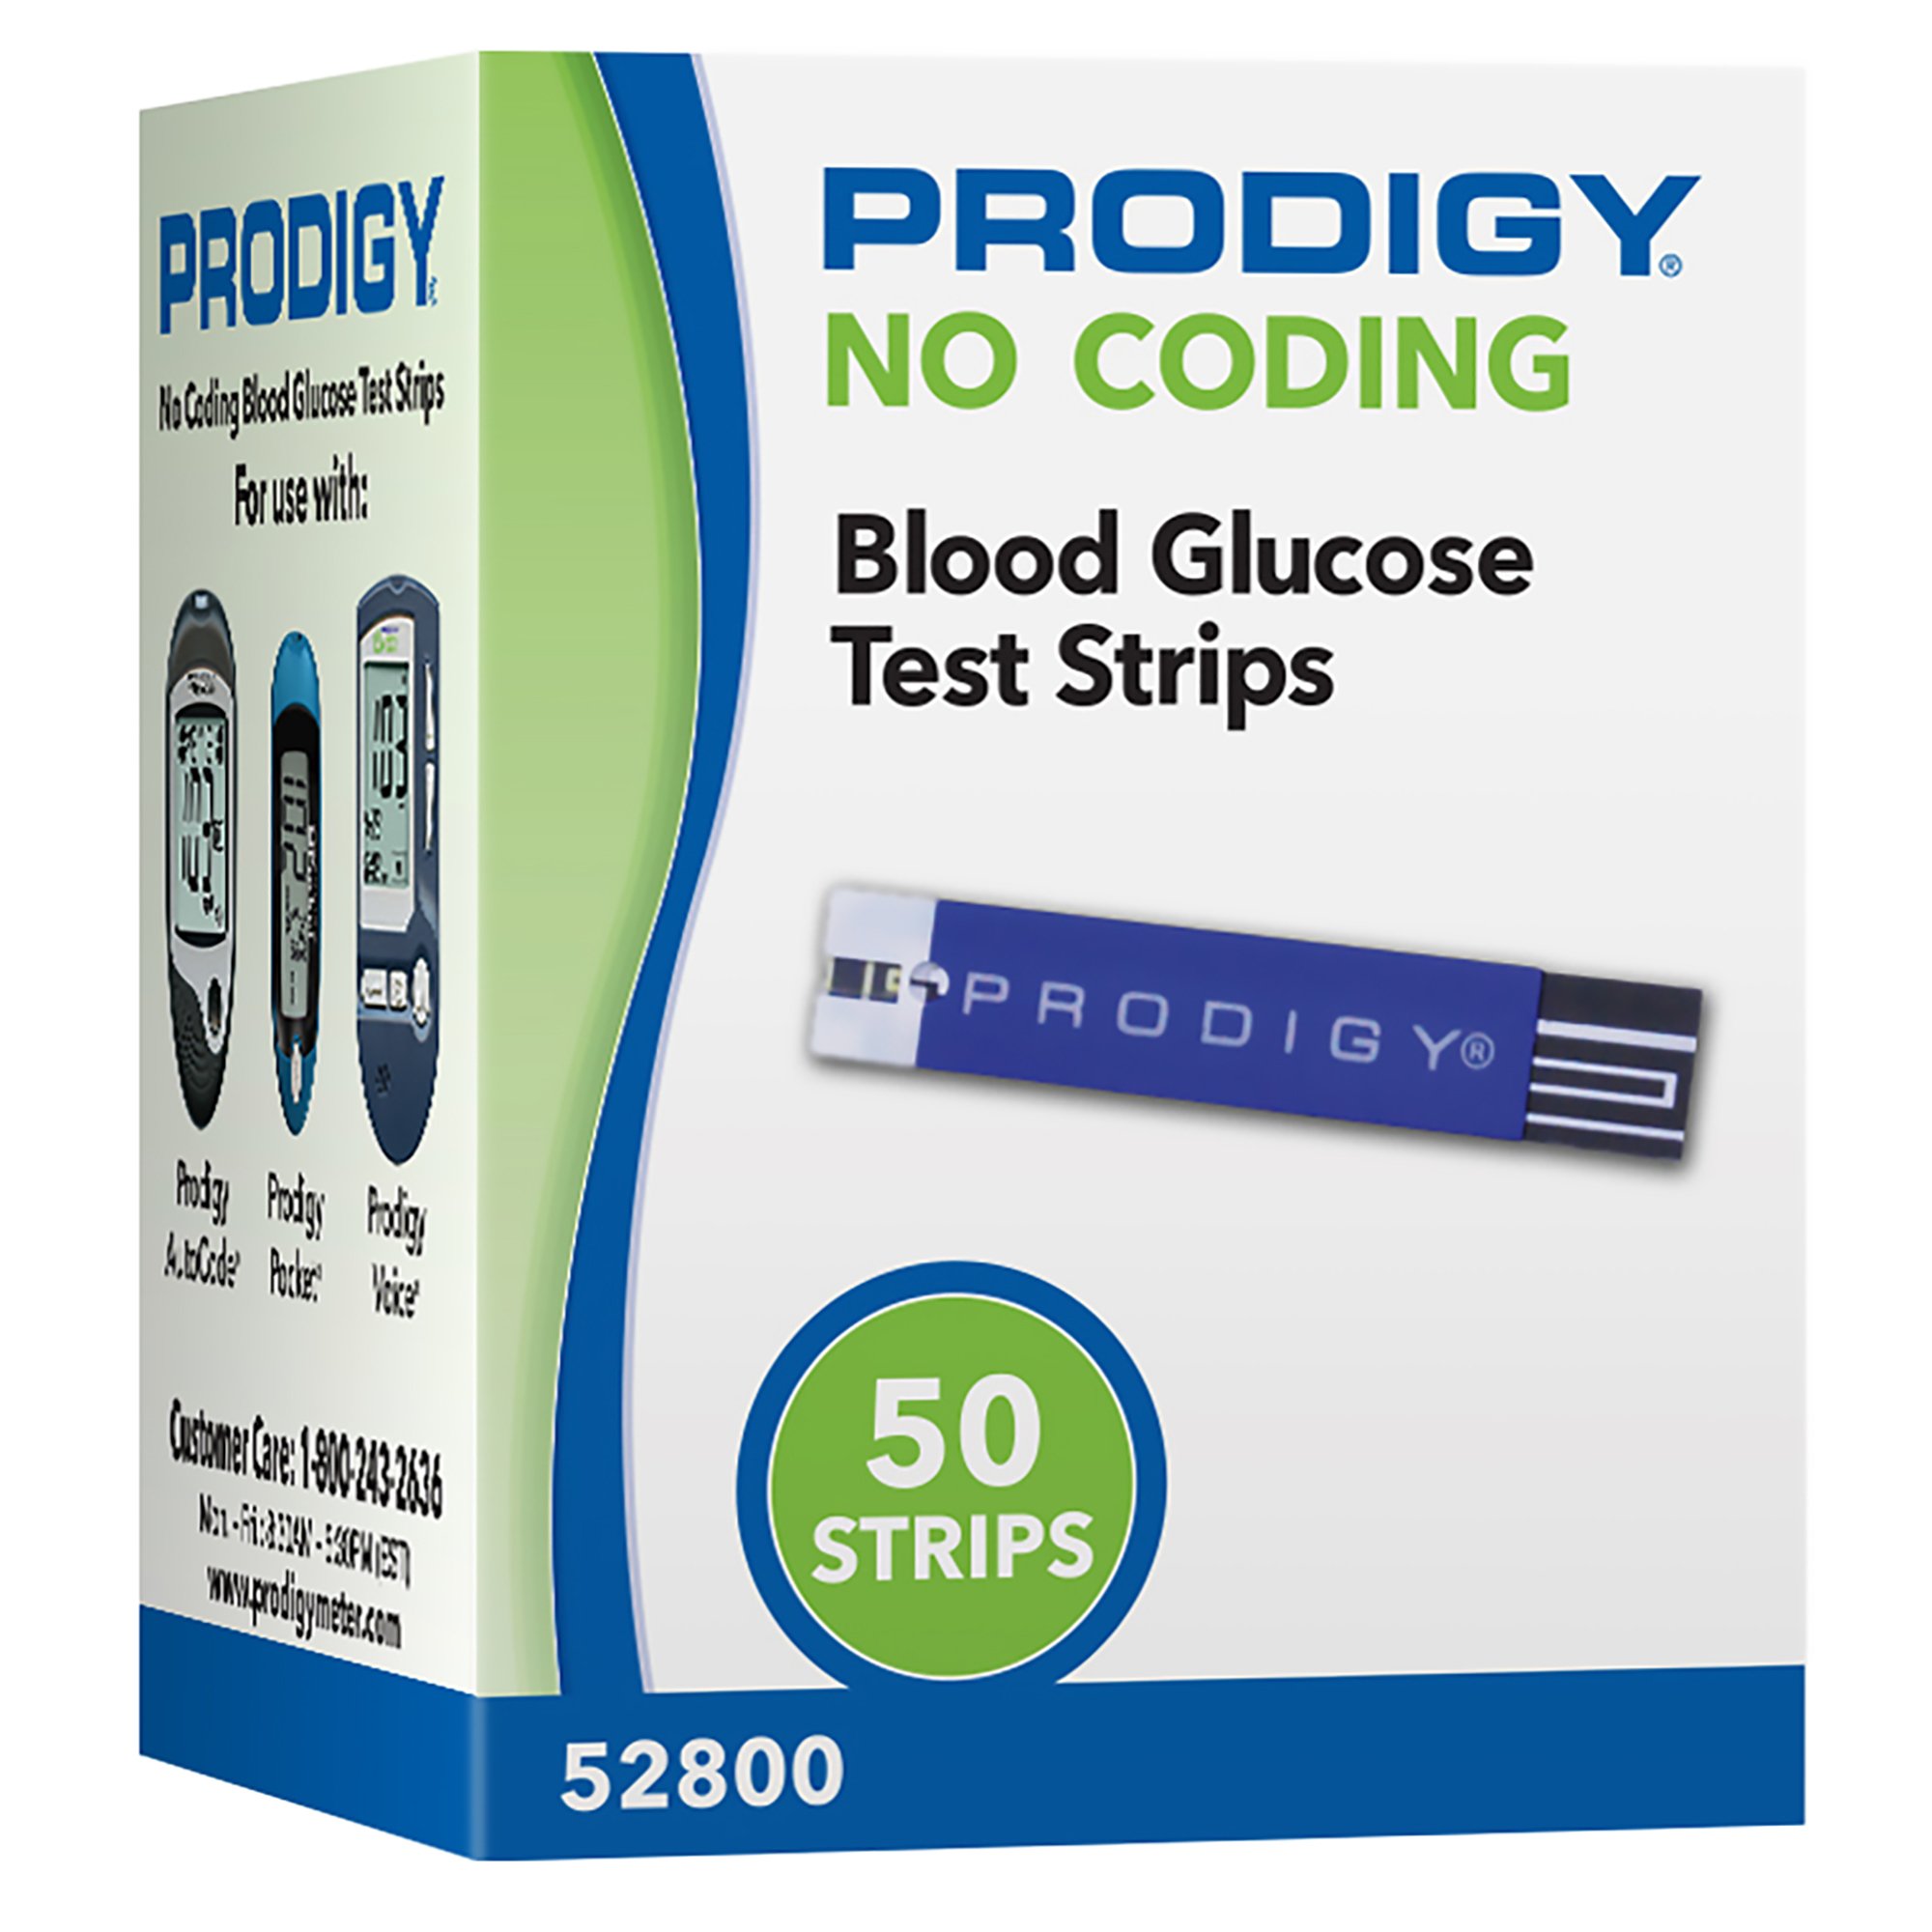
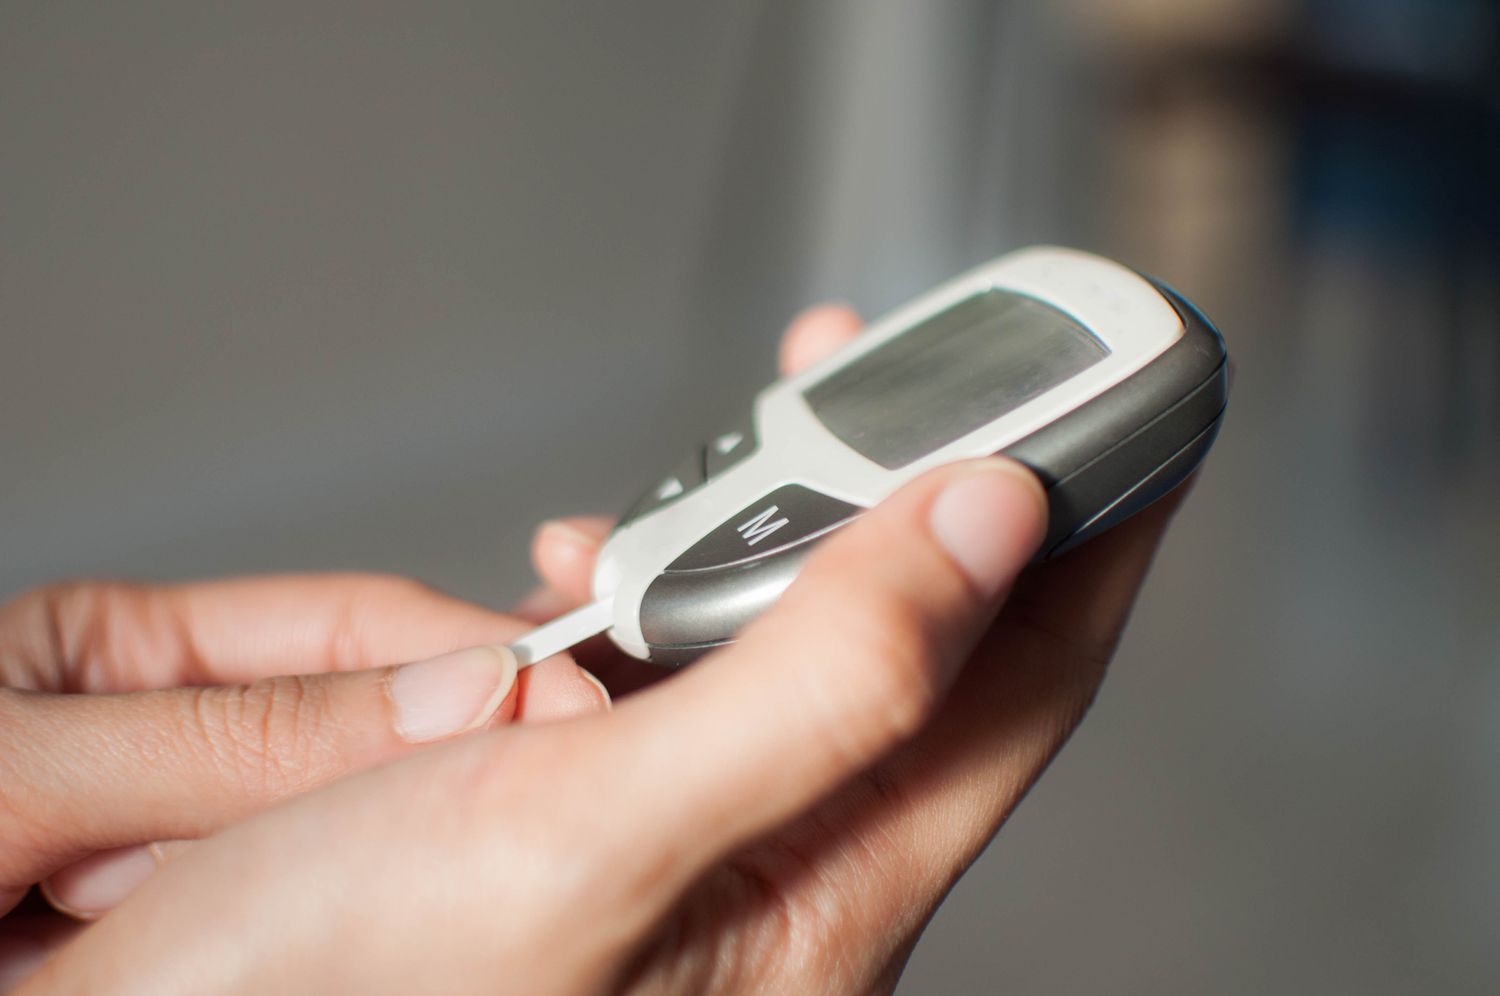
The main components of a glucose monitor include the meter itself, lancets, and test strips. The meter is a handheld device that displays the blood sugar readings. It typically has a screen, buttons for navigation, and a slot to insert the test strip. Lancets are small needles used to prick the skin and obtain a blood sample for testing. Test strips are thin strips that, when inserted into the meter, come into contact with the blood sample and provide the glucose reading.
Glucose monitors work by utilizing a technology called glucose oxidase. When blood comes into contact with the test strip, an enzyme in the strip reacts with glucose in the blood. This reaction produces an electrical current that the meter detects and converts into a numerical value, indicating the blood sugar level. The reading is usually displayed in milligrams per deciliter (mg/dL) or millimoles per liter (mmol/L), depending on the country.
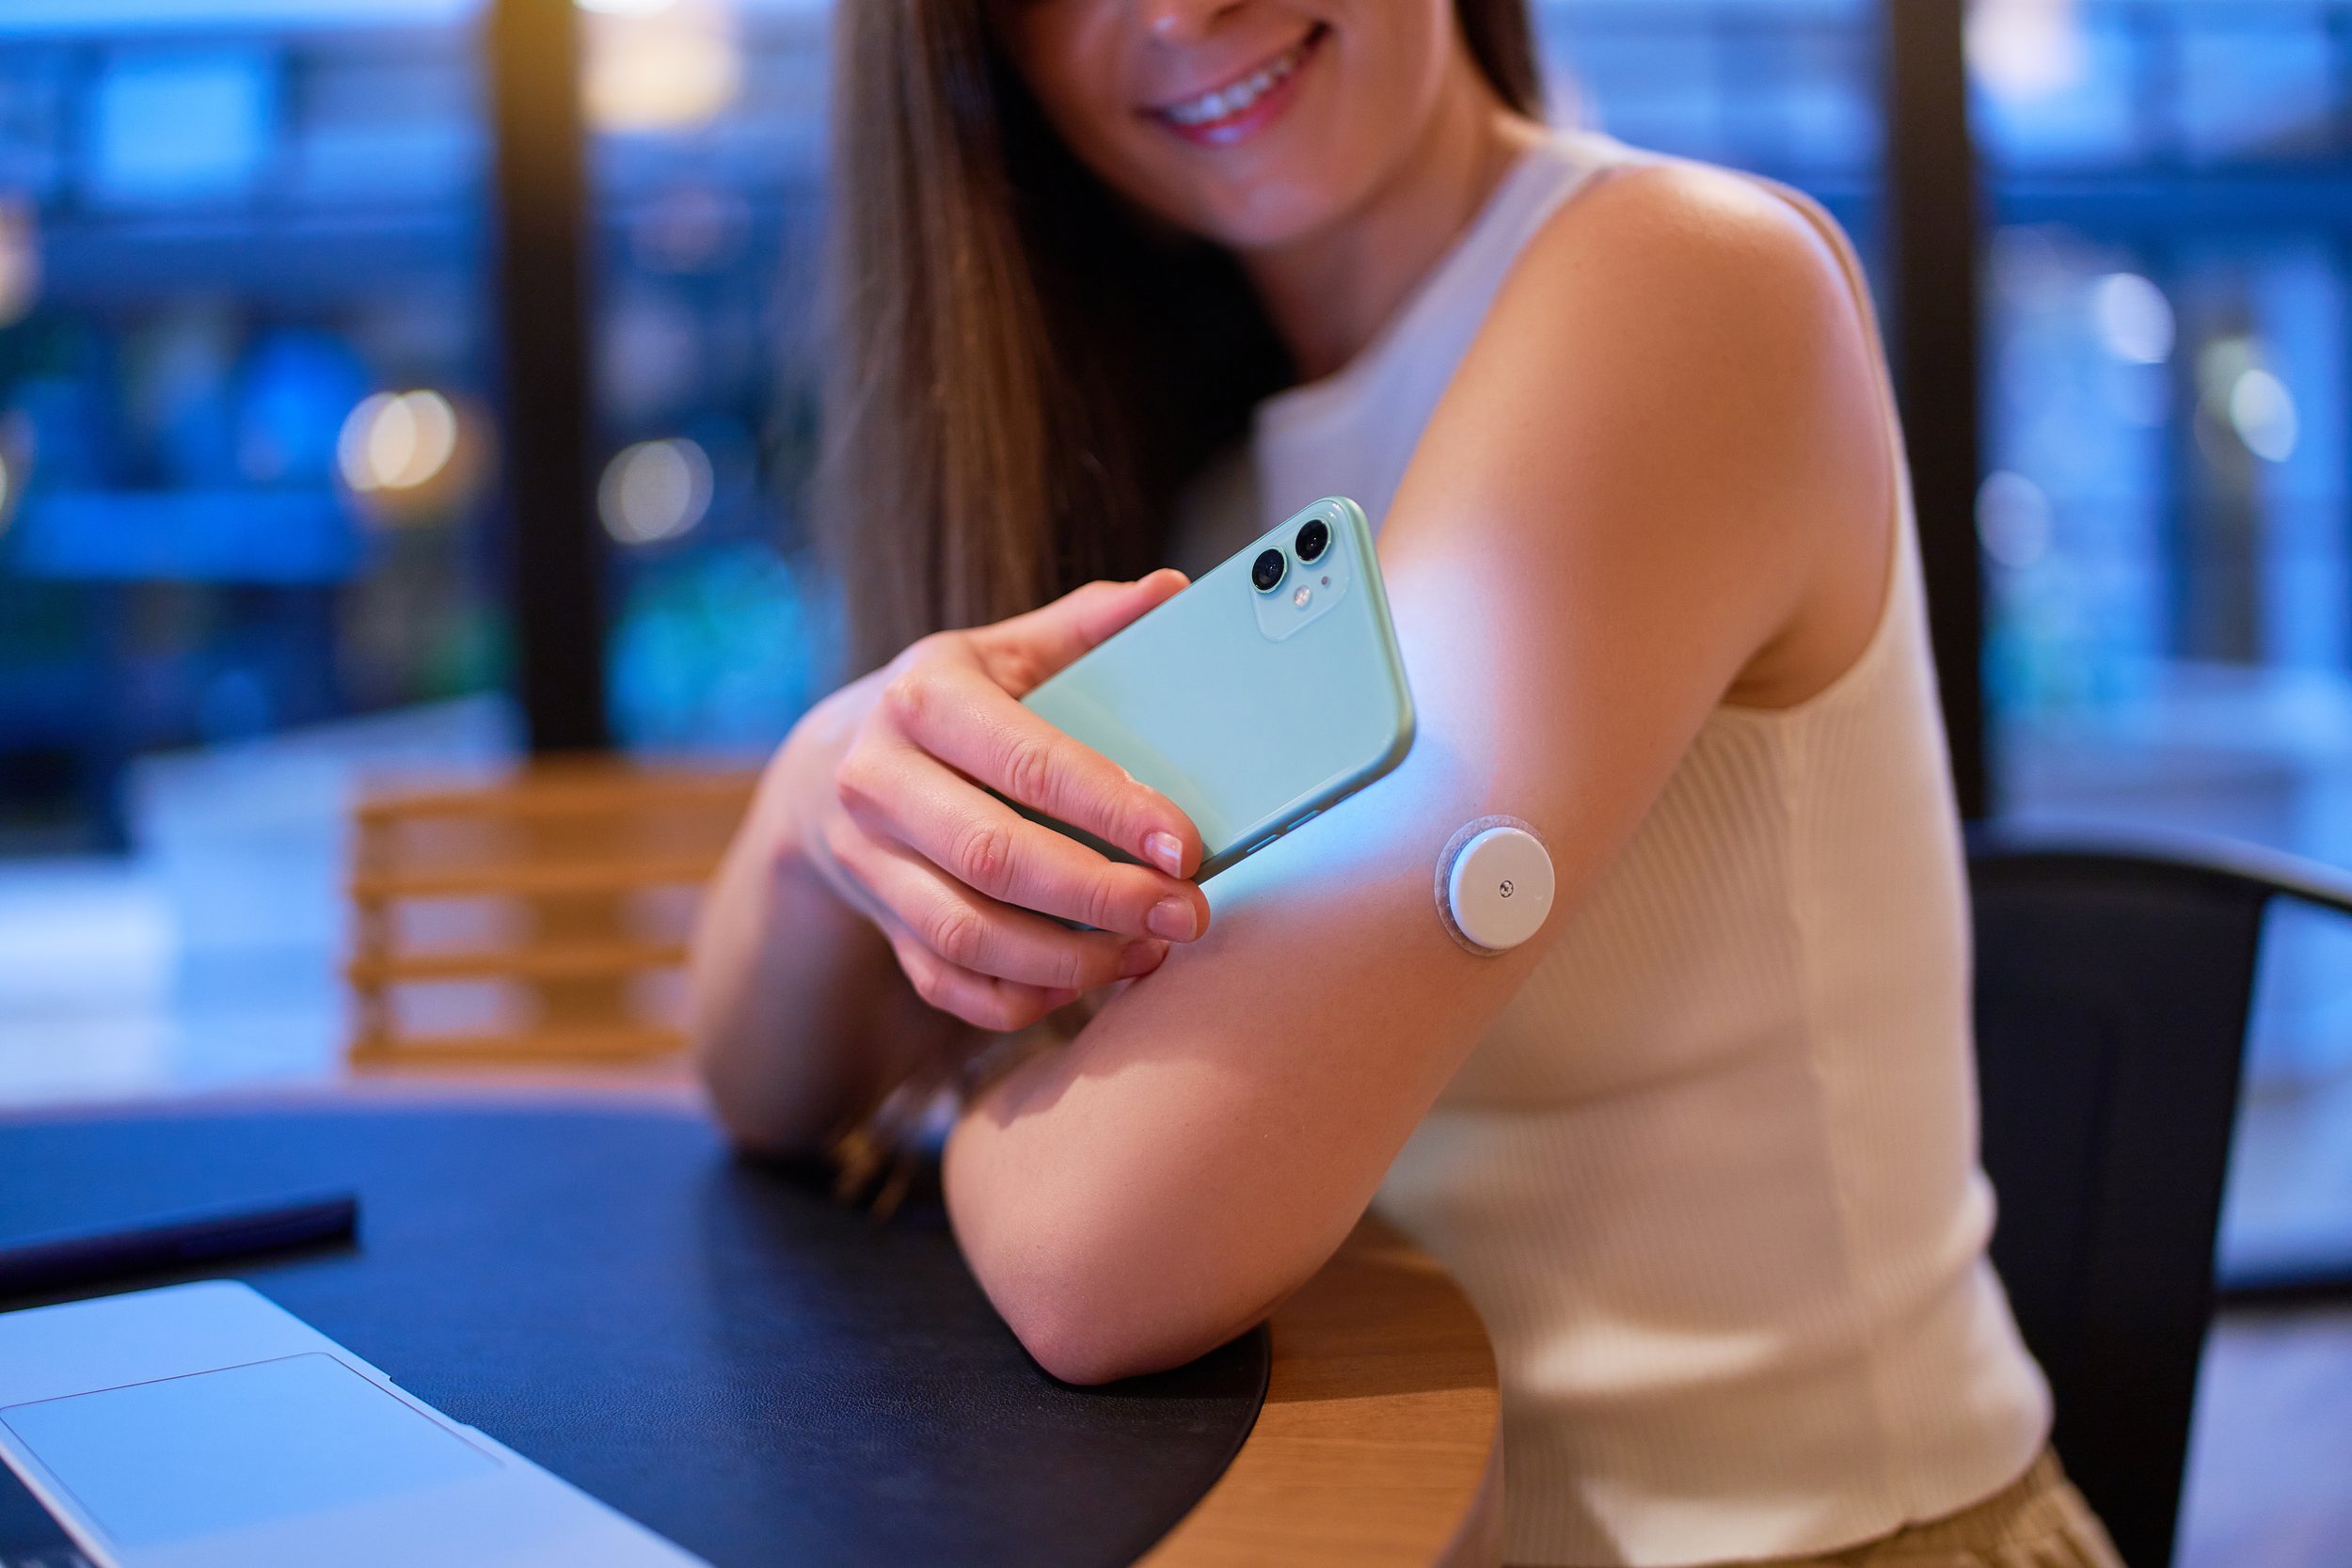
Modern glucose monitors are designed to be user-friendly, with features like backlighting for easy reading in dim lighting and large display screens for individuals with visual impairments. Some models also come with memory storage, allowing you to track and analyze your glucose levels over time. Additionally, smartphone apps are available that can sync with certain glucose monitors, providing seamless data transfer and convenient tracking.
It is important to note that glucose monitors are designed for personal use and should not replace regular visits to your healthcare provider. While they provide valuable information about your blood sugar levels, other tests, such as HbA1c, are necessary to assess long-term blood glucose control.
In the next section, we will explore the reasons why using a glucose monitor is essential for individuals with diabetes.
Why Use a Glucose Monitor?
Using a glucose monitor is an essential tool for individuals with diabetes. Here are several reasons why monitoring your blood glucose levels regularly is crucial for effective diabetes management:
1. Control and Management: Monitoring your blood glucose levels allows you to gain better control over your diabetes. By regularly checking your levels, you can make informed decisions about your diet, exercise, and medication. This helps to prevent episodes of high or low blood sugar and reduces the risk of complications.
2. Identifying Patterns and Triggers: Glucose monitoring helps you identify patterns in your blood sugar levels. By monitoring consistently and keeping a record, you can identify how certain foods, activities, and medications affect your blood glucose. This knowledge allows you to make adjustments to your diabetes management plan and take proactive measures to maintain stable blood sugar levels.
3. Adjusting Medications: Glucose monitoring helps you determine whether your current medications are effective in managing your blood sugar levels. If you notice consistently high or low readings, it may indicate the need for medication adjustments. This information can be shared with your healthcare provider for appropriate medication management.
4. Preventing Complications: Monitoring your blood glucose levels can help prevent short-term complications such as diabetic ketoacidosis (DKA) and hypoglycemia. It also plays a critical role in preventing long-term complications like nerve damage, kidney disease, and cardiovascular problems. By keeping your blood sugar levels within a target range, you can minimize the risk of these complications.
5. Improving Quality of Life: With regular glucose monitoring, you can gain a better understanding of how your body responds to various factors. This knowledge empowers you to make positive changes in your lifestyle, such as making healthier food choices and incorporating regular exercise. By managing your diabetes effectively, you can improve your overall health and quality of life.
6. Motivation and Accountability: Glucose monitoring provides visual feedback on how your daily choices impact your blood glucose levels. Seeing the direct impact of your actions can motivate you to continue making healthy choices and staying consistent with your diabetes management routine.
7. Guidance for Healthcare Providers: Glucose monitoring data can be shared with your healthcare provider during check-ups or consultations. The information can help them assess the effectiveness of your current treatment plan, make necessary adjustments, and provide personalized recommendations for better diabetes management.
Remember, glucose monitoring should be done in conjunction with regular visits to your healthcare provider. They can provide guidance on setting target ranges for your blood glucose levels and offer additional support and resources for managing your diabetes effectively.
Now that we understand the importance of glucose monitoring, let’s delve into the step-by-step process of using a glucose monitor in the next section.
Step-by-Step Guide to Using a Glucose Monitor
Using a glucose monitor may seem daunting at first, but with a little practice, it becomes a routine part of managing your diabetes. Here is a step-by-step guide to help you use a glucose monitor effectively:
1. Wash your hands: Start by washing your hands thoroughly with soap and warm water. This ensures that your hands are clean and free from any substances that could interfere with the accuracy of your blood glucose reading.
2. Prepare the glucose monitor: Get your glucose monitor ready for testing by inserting a fresh lancet into the lancing device. Check the expiration date of your test strips and make sure they are not damaged or expired. Insert a new test strip into the meter as per the manufacturer’s instructions.
3. Prepare the lancing device: Adjust the depth setting of the lancing device based on your comfort level and the instructions provided with your device. A shallower setting is typically used for sensitive skin, while a deeper setting might be necessary for calloused or thick skin.
4. Select the testing site: Choose a testing site on your fingertip or an alternate site, such as your forearm or upper arm, as recommended by your healthcare provider. Clean the testing site with an alcohol swab if necessary, and allow it to dry completely.
5. Prick your finger: Position the lancing device against the selected testing site and press the release button to obtain a blood sample. Gently squeeze your finger to encourage blood flow, but avoid excessive pressure, as it can affect the accuracy of the reading.
6. Apply the blood sample: Touch the edge of the test strip to the blood sample, allowing it to absorb the required amount of blood as indicated on the test strip packaging or the meter’s screen. Avoid smearing or wiping the blood on the strip.
7. Wait for the result: The meter will display a countdown or progress bar indicating that it is processing the sample. Within a few seconds, the meter will display your blood glucose reading on the screen.
8. Record the result: Make a note of your blood glucose reading in a logbook, smartphone app, or any other tracking method suggested by your healthcare provider. This will help you track your progress over time and identify patterns or trends in your blood sugar levels.
9. Dispose of the lancet and test strip: Safely discard the used lancet and test strip in a designated sharps container or as per your local regulations. Follow the manufacturer’s instructions for proper disposal.
10. Review and interpret the results: Compare your blood glucose reading to your target range as advised by your healthcare provider. If your reading is outside the target range, take appropriate action based on your healthcare provider’s guidance. This could involve adjusting your medication, modifying your diet, or contacting your healthcare provider for further instructions.
By following these steps consistently and maintaining a regular glucose monitoring routine, you can stay in control of your diabetes and make informed decisions regarding your diabetes management plan.
In the next section, we will discuss how to properly prepare your glucose monitor for accurate blood glucose testing.
Preparing Your Glucose Monitor
Before using your glucose monitor for blood glucose testing, it’s important to ensure that it is properly prepared. Follow these steps to ensure accurate and reliable results:
1. Check the expiration date: Look for the expiration date on your test strips and ensure they are not expired. Using expired test strips can lead to inaccurate readings.
2. Inspect the test strips: Examine the test strip container for any signs of damage or moisture. Damaged or compromised test strips may provide inaccurate results. If you notice any such signs, discard the damaged strips and use a new container.
3. Prepare the lancet: Make sure you have a new, sterile lancet ready for use. Check that the lancet is securely inserted into the lancing device, following the manufacturer’s instructions.
4. Calibrate the meter: Some glucose meters require calibration. Check the manufacturer’s instructions to determine if your meter needs calibration and follow the provided steps, if applicable.
5. Set up the meter: Ensure the meter is turned on and functioning properly. If it requires batteries, check that they are charged or replace them if necessary.
6. Clean the meter: It’s a good practice to clean the meter regularly, especially the areas that come into contact with your fingers. Use a soft, dry or slightly damp cloth to gently clean the surface of the meter.
7. Review the user manual: Familiarize yourself with the specific instructions for your glucose monitor by carefully reading the user manual. It provides important information on features, operation, and maintenance of the device.
8. Store the glucose monitor properly: Follow the manufacturer’s instructions for storing your glucose monitor in a clean, dry, and safe place. Avoid exposing the device to extreme temperatures or excessive moisture.
9. Perform a control test: Control tests are recommended periodically to ensure the accuracy of your glucose monitor. Follow the instructions provided with your glucose monitor to conduct a control test using a control solution. Compare the result to the expected range provided with the solution to verify the accuracy of your meter.
By taking the time to properly prepare your glucose monitor, you can ensure that your blood glucose readings are reliable and accurate. This will enable you to make informed decisions regarding your diabetes management. In the next section, we will discuss how to prepare yourself for blood glucose testing to ensure accurate results.
Preparing Yourself for Testing
Preparing yourself before blood glucose testing is essential to ensure accurate and consistent results. Follow these steps to adequately prepare yourself for testing:
1. Wash your hands: Start by washing your hands thoroughly with soap and warm water. This helps to remove any dirt, food particles, or substances that could affect the accuracy of your blood glucose reading.
2. Choose the testing site: Depending on your healthcare provider’s recommendation and personal preference, select the testing site. The fingertip is a commonly used site, but you may also opt for alternative sites like the forearm or upper arm. It’s important to rotate testing sites to avoid discomfort and maintain accuracy.
3. Prepare the testing site: Clean the selected testing site with an alcohol swab, if instructed or preferred by your healthcare provider. Allow the area to dry completely before proceeding with the blood glucose testing. Avoid using alcohol wipes that contain lotions or fragrances, as they can interfere with the accuracy of the test result.
4. Warm your hands: If your hands are cold, warm them up by rubbing them together or running them under warm water for a few moments. Cold hands may hinder blood flow and make it challenging to obtain an adequate blood sample.
5. Relax and destress: Blood glucose testing can be nerve-wracking for some individuals, which can affect blood sugar levels. Take a moment to relax and destress before testing to minimize any potential impact on your blood glucose reading.
6. Ensure proper lighting: Adequate lighting is essential for a clear and accurate blood sample reading. Choose a well-lit area or consider using a lamp or flashlight to provide additional illumination if needed.
7. Keep supplies within reach: Organize your testing supplies in a convenient and accessible location. This ensures that everything you need, including the glucose monitor, lancets, and test strips, is readily available when it’s time to test your blood glucose.
8. Follow the manufacturer’s instructions: Always follow the manufacturer’s instructions provided with your glucose monitor for precise steps on testing, including inserting test strips, using the lancing device, and interpreting the meter’s display.
Remember to discuss any specific guidelines or variations with your healthcare provider. They may provide additional recommendations tailored to your unique situation, such as fasting or specific timing for tests.
By properly preparing yourself for blood glucose testing, you can ensure more accurate and consistent results. In the next section, we will walk you through the step-by-step process of performing a blood glucose test using your glucose monitor.
Performing the Blood Glucose Test
Performing a blood glucose test using your glucose monitor is a straightforward process when following these step-by-step instructions:
1. Prepare your glucose monitor: Ensure that your glucose monitor is turned on and ready for use. Insert a fresh lancet into the lancing device and make sure the test strips are not expired or damaged.
2. Choose a testing site: Select the desired testing site, such as the fingertip or an alternate site as recommended by your healthcare provider. Avoid areas with visible scars, bruises, or calluses.
3. Prepare the testing site: Clean the testing site with an alcohol swab if instructed or preferred by your healthcare provider. Allow the area to completely dry before proceeding with the blood glucose test.
4. Load the lancet: Load the lancing device by following the manufacturer’s instructions. Adjust the depth setting based on your comfort level and the specific device’s guidelines.
5. Prick your finger: Position the loaded lancing device against the chosen testing site and press the release button to obtain a small drop of blood. Gently squeeze your finger to encourage blood flow, but avoid excessive pressure.
6. Collect the blood sample: Touch the edge of the test strip to the droplet of blood, allowing it to draw the required amount of blood into the strip. Ensure that the strip is properly inserted into the glucose meter.
7. Wait for the result: The meter will analyze the blood sample and display your blood glucose reading on the screen. Follow the specific glucose meter’s instructions for the duration of the test process.
8. Record the result: It’s important to log your blood glucose reading in a recordkeeping tool recommended by your healthcare provider. This allows you to track your blood sugar levels over time.
9. Dispose of used lancet and test strip: Safely dispose of the used lancet and test strip according to local regulations and guidelines for the disposal of biohazardous materials.
10. Review the result: Assess the blood glucose reading in relation to your target range as specified by your healthcare provider. If the result falls outside the target range, follow your diabetes management plan and consult with your healthcare provider for further guidance.
Remember to maintain good hygiene throughout the process by washing your hands before and after performing the test. This helps prevent infections and ensures accuracy in your readings. If you have any concerns or questions about the testing process, don’t hesitate to consult with your healthcare provider or diabetes educator for clarification or additional guidance.
In the next section, we will discuss how to interpret and make the best use of the results obtained from your blood glucose testing.
Interpreting the Results
Interpreting the results of your blood glucose testing is an important step in understanding your diabetes management. Here are some key points to consider when interpreting your blood glucose readings:
1. Target Range: Each individual may have a different target range for their blood glucose levels. Consult with your healthcare provider to determine your specific targets based on factors such as age, overall health, and type of diabetes.
2. Normal Range: In general, a normal blood glucose range for individuals without diabetes is typically between 70 – 99 mg/dL (3.9 – 5.5 mmol/L) when fasting and below 140 mg/dL (7.8 mmol/L) two hours after eating.
3. Low Blood Sugar (Hypoglycemia): If your blood glucose reading is below your target range, you may be experiencing hypoglycemia. Symptoms can include dizziness, sweating, confusion, and weakness. Treat hypoglycemia immediately by consuming a fast-acting source of glucose, such as fruit juice or glucose gel, as advised by your healthcare provider.
4. High Blood Sugar (Hyperglycemia): If your blood glucose reading is consistently above your target range, you may be experiencing hyperglycemia. Symptoms can include excessive thirst, frequent urination, fatigue, and blurred vision. Consult with your healthcare provider to adjust your diabetes management plan, such as medication dosages or dietary changes, to bring your blood glucose levels back within the target range.
5. Patterns and Trends: Analyzing trends in your blood glucose readings over time is crucial for effective diabetes management. Look for patterns such as consistently high or low readings during specific times of the day, before or after meals, or in response to certain activities. This information can help you identify triggers and make appropriate adjustments to your diabetes management plan.
6. Consult with Your Healthcare Provider: Share your blood glucose readings with your healthcare provider during regular appointments or as directed. They can help you interpret and analyze the results, make any necessary adjustments to your treatment plan, and offer guidance to achieve better blood glucose control.
7. Use Tracking Tools: Utilize tracking tools such as logbooks, smartphone apps, or glucose monitoring software to record and monitor your blood glucose readings consistently. These tools can help you visualize trends and identify areas for improvement.
Remember, blood glucose monitoring provides a snapshot of your blood sugar levels at a specific moment. It’s important to consider other factors such as overall health, stress levels, medication changes, and lifestyle choices when evaluating your diabetes management. Regular communication with your healthcare provider is key to ensure that your treatment plan is effectively guiding you towards optimal blood glucose control.
In the next section, we will provide some tips to help you ensure accurate and reliable glucose monitoring results.
Tips for Accurate Glucose Monitoring
Accurate glucose monitoring is crucial for effective diabetes management. Here are some tips to ensure accurate and reliable blood glucose readings:
1. Follow Manufacturer’s Instructions: Familiarize yourself with the instructions provided by the manufacturer for your glucose monitor. Each device may have specific guidelines, such as inserting test strips correctly, using the appropriate control solution, and properly maintaining the device.
2. Use Fresh Test Strips: Ensure that you are using test strips that are not expired or damaged. Expired or compromised test strips may provide inaccurate readings. Store them in a cool, dry place and avoid exposing them to extreme temperatures or humidity.
3. Properly Calibrate the Meter (if required): Some glucose meters require calibration. If your meter needs calibration, follow the instructions provided by the manufacturer to ensure accurate readings. Remember to recalibrate as recommended by the manufacturer.
4. Keep the Meter Clean: Regularly clean the meter using a soft, dry or slightly damp cloth. Avoid using harsh chemicals or abrasive materials that could damage the device. Keeping the meter clean helps maintain its accuracy and functionality.
5. Wash Hands Thoroughly: Before testing, wash your hands with soap and warm water to remove any substances that may interfere with the accuracy of your blood glucose reading.
6. Warm Your Hands: If your hands are cold, warm them up by rubbing them together or placing them under warm water. Cold hands can affect blood flow and may make it challenging to obtain an adequate blood sample.
7. Rotate Testing Sites: If you frequently test on the same finger, it may become less sensitive or calloused over time. Rotate testing sites to different fingers or alternate sites as recommended by your healthcare provider to ensure accuracy and minimize discomfort.
8. Perform Control Tests: Regularly perform control tests using a control solution provided by the manufacturer to ensure the accuracy and reliability of your glucose monitor. Follow the instructions provided to properly conduct control tests.
9. Keep a Logbook: Maintain a logbook or use a smartphone app to record your blood glucose readings along with other relevant details such as food intake, medication, exercise, and any notable factors. This helps you identify patterns and discuss them with your healthcare provider.
10. Consult with Your Healthcare Provider: Regularly discuss your blood glucose readings and any concerns with your healthcare provider. They can help you interpret the results, identify areas for improvement, and recommend appropriate adjustments to your diabetes management plan.
Remember, while glucose monitoring provides valuable information, it is just one part of managing your diabetes. It’s important to integrate the results with other factors such as your overall health, lifestyle choices, and advice from your healthcare provider to effectively manage your blood glucose levels.
In the concluding section, we will summarize the importance of accurate glucose monitoring and the overall effectiveness in managing diabetes.
Conclusion
Accurate and regular glucose monitoring is an essential aspect of effective diabetes management. Using a glucose monitor allows individuals with diabetes to gain valuable insight into their blood sugar levels and make informed decisions about their lifestyle, diet, and medication. By following a step-by-step guide and preparing both the glucose monitor and oneself for testing, accurate blood glucose readings can be obtained.
Glucose monitoring provides several benefits, including better control and management of diabetes, identification of patterns and triggers, adjustment of medications, prevention of complications, and overall improvement in the quality of life. It serves as a motivator and accountability tool, while also providing valuable guidance for healthcare providers to tailor treatment plans.
Interpreting the results of blood glucose testing is crucial to understanding your diabetes management. Considering factors such as target range, normal range, patterns, and trends helps in making informed decisions about lifestyle modifications, medication adjustments, and further consultations with healthcare providers.
To ensure accurate glucose monitoring, following manufacturer’s instructions, using fresh test strips, properly calibrating the meter (if required), keeping the meter clean, washing hands thoroughly, rotating testing sites, and performing control tests are important. Logbooks and consultations with healthcare providers provide a comprehensive view and guidance on diabetes management.
Remember, managing diabetes requires a holistic approach and regular communication with your healthcare provider. Glucose monitoring is a valuable tool, but it should be complemented by healthy lifestyle choices, medication adherence, regular exercise, and proper nutrition.
By incorporating accurate glucose monitoring into your diabetes management routine, you can gain better control over your blood sugar levels, reduce the risk of complications, and lead a healthier and more fulfilling life.