Introduction
3D scanning technology has revolutionized various industries, allowing for the precise and detailed capture of physical objects and environments. Whether you’re a designer looking to create highly accurate models, an architect needing to capture real-world dimensions, or a researcher studying ancient artifacts, a 3D scanner can be an invaluable tool in your arsenal.
In this article, we’ll explore the world of 3D scanners, uncovering their inner workings, different types available, and how to choose the right one for your specific needs. We’ll also delve into the process of setting up and using a 3D scanner, as well as some best practices to ensure successful and high-quality scans.
With the advent of 3D printers and the growing demand for digitized objects, 3D scanning has become increasingly popular. It allows for the creation of digital replicas of physical objects, which can then be modified, analyzed, or even recreated in the virtual world. This technology has applications in fields as diverse as product design, entertainment, medicine, forensics, and heritage preservation.
But what exactly is a 3D scanner and how does it work? A 3D scanner is a device that captures the geometry, shape, and appearance of objects using various techniques such as laser, structured light, or photogrammetry. It creates a digital representation of the physical object, which can be further processed and manipulated using specialized software.
Before diving into the technical aspects of 3D scanning, it’s important to understand the different types of 3D scanners available in the market. These can be broadly categorized into contact and non-contact scanners. Contact scanners physically touch the object being scanned, while non-contact scanners use methods such as laser or light projection to capture the object’s surface without any physical contact.
Now that we have a basic understanding of 3D scanning, let’s explore in detail how these devices work, the different types available, and how to choose the best 3D scanner for your specific requirements.
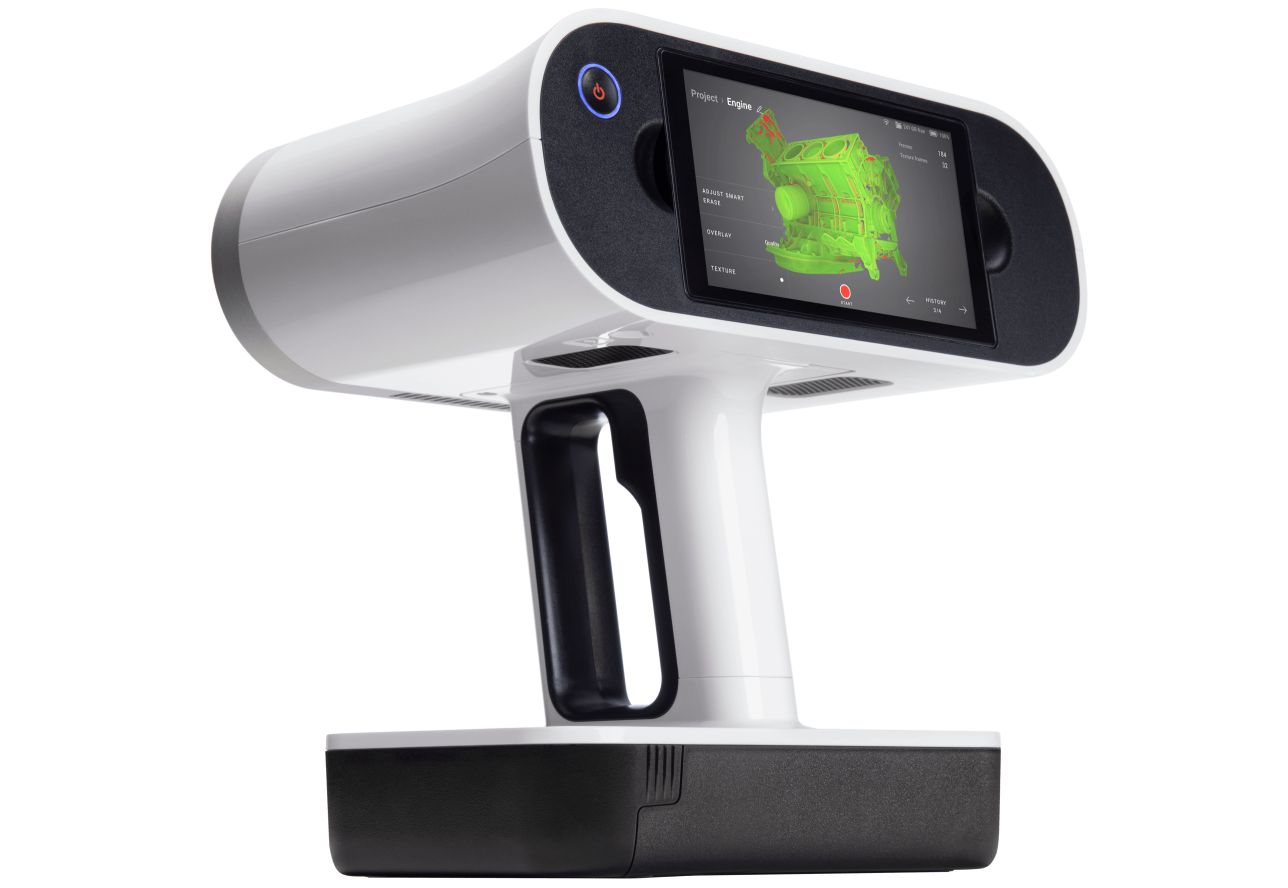
What is a 3D Scanner?
A 3D scanner is a device that captures the geometry, shape, and appearance of physical objects and converts them into digital models. It allows you to create highly detailed and accurate representations of real-world objects, which can be used for various purposes such as visualization, prototyping, analysis, and documentation.
Unlike traditional 2D scanners, which only capture the surface of an object, 3D scanners capture the three-dimensional structure, enabling you to explore the object from all angles and even measure its dimensions with precision. This is particularly useful in industries such as manufacturing, architecture, and healthcare, where accurate measurements and representations are crucial.
There are several technologies used in 3D scanning, each with its own advantages and limitations. Some of the common methods include:
- Laser scanning: Laser scanners emit laser beams that bounce off the object’s surface, measuring the distance and shape of the object based on the reflection pattern. This method is highly accurate and suitable for capturing intricate details.
- Structured light scanning: Structured light scanners project a patterned light onto the object’s surface and capture its deformation, allowing for the reconstruction of a 3D model. This method is fast and can be used for large objects.
- Photogrammetry: Photogrammetry involves capturing multiple photographs of an object from different angles and using software algorithms to analyze the images and generate a 3D model. This method is cost-effective and can be done using a regular camera or smartphone.
Depending on the specific requirements of your project, you can choose the most suitable 3D scanning method. Factors such as object size, complexity, desired level of detail, and budget will influence your decision.
Once the 3D scanner captures the object’s geometry, it generates a point cloud, which is a collection of millions of data points that represent the surface of the object. These data points can then be processed using specialized software to create a 3D mesh or solid model, which can be further refined and edited as per your requirements.
Now that we have a basic understanding of what a 3D scanner is and how it works, let’s explore the different types of 3D scanners available and how to choose the right one for your specific needs.
How does a 3D Scanner Work?
A 3D scanner works by capturing the physical attributes of an object and converting them into a digital format. It uses various techniques and technologies to accurately measure the shape, size, and appearance of the object.
One of the most common methods used in 3D scanning is laser scanning. Laser scanners emit laser beams onto the object’s surface and measure the time it takes for the beam to bounce back. By calculating the distance between the scanner and the object at multiple points, the scanner creates a point cloud, which is a collection of 3D data points that represent the surface of the object.
Another method used in 3D scanning is structured light scanning. In this method, a patterned light is projected onto the object’s surface. The deformation of the pattern on the object is captured by the scanner and used to determine the shape and geometry of the object. This technique is particularly useful for capturing highly detailed and intricate objects.
Photogrammetry is another popular method used in 3D scanning, especially for smaller objects or when high-resolution scans are required. Multiple photographs of the object are taken from different angles. Specialized software analyzes these images and calculates the position and orientation of the object in 3D space, creating a digital model of the object.
Once the 3D scanner captures the object’s geometry, it processes the data points or images using specialized software to create a 3D model. This model can then be refined, edited, and exported to various formats for further use.
It’s important to note that the accuracy and level of detail of a 3D scan depend on several factors, including the type of scanner used, the resolution of the scan, and the complexity of the object being scanned. High-end professional scanners can capture incredibly detailed scans with sub-millimeter accuracy, while consumer-grade scanners may have some limitations in terms of precision and resolution.
Additionally, the scanning process may require multiple scans from different angles to capture the entire object, especially for larger objects. These individual scans are then merged together using software to create a complete 3D model.
Now that we have an understanding of how 3D scanners work, let’s explore the different types of 3D scanners available and how to choose the right one for your specific needs.
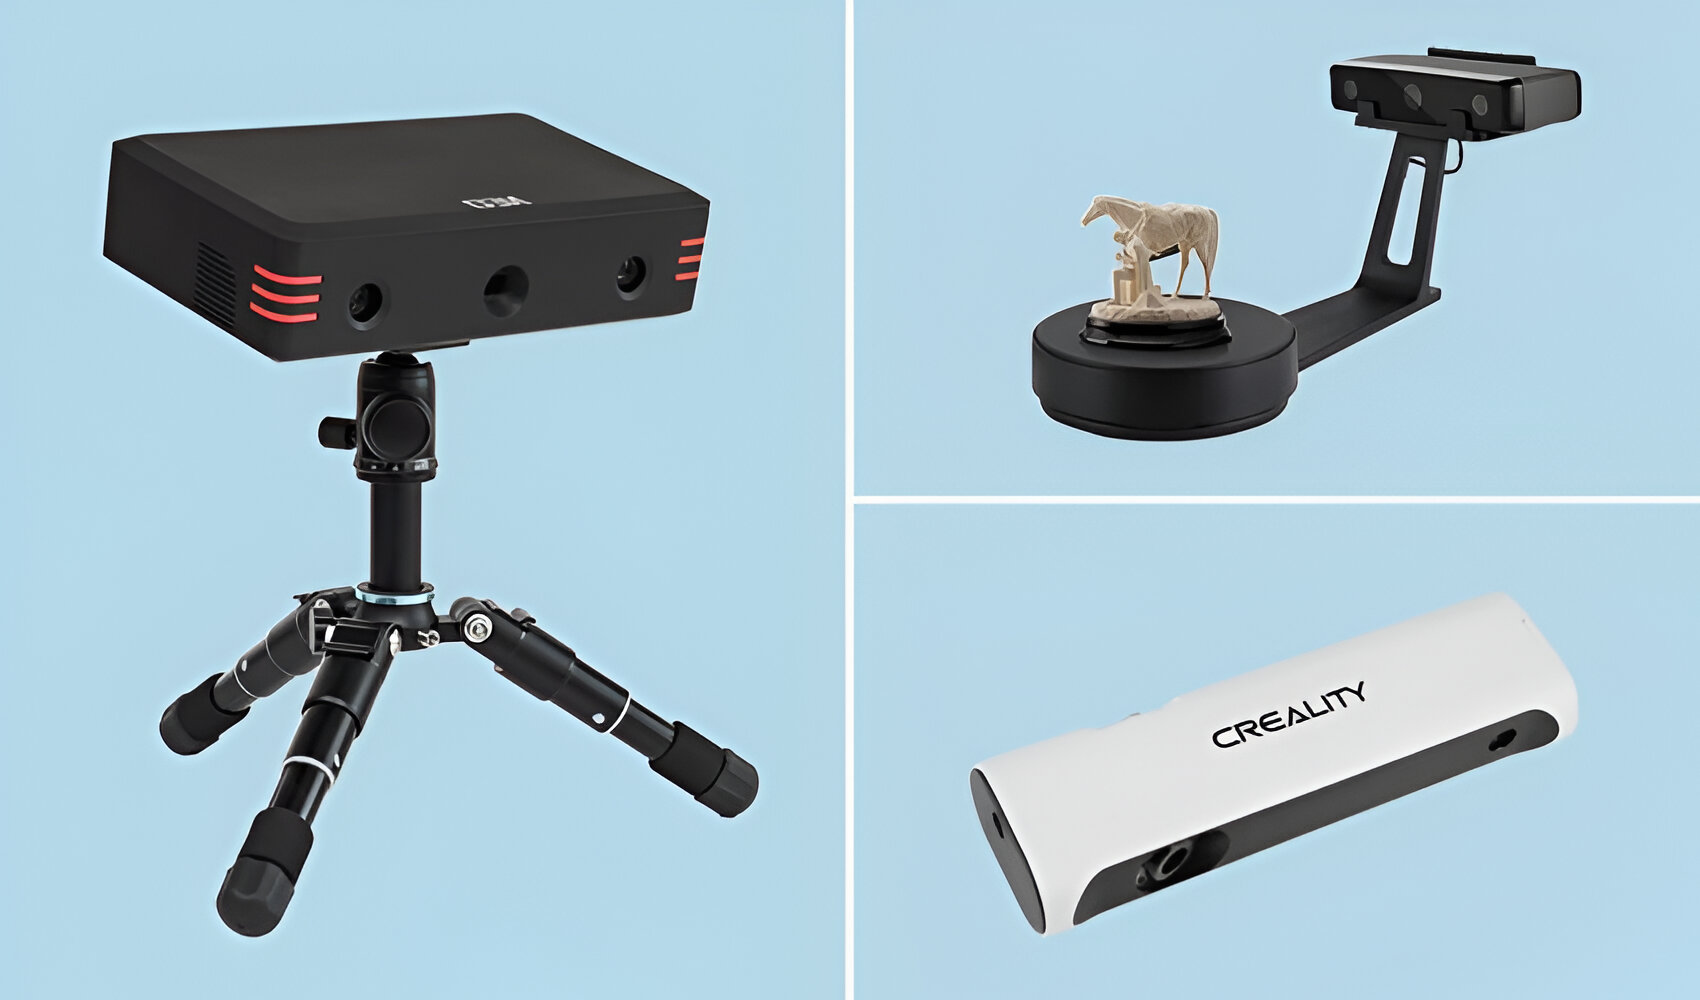
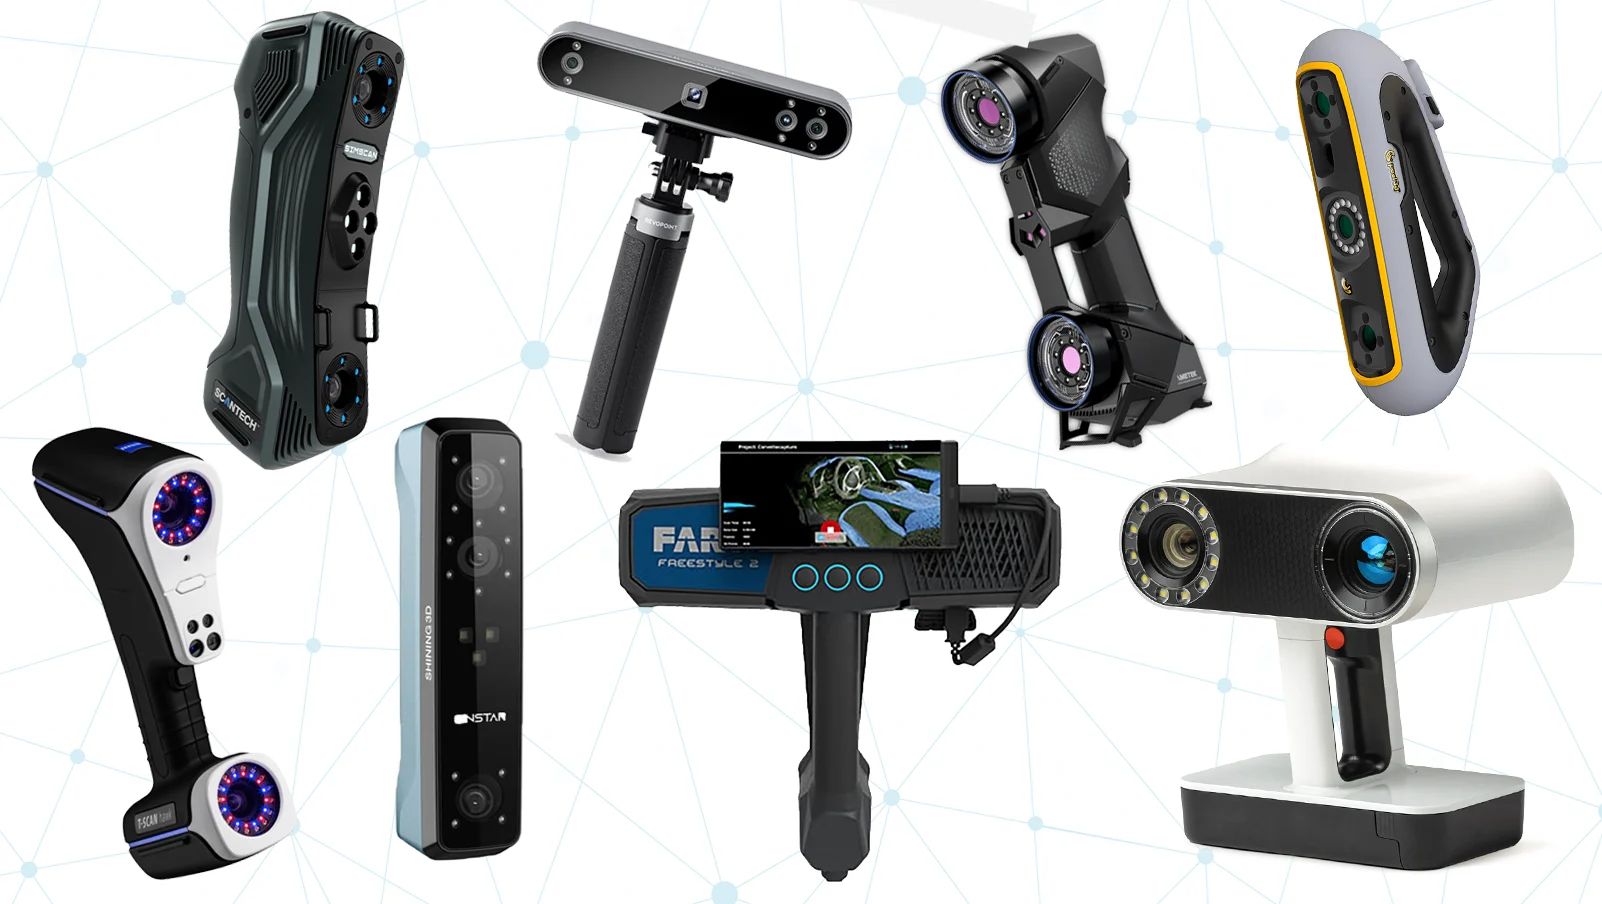
Types of 3D Scanners
3D scanners come in various types, each utilizing different technologies and methods to capture the geometry and appearance of objects. Understanding the different types will help you choose the most suitable scanner for your specific scanning needs.
1. Contact Scanners: Contact scanners physically touch the object being scanned. They use probes or sensors to measure the object’s surface. These scanners are often used in metrology and industrial applications where precise measurements are required. Contact scanners are highly accurate but may require direct access to the object, making them less suitable for scanning delicate or complex surfaces.
2. Non-Contact Scanners:
- Laser Scanners: Laser scanners use laser beams to measure the distance between the scanner and the object’s surface. They emit a laser beam that bounces back, and the time it takes for the beam to return is used to calculate the distance. Laser scanners are known for their high accuracy and are commonly used in industrial and engineering applications.
- Structured Light Scanners: Structured light scanners project a pattern of light onto the object’s surface. By analyzing the deformation of the pattern, the scanner calculates the object’s shape and geometry. Structured light scanners are fast and can capture intricate details, making them ideal for scanning small to medium-sized objects.
- Photogrammetry: Photogrammetry uses multiple photographs of an object taken from different angles to create a 3D model. Specialized software analyzes the photographs and calculates the object’s position and orientation in 3D space. This method is cost-effective and can be used with regular cameras or smartphones, making it accessible to a wide range of users.
3. Time-of-Flight Scanners: Time-of-flight (TOF) scanners measure the time it takes for a laser beam or light pulse to travel from the scanner to the object and back. By calculating the round-trip time, the scanner can determine the distance and create a 3D model. TOF scanners are fast and can capture large objects, but they may have limitations in terms of accuracy and detail compared to other types of scanners.
4. X-Ray Scanners: X-ray scanners use X-ray technology to capture the internal structure of objects. They are commonly used in medical imaging and forensics to scan and visualize the internal components of the human body or objects. X-ray scanners can provide valuable insights into the inner workings of objects but require specialized equipment and expertise.
Choosing the right type of 3D scanner depends on factors such as the size and complexity of the object, the level of detail required, the desired accuracy, and the available budget. It’s important to thoroughly research and understand the capabilities and limitations of each type before making a decision.
Now that we have explored the different types of 3D scanners, let’s move on to the next section, where we will discuss how to choose the right 3D scanner for your specific needs.
Choosing the Right 3D Scanner for Your Needs
When it comes to selecting a 3D scanner, it’s crucial to consider your specific requirements, the intended use of the scanner, and your budget. Here are some factors to consider when choosing the right 3D scanner for your needs:
1. Accuracy: Consider the level of accuracy required for your project. If you need high precision and detailed scans, you may need to invest in a scanner with a smaller measurement error margin. Keep in mind that higher accuracy scanners often come with a higher price tag.
2. Object Size and Complexity: Different scanners are designed for scanning objects of varying sizes and complexities. If you plan to scan small or intricate objects, a scanner with high precision and fine details would be suitable. On the other hand, if your focus is on larger objects or environments, you may need a scanner with a wider scanning range.
3. Scanning Speed: Consider the time it takes for the scanner to capture a scan. If you have a large volume of objects to scan or require quick turnaround times, you may want to opt for a scanner with faster scanning speeds.
4. Scan Volume: Depending on the size of the objects you plan to scan, you’ll need a scanner with an appropriate scan volume. Some scanners are designed to capture smaller objects in high detail, while others are built to handle larger objects or even entire environments.
5. Ease of Use: Consider the user-friendliness of the scanner and its accompanying software. If you’re new to 3D scanning, you may prefer a scanner with a simple user interface and intuitive software to make the scanning process smoother.
6. Budget: Set a budget for your 3D scanner purchase. Keep in mind that more advanced scanners with higher accuracy and additional features will generally come at a higher cost. It’s important to find the right balance between quality and affordability.
7. Customer Support: Research the reputation of the scanner manufacturer and the availability of customer support. It’s beneficial to choose a reputable company with responsive customer support to assist you in case of any issues or questions that may arise.
By considering these factors, you can narrow down your options and make an informed decision based on your specific needs and budget. It may also be beneficial to read reviews and compare different models to ensure you choose a scanner that meets your expectations.
In the next sections, we will delve into the process of setting up and using a 3D scanner, as well as some best practices to ensure successful and high-quality scans. Strap in as we explore the exciting world of 3D scanning!
Setting up the 3D Scanner
Once you have chosen the right 3D scanner for your needs, it’s time to set it up for scanning. Proper setup is crucial for ensuring accurate and reliable results. Here are some key steps to follow when setting up your 3D scanner:
1. Read the Manual: Familiarize yourself with the manufacturer’s instructions and guidelines provided in the user manual. This will help you understand the specific setup requirements of your scanner and ensure you follow the correct procedures.
2. Prepare the Scanning Environment: Clear the area where you will be conducting your scans to minimize any potential obstacles or interference. Remove any unnecessary objects, ensure proper lighting conditions, and create a stable surface for placing the object to be scanned.
3. Calibrate the Scanner: Most 3D scanners require calibration before use. Follow the calibration process outlined in the user manual to ensure accurate measurements and optimal performance. Calibration usually involves aligning reference points or using calibration panels provided by the manufacturer.
4. Position the Object: Place the object you wish to scan in the scanning area. If necessary, use supports or fixtures to hold the object in position and maintain stability during the scanning process. Take care to position the object in a way that allows the scanner to capture all desired angles and surfaces.
5. Configure the Scanner Settings: Adjust the settings of your scanner as per your scanning requirements. This may include selecting the appropriate scanning resolution, color mode, or scan speed. Refer to the user manual to understand the scanner’s settings and how they can impact the scanning results.
6. Test Scans: Before proceeding with your actual scanning project, perform a few test scans to ensure the scanner is capturing the desired details accurately. Use this opportunity to make any necessary adjustments to the scanner’s settings or positioning.
7. Practice Scanning Techniques: Familiarize yourself with the scanning techniques recommended by the manufacturer, such as the scanning angles, distances, or number of scans required. Practice different scanning techniques to find the most effective approach for your specific project.
8. Check Connectivity and Power: Ensure that your scanner is properly connected to the computer or device you’ll be using to process the scanned data. Also, make sure the scanner has a reliable power source to avoid any interruptions during the scanning process.
By following these setup steps, you’ll be well-prepared to start using your 3D scanner effectively and efficiently. In the next section, we will explore the process of scanning objects with a 3D scanner, along with some best practices to ensure successful scans.
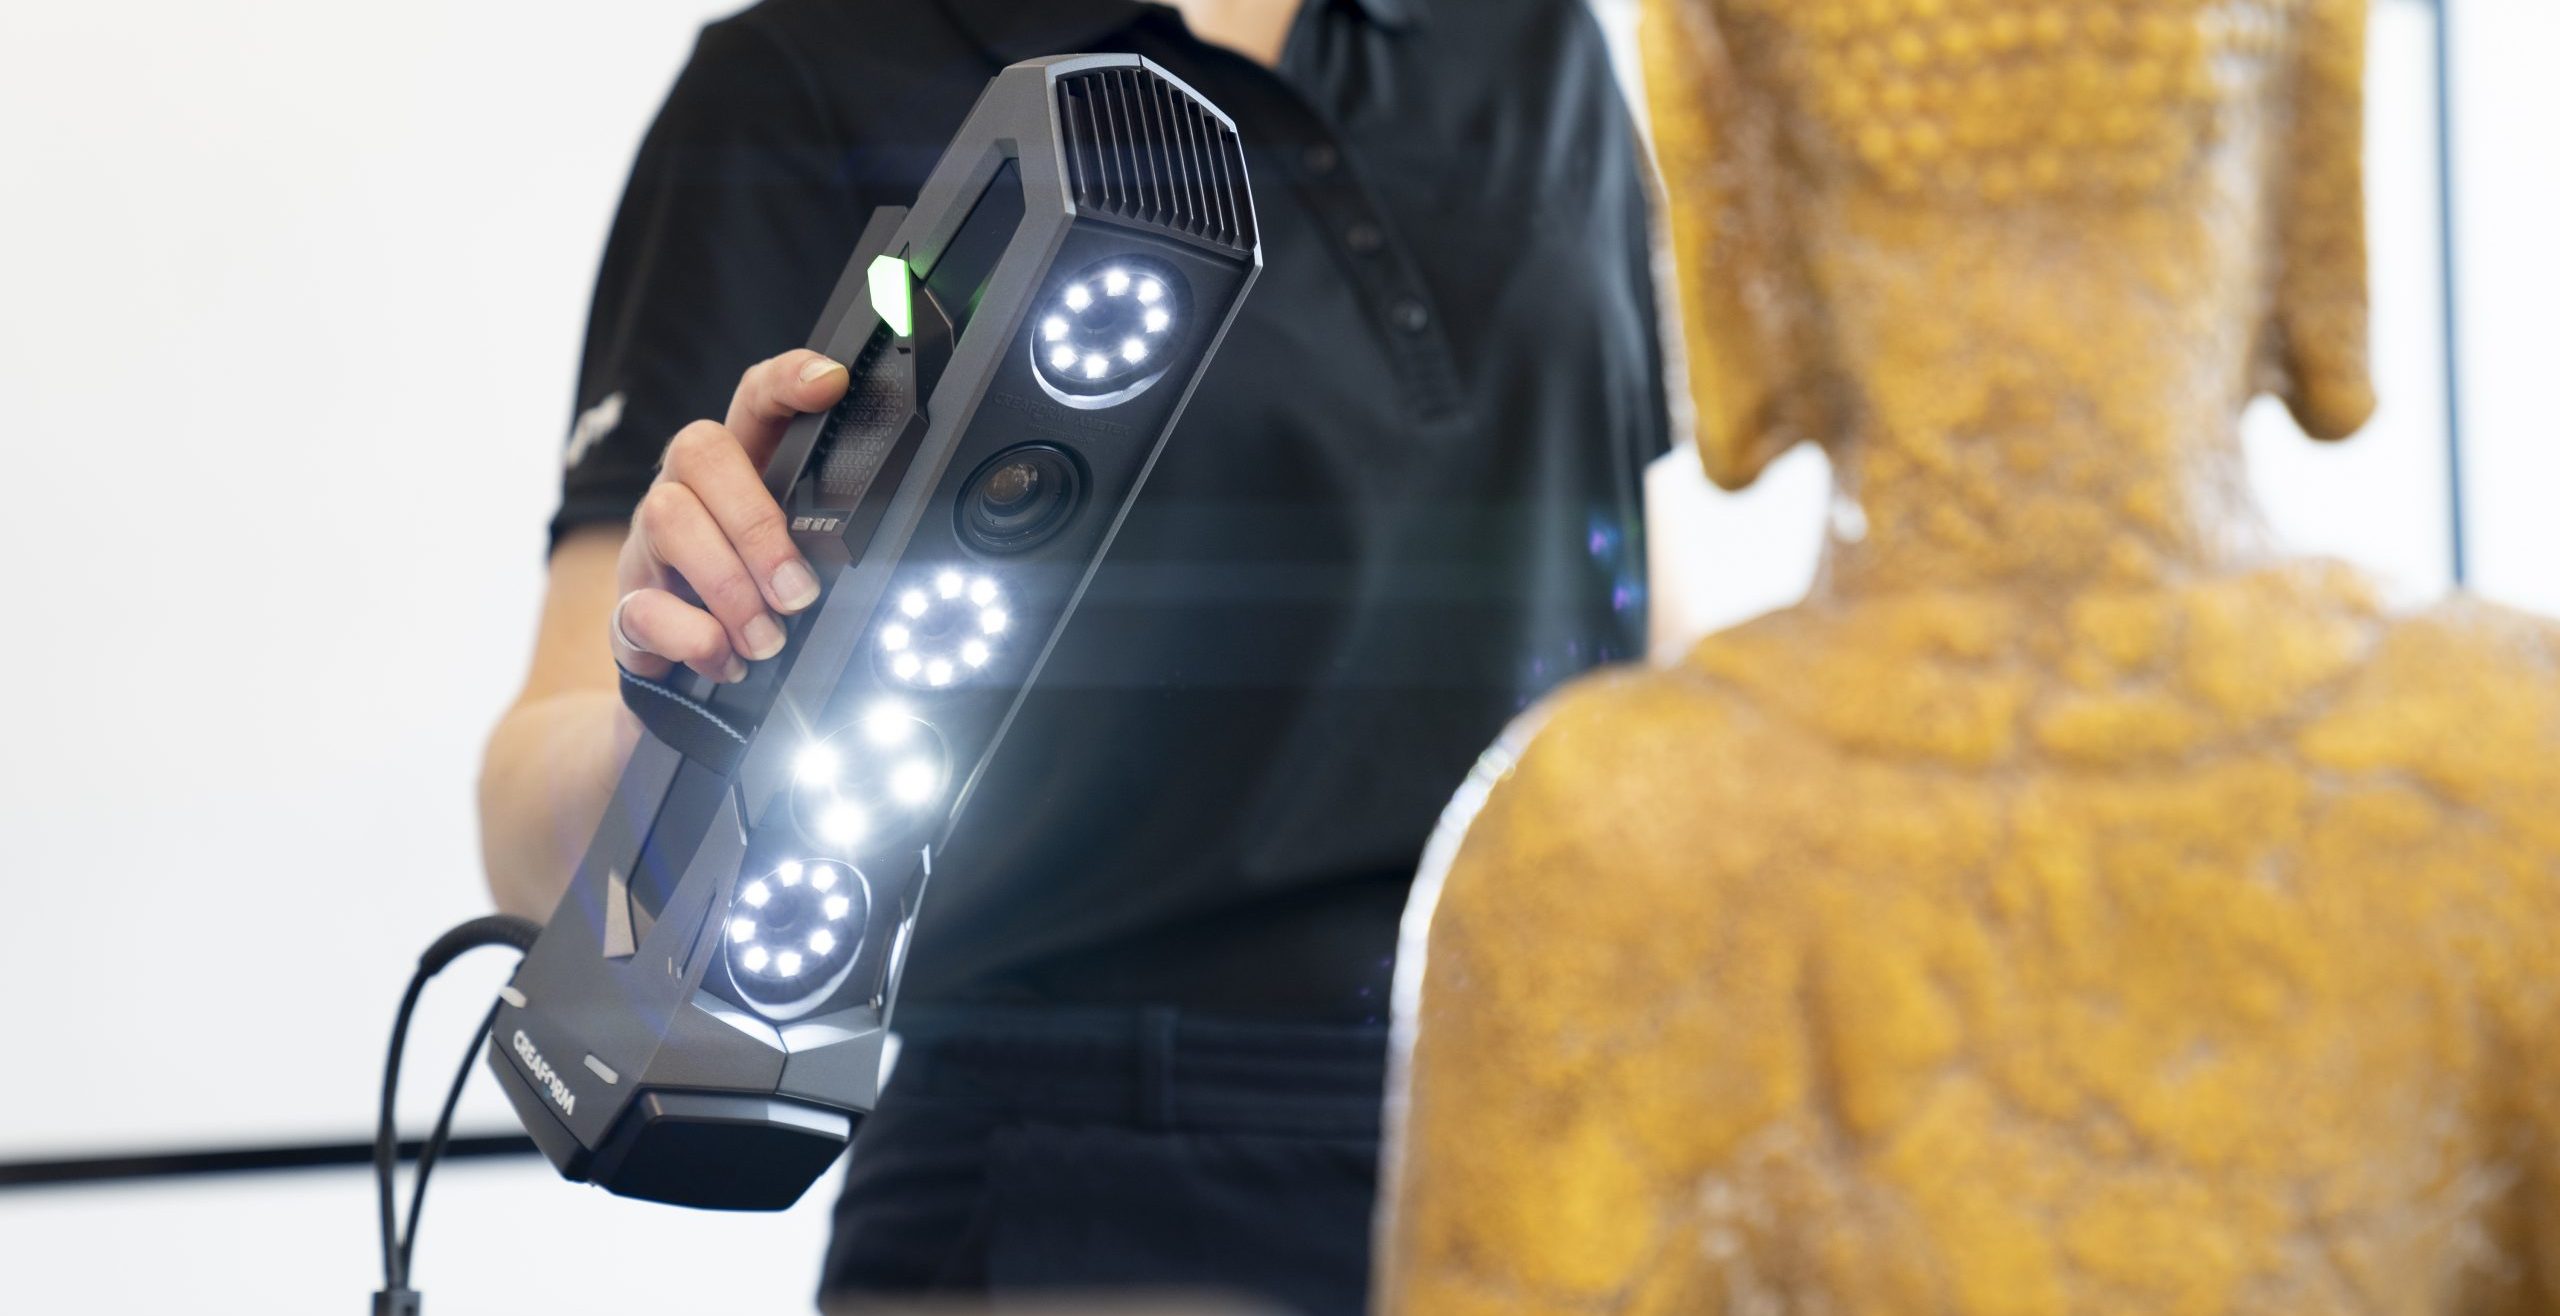
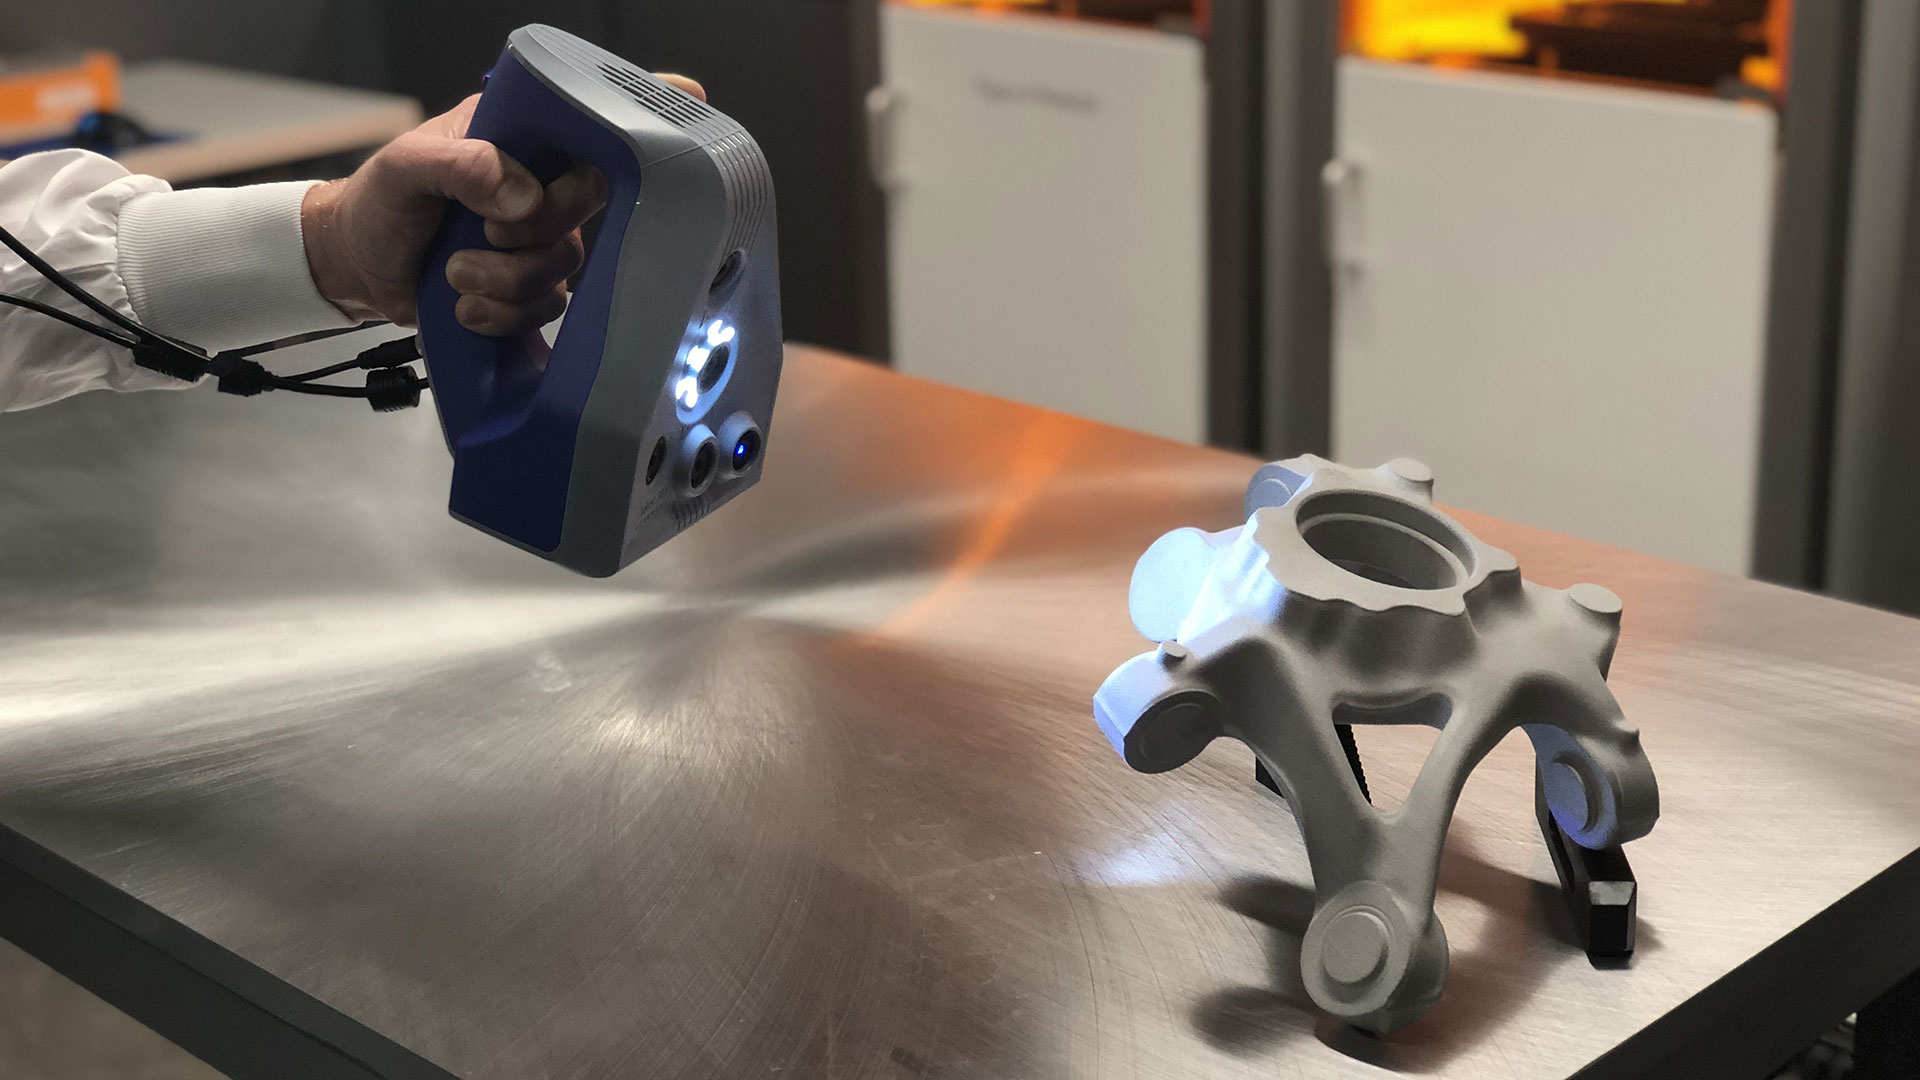
Scanning Objects with a 3D Scanner
Now that you have successfully set up your 3D scanner, it’s time to start capturing scans of objects. The process of scanning objects with a 3D scanner involves the following steps:
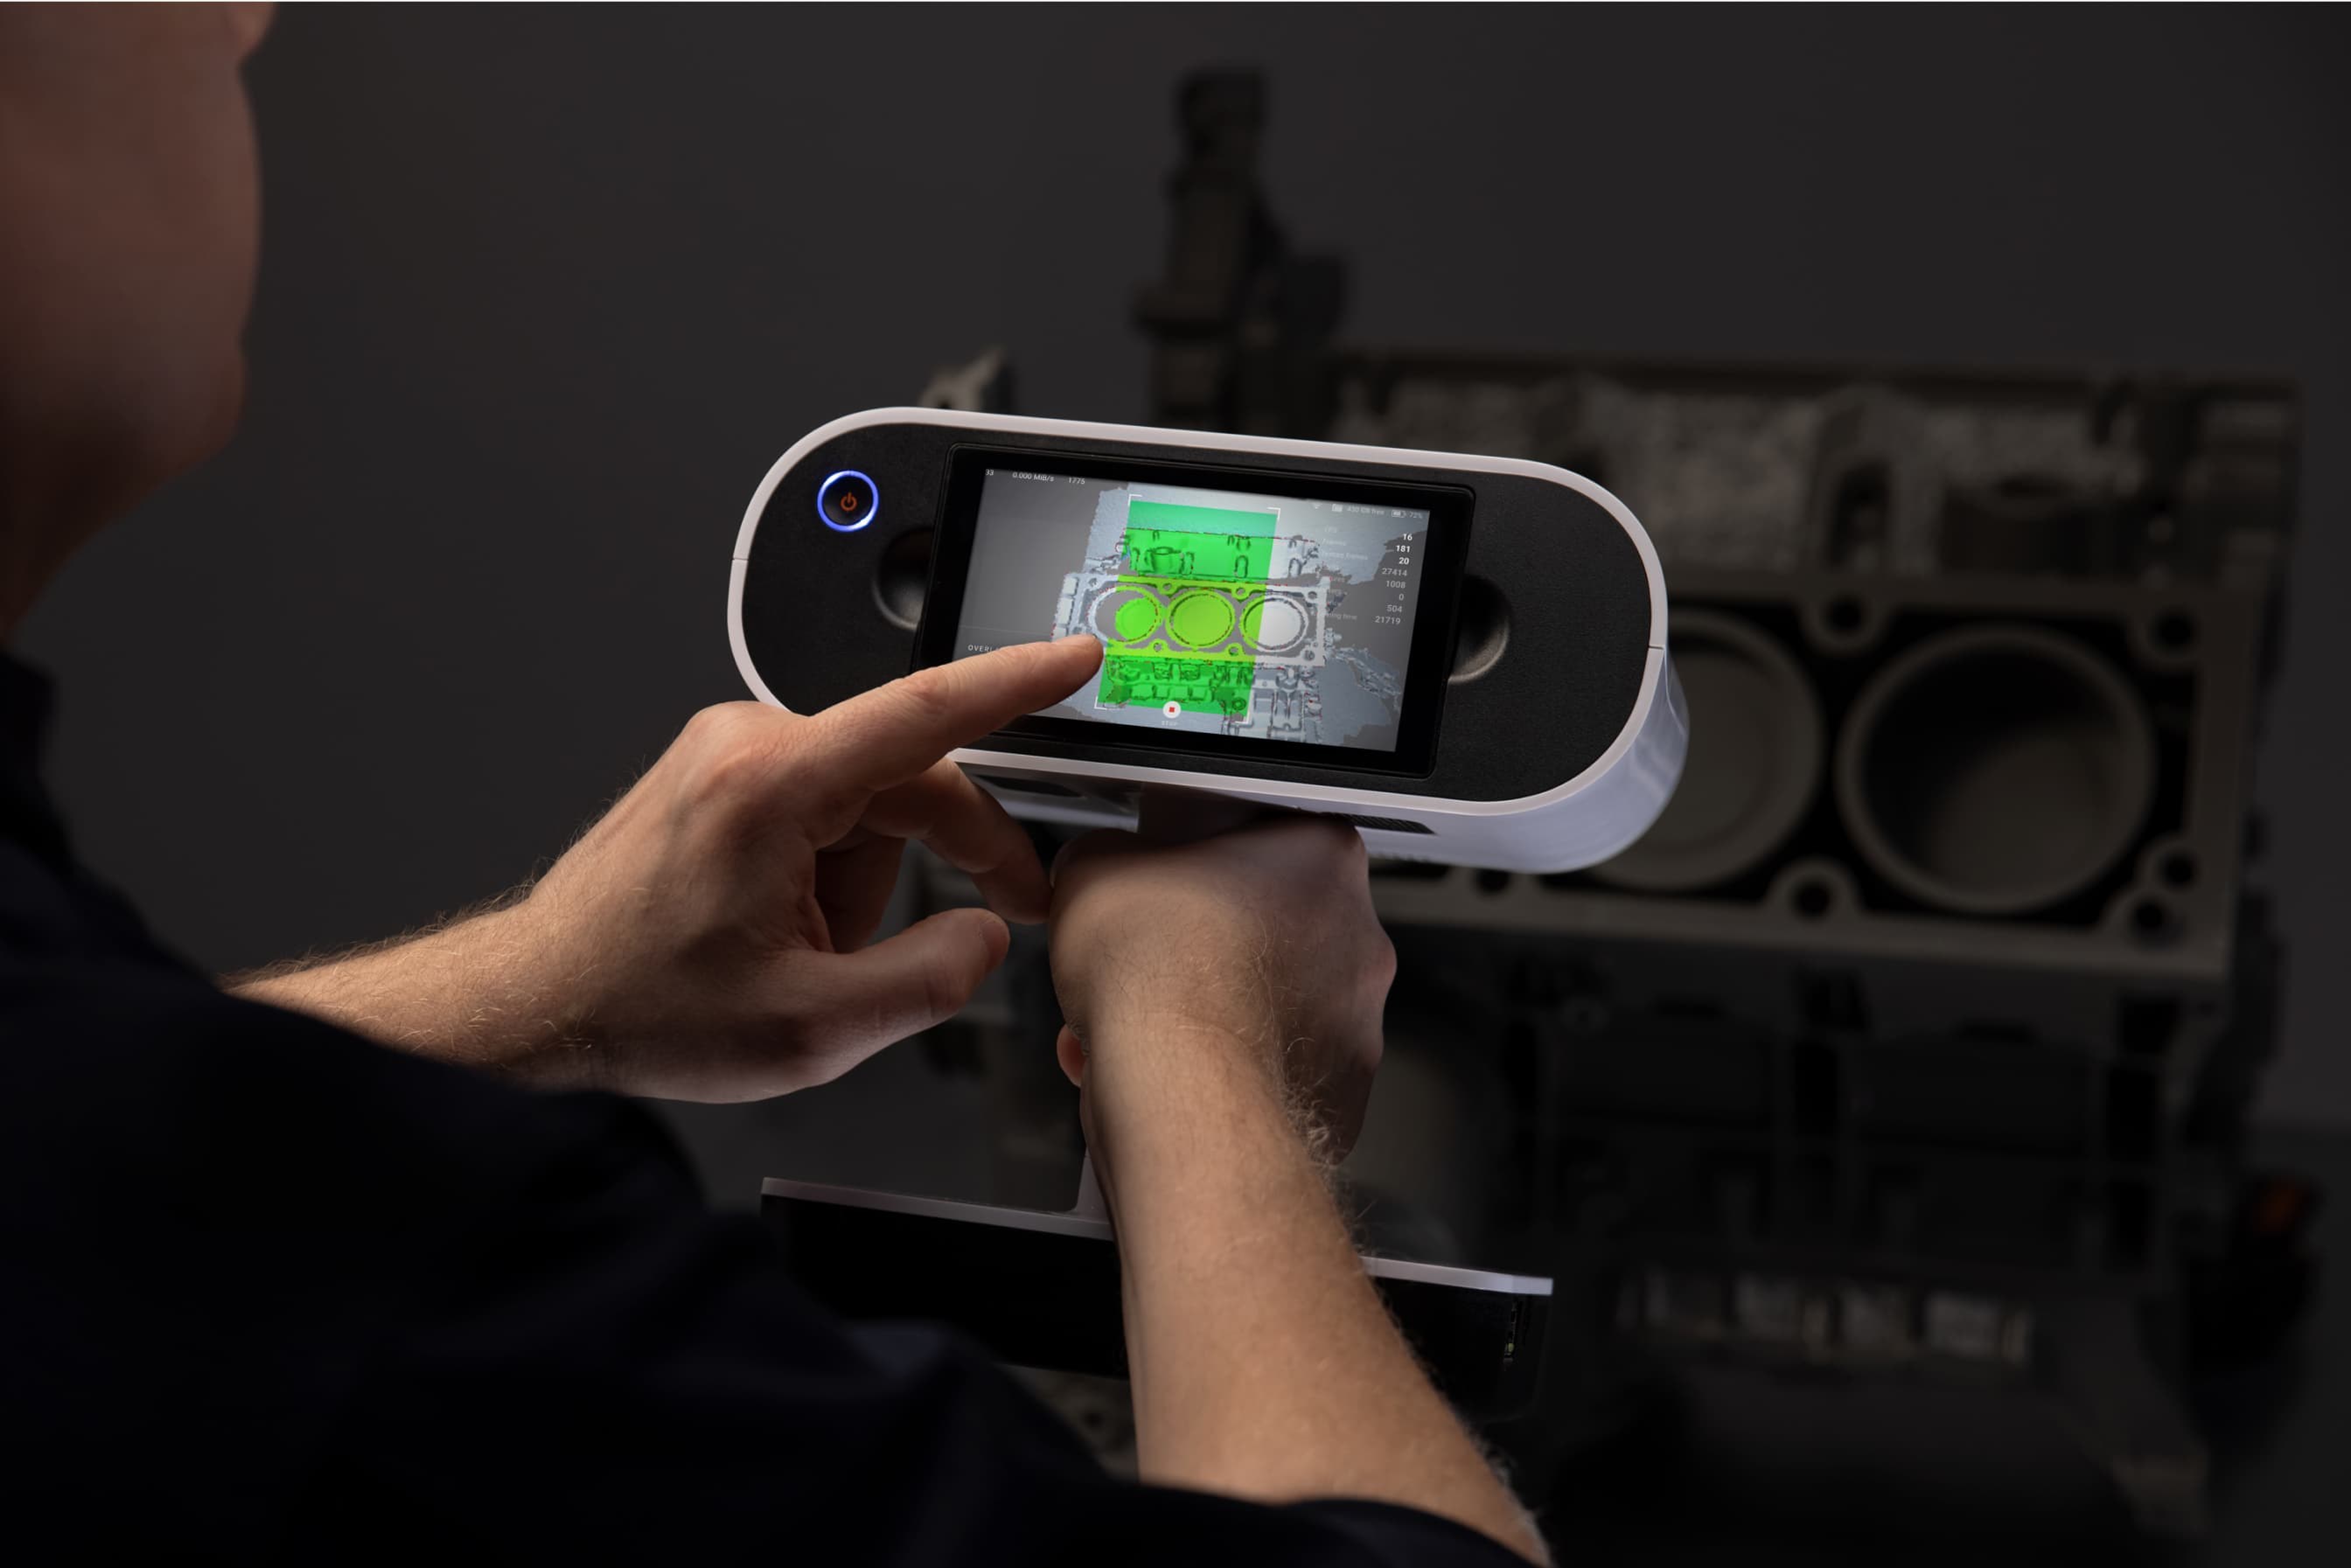
1. Positioning the Object: Place the object to be scanned in the scanning area. Ensure that it is stable and securely positioned to avoid any movement during the scanning process.
2. Scanning Technique: Follow the scanning technique recommended by the manufacturer for optimal results. This may include capturing scans from multiple angles, scanning in a systematic pattern, or adjusting the position and orientation of the scanner as needed.
3. Scanning Range: Determine the appropriate scanning range based on the size and characteristics of the object. Some scanners have a limited field of view, requiring you to capture multiple scans and align them later to create a complete model.
4. Overlapping Scans: To ensure a seamless and accurate 3D model, it’s important to overlap each scan area with the previous one. This helps the scanning software to align the different scans and create a cohesive mesh.
5. Scan Alignment: Depending on the software and scanner you’re using, you may need to align the individual scans to create a complete 3D model. Follow the instructions provided by the software on aligning the scans accurately for the best results.
6. Check for Complete Coverage: After capturing all the necessary scans, review the captured data to ensure complete coverage of the object. Look out for any areas that may have been missed or require additional scans for better detail.
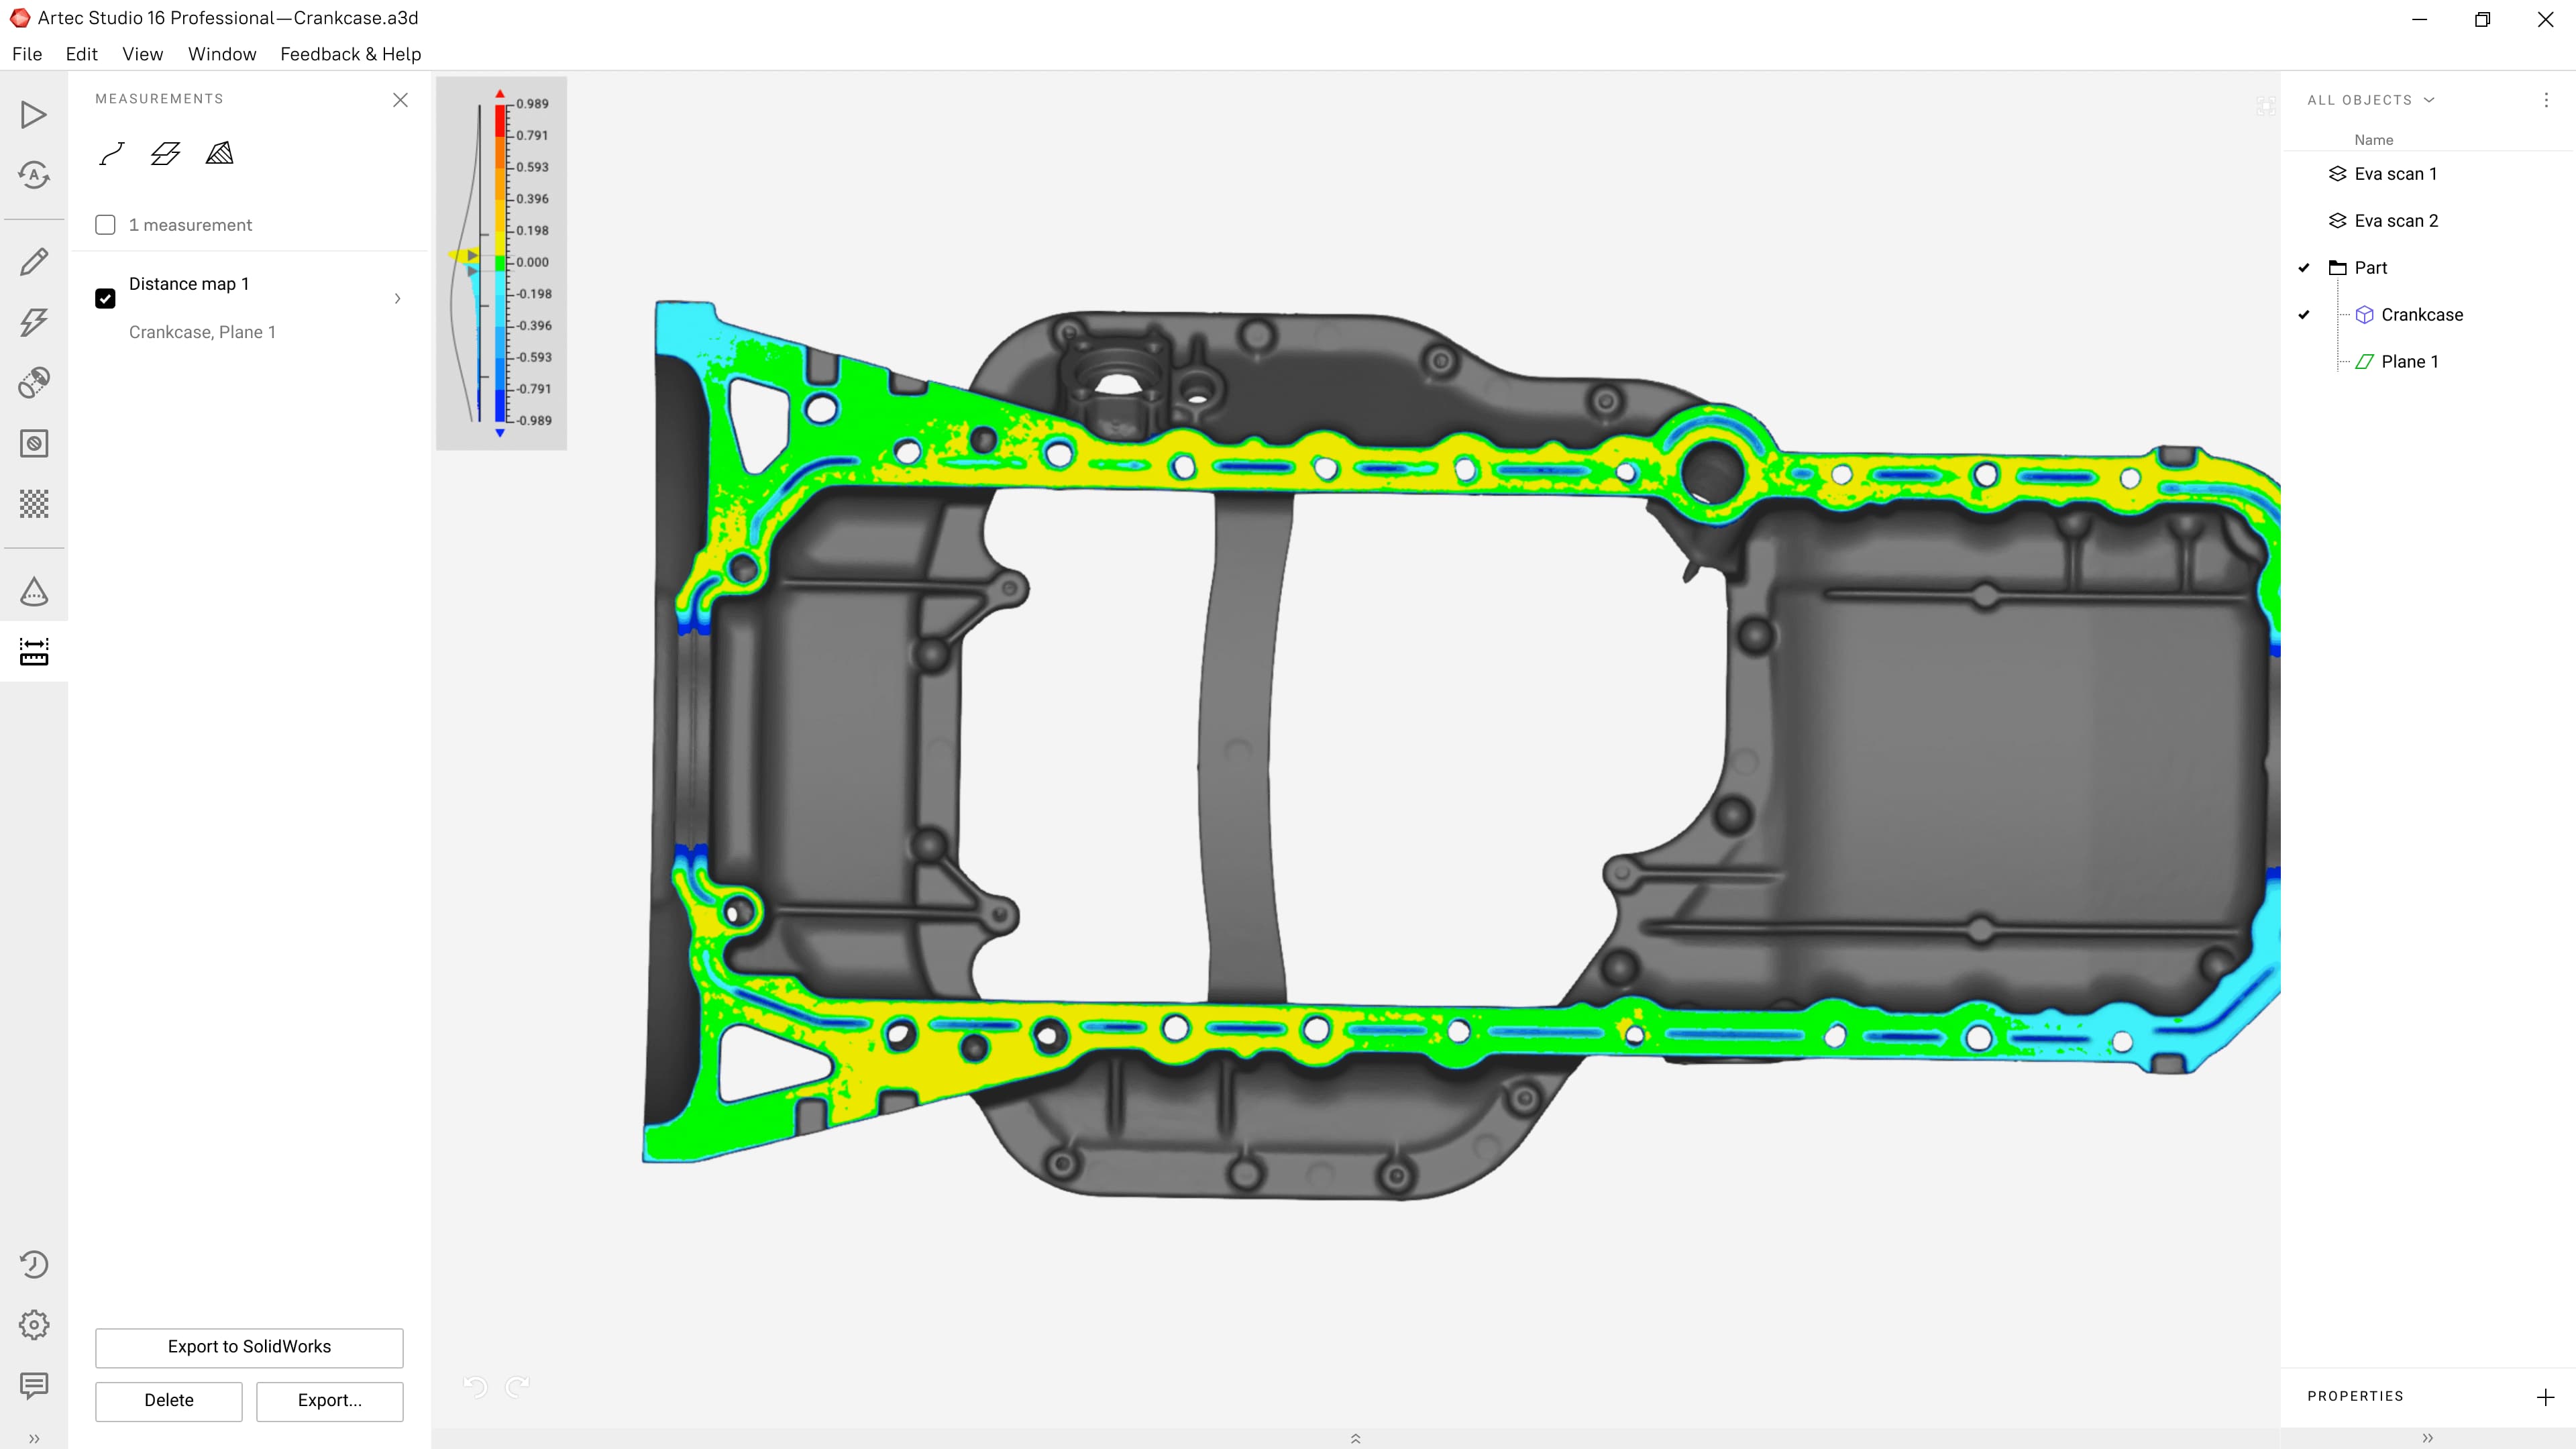
7. Refinement and Cleanup: Once you have a complete 3D model, you can refine and clean up the scan data using specialized software. This process involves removing unwanted noise, improving the mesh quality, and smoothing any imperfections in the model.
8. Quality Control: Before finalizing the scan, perform quality control checks to ensure the accuracy and integrity of the model. This may involve comparing the scan to the original object, checking for any distortions or artifacts, and making necessary adjustments.
By following these steps, you can effectively scan objects with your 3D scanner and create accurate and detailed 3D models. Keep in mind that the scanning process may require some experimentation and practice to achieve optimal results. In the next section, we will explore some best practices to help you achieve successful and high-quality scans with your 3D scanner.
Best Practices for Successful Scans
To ensure successful and high-quality scans with your 3D scanner, it’s important to follow some best practices. These practices will help you achieve accurate results and improve the overall scanning process. Here are some key tips to consider:
1. Lighting: Ensure proper lighting conditions during the scanning process. Too much or too little light can affect the accuracy and quality of the scans. Ideally, use diffused lighting to minimize shadows and create even illumination on the object’s surface.
2. Surface Preparation: Clean the object’s surface before scanning to remove dust, fingerprints, or any other debris that could affect the scan quality. Smooth and reflective surfaces may require the application of a non-reflective coating or the use of a specialized scanning technique.
3. Scanning Distance: Maintain a consistent distance between the scanner and the object throughout the scanning process. Avoid getting too close or too far from the object, as it can result in distortion or loss of detail.
4. Overlapping Scans: Ensure each scan overlaps the previous one by at least 30%. This overlap helps the software align the scans accurately and create a complete and seamless 3D model.
5. Optimal Scanning Speed: Move the scanner steadily and at a consistent speed during the scanning process. Avoid rapid or jerky movements, as this can result in blurred or inaccurate scans. Take your time and maintain a controlled scanning pace.
6. Multispectral Scanning: Depending on the capabilities of your scanner, consider capturing scans in multiple wavelengths or color settings. This can provide additional data that enhances details and texture in the final model.
7. Scanning Constraints: Understand the limitations of your scanner and adjust your expectations accordingly. Some scanners may struggle with highly reflective or transparent surfaces, intricate details, or certain material types. Experiment with different scanning techniques to overcome these constraints.
8. Post-Processing and Editing: Invest time in post-processing and editing your scans to refine and enhance the final 3D model. This may include cleaning up artifacts, filling in gaps, or smoothing the mesh. Take advantage of software tools and filters to achieve the desired result.
9. Practice and Experimentation: 3D scanning is a skill that improves with practice. Take the time to experiment with different scanning techniques, settings, and objects. Learn from each scan and use that knowledge to refine your scanning process and achieve better results.
Following these best practices will help you optimize your 3D scanning workflow and produce high-quality scans with your 3D scanner. Remember that patience, persistence, and attention to detail are key to successful scans.
Now that you understand the best practices for successful scans, we can move on to the next section, which focuses on post-processing and editing scans to further enhance the captured data.
Post-processing and Editing Scans
After you have captured the scans with your 3D scanner, the next step is post-processing and editing the data to refine and enhance the 3D model. This stage plays a crucial role in achieving a high-quality final result. Here are some key steps and considerations for post-processing and editing your scans:
1. Mesh Cleanup: Begin by cleaning up the mesh of the 3D model. Remove any unnecessary or unwanted artifacts, spikes, or holes that may have been captured during the scanning process. Use specialized software tools to repair and optimize the mesh, ensuring a smooth and visually pleasing model.
2. Hole Filling: If the scanned object has missing patches or holes, you can use hole-filling algorithms or manual techniques to fill in those gaps. This helps create a complete and solid 3D model without any missing sections.
3. Smoothing and Refinement: Adjust the surface smoothness and refine the details of the 3D model. Depending on the desired outcome, you can use smoothing algorithms or manually sculpt and refine specific areas. This step improves the aesthetic quality of the model while maintaining its accuracy.
4. Texture Mapping: If your 3D scanner captures color information during the scanning process, you can apply texture mapping to the 3D model. This process involves projecting the scanned color information onto the mesh, resulting in a more realistic and visually appealing model.
5. Scaling and Alignment: Ensure that the 3D model is properly scaled and aligned with real-world dimensions. This can be achieved by referencing known measurements or aligning the model with other scanned objects or reference points.
6. Exporting and File Formats: When saving or exporting the 3D model, consider the intended use and compatibility with other software or platforms. Choose a file format that preserves the geometry, texture, and other relevant information of the model, such as OBJ, STL, or PLY.
7. Iterative Process: Post-processing and editing may require multiple iterations to achieve the desired outcome. Don’t be afraid to go back and make adjustments to the settings, smoothing, or refinement to improve the result. Continuous evaluation and refinement are key to obtaining a high-quality final model.
8. Documentation and Metadata: It’s important to document the post-processing steps and any modifications made to the original scanned data. This documentation serves as a reference for future iterations or if you need to recreate the process.
By following these post-processing and editing steps, you can enhance the quality, accuracy, and aesthetic appeal of your 3D scans. Remember, it’s a creative process that requires practice and experimentation to achieve the desired results.
With your refined 3D scans ready, you can now explore the various applications and uses of the data. In the next section, we will discuss how to utilize the scanned data effectively.
Using the Scanned Data
The scanned data obtained from your 3D scanner opens up a world of possibilities for various applications and uses. Here are some ways you can effectively utilize the scanned data:
1. 3D Printing: One of the most common applications of scanned data is 3D printing. The 3D model created from the scans can be exported in a compatible file format and sent to a 3D printer. This allows you to physically replicate the scanned object, whether it be for prototyping, manufacturing, or creating replicas of historical artifacts.
2. Product Design and Development: Use the scanned data as a reference for product design and development. The accurate measurements and details captured by the scanner can serve as a foundation for creating new designs or modifying existing ones. This ensures that the product fits precisely and meets the desired specifications.
3. Virtual Reality and Augmented Reality: Convert the scanned data into formats suitable for virtual reality (VR) or augmented reality (AR) applications. By rendering the 3D model in a VR or AR environment, you can create immersive experiences or visualize how the object interacts with its surroundings.
4. Digital Archiving and Preservation: Scanning objects of historical or cultural significance helps preserve them digitally. Create digital archives of archaeological findings, sculptures, or artifacts that can be accessed and studied by researchers or shared with the public, ensuring their preservation for future generations.
5. Simulation and Analysis: Import the scanned data into simulation software to analyze the object’s structural integrity, simulate mechanical or fluid dynamics, or perform virtual testing. This allows for optimization and validation of designs before physical production.
6. Forensic Investigation: Scanned data can be used in forensic investigations to accurately document and analyze crime scenes or evidence. 3D scans aid in virtual reconstructions, measurements, and analysis, assisting forensic experts and investigators in their work.
7. Cultural Heritage and Education: Utilize scanned data to create interactive educational resources, virtual exhibits, or immersive learning experiences. Students can explore historical artifacts or landmarks virtually, enhancing their understanding and appreciation of cultural heritage.
8. Medical Applications: Scanned data can be used for various medical purposes, such as virtual patient modeling, surgical planning, designing customized prosthetics, or creating orthotics. The detailed 3D model helps healthcare professionals visualize and assess anatomical structures accurately.
These are just a few examples of how scanned data can be utilized, but the possibilities extend even further. The key is to identify the specific application or purpose and leverage the rich information captured by the 3D scanner to obtain the desired outcomes.
Before we conclude, let’s summarize the key points we have covered so far and explore some final thoughts on the exciting world of 3D scanning.
Conclusion
3D scanning technology has revolutionized industries by enabling the precise capture and digital representation of physical objects. In this article, we explored the world of 3D scanners, learning about their functionalities, types, and how to choose the right scanner for specific needs.
We discussed the importance of proper setup, scanning techniques, and best practices for successful scans. We also delved into the post-processing and editing steps to refine and enhance the scanned data, ensuring high-quality 3D models.
Furthermore, we explored the various applications of the scanned data, such as 3D printing, product design, virtual and augmented reality, archival preservation, simulation and analysis, forensic investigation, cultural heritage, and medical applications. The versatility of scanned data allows for creativity and innovation across multiple industries and fields.
In conclusion, 3D scanning technology continues to evolve and make significant contributions in various domains. The ability to capture and digitally recreate physical objects opens up new possibilities for design, analysis, preservation, and education. As technology advances, 3D scanners will become even more accessible, affordable, and capable, further expanding the applications and potential impact of this powerful technology.
Whether you’re an architect, designer, researcher, or an enthusiast driven by curiosity, embracing the potential of 3D scanning can take your work and creativity to new heights. So, go ahead, explore, and unlock the possibilities of the three-dimensional world with the incredible tool of 3D scanners.