Introduction
Having an up-to-date graphics driver is essential for a smooth and optimal performance of your Intel graphics card. Graphics drivers are responsible for facilitating communication between your operating system and the graphics hardware. Updating your graphics driver regularly ensures that you can take advantage of the latest features, bug fixes, and performance improvements provided by Intel.
In this guide, we will walk you through the step-by-step process of updating your Intel graphics card driver. Whether you are a gamer looking to maximize your gaming experience, a graphic designer working on visually demanding projects, or simply want to ensure that your computer runs smoothly, updating your graphics driver is a crucial task.
It’s important to note that the exact steps may vary slightly depending on your operating system and the specific model of your Intel graphics card. This guide will provide general instructions applicable to most users. If you encounter any issues during the update process, refer to the support resources provided by Intel or seek assistance from their customer support.
Before we begin, it’s important to emphasize the significance of backing up your important files and creating a system restore point. While the likelihood of encountering issues during a graphics driver update is relatively low, it’s always better to be safe than sorry. Creating a backup ensures that you can roll back to a previous state, in case any unexpected problems arise.
Now that we understand the importance of keeping your Intel graphics driver up to date, let’s proceed to the first step: determining your graphics card model.
Step 1: Determine your graphics card model
Before you can update your Intel graphics card driver, you need to determine the exact model of your graphics card. This information will help you download the correct driver from Intel’s official website.
There are a few different ways to identify your graphics card model:
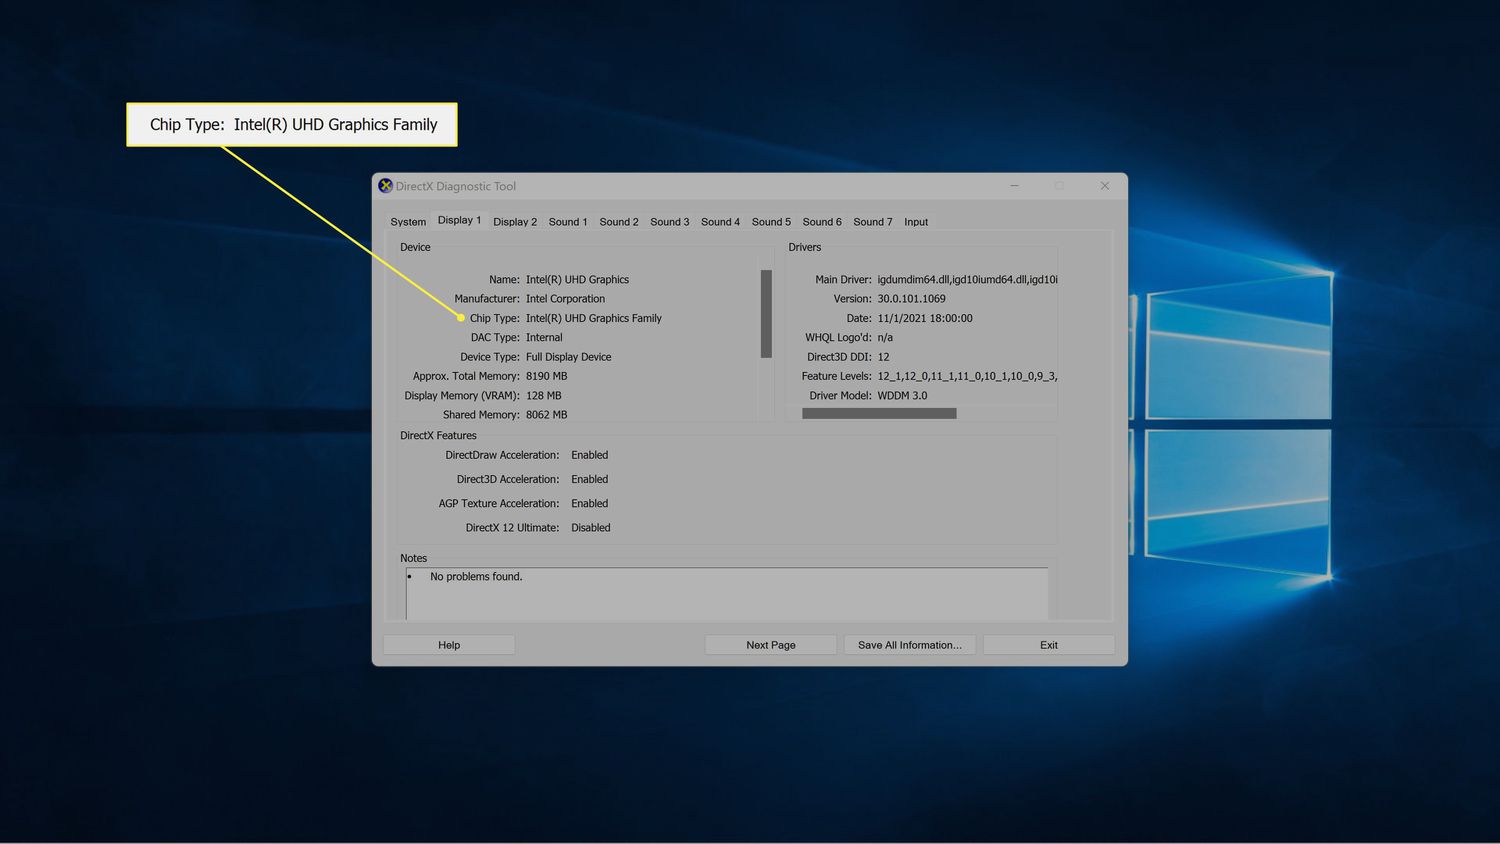
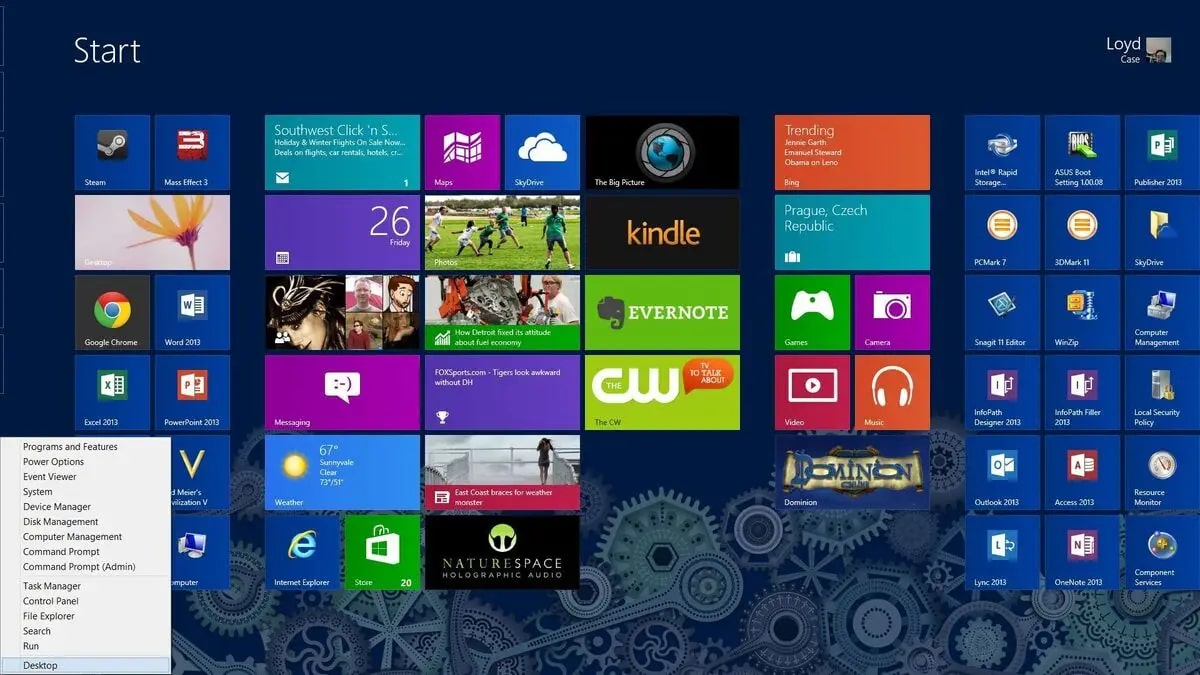
- Device Manager: On Windows, you can open the Device Manager by right-clicking on the Start menu and selecting “Device Manager.” In the Device Manager window, expand the “Display adapters” category. You will see the model name of your Intel graphics card listed there, such as “Intel HD Graphics 620.”
- System Information: Another way to find your graphics card model on Windows is by using the System Information tool. You can access it by pressing the Windows key + R to open the Run dialog, typing “msinfo32,” and hitting Enter. In the System Information window, expand the “Components” category and select “Display.” The model name of your Intel graphics card will be listed under “Adapter Description.”
- Graphics Control Panel: If you have already installed the Intel Graphics Control Panel, you can open it by right-clicking on the desktop and selecting “Graphics Options” or “Graphics Properties.” In the control panel, navigate to the “Information” or “System” tab, where you can find the model name of your Intel graphics card.
Once you have identified your graphics card model, write it down or remember it for the next step. With this information in hand, you are now ready to proceed to the next step: downloading the latest driver from Intel’s website.
Step 2: Download the latest driver from Intel’s website
Now that you know the model of your Intel graphics card, it’s time to download the latest driver from Intel’s official website. Intel regularly releases updated drivers to optimize performance, enhance compatibility, and address any known issues with their graphics cards.
Follow these steps to download the latest driver:
- Open your preferred web browser and navigate to Intel’s official website.
- Once you are on the Intel website, locate the “Support” or “Downloads” section. This may vary depending on the region and localized version of the website.
- In the support or downloads section, enter the model number of your Intel graphics card in the search bar. This will filter the results and display the relevant driver downloads for your specific model.
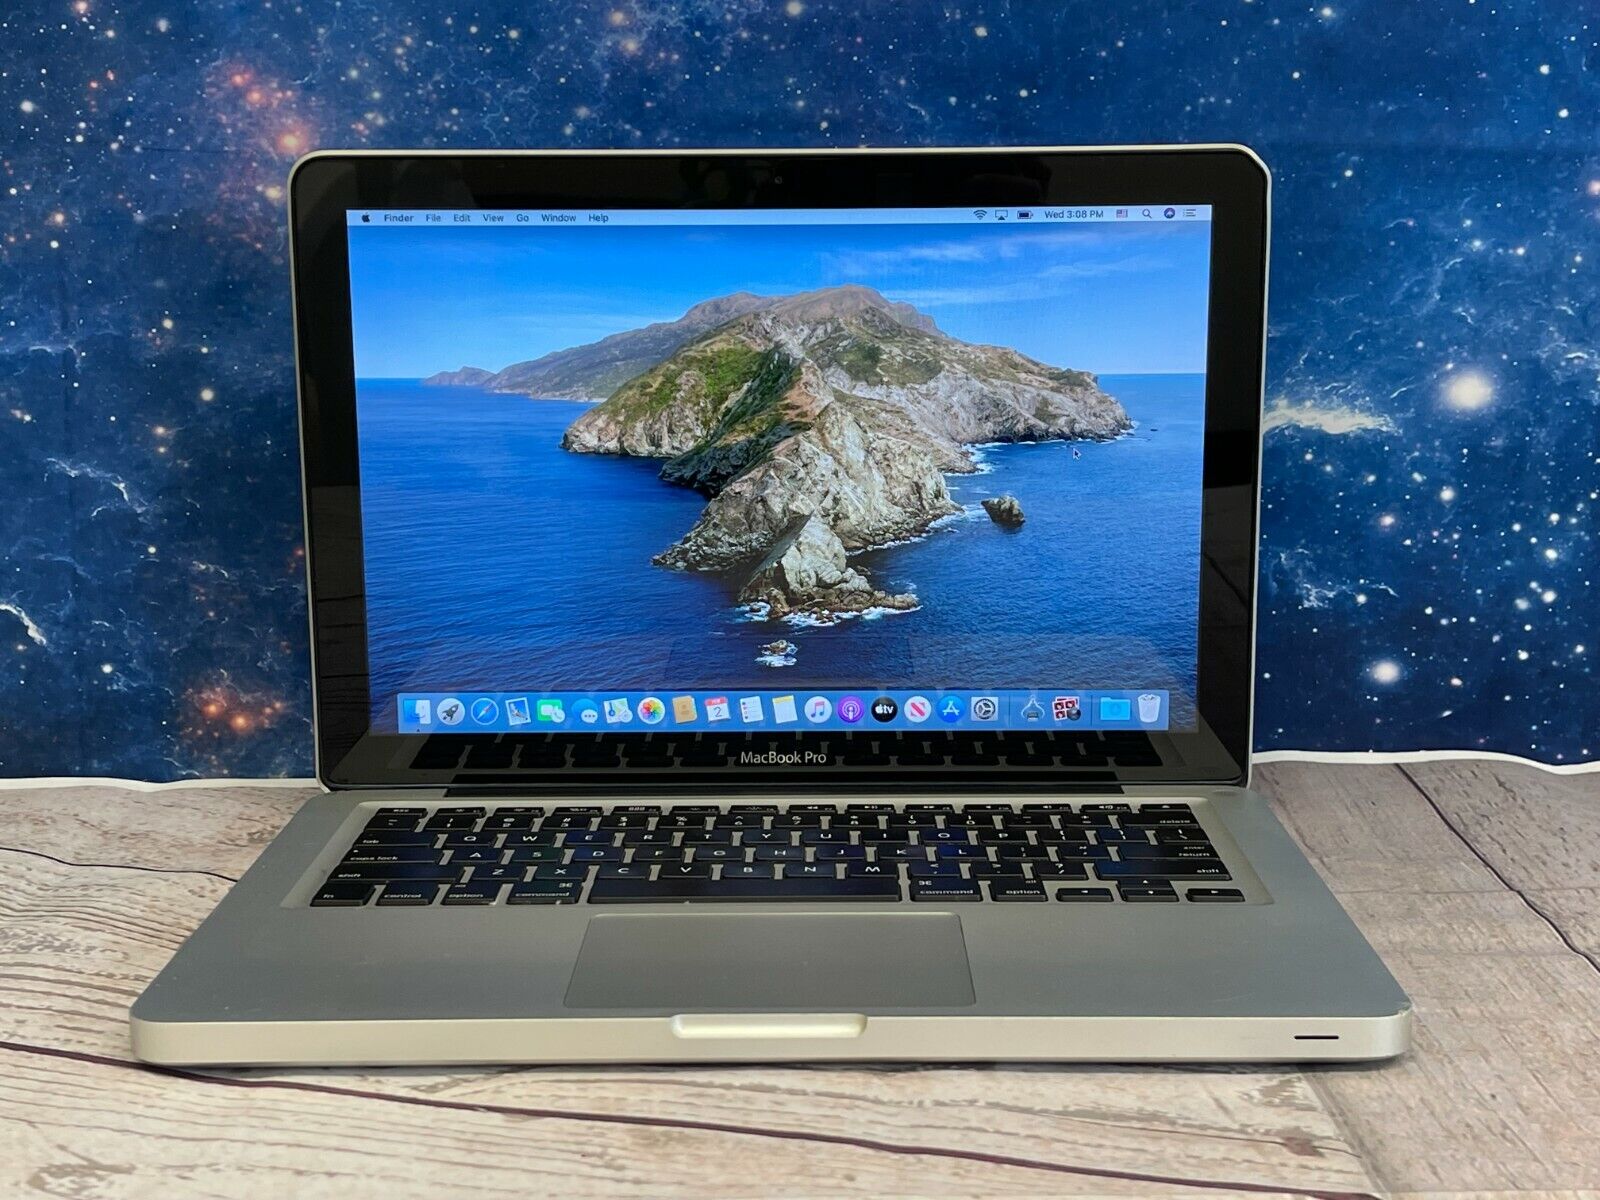
- Look for the most recent driver version available for your operating system. Make sure to select the correct operating system version, such as Windows 10 64-bit or macOS Big Sur.
- Click on the download button next to the driver to initiate the download process. The driver file will typically be in the form of an executable (.exe) file on Windows or a .dmg file on macOS.
- Once the download is complete, locate the downloaded driver file on your computer.
Now that you have successfully downloaded the latest driver from Intel’s website, you are ready to uninstall the old graphics driver. Proceed to the next step for detailed instructions on uninstalling the previous driver and installing the new one.
Step 3: Uninstall the old graphics driver
Before installing the new driver, it’s important to remove the existing graphics driver to ensure a clean installation. Here’s how you can uninstall the old graphics driver:
- Press the Windows key + X on your keyboard and select “Device Manager” from the menu that appears.
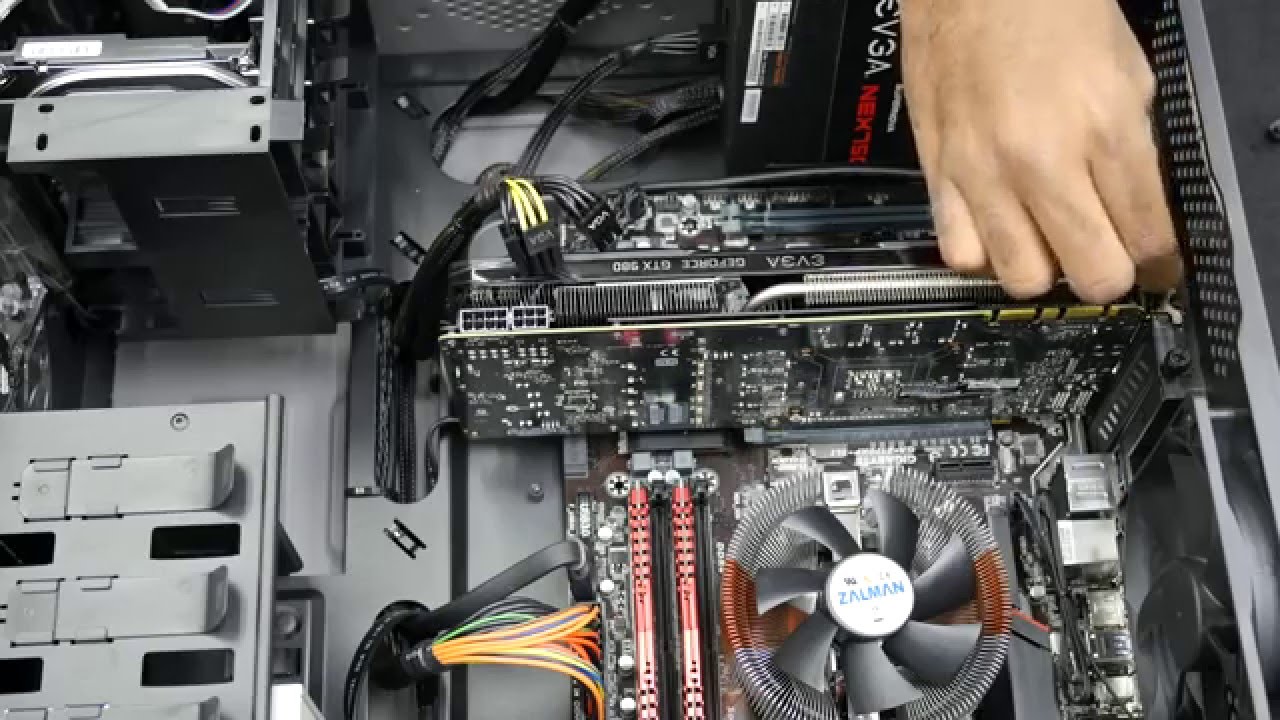
- In the Device Manager window, expand the “Display adapters” category to reveal your Intel graphics card.
- Right-click on your Intel graphics card and select “Uninstall device.” Confirm the action if prompted.
- In the uninstall confirmation dialog box, check the box next to “Delete the driver software for this device” if available, and then click “Uninstall.”
- Wait for the uninstallation process to complete. It may take a few moments.
- Restart your computer to complete the uninstallation process.
After restarting your computer, the old graphics driver should be completely removed. Now you are ready to proceed to the next step: installing the new graphics driver.
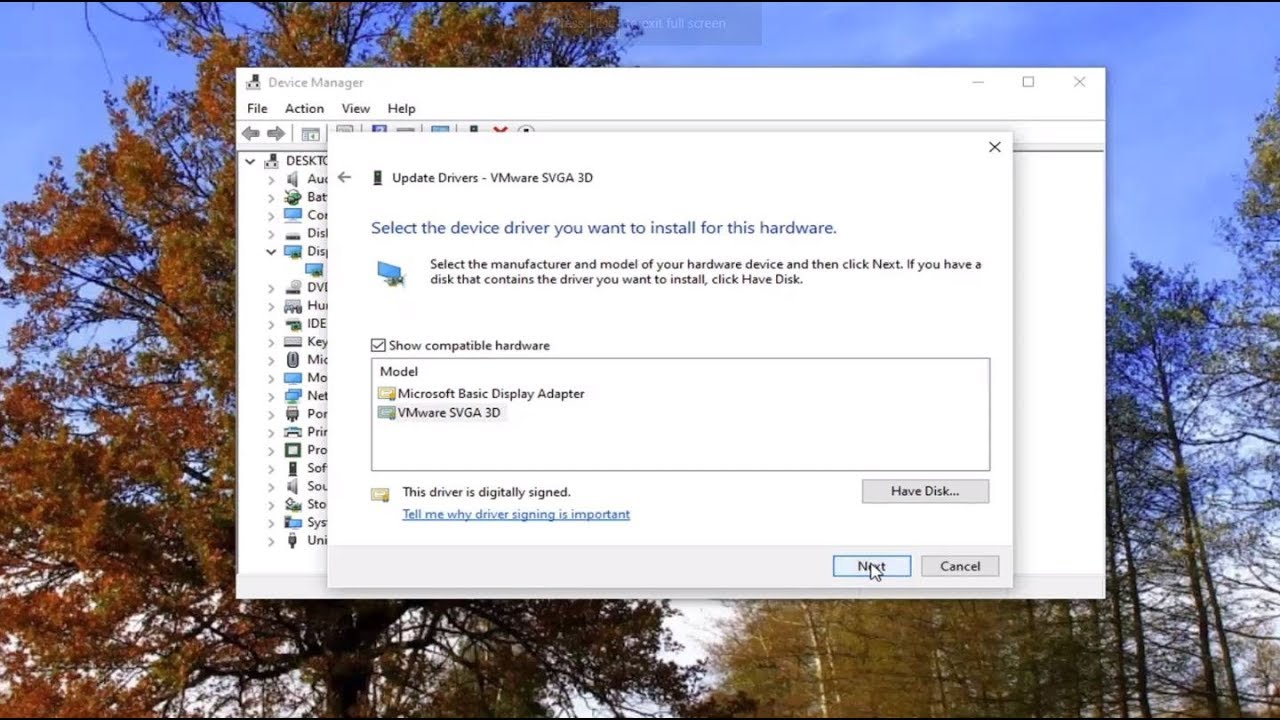
Step 4: Install the new graphics driver
Now that you have uninstalled the old graphics driver, it’s time to install the new driver that you downloaded from Intel’s website. Follow these steps to install the new graphics driver:
- Locate the downloaded driver file on your computer.
- Double-click on the driver file to run the installation wizard.
- Follow the on-screen instructions provided by the installation wizard to proceed with the installation.
- Review and accept the license agreement, if prompted.
- Choose the installation options you prefer. For most users, it is recommended to select the default options provided by the installer.
- Wait for the installation process to complete. This may take a few minutes.
Once the installation is finished, you have successfully installed the new graphics driver on your system. It’s important to note that during the installation process, your screen may flicker or go black temporarily. This is normal and should not cause any concern.
After the installation is complete, it is generally recommended to restart your computer to ensure that the changes are applied correctly. However, some driver installers may prompt you to restart your computer immediately after the installation. Follow the instructions provided by the installer to ensure a smooth installation process.
Congratulations! You have successfully installed the new graphics driver for your Intel graphics card. Now, it’s time to verify that the update was successful. Proceed to the next step for instructions on how to check the driver version and confirm the update.
Step 5: Restart your computer
After installing a new graphics driver, it is essential to restart your computer. Restarting allows the changes made during the driver installation process to take effect and ensures a smooth transition to the updated driver. Here’s how you can restart your computer:
- Save any open documents or files and close all running applications.
- Click on the Start menu in the bottom-left corner of the screen.
- Select the power icon, which is typically represented by a circle with a vertical line inside.
- In the power options menu, choose “Restart.”
- Wait for your computer to shut down and restart. This may take a few moments.
During the restart process, your computer’s operating system will reload all necessary system files and drivers, including the newly installed graphics driver. This ensures that the changes made during the driver installation are fully implemented and functioning correctly.
After your computer has restarted, you are ready to move on to the final step: verifying that the update was successful.
Note: In some cases, the driver installer may prompt you to restart your computer immediately after the installation completes. If this occurs, follow the instructions provided by the installer rather than manually restarting your computer.
Step 6: Verify that the update was successful
Once you have restarted your computer, it’s important to verify that the update to the Intel graphics driver was successful. Here are some ways to confirm that the update was applied correctly:
- Check the driver version: Right-click on the desktop and select “Graphics Properties” or “Graphics Options.” In the Intel Graphics Control Panel, navigate to the “Information” or “System” tab. Look for the driver version information, which should match the version you downloaded from Intel’s website. This confirms that the new driver is installed.
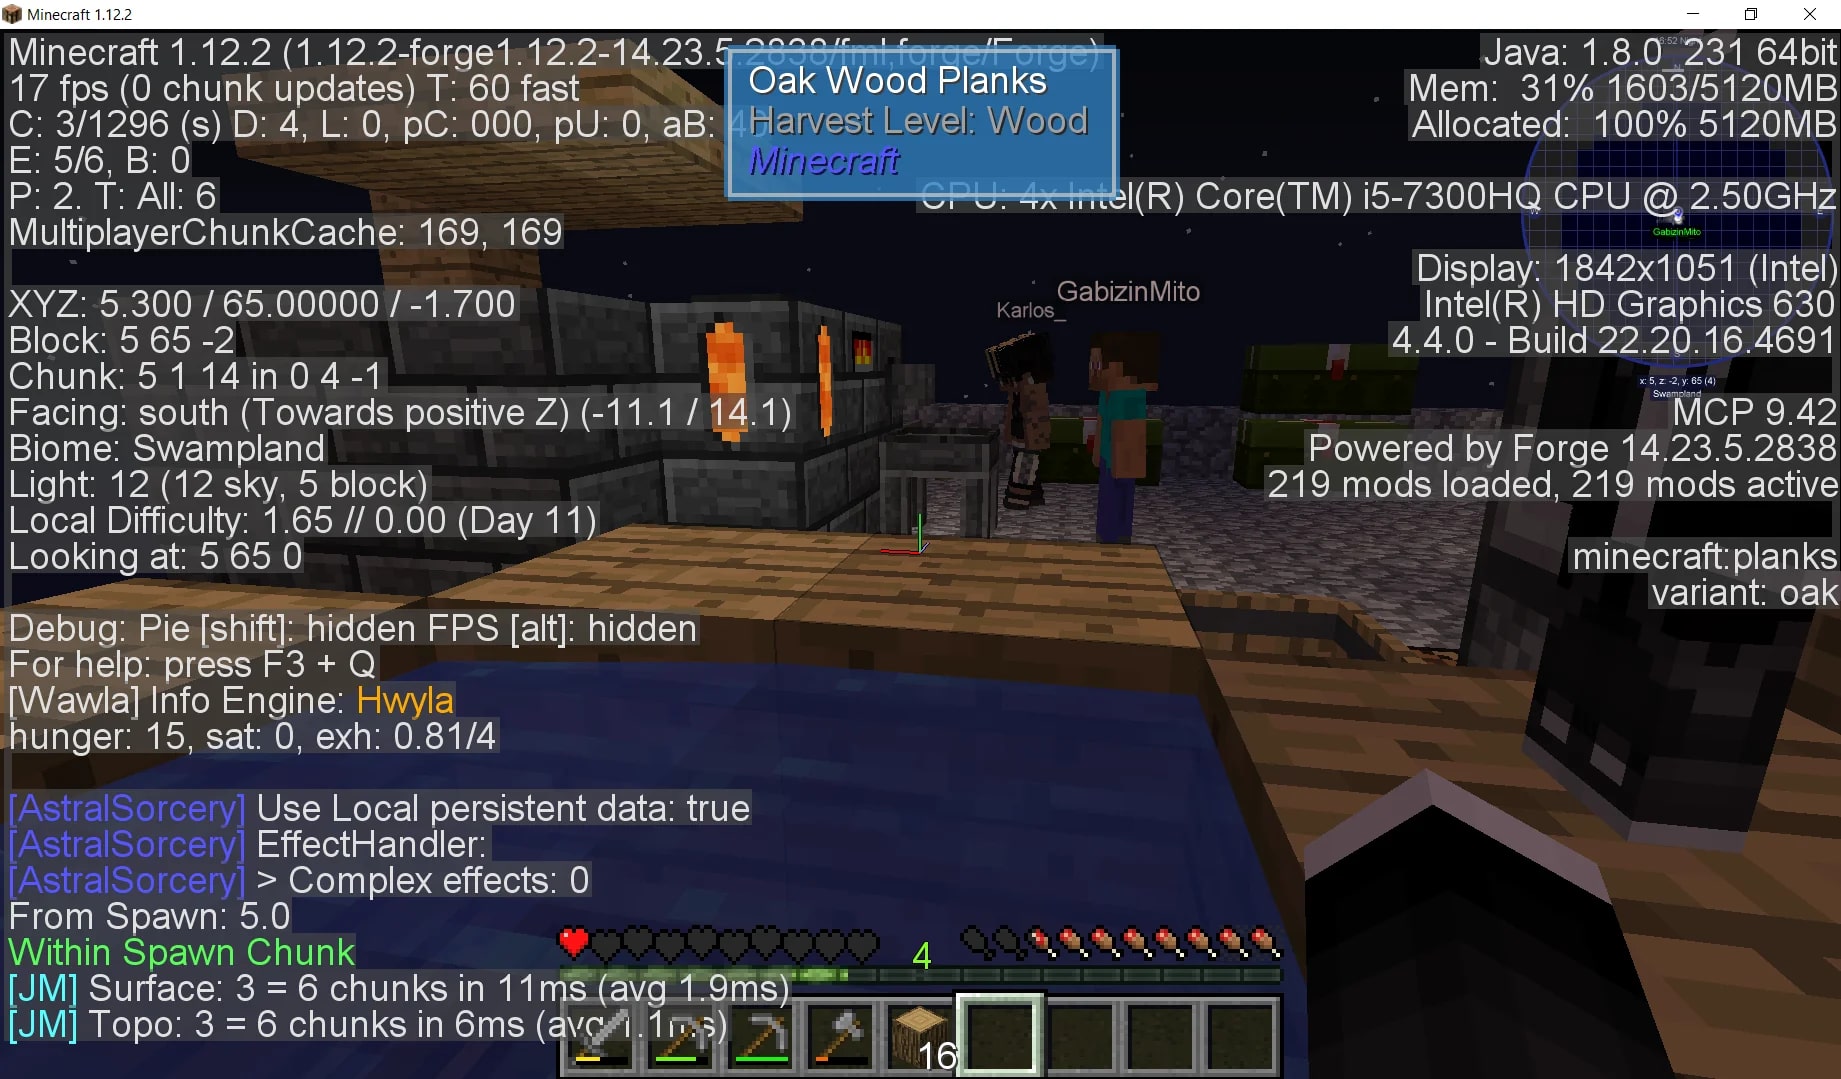
- Test performance and functionality: Open any graphic-intensive applications or games that you frequently use. Check if you notice any improvements in performance or any resolved issues that you were experiencing before the driver update. This helps ensure that the new driver is functioning optimally.
- Monitor system stability: Use your computer as you normally would for a while, paying attention to any unusual behavior, crashes, or error messages. A successful driver update should not cause any stability issues or system instabilities.
- Perform benchmark tests: If you want to measure the impact of the driver update on your graphics card’s performance, you can run benchmark tests before and after the update. This allows you to compare the results and see if there are any noticeable performance improvements.
If you encounter any issues or notice unexpected behavior after the driver update, it may be necessary to troubleshoot or seek assistance from Intel’s support resources. They can provide guidance specific to your graphics card model and help you resolve any issues you may encounter.
By following these steps and verifying the successful update of your Intel graphics driver, you can ensure that you are taking full advantage of the latest features, improvements, and bug fixes provided by Intel.
Conclusion
Updating your Intel graphics driver is a vital task to ensure optimal performance and compatibility for your graphics card. By following the step-by-step guide outlined in this article, you can successfully update your Intel graphics card driver and take advantage of the latest enhancements provided by Intel.
We started by determining the model of your graphics card and then proceeded to download the latest driver from Intel’s official website. After downloading the driver, we uninstalled the old graphics driver to prepare for the installation of the new driver.
We then installed the new graphics driver and recommended restarting the computer to fully implement the changes and ensure a smooth transition. Finally, we verified the successful update by checking the driver version, testing performance and functionality, monitoring system stability, and performing benchmark tests if desired.
It’s important to remember that the instructions provided in this guide are general and may vary slightly depending on your operating system and specific graphics card model. If you encounter any issues during the update process or have specific questions, we recommend referring to Intel’s support resources or seeking assistance from their customer support for further guidance.
By updating your Intel graphics driver regularly, you can keep your system running smoothly, benefit from the latest features and improvements, and ensure optimal performance for graphic-intensive tasks such as gaming, graphic design, and video editing.
Now that you have successfully updated your Intel graphics driver, you can enjoy an enhanced visual experience and maximize the capabilities of your graphics card. Keep in mind that regularly checking for driver updates and staying up-to-date with the latest releases from Intel is essential to ensure ongoing performance improvements and compatibility with future software updates.