Introduction
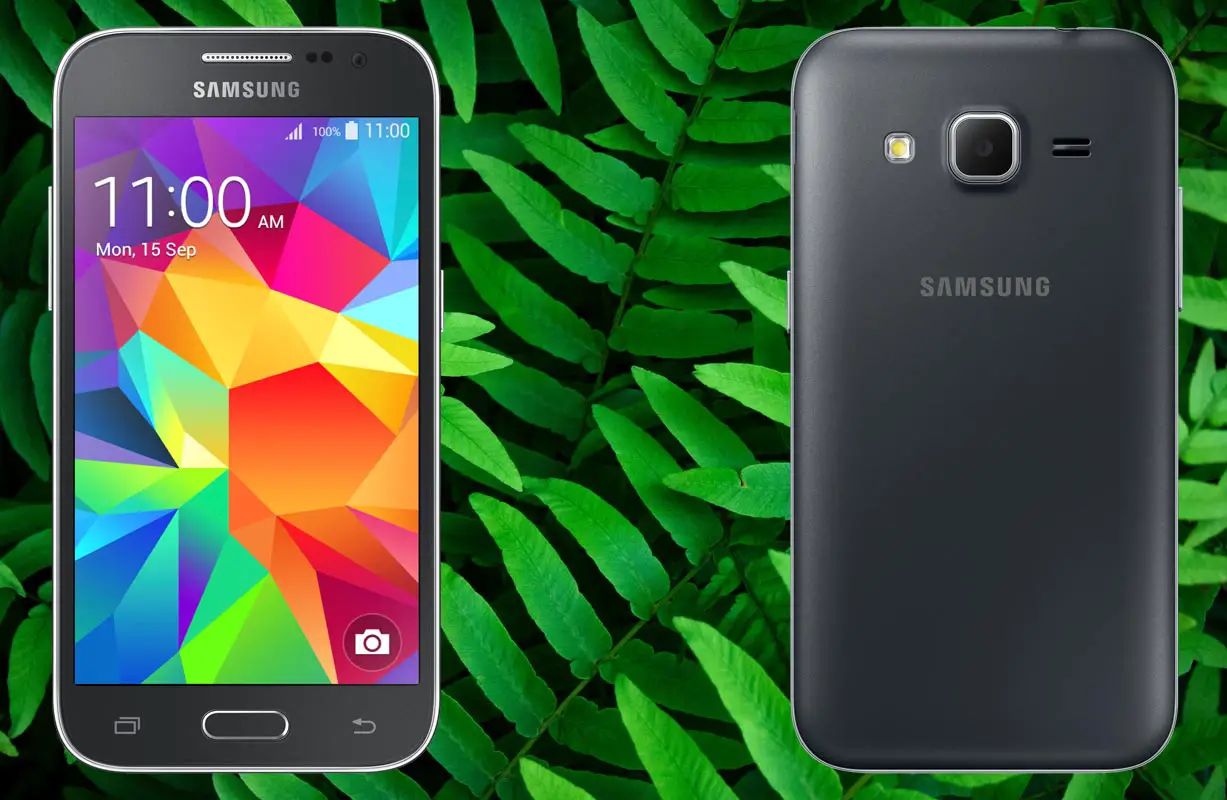
Welcome to this step-by-step guide on how to unlock the bootloader of your Samsung Galaxy Core Prime. Unlocking the bootloader of your device is an essential step if you want to have more control and freedom over your smartphone. By unlocking the bootloader, you can customize your device, install custom ROMs, and explore various advanced functionalities.
The Samsung Galaxy Core Prime is a popular smartphone known for its impressive performance and user-friendly features. However, by default, the bootloader of the device is locked, restricting users from making certain modifications. Unlocking the bootloader is the first step towards gaining full control over your device.
Before proceeding further, it’s important to note that unlocking the bootloader can void your device’s warranty. Additionally, the process involves potential risks, and if not done correctly, it can result in bricking your device. Therefore, it’s crucial to follow the instructions carefully and proceed with caution.
This guide assumes that you have basic knowledge and familiarity with using a computer and are comfortable executing command line instructions. Additionally, make sure you have a reliable backup of all your important data on the device, as unlocking the bootloader will erase everything on your phone.
It’s also worth mentioning that unlocking the bootloader is a complex process that carries certain risks. It’s vital to understand that any mistake or misstep during the process can lead to irreversible damage to your device. Therefore, it’s essential to proceed at your own risk and take responsibility for any consequences that may arise.
Now that we have covered the important points, let’s move on to the prerequisites section to ensure you have everything you need before unlocking the bootloader of your Samsung Galaxy Core Prime.
Prerequisites
Before you begin the process of unlocking the bootloader on your Samsung Galaxy Core Prime, there are a few essential things you need to have:
- A computer: You will need a computer with a USB port to connect your device.
- USB cable: Ensure you have a compatible USB cable to connect your device to the computer.
- Device drivers: Make sure you have installed the necessary device drivers on your computer to establish a proper connection.
- A backup of your data: Unlocking the bootloader will erase all the data on your device. It’s crucial to create a backup of your important files and data before proceeding.
- A fully charged device: It’s recommended to have your Samsung Galaxy Core Prime fully charged to avoid any disruptions during the process.
- ADB and Fastboot: These are command-line tools used to communicate with your device. Download and install the ADB and Fastboot tools on your computer.
- Knowledge and preparation: Familiarize yourself with the risks involved in unlocking the bootloader and ensure you understand the process thoroughly before proceeding.
It’s essential to have all these prerequisites in order to proceed with unlocking the bootloader of your Samsung Galaxy Core Prime successfully. Once you have gathered all the necessary requirements, you can move on to the next steps.
Ensure that you have your device model and variant information handy, as the specific steps may vary slightly depending on your device’s configuration. Double-check all the prerequisites to ensure a smooth and hassle-free experience unlocking the bootloader of your Samsung Galaxy Core Prime.
Step 1: Enable Developer Options
In order to unlock the bootloader of your Samsung Galaxy Core Prime, you need to enable Developer Options on your device. Follow these steps to enable Developer Options:
- Open the Settings app on your Samsung Galaxy Core Prime. You can access the Settings app by tapping on the gear icon in the app drawer or by swiping down from the top of the screen and tapping the gear icon in the notification panel.
- Scroll down and find the “About Phone” or “About Device” option. It is usually located towards the bottom of the Settings menu.
- Tap on “About Phone” or “About Device” to access the device information.
- Look for the “Build Number” or “Build Version” option. It may also be labeled as “Software Information” depending on your device’s manufacturer.
- Once you locate the “Build Number” or “Build Version” option, tap on it seven times in quick succession. You will see a message indicating that you are now a developer.
- Go back to the main Settings menu. You should now see a new option called “Developer Options” or “Developer Settings” towards the bottom of the list.
- Tap on “Developer Options” or “Developer Settings” to access the developer settings on your device.
- In the Developer Options menu, enable the “USB Debugging” option. This will allow your computer to communicate with your device via ADB and Fastboot.
Once you have successfully enabled Developer Options and USB Debugging on your Samsung Galaxy Core Prime, you are ready to proceed to the next step. It’s important to note that enabling Developer Options exposes advanced settings and features that are intended for experienced users. If you are unsure about any specific option, it’s best to research and understand its implications before making any changes.
With Developer Options and USB Debugging enabled, you have completed the first step in unlocking the bootloader of your Samsung Galaxy Core Prime. Now, you can move on to the next step and install ADB and Fastboot on your computer.
Step 2: Enable USB Debugging
In order to proceed with unlocking the bootloader of your Samsung Galaxy Core Prime, you need to enable USB Debugging on your device. USB Debugging allows your computer to communicate with your device and perform advanced tasks like installing custom firmware and executing commands through ADB and Fastboot.
Here’s a step-by-step guide on how to enable USB Debugging:
- Open the Settings app on your Samsung Galaxy Core Prime.
- Scroll down and select “Developer Options” or “Developer Settings.” If you don’t see this option, make sure you have enabled Developer Options by following the instructions in the previous step.
- In the Developer Options menu, locate the “USB Debugging” option.
- Toggle the switch next to “USB Debugging” to enable it.
- You will see a warning message regarding the potential risks of enabling USB Debugging. Read the message carefully and confirm your decision by tapping “OK” or “Enable” when prompted.
Once USB Debugging is enabled on your Samsung Galaxy Core Prime, you can establish a connection between your device and your computer to perform various tasks using ADB and Fastboot commands.
It’s important to note that USB Debugging mode exposes advanced features that, if misused, can result in unintended consequences. It is recommended to exercise caution while using USB Debugging and only perform operations that you fully understand and are comfortable with.
With USB Debugging enabled, you have completed the second step in unlocking the bootloader of your Samsung Galaxy Core Prime. Moving forward, the next step is to install ADB and Fastboot on your computer, which will allow you to interact with your device through the command line.
Step 3: Install ADB and Fastboot
In order to unlock the bootloader of your Samsung Galaxy Core Prime, you need to install ADB (Android Debug Bridge) and Fastboot tools on your computer. These tools are essential for communicating with your device and executing commands. Here’s a step-by-step guide to installing ADB and Fastboot:
- Download the ADB and Fastboot tools package for your operating system. You can find the official package on the Android developer website or use a third-party package from a trusted source.
- Once the download is complete, extract the contents of the package to a folder on your computer. You can choose any location for the folder.
- Open the folder where you extracted the ADB and Fastboot tools.
- Inside the folder, hold down the Shift key and right-click on an empty space. From the context menu, select “Open PowerShell window here” or “Open Command Prompt here.” This will open a command line window in the current folder.
- Connect your Samsung Galaxy Core Prime to your computer using a USB cable.
- In the command line window, type “adb devices” (without quotes) and press Enter. This command will verify if your device is properly connected and recognized by the computer.
- If your device shows up in the list of connected devices, you have successfully installed ADB and Fastboot, and your device is ready for the next steps. If your device is not listed, make sure you have the correct device drivers installed or try using a different USB cable or port.
With ADB and Fastboot successfully installed and your device recognized by the computer, you are now prepared to proceed with unlocking the bootloader of your Samsung Galaxy Core Prime.
Please note that the steps provided here are a general guide, and the exact installation process may vary depending on your operating system. It’s always recommended to refer to the specific instructions provided with the ADB and Fastboot tools package you downloaded.
In the next step, we will guide you on how to connect your device to the computer and enter Fastboot mode.
Step 4: Connect Your Device to the Computer
Before you can proceed with unlocking the bootloader of your Samsung Galaxy Core Prime, you need to establish a connection between your device and your computer. Follow these steps to connect your device to the computer:
- Using a USB cable, connect your Samsung Galaxy Core Prime to a USB port on your computer.
- Ensure that your device is powered on and unlocked.
- On your device, you may see a prompt asking for permission to allow USB debugging. Tap “Allow” to grant permission. This is necessary for your computer to communicate with your device through ADB and Fastboot.
- On your computer, open a command line window. You can do this by holding down the Shift key, right-clicking on an empty space in the ADB and Fastboot folder, and selecting “Open PowerShell window here” or “Open Command Prompt here.”
- In the command line window, type “adb devices” (without quotes) and press Enter. This command will list all connected devices. If your device is properly connected, you will see its unique ID in the list.
- If your device is listed, you have successfully connected your Samsung Galaxy Core Prime to the computer. If your device is not listed, make sure you have installed the necessary device drivers, and try using a different USB cable or port.
Establishing a successful connection between your device and your computer is crucial for performing further steps in the bootloader unlocking process. It allows your computer to communicate with your device and execute commands through ADB and Fastboot.
Now that your device is connected to the computer, you are ready to proceed to the next step, which involves booting your device into Fastboot mode.
Step 5: Boot your device into Fastboot mode
In order to unlock the bootloader of your Samsung Galaxy Core Prime, you need to boot your device into Fastboot mode. Fastboot mode allows you to send commands to your device from the computer. Here’s how you can boot your device into Fastboot mode:
- Ensure that your Samsung Galaxy Core Prime is powered off.
- Press and hold the Volume Down button and the Power button simultaneously.
- Continue holding both buttons until the device powers on and the Samsung logo appears.
- Release the Power button, but continue holding the Volume Down button until your device enters Fastboot mode.
- In Fastboot mode, you will see a screen displaying information about your device, such as the device name, model number, and bootloader status.
It’s important to note that different devices may have variations in the key combinations required to enter Fastboot mode. The above method is specific to the Samsung Galaxy Core Prime, but if it doesn’t work for your device, you can search online for the specific key combination for your device model.
Once your device is in Fastboot mode, it is ready for the next step, which involves using Fastboot commands to unlock the bootloader. Keep your device in Fastboot mode until you complete the process.
Now that your device is in Fastboot mode, you can proceed to the next step and use Fastboot commands to unlock the bootloader of your Samsung Galaxy Core Prime.
Step 6: Use Fastboot to Unlock the Bootloader
Now that your Samsung Galaxy Core Prime is in Fastboot mode, you can use Fastboot commands to unlock the bootloader. Unlocking the bootloader will allow you to make system-level changes and customize your device. Before proceeding, make sure you have a backup of all your important data, as the process will erase everything on your phone. Follow these steps to unlock the bootloader using Fastboot:
- On your computer, open a command line window. This can be done by holding down the Shift key, right-clicking on an empty space in the ADB and Fastboot folder, and selecting “Open PowerShell window here” or “Open Command Prompt here.”
- In the command line window, type the following command and press Enter:
fastboot oem unlock - A warning message will appear on your device’s screen. Read the message carefully, as unlocking the bootloader will void your warranty and may cause potential security risks.
- Use the volume buttons on your device to navigate to the “Yes” option, and press the Power button to confirm your decision.
- Your device will now start the bootloader unlocking process. This may take a few seconds.
- Once the process is complete, you will see a message indicating that the bootloader has been successfully unlocked.
Congratulations! You have successfully unlocked the bootloader of your Samsung Galaxy Core Prime using Fastboot. Your device is now ready for further customization and advanced modifications.
It’s important to note that unlocking the bootloader comes with certain risks, and it may void your device’s warranty. Additionally, unlocking the bootloader may permanently disable certain security features on your device. Proceed with caution and make sure you understand the implications of unlocking the bootloader.
In the next step, we will guide you on how to confirm the bootloader unlock status on your device.
Step 7: Confirm Bootloader Unlock Status
Once you have unlocked the bootloader of your Samsung Galaxy Core Prime using Fastboot, it’s important to confirm the bootloader unlock status. Confirming the unlock status will ensure that the process was successful and that your device is ready for further customization. Follow these steps to confirm the bootloader unlock status:
- Disconnect your device from the computer.
- Power on your Samsung Galaxy Core Prime.
- Go to the App Drawer and launch the “Settings” app.
- Scroll down and select “About Phone” or “About Device”.
- Look for the “Status” or “Bootloader Status” option. This will indicate if the bootloader is unlocked.
- If you see a message stating that the bootloader is unlocked, it means the process was successful. You can now enjoy the benefits of a unlocked bootloader.
Confirming the bootloader unlock status is important as it verifies that your device is properly unlocked and ready for customization. If you encounter any issues or if the status indicates that the bootloader is locked, you may need to repeat the unlocking process or seek assistance from the developer community or Samsung support.
It’s crucial to remember that unlocking the bootloader voids the warranty of your Samsung Galaxy Core Prime, and it may also introduce certain security risks. Proceed with caution and be aware of the potential consequences.
With the bootloader unlock confirmed, you are now ready to explore the world of custom ROMs, system modifications, and advanced customization options for your Samsung Galaxy Core Prime.
Conclusion
Congratulations! You have successfully unlocked the bootloader of your Samsung Galaxy Core Prime, opening up a world of possibilities for customization and advanced modifications. By following the step-by-step instructions in this guide, you have gained more control and freedom over your device.
Unlocking the bootloader allows you to install custom ROMs, customize the system settings, and explore various advanced features. However, it’s important to note that unlocking the bootloader is a complex process that carries certain risks. Make sure to thoroughly research and understand the implications before proceeding.
Throughout this guide, we covered the prerequisites you need to meet before unlocking the bootloader, enabling developer options and USB debugging, installing ADB and Fastboot on your computer, connecting your device to the computer, booting your device into Fastboot mode, using Fastboot to unlock the bootloader, and confirming the bootloader unlock status.
Remember, unlocking the bootloader voids your device’s warranty and may introduce potential security risks. It’s crucial to proceed with caution and take responsibility for any consequences that may arise. Additionally, always ensure you have a backup of your important data before proceeding with any modifications on your device.
If you have any questions or face any difficulties during the bootloader unlocking process, consider seeking help from the developer community or reaching out to Samsung support for assistance.
With your Samsung Galaxy Core Prime bootloader unlocked, you now have the power to personalize and optimize your device to suit your preferences. Enjoy exploring the various customization options and advanced features available to you!


