Introduction
Backing up your photos is crucial to ensure that your precious memories are safe and accessible. Google Photos provides a convenient way to automatically back up all your photos and videos to the cloud, giving you peace of mind knowing that your memories are protected. However, there may come a time when you want to un backup certain photos for various reasons.
In this guide, we will walk you through the step-by-step process of un backing up photos from Google Photos. Whether you want to free up storage space on your device or simply remove certain photos from Google’s servers, we’ve got you covered.
Un backing up photos from Google Photos is a straightforward process that can be done directly from your device. You don’t need any specialized software or technical knowledge to accomplish this task. Simply follow the steps outlined below, and you’ll be able to un backup your photos in no time.
Before we dive into the steps, it’s important to note that un backing up photos will not delete them from your device. It only removes them from being synced with Google Photos. The original photos will still be intact on your phone or computer.
Now that you have a clear understanding of what un backing up photos entails, let’s move on to the next section where we’ll guide you through the process of accessing Google Photos.
Step 1: Accessing Google Photos
To begin the process of un backing up your photos from Google Photos, you first need to access the app or website. Here’s how:
- If you’re using a smartphone or tablet, open the Google Photos app on your device. It’s usually pre-installed on Android devices, but you can also download it from the App Store for iOS devices.
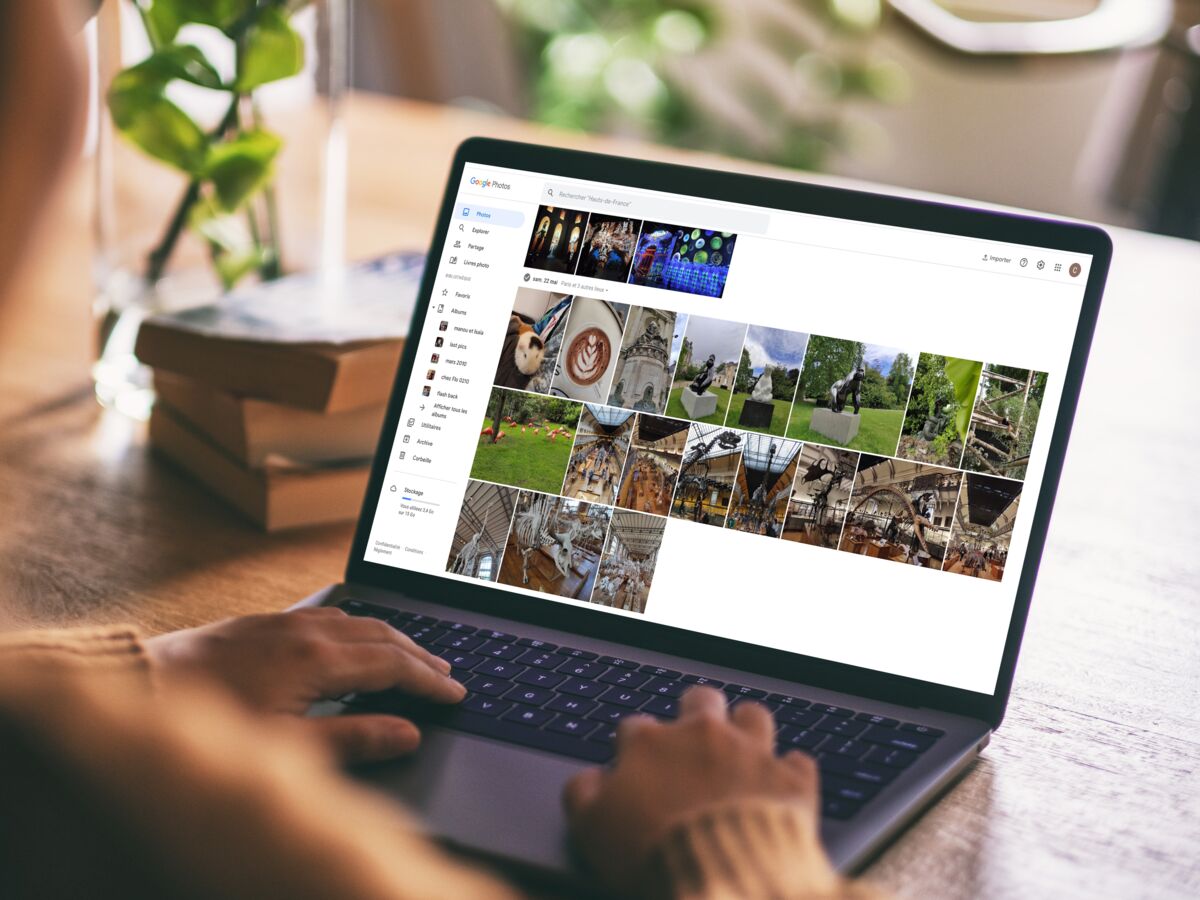
- If you prefer accessing Google Photos from your computer, open your preferred web browser and go to https://photos.google.com.
- Once you’ve opened Google Photos, sign in using the Google account that is connected to the photos you want to un backup.
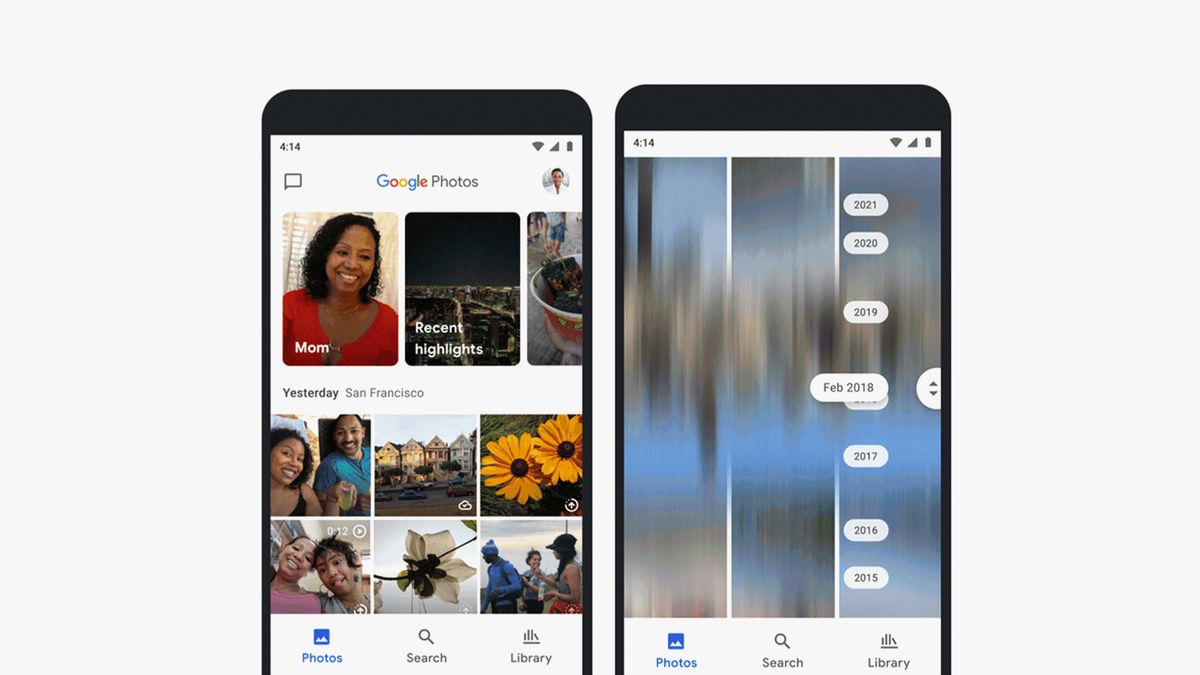
Once you’ve successfully signed in, you’ll be able to view all the photos and videos that have been backed up from your device. The interface may vary slightly depending on whether you’re using the app or the web version, but the basic functions and features remain the same.
Now that you’ve accessed Google Photos, let’s move on to the next section where we’ll guide you through the process of selecting the photos you want to un backup.
Step 2: Selecting the Photos to Un Backup
Once you’ve accessed Google Photos, it’s time to select the specific photos that you want to un backup. Here’s how you can do it:
- Scroll through your photo library to find the album or individual photos that you want to un backup.
- If you’re using the Google Photos app, tap on the photo you want to un backup to open it in full view. On the bottom of the screen, you’ll see options such as “Share” and “Info”. Tap on the three dots icon (usually located in the top right corner) to reveal additional options.
- From the list of options, select “Don’t back up” or “Remove from backup”. The wording may vary slightly depending on the version of the app you’re using.
- If you want to un backup multiple photos at once, you can do so by selecting them in the photo grid view. On the top right corner of the screen, you’ll find a checkbox icon. Tap on that icon to enable the selection mode. Once selected, you can choose the “Don’t back up” or “Remove from backup” option.
If you’re using the web version of Google Photos, the process is similar. Simply open the album or photo you want to un backup, and click on the three dots icon (usually located in the top right corner). From the dropdown menu, select “Don’t back up” or “Remove from backup”. For multiple selections, enable the selection mode by clicking on the checkbox icon on the top left corner and choose the desired option.
By following these steps, you’ll be able to select and mark the photos that you want to un backup from Google Photos. In the next section, we’ll discuss how to remove the selected photos from the backup archive. Let’s proceed!
Step 3: Removing Photos from Backup
Now that you have selected the photos you want to un backup, it’s time to remove them from the backup archive in Google Photos. Follow these steps to remove the selected photos:
- In the Google Photos app or on the web version, navigate to the album or photo that you want to remove from backup.
- If you’re using the app, tap on the three dots icon or the “Info” button (usually located in the top right corner) to open the photo options.
- From the list of options, choose “Remove from device” or a similar option that indicates the removal from backup. Confirm the prompt to proceed with the removal.
- If you’re removing multiple photos at once, select them in the grid view and choose the “Remove from device” or similar option.
When you remove a photo from backup, it will no longer sync with Google Photos and will only be available on your device. The original photo file will still be preserved on your device, so you don’t have to worry about any loss of data.
If you’re using the web version of Google Photos, the process is similar. Open the album or photo you want to remove from backup, click on the three dots icon, and choose the “Remove from device” or a similar option.
By following these steps, you can easily remove the selected photos from the backup archive in Google Photos. Let’s proceed to the next section, where we’ll discuss how to check the un backup status and ensure the photos are no longer synced.
Step 4: Checking the Un Backup Status
After removing photos from the backup archive in Google Photos, you may want to double-check that the un backup process was successful. Here’s how you can verify the un backup status:
- Open the Google Photos app on your device or access the web version using your preferred web browser.
- Navigate to the album or photo that you previously removed from backup.
- If you’re using the Google Photos app, look for the cloud icon with a slash through it. This icon indicates that the photo is no longer being backed up and is only available on your device. If the cloud icon is still present, make sure you removed the photo correctly by following the previous steps.
- If you’re using the web version, you should see a similar indication that the photo is no longer backed up or synced with Google Photos.
By verifying the un backup status, you can ensure that the photos you wanted to remove from the backup archive are no longer being synced. This provides you with the assurance that these photos will not take up storage space in your Google account and will only be available on your device.
If you find that the un backup status is not reflected correctly, consider repeating the previous steps to remove the photos again. It’s also worth ensuring that you have a stable internet connection and that your device is properly synced with your Google account.
Now that you’ve confirmed the un backup status, let’s move on to the final section where we’ll cover some troubleshooting tips to help you overcome any challenges you may encounter during the un backup process.
Step 5: Troubleshooting
While un backing up photos from Google Photos is generally a straightforward process, you may encounter some issues along the way. Here are a few troubleshooting tips to help you overcome common challenges:
1. Syncing Issues: If you removed the photos from backup but they are still appearing in Google Photos, check your internet connection and make sure your device is properly synced with your Google account. You can also try signing out and signing back in to refresh the sync.
2. Incorrect Removal: If you accidentally removed the wrong photos or want to re-back up the photos you un backed up, you can go through the process again and select the photos to be backed up.
3. Storage Space: If you’re un backing up photos to free up storage space on your device, consider using other methods to offload your photos, such as transferring them to an external hard drive or using cloud storage services other than Google Photos.
4. App Version: If you’re using the Google Photos app, make sure you have the latest version installed. Updating the app can often resolve any bugs or issues you may encounter during the un backup process.
5. Permissions: Check the permissions settings on your device and ensure that Google Photos has access to your device’s storage. Without proper access, Google Photos may not be able to remove photos from the backup archive.
If you’ve gone through these troubleshooting tips and are still experiencing difficulties with un backing up photos from Google Photos, you may consider reaching out to Google’s support team for further assistance.
With these troubleshooting tips in mind, you’re now equipped to navigate any obstacles that may arise during the un backup process. Congratulations! You’ve successfully learned how to un backup photos from Google Photos. Enjoy the freed-up storage space and the control over your photo library!
Conclusion
Un backing up photos from Google Photos is a simple and essential process that allows you to regain control over your photo library. By following the steps outlined in this guide, you can easily remove selected photos from the backup archive and free up storage space on your device.
Remember, un backing up photos does not delete them from your device; it only removes them from being synced with Google Photos. This means that your original photos will still be safe and accessible on your device.
Throughout this guide, we covered the step-by-step process of accessing Google Photos, selecting the photos to un backup, removing them from the backup archive, checking the un backup status, and troubleshooting common issues that may arise. By following these guidelines, you can confidently manage and organize your photo collection.
Always remember to verify the un backup status to ensure that the photos you selected are no longer being synced with Google Photos. If you encounter any difficulties or have further questions, don’t hesitate to reach out to Google’s support team for assistance.
Now that you have the knowledge and tools to un backup photos from Google Photos, you can maintain control over your photo library and customize your backup preferences according to your needs. Enjoy the freedom to curate your collection and preserve your most cherished memories!


