Introduction
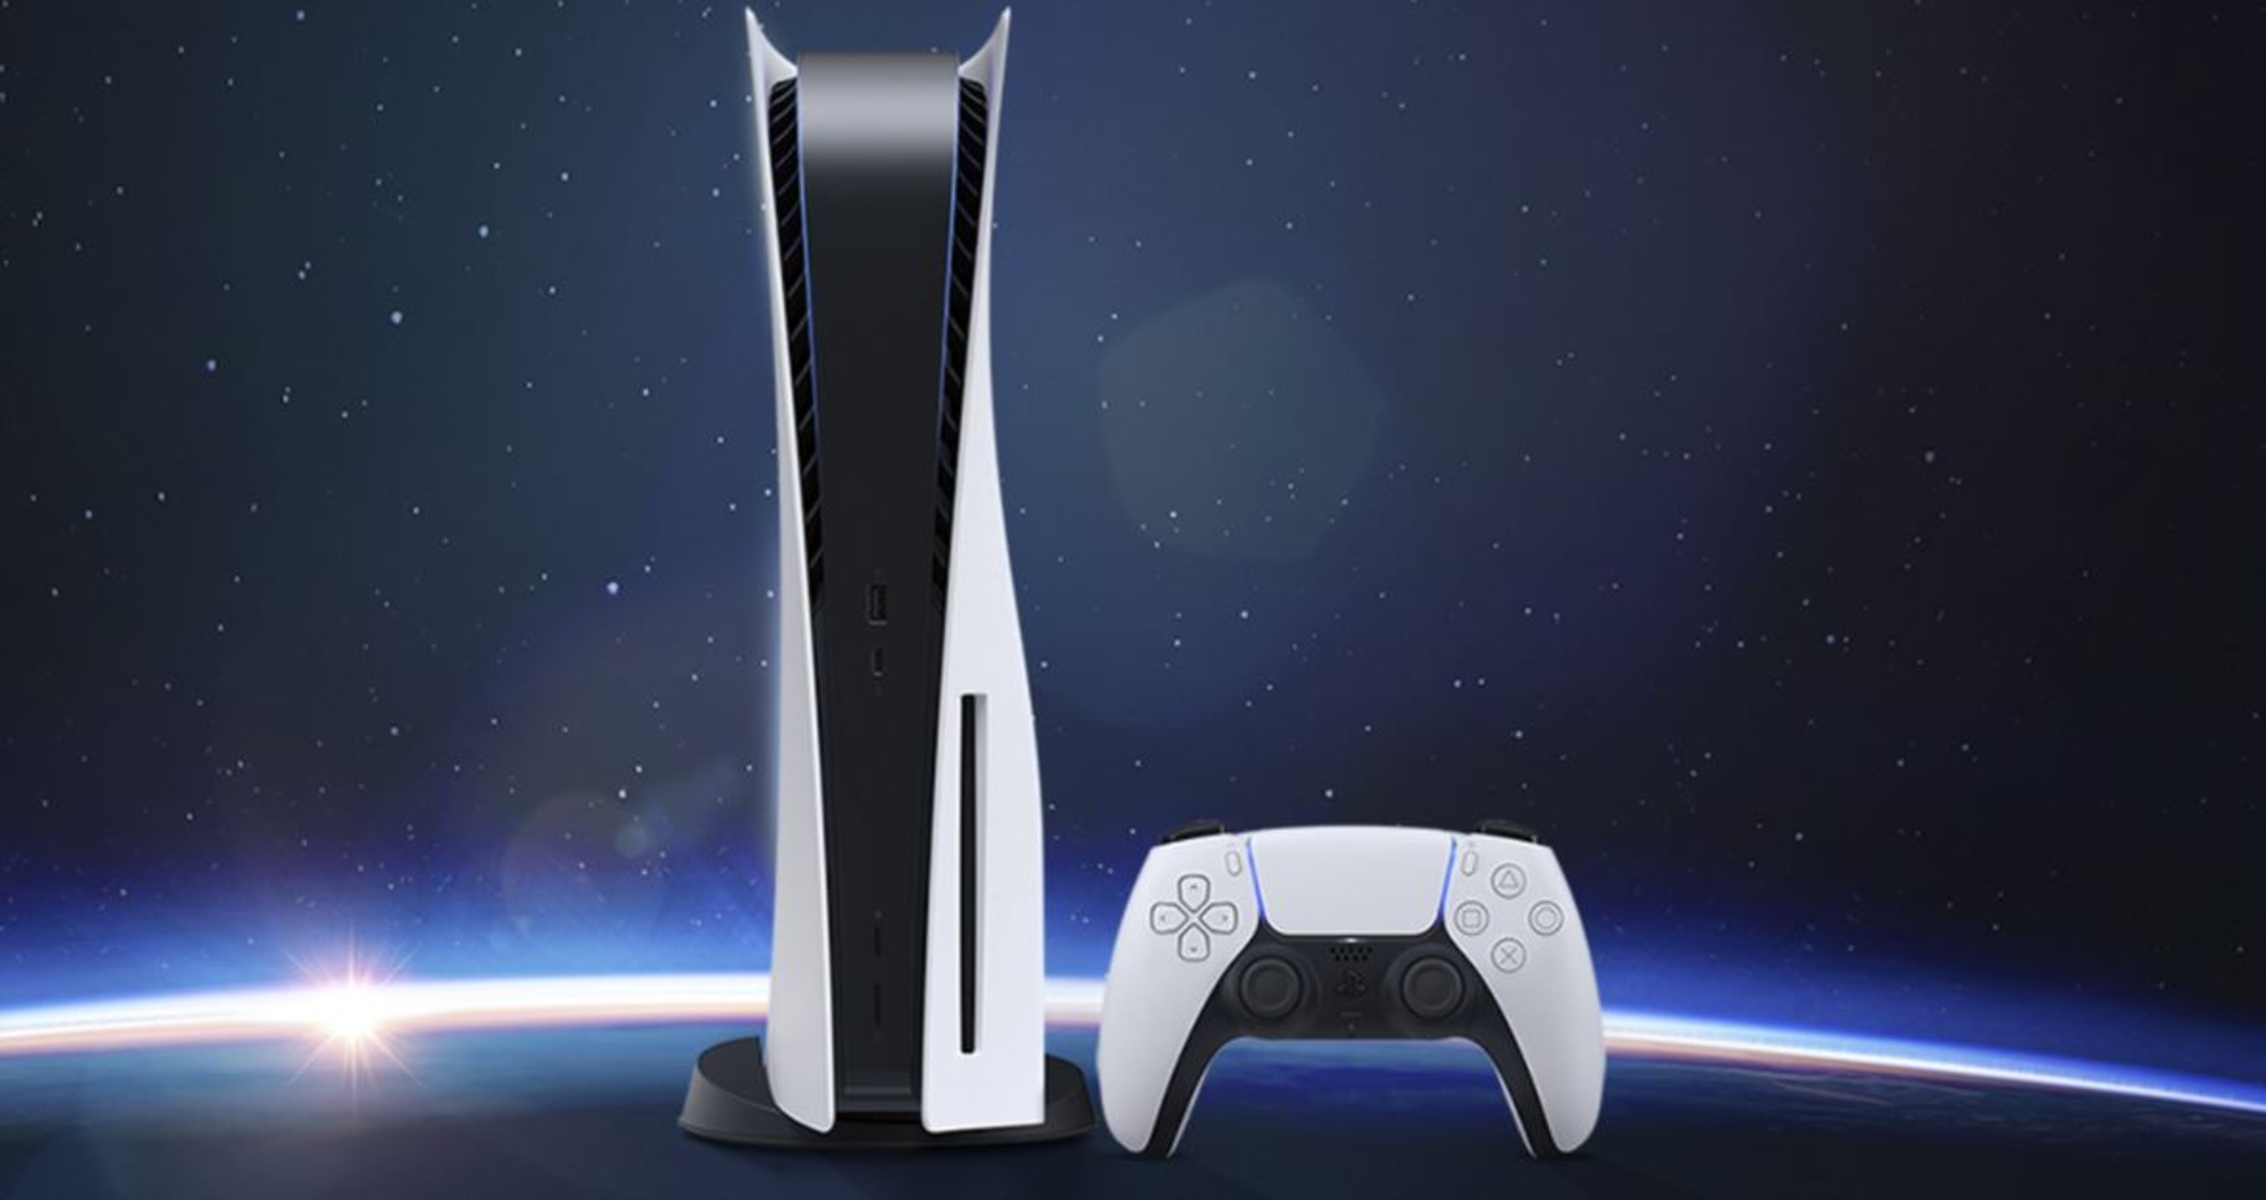
Welcome to the world of live streaming on the PlayStation 5 (PS5)! With its powerful hardware and innovative features, the PS5 provides an incredible platform for gamers to share their gameplay experiences with a global audience. Twitch, one of the most popular live streaming platforms, allows you to connect with viewers, build a community, and even pursue a career as a content creator.
Streaming on Twitch with your PS5 may seem daunting at first, but fear not! This guide will walk you through the step-by-step process of setting up your PS5 for Twitch streaming, configuring your stream settings, customizing your stream layout, and interacting with viewers. Whether you’re a seasoned streamer or just starting out, this guide will help you optimize your Twitch streaming experience on the PS5.
By streaming on Twitch, you can showcase your gaming skills, entertain viewers with your commentary and reactions, and connect with like-minded individuals who share your passion for gaming. It’s an exciting and rewarding way to engage with your audience, receive feedback, and even earn income through subscriptions and donations.
Before we dive into the nitty-gritty of Twitch streaming on the PS5, let’s go over the prerequisites to ensure you have everything you need. Don’t worry, it’s a relatively straightforward process, and you’ll be hitting that “Go Live” button in no time!
Prerequisites
Before you start streaming on Twitch with your PS5, it’s essential to have a few things in place. Here are the prerequisites you need to meet:
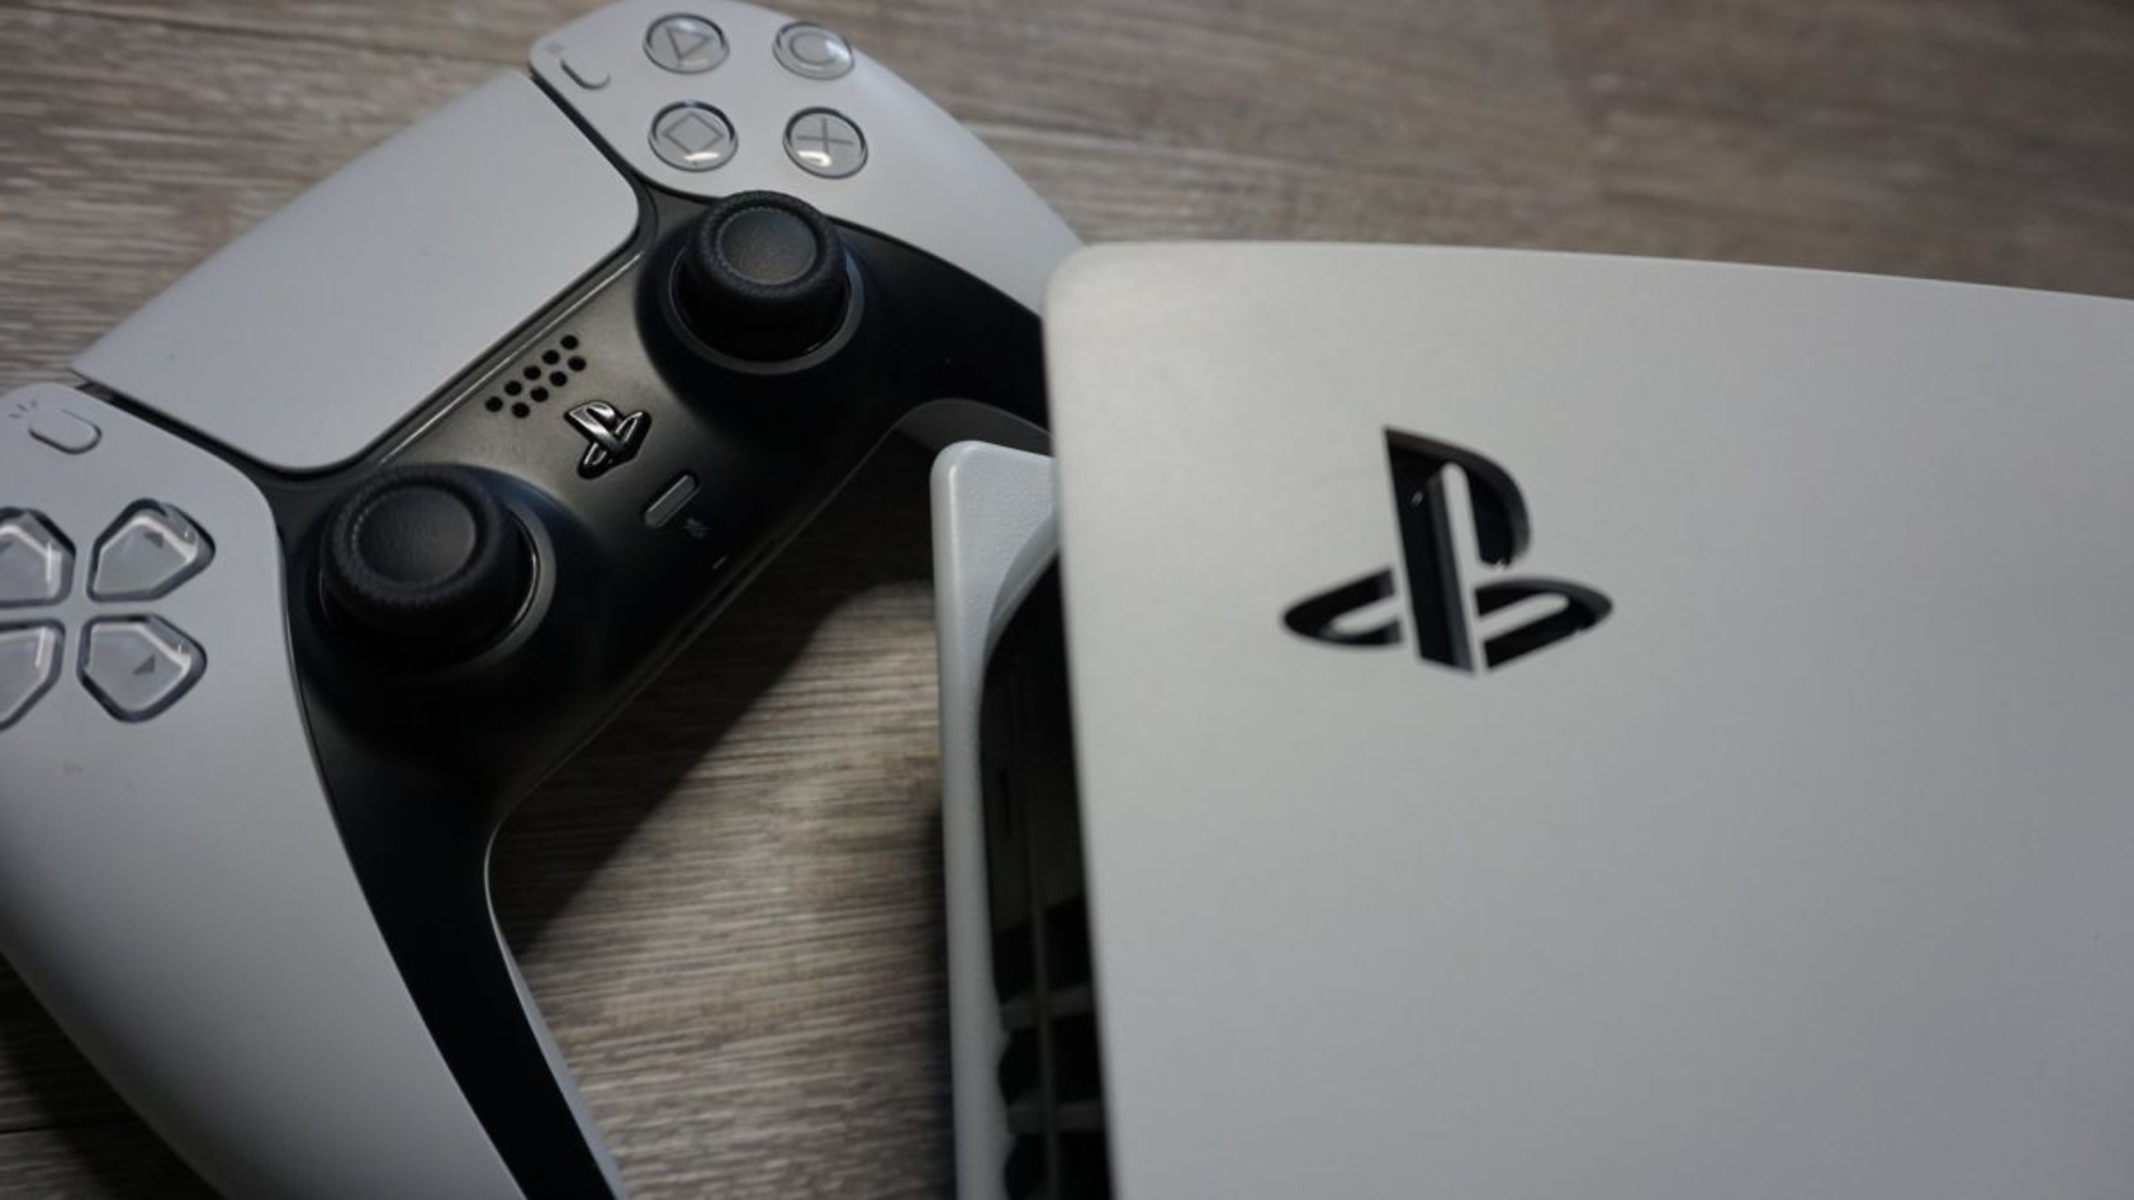
- A PlayStation 5: Obviously, you’ll need a PS5 console to begin streaming on Twitch. Make sure you have the latest firmware update installed to access all the streaming features.
- A stable internet connection: Streaming requires a reliable internet connection to ensure a smooth and uninterrupted broadcasting experience. We recommend a minimum upload speed of at least 3-5 Mbps.
- A Twitch account: If you don’t have one already, visit the Twitch website and create an account. It’s free and easy to set up.
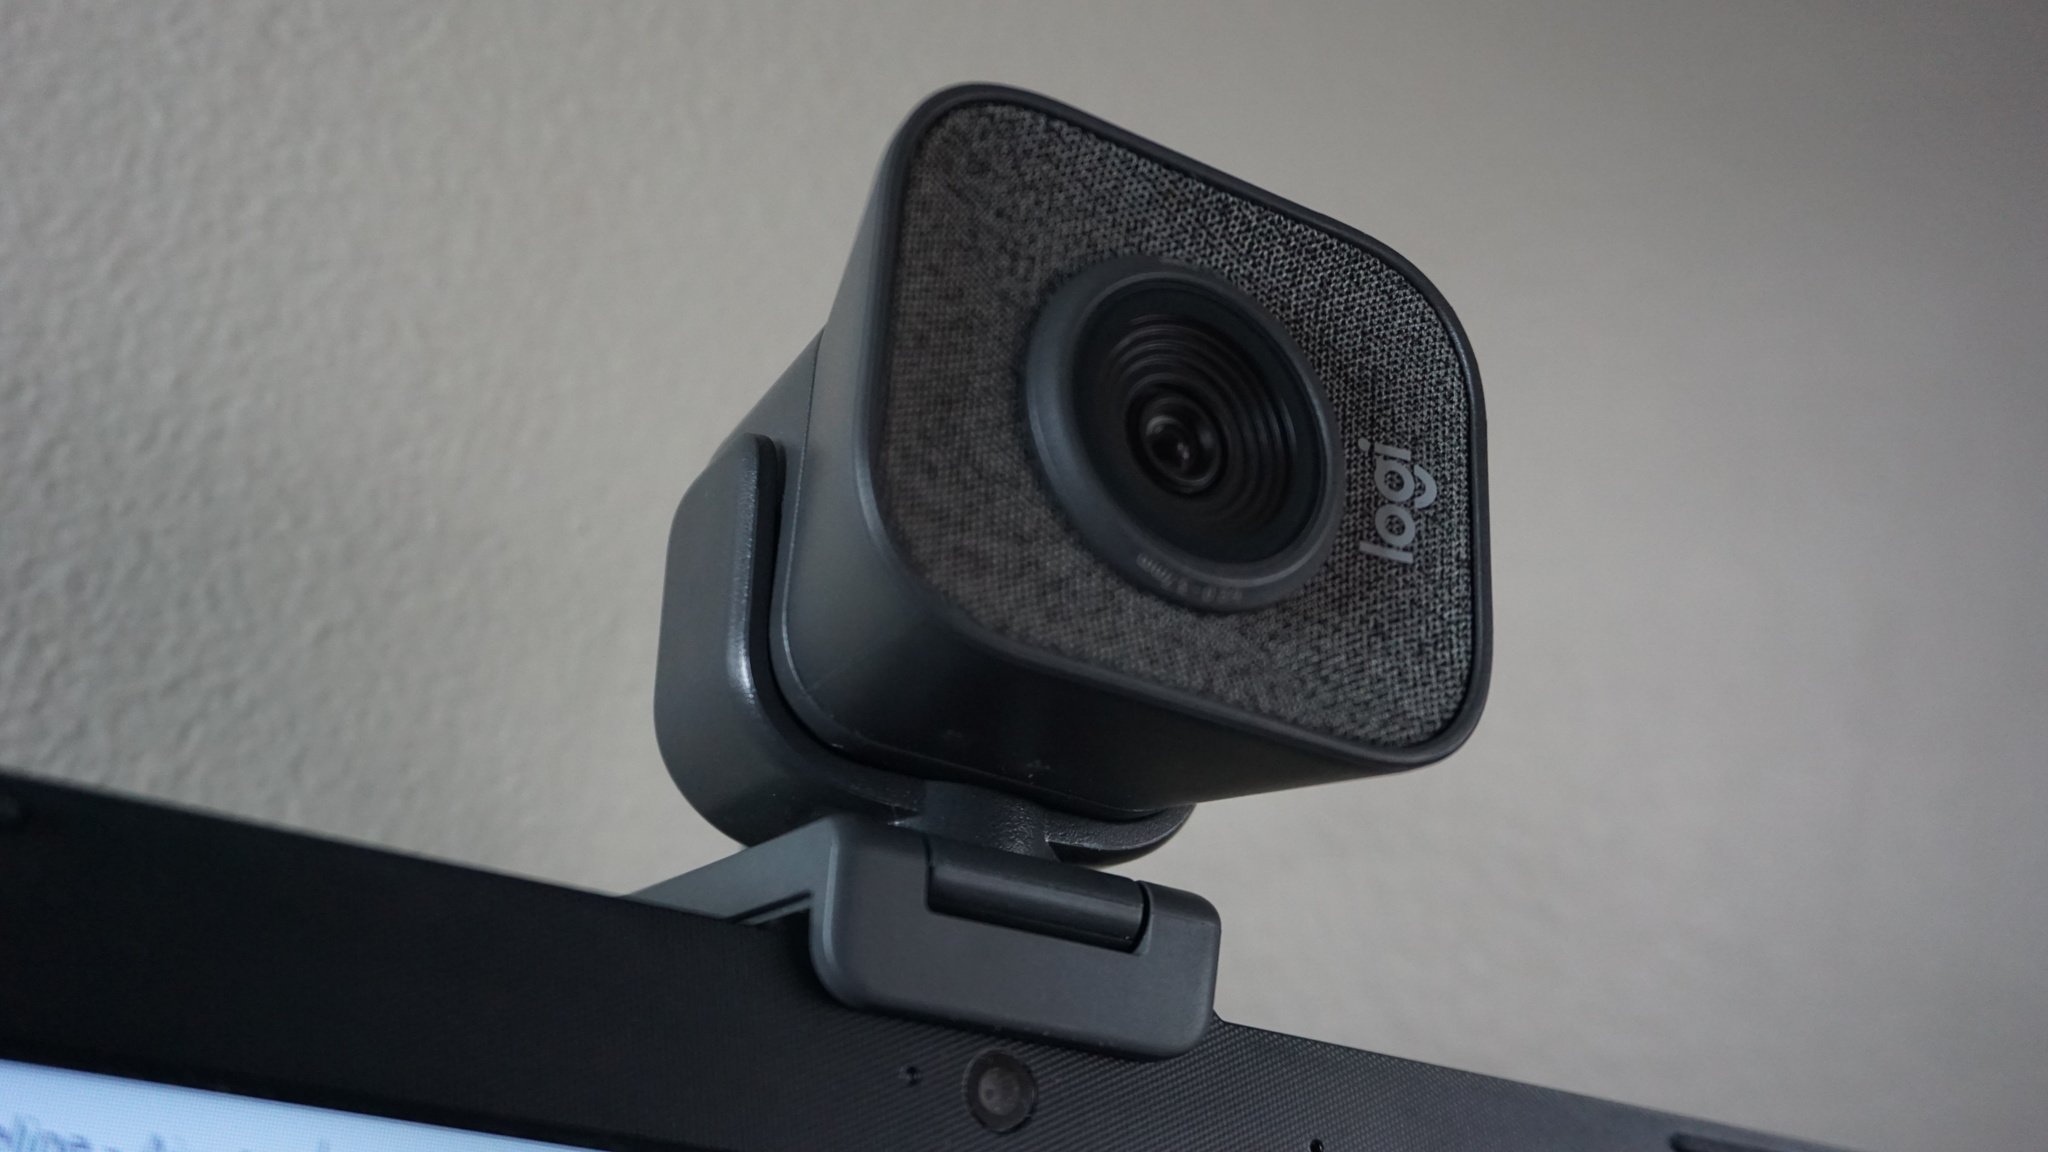
- A microphone and/or camera: To engage with your audience, you’ll need a microphone to provide commentary during your streams. If you want to showcase your reactions, a camera can be a great addition.
- Optional: Capture card or external streaming device: While the PS5 has built-in streaming capabilities, you may consider investing in a capture card or external streaming device for more advanced streaming features and customization options. This is not a requirement for basic streaming but can enhance your streaming setup in the long run.
Now that you have all the prerequisites covered, you’re ready to set up your PS5 for Twitch streaming. In the next section, we’ll guide you through the process step by step. Let’s go!
Setting Up Your PS5 for Twitch Streaming
Before you can start streaming on Twitch with your PS5, you need to configure a few settings on your console. Here’s a step-by-step guide to help you get started:
- Connect your PS5 to the internet: Ensure that your PS5 is connected to a stable internet connection. You can do this via Wi-Fi or by connecting an ethernet cable to your console.
- Sign in to your PlayStation Network (PSN) account: If you haven’t already, sign in to your PSN account on your PS5. This is essential to access the streaming features.
- Enable HDCP: By default, HDCP (High-bandwidth Digital Content Protection) is enabled on the PS5, which can prevent the display from being captured by external devices. To disable it, go to “Settings” > “System” > “HDMI” > “Enable HDCP” and turn it off.
- Adjust audio and video settings: Go to “Settings” > “Sound” and choose the audio input/output settings that suit your streaming needs. Additionally, adjust the video output settings to ensure the best quality for your streams.
- Configure power settings: To prevent your console from entering rest mode while streaming, go to “Settings” > “System” > “Power Saving” > “Features Available in Rest Mode” and select “Stay Connected to the Internet”.
- Enable the “Allow Broadcasts and Game Invites” setting: To ensure that your streams can be accessed by viewers and that game invites can be sent, go to “Settings” > “Users and Accounts” > “Privacy” > “Sharing and Broadcasts” and enable the “Allow Broadcasts and Game Invites” setting.
- Test your internet connection: To ensure a stable connection for your streams, go to “Settings” > “Network” > “Test Internet Connection” and run the test. This will help identify any potential issues that could affect your streaming quality.
With these settings in place, your PS5 is now ready to be linked with your Twitch account. In the next section, we’ll cover the steps to configure Twitch on your PS5. Stay tuned!
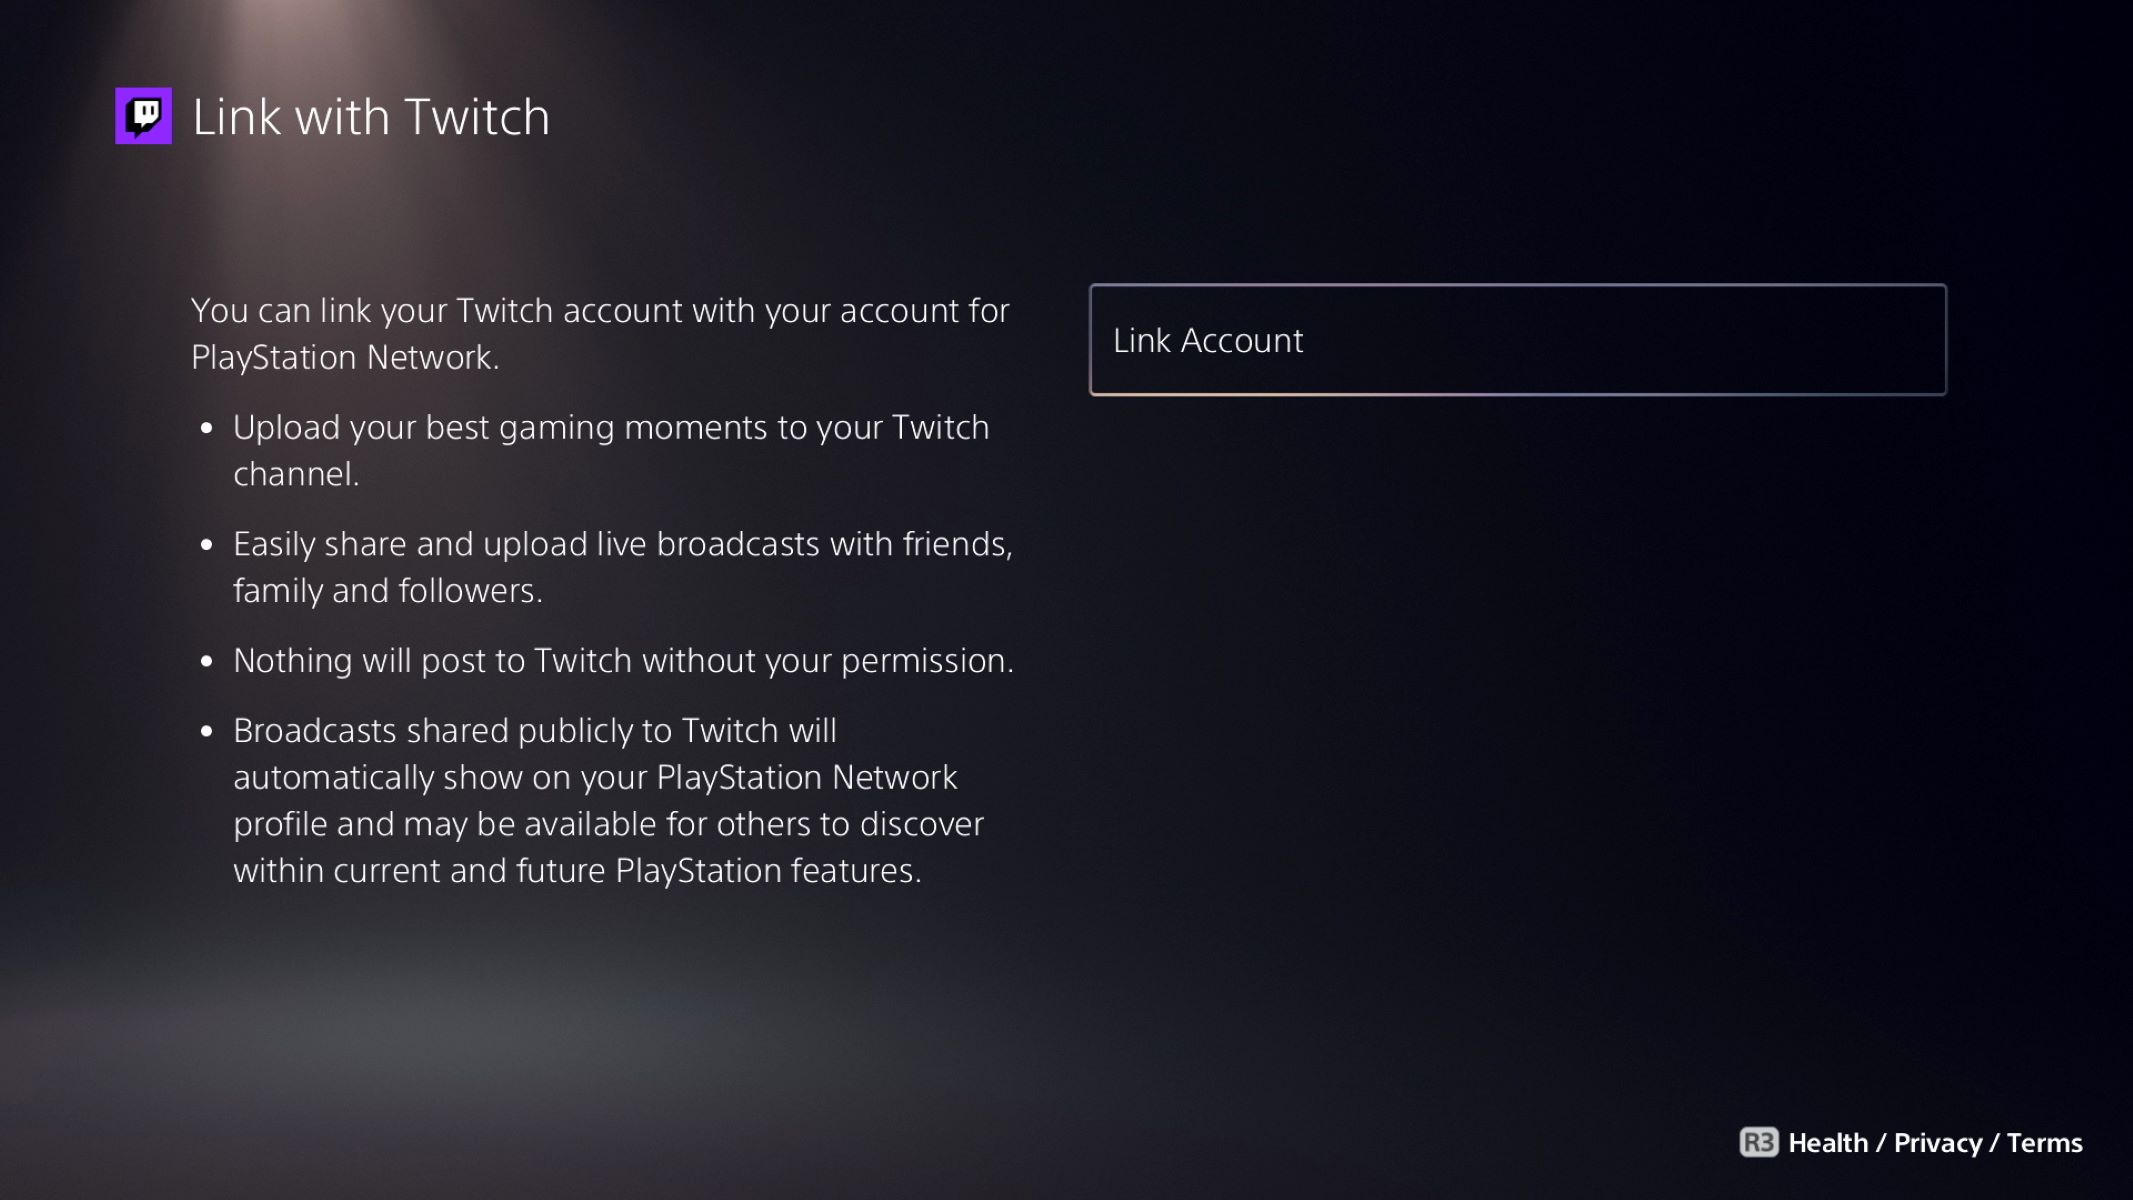
Configuring Twitch on PS5
Now that you have set up your PS5, it’s time to link your Twitch account and configure the necessary settings. Follow these steps to get started:
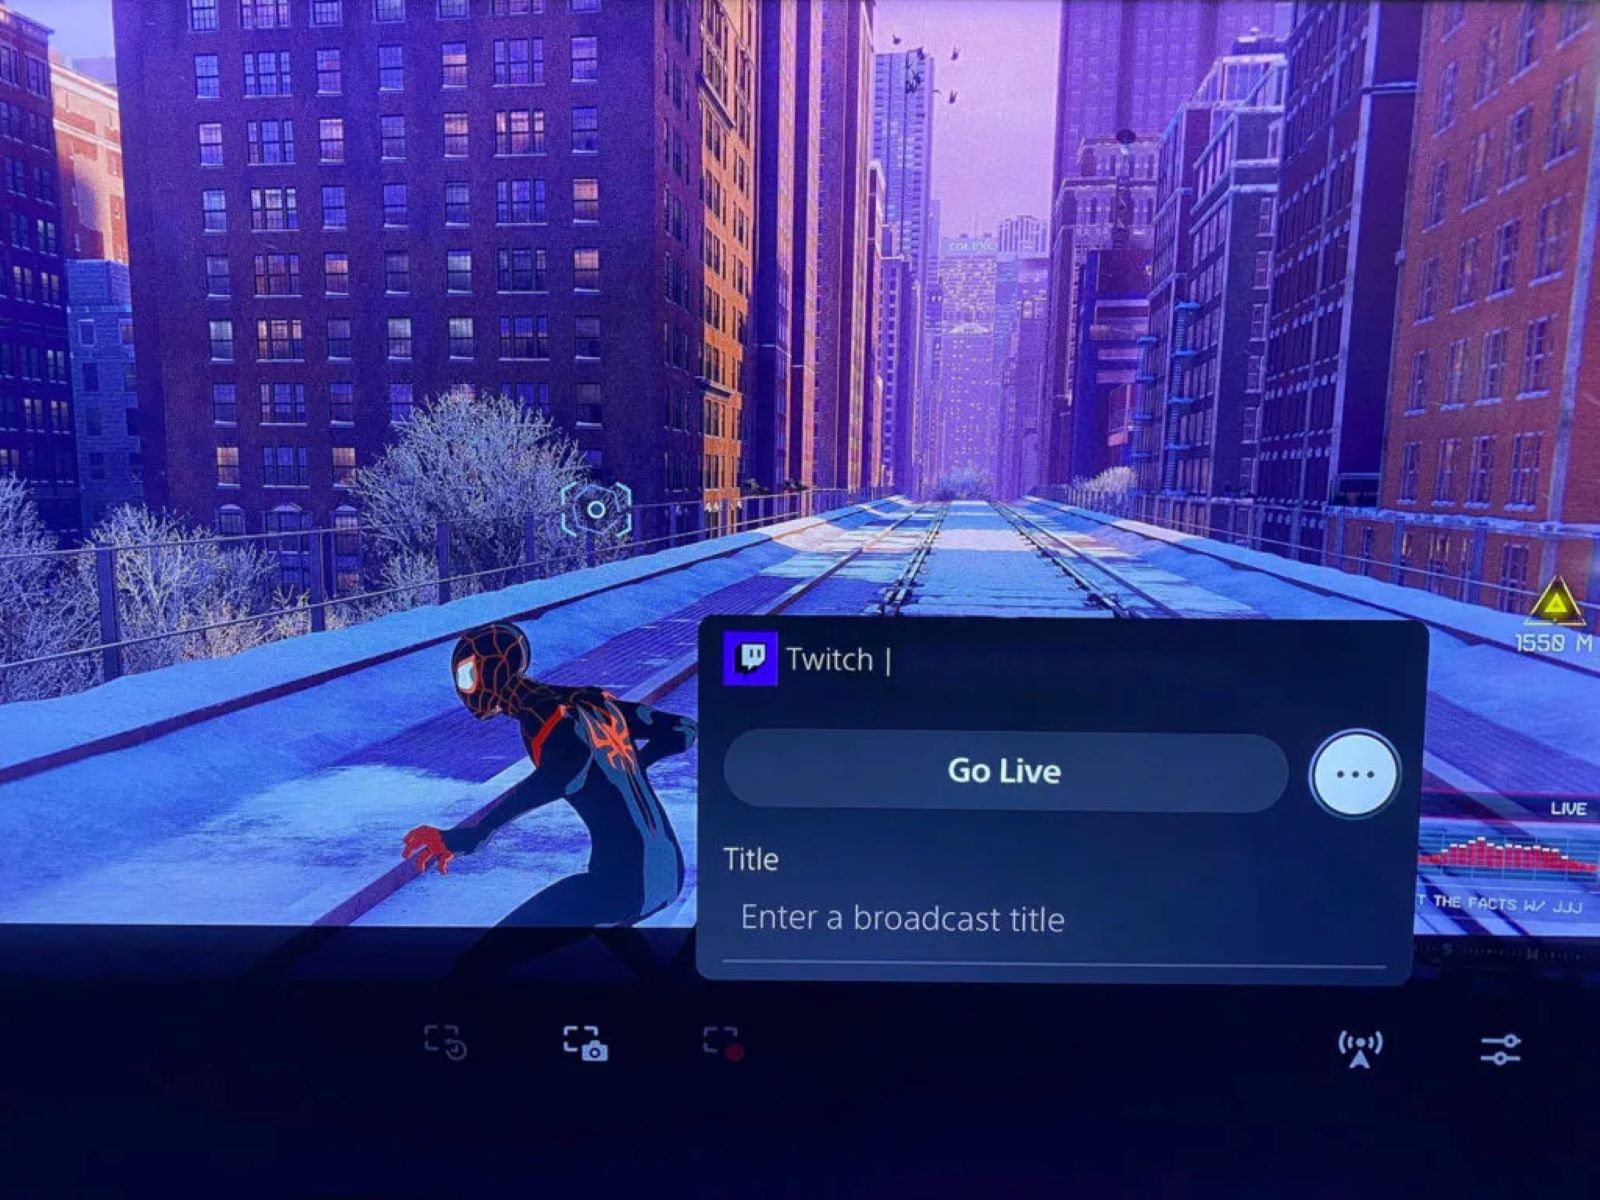
- Open the Twitch app on your PS5: Locate the Twitch app on your PS5’s home screen or in the “Game Library”. If you don’t have it installed, you can download it from the PlayStation Store.
- Sign in to your Twitch account: Enter your Twitch account credentials to sign in. If you haven’t linked your Twitch account to your PSN account before, you’ll need to authorize the connection.
- Authorize the Twitch app: To authorize the Twitch app on your PS5, you’ll need to visit the Twitch activation website via a computer or mobile device. Follow the on-screen instructions to obtain an activation code.
- Link your Twitch account: On your computer or mobile device, visit the Twitch activation website and enter the activation code provided on your PS5. Once entered, your Twitch account will be linked to your PS5.
- Configure your stream settings: After linking your Twitch account, return to the Twitch app on your PS5. Here, you can adjust your stream title, category, and privacy settings. You can also choose whether to include your camera and microphone in your streams.
- Social sharing preferences: Decide whether you want to share your stream announcements and activities on your connected social media accounts.
- Enable chat overlay: You have the option to enable chat overlay, allowing you to view and interact with your Twitch chat while streaming.
- Set up automatic archiving: If you want to save your streams as VODs (Video on Demand), enable the automatic archiving feature. This allows viewers to watch your past streams at any time.
With your Twitch account successfully linked and the settings configured, you are one step closer to going live on Twitch with your PS5. In the next section, we will explore how to adjust stream settings to ensure a smooth and high-quality streaming experience. Stay tuned!
Adjusting Stream Settings
Now that your Twitch account is linked on your PS5, it’s time to fine-tune your stream settings to ensure optimal streaming quality. Here are the important settings to consider:
- Video quality: Depending on your internet connection and the capabilities of your PS5, you can select the desired video quality for your stream. Twitch offers options ranging from 480p to 1080p, with higher quality requiring better internet speeds.
- Audio settings: You can adjust the audio settings to balance game audio and your microphone input. It’s important to ensure that your voice is clear and audible to your viewers, without overpowering the game sounds.
- Stream latency: Twitch offers different levels of stream latency – normal, low, and ultra-low. Consider your interaction with viewers when selecting the latency level. Ultra-low latency provides near real-time interaction, but may require a higher internet speed.
- Set up chat moderation: It’s a good practice to moderate your chat to maintain a positive and respectful environment. Customize your chat moderation settings to handle spam, offensive language, or inappropriate behavior.
- Stream delay: You have the option to enable a stream delay of a few seconds to prevent stream sniping in competitive gaming or to create a small buffer for content moderation.
- Streaming notifications: Decide whether you want to receive notifications for new followers, subscribers, or other important events during your streams.
- Enable automatic highlighting: Twitch offers a feature called automatic highlighting, which creates video clips of notable moments during your streams. You can choose to enable this feature to easily share highlights or create content for future use.
Take some time to experiment with these settings to find the right balance that suits your streaming style and audience preferences. Testing and tweaking these settings will help you deliver an engaging and high-quality stream on Twitch with your PS5.
Next, let’s explore how you can customize your stream layout to create a unique and visually appealing experience for your viewers. Continue reading for more exciting insights!
Customizing Your Stream Layout
One of the great features of streaming on Twitch with your PS5 is the ability to customize your stream layout, making it unique and visually appealing. Here are some ways you can personalize your stream layout:
- Overlay graphics: Consider adding overlay graphics to your stream to display your branding, social media handles, or information about your stream. You can create these graphics using image editing software or utilize pre-made overlays available online.
- Camera placement: If you are using a camera to showcase your reactions, experiment with different camera placements on your stream layout. Find a position that doesn’t obstruct important gameplay elements but still offers optimal visibility of your expressions.
- On-screen alerts: Enhance viewer engagement by adding on-screen alerts for new followers, subscribers, or donations. These alerts can be customized to fit your stream’s theme and are sure to make your audience feel appreciated.
- Chat box positioning: Decide where to position the chat box on your stream layout. It’s important to ensure that the chat is easily readable while not blocking crucial gameplay elements.
- Scene transitions: Implement scene transitions to make your stream visually appealing during transitions between different scenes or activities. Transitions can be simple fades, slides, or more elaborate animations.
- Stream overlays: Consider adding overlays for specific events or milestones during your stream. These overlays can include progress bars, donation goals, or special announcements to keep your viewers engaged.
- Background music: Adding background music can add an extra layer of ambiance to your streams. Ensure that the music volume is balanced with your voice and game audio to avoid overpowering the other elements.
- Branding elements: Incorporate your branding elements such as logos, color schemes, or catchphrases into your stream layout. This will help create a consistent and memorable brand image for your streams.
Remember, customization is all about finding a layout that aligns with your personal style and reflects your brand. Don’t be afraid to experiment and make adjustments based on feedback from your viewers. Make your stream layout an extension of yourself and provide a visually immersive experience for your audience.
Now that you’ve customized your stream layout, it’s time to test your stream and ensure everything is running smoothly. Let’s dive into the next section to learn how to test your stream effectively!
Testing Your Stream
Before you go live on Twitch with your PS5, it’s crucial to test your stream to ensure that everything is working properly and that your viewers will have a seamless experience. Follow these steps to effectively test your stream:
- Prepare a test scene: Create a separate scene in your streaming software specifically for testing purposes. This setup should mimic your typical streaming setup, including your gameplay capture, camera, microphone, and any overlays or alerts you plan to use.
- Check your stream quality and performance: Start streaming to Twitch using the test scene and monitor the quality of your stream. Keep an eye on factors like video and audio quality, frame rate, and any potential lag or buffering issues. Ensure that the stream maintains a stable connection throughout.
- Interact with the chat: Utilize a separate device, such as a phone or tablet, to access your stream chat. Test the interactivity by sending messages, emotes, or triggering alerts to see if they appear correctly on your stream overlay.
- Test viewer experience: Ask a few trusted friends or fellow streamers to join your test stream and provide feedback on how the stream looks and sounds from the viewer’s perspective. Pay attention to any technical issues they may encounter and make the necessary adjustments.
- Review VOD (Video on Demand) playback: After ending your test stream, review the VOD playback to assess the overall quality, audio levels, and visual elements. This allows you to identify any areas that need improvement before your official streams.
- Make necessary adjustments: Based on the feedback received and your own observations, make any necessary adjustments to your stream setup, audio settings, overlays, and other elements to ensure the best possible streaming experience for your viewers.
Testing your stream ensures that you are well-prepared and equipped to deliver a professional and high-quality stream to your audience. Take the time to fine-tune your settings, resolve any technical issues, and seek feedback to make improvements before your official streams.
Now that you’ve tested your stream and are confident in its performance, it’s time to learn how to effectively interact with your viewers on Twitch. Let’s dive into the next section!
Interacting with Viewers
Interacting with your viewers is a crucial aspect of building a vibrant and engaged community on Twitch. Here are some tips to help you effectively engage with your viewers:
- Monitor and respond to chat: Keep an eye on your chat window during your streams and take the time to read and respond to messages from your viewers. Engage in conversations, answer questions, and acknowledge viewers who are actively participating.
- Use viewer shout-outs: Show appreciation to your viewers by giving shout-outs during your stream. This can include thanking new followers, subscribers, or donors, or highlighting viewers who contribute to the conversation.
- Encourage viewer engagement: Pose questions or start discussions related to the game you’re playing or other relevant topics to encourage viewers to participate in the chat. This creates a sense of community and makes viewers feel involved.
- Utilize chat moderation: Moderate your chat to maintain a positive and respectful environment. Set clear rules and enforce them to ensure the chat remains inclusive and welcoming for all viewers.
- Establish channel emotes and memes: Create unique emotes or memes for your channel that become inside jokes or symbols of your community. These emotes can be used by your viewers to express emotions or react to specific moments during your streams.
- Organize community events: Plan occasional community events, such as game nights, tournaments, or special streams, where viewers can participate and interact with you and other members of the community. This fosters a sense of belonging and encourages viewers to return regularly.
- Encourage viewer-generated content: Allow and encourage viewers to share their own content related to your stream, such as fan art, video clips, or highlights. Recognize and showcase these contributions during your streams, which will further strengthen the connection with your audience.
- Take advantage of Twitch features: Utilize features like channel points, polls, and interactive extensions to engage your audience further. These features provide opportunities for viewers to participate actively and have a say in certain aspects of your stream.
Remember, the key to successful viewer interaction is to be authentic and genuine. Show appreciation for your viewers, listen to their feedback, and create an inclusive and welcoming environment for everyone in your community.
Now that you are equipped with the knowledge of interacting with viewers, let’s explore some troubleshooting tips to address common issues that may arise during your Twitch streams. Read on to find out more!
Troubleshooting Tips
While streaming on Twitch with your PS5, you may encounter some common issues that can affect the quality and overall experience of your stream. Here are some troubleshooting tips to help you overcome these challenges:
- Internet connection issues: If you experience lag or buffering during your stream, check your internet connection speed and ensure it meets the recommended requirements. Consider connecting your PS5 directly to your router via Ethernet for a more stable connection.
- Audio and video synchronization: If your audio and video appear out of sync on your streams, adjust the audio delay settings in your streaming software to align them correctly. Test and fine-tune this setting until the synchronization is optimal.
- Game audio overpowering your voice: If your game audio is drowning out your voice, adjust the audio mix to prioritize your microphone input. This ensures that your viewers can hear your commentary clearly over the game sounds.
- Green screen issues: If you’re using a green screen for your camera feed and are experiencing issues with the background, ensure that the lighting is even and there are no shadows or wrinkles. Proper positioning and lighting can help create a clean and professional green screen effect.
- Stream delay or latency: If you’re experiencing significant stream delay or latency, consider switching to a different Twitch server location that provides a more stable connection. Additionally, you can lower the quality settings of your stream to reduce latency.
- Overheating or hardware issues: If your PS5 or streaming hardware is overheating or experiencing performance issues, make sure to keep your console and equipment well-ventilated. Consider using cooling pads or fans to prevent overheating during long streaming sessions.
- Test stream quality with different devices: If you receive feedback about stream quality issues from viewers, test your stream using different devices and internet connections to isolate the problem. This helps determine if the issue is specific to certain devices or networks.
- Audio or visual glitches: If you encounter audio or visual glitches during your stream, try restarting your streaming software or PS5 console. Updating your software and drivers to the latest versions can also help resolve compatibility issues.
- Keep stream and console software updated: Regularly check for updates for your PS5 firmware, streaming software, and any additional streaming tools or plugins you use. Keeping everything up-to-date helps prevent potential bugs and ensures compatibility with the latest features.
Remember, troubleshooting is a normal part of streaming, and it’s essential to stay calm and patient when addressing these issues. By following these tips and continuously refining your stream setup, you’ll be able to overcome any challenges and deliver a high-quality streaming experience for your audience.
Now that you’re equipped with troubleshooting knowledge, let’s wrap up this guide and wish you a successful journey as you start streaming on Twitch with your PS5!
Conclusion
Congratulations! You have successfully learned how to stream on Twitch with your PS5. By following the steps outlined in this guide, you have set up your PS5 for Twitch streaming, configured the necessary settings, customized your stream layout, interacted with viewers, and troubleshooted common issues that may arise during your streams.
Streaming on Twitch with your PS5 opens up a world of possibilities for connecting with a global audience, showcasing your gaming skills, and building a thriving community. Remember to be authentic, engage with your viewers, and create a welcoming environment that encourages participation and interaction.
As you embark on your streaming journey, continually seek feedback, experiment with different techniques, and stay up to date with the latest trends in the streaming world. Streaming on Twitch is not just about playing games – it’s about creating memorable experiences, fostering connections, and sharing your passion with others.
So, go ahead and start streaming on Twitch with your PS5. Embrace the challenges, celebrate the victories, and continuously strive to improve your content and engage with your audience. With dedication, perseverance, and a genuine love for gaming, you can achieve great success on Twitch.
Good luck, have fun, and may your Twitch streams on the PS5 be filled with thrilling gameplay, lively conversations, and an ever-growing community of enthusiastic viewers!