Introduction
Welcome to the world of Facebook, where you can connect with friends, share updates, and explore a wide range of content. While Facebook offers a multitude of features and settings to ensure user privacy, there might still be times when you want to browse the platform without leaving any traces. This is where the Incognito mode comes in handy.
Incognito mode, also known as private browsing, allows you to browse Facebook without your activity being recorded. It ensures that your search history, viewed posts, and clicked links are not saved and cannot be used to personalize your experience or serve you targeted ads.
Whether you’re planning a surprise party, researching a sensitive topic, or simply want to browse Facebook without leaving a digital trace, turning on Incognito mode can provide you with the peace of mind and privacy you desire.
In this article, we will guide you through the step-by-step process of turning on Incognito mode on Facebook. By following these instructions, you can browse the platform privately and enjoy an anonymous browsing experience.
Step 1: Open Facebook
The first step to turning on Incognito mode on Facebook is to open the Facebook app or website on your device. Launch the Facebook app on your smartphone or tablet, or open your preferred web browser and navigate to the Facebook website.
If you’re using the Facebook app, locate the app icon on your device’s home screen or app drawer and tap on it to open. If you’re on a desktop or laptop computer, open your preferred web browser (such as Google Chrome, Mozilla Firefox, or Safari) and enter www.facebook.com in the address bar.
Once you have successfully opened Facebook, you will be prompted to log in or sign up if you haven’t already done so. Provide your login credentials (username and password) to access your Facebook account.
If you’re using the Facebook app, tap on the “Log In” button located at the bottom of the screen. If you’re using a web browser, enter your username and password in the provided fields on the Facebook login page and click on the “Log In” button.
After successfully logging in, you will be directed to your Facebook news feed, where you can see posts, updates, and activities from your friends and the pages you follow. Now that you have opened Facebook, you are ready to proceed to the next step in enabling Incognito mode for your browsing activity.
Step 2: Go to Settings & Privacy
Once you have logged in to your Facebook account, the next step is to access the settings menu where you can find the option to enable Incognito mode. To get to the settings menu, locate the menu icon, which is typically represented by three horizontal lines or dots, depending on the device you are using.
On the Facebook app, the menu icon is usually located in the top or bottom right corner of the screen. Tap on this icon to open the menu and reveal a list of options. On the Facebook website, the menu icon is typically located on the top right corner of the screen. Click on this icon to expand the menu.
Once you have opened the menu, look for the option labeled “Settings & Privacy.” This option may be listed directly in the menu or within a sub-menu that expands when you select “Settings.” Tap or click on “Settings & Privacy” to proceed.
After selecting “Settings & Privacy,” a new page or menu will appear with various options related to your Facebook account settings. This is where you can customize your privacy preferences, manage your account, and access other important features.
Keep in mind that the location and appearance of the settings menu may vary slightly depending on the version of the Facebook app or website you are using, as Facebook frequently updates its interface and layout. However, you should be able to find the “Settings & Privacy” option with relative ease.
Once you have reached the settings menu, you are one step closer to enabling Incognito mode on Facebook. In the next step, we will guide you through selecting the appropriate privacy settings to activate this mode.
Step 3: Select Privacy Settings
After accessing the settings menu in your Facebook account, the next step is to navigate to the privacy settings. These settings allow you to control who can see your posts, interact with your profile, and access your personal information. To proceed, look for the “Privacy” option within the settings menu and tap or click on it.
Upon selecting the “Privacy” option, you will be taken to a page or menu where you can customize your privacy preferences. Here, you will find a range of settings related to your posts, activity, and personal information.
Take some time to explore the privacy settings and familiarize yourself with the available options. You can choose to make your posts visible to everyone, restrict them to your friends only, or customize the audience for each individual post. Additionally, you can manage who can find you using your email address or phone number, control the visibility of your friend list, and adjust other privacy-related settings.
While these privacy settings allow you to control the visibility of your personal information, they do not directly enable Incognito mode. To proceed with enabling Incognito mode, we will need to navigate to a more specific section within the privacy settings.
Look for an option within the privacy settings that is related to your personal information or activity history. This option is typically labeled as “Your Facebook Information,” but may also be referred to as “Activity Log” or similar terms.
Once you have identified the appropriate section, proceed to the next step for further instructions on enabling Incognito mode on Facebook.
Step 4: Scroll Down to Your Facebook Information
To enable Incognito mode on Facebook, you need to navigate to the section in your privacy settings that is dedicated to managing your Facebook information. This section allows you to control and access the data associated with your account. Scroll down within the privacy settings until you find the option labeled “Your Facebook Information.”
The “Your Facebook Information” section provides you with a range of tools to manage and control your data, such as downloading a copy of your information, managing your activity log, and more. This section is crucial for enabling Incognito mode as it allows you to clear your activity history and prevent future tracking.
Once you have located the “Your Facebook Information” option, click or tap on it to expand the section. A list of options will appear, providing you with various tools to manage your data. One of the options you will find within this section is “Off-Facebook Activity,” which we will explore in the next step.
By scrolling down to the “Your Facebook Information” section, you are one step closer to enjoying a private and more secure browsing experience on Facebook. In the next step, we will guide you through accessing and managing your off-Facebook activity, a key component of enabling Incognito mode.
Step 5: Select Off-Facebook Activity
In order to enable Incognito mode on Facebook and ensure that your activity is not tracked or stored, you need to access the “Off-Facebook Activity” section. This feature allows you to manage the information that Facebook receives from other websites and apps.
Within the “Your Facebook Information” section, scroll through the options until you find the “Off-Facebook Activity” option. Click or tap on it to proceed.
Off-Facebook Activity is a collection of data that Facebook receives about your interactions with other websites and apps. This information is used to personalize your Facebook experience and provide you with targeted ads. By managing your off-Facebook activity, you can take control of the data that is collected and used by the platform.
When you select the “Off-Facebook Activity” option, you will be directed to a new page or menu where you can view and manage your off-Facebook activity. Here, you will find a list of websites and apps that have shared your activity data with Facebook.
Click or tap on the “Manage Your Off-Facebook Activity” option to proceed. This will allow you to clear your off-Facebook activity history and prevent future tracking.
Keep in mind that clearing your off-Facebook activity history may impact the personalized experiences you receive on the platform. However, it helps maintain your privacy and prevents Facebook from utilizing your browsing activity for targeted advertising.
Now that you have accessed the “Off-Facebook Activity” section, continue to the next step to learn how to clear your off-Facebook activity and finally enable Incognito mode on Facebook.
Step 6: Clear History
After accessing the “Off-Facebook Activity” section, you are now ready to clear your off-Facebook activity history. Clearing your history ensures that your past interactions with other websites and apps are no longer linked to your Facebook account, providing you with a fresh start for your Incognito mode browsing.
On the “Off-Facebook Activity” page or menu, you will find a button or link that allows you to clear your history. The wording may vary, but it is typically labeled as “Clear History” or “Manage Your Off-Facebook Activity History.” Click or tap on this option to proceed.
Once you click or tap on the “Clear History” button, a confirmation prompt may appear, informing you that clearing your history will remove your activity from Facebook but not from the websites and apps themselves. Read the prompt carefully, as it provides important information about the consequences of clearing your history.
If you are certain that you want to proceed, confirm your decision by clicking or tapping on the “Clear History” or “Confirm” button. Facebook will begin the process of removing your off-Facebook activity and associated data, ensuring a more private browsing experience.
Keep in mind that clearing your history may impact the personalized experiences you receive on Facebook, as it removes the data that the platform uses to tailor content and advertisements. However, it enhances your privacy and prevents future tracking based on your past interactions.
With your off-Facebook activity history cleared, you are now ready to proceed to the final step of enabling Incognito mode on Facebook.
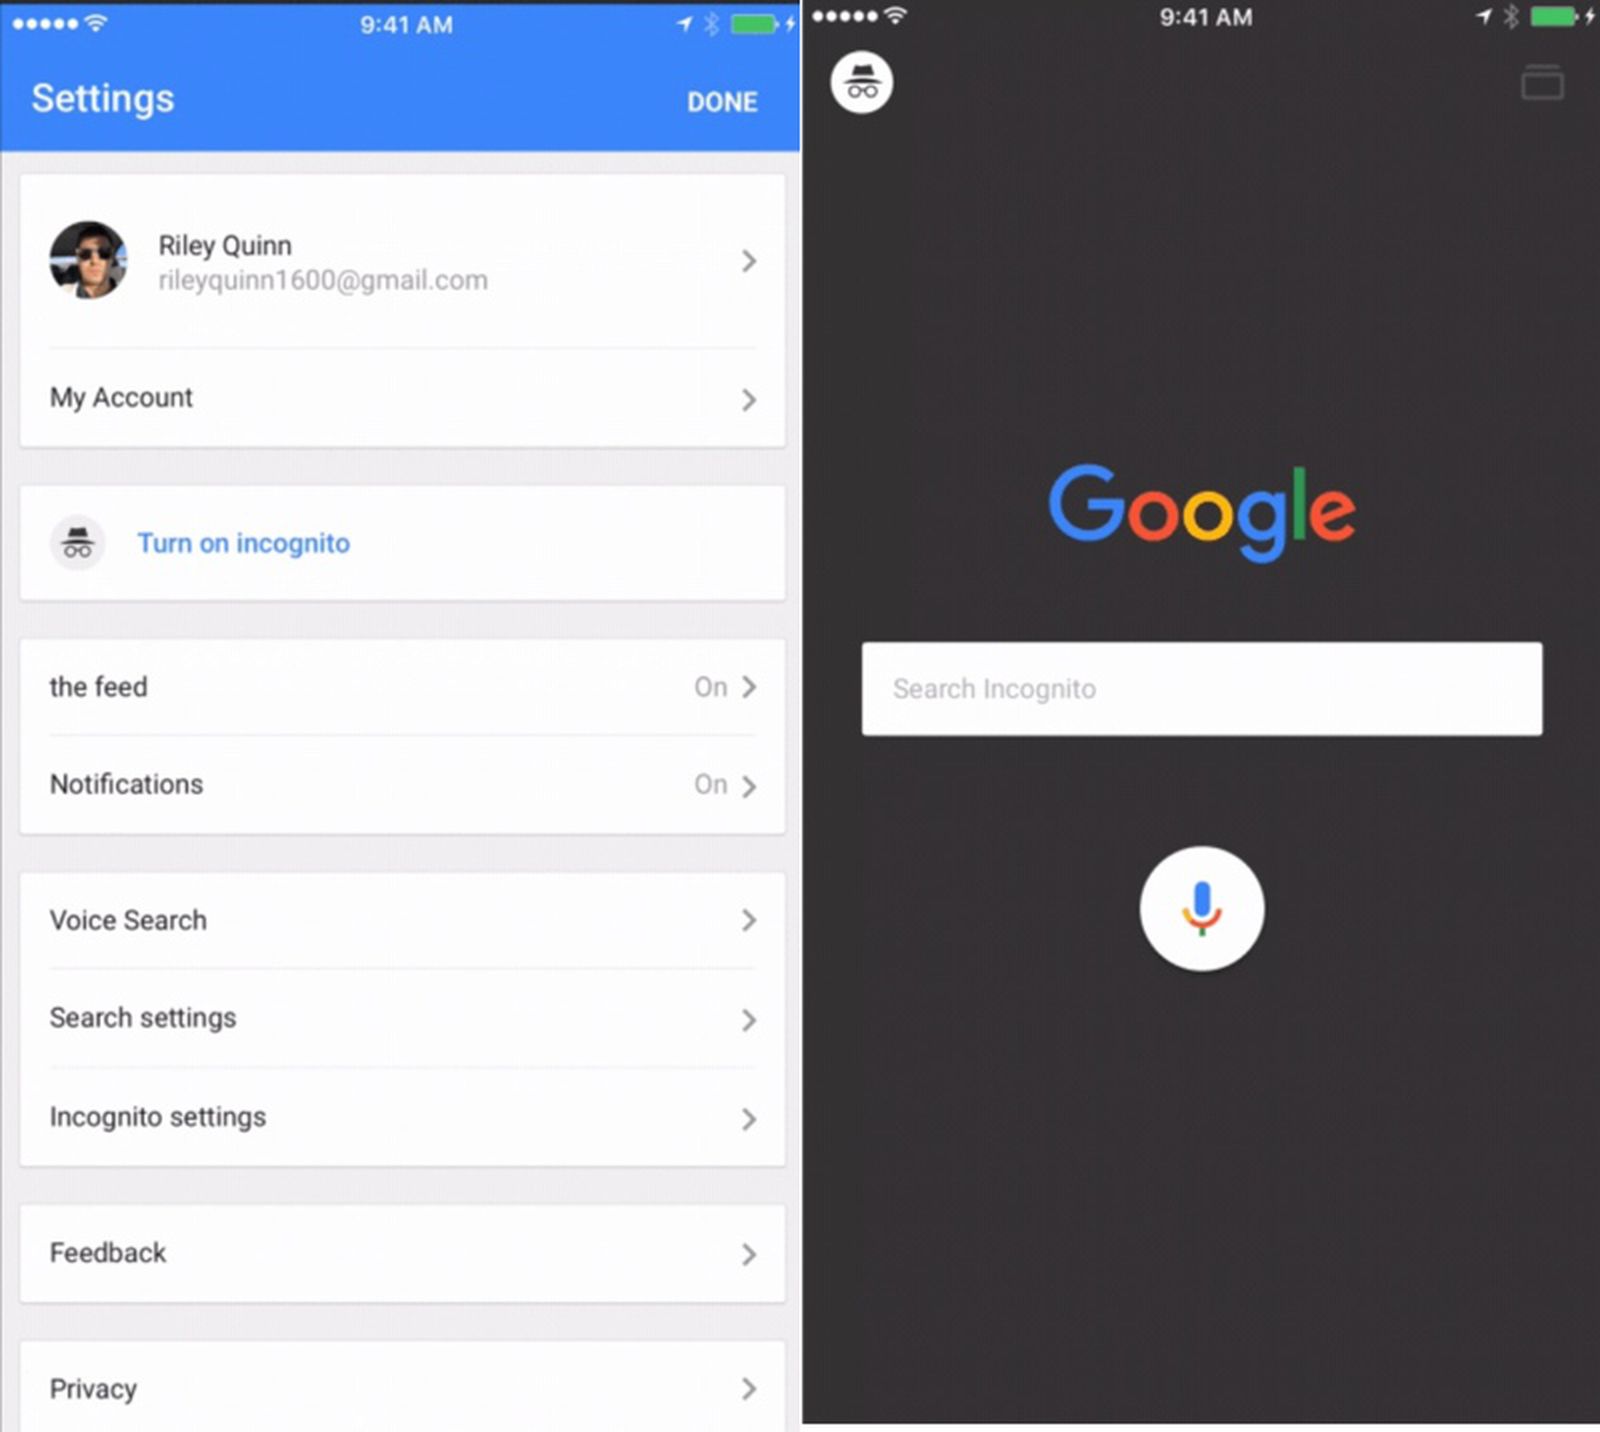
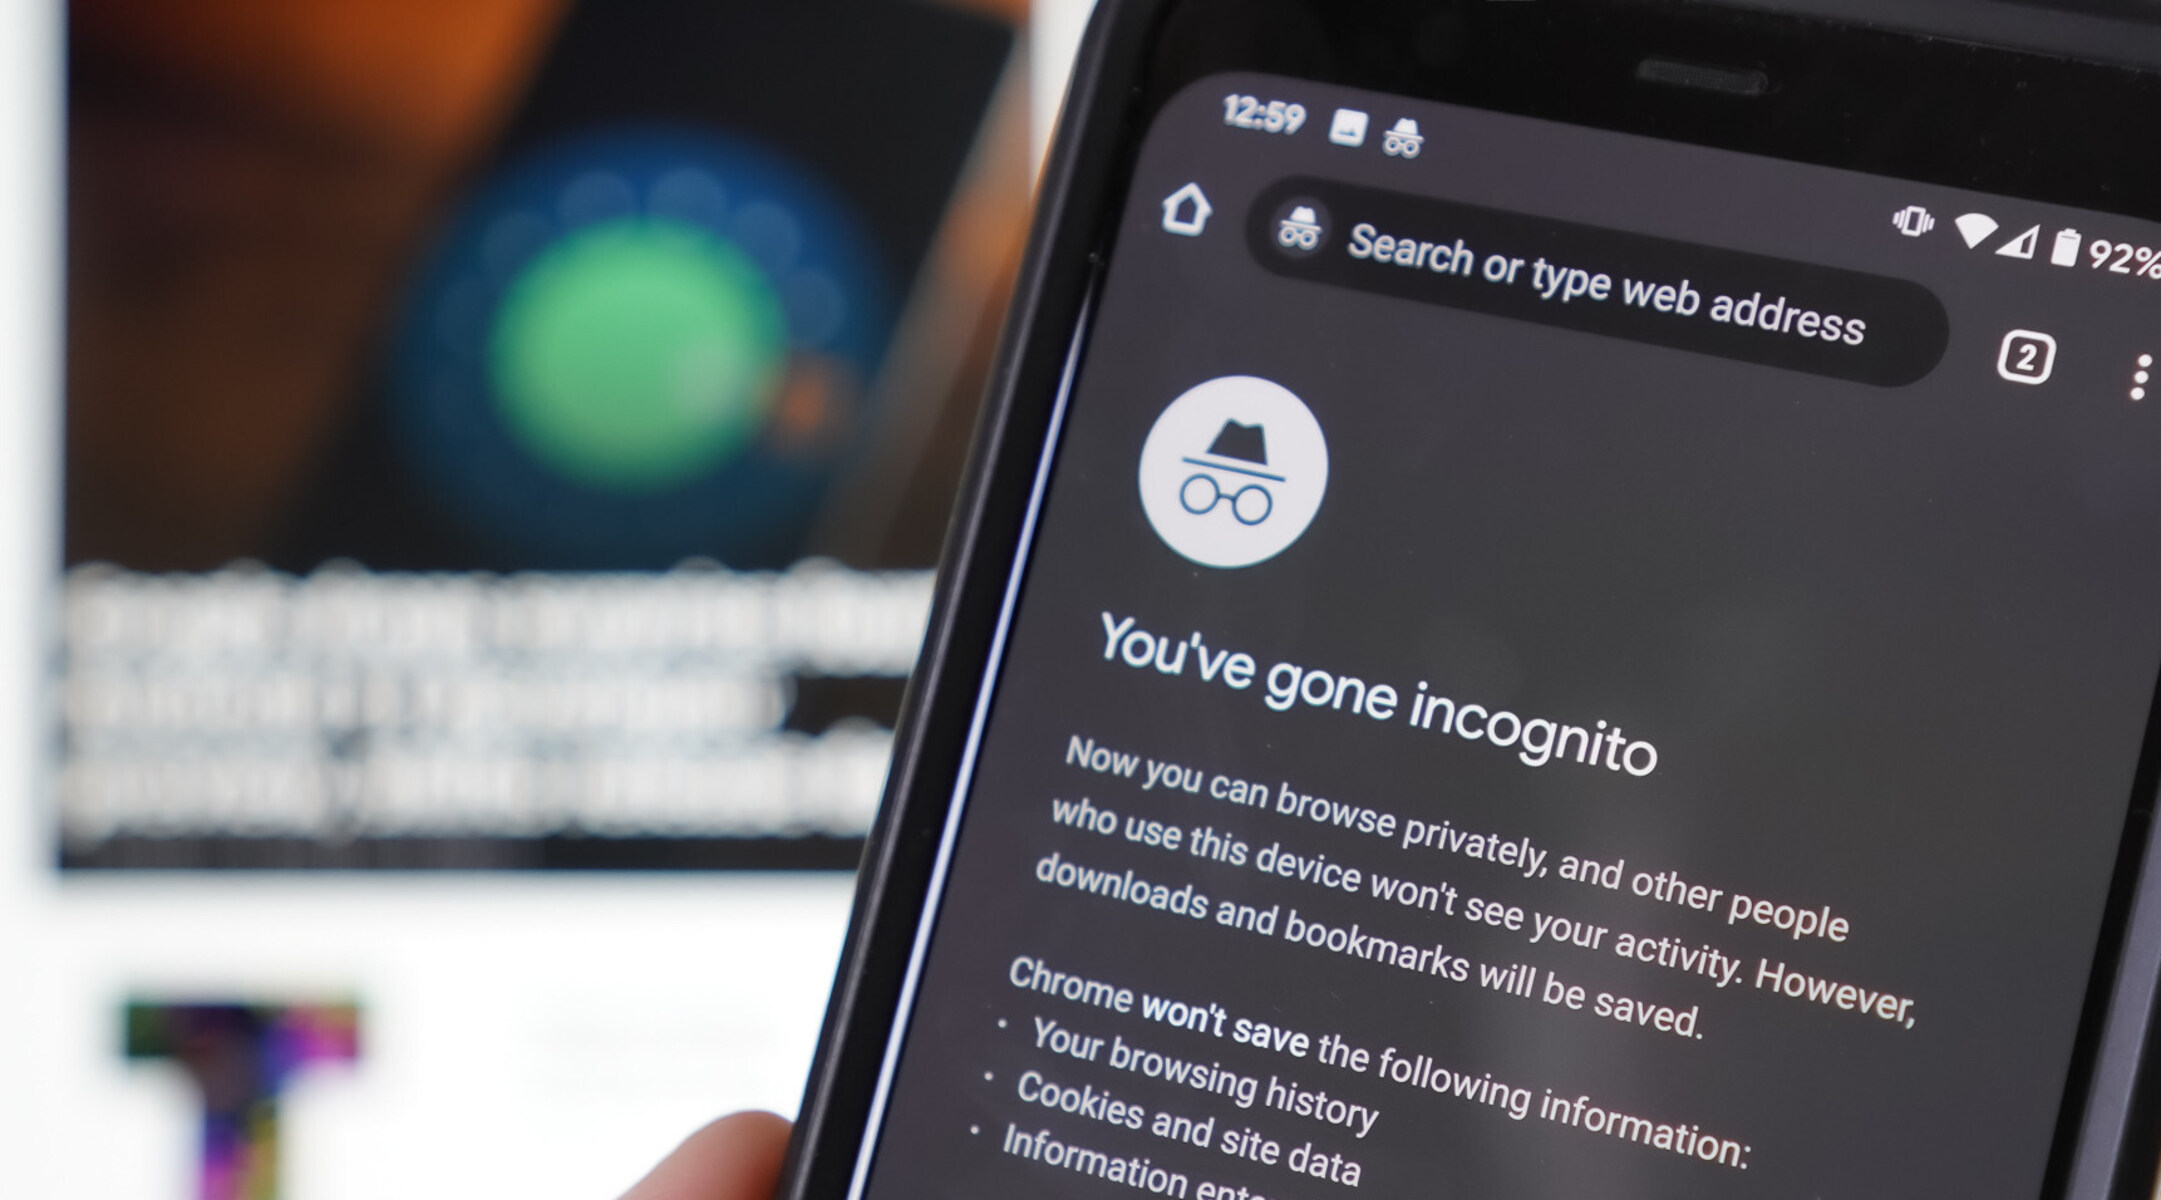
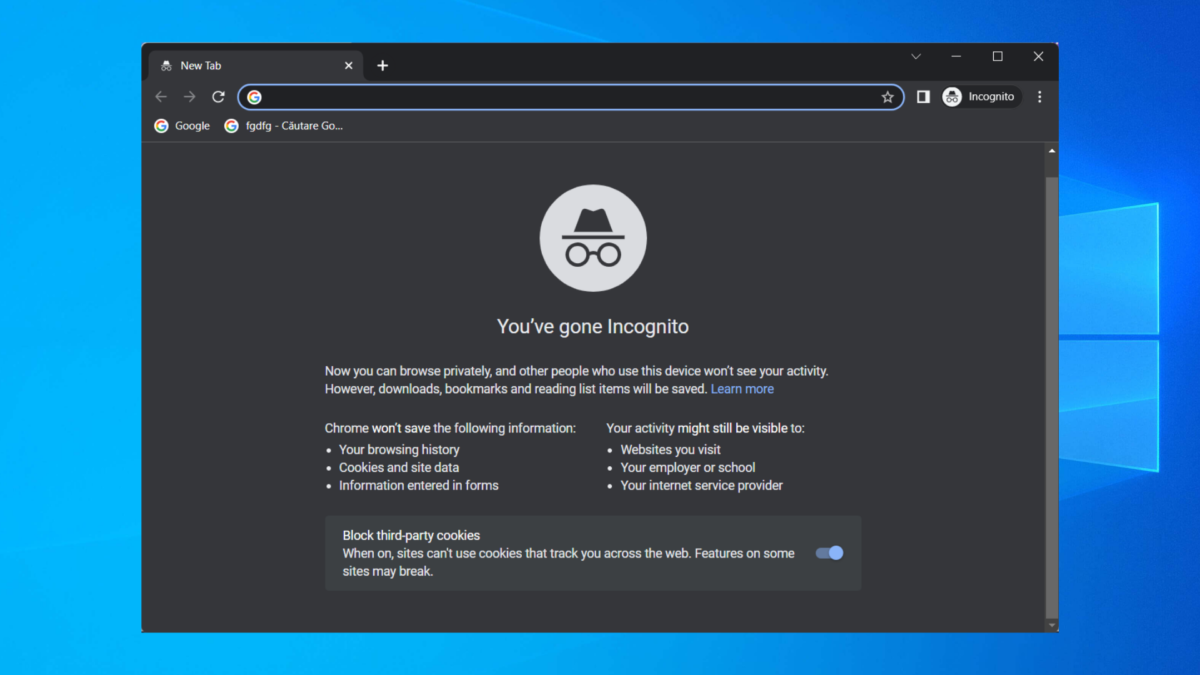
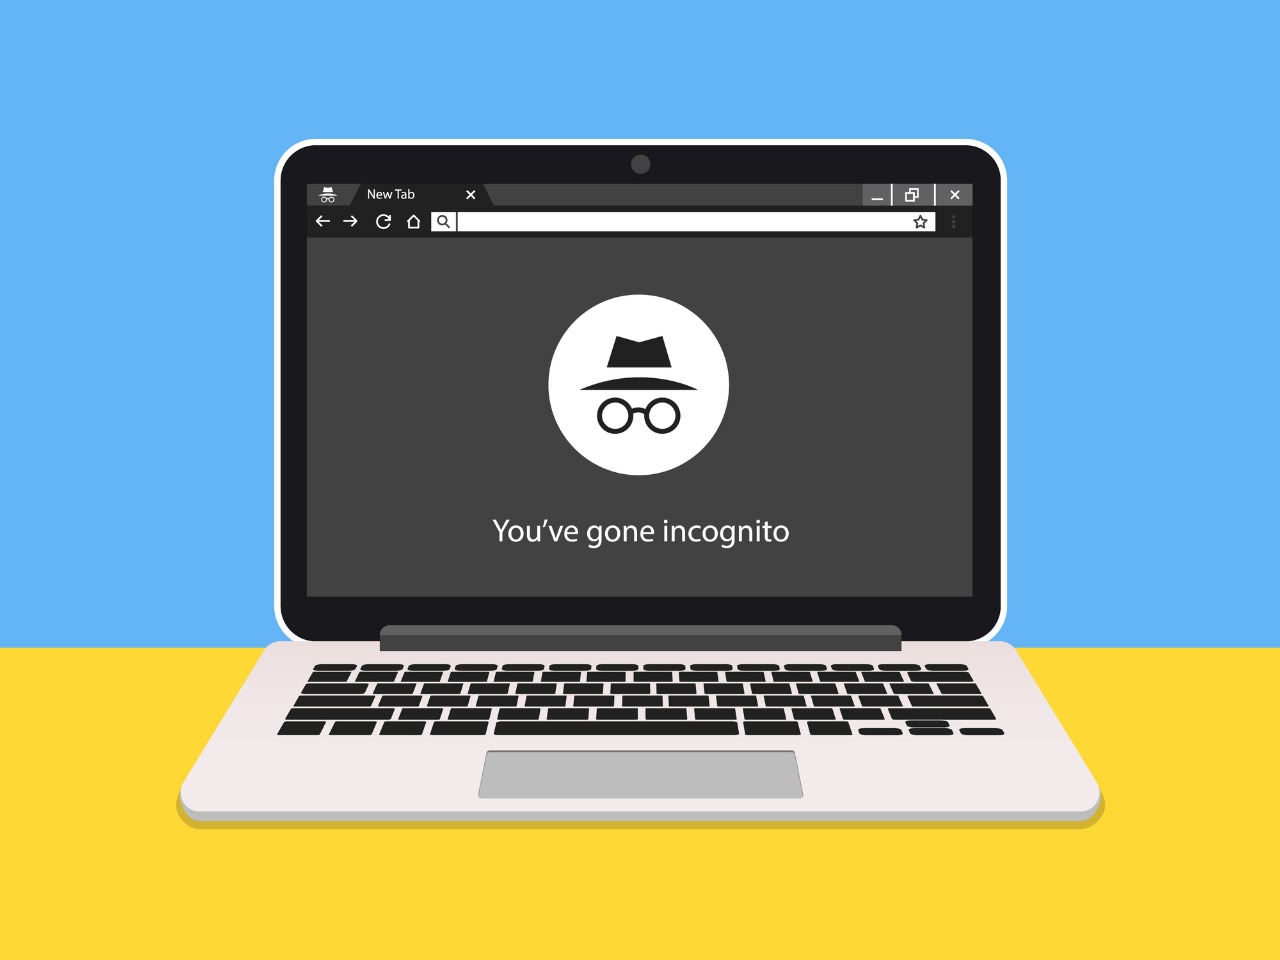
Step 7: Turning on Incognito Mode
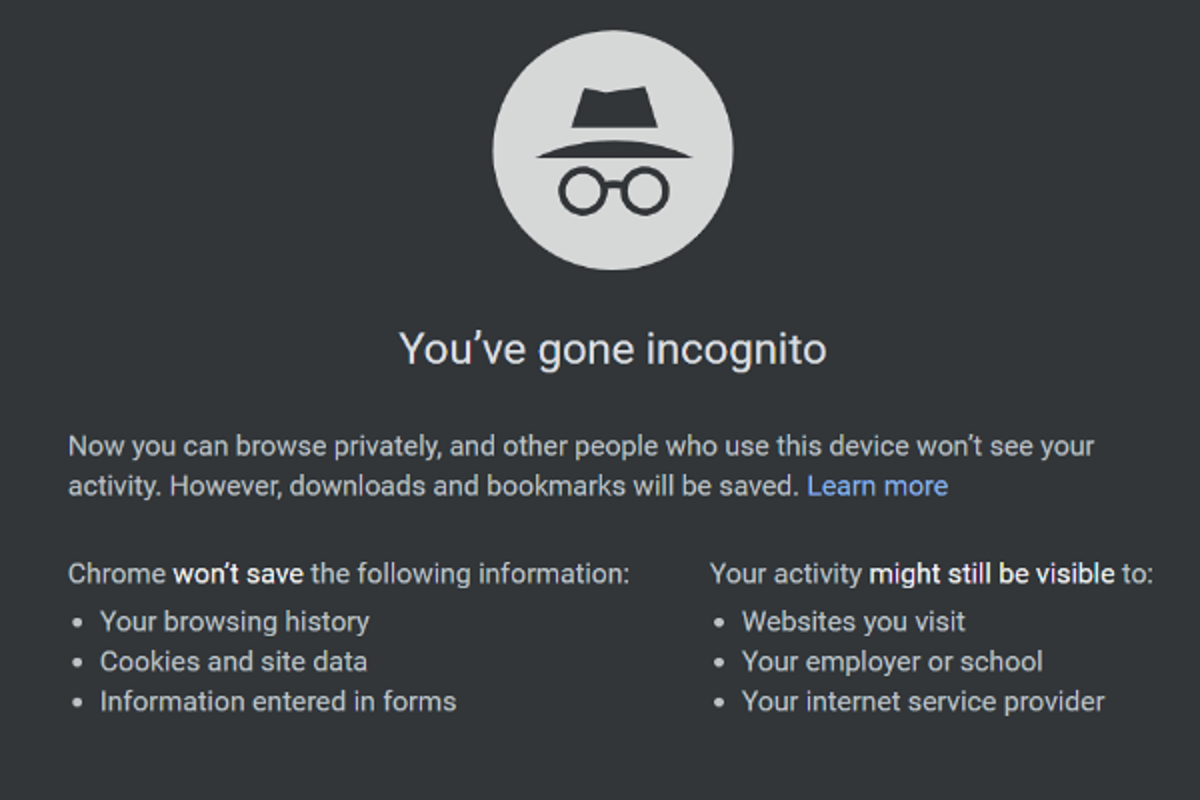
Now that you have cleared your off-Facebook activity history, you can finally enable Incognito mode on Facebook. This mode, also referred to as private browsing, ensures that your activity on the platform is not recorded or used for personalization or targeted ads.
Return to the main settings menu or page of your Facebook account. Look for an option or toggle switch that allows you to enable Incognito mode or private browsing. The exact location and wording may vary depending on the version of Facebook you are using, but it is typically labeled as “Incognito mode” or “Private browsing.”
Click or tap on the option to enable Incognito mode. Once activated, you will be able to browse Facebook privately without your activity being tracked or stored. This means that your search history, viewed posts, and clicked links will not be used to personalize your experience or serve you targeted ads.
Keep in mind that while using Incognito mode, you will still be able to interact with friends, post updates, and engage in other activities on Facebook. However, your actions during this private browsing session will not be saved or linked to your account.
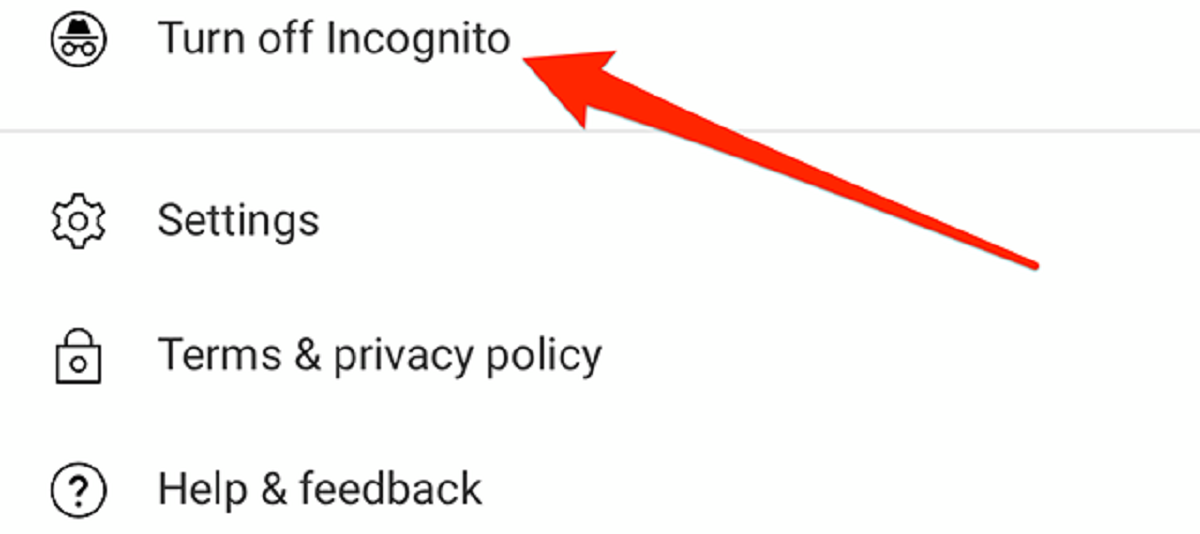
Remember that enabling Incognito mode on Facebook is not a permanent setting. If you want to return to regular browsing, simply disable Incognito mode by following the same steps and toggling the option off.
Congratulations! You have successfully enabled Incognito mode on Facebook. Enjoy browsing privately and with enhanced privacy on the platform without leaving any traces of your activity.
Conclusion
In today’s digital age, privacy and data security are of utmost importance. Facebook, being one of the largest social media platforms, understands this need and provides users with an option to enable Incognito mode. By following the step-by-step guide outlined in this article, you can now browse Facebook privately and enjoy a more secure online experience.
We started by opening the Facebook app or website and logging into our accounts. Then, we navigated to the settings menu and accessed the privacy settings section. From there, we scrolled down to the “Your Facebook Information” option and selected “Off-Facebook Activity.” We then cleared our off-Facebook activity history, ensuring that our past interactions wouldn’t be linked to our Facebook accounts. Finally, we turned on Incognito mode, allowing us to browse Facebook without leaving any traces of our activity.
Enabling Incognito mode on Facebook gives us control over our online presence and helps protect our privacy. It ensures that our search history, viewed posts, and clicked links are not stored or used to personalize our experience on the platform. By periodically clearing our off-Facebook activity history, we can further enhance our privacy and prevent future tracking.
Remember to keep in mind that while using Incognito mode, your actions and interactions will not be saved or linked to your account. This means that certain features, such as saved passwords or preferred settings, may not be accessible during your private browsing session.
With the knowledge gained from this guide, you can confidently enable Incognito mode on Facebook and enjoy a more private and secure browsing experience. Take control of your online privacy and ensure that your personal information remains protected while using one of the most popular social media platforms in the world.
So go ahead and explore Facebook without worrying about your activity being tracked or leaving any digital footprints. Stay safe, stay secure, and enjoy your private browsing experience on Facebook.