Introduction
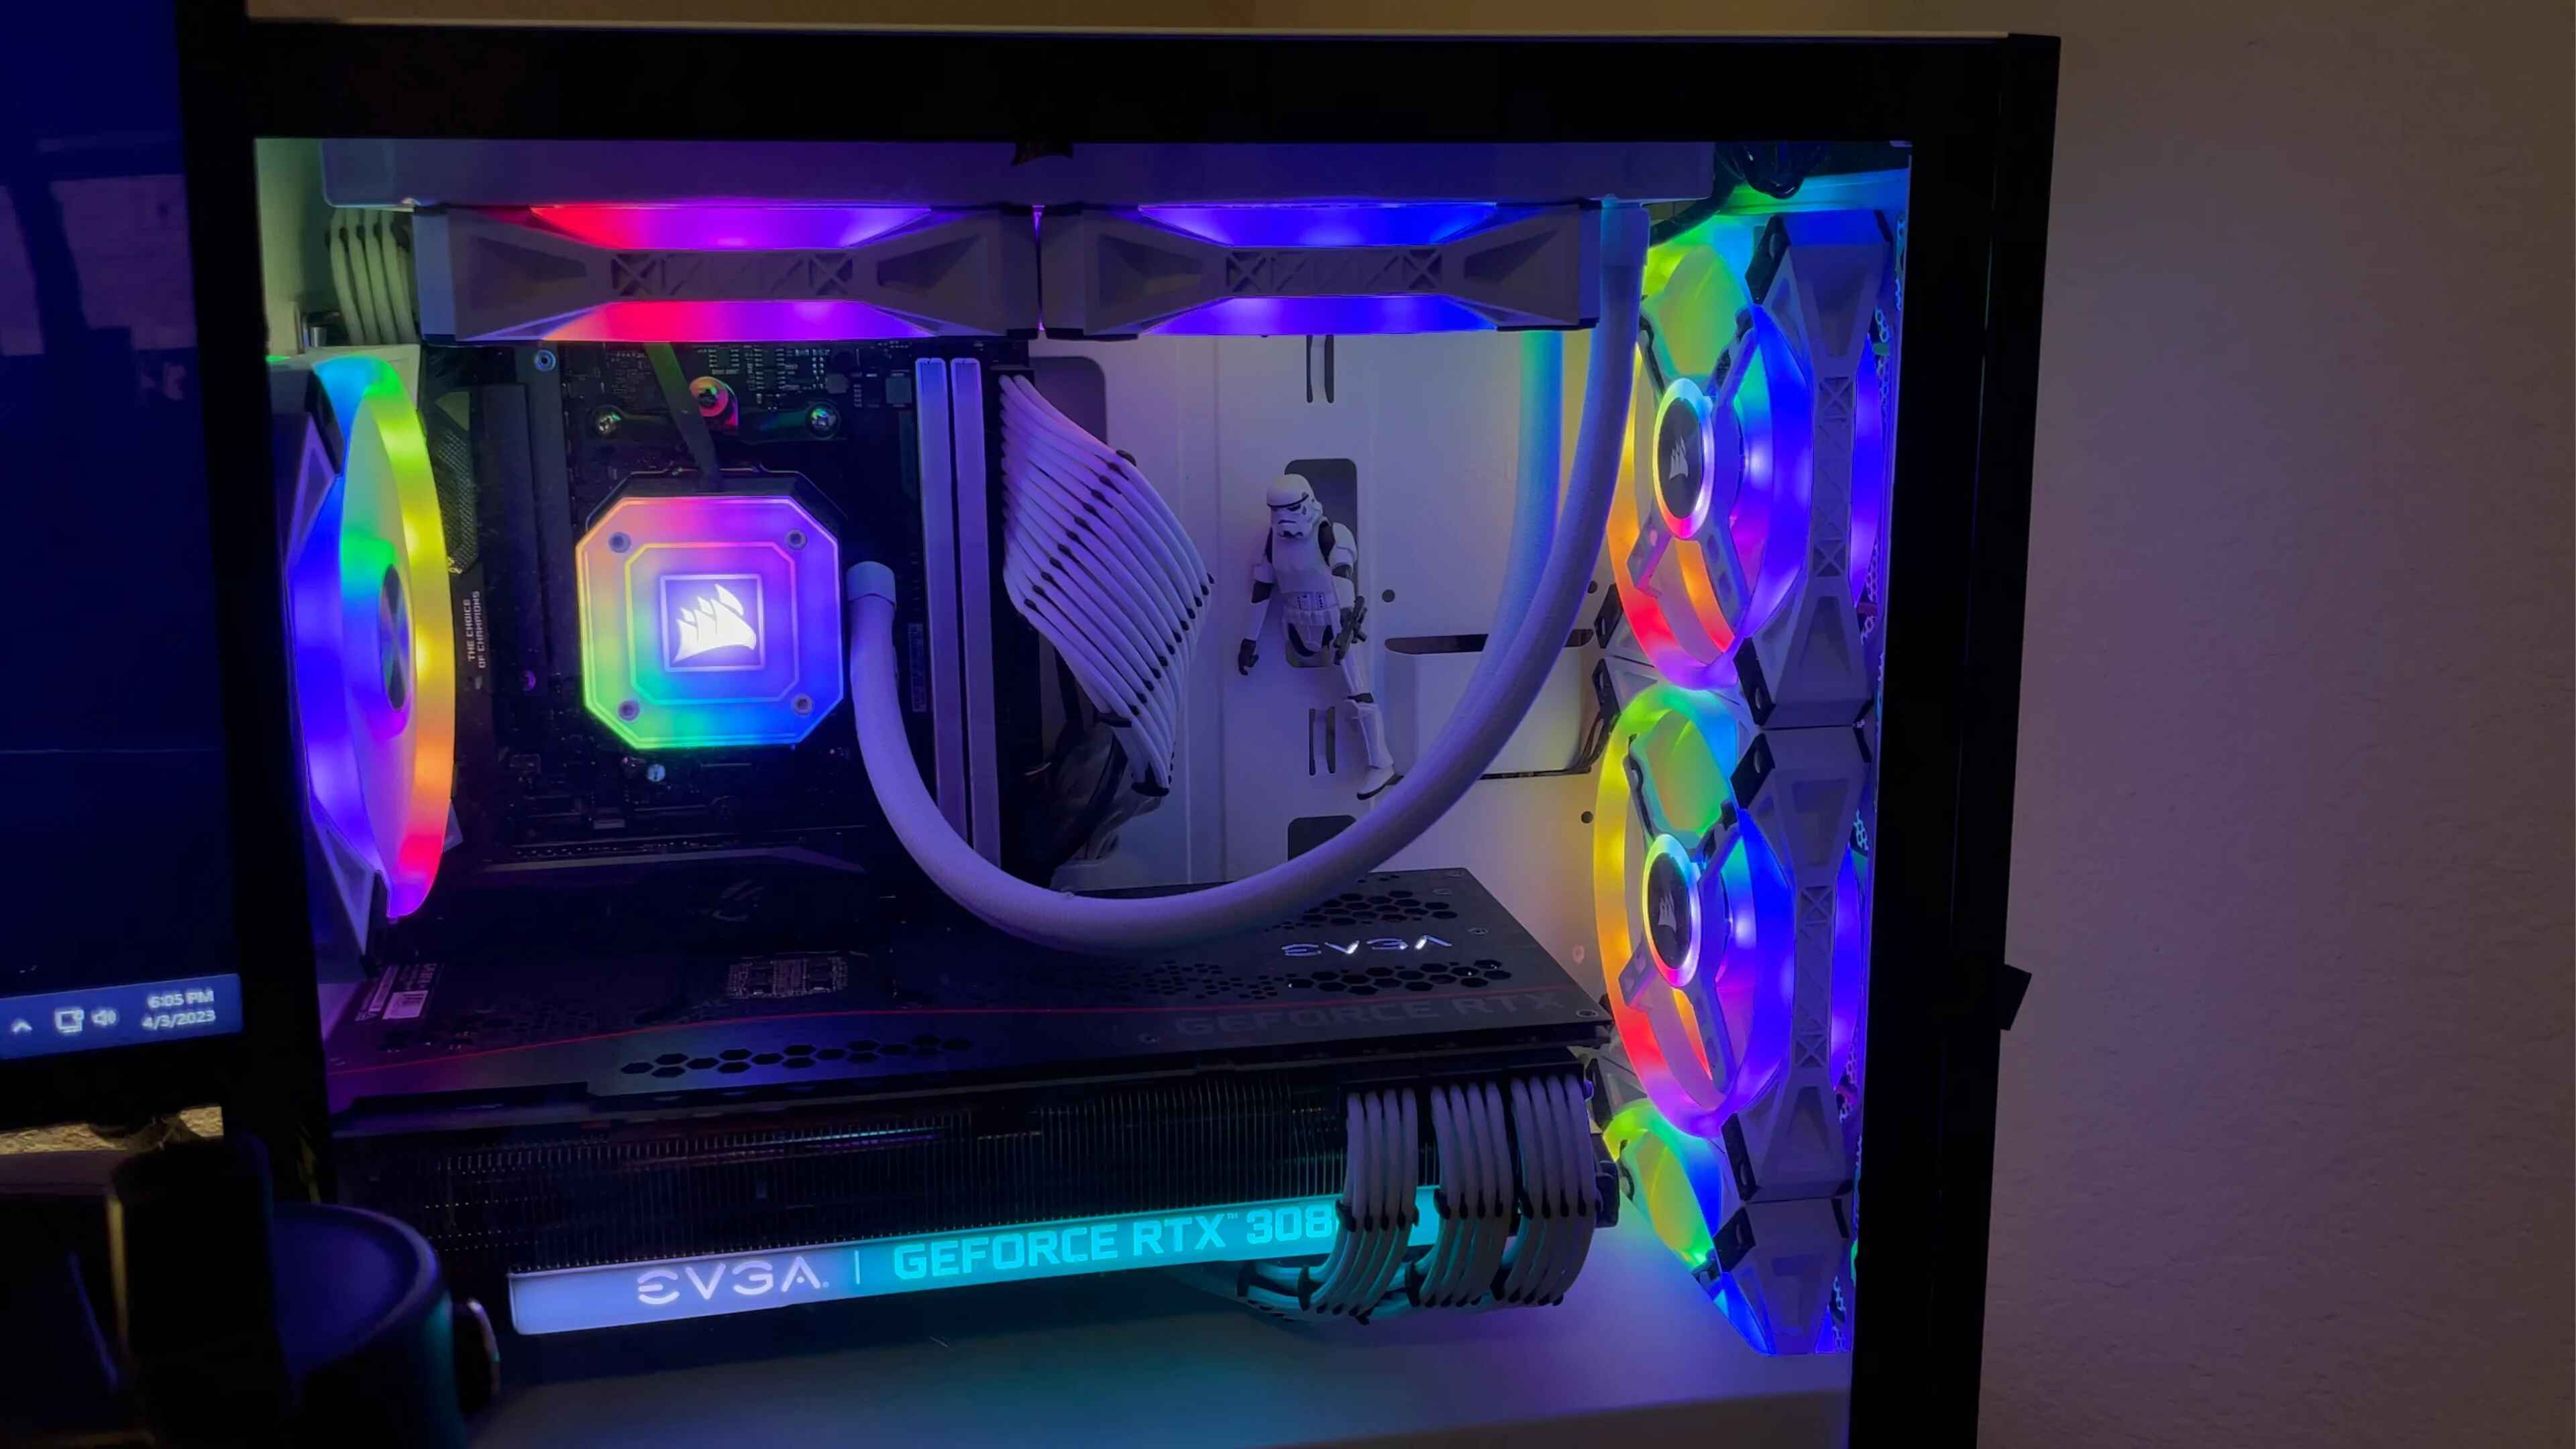
Welcome to the world of customizable PC cases! With the rise of gaming and the ever-increasing demand for personalization, LED lights on computer cases have become a popular feature among enthusiasts. These vibrant and stylish lights can add a touch of flair and excitement to your setup. However, there may be times when you want to turn off the LED lights on your PC case. Whether it’s for a more focused work environment, to minimize distractions during movie nights, or simply to conserve energy, there are various methods available to help you achieve your goal.
Before diving into the different ways to turn off the LED lights on your PC case, it’s important to understand the reasons why you might want to do so. One of the main reasons is to create a more conducive work environment. While LED lights are visually appealing, they can be distracting for some individuals, especially when working on tasks that require deep concentration. By turning off the LED lights, you can create a calmer and more focused workspace.
Another reason to turn off the LED lights is to minimize distractions during leisure activities such as watching movies or TV shows. Bright and colorful lights flashing in the background can take away from the immersive experience of your favorite films. By turning off the LED lights, you can enhance your viewing experience and fully immerse yourself in the world of your chosen entertainment.
Additionally, turning off the LED lights can help save energy. While the power consumption of LED lights is generally low, every bit of energy saved counts towards reducing your carbon footprint and electricity bills. So, by turning off the LED lights when not needed, you can contribute to a greener and more sustainable environment.
Now that we’ve explored the reasons behind turning off LED lights on a PC case, let’s dive into the various methods you can use to achieve this goal.
Reasons to Turn Off LED Lights on PC Case
While LED lights on PC cases can be visually appealing and add a touch of personality to your setup, there are several reasons why you may want to turn them off at times.
Firstly, as mentioned earlier, turning off the LED lights can help create a more conducive work environment. When engaged in tasks that require deep focus and concentration, such as studying, coding, or graphic designing, the bright and flashy lights can be distracting and hinder productivity. By turning off the LED lights, you can eliminate this visual distraction and create a calmer atmosphere for work.
In addition to work-related reasons, turning off the LED lights can also enhance your multimedia experiences. When watching movies or TV shows, the flashing lights can be visually overpowering and take away from the immersive experience. By turning off the LED lights, you can create a more theater-like ambiance, allowing you to fully immerse yourself in the world of your favorite films.
Furthermore, if you use your PC case as a bedside companion or have your setup in your bedroom, the LED lights can be disruptive to a good night’s sleep. The bright lights can interfere with your natural sleep cycle and make it more difficult to fall asleep. By turning off the LED lights, you can create a dark and soothing environment that promotes better sleep quality.
Another practical reason to turn off the LED lights is to save energy. While LED lights are generally energy-efficient, every bit of energy conservation counts towards reducing your carbon footprint and cutting down on electricity bills. By turning off the LED lights when not needed, you can contribute to a greener and more sustainable lifestyle.
Lastly, personal preference plays a significant role. While some individuals enjoy the vibrant and flashy LED lights, others may simply prefer a more minimalistic and understated aesthetic for their PC setup. By turning off the LED lights, you can maintain a clean and streamlined look for your computer case.
Now that we have explored the reasons behind turning off LED lights on a PC case, let’s move on to the different methods available to achieve this.
Method 1: Using BIOS or UEFI Settings
One of the simplest and most common methods for turning off the LED lights on a PC case is by accessing the BIOS (Basic Input/Output System) or UEFI (Unified Extensible Firmware Interface) settings. These settings allow you to customize various aspects of your computer’s hardware, including the LED lights.
To begin, restart your computer and enter the BIOS or UEFI settings. The key to access these settings varies depending on your motherboard manufacturer, but commonly used keys include F2, Del, or Esc. Consult your motherboard’s manual or look for on-screen prompts during boot-up to determine the correct key.
Once you’re in the BIOS or UEFI settings, navigate to the “Hardware” or “PC Configuration” section. Look for an option related to LED lights or lighting control. The exact wording and location may differ between motherboard models.
Enable the LED light control option if it’s not already enabled. Then, you should see various options to customize the LED lights, including brightness control, color settings, and the ability to turn them on or off.
Select the option to turn off the LED lights. This may be labeled as “LED off,” “Disable,” or a similar term. Once you have made the desired changes, save the settings and exit the BIOS or UEFI settings. Your computer will reboot, and the LED lights on your PC case should be turned off.
If you ever want to revert back to having the LED lights turned on, simply revisit the BIOS or UEFI settings and enable the LED light control option. You can then customize the LED lights according to your preference.
It’s important to note that not all motherboards have the option to control LED lights in the BIOS or UEFI settings. If you’re unable to find the LED light control option, don’t worry. There are alternative methods available, which we will explore in the following sections.
Now that you’re familiar with the first method of turning off LED lights using BIOS or UEFI settings, let’s move on to the next method, which involves using manufacturer software.
Method 2: Using Manufacturer Software
If your PC case comes with manufacturer-specific software, you may be able to control and customize the LED lights using that software. Many PC case manufacturers provide dedicated software that allows you to easily manage various aspects of your computer’s lighting, including turning them off.
To begin, identify the manufacturer of your PC case. Visit their official website and navigate to the support or downloads section. Look for software specifically designed for your PC case model. Download and install the software on your computer.
Once the software is installed, launch it and explore the available options. Look for a section or tab related to LED lighting control. In this section, you should find options to customize and manage the LED lights on your PC case.
Find the option to turn off the LED lights. This may be labeled as “LED off,” “Disable,” or a similar term. Click on this option to disable the LED lights on your PC case. Make sure to save any changes you make.
If the software provides additional customization options such as color settings or effects, you can explore these options as well. Customize the LED lights according to your preference or turn them off completely.
It’s worth noting that not all PC cases come with dedicated manufacturer software for LED lighting control. In such cases, you can explore alternative methods, which we will discuss in the upcoming sections.
Now that you’re familiar with the second method of turning off LED lights using manufacturer software, let’s move on to the next method, which involves physically disconnecting the LED cables.
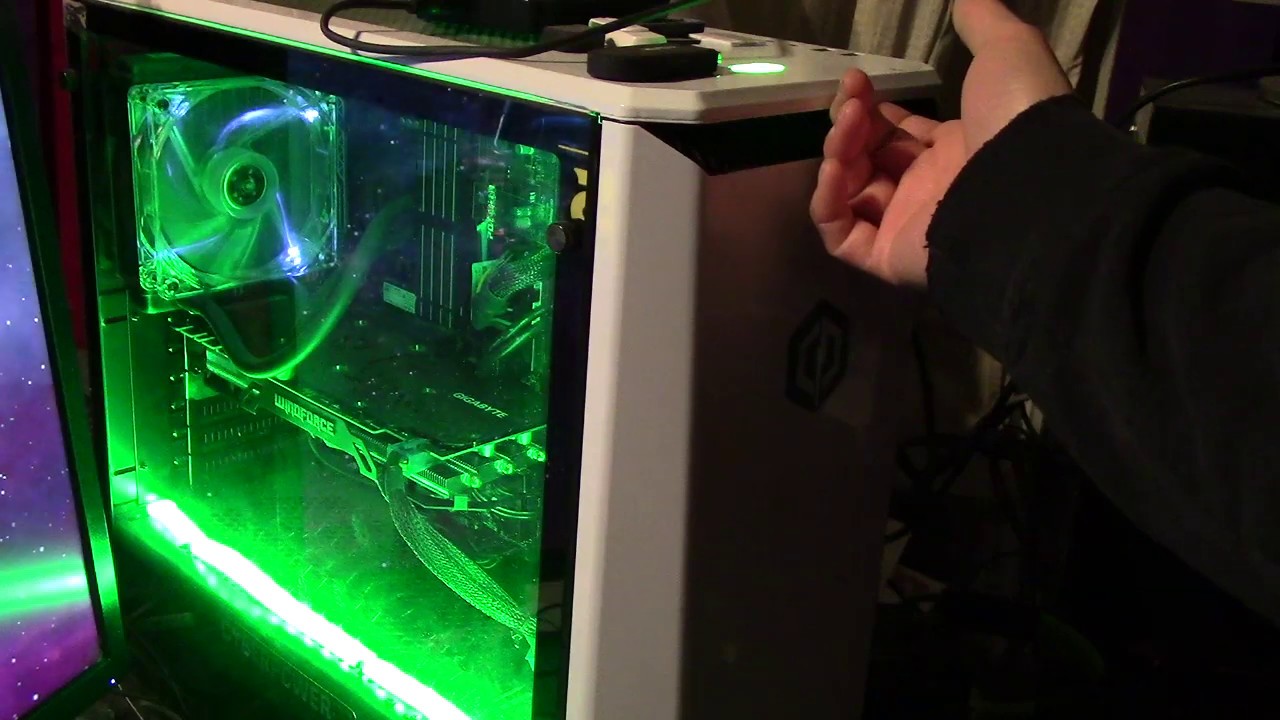
Method 3: Physically Disconnecting the LED Cables
If you’re unable to turn off the LED lights using BIOS/UEFI settings or manufacturer software, another effective method is to physically disconnect the LED cables from your PC case. This method is straightforward and doesn’t require any complex software or settings.
The first step is to locate the LED cables inside your PC case. These cables are usually connected to the LED hub or controller, which is responsible for powering and controlling the LED lights. Consult your PC case manual or search online for specific instructions on locating these cables for your particular case model.
Once you’ve located the LED cables, carefully unplug them from the LED hub or controller. It’s essential to handle the cables gently to avoid damaging other components or connections inside your PC case.
After disconnecting the LED cables, you can choose to secure them out of sight within the case or remove them completely. If you decide to remove them, be sure to keep them in a safe place in case you ever want to reconnect the LED lights in the future.
It’s important to note that physically disconnecting the LED cables may void the warranty on your PC case. If you’re concerned about warranty issues, it’s advisable to check with the manufacturer or seek professional assistance.
This method offers a simple and effective way to turn off the LED lights on your PC case, even if other software or settings options are unavailable. However, if you’re looking for a reversible solution that allows you to easily reconnect the LED lights, we’ll explore alternative methods in the following sections.
Now that you’re familiar with the third method of physically disconnecting the LED cables, let’s move on to the next method, which involves using an LED controller or switch.
Method 4: Using LED Controller or Switch
If you want a more convenient and reversible solution for controlling the LED lights on your PC case, using an LED controller or switch can be a viable option. These devices allow you to easily turn on or off the LED lights without the need to access software or physically disconnect cables.
LED controllers are external devices that connect to your PC case, providing you with direct control over the LED lights. They often come with buttons or switches that allow you to toggle the lights on or off with a simple press. Some LED controllers even offer additional features like brightness adjustment, color customization, and lighting effects.
To use an LED controller, connect it to your PC case according to the manufacturer’s instructions. This typically involves plugging the controller into a USB port or connecting it to a specific port on the case. Once connected, you can use the provided buttons or switches to turn the LED lights on or off instantly.
LED switches, on the other hand, are typically integrated into the PC case itself. They function similarly to LED controllers but are built directly into the case’s front panel or top panel. You can simply flip the switch to turn the LED lights on or off, eliminating the need for an external device.
The availability of LED controllers and switches may vary depending on your PC case model and manufacturer. If your case doesn’t come with one built-in, you can explore external options from various manufacturers and choose a controller or switch that is compatible with your case.
This method offers convenience and flexibility, allowing you to control the LED lights at your fingertips. You can easily turn them off when you need a distraction-free work environment or turn them on to showcase your PC’s lighting setup. It also provides a reversible solution, allowing you to revert back to having the LED lights in operation whenever desired.
Now that you’re familiar with the fourth method of using an LED controller or switch to control the LED lights, let’s move on to the next method, which involves using electrical tape or paint.
Method 5: Using Electrical Tape or Paint
If you’re looking for a temporary and non-invasive method to turn off the LED lights on your PC case, using electrical tape or paint can be an effective solution. This method allows you to block the light emitted by the LEDs without making any permanent modifications to your case.
To begin, identify the location of the LED lights on your PC case. These lights are usually situated within the case’s front panel or underneath the case’s transparent side panel.
If you opt for electrical tape, first ensure that the LED lights are turned off. Then, cut small pieces of electrical tape to cover each LED individually. Carefully place the tape over the LED lights, ensuring that they are fully covered and no light can pass through. Be cautious not to obstruct any ventilation or cooling openings in the process.
Alternatively, if you prefer a more permanent solution, you can use paint to cover the LED lights. Ensure that the LED lights are turned off and use a small brush or paint applicator to carefully apply a layer of paint over each LED. Choose a paint color that matches the color of your PC case or opt for a neutral black or white paint for a stealthy appearance.
When using paint, it’s crucial to allow sufficient drying time to ensure a sturdy and long-lasting cover. Follow the instructions provided by the paint manufacturer regarding drying time and any additional steps required for best results.
This method offers a quick and easily reversible solution for turning off the LED lights on your PC case. It allows you to temporarily block the light emission without the need for software or hardware modifications. Should you wish to revert back to having illuminated LED lights, simply remove the electrical tape or repaint the LEDs with an appropriate color.
Now that you’re familiar with the fifth method of using electrical tape or paint to turn off the LED lights, let’s summarize and conclude our exploration of different methods.
Conclusion
Having LED lights on your PC case can add a unique and vibrant touch to your setup, but there are times when you may want to turn them off. Whether it’s for creating a distraction-free work environment, enhancing multimedia experiences, conserving energy, or matching your personal aesthetic, there are several methods available to help you achieve your goal.
In this article, we explored five different methods for turning off the LED lights on your PC case. We started with accessing the BIOS or UEFI settings, which allows you to control the LED lights at a hardware level. Next, we discussed using manufacturer software, specifically designed for your PC case model, to conveniently manage the LED lights. We then explored the option of physically disconnecting the LED cables, providing a reversible solution that doesn’t require any software or settings adjustments. Moving on, we discussed using an LED controller or switch, which offers convenience and flexibility in controlling the LED lights. Lastly, we covered using electrical tape or paint as a temporary and non-invasive method to block the light emitted by the LEDs.
Each method offers its own advantages and considerations, ensuring that you can find a suitable solution based on your specific requirements and preferences. Whether you prefer a software-based approach, a hardware modification, or a temporary solution, there’s a method that can help you achieve your desired outcome.
Before implementing any of these methods, always refer to your PC case’s manual and consult manufacturer guidelines to ensure compatibility and avoid any potential damage or warranty issues.
By utilizing the methods discussed in this article, you can easily turn off the LED lights on your PC case when desired, creating a customized and personalized computing experience that suits your needs and preferences.