Introduction
Belkin power banks are highly convenient devices that allow you to charge your electronic devices on the go. Whether you’re traveling, at work, or simply out and about, a dependable power bank can ensure that you never run out of battery power. However, it’s important to know how to tell if your Belkin power bank is charging to ensure that it functions properly and provides the necessary power.
Belkin power banks typically come with LED indicators that display the charging status. Additionally, you can also determine if your power bank is charging by connecting it to a device and observing the charging process. In some cases, using a multimeter can help provide more precise measurements. If you encounter any issues, troubleshooting steps can help identify and resolve any problems with your power bank.
In this guide, we will discuss different methods to determine if your Belkin power bank is charging. By following these steps, you can ensure that your power bank is working effectively and provides the necessary power to keep your devices charged at all times. Let’s dive into the various techniques and troubleshooting options to help you check the charging status of your Belkin power bank.
Checking the LED Indicator
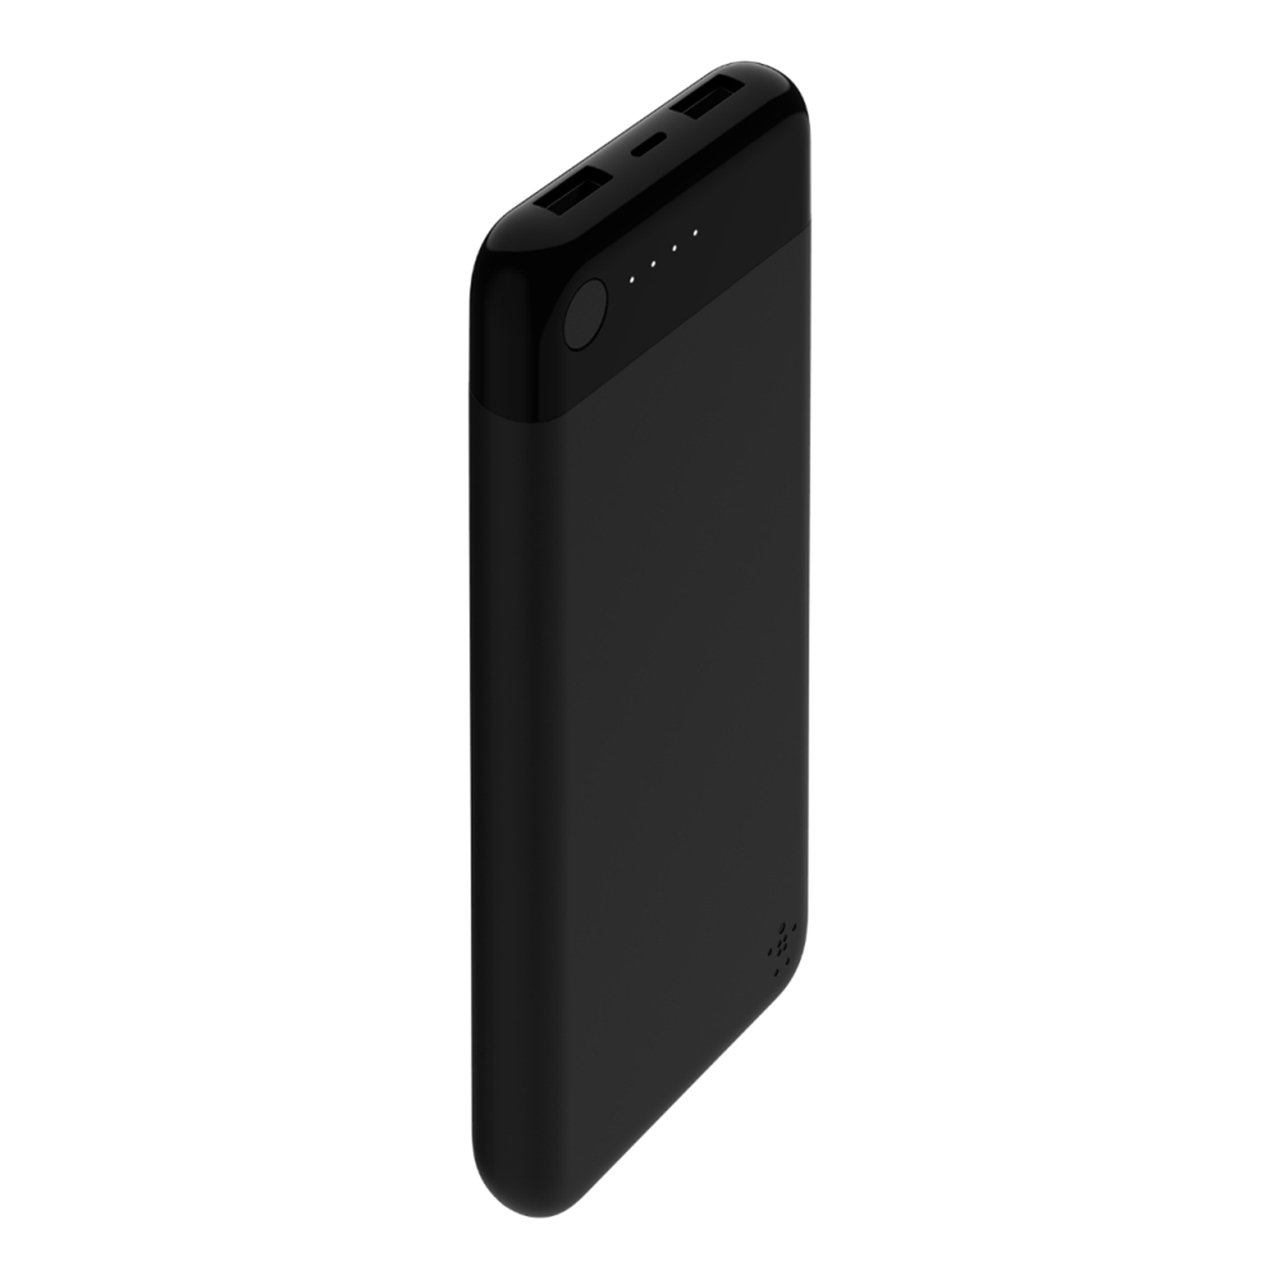
One of the easiest ways to determine if your Belkin power bank is charging is by checking the LED indicator. Most Belkin power banks come with built-in LED lights that display the charging status and the amount of power remaining.
To check the LED indicator, locate the corresponding lights on your power bank. Typically, there will be one or more LED lights that indicate the charging status, such as a blinking light or a solid light. Refer to the user manual or the manufacturer’s website for specific information on the LED indicator for your particular model.
When you connect your power bank to a power source, whether it’s a wall outlet or a USB port, the LED indicator should light up to indicate that it is receiving power and is charging. This could be a solid light, a blinking light, or a series of lights that indicate the charging progress.
A fully discharged power bank may take some time to start charging, so be patient and give it a few moments to initiate the charging process. If you don’t see any LED lights after connecting the power bank to the power source, try using a different charging cable or power adapter to ensure that the issue is not with the equipment.
Once the power bank starts charging, the LED indicator will continue to display the charging status. It may blink or change color to indicate the progress of the charging process. Some power banks have multiple LED lights that represent different levels of charge, allowing you to estimate the remaining power capacity.
Remember, the LED indicator may vary between different Belkin power bank models, so it’s important to consult the user manual or the manufacturer’s website for accurate information on the LED indicators specific to your power bank.
Connecting to a Device
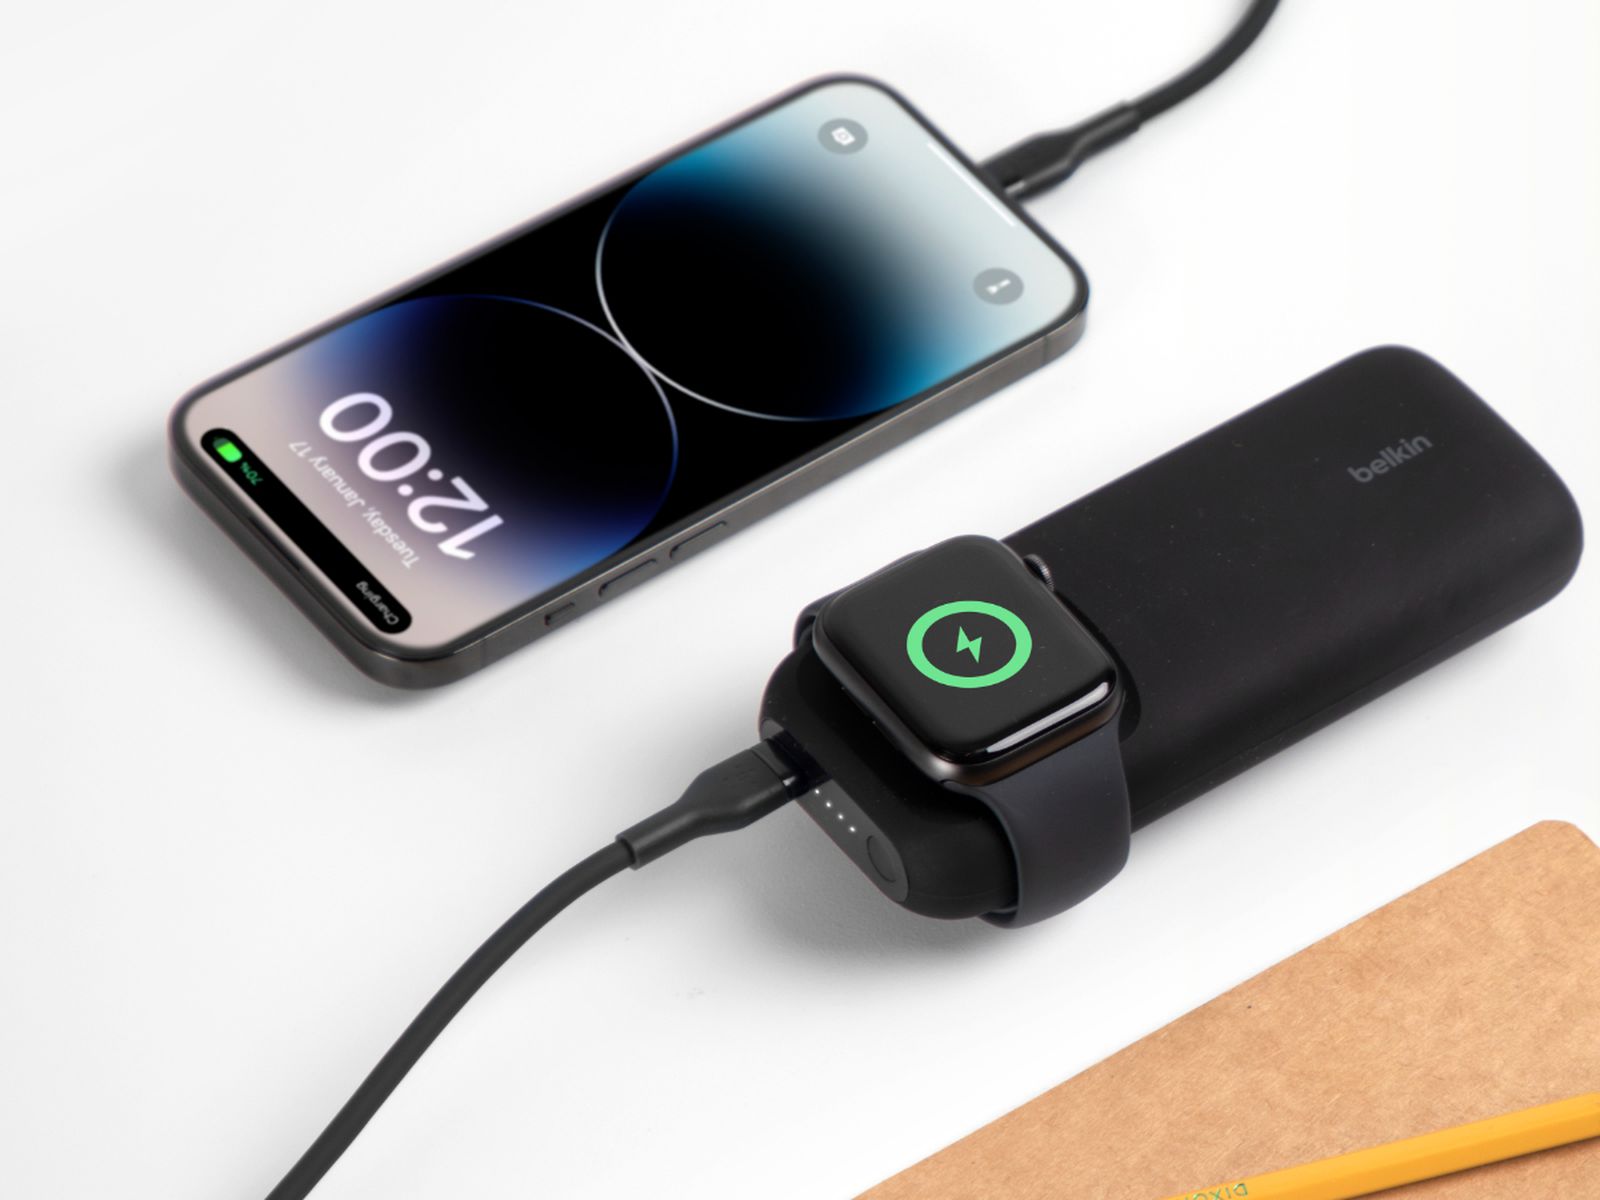
Another way to tell if your Belkin power bank is charging is by connecting it to a device, such as a smartphone or tablet, and observing the charging process. This method allows you to directly monitor the device’s battery level and confirm if it is being charged by the power bank.
To connect your power bank to a device, start by ensuring that both the power bank and the device have sufficient battery power. Then, use a USB cable to connect the power bank’s output port to the charging port of your device. Make sure the connections are secure and properly aligned.
Once the power bank is connected to the device, you should see an indication on the device’s screen that it is charging. Depending on the device, this could be a battery icon with a charging symbol, a percentage value showing the battery level increasing, or a notification that states the device is being charged.
It’s important to note that the charging process may vary depending on the device and the power bank’s output capacity. Some power banks provide faster charging speeds, while others may charge at a slower rate. The device’s battery level and usage may also affect the charging speed.
During the charging process, monitor the device’s battery level and observe if it increases over time. If the battery level remains stagnant or decreases, it could indicate an issue with either the power bank or the device’s charging port. In such cases, try using a different charging cable or test the power bank with another device to identify the source of the problem.
Keep in mind that charging times may vary depending on the device’s battery size, its current battery level, and the power bank’s output capacity. It’s recommended to allow sufficient time for the device to charge fully before disconnecting it from the power bank.
By connecting your Belkin power bank to a device and monitoring the charging process, you can easily determine if the power bank is effectively charging the device and providing the necessary power. This method offers a practical way to verify the functionality of your power bank and ensure that your devices stay powered up on the go.
Observing Device Charging
When you connect your device to a Belkin power bank and begin the charging process, you can observe certain signs to determine if the charging is taking place successfully. By paying attention to these indicators, you can ensure that your device is receiving the necessary power and charging effectively.
The first thing to look for is the battery icon or percentage on your device’s screen. Depending on the device, you may see a battery symbol with a lightning bolt or another charging indicator. This signifies that the device is currently charging from the power bank.
As the charging progresses, the device’s battery level should gradually increase. Keep an eye on the battery icon and observe if the percentage increases over time. This confirms that the power bank is providing sufficient power to charge your device.
In some cases, you may also notice that the device’s screen brightness adjusts automatically during charging. This is a feature commonly found in smartphones and tablets to optimize power usage while charging. The screen brightness might lower to conserve energy and ensure a more efficient charging process.
If your device has a charging LED indicator, it may light up or change color when connected to the power bank. This LED light serves as a visual confirmation that the device is charging and can provide additional reassurance that the power bank is functioning correctly.
It’s important to note that the charging speed may vary depending on factors such as the device’s battery capacity, the power bank’s output capacity, and the charging cable’s quality. Some devices and power banks support fast charging, which allows for quicker charging times.
Lastly, ensure that the device remains connected to the power bank during the charging process. If the connection is interrupted or becomes loose, the charging may be disrupted. Double-check the cable and ensure a secure connection between the device’s charging port and the power bank’s output port.
By observing the signs of device charging, such as battery indicators, screen brightness adjustments, and LED lights, you can easily determine if your Belkin power bank is effectively charging your device. If you encounter any issues where the device fails to charge or the battery level decreases during charging, consider troubleshooting steps outlined in the next section to identify and resolve the problem.
Using a Multimeter
If you want to obtain more precise measurements to determine if your Belkin power bank is charging, using a multimeter can be a helpful option. A multimeter is a versatile tool that allows you to measure various electrical parameters, including voltage and current.
To use a multimeter to check the charging status of your power bank, follow these steps:
- Set the multimeter to the appropriate voltage range. Most power banks have an output voltage of 5 volts, so select the 5V DC range on your multimeter.
- Connect the positive (red) probe of the multimeter to the power bank’s output port. This is the port where you would normally connect the charging cable to charge your device.
- Connect the negative (black) probe of the multimeter to the power bank’s ground. The ground is usually marked by a symbol or may be connected to the metal casing of the power bank.
- Turn on the multimeter and observe the voltage reading. If the power bank is charging properly, you should see a voltage close to 5 volts.
It’s important to note that the voltage reading may fluctuate slightly due to various factors, including the charging cycle and the power bank’s internal circuitry. However, a significant deviation from the expected voltage range may indicate an issue with the power bank’s charging capabilities.
If you have access to a current measuring function on your multimeter, you can also measure the current flowing from the power bank to the connected device. This can help you determine if the power bank is providing the necessary current for charging.
To measure current, select the appropriate current range on your multimeter (e.g., 1A or 2A) and connect the multimeter in series with the charging cable. Ensure that the positive (red) probe is connected to the positive terminal of the cable and the negative (black) probe is connected to the negative terminal.
By measuring the current, you can verify if the power bank is supplying the expected amount of current for charging. If the current reading is significantly lower than the specified output of the power bank, there might be an issue with either the power bank or the charging cable.
Using a multimeter to measure voltage and current provides a more precise method to determine if your Belkin power bank is charging properly. It allows you to evaluate the power bank’s performance and ensure that it is delivering the expected levels of voltage and current to your devices.
Troubleshooting Issues
While Belkin power banks are designed to provide reliable charging performance, you may encounter some issues that prevent proper charging. If you are facing any problems with your power bank, here are some troubleshooting steps you can take:
- Check the charging cable: Ensure that the charging cable you are using is in good condition and compatible with your power bank and device. A damaged or faulty cable can disrupt the charging process.
- Try a different power source: If you are using a wall outlet to charge your power bank, try using a different outlet to rule out any issues with the power source. If you are charging from a computer or laptop, verify that the USB port is providing sufficient power.
- Charge with a different adapter: If possible, try using a different charging adapter to connect your power bank to the power source. A faulty adapter could be the cause of the charging problem.
- Clean the charging port: Over time, dust or debris can accumulate in the power bank’s charging port, which may lead to poor contact and hinder the charging process. Use a soft brush or compressed air to clean the port gently.
- Reset the power bank: Some power banks have a reset button that you can press to reset the internal circuitry. Refer to the user manual or the manufacturer’s website for instructions on how to perform a reset.
- Contact customer support: If none of the above troubleshooting steps resolve the issue, reach out to Belkin’s customer support for further assistance. They may be able to provide specific solutions or initiate a warranty claim if necessary.
Keep in mind that troubleshooting steps may vary depending on your specific power bank model. It is always recommended to consult the user manual or the manufacturer’s website for model-specific troubleshooting guidance.
By following these troubleshooting steps, you can identify and resolve common issues that may arise with your Belkin power bank. Remember to exercise caution and ensure your safety when handling electrical devices and power sources.