Introduction
Taking out a tablet pen nib may seem like a daunting task, but with the right tools and techniques, it can be a simple and straightforward process. Whether you need to replace a worn-out nib or switch to a different type, knowing how to safely remove the nib is crucial. In this guide, we will walk you through the step-by-step process to take out a tablet pen nib without causing any damage.
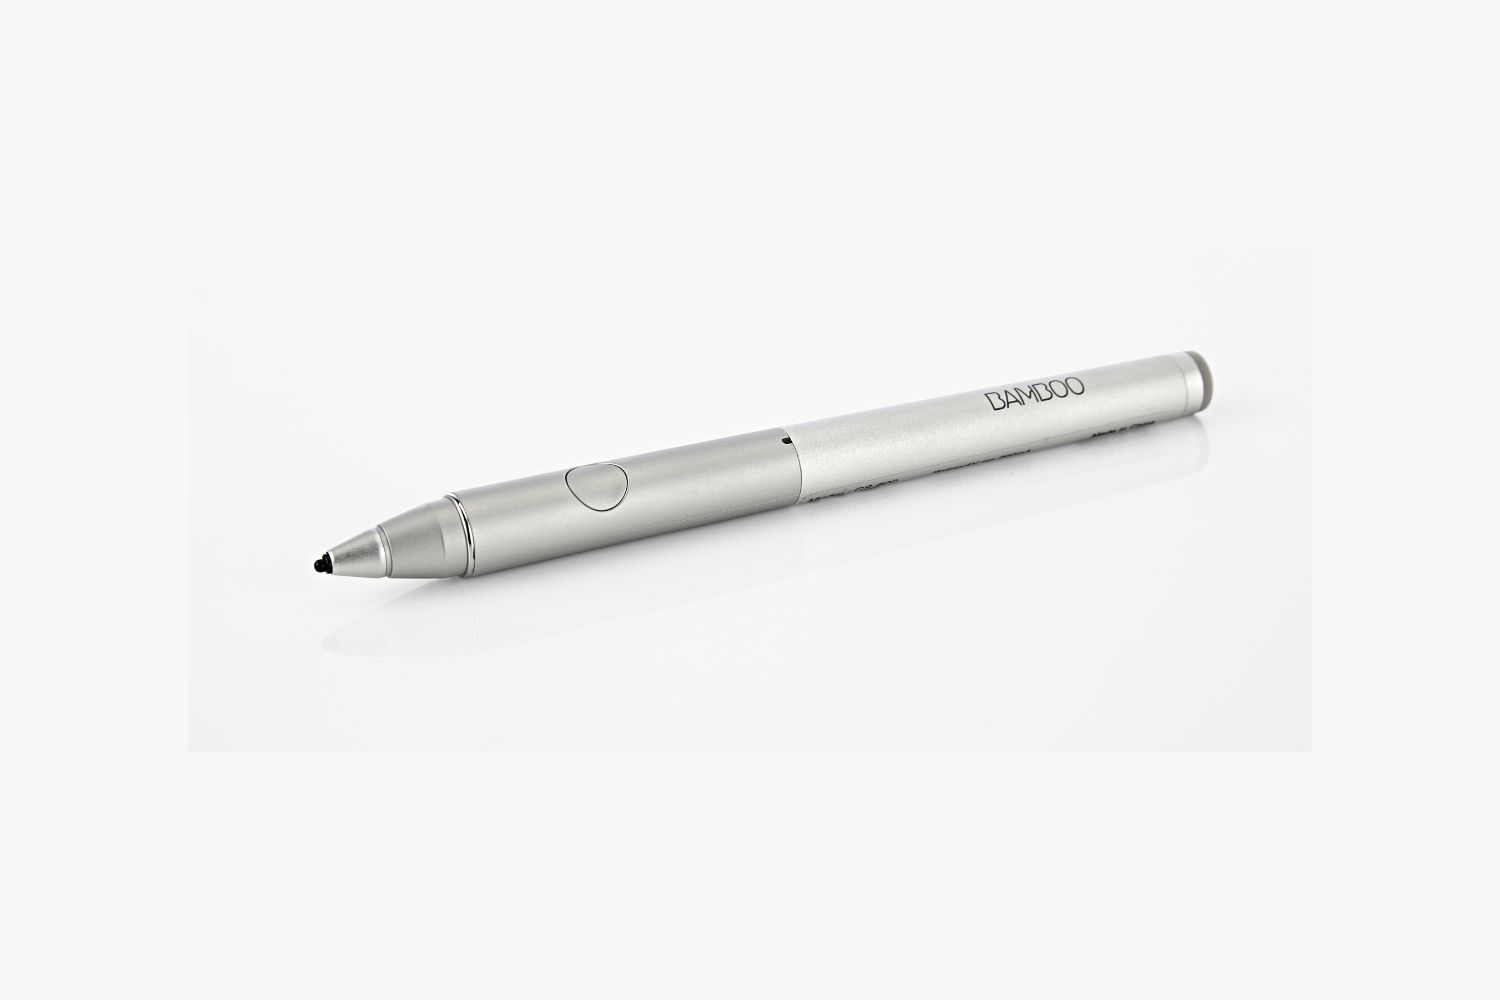
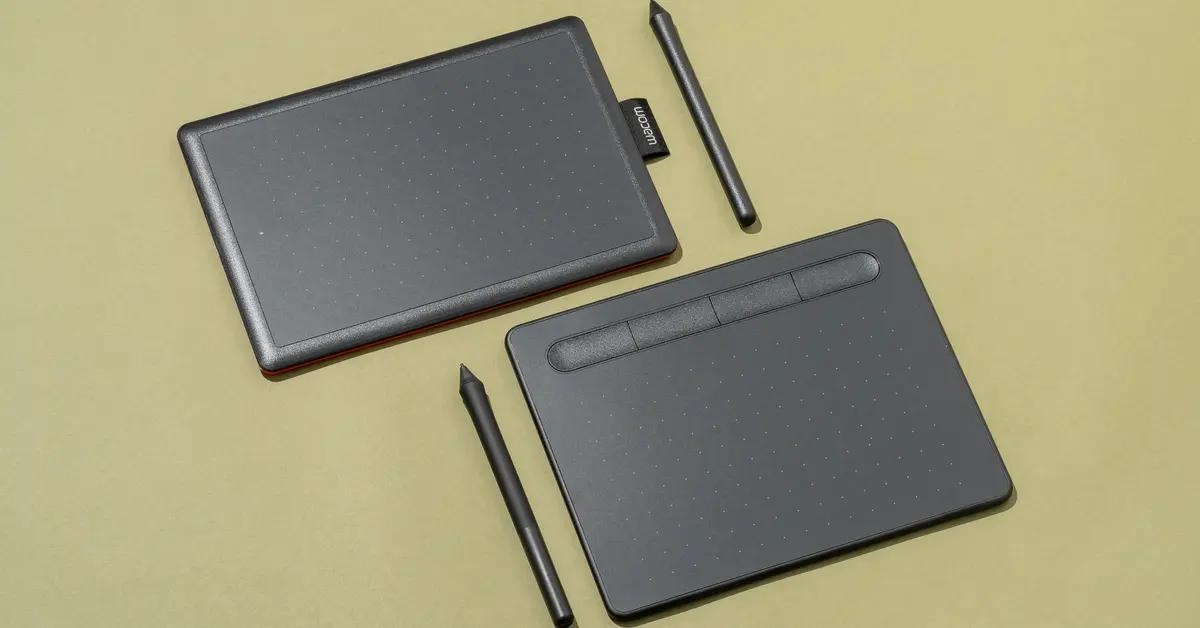
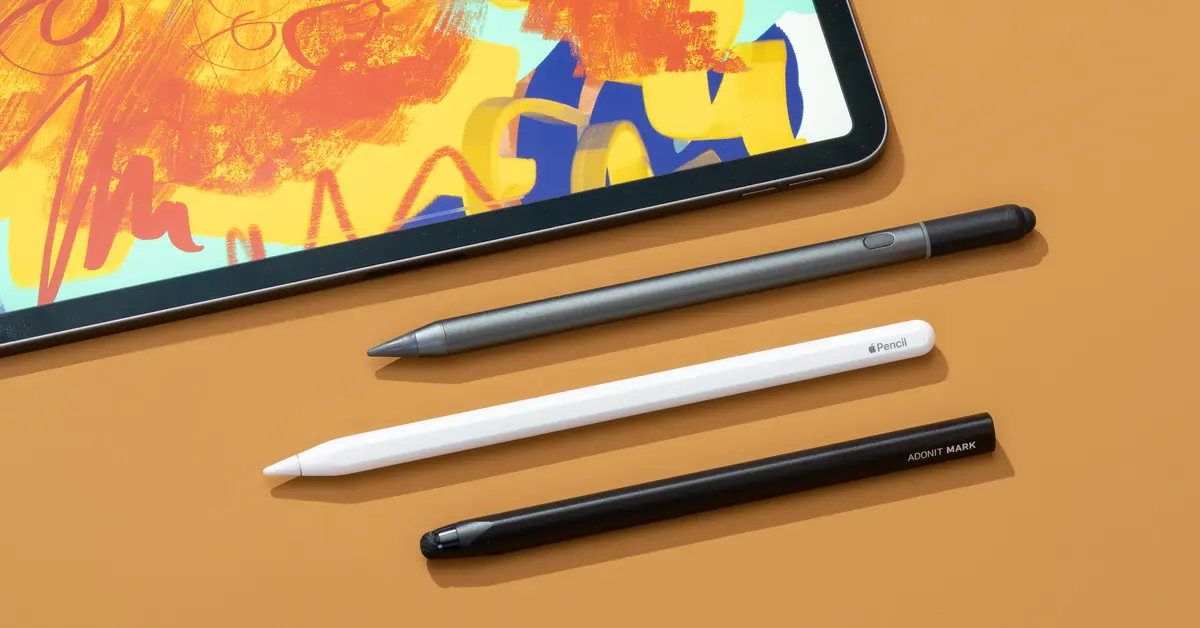
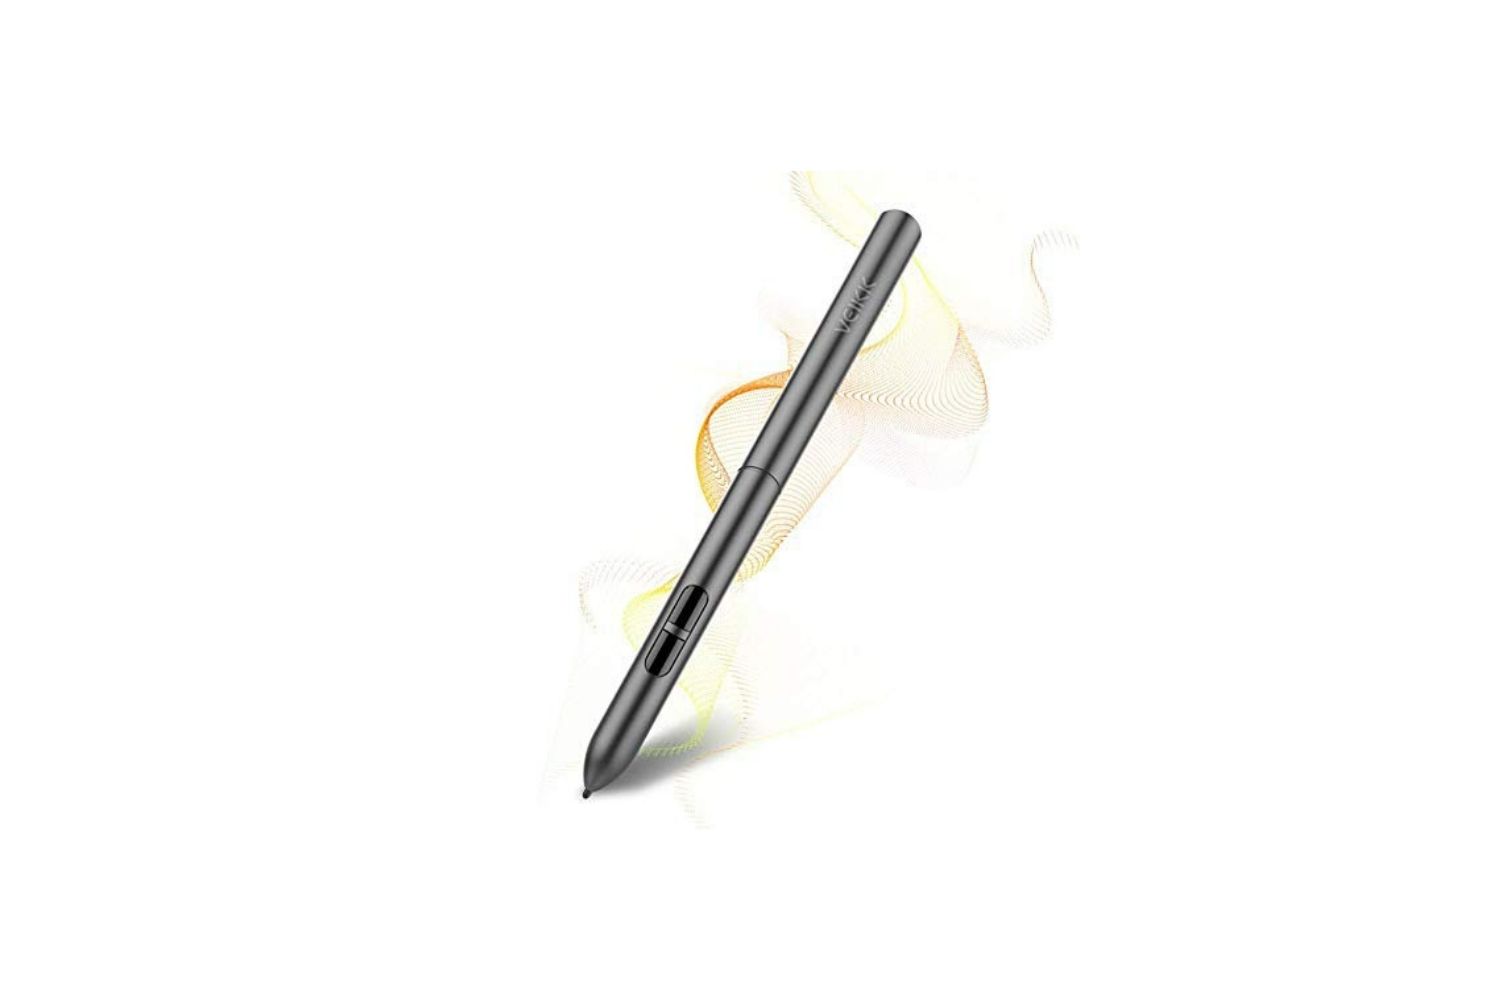
A tablet pen nib is a small, removable piece that comes in various shapes and sizes. It is located at the tip of the pen and is responsible for creating the contact between the pen and the tablet’s surface. Over time, nibs can wear out, become dull, or develop other issues that affect their performance. Fortunately, they are designed to be easily replaceable, allowing for a smooth user experience.
Before you start, it is important to gather the necessary tools. Having the right equipment will ensure that the nib removal process is efficient and safe. Additionally, it is crucial to turn off and unplug your tablet before attempting to remove the nib to prevent any accidental inputs or damage to the device.
In this guide, we will provide detailed instructions on how to find the pen nib, use a removal tool or alternative method to safely take it out, and store the removed nib properly. Additionally, we will discuss the importance of testing the pen after removing the nib to ensure that it is functioning correctly.
By following these steps, you will be able to confidently remove a tablet pen nib whenever needed, whether you are a professional artist or simply an avid tablet user. So let’s get started on this informative journey to learn how to take out a tablet pen nib easily and hassle-free.
Step 1: Gather the necessary tools
Before you begin the process of removing a tablet pen nib, it is essential to have the right tools at your disposal. By gathering these tools beforehand, you can ensure a smooth and efficient nib removal process without any unnecessary interruptions. Here are the tools you will need:
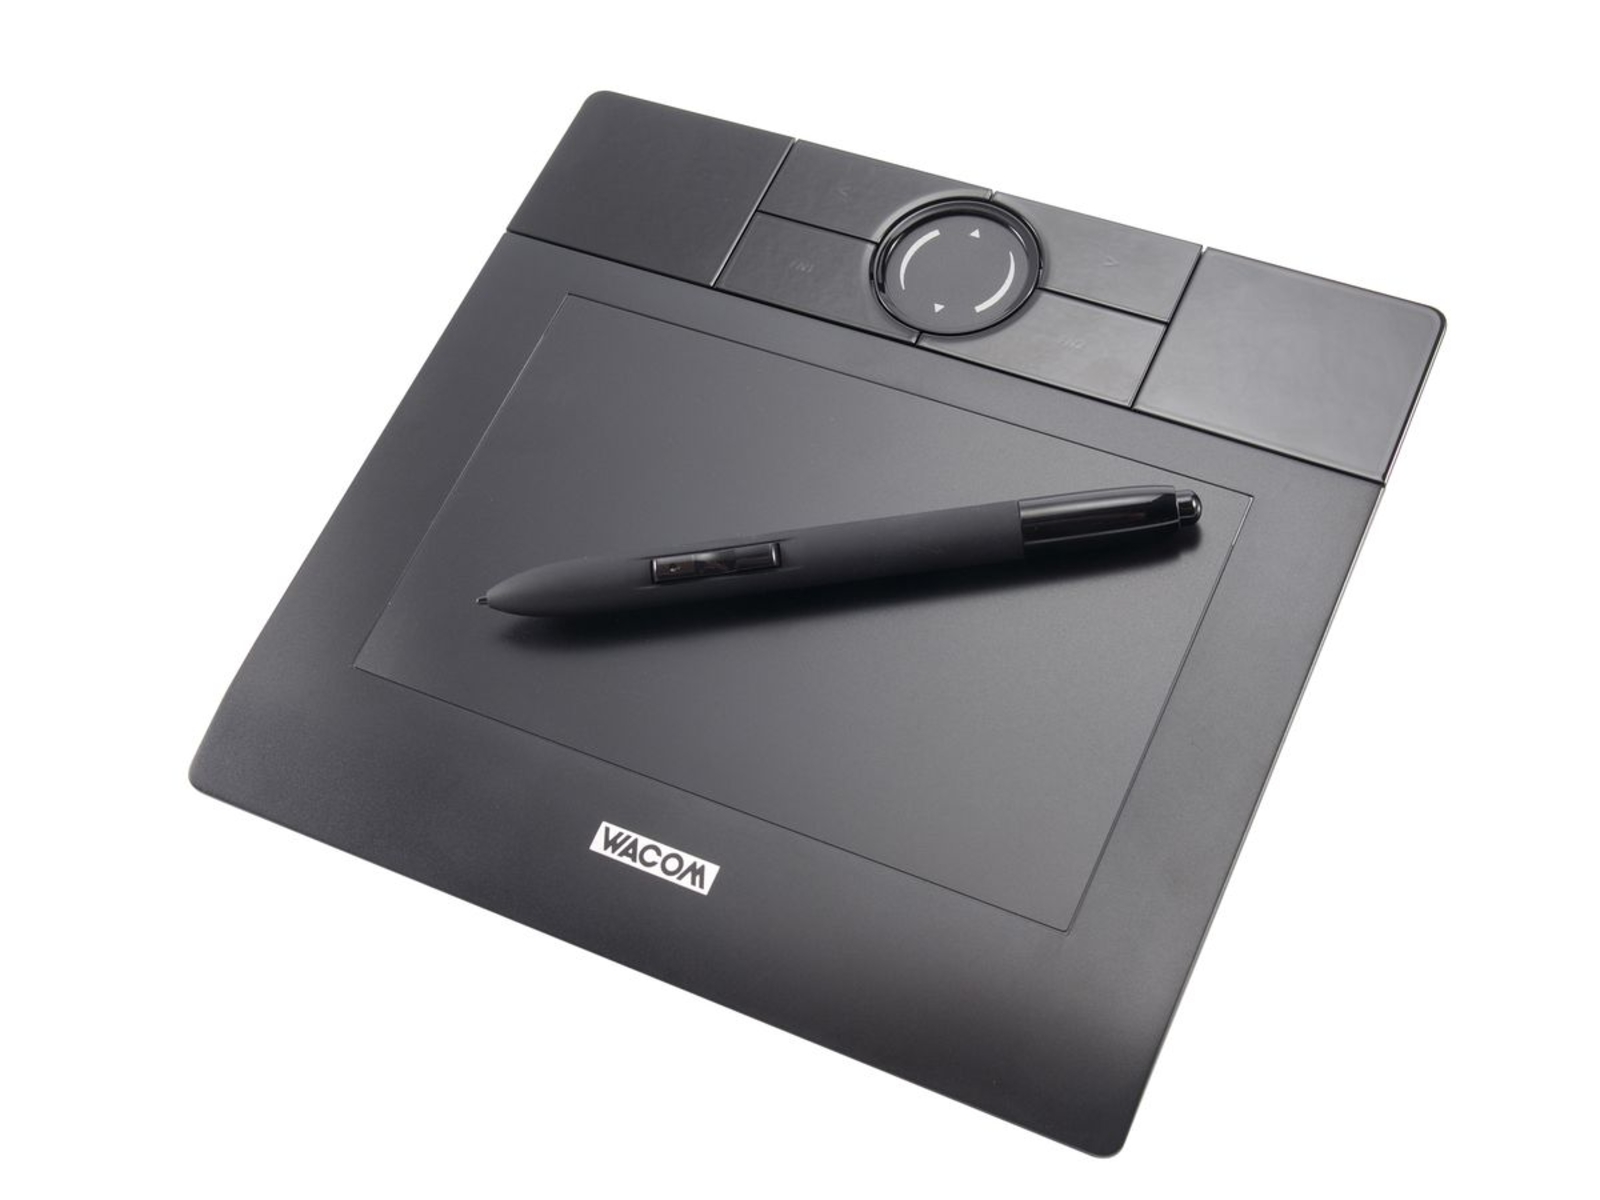
- Tablet Pen: This is the stylus pen specifically designed for your tablet. Make sure it is fully charged and in good working condition.
- Replacement Nib (Optional): If you plan to replace the nib with a new one, have a replacement nib handy. Check the specifications of your tablet pen to ensure compatibility.
- Nib Removal Tool (Optional): Some tablet pen models come with a specialized tool for removing the nib. If your pen includes this tool, it can make the removal process easier and safer. If you don’t have a removal tool, don’t worry – there are alternative methods that we will discuss later in this guide.
- Tweezers (Alternative Method): If you don’t have a nib removal tool, a pair of fine-tipped tweezers can be used as an alternative method for removing the nib. Ensure that the tweezers are clean and free from any sharp edges that may damage the nib or the pen.
- Clean Cloth: Having a clean cloth or microfiber cloth nearby is helpful for wiping away any dust or debris that may have accumulated on the pen or tablet surface.
By gathering these essential tools, you will be well-prepared to proceed with confidence as you move on to the next steps of the nib removal process. Remember to always handle the pen and tools with care to prevent any unintended damage or accidents.
Step 2: Turn off and unplug the tablet
Before you begin removing the tablet pen nib, it is crucial to turn off the tablet and unplug it from any power sources. This step is essential to ensure your safety and prevent any potential damage to the tablet or the pen.
Here’s how to properly turn off and unplug your tablet:
- Save your work: It is essential to save any ongoing work on your tablet before shutting it down. This will prevent any data loss or unsaved changes.
- Shut down the tablet: Locate the power button on your tablet and press and hold it until you see the option to shut down or power off the device. Select the appropriate option to safely turn off the tablet.
- Unplug any power sources: If your tablet is connected to a power source, such as a charger or USB cable, make sure to unplug it. This step ensures that there is no electrical current flowing through the tablet, minimizing the risk of any accidents or damage.
By following these steps, you can ensure that your tablet is completely turned off and disconnected from any power sources. This precautionary measure is vital as it eliminates the risk of accidental inputs or electrical damage during the nib removal process. It is always better to be safe than sorry, so take the time to turn off and unplug your tablet before proceeding to the next step.
Step 3: Locate the pen nib
Now that your tablet is turned off and unplugged, it’s time to locate the pen nib. The nib is the small, pointy tip of the tablet pen that makes contact with the tablet’s surface. Finding the nib is crucial for successfully removing it without causing any damage. Here’s how you can locate the pen nib:
- Inspect the pen tip: Take a close look at the tip of the tablet pen. The nib is usually visible and protrudes slightly from the pen. It may be made of plastic, rubber, or another material, depending on the pen model.
- Refer to the user manual: If you are having trouble locating the nib or need more guidance, consult the user manual that came with your tablet pen. The manual will often contain detailed instructions, illustrations, or diagrams that can help you identify the nib.
- Check for alignment markings: Some tablet pens have alignment marks or indicators that assist in aligning the nib properly. These marks can help you determine the correct orientation of the nib when removing or replacing it.
It’s important to be gentle when handling the pen and avoid applying excessive force to the nib. Remember that the nib is delicate and can break if mishandled. Take your time to locate the nib, ensuring that you have a clear view of it before proceeding to the next step.
Once you have successfully located the pen nib, you are ready to move on to the next steps of the nib removal process. Remember to proceed with caution and follow the instructions carefully to avoid any damage to the pen or tablet.
Step 4: Use a removal tool or alternative method
Removing a tablet pen nib can be done using a removal tool that is specifically designed for the pen or through an alternative method if a removal tool is not available. Here, we will explain both options to help you successfully take out the nib:
- Using a removal tool: If your tablet pen came with a removal tool, it’s the ideal method to use. The removal tool is designed to safely and easily remove the nib without causing any damage. Follow these steps when using a removal tool:
- Take hold of the removal tool and position it directly over the nib.
- Gently press down on the nib with the removal tool.
- With a slight twisting motion, lift the nib upwards.
- The nib should pop out of the pen without much effort.
- Using an alternative method: If you don’t have a removal tool, don’t worry. You can use a pair of fine-tipped tweezers as an alternative method to remove the nib. Follow these steps when using the alternative method:
- Open the tweezers and position the tips around the base of the nib.
- Apply gentle pressure and grip the nib firmly with the tweezers.
- Slowly and carefully pull the nib straight out of the pen.
Regardless of the method you choose, it’s essential to be gentle and avoid using excessive force when removing the nib. If you encounter any resistance, stop immediately and double-check the alignment and positioning of the removal tool or tweezers. Applying too much pressure or using the wrong technique can lead to damage to the pen or the nib.
Once you have successfully removed the nib, proceed to the next step to learn how to safely store the removed nib for future use.
Step 5: Safely store the removed nib
After successfully removing the tablet pen nib, it’s important to store it properly to prevent any damage or loss. Whether you plan to replace the nib or keep it as a spare, follow these steps to ensure the safe storage of the removed nib:
- Inspect the nib: Before storing the nib, check for any signs of damage or wear. If the nib is damaged, it is best to discard it and replace it with a new one.
- Clean the nib (optional): If you notice any dirt or debris on the nib, gently wipe it clean using a soft, lint-free cloth or a cotton swab dampened with rubbing alcohol. Ensure that the nib is completely dry before storing it.
- Use a protective case or container: To protect the removed nib from dust, scratches, or accidental damage, place it in a small, clean container or a nib case if available. These cases are designed to hold and protect nibs securely.
- Label the container: If you have multiple nibs or different types of nibs, label the container to distinguish it from others. This will make it easier to identify and retrieve the specific nib you need in the future.
- Store in a safe place: Find a designated place to store the container with the removed nibs. It should be a cool, dry place away from direct sunlight, extreme temperatures, and moisture.
By following these steps, you can ensure that the removed nib is safely stored and protected until you need it in the future. Proper storage will maintain the quality of the nib and extend its lifespan. Remember to check the manufacturer’s recommendations for any specific instructions on storing the nib.
Now that you have safely stored the removed nib, it’s time to move on to the final step – testing the tablet pen to ensure it functions properly without the nib.
Step 6: Test the pen after removing the nib
Testing the tablet pen after removing the nib is an important step to ensure that everything is in proper working order. By conducting a quick test, you can verify if the pen functions correctly without the nib. Follow these steps to test the pen:
- Hold the pen correctly: Grip the tablet pen as you normally would, making sure your fingers are positioned comfortably.
- Turn on the tablet: Power on your tablet and wait for it to boot up.
- Hover the pen over the tablet surface: Bring the pen close to the tablet’s surface without touching it. The cursor or pointer on the screen should respond accordingly as you move the pen.
- Apply light pressure: Gently apply pressure to the pen tip area where the nib was removed. The tablet should recognize the pen’s input and respond accordingly.
- Check for accurate tracking: Move the pen smoothly in different directions across the tablet’s surface to ensure accurate tracking. The cursor or pointer should follow your movements accurately without any lag or skipping.
- Test pen buttons (if applicable): If your tablet pen includes buttons or additional features, test them to ensure they are working as intended.
If the pen responds correctly to your inputs and tracks accurately on the tablet’s surface, it means that the pen is functioning properly without the nib. You can now proceed with using the tablet pen for your desired tasks.
However, if you encounter any issues, such as unresponsive or erratic behavior, it is possible that there might be a problem with the pen or the tablet itself. In such cases, refer to the user manual or contact the manufacturer’s customer support for assistance and troubleshooting.
Once you have confirmed that the pen is working without the nib, you have successfully completed the entire process of removing and testing the tablet pen nib. Congratulations!
Conclusion
Taking out a tablet pen nib may seem like a daunting task, but with the right steps and tools, it can be a straightforward process. By properly gathering the necessary tools, turning off and unplugging the tablet, locating the pen nib, using a removal tool or alternative method, safely storing the removed nib, and testing the pen after removal, you can successfully remove a tablet pen nib without causing any damage.
Remember to always handle the tablet pen and tools with care, applying gentle pressure and avoiding excessive force. This will help prevent any accidental damage to the pen or tablet. Furthermore, make sure to follow any specific instructions provided by the manufacturer.
By taking the time to learn and follow these steps, you can confidently remove a tablet pen nib whenever needed. Whether you are an artist, designer, or a tablet user, having the knowledge and ability to remove the nib can ensure an uninterrupted and optimal user experience.
Lastly, should you encounter any difficulties or have concerns while removing the nib, it is always advisable to consult the user manual or contact the manufacturer’s customer support for assistance. They will be able to provide you with the necessary guidance and support.
Now that you are equipped with the knowledge and steps to remove a tablet pen nib, you can enjoy the convenience of replacing or switching nibs whenever necessary. Happy creating and using your tablet pen!