Introduction
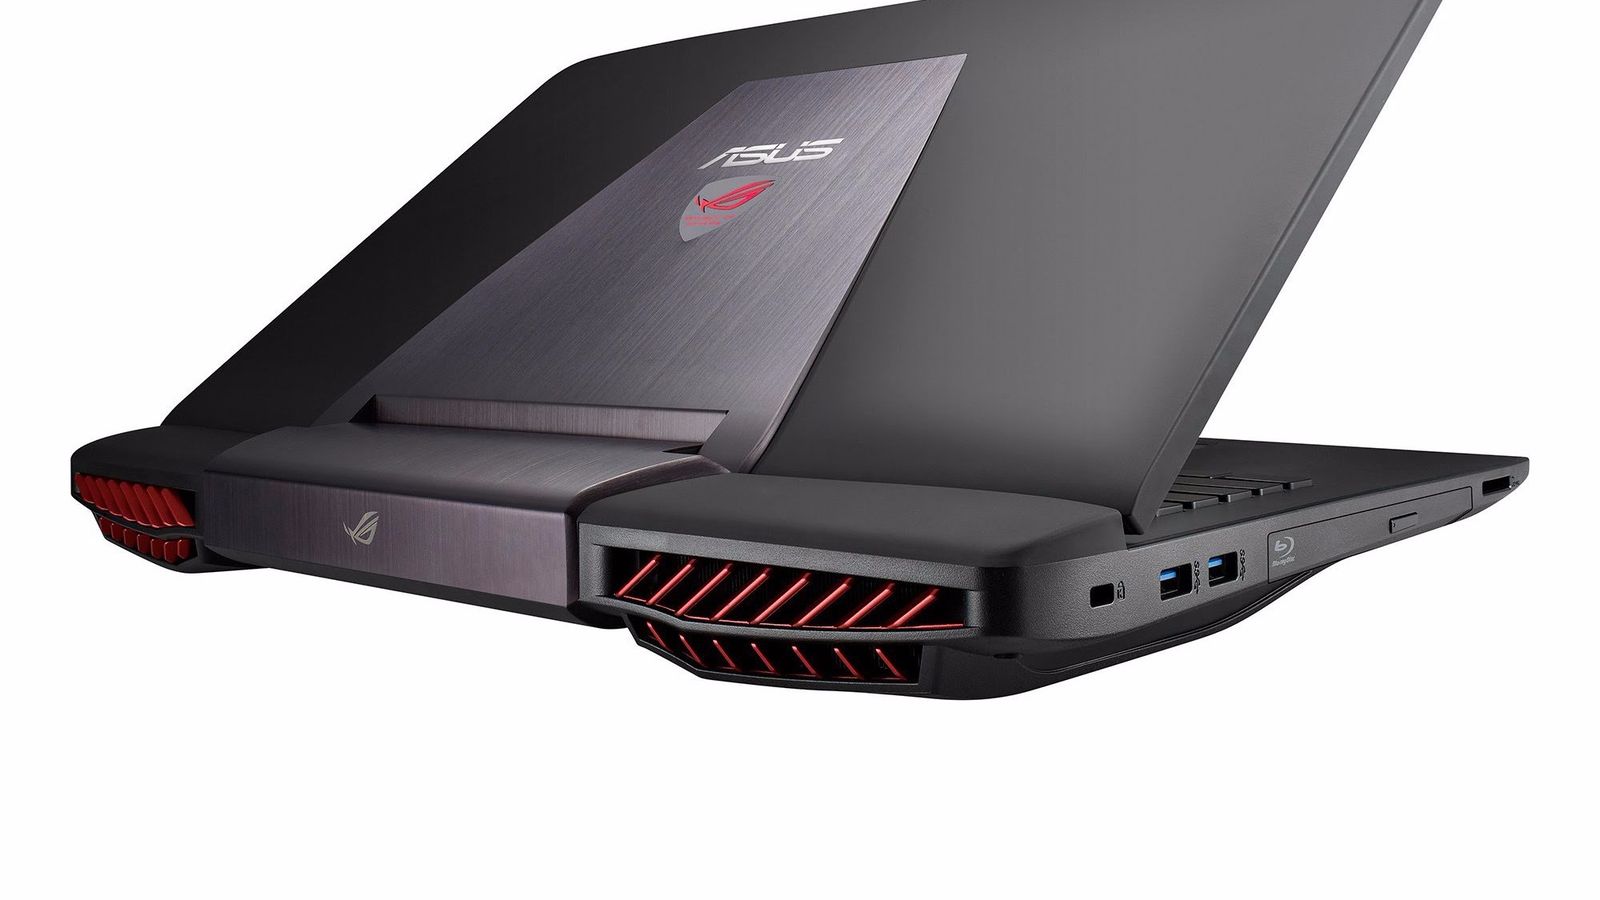
Welcome to a detailed guide on how to take apart an Asus G751 gaming laptop. Whether you’re upgrading components, replacing faulty parts, or just curious about the internal workings of your laptop, disassembling it can be a rewarding and informative experience. However, it’s important to approach this task with caution and follow the right steps to avoid damaging any of the delicate components.
The Asus G751 is a popular choice among gamers for its powerful performance and sleek design. By disassembling your G751, you can access various parts such as the hard drive, RAM modules, cooling system, and more. Whether you’re a tech enthusiast or just looking to solve a specific issue, this guide will walk you through the step-by-step process of disassembling your Asus G751 gaming laptop.
Before you get started, it’s important to note that disassembling your laptop may void your warranty. If your laptop is still under warranty, it’s recommended to contact Asus or a certified service center for any repairs or upgrades. Now let’s dive into the tools you’ll need for this disassembly process.
Tools Needed
Before you begin disassembling your Asus G751 gaming laptop, make sure you have the necessary tools on hand. Here’s a list of the tools you’ll need:
- Small Phillips screwdriver: You’ll need this to remove the screws holding various components in place.
- Flat head screwdriver: This will come in handy for prying open connectors and removing certain parts.
- Plastic pry tools: These non-metallic tools are essential for safely separating the laptop’s components without causing any damage to the delicate internal parts or the external case.
- Tweezers: Tweezers can assist you in delicately handling small parts or connectors that are difficult to reach.
- Cup or tray: Use a cup or tray to keep track of the screws and small parts you remove. This will help you stay organized and prevent any loss or confusion later on.
- Anti-static wrist strap: Although not essential, an anti-static wrist strap can help protect the internal components from electrostatic discharge (ESD) and prevent accidental damage.
By having these tools prepared and ready, you’ll be well-equipped to safely and effectively disassemble your Asus G751 gaming laptop. Let’s move on to the next section and learn how to remove the back cover.
Removing the Back Cover
To access the internal components of your Asus G751 gaming laptop, the first step is to remove the back cover. Follow these steps carefully:
- Power off your laptop and unplug it from any power source.
- Place your laptop on a clean, flat surface with the bottom facing up.
- Locate the small screws that secure the back cover in place. These screws are usually located around the edges of the laptop’s bottom panel.
- Using a small Phillips screwdriver, carefully remove the screws one by one. Remember to keep the screws in a safe place.
- Once all the screws are removed, gently lift the back cover from one corner. Be careful not to force it, as there may be plastic clips holding it in place.
- If you encounter resistance while lifting the cover, use a flat head screwdriver or a plastic pry tool to release any plastic clips or latches that are holding it down.
- Continue to lift the back cover slowly and evenly, ensuring that no cables or connectors are still attached to it.
- Once the back cover is completely removed, set it aside in a safe place.
Now that you’ve successfully removed the back cover, you have access to the internal components of your Asus G751 gaming laptop. Take a moment to familiarize yourself with the layout and organization of the components before proceeding to the next step.
Please keep in mind that every laptop model might have slight variations in the disassembly process. It’s important to consult your laptop’s manual or look for specific instructions regarding your Asus G751 model to ensure a safe and successful disassembly.
Disconnecting the Battery
Before you start working on the internal components of your Asus G751 gaming laptop, it’s crucial to disconnect the battery to avoid any potential electrical hazards. Here are the steps to safely disconnect the battery:
- Ensure that your laptop is powered off and unplugged from any power source.
- Locate the battery connector, which is usually located near the center or bottom of the laptop’s motherboard.
- Using your fingers or a pair of tweezers, gently lift the connector’s tab or latch. This will loosen the connection between the battery and the motherboard.
- Carefully disconnect the battery connector from the motherboard by pulling it straight out. If it doesn’t come out easily, double-check to ensure that the latch or tab is fully released.
- Once the battery connector is disconnected, you can safely set it aside.
By disconnecting the battery, you eliminate the risk of accidentally powering on the laptop or causing damage due to electrical surges. It’s important to keep the battery disconnected throughout the entire disassembly process.
When reconnecting the battery after you’ve completed the repairs or upgrades, ensure that the connector is properly aligned with the socket on the motherboard. Gently push the connector back into the socket until it is securely in place, and make sure the latch or tab clicks into position to hold it firmly.
Note: If your Asus G751 gaming laptop has an internal battery that is not easily accessible, it’s recommended to consult the laptop’s manual or seek professional assistance to avoid causing any damage.
Removing the Keyboard
If you need to replace the keyboard or access components underneath it, you’ll have to remove the keyboard from your Asus G751 gaming laptop. Here’s a step-by-step guide on how to do this:
- Make sure your laptop is powered off and unplugged.
- Using a small flat head screwdriver or a plastic pry tool, gently lift the top edge of the keyboard. Start at one corner and work your way along the edges, applying gentle pressure to release the plastic clips that hold it in place.
- Be careful not to apply too much force, as the keyboard is attached to the motherboard by a flat ribbon cable.
- Once the keyboard is slightly lifted, tilt it up and locate the ribbon cable connected to the motherboard.
- On the sides of the ribbon cable connector, there are small tabs that hold it in place. Gently lift these tabs using your fingers or a pair of tweezers to release the ribbon cable.
- With the ribbon cable disconnected, you can now fully remove the keyboard from the laptop. Set it aside in a safe place.
When reinstalling the keyboard, ensure that the ribbon cable is inserted securely into the connector on the motherboard. Press down gently on the tabs to lock the cable in place. Then, carefully align the keyboard with the case and press it down until the plastic clips snap back into place.
It’s important to remember that different laptop models may have slight variations in the keyboard removal process. Consult your laptop’s manual or look for specific instructions regarding the Asus G751 model to ensure a successful removal without damaging any components.
Now that you’ve removed the keyboard, you have better access to other internal components and can continue with the disassembly process, if needed.
Removing the Hard Drive
If you need to replace or upgrade the hard drive in your Asus G751 gaming laptop, you’ll need to remove the existing one. Here’s how you can do it:
- Ensure that your laptop is powered off and unplugged.
- Locate the hard drive compartment on the bottom of the laptop. It is typically labeled and secured by a few screws.
- Using a small Phillips screwdriver, remove the screws that secure the hard drive compartment cover.
- Gently lift the cover and set it aside.
- Inside the compartment, you will see the hard drive. It may be held in place by screws or a caddy.
- If there are screws, remove them using a small Phillips screwdriver.
- If there is a caddy, carefully slide it out of the hard drive bay.
- Once the hard drive is free, disconnect the data and power cables connected to it. Depending on the model, these cables may either slide out or have connectors that need to be gently detached.
- Now, you can fully remove the hard drive from the compartment.
When installing a new hard drive or reinstalling the existing one, ensure that it is properly aligned with the connectors and the screw holes in the compartment. Gently slide the hard drive into the bay until it is fully seated.
Finally, reattach the data and power cables to the hard drive. If necessary, secure the hard drive in place using screws or by inserting it back into a caddy. Then, replace the hard drive compartment cover and securely fasten it with the screws.
Now that you’ve successfully removed the hard drive from your Asus G751 gaming laptop, you can proceed with replacing it with a new one or performing any necessary upgrades.
Removing the RAM Modules
If you want to upgrade or replace the RAM modules in your Asus G751 gaming laptop, you’ll need to remove the existing ones. Here’s how you can do it:
- Ensure that your laptop is powered off and unplugged.
- Locate the RAM compartment on the bottom of the laptop. It is usually labeled and secured by screws.
- Using a small Phillips screwdriver, remove the screws that secure the RAM compartment cover.
- Gently lift the cover and set it aside.
- Inside the compartment, you will see the RAM modules. They are typically held in place by metal clips on each side.
- Locate the clips and gently push them away from the RAM module to release it.
- The module will pop up at an angle. Hold the edges and carefully pull it out of the slot.
- If you have multiple RAM modules, repeat the process for each one you want to remove.
- Handle the RAM modules with care, avoiding touching the metal contacts. Place them in an anti-static bag or on an anti-static surface to prevent any static discharge.
When installing new RAM modules or reinstalling the existing ones, ensure they are properly aligned with the slot. Insert the module at a slight angle into the slot and gently push it down until you hear a click, indicating that the module is securely in place. The metal clips should automatically lock into position on each side of the module.
It’s important to note that different laptop models may have variations in the RAM removal process. Always consult your laptop’s manual or look for specific instructions regarding the Asus G751 model to ensure a successful removal without causing any damage to the modules or the slots.
Now that you’ve successfully removed the RAM modules from your Asus G751 gaming laptop, you can proceed with upgrading them or installing new ones to enhance the performance of your device.
Removing the Optical Drive
If you no longer use the optical drive in your Asus G751 gaming laptop or need to replace it with a different component, you can remove it by following these steps:
- Ensure that your laptop is powered off and unplugged.
- Locate the optical drive on the side of your laptop.
- On the bottom of the laptop, there should be a small screw securing the optical drive in place. Use a small Phillips screwdriver to remove this screw.
- Gently slide the optical drive out of the laptop. It may be necessary to apply slight pressure to release any clips or connectors that are holding it in place.
- Once the drive is partially released, carefully disconnect any cables or connectors that are attached to it. This may include a power cable and a data cable.
- Once the cables are disconnected, you can fully remove the optical drive from the laptop.
When installing a new optical drive or reinstalling the existing one, ensure that it is properly aligned with the slot in the laptop. Carefully insert the optical drive into the slot, making sure it slides in smoothly. Once inserted, secure the drive in place by replacing the screw that was removed earlier.
It’s important to note that while removing the optical drive can free up space or allow for alternative components, it may impact the functionality of your laptop if you rely on optical media such as CDs or DVDs. Additionally, be sure to consult your laptop’s manual or look for specific instructions regarding the Asus G751 model, as different laptops may have variations in the optical drive removal process.
Now that you’ve successfully removed the optical drive from your Asus G751 gaming laptop, you can explore other upgrade options or use that space for additional components, such as an extra hard drive or an SSD.
Removing the Cooling System
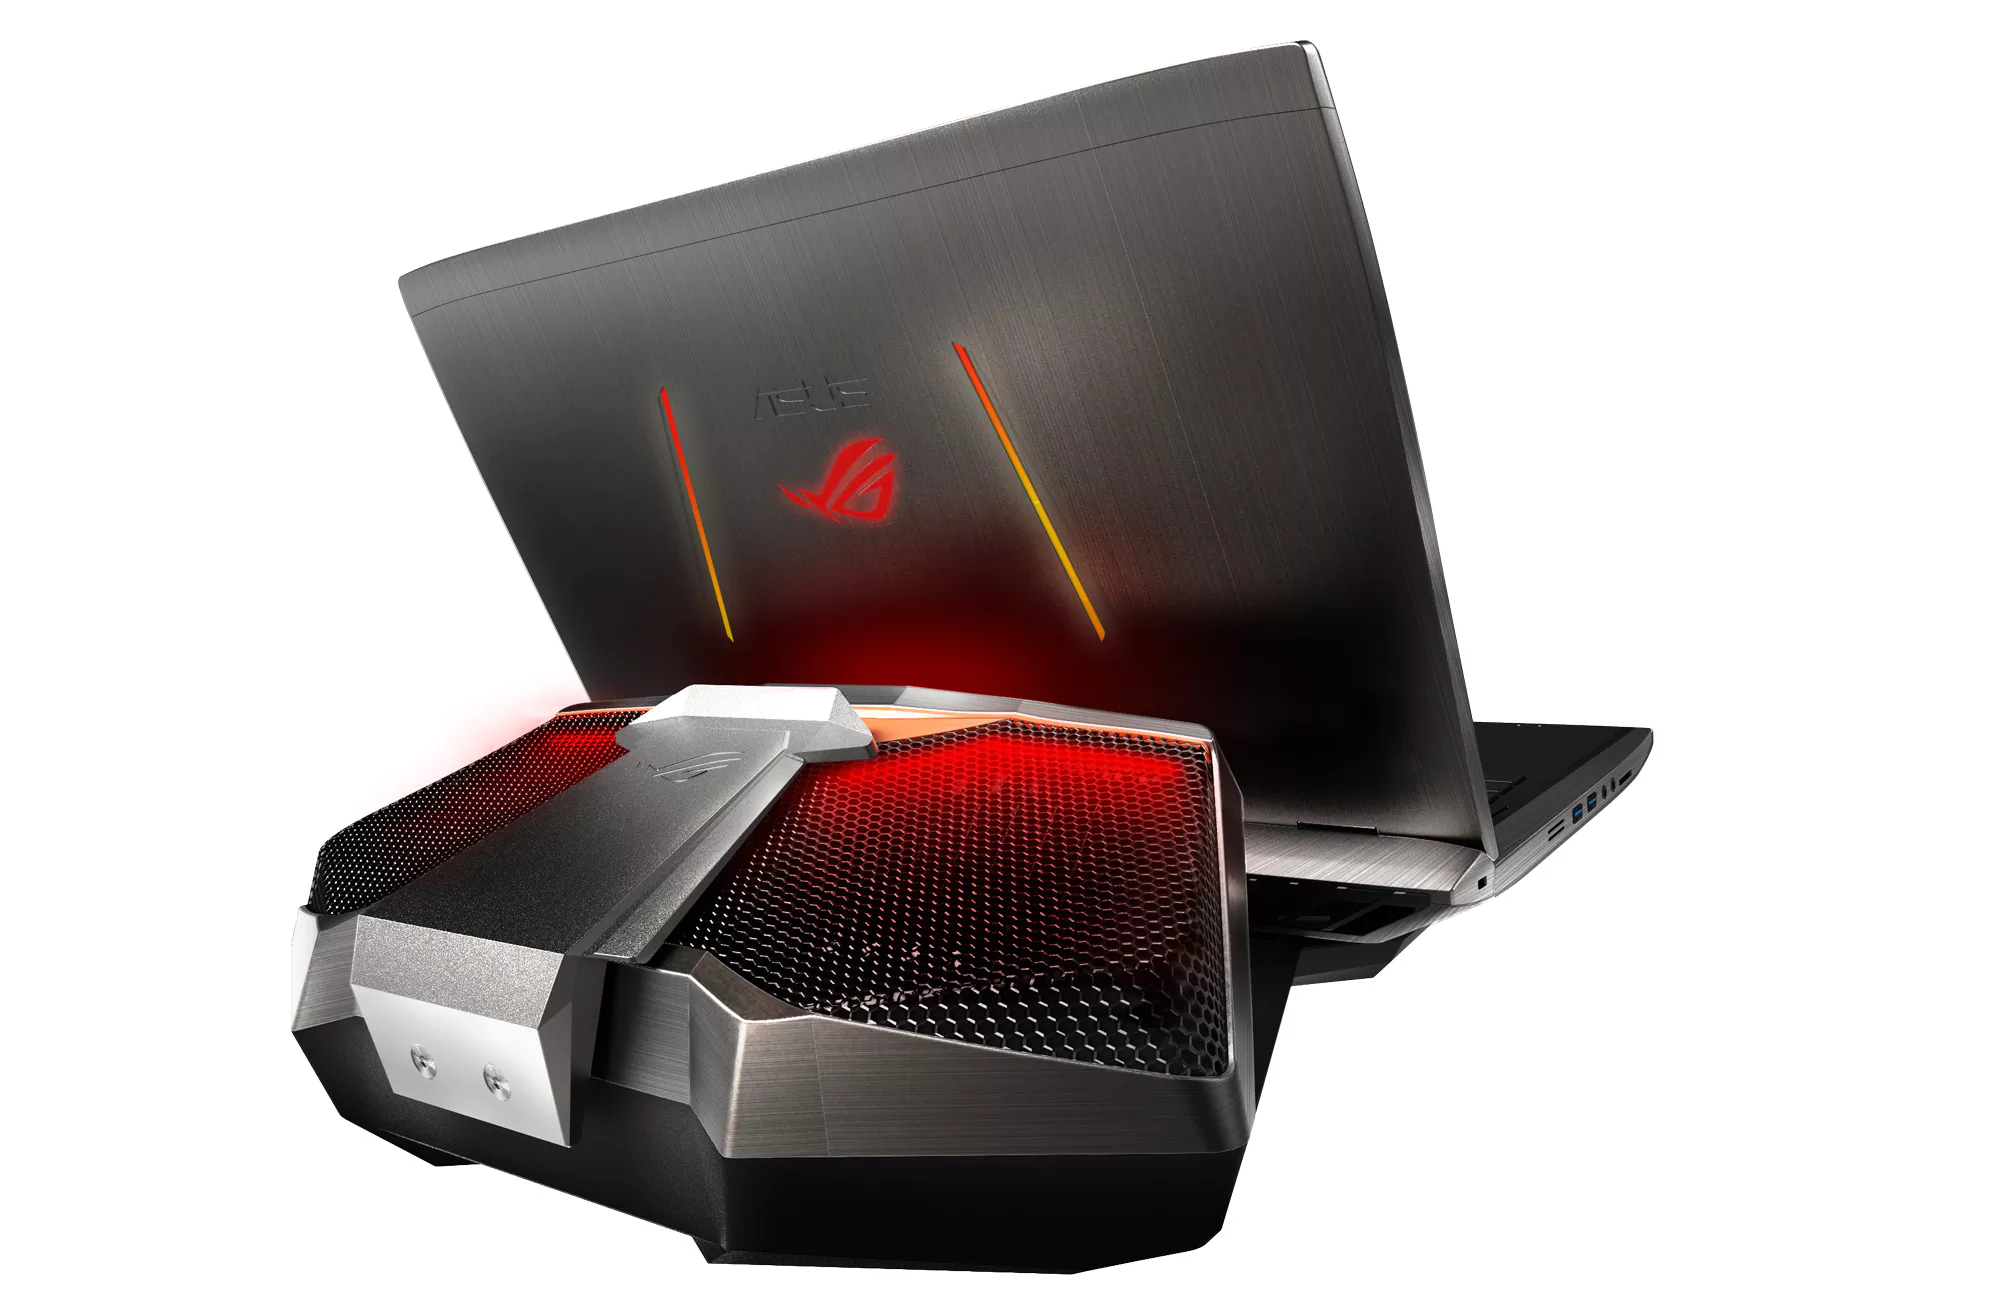
The cooling system in your Asus G751 gaming laptop plays a crucial role in maintaining the optimal temperature of the internal components. If you need to clean the cooling system or replace any of its components, follow these steps:
- Make sure your laptop is powered off and unplugged.
- Locate the cooling system components, which are usually located on the underside of the laptop.
- Use a small Phillips screwdriver to remove the screws that secure the cooling system cover.
- Gently lift the cover and set it aside.
- You’ll now have access to the cooling fan(s) and heat sink(s). Identify the fan(s) and any heat sink(s) that you wish to remove.
- Start by disconnecting the fan(s) from the motherboard. There may be a small connector that needs to be gently detached.
- Next, remove any screws or clips that secure the fan(s) or heat sink(s) in place.
- Gently lift the fan(s) or heat sink(s) away from the laptop. Be cautious of any thermal paste that may be applied between the heat sink and the processor.
- If necessary, clean the fan(s) or heat sink(s) using compressed air or a soft brush to remove any dust or debris that may have accumulated.
When reinstalling the cooling system components, ensure that the fan(s) are properly aligned with the connector on the motherboard. Gently press the fan(s) back into place and secure them with the screws or clips.
It’s important to note that the cooling system is a vital component for keeping your laptop’s temperature regulated. If you’re not experienced in working with hardware components or unsure about the process, it’s recommended to seek professional assistance or refer to your laptop’s manual for specific instructions.
With the cooling system properly cleaned or any necessary components replaced, your Asus G751 gaming laptop will have improved cooling performance, which can help extend the lifespan of your laptop and ensure optimal performance during intensive gaming sessions.
Disconnecting Cables and Connectors
As you continue with the disassembly process of your Asus G751 gaming laptop, it’s important to properly disconnect cables and connectors to avoid any damage or accidents. Follow these steps to safely disconnect cables and connectors:
- Ensure that your laptop is powered off and unplugged.
- Identify the various cables and connectors that are attached to the components you wish to remove or work on.
- Before disconnecting any cables or connectors, take note of their positions and orientations. This will help you later during reassembly.
- When disconnecting cables, grip the connector firmly and pull it straight out. Avoid tugging or pulling on the cable itself, as it can damage the cable or the connector.
- If a connector has a latch or tab, release it before pulling the connector out.
- For smaller connectors, such as ribbon cables or small data cables, use tweezers or a small flat head screwdriver to gently release them from their sockets or connectors.
- Pay attention to any delicate or fragile connectors that require extra care when disconnecting. These connectors may have specific instructions for removal in your laptop’s manual.
- As you disconnect each cable or connector, keep track of them to ensure proper reconnection later. You can use a labeling system or take pictures for reference.
By following these steps, you can safely and effectively disconnect cables and connectors from your Asus G751 gaming laptop. Properly disconnecting them will make the disassembly process smoother and help prevent any damage to the components or their respective connectors.
Should you encounter any difficulties or uncertainty regarding a specific cable or connector, it’s recommended to refer to your laptop’s manual or seek professional assistance to ensure a successful disconnection and reconnection process.
Removing the Motherboard
If you need to access or replace the motherboard in your Asus G751 gaming laptop, follow these steps to safely remove it:
- Ensure that your laptop is powered off and unplugged.
- Before removing the motherboard, you’ll need to disconnect all the cables and connectors that are attached to it. Refer to the previous section on disconnecting cables and connectors for guidance.
- Remove any screws or clips that secure the motherboard to the laptop’s frame.
- Gently lift the motherboard from the bottom, ensuring that no cables or connectors are still connected to it.
- If there are any stubborn connectors, use a small flat head screwdriver or a plastic pry tool to carefully release them. Do this with caution to avoid damaging the connectors or the motherboard.
- Continue lifting the motherboard slowly and evenly until it is completely free from the laptop’s frame.
- Place the motherboard on an anti-static surface to prevent any static discharge that could damage the sensitive electronic components.
When reinstalling the motherboard, carefully align it with the laptop’s frame and ensure that all the connectors are properly inserted into their respective sockets. Gently press down on the motherboard to secure it in place, and fasten the screws or clips that hold it in position.
It’s crucial to exercise caution when removing and handling the motherboard, as it houses many delicate and sensitive components. Avoid excessive force or rough handling to prevent any damage.
It’s recommended to consult your laptop’s manual or seek professional assistance if you’re unsure about removing or reinstalling the motherboard, as it is a complex procedure that requires knowledge and expertise.
With the motherboard successfully removed, you can proceed with repairs, upgrades, or any necessary maintenance on your Asus G751 gaming laptop.
Conclusion
Congratulations! You have now learned how to disassemble your Asus G751 gaming laptop. By following the step-by-step instructions provided in this guide, you can safely remove various components such as the back cover, battery, keyboard, hard drive, RAM modules, optical drive, cooling system, cables, connectors, and even the motherboard. This knowledge allows you to perform upgrades, repairs, or maintenance on your laptop as needed.
Remember to exercise caution throughout the disassembly process, handle components delicately, and keep track of screws and connectors to ensure a smooth reassembly. It’s crucial to consult your laptop’s manual or seek professional assistance if you encounter any uncertainties or have specific questions related to your Asus G751 model.
Once you have completed the necessary repairs, upgrades, or maintenance, you can reverse the disassembly process and carefully reassemble your laptop. Take your time and refer to any notes or photographs you may have taken during the disassembly to ensure proper reconnection of cables and components.
We hope this guide has been helpful in empowering you to take apart your Asus G751 gaming laptop successfully. However, please keep in mind that disassembling your laptop may void your warranty, and it’s always advisable to contact Asus or a certified service center if your laptop is still under warranty or if you do not feel comfortable performing the disassembly yourself.
Now, armed with this knowledge, you can confidently explore the inner workings of your Asus G751 gaming laptop, make necessary upgrades, and keep it running at its best for your gaming adventures.


