Introduction
Lenovo Ultrabooks are known for their sleek design, powerful performance, and advanced features. Whether you’re working on a project, gaming, or simply browsing the web, there may come a time when you need to capture a screenshot of your Ultrabook’s screen. Screenshots are useful in various situations, such as documenting an error message, capturing online receipts, or sharing an image with others. Fortunately, taking a screenshot on a Lenovo Ultrabook is a straightforward process that can be accomplished through multiple methods.
In this article, we will explore four different methods to take a screenshot on a Lenovo Ultrabook. These methods include using the keyboard, utilizing the Snipping Tool, accessing the Windows Game Bar, and utilizing third-party applications. By familiarizing yourself with these methods, you’ll be able to effortlessly capture and save screenshots for various purposes.
Whether you’re a novice Ultrabook user or a tech-savvy professional, this guide will provide you with step-by-step instructions for each method. We will walk you through the process, ensuring that you can master the art of taking screenshots on your Lenovo Ultrabook.
So, without further ado, let’s dive into the various methods and learn how to capture screenshots on a Lenovo Ultrabook.
Method 1: Using the Keyboard
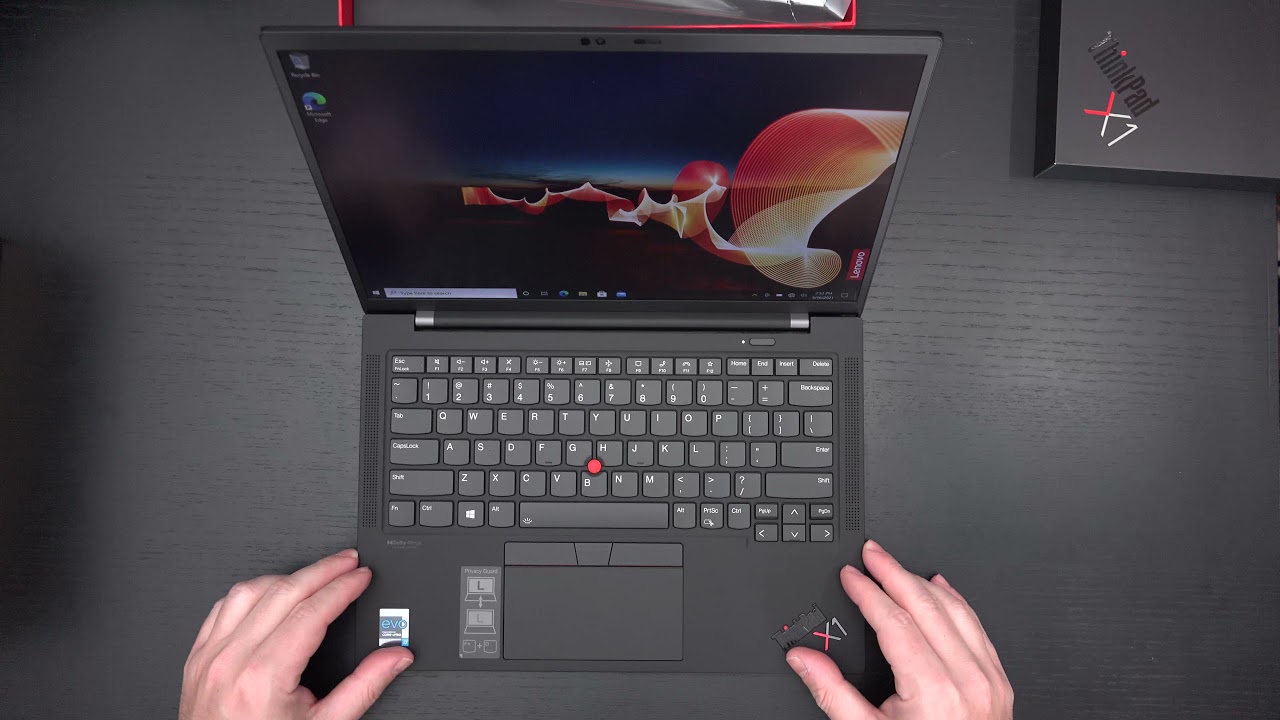
The easiest and most common method to take a screenshot on a Lenovo Ultrabook is by using the keyboard. Lenovo Ultrabooks usually have a dedicated key or a combination of keys that can be pressed to capture a screenshot of the entire screen or a specific area.
To capture the entire screen, locate the “Print Screen” or “PrtSc” key on your Lenovo Ultrabook’s keyboard. It is typically located in the upper-right corner, near the function keys. Press the “Print Screen” key once, and the screenshot will be copied to your clipboard.
If you want to capture only a specific area of the screen, you can use the “Alt” key in combination with the “Print Screen” key. Press and hold the “Alt” key, then press the “Print Screen” key. Your cursor will turn into a crosshair. Click and drag to select the area you want to capture, and release the mouse button. The screenshot of the selected region will be copied to your clipboard.
Once you have captured a screenshot using the keyboard, you need to save it as an image file. Open an image-editing software like Paint or Photoshop, and press Ctrl + V to paste the screenshot from the clipboard. You can then save the image in your desired format, such as JPEG or PNG.
Using the keyboard to capture screenshots on a Lenovo Ultrabook is simple and convenient. It allows you to capture either the entire screen or a specific area, providing you with flexibility in your screenshot-taking needs.
Now that you know how to use the keyboard to take screenshots on your Lenovo Ultrabook, let’s explore another method: using the Snipping Tool.
Method 2: Using the Snipping Tool
If you want more control over the area you want to capture or if you need to annotate the screenshot before saving it, the Snipping Tool is a handy built-in application on Windows that can be used to capture screenshots on your Lenovo Ultrabook.
To open the Snipping Tool, click on the Start menu and search for “Snipping Tool.” Once the tool appears in the search results, click on it to launch the application.
When the Snipping Tool opens, you’ll see a small toolbar with various options. Click on the “New” button to start capturing a screenshot. The screen will fade, and your cursor will turn into a crosshair.
Click and drag the crosshair to select the area you want to capture. Once you release the mouse button, the selected area will be displayed in the Snipping Tool window. You can annotate the screenshot if needed using the pen, highlighter, or eraser tools available in the toolbar.
To save the screenshot, click on the “File” menu and select “Save As.” Choose a location on your Lenovo Ultrabook where you want to save the screenshot, enter a file name, and select the desired file format (e.g., JPEG, PNG, GIF). Click “Save” to save the screenshot to your chosen location.
The Snipping Tool offers more advanced screenshot-taking capabilities compared to using the keyboard alone. It allows you to precisely capture specific areas of the screen, make annotations, and save the screenshot in different formats.
Now that you know how to use the Snipping Tool to take screenshots on your Lenovo Ultrabook, let’s move on to the next method: using the Windows Game Bar.
Method 3: Using the Windows Game Bar
If you’re an avid gamer or if you frequently use your Lenovo Ultrabook for gaming purposes, you can take advantage of the Windows Game Bar to capture screenshots during gameplay or while using other applications.
The Windows Game Bar is a feature built into Windows that allows you to capture screenshots, record gameplay, and access other gaming-related features. To open the Windows Game Bar, press the Windows key + G on your keyboard.
Once the Game Bar is open, you’ll see a toolbar with various options. To capture a screenshot, click on the camera icon or press the Windows key + Alt + PrtSc on your keyboard. The screenshot will be automatically saved to your computer’s “Videos” folder with the file name format “Screenshot (date and time).png”.
If you want to customize the screenshot’s location or file format, you can open the Game Bar settings by clicking on the gear icon in the toolbar. In the settings, you’ll find options to change the screenshot saving location and choose between PNG or JPEG file formats.
The Windows Game Bar is a convenient option for gamers and users who need to capture screenshots without interrupting their gameplay or workflow. It provides a seamless way to capture screenshots and saves them in a dedicated folder for easy access and organization.
Now that you know how to use the Windows Game Bar to take screenshots on your Lenovo Ultrabook, let’s explore the final method: using third-party applications.
Method 4: Using Third-Party Applications
If you’re looking for more advanced screenshot-taking features or if you prefer a different interface, you can explore third-party applications that specialize in capturing screenshots. These applications often offer additional functionalities such as screenshot editing, scrolling capture, and cloud storage integration.
One popular third-party application for taking screenshots is Snagit. Snagit provides a user-friendly interface and a wide range of features to enhance your screenshot-taking experience. You can capture screenshots of the entire screen, selected windows, or specific regions. Snagit also allows you to annotate and edit screenshots with various tools, including arrows, shapes, and text. Additionally, Snagit offers cloud storage integration, making it easy to save and share your screenshots.
Another noteworthy third-party application is Greenshot. Greenshot is a free and open-source screenshot tool that offers a wealth of features. It allows you to capture screenshots of selected areas, full screens, or specific windows. Greenshot also provides a powerful image editor with various editing tools and options. This application supports multiple file formats and allows for easy customization of keyboard shortcuts.
When choosing a third-party application for taking screenshots on your Lenovo Ultrabook, it’s important to consider your specific needs and preferences. There are many options available in the market, each with its unique set of features and capabilities.
Once you’ve selected a third-party application, download and install it onto your Lenovo Ultrabook. Follow the application’s instructions to familiarize yourself with its features and learn how to capture, edit, and save screenshots. Most third-party applications have intuitive user interfaces, making it easy to navigate and utilize their functionalities.
Using third-party applications for capturing screenshots provides you with enhanced features and flexibility. You can explore different applications and choose the one that best suits your requirements and workflow.
Now that you have learned about the four methods for taking screenshots on your Lenovo Ultrabook, you can choose the one that fits your needs and preferences. Whether you prefer using the keyboard shortcuts, the Snipping Tool, the Windows Game Bar, or third-party applications, capturing screenshots on your Lenovo Ultrabook has never been easier.
Conclusion
Capturing screenshots on your Lenovo Ultrabook is a simple and essential skill that can be incredibly useful in various situations. In this article, we have explored four methods to take screenshots on your Lenovo Ultrabook: using the keyboard, the Snipping Tool, the Windows Game Bar, and third-party applications.
Using the keyboard is the most straightforward method. Pressing the “Print Screen” key allows you to capture the entire screen, while using the “Alt + Print Screen” combination lets you select a specific area. Both options provide you with the flexibility to capture screenshots quickly.
The Snipping Tool offers more advanced functionality, allowing you to capture precise areas of the screen, annotate screenshots, and save them in different file formats. It is a fantastic built-in tool for users who need more control over their screenshots.
If you’re a gamer, the Windows Game Bar is a convenient option. With a simple key combination, you can capture screenshots while gaming without interrupting your gameplay. The Game Bar automatically saves the screenshots, ensuring you don’t miss any memorable moments.
For users seeking more advanced features and customization options, third-party applications like Snagit and Greenshot offer a wealth of functionalities. These applications provide advanced editing tools, cloud storage integration, and customizable shortcut keys to enhance your screenshot-taking experience.
By familiarizing yourself with these methods, you can choose the one that best suits your needs and preferences. Whether you’re capturing important information, documenting errors, or sharing images with others, taking screenshots on your Lenovo Ultrabook is a breeze.
So go ahead and start capturing those screenshots effortlessly. Your Lenovo Ultrabook is equipped with all the necessary tools and applications to make your screenshot-taking experience seamless and efficient.


