Introduction
Welcome to the world of gaming on your PlayStation 4! Owning a PlayStation 4 controller allows you to immerse yourself in exciting gameplay and experience the thrill of your favorite games. However, to enjoy the ultimate gaming experience, you need to know how to sync your PlayStation 4 controller with your console.
Synchronizing your controller is a straightforward process that enables you to connect it wirelessly to your PlayStation 4. This eliminates the need for wired connections and grants you the freedom to play from a more comfortable distance.
In this guide, we will walk you through the step-by-step process of syncing your PlayStation 4 controller. We will discuss the equipment you need, the necessary preparations, and the button combinations required to establish a successful connection. By following these instructions, you’ll be ready to dive into your favorite games in no time.
So, let’s get started and learn how to sync your PlayStation 4 controller effortlessly!
What You Will Need
Before you begin the process of syncing your PlayStation 4 controller, it’s essential to gather the necessary equipment. Here’s a list of items you’ll need:
- A PlayStation 4 console: This is the central device for your gaming experience.
- A PlayStation 4 controller: The official Sony controller that comes with the console.
- A micro USB cable: This cable is used to establish the initial connection between the controller and the console.
- A stable internet connection: Ensures a smooth sync process and uninterrupted gameplay.
Make sure you have all these items ready before proceeding to the next steps. It’s essential to have a functioning and fully charged controller to ensure a seamless syncing process.
It’s also worth noting that using an official PlayStation 4 controller is highly recommended for the best compatibility and performance. While third-party controllers may work, there is a chance that certain features or functionalities may not be fully supported.
Now that you have all the necessary equipment, let’s move on to the step-by-step instructions on how to sync your PlayStation 4 controller.
Step 1: Prepare the Controller
Before you can begin syncing your PlayStation 4 controller, you need to prepare it for the process. Follow these steps:
- Ensure that the controller is charged or has fresh batteries. A fully charged controller will prevent any interruptions during the sync process.
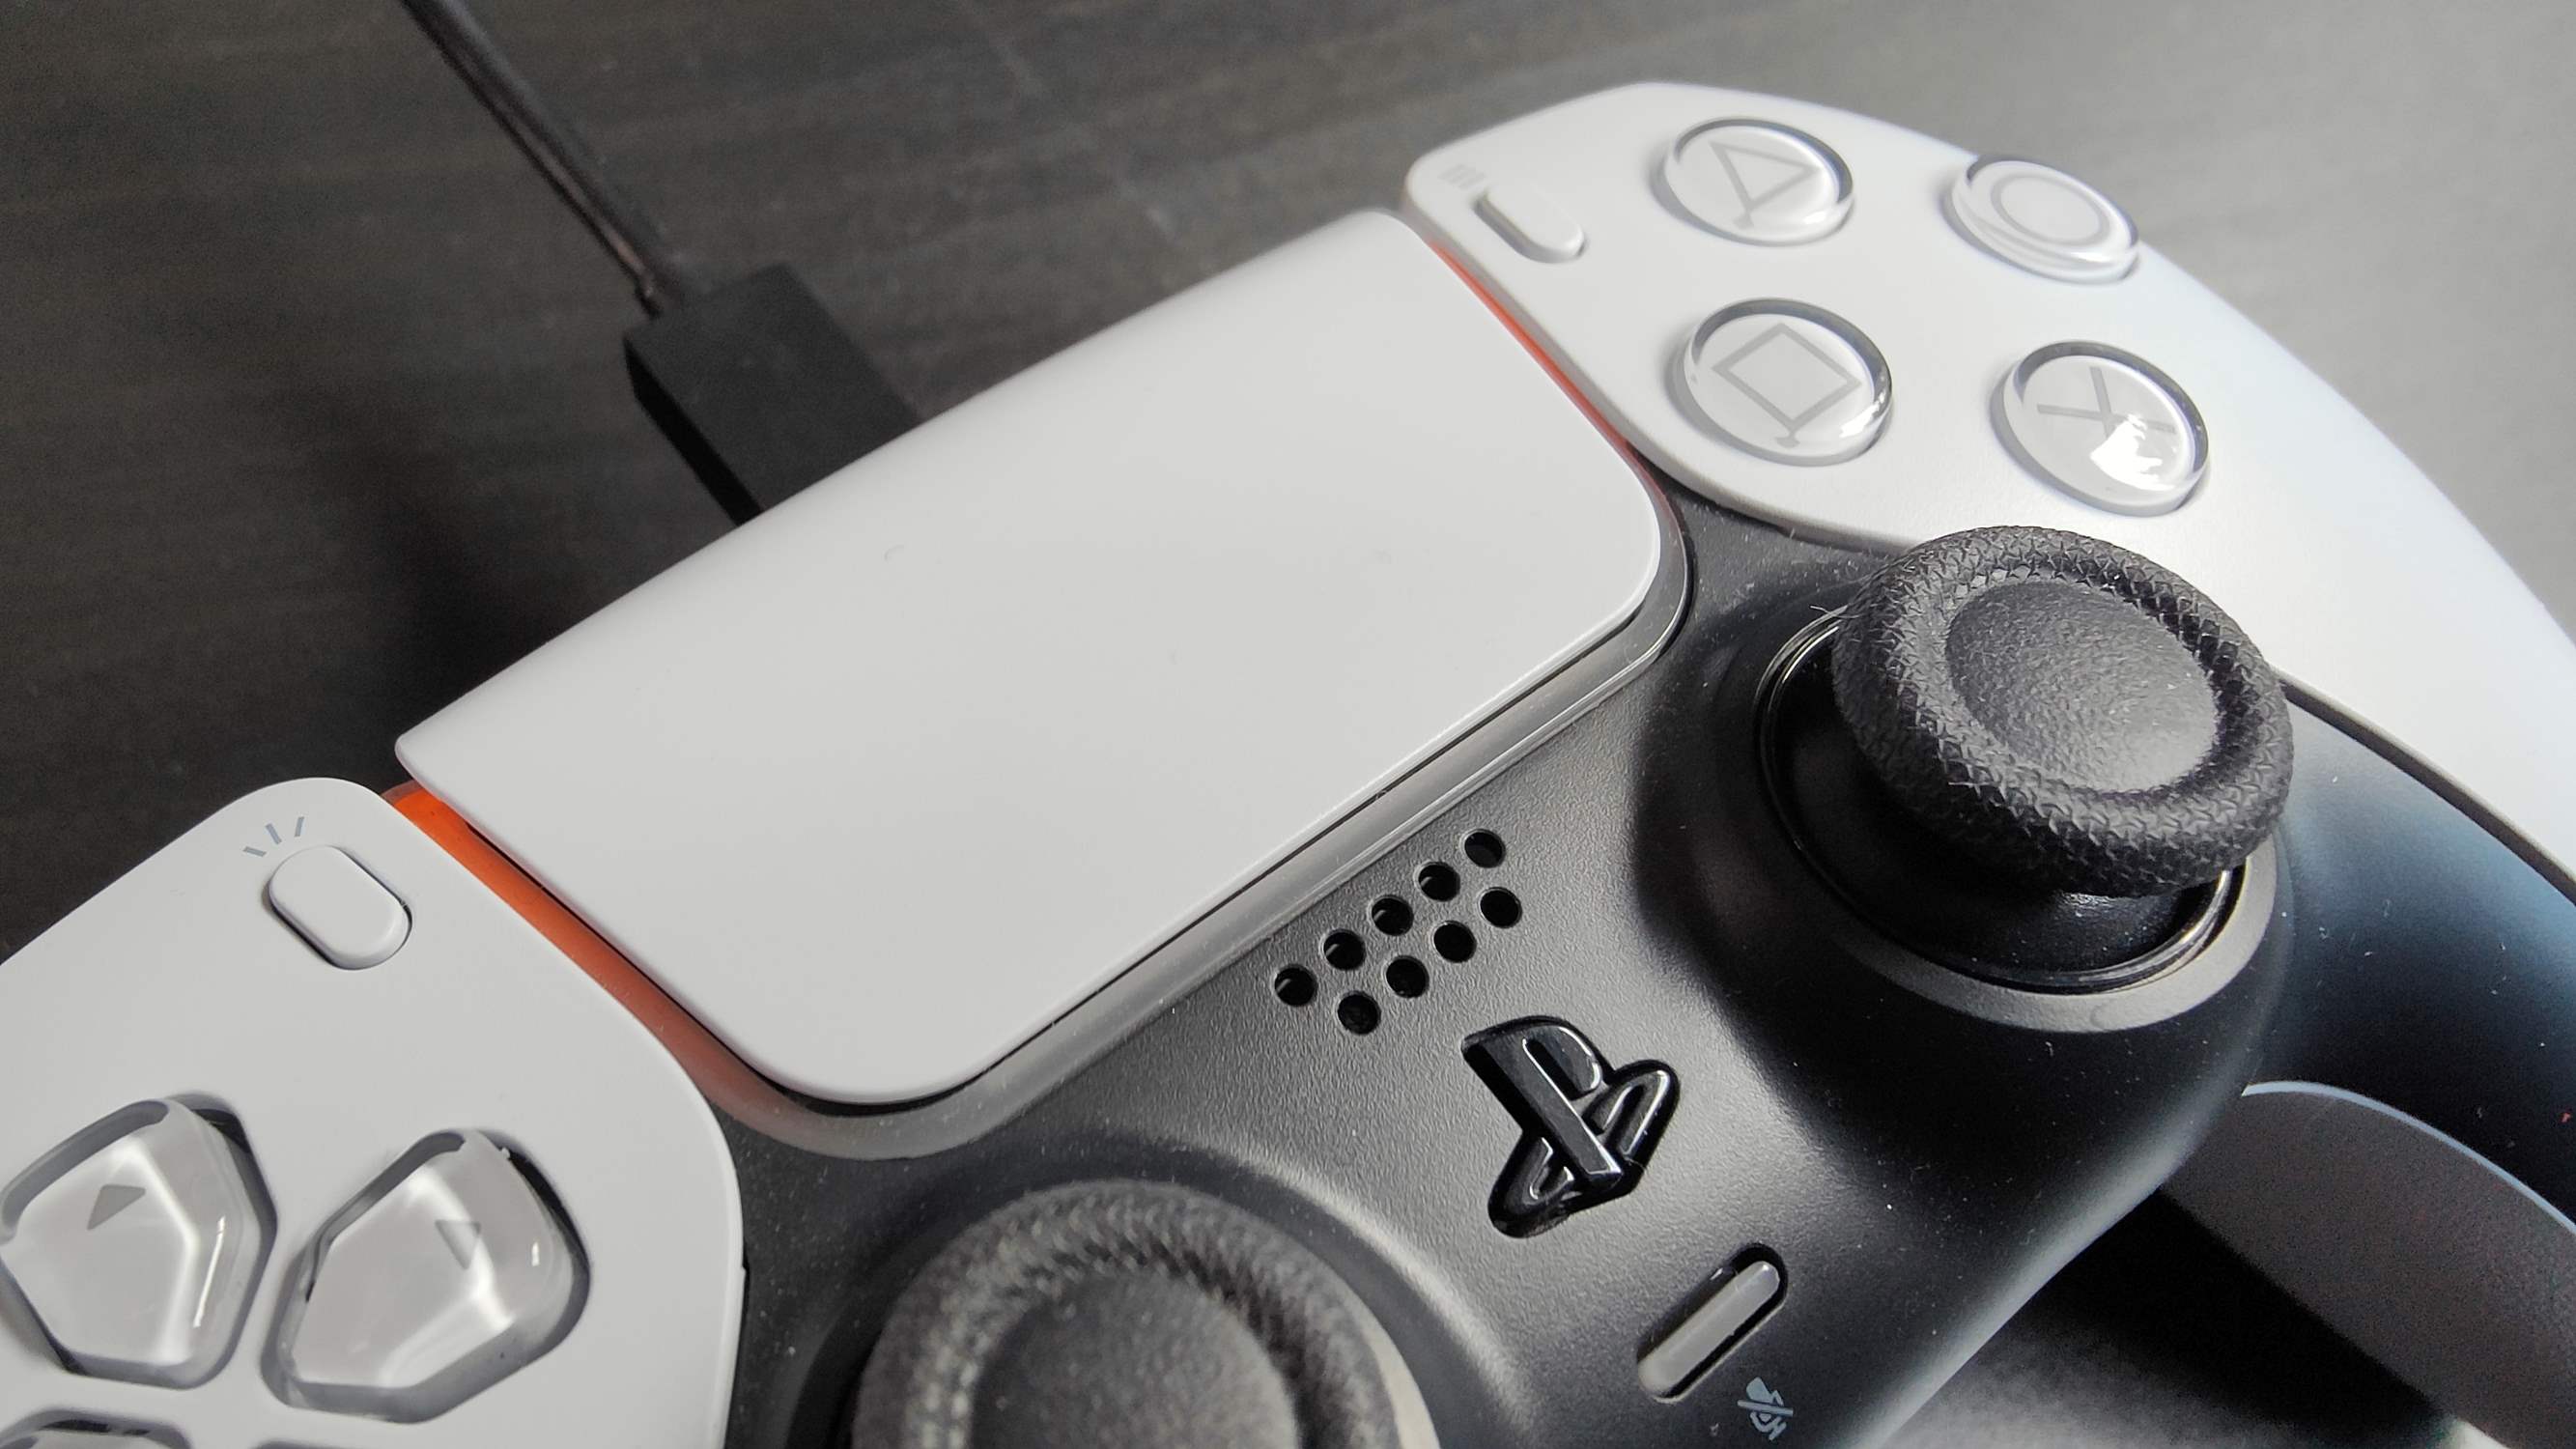
- Locate the PlayStation button. This is the large, circular button located in the center of the controller. It is essential for establishing a connection with the console.
- Inspect the controller for any damage or malfunctioning buttons. A faulty controller may hinder the syncing process.
- If the controller is already connected to another device, such as a PC or another PlayStation console, ensure that the connection is terminated.
- If you are using a wired controller, make sure the micro USB cable is securely connected to both the controller and the console.
By preparing your controller and ensuring that it is in good condition, you increase the chances of a successful syncing process. It’s crucial to address any physical or technical issues with the controller before moving forward.
Once your controller is properly prepared, you are ready to move on to the next step: turning on the PlayStation 4 console.
Step 2: Turn on the PlayStation 4
With your PlayStation 4 controller prepared, it’s time to turn on your console. Follow these steps:
- Ensure that your PlayStation 4 is plugged into a power source and turned on. The power indicator should illuminate to indicate that the console is active.
- Press the power button on the console or use the controller’s PlayStation button to power on the console.
- Wait for the console to boot up. The display will show the PlayStation logo, indicating that the console is starting.
- Once the console has fully powered on, you will be greeted with the PlayStation 4 home screen.
It’s important to note that the syncing process can only be initiated when the PlayStation 4 console is powered on. If the console is in rest mode or turned off, the controller will not be able to establish a connection.
By following these steps, you have successfully turned on your PlayStation 4 and are ready to proceed to the next step of the syncing process.
Step 3: Connect Using USB Cable
Now that your PlayStation 4 is powered on, it’s time to connect your controller to the console using a USB cable. Here’s how:
- Take the micro USB cable and plug one end into the USB port on the front of your PlayStation 4 console.
- Take the other end of the cable and plug it into the USB port located on the top of your PlayStation 4 controller.
- Ensure that the connection is secure and that the cable is correctly inserted into both the console and the controller.
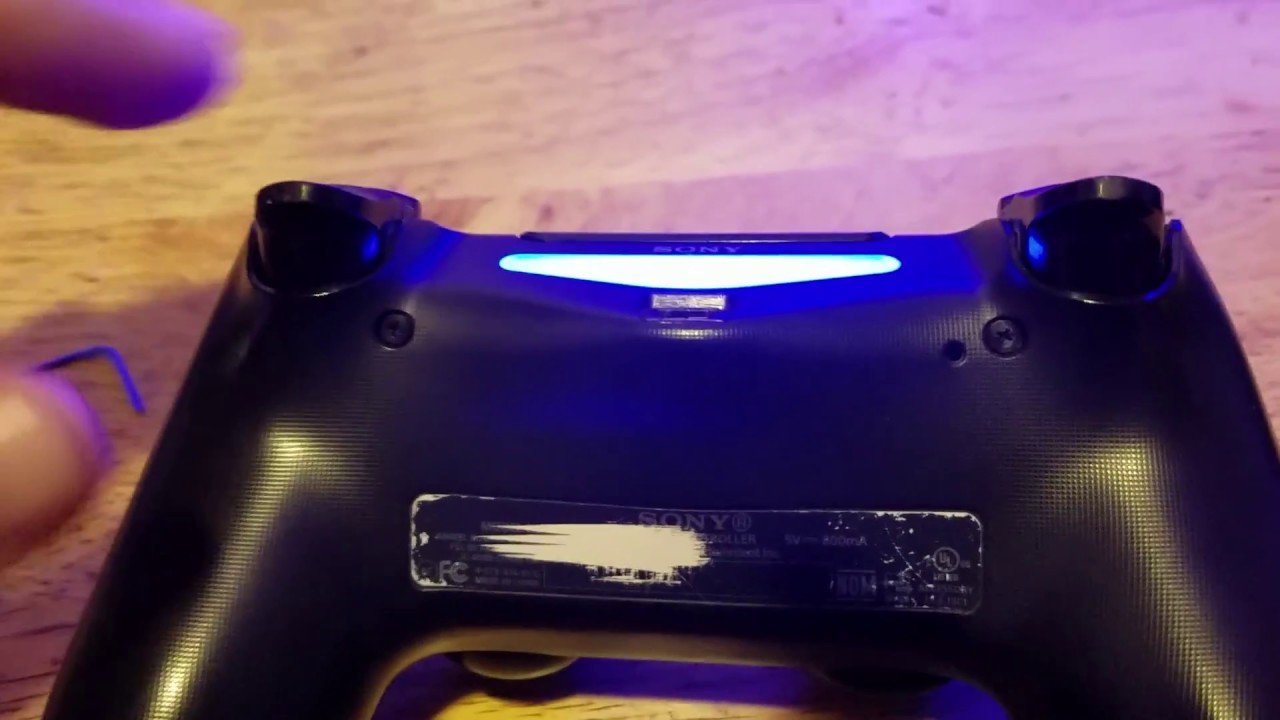
Once the controller is connected via the USB cable, the console will automatically detect it and start charging the controller. Charging the controller is essential to ensure that it has enough power during the syncing process. The light bar on the controller will glow orange to indicate that it is charging.
While the controller is connected via USB, it will also transmit data to the console, allowing for seamless syncing. This wired connection establishes the initial link between the controller and the console, making the subsequent wireless connection possible.
With the USB cable securely connected, you can now proceed to the next step: pressing the PlayStation button on the controller.
Step 4: Press the PlayStation Button
With your PlayStation 4 controller connected using the USB cable, it’s time to initiate the syncing process by pressing the PlayStation button. Follow these steps:
- Locate the PlayStation button on the center of the controller. It is the large, circular button with the PlayStation logo.
- Press and hold the PlayStation button for a few seconds until you see the light bar on the controller start to blink.
- As the light bar blinks, the console will recognize the controller and start the syncing process.
- Ensure that you are within range of the console and that there are no obstructions between the controller and the console.
- Wait for the controller to establish a connection with the console. The light bar on the controller will stabilize and usually display a solid color to indicate a successful sync.
During this process, it’s important to remain patient and avoid disconnecting the controller or interrupting the syncing process. Depending on various factors such as distance and interference, the syncing process may take a few moments to complete.
Once the controller has successfully connected to the console, you can proceed to the final step to ensure that the sync was successful.
Step 5: Controller Sync Successful
Congratulations! You have successfully synced your PlayStation 4 controller with your console. Here’s what you need to know:
- The light bar on your controller should now display a solid color, indicating that it is connected and ready for use.
- You can now disconnect the USB cable from the controller and the console. The controller will continue to maintain its wireless connection with the console.
- Test the functionality of the controller by navigating through the PlayStation 4 home screen and accessing various features and games.
- If you encounter any issues with the controller, such as unresponsive buttons or lag, try resetting the controller by using a small pin or toothpick to press the reset button on the back of the controller.
- Enjoy your gaming experience with the synced PlayStation 4 controller! Play your favorite games, delve into new adventures, and immerse yourself in the world of gaming.
Remember to periodically charge your controller to ensure uninterrupted gaming sessions. If you plan to sync multiple controllers, repeat the steps outlined in this guide for each controller.
Now that you know how to sync your PlayStation 4 controller, you are ready to embark on exciting gaming adventures and make the most out of your gaming experience.
Happy gaming!
Conclusion
Syncing your PlayStation 4 controller is an essential step to unlock the full potential of your gaming experience. By following the step-by-step instructions outlined in this guide, you have successfully learned how to sync your controller with your PlayStation 4 console.
Throughout this guide, we discussed the importance of preparing the controller, turning on the PlayStation 4 console, connecting the controller using a USB cable, pressing the PlayStation button to initiate the syncing process, and ensuring a successful connection.
Remember, having the necessary equipment, such as a functioning PlayStation 4 console, a compatible controller, a micro USB cable, and a stable internet connection, is crucial for a seamless syncing process.
By syncing your PlayStation 4 controller, you can enjoy the freedom of wireless gameplay and immerse yourself in your favorite games without the constraints of wired connections.
To ensure optimal performance and a hassle-free gaming experience, it’s important to periodically charge your controller and address any issues that may arise with the components.
Now that you have successfully synced your controller, it’s time to embark on thrilling gaming adventures, explore new worlds, and conquer challenges on your PlayStation 4.
So, grab your controller, power up your console, and get ready for an unforgettable gaming journey. Enjoy the fun, excitement, and endless possibilities that await you!