Introduction
Welcome to the guide on how to switch to HDMI on your Acer monitor. If you’re looking to enhance your multimedia experience or connect your devices with ease, HDMI is the ideal solution. In this article, we will walk you through the steps to switch to HDMI on your Acer monitor, ensuring you unlock the full potential of your display.
High-Definition Multimedia Interface (HDMI) is a universal audio-video interface that allows for the transmission of uncompressed high-quality digital signals. It has become the standard for connecting various devices such as laptops, gaming consoles, Blu-ray players, and set-top boxes to external displays, including Acer monitors.
Using HDMI on your Acer monitor offers several benefits. Firstly, it can deliver stunning visual clarity with support for high resolutions, including Full HD and even 4K Ultra HD, depending on your monitor’s capabilities. This ensures that you enjoy rich, sharp, and vibrant visuals, making it ideal for gaming, streaming, editing, or simply watching your favorite movies and shows.
In addition to outstanding visual quality, HDMI also carries audio signals, eliminating the need for separate audio cables. This simplifies the setup process and reduces cable clutter on your desk. Whether you’re listening to music, engaging in intense gaming sessions, or watching action-packed movies, HDMI provides a seamless audio-visual experience.
Now that you understand the benefits of using HDMI on your Acer monitor, let’s proceed with the step-by-step instructions to switch to HDMI. Don’t worry if you’re not a tech expert – our guide is designed to be easy to follow, ensuring that you can enjoy the benefits of HDMI in no time.
What is HDMI?
HDMI, which stands for High-Definition Multimedia Interface, is a digital audio-video interface that allows for the seamless transmission of high-quality and high-resolution content between devices. It has become the industry standard for connecting various electronic devices, such as laptops, gaming consoles, Blu-ray players, and set-top boxes to external displays, including Acer monitors.
Unlike older analog connections, HDMI transmits data in a digital format, resulting in superior image and sound quality. It supports both video and audio signals, making it a versatile connection option for a wide range of multimedia applications.
HDMI cables are characterized by their distinctive flat, rectangular shape and typically come in different versions, such as HDMI 1.4, 2.0, and the latest HDMI 2.1. Each version brings improvements in terms of bandwidth capabilities and additional features, allowing for higher resolutions, faster refresh rates, and support for advanced technologies like HDR (High Dynamic Range) and Dolby Atmos.
One of the key advantages of HDMI is its ability to transmit uncompressed digital signals. This means that the video and audio data remain intact during transmission, resulting in a precise and accurate representation of the original content without any loss in quality. Whether you’re a gamer seeking lag-free and detailed graphics or a movie enthusiast looking for immersive audio and vibrant visuals, HDMI ensures a superior viewing and listening experience.
Another benefit of HDMI is its simplicity and ease of use. Unlike older analog connections that required multiple cables to transmit audio and video signals separately, HDMI consolidates both signals into a single cable. This not only streamlines the setup process but also reduces cable clutter on your desk or entertainment system.
Furthermore, HDMI is a universally recognized interface, ensuring compatibility between different devices and manufacturers. You can easily connect your Acer monitor to a wide range of HDMI-enabled devices without worrying about compatibility issues, allowing you to enjoy your content hassle-free.
In summary, HDMI is a digital audio-video interface that offers superior image and sound quality, simplicity of use, and universal compatibility. It has revolutionized the way we connect and enjoy multimedia content on our Acer monitors and has become an essential feature in today’s digital world.
Benefits of using HDMI on an Acer monitor
When it comes to connecting your devices to an Acer monitor, using HDMI offers a multitude of advantages. Let’s explore the benefits that HDMI brings to your viewing and listening experience:
- Excellent Visual Clarity: HDMI supports high resolutions, including Full HD (1920×1080 pixels) and even 4K Ultra HD (3840×2160 pixels), allowing you to enjoy stunningly sharp and detailed visuals on your Acer monitor. Whether you’re gaming, watching movies, or editing photos or videos, HDMI ensures that every detail looks crisp and vibrant.
- Seamless Audio Transmission: HDMI not only carries video signals but also supports audio transmission. This means you can have both the video and audio signals delivered through a single HDMI cable, eliminating the need for separate audio cables. Whether you’re listening to music, immersing yourself in game sound effects, or watching movies with captivating surround sound, HDMI ensures a seamless audio-visual experience.
- Ease of Use: Connecting devices to your Acer monitor using HDMI is incredibly easy. HDMI cables are plug-and-play, meaning you simply plug one end into your device and the other end into your monitor’s HDMI port. This makes setup quick and hassle-free, saving you valuable time and effort.
- Multiple Device Connectivity: HDMI allows you to connect a wide range of devices to your Acer monitor. From laptops and desktop computers to gaming consoles, media players, streaming devices, and more, HDMI ensures compatibility and provides a convenient way to switch between different devices on the same monitor.
- High Bandwidth Capability: HDMI cables have high bandwidth capabilities, which means they can handle large amounts of data transfer. This is important for applications that require fast and uninterrupted transmission, such as gaming or watching high-resolution videos. HDMI ensures that you experience smooth playback without any lag or degradation in quality.
- Support for Advanced Technologies: HDMI keeps up with the latest technological advancements. The newer versions of HDMI, such as HDMI 2.0 and HDMI 2.1, support features like High Dynamic Range (HDR), which enhances the color and contrast of visuals, and Dolby Atmos, which provides immersive and multidimensional sound. With HDMI, you can enjoy content with the latest technologies and ensure compatibility with future devices.
Overall, using HDMI on an Acer monitor enhances your multimedia experience by delivering excellent visual clarity, seamless audio transmission, ease of use, multiple device connectivity, high bandwidth capabilities, and support for advanced technologies. It’s a versatile and reliable interface that unlocks the full potential of your Acer monitor and allows you to enjoy your content with exceptional quality.
Step 1: Checking the available ports on your Acer monitor
Before you can switch to HDMI on your Acer monitor, it’s important to determine if your monitor has an HDMI port. Most modern Acer monitors are equipped with HDMI ports, but it’s always a good idea to double-check.
Here’s how you can check the available ports on your Acer monitor:
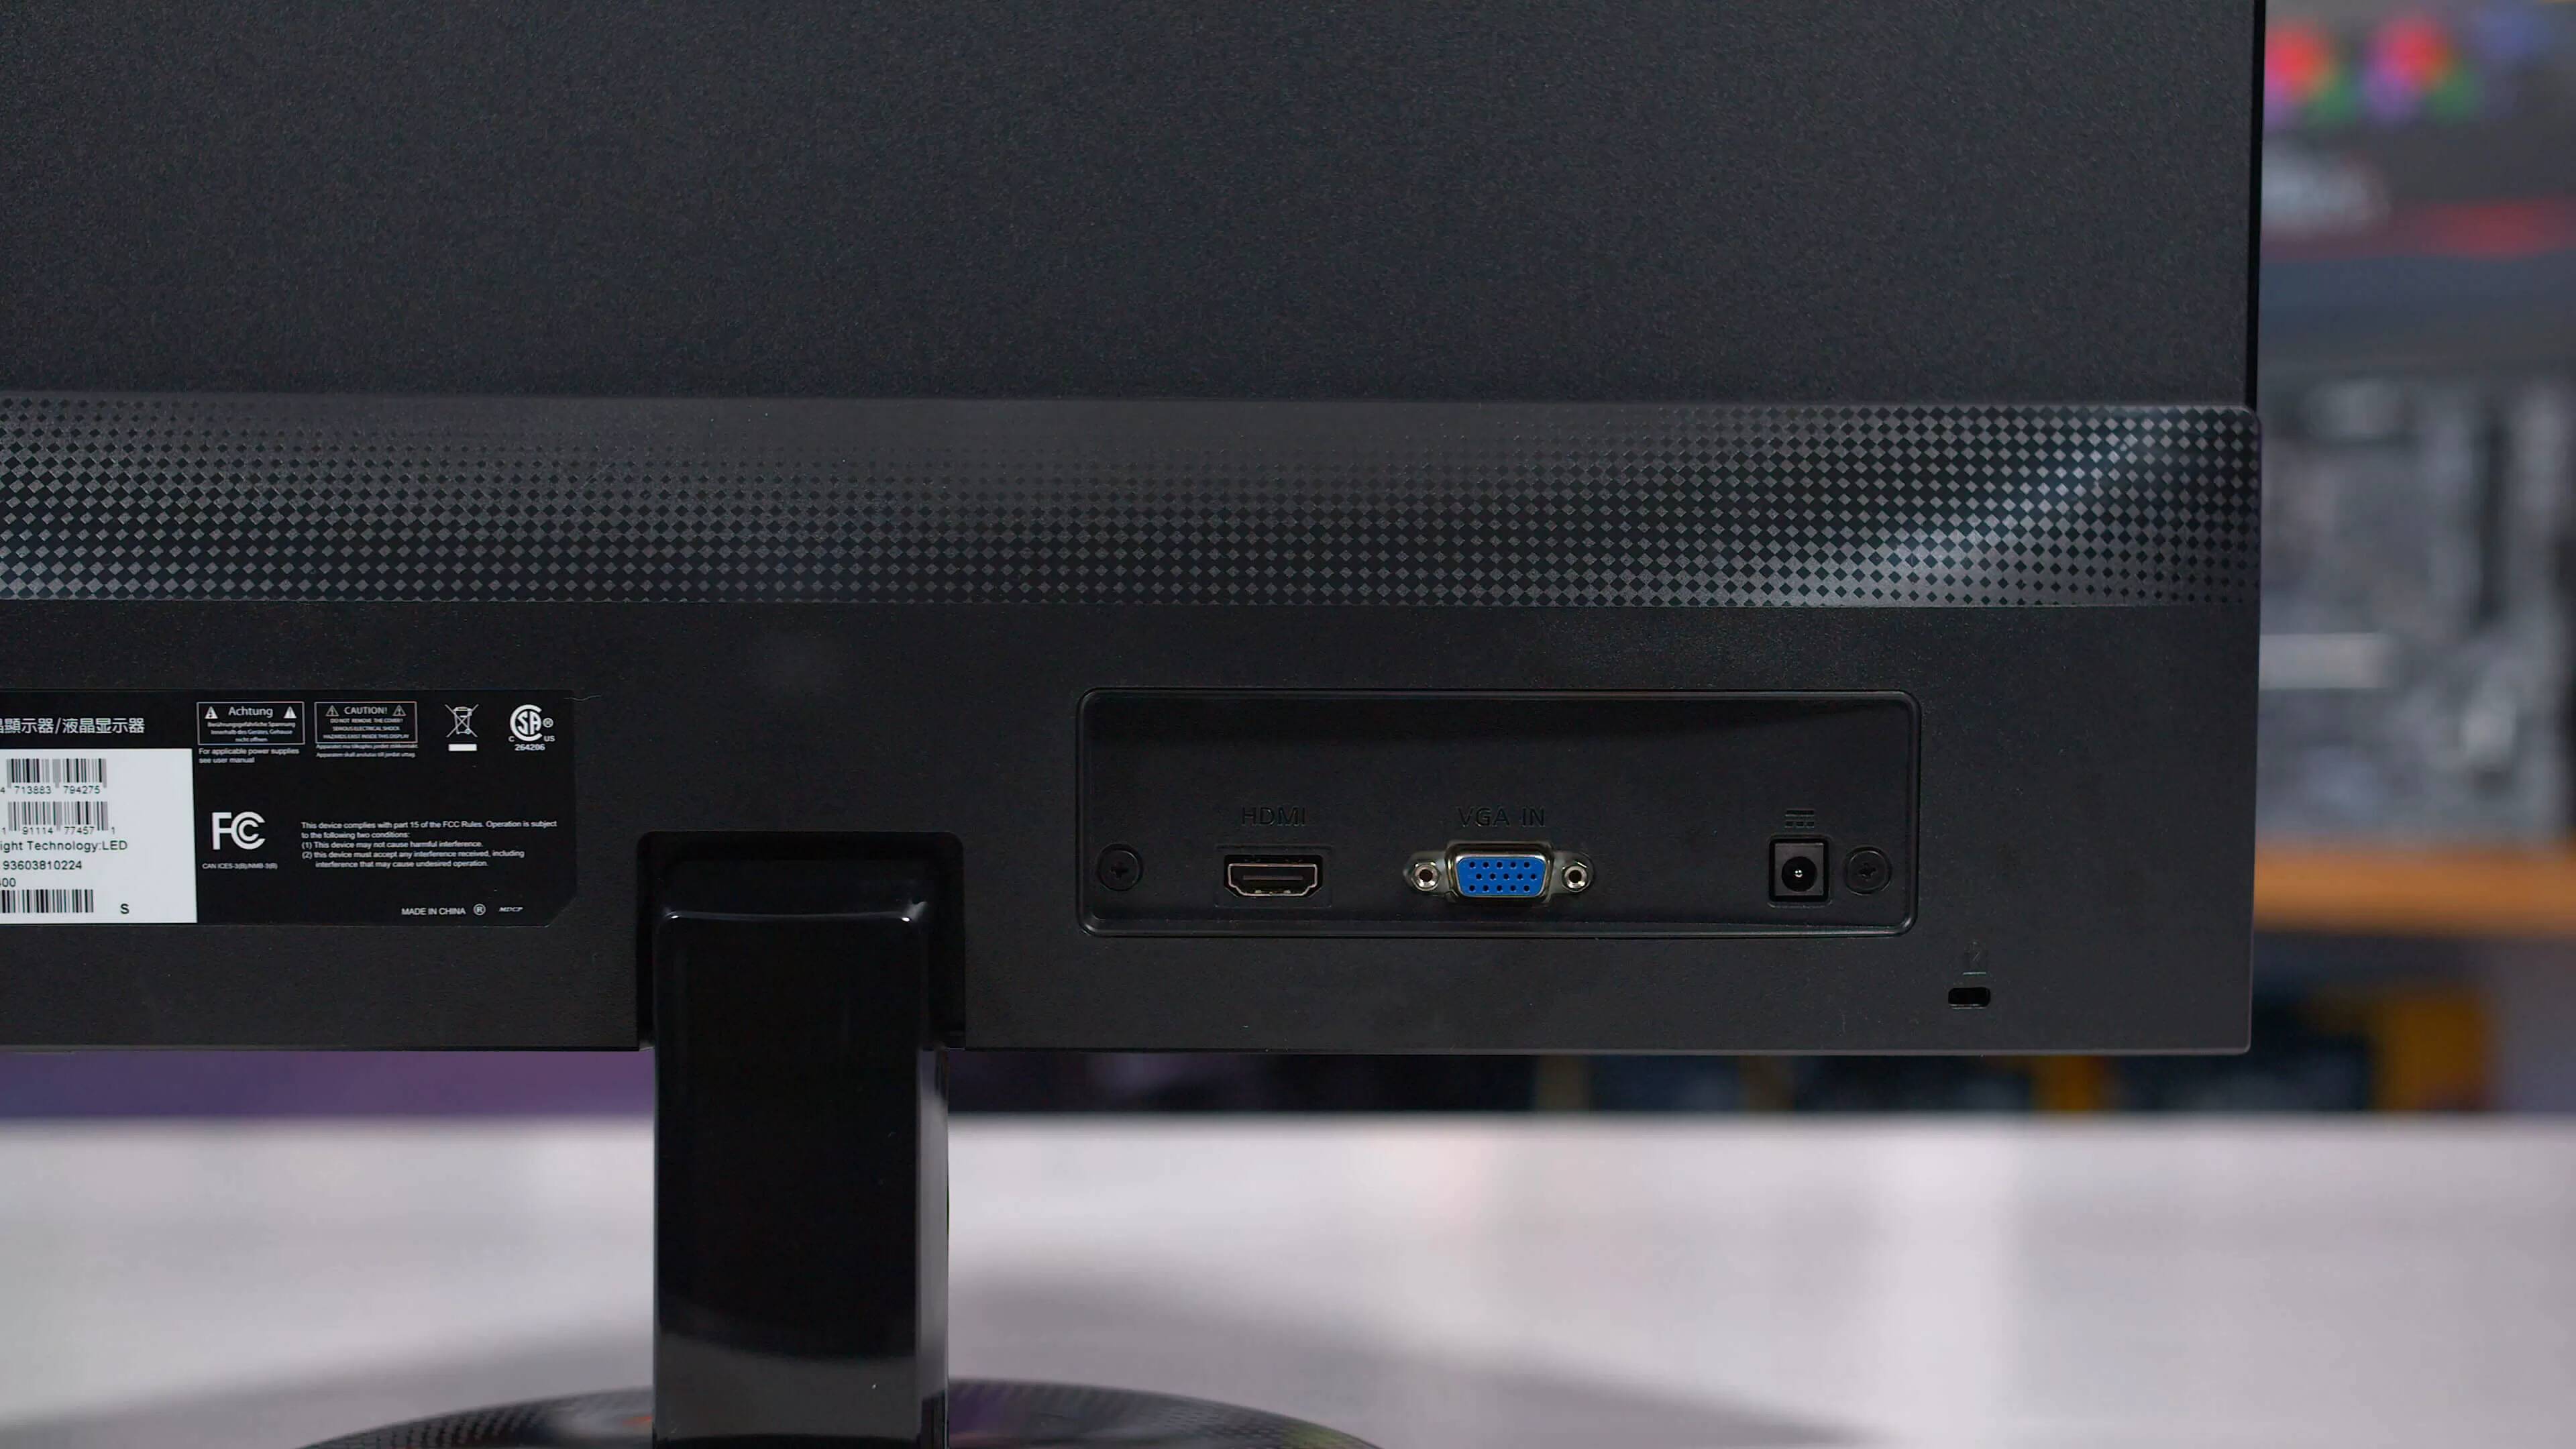
- Inspect the back or side of your monitor: Take a look at the rear or side panel of your Acer monitor. You should see a variety of ports and connectors. Look specifically for an HDMI port, which resembles a small, rectangular opening with multiple tiny pins inside. It’s typically labeled “HDMI” or may have the HDMI logo next to it.
- Consult the user manual: If you’re unsure about the location of the HDMI port or if it’s not clearly visible, refer to the user manual that came with your Acer monitor. The manual will provide detailed information about the available ports, their locations, and any specific instructions for connecting devices.
- Check the specifications: If you no longer have access to the user manual, you can also visit the Acer website or search for your monitor’s model number online. Look for the specifications of your monitor, which will usually include details about the available ports. Check if HDMI is listed among them.
Once you have identified the presence of an HDMI port on your Acer monitor, you can proceed to the next steps to connect your devices and switch to HDMI. If your monitor doesn’t have an HDMI port, don’t worry! There may be alternative solutions available, such as using a different video output port or an HDMI adapter.
Remember, it’s crucial to ensure that your Acer monitor has an HDMI port before attempting to switch to HDMI. This will ensure compatibility and a smooth transition to the HDMI connection.
Step 2: Connecting the HDMI cable to your Acer monitor
Now that you have identified the HDMI port on your Acer monitor, it’s time to connect the HDMI cable. Follow these steps to establish the physical connection:
- Turn off your Acer monitor: Before proceeding with the connection, ensure that your Acer monitor is switched off. This will prevent any electrical damage and ensure a safe connection.
- Locate the HDMI cable: Get hold of an HDMI cable that is appropriate for your needs. HDMI cables are widely available in various lengths and specifications. Choose a cable that matches the length you require and is of good quality to ensure optimal performance.
- Identify the HDMI port on your Acer monitor: Look at the back or side of your Acer monitor where the HDMI port is located. Ensure that you have a clear view of the HDMI port and can easily access it without any obstructions.
- Insert one end of the HDMI cable: Take one end of the HDMI cable and carefully insert it into the HDMI port on your Acer monitor. Make sure it is firmly inserted, but do not use excessive force. The cable should fit snugly into the port without any wobbling.
- Connect the other end of the HDMI cable: Locate the HDMI port on the device you want to connect to your Acer monitor, such as a laptop or gaming console. Insert the other end of the HDMI cable into the HDMI port on the device, ensuring a secure connection.
- Tighten the connections: Once you have connected the HDMI cable to both your Acer monitor and the device, gently tighten the cable connections. This will ensure that the cable stays securely connected and prevents any accidental disconnections.
- Power on your Acer monitor: After connecting the HDMI cable, power on your Acer monitor. It should automatically detect the HDMI connection and display the content from the connected device.
That’s it! You have successfully connected the HDMI cable to your Acer monitor. Now you can move on to the next steps to adjust the HDMI settings and switch to HDMI input on your Acer monitor.
Remember to keep the HDMI cable and connections intact while handling your devices and adjusting the settings. Avoid pulling or twisting the cable excessively, as this could damage the cable or ports. With proper care and attention, you can ensure a reliable and high-quality HDMI connection for your Acer monitor.
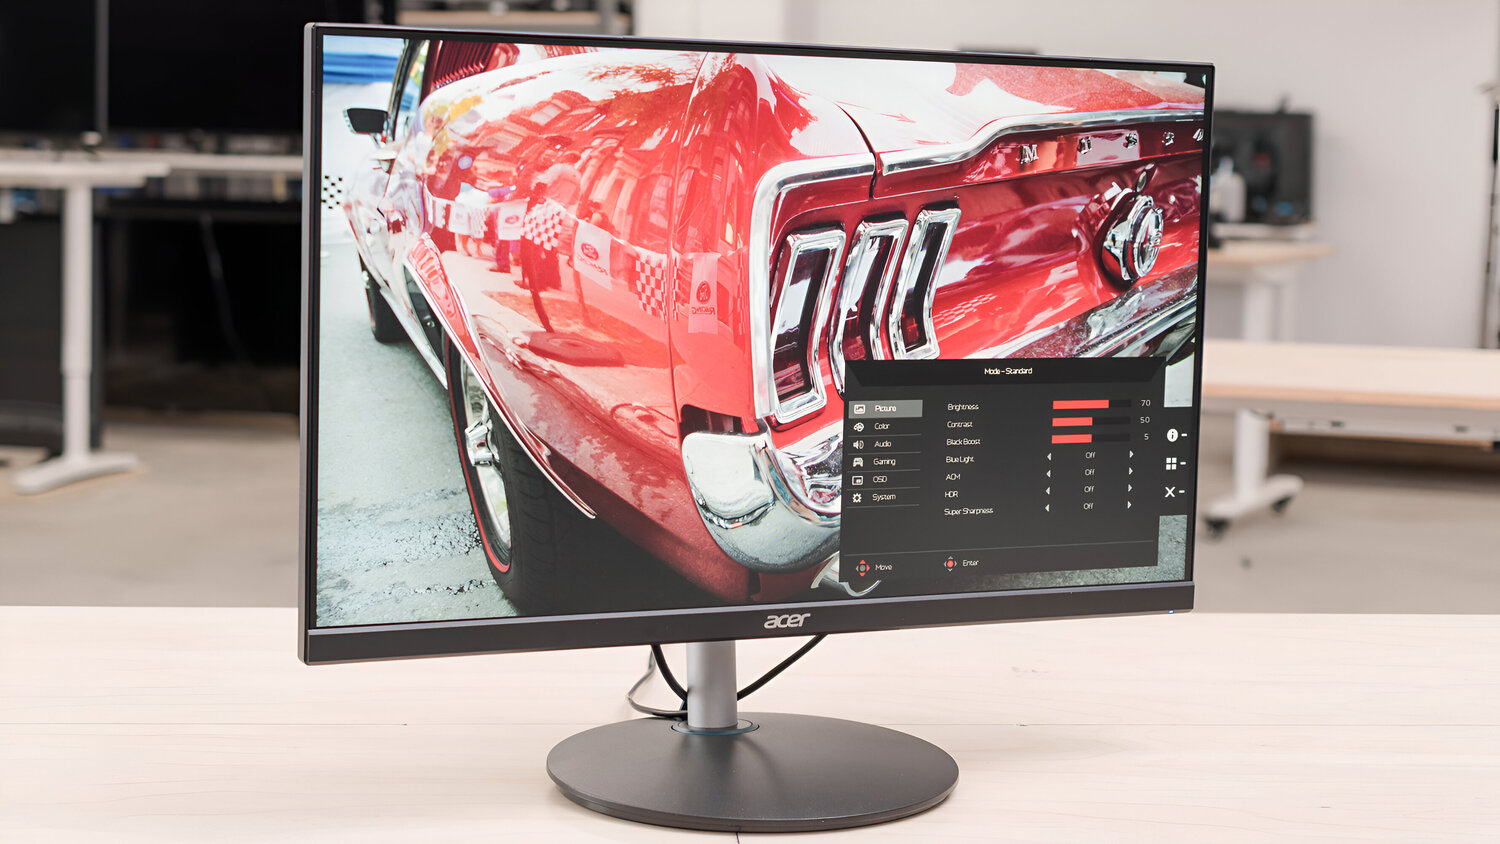
Step 3: Adjusting the HDMI settings on your Acer monitor
After connecting the HDMI cable to your Acer monitor, it’s essential to adjust the HDMI settings to ensure the best possible display and audio output. Follow these steps to adjust the settings on your Acer monitor:
- Access the monitor’s settings menu: Locate the buttons or controls on your Acer monitor. These are usually found on the front or bottom edge of the monitor. Press the appropriate button to access the monitor’s settings menu. This button is typically labeled “Menu” or indicated by an icon.
- Navigate to the HDMI settings: Use the navigation buttons on your monitor to scroll through the settings menu and find the HDMI settings. The exact location and label of this option may vary depending on your monitor model. Look for terms such as “Input,” “Source,” or “Connection” to access the HDMI settings.
- Select the HDMI input: Once you have accessed the HDMI settings, you will see a list of input options. Use the navigation buttons to select the HDMI input that corresponds to the HDMI port you connected the cable to. This will activate the HDMI connection on your Acer monitor.
- Adjust display settings: Depending on your monitor’s capabilities, you may have additional display settings that you can optimize for the HDMI connection. Look for options such as brightness, contrast, color calibration, and resolution. Adjust these settings according to your preferences or the requirements of the content you will be viewing.
- Configure audio settings: If your Acer monitor has built-in speakers or if you have connected audio devices to the monitor, check the audio settings in the monitor’s menu. Ensure that the audio output is set to the HDMI connection, allowing the sound to be delivered through the monitor’s speakers or external devices.
- Save and exit the settings menu: Once you have adjusted the HDMI settings, save any changes made and exit the monitor’s settings menu. This will apply the settings and ensure that the HDMI connection is properly configured.
By adjusting the HDMI settings on your Acer monitor, you can optimize the display quality, audio output, and overall performance of your connected devices. Take some time to explore the different settings available on your monitor and fine-tune them to suit your preferences and requirements.
Now that you have adjusted the HDMI settings, you’re ready to switch to the HDMI input on your Acer monitor and enjoy the enhanced multimedia experience it provides. Follow the next step to learn how to switch to HDMI input on your monitor.
Step 4: Switching to HDMI input on your Acer monitor
With the HDMI cable connected and the HDMI settings adjusted on your Acer monitor, it’s time to switch to the HDMI input and start using your connected device. Follow these steps to switch to the HDMI input:
- Power on your Acer monitor: Ensure that your Acer monitor is powered on and displaying the settings menu or an active screen.
- Access the input/source menu: On your monitor’s control panel, look for a button labeled “Input,” “Source,” or a similar term. Press this button to access the input/source menu.
- Select the HDMI input: In the input/source menu, you should see the list of available input options. Use the navigation buttons to select the HDMI input that corresponds to the HDMI port you connected the cable to. This will switch the monitor’s input to the HDMI connection.
- Confirm the HDMI input: Once you have selected the HDMI input, confirm your selection by pressing the appropriate button on your monitor’s control panel. This will switch the display to the HDMI input, and you should now see the content from your connected device.
- Adjust device settings (if necessary): Depending on the device you connected to your Acer monitor, you may need to adjust the display settings on the device itself. This could include selecting the appropriate resolution, aspect ratio, or other display preferences. Consult the user manual or settings menu of your device for more information.
- Enjoy your HDMI connection: Once you have successfully switched to the HDMI input on your Acer monitor, you can now enjoy the content from your connected device. Whether you’re gaming, watching movies, or working on multimedia projects, the HDMI connection ensures a high-quality and immersive experience.
Switching to the HDMI input on your Acer monitor allows you to fully utilize the capabilities of your connected device, whether it’s a laptop, gaming console, or media player. Make sure to toggle between input options if you have multiple devices connected to your monitor via HDMI, giving you the flexibility to switch seamlessly between different sources.
Now that you have successfully switched to HDMI input, sit back, relax, and enjoy your content on your Acer monitor with enhanced visuals and audio provided by the HDMI connection.
Troubleshooting common issues when switching to HDMI
While switching to HDMI on your Acer monitor is generally a straightforward process, you may encounter some common issues along the way. Here are some troubleshooting steps to help you resolve these issues:
- No display on the Acer monitor: If you’re not getting any display on your Acer monitor after switching to HDMI, ensure that the HDMI cable is securely connected to both the monitor and the device. Make sure the device is turned on and functioning properly. Try disconnecting and reconnecting the HDMI cable to ensure a secure connection.
- No audio on the Acer monitor: If you have connected audio devices to your Acer monitor and there is no sound, check the audio settings on both the device and the monitor. Verify that the audio output is set to HDMI on the device and that the monitor’s speakers or external audio devices are properly connected and functioning. Adjust the volume settings on both the device and the monitor to ensure they are not muted or set too low.
- Poor image quality or flickering: If you notice a drop in image quality or flickering on your Acer monitor after switching to HDMI, double-check the HDMI cable for any signs of damage or loose connections. Consider using a high-quality HDMI cable with the proper specifications for your display needs. Additionally, ensure that the device’s graphics settings are appropriately configured for the desired resolution and refresh rate.
- No HDMI input option on the monitor: If you cannot find the HDMI input option on your Acer monitor’s menu, ensure that the HDMI cable is securely connected to both the monitor and the device. Restart both the monitor and the device to establish a fresh handshake and allow the monitor to detect the HDMI connection. If the issue persists, consult the monitor’s manual or contact Acer support for further assistance.
- Compatibility issues: In some cases, certain devices may not be compatible with your Acer monitor or may require additional settings adjustments. Check for any firmware or driver updates for your monitor and the connected device. Make sure that both the device and the monitor support the HDMI version being used. If compatibility issues persist, contact the device manufacturer or Acer support for further guidance.
If you are unable to resolve the issues using the troubleshooting steps mentioned above, it is advisable to consult the user manual of your Acer monitor or reach out to Acer support for more specific guidance tailored to your particular situation.
Remember to be patient and methodical when troubleshooting. Sometimes, a simple adjustment or cable reconnection can solve the problem and restore your HDMI connection to full functionality.
Conclusion
Switching to HDMI on your Acer monitor opens up a world of possibilities for enjoying high-quality multimedia content and connecting various devices. HDMI provides excellent visual clarity, seamless audio transmission, and ease of use, making it an ideal choice for enhancing your viewing and listening experience.
In this guide, we’ve walked you through the step-by-step process of switching to HDMI on your Acer monitor. We started by checking the available ports on your monitor, ensuring compatibility. Then, we connected the HDMI cable, adjusting the settings to optimize the display and audio output. Finally, we switched to the HDMI input on your Acer monitor, enabling you to enjoy the content from your connected device.
We also provided troubleshooting tips for common issues that you may encounter when switching to HDMI. These troubleshooting steps can help you address problems related to display, audio, compatibility, and other potential issues that may arise along the way.
Remember that every Acer monitor may have slight variations in terms of its ports, menu options, and settings. It’s essential to consult the user manual of your specific monitor model for more precise instructions and guidance tailored to your device.
We hope that this guide has provided you with the knowledge and confidence to switch to HDMI on your Acer monitor successfully. By using HDMI, you can unlock the full potential of your monitor, immerse yourself in stunning visuals, and enjoy immersive audio for a truly immersive entertainment experience.
Now, go ahead and enjoy your multimedia content on your Acer monitor with the power of HDMI!