Introduction
Welcome to this helpful guide on how to switch HDMI on your monitor. HDMI (High-Definition Multimedia Interface) is a widely used technology that allows for the transmission of high-quality audio and video signals between devices. It has become the standard for connecting various entertainment devices, such as gaming consoles, Blu-ray players, and streaming devices, to monitors and televisions.
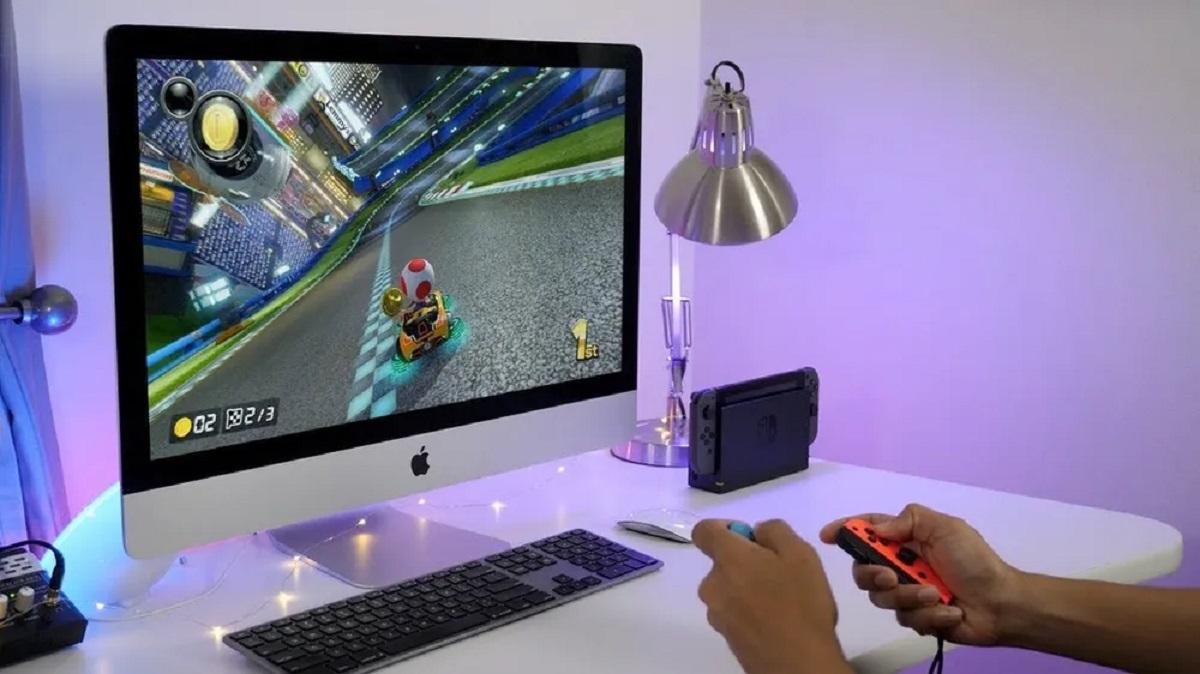
Being able to switch to the HDMI input on your monitor is essential if you want to enjoy the benefits of this technology. Whether you’re a gamer looking to connect your console or a movie enthusiast wanting to stream content on a larger screen, understanding how to switch between different input sources on your monitor is crucial.
In this guide, we will walk you through the process of switching to the HDMI input on your monitor. We will explain the different types of HDMI inputs you may find on monitors, guide you through the steps of connecting the HDMI cable, and provide troubleshooting tips for any connection issues you may encounter. By the end of this guide, you will have the knowledge and confidence to easily switch to HDMI on your monitor.
So, if you’re ready to delve into the world of HDMI connectivity and unlock the full potential of your monitor, let’s get started!
Now, let’s move on to understanding HDMI technology and the different types of HDMI inputs you might encounter on your monitor.
Understanding HDMI Technology
HDMI, short for High-Definition Multimedia Interface, is a digital interface that allows for the transmission of high-quality audio and video signals between devices. It has become the standard for connecting devices such as gaming consoles, Blu-ray players, and streaming devices to monitors, televisions, and other display devices.
HDMI offers several advantages over older analog connection methods, such as VGA or component cables. First and foremost, HDMI delivers uncompressed digital video and audio signals, resulting in superior image and sound quality. This means that you can enjoy your favorite movies, games, and multimedia content in crystal-clear high definition.
Another benefit of HDMI is its ability to transmit both audio and video signals through a single cable. This simplifies the setup process and reduces cable clutter, as there is no need for separate audio cables. The convenience of a single cable connection makes HDMI a popular choice among home theater enthusiasts and gamers alike.
In addition to video and audio transmission, HDMI also supports other features, such as Consumer Electronics Control (CEC) and Ethernet connectivity. CEC allows you to control multiple HDMI-connected devices with a single remote control, simplifying the operation of your home entertainment system. Ethernet over HDMI, on the other hand, allows for network connectivity between HDMI devices, enabling internet access and online streaming without the need for additional cables.
Over the years, HDMI technology has evolved to support higher resolutions and refresh rates, catering to the demands of the growing 4K and 8K content. HDMI 2.1, the latest version at the time of writing, offers impressive capabilities, such as support for 8K resolution at 60Hz and Enhanced Audio Return Channel (eARC) for delivering high-quality audio formats like Dolby Atmos.
Now that you have a better understanding of HDMI technology and its advantages, let’s take a look at the different types of HDMI inputs you may encounter on your monitor.
Next, we will explore the various types of HDMI inputs and how to identify them on your monitor.
Types of HDMI Inputs on Monitors
Monitors come equipped with different types of HDMI inputs to accommodate various devices and connectivity options. It’s important to understand these different types so that you can correctly identify and utilize the HDMI input on your monitor.
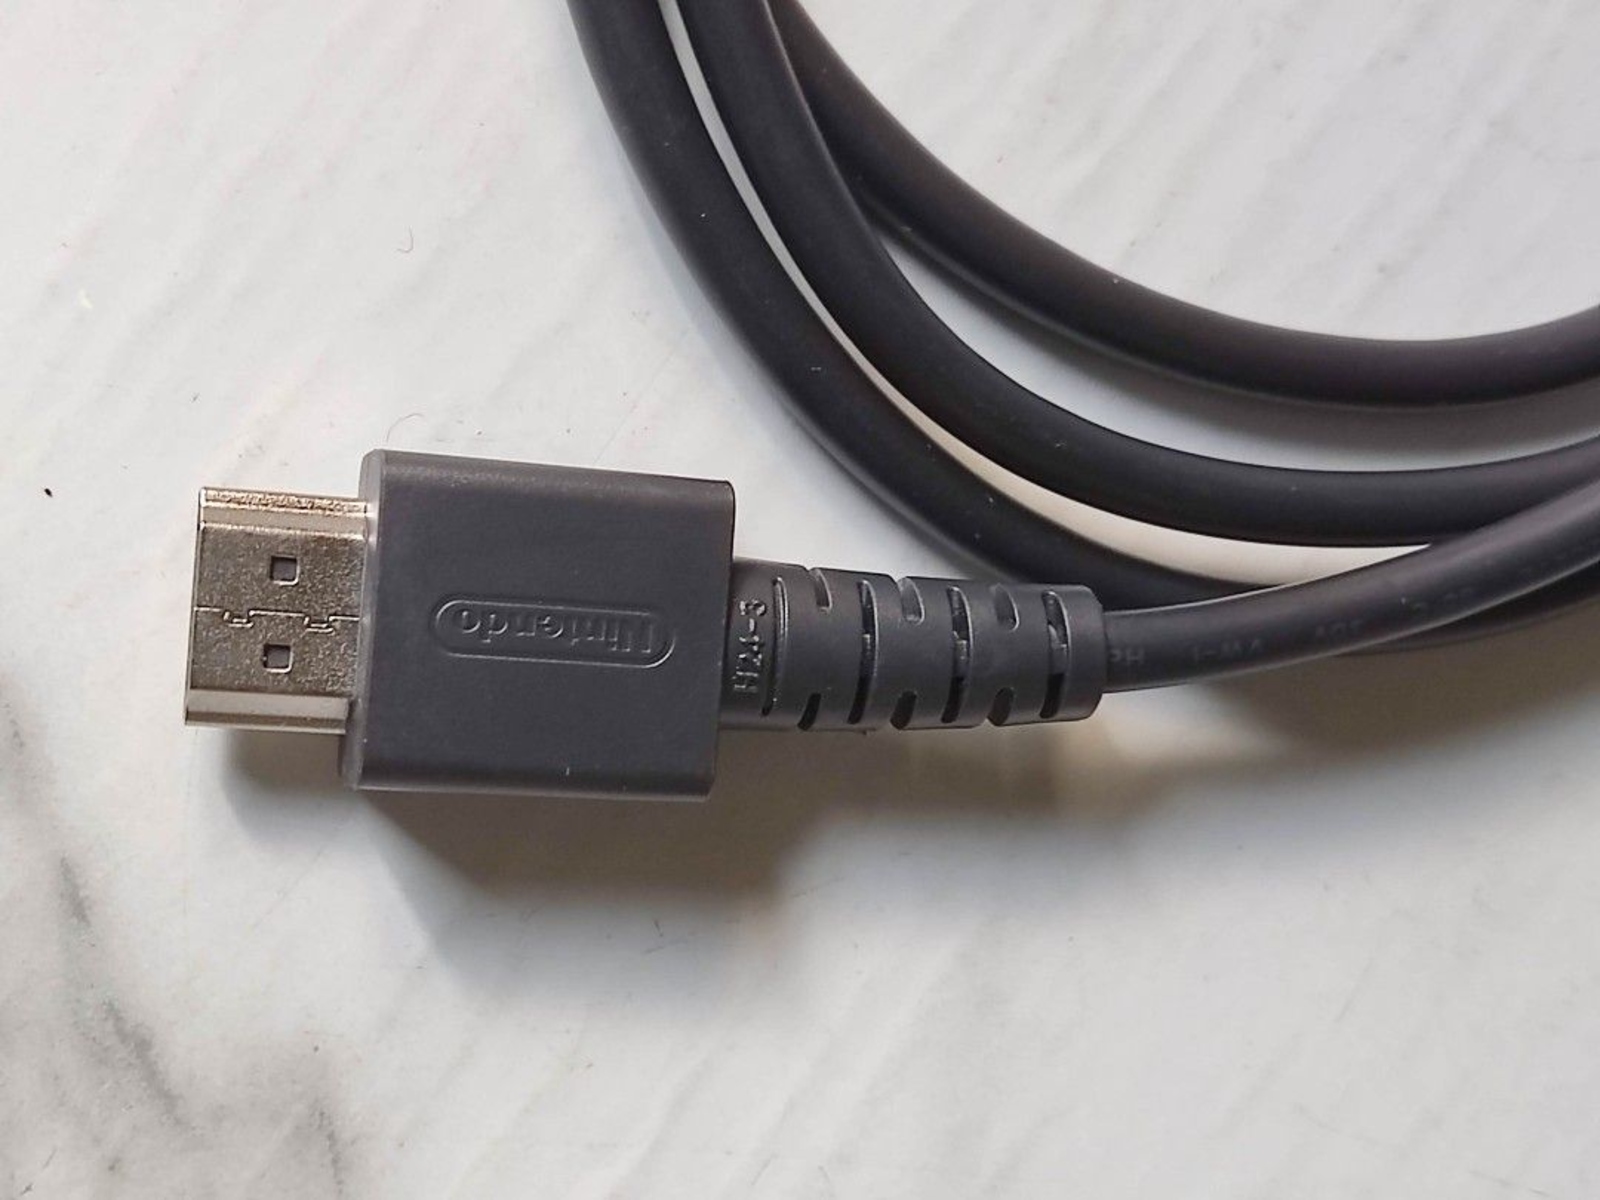
The most common type of HDMI input found on monitors is HDMI Type-A. This is the standard full-sized HDMI port that supports both video and audio signals. HDMI Type-A ports have 19 pins and are capable of transmitting high-definition signals up to 1080p resolution.
Another type of HDMI input you may come across is HDMI Type-C, also known as Mini HDMI. This smaller-sized port is commonly found on portable devices, such as cameras and smartphones. If your monitor has a Mini HDMI input, you will need to use a compatible HDMI Type-C to HDMI Type-A cable or adapter to connect your device.
HDMI Type-D, or Micro HDMI, is even smaller than HDMI Type-C and is primarily found on compact devices like tablets and ultra-portable laptops. Similar to HDMI Type-C, a Micro HDMI to HDMI Type-A cable or adapter will be required to connect these devices to your monitor.
Some monitors also feature HDMI Type-B inputs, but these are less common. HDMI Type-B is a larger-sized port with 29 pins and is primarily used in professional video equipment.
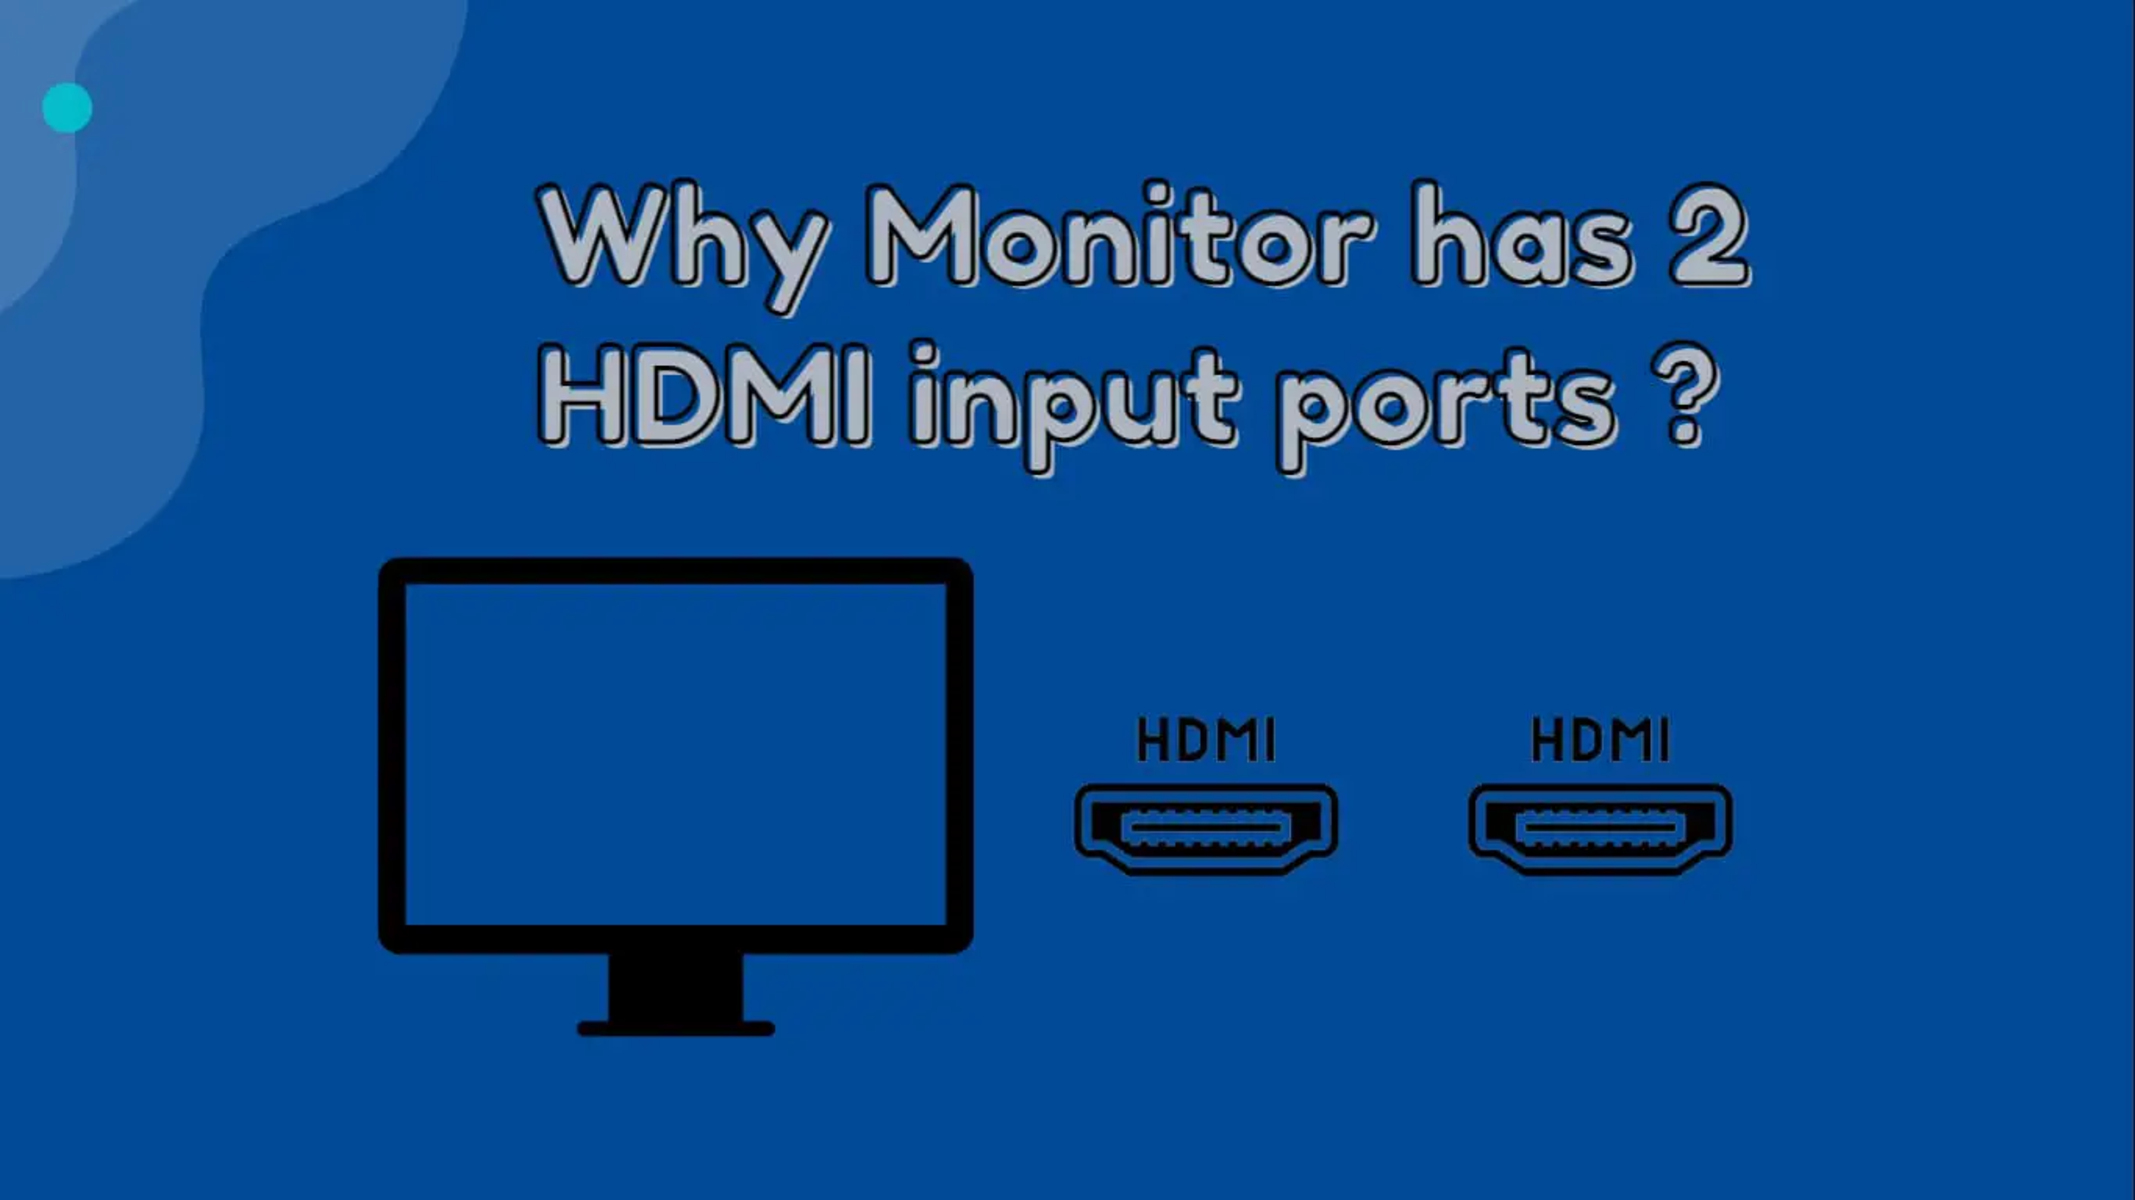
It’s important to note that not all monitors will have multiple HDMI inputs. Some budget or older models may only have a single HDMI input, while higher-end monitors may feature multiple HDMI ports.
Now that you are familiar with the different types of HDMI inputs, the next step is to check your monitor to identify the HDMI input ports it has.
In the following section, we will guide you on how to check your monitor for HDMI inputs.
Checking Your Monitor for HDMI Inputs
Before you can connect any HDMI devices to your monitor, you need to verify if it has an HDMI input port. Checking for HDMI inputs on your monitor is quite simple and can be done in a few easy steps.
1. Inspect the sides and back of your monitor: Begin by carefully examining the sides and back of your monitor. Look for the presence of HDMI ports. HDMI ports are usually labeled as “HDMI,” and they might be labeled with a number if there are multiple HDMI inputs available.
2. Refer to the user manual: If you are unsure about the location of the HDMI ports on your monitor, refer to the manufacturer’s user manual. The manual will provide detailed information on the various ports and their corresponding labels.
3. Access the monitor’s on-screen display (OSD) menu: Some monitors allow you to access a menu on the screen to check the available input options. Look for an “Input” or “Source” option in the OSD menu. Navigating through this menu will display the currently selected input and any available HDMI inputs.
4. Consult the manufacturer’s website: If you cannot find the necessary information in the user manual or OSD menu, visit the manufacturer’s website. Many manufacturers provide detailed specifications and diagrams of their monitors, including the location of HDMI ports.
Once you have identified the HDMI input port on your monitor, you are ready to connect your HDMI device and switch to the HDMI input.
In the next section, we will guide you through the steps of connecting an HDMI cable to your monitor.
Connecting HDMI Cable to Your Monitor
Now that you have located the HDMI input port on your monitor, it’s time to connect the HDMI cable and establish the connection between your monitor and the HDMI device.
Follow these steps to connect your HDMI cable to your monitor:
1. Ensure both your monitor and HDMI device are powered off: Before making any connections, turn off both your monitor and the HDMI device you are connecting, whether it’s a gaming console, Blu-ray player, or another device.
2. Insert one end of the HDMI cable into the HDMI output of your device: Take one end of the HDMI cable and insert it into the HDMI output port of your device. Ensure that it is securely plugged in.
3. Insert the other end of the HDMI cable into the HDMI input of your monitor: Take the other end of the HDMI cable and insert it into the HDMI input port of your monitor. Again, make sure it is firmly connected.
4. Power on both your monitor and HDMI device: Once the HDMI cable is securely connected at both ends, turn on your monitor and the HDMI device. Make sure the correct input source is selected on your monitor, which is usually done using the OSD menu or the input/source button on your monitor.
5. Verify the HDMI connection: After powering on your devices, check if the HDMI connection is successful. Your monitor should detect the HDMI signal and display the video and audio from your connected device.
If the connection is not working, ensure that both your monitor and HDMI device are set to the correct input source. You may also want to try using a different HDMI cable to rule out any cable issues. If problems persist, refer to the troubleshooting section of this guide for further assistance.
Congratulations! You have successfully connected your HDMI cable to your monitor. Now, let’s move on to the next section, where you will learn how to switch to the HDMI input on your monitor.
Switching to HDMI Input on Your Monitor
With the HDMI cable connected between your monitor and the HDMI device, it’s time to switch to the HDMI input on your monitor. The process may vary slightly depending on the model of your monitor, but the following steps will guide you through the general procedure.
1. Access the monitor’s on-screen display (OSD): Most monitors allow you to access an OSD menu using physical buttons on the monitor itself. Look for a button labeled “Menu” or an icon resembling a monitor with arrows, and press it to enter the OSD menu.
2. Navigate to the input/source selection option: Once you are in the OSD menu, locate the input/source selection option. It is usually indicated by an icon resembling a monitor with an arrow or labeled “Input” or “Source.”
3. Select the HDMI input: Using the navigation buttons on your monitor, scroll through the input/source options until you reach the HDMI input corresponding to the HDMI port where your device is connected. Press the appropriate button to select the HDMI input.
4. Exit the OSD menu: After selecting the HDMI input, exit the OSD menu by pressing the button labeled “Exit,” “Menu,” or a similar icon. This will save your changes and return you to the regular display screen.
Your monitor should now switch to the HDMI input, and you should see the video and hear the audio from your connected HDMI device. If the video or audio does not display correctly or if you encounter any issues, refer to the troubleshooting section of this guide for solutions.
It is important to note that some monitors may automatically detect the HDMI input when a device is connected and switch to it without manual intervention. If this is the case with your monitor, simply connect your HDMI device, power it on, and the monitor should automatically switch to the HDMI input.
Now that you know how to switch to the HDMI input on your monitor, you’re all set to enjoy your favorite movies, games, and other multimedia content in high-definition quality.
In the next section, we will provide troubleshooting tips for common HDMI connection issues you may encounter.
Troubleshooting HDMI Connection Issues
While HDMI connections are generally reliable, occasionally you may encounter issues that prevent a successful connection between your monitor and HDMI device. Here are some troubleshooting tips to help you resolve common HDMI connection issues:
1. Check the HDMI cable: Ensure that the HDMI cable is securely connected at both ends. Sometimes, a loose or faulty cable can cause connection problems. Try using a different HDMI cable to rule out any cable issues.
2. Verify power and device settings: Make sure that both your monitor and HDMI device are powered on. Additionally, check the device’s settings menu to confirm that it is set to output via HDMI. Some devices may default to a different output, so manually selecting HDMI as the output may be necessary.
3. Test the HDMI port: If your monitor has multiple HDMI ports, try connecting your device to a different HDMI port. This helps determine if the issue is specific to a particular port.
4. Restart devices: Power off both your monitor and HDMI device, then turn them back on after a few seconds. Restarting the devices can resolve minor glitches that might be affecting the HDMI connection.
5. Update firmware and drivers: Check for any available firmware updates for your monitor and the HDMI device. Sometimes, outdated firmware or incompatible drivers can cause compatibility issues. Visit the manufacturer’s website for information on how to update the firmware.
6. Reset display settings: On your HDMI device, navigate to the display settings and try resetting them to the default values. This can resolve issues related to unsupported resolutions or refresh rates.
7. Use an HDMI amplifier or repeater: If you have a long HDMI cable or are experiencing signal degradation, consider using an HDMI amplifier or repeater. These devices boost the signal to ensure a stable connection over longer distances.
8. Try a different HDMI device: If possible, test the HDMI port on your monitor with a different HDMI device. This helps determine if the issue lies with the monitor or the original HDMI device.
9. Contact technical support: If you have gone through the troubleshooting steps and still cannot establish a working HDMI connection, it may be necessary to contact the technical support of either your monitor or HDMI device manufacturer for further assistance.
By following these troubleshooting tips, you should be able to resolve common HDMI connection issues and enjoy a seamless and high-quality viewing experience on your monitor.
In the next section, we will wrap up this guide and provide a summary of the key points discussed.
Conclusion
Congratulations! You have successfully learned how to switch HDMI on your monitor. From understanding HDMI technology and the different types of HDMI inputs on monitors to checking for HDMI inputs and connecting the HDMI cable, you are now equipped with the knowledge to seamlessly connect your HDMI devices to your monitor.
We covered the importance of HDMI technology and its advantages, such as high-definition audio and video transmission in a single cable. Additionally, we explored the different types of HDMI inputs, including HDMI Type-A, Type-C, Type-D, and Type-B, and discussed how to identify these ports on your monitor.
You also learned how to check your monitor for HDMI inputs by inspecting the back and sides, referring to the user manual, accessing the on-screen display (OSD) menu, or checking the manufacturer’s website. With the HDMI input identified, you were guided through the process of connecting the HDMI cable, ensuring both devices are powered off, securely connecting the cable, and powering on the devices.
To switch to the HDMI input on your monitor, you learned how to navigate the OSD menu, locate the input/source selection option, and select the HDMI input corresponding to your connected device. Troubleshooting steps were also provided to help resolve common HDMI connection issues, including checking the cable, verifying power and device settings, testing HDMI ports, restarting devices, updating firmware and drivers, resetting display settings, using HDMI amplifiers or repeaters, trying different HDMI devices, and contacting technical support.
By following the steps and tips outlined in this guide, you can now enjoy your favorite movies, games, and other multimedia content on your monitor in high-definition quality through HDMI connectivity.
Thank you for reading this guide, and we hope it has been helpful in enhancing your understanding of switching HDMI on your monitor. If you have any further questions or need additional assistance, refer to the resources provided by your monitor or HDMI device manufacturer.